Smart DIY Tricks to Maximize Functionality in Small Home Spaces
🛠️ Introduction to Small Space DIY Philosophy
Living in a small home space presents unique challenges, but with creativity and do-it-yourself (DIY) ingenuity, you can transform cramped areas into highly functional and stylish environments. As urban living trends continue to shrink square footage, maximizing every inch becomes essential. This article explores smart DIY tricks that leverage simple tools, affordable materials, and innovative designs to enhance functionality without sacrificing aesthetics. Drawing inspiration from popular international home improvement websites, we’ll delve into practical, step-by-step methods that anyone can implement. Whether you’re in a studio apartment, a tiny house, or a compact room, these tricks will help you reclaim space, improve organization, and create a more comfortable living experience. Remember, the key is to think vertically, multi-functionally, and minimally—turning limitations into opportunities for clever design.
Before diving into specific tricks, it’s crucial to understand the core principles behind small space optimization. DIY projects for small homes often focus on dual-purpose items, hidden storage, and spatial illusions that make areas feel larger. By adopting a mindset of “less is more” and prioritizing functionality, you can avoid clutter and maximize utility. This section sets the stage for the detailed tricks ahead, emphasizing the importance of planning, measuring, and customizing solutions to fit your specific needs. From repurposing everyday objects to building custom furniture, the possibilities are endless when you embrace DIY as a tool for transformation.
🛋️ DIY Trick 1: Multi-Functional Furniture Projects
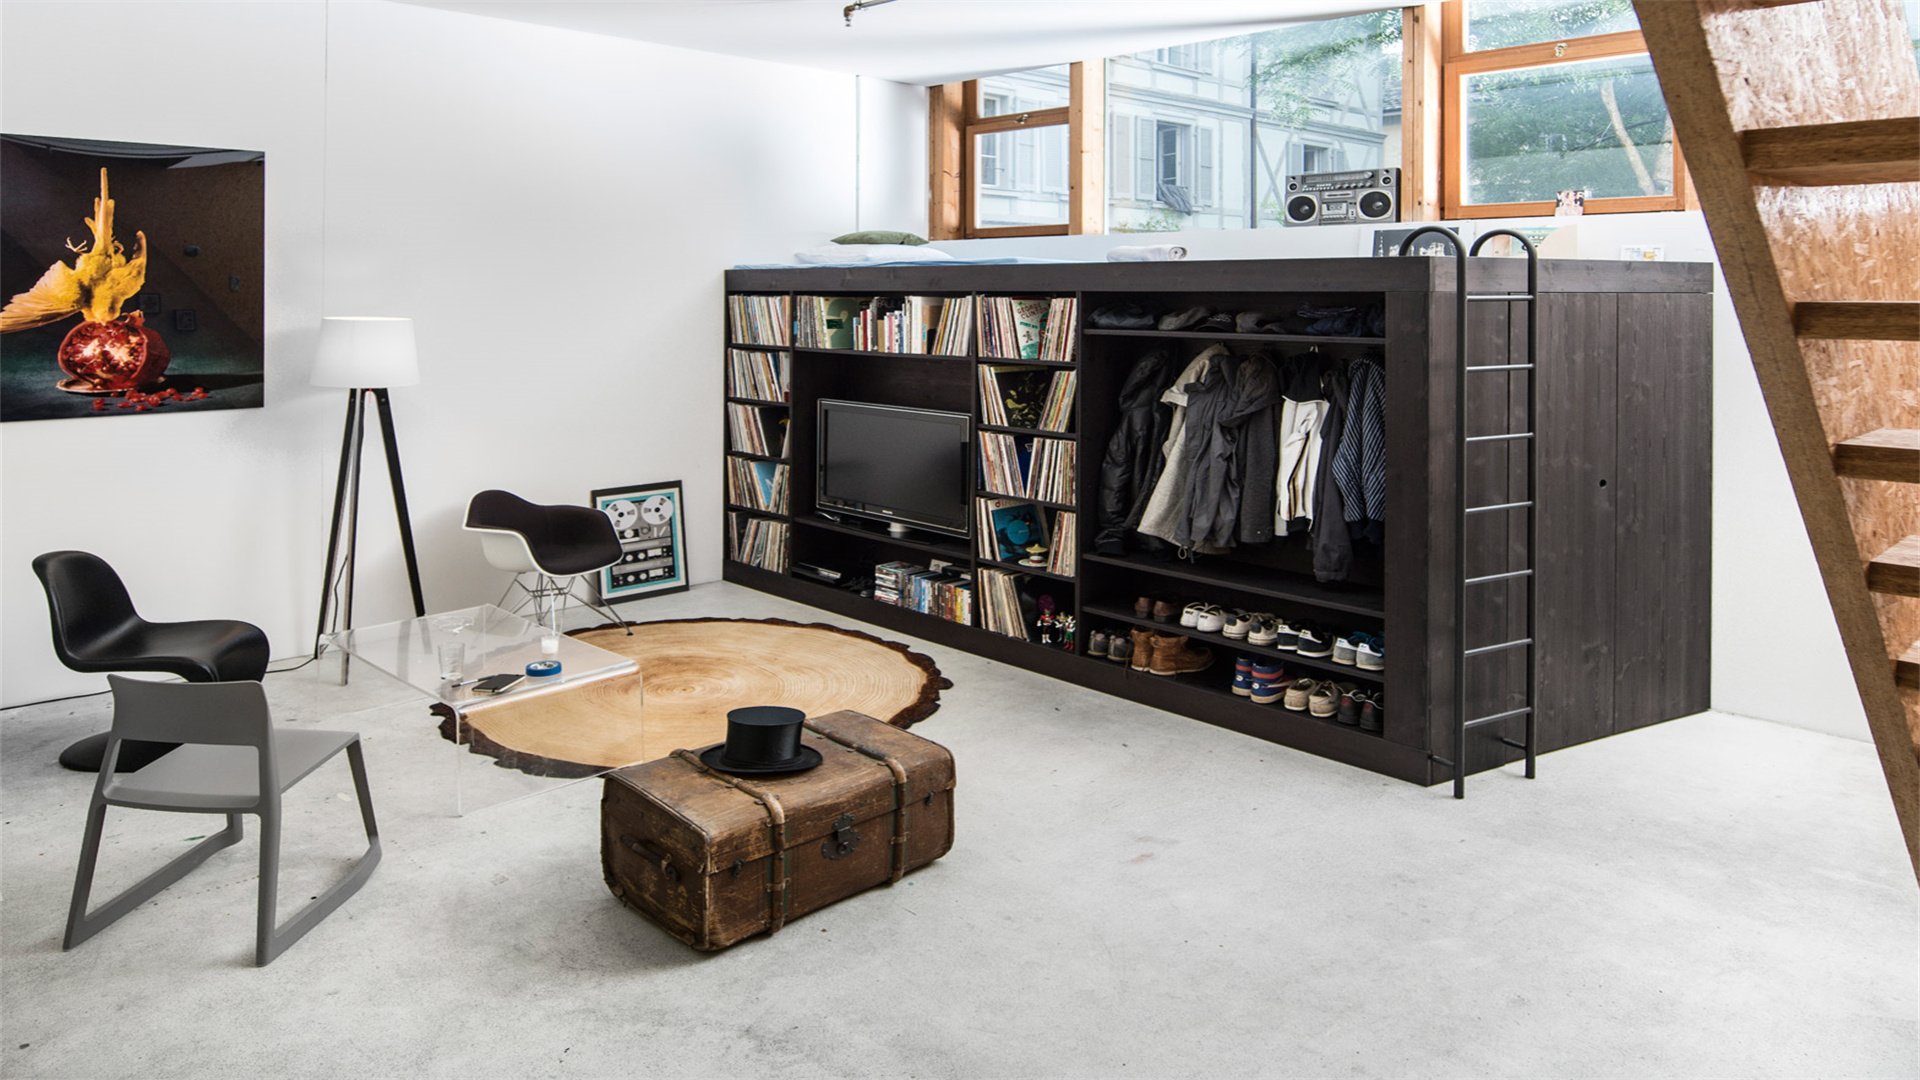
Multi-functional furniture is a cornerstone of small space living, serving dual or triple purposes to save floor area. This trick involves creating pieces that adapt to different activities, such as sleeping, working, and storage.
Advantages and Disadvantages
- Advantages:
- Reduces clutter by combining functions into one item, saving valuable space.
- Cost-effective compared to buying separate pieces, and DIY versions allow for customization to fit exact dimensions.
- Enhances creativity and provides a sense of accomplishment.
- Disadvantages:
- Can be time-consuming and require intermediate woodworking skills.
- If not designed properly, it may lack durability or aesthetic appeal.
- Complex mechanisms might need maintenance over time.
How to Implement
- Plan and Design: Start by assessing your space and needs. For example, if you need a bed that doubles as a sofa, sketch a design with measurements. Use online resources like Pinterest or Instructables for inspiration. Choose materials such as plywood, hinges, and casters that suit your skill level and budget.
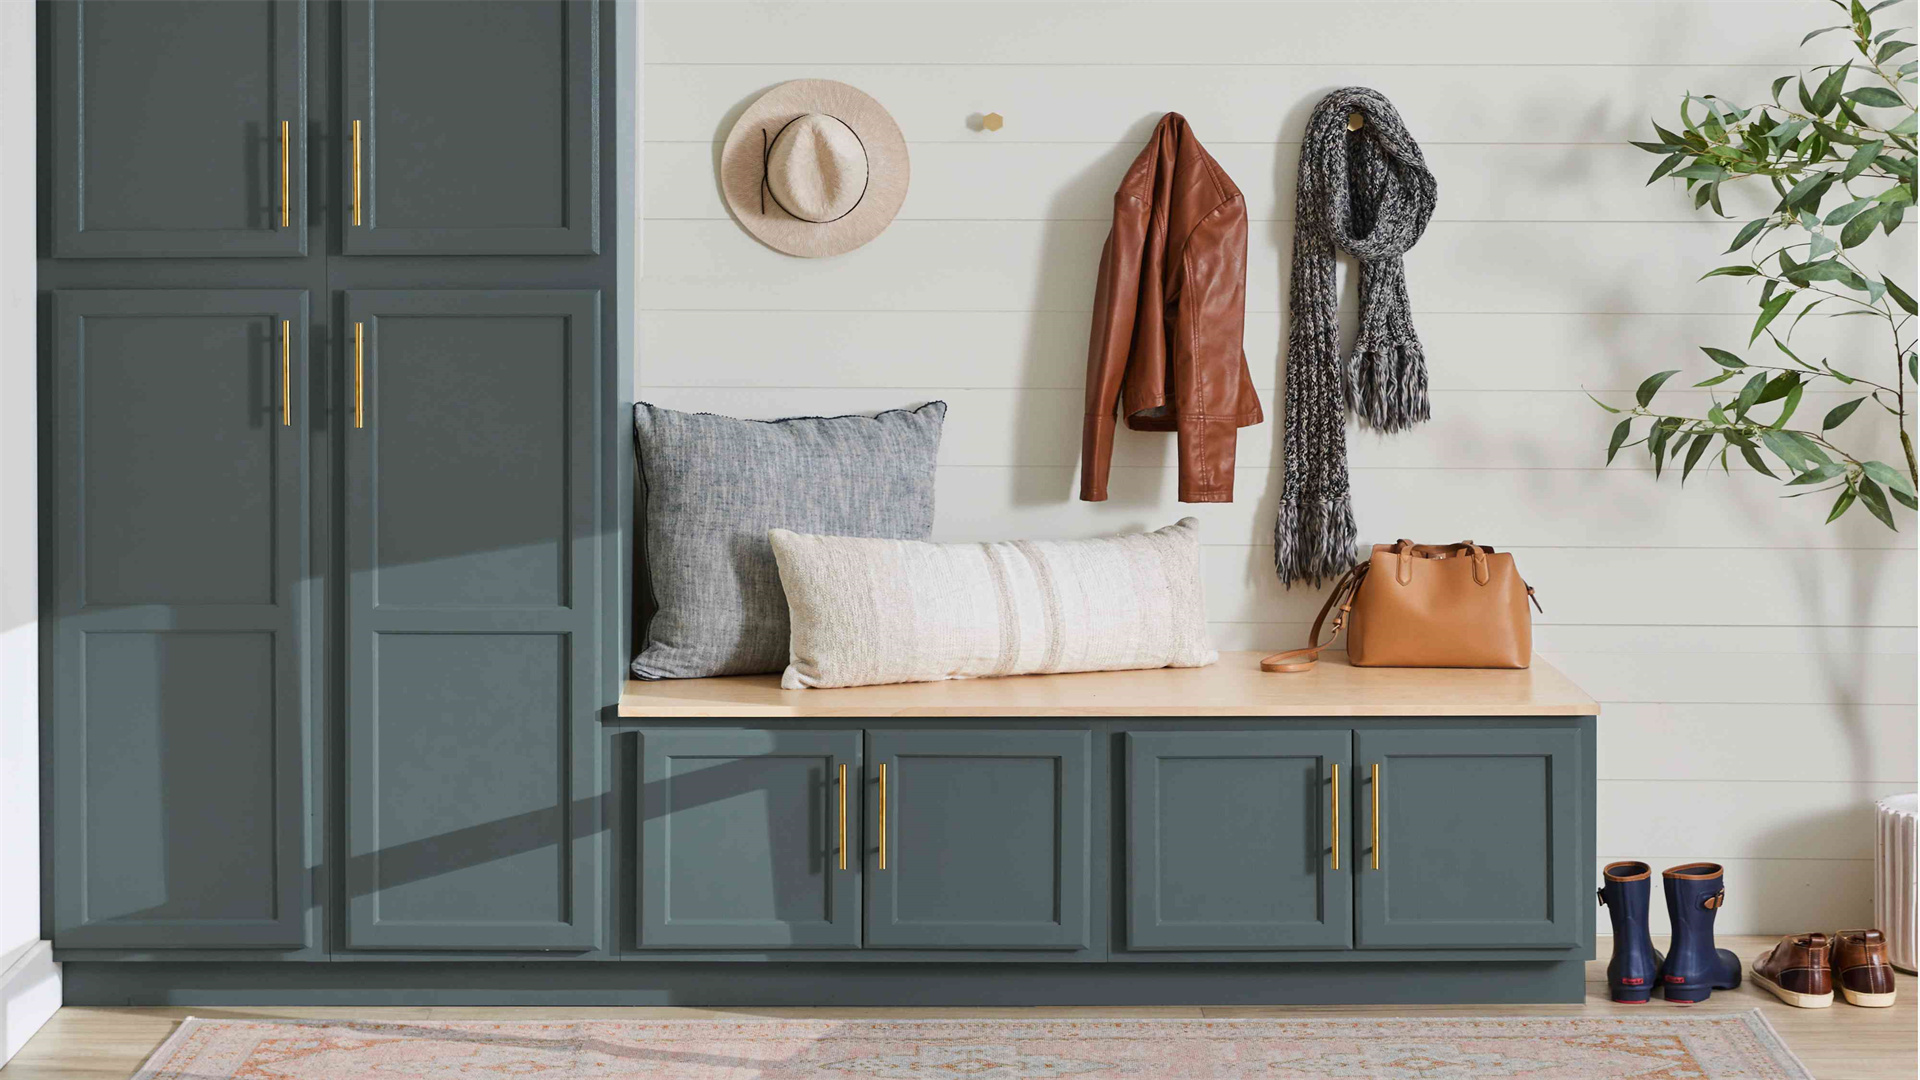
- Build a Murphy Bed with Storage: A Murphy bed folds up against the wall to free up floor space during the day. To DIY one, construct a sturdy frame from 2x4 lumber, attach a mattress platform with hinges, and integrate shelves or cabinets on the sides. Ensure safety by using proper wall anchors and a slow-closing mechanism. This project can take a weekend and requires basic tools like a saw, drill, and level.
- Create a Convertible Desk-Dining Table: For small apartments, a table that serves as both a desk and dining surface is ideal. Build a wall-mounted fold-down table using a solid wood panel and heavy-duty brackets. Add a lip or clamp to secure items when in use. Alternatively, make a rolling cart with a flip-top that transforms from a coffee table to a dining table. Finish with paint or stain to match your decor.
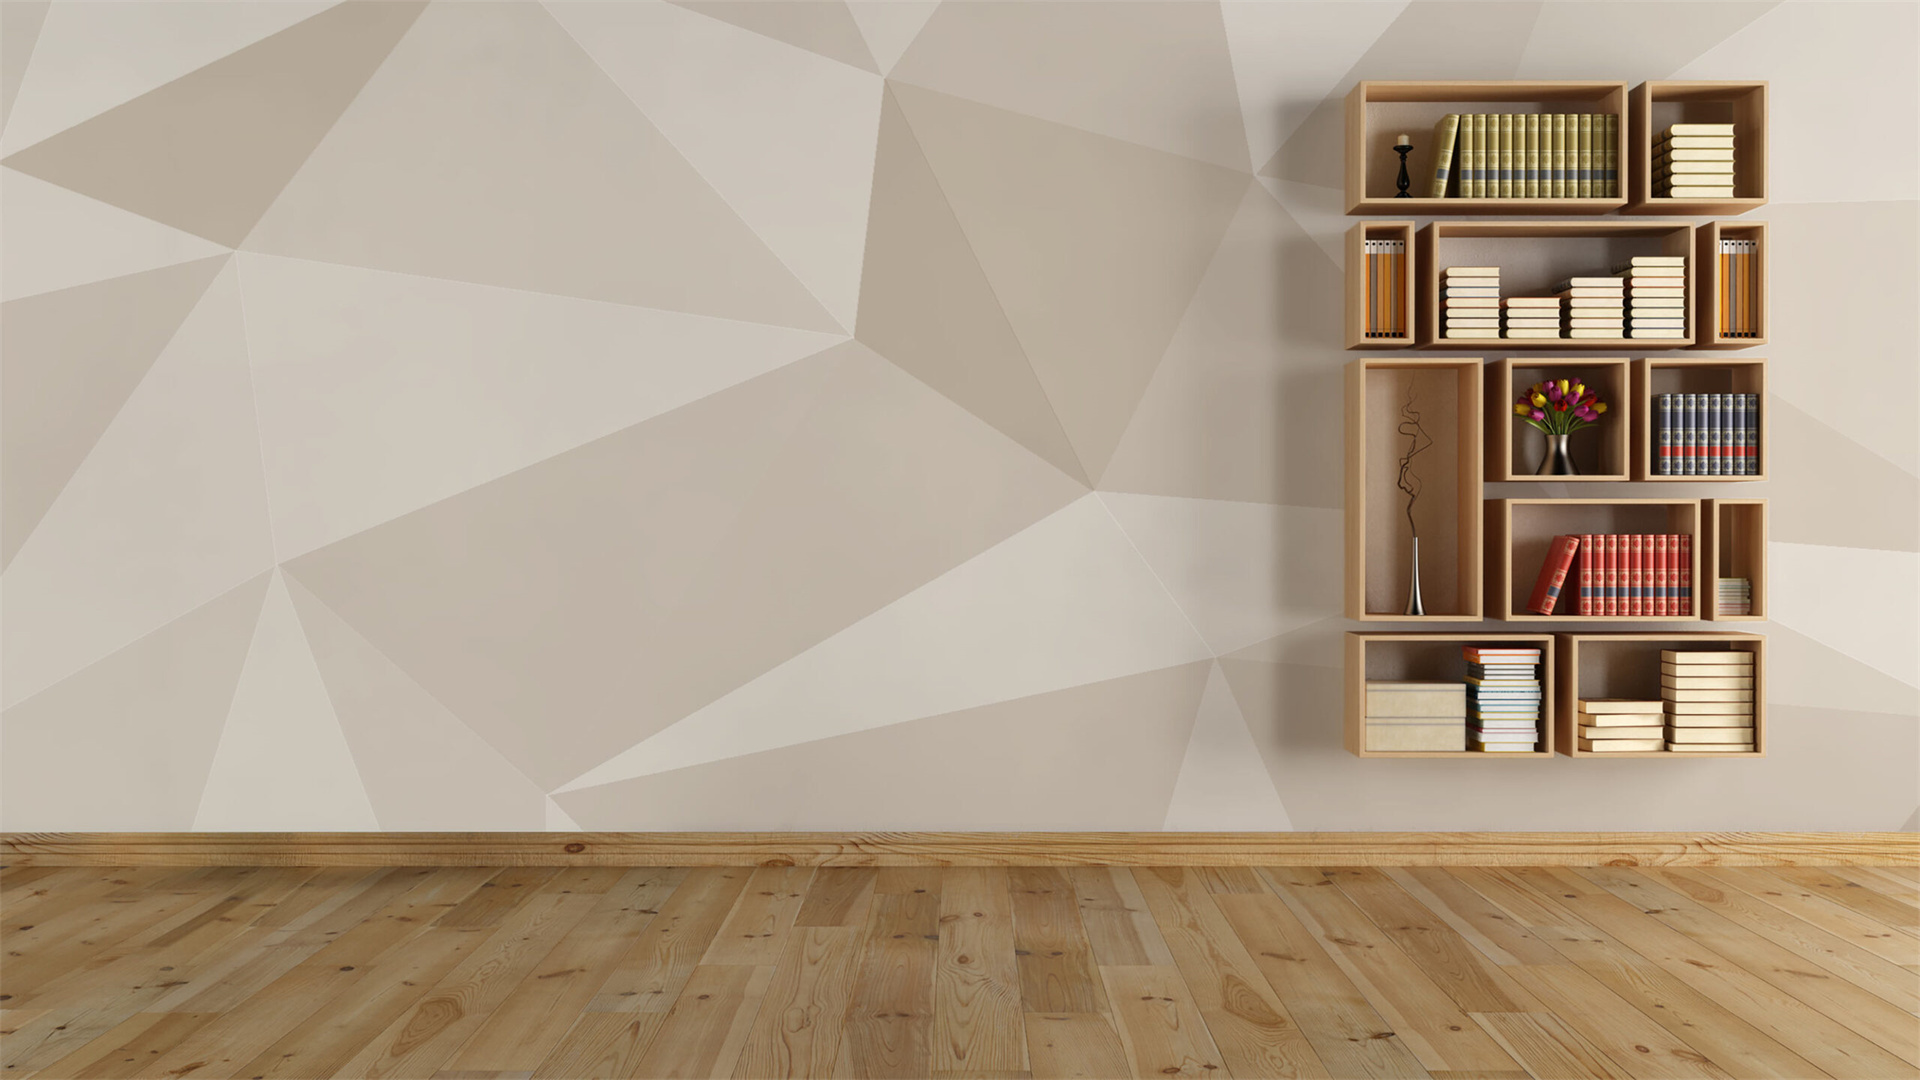
📦 DIY Trick 2: Vertical Storage Solutions
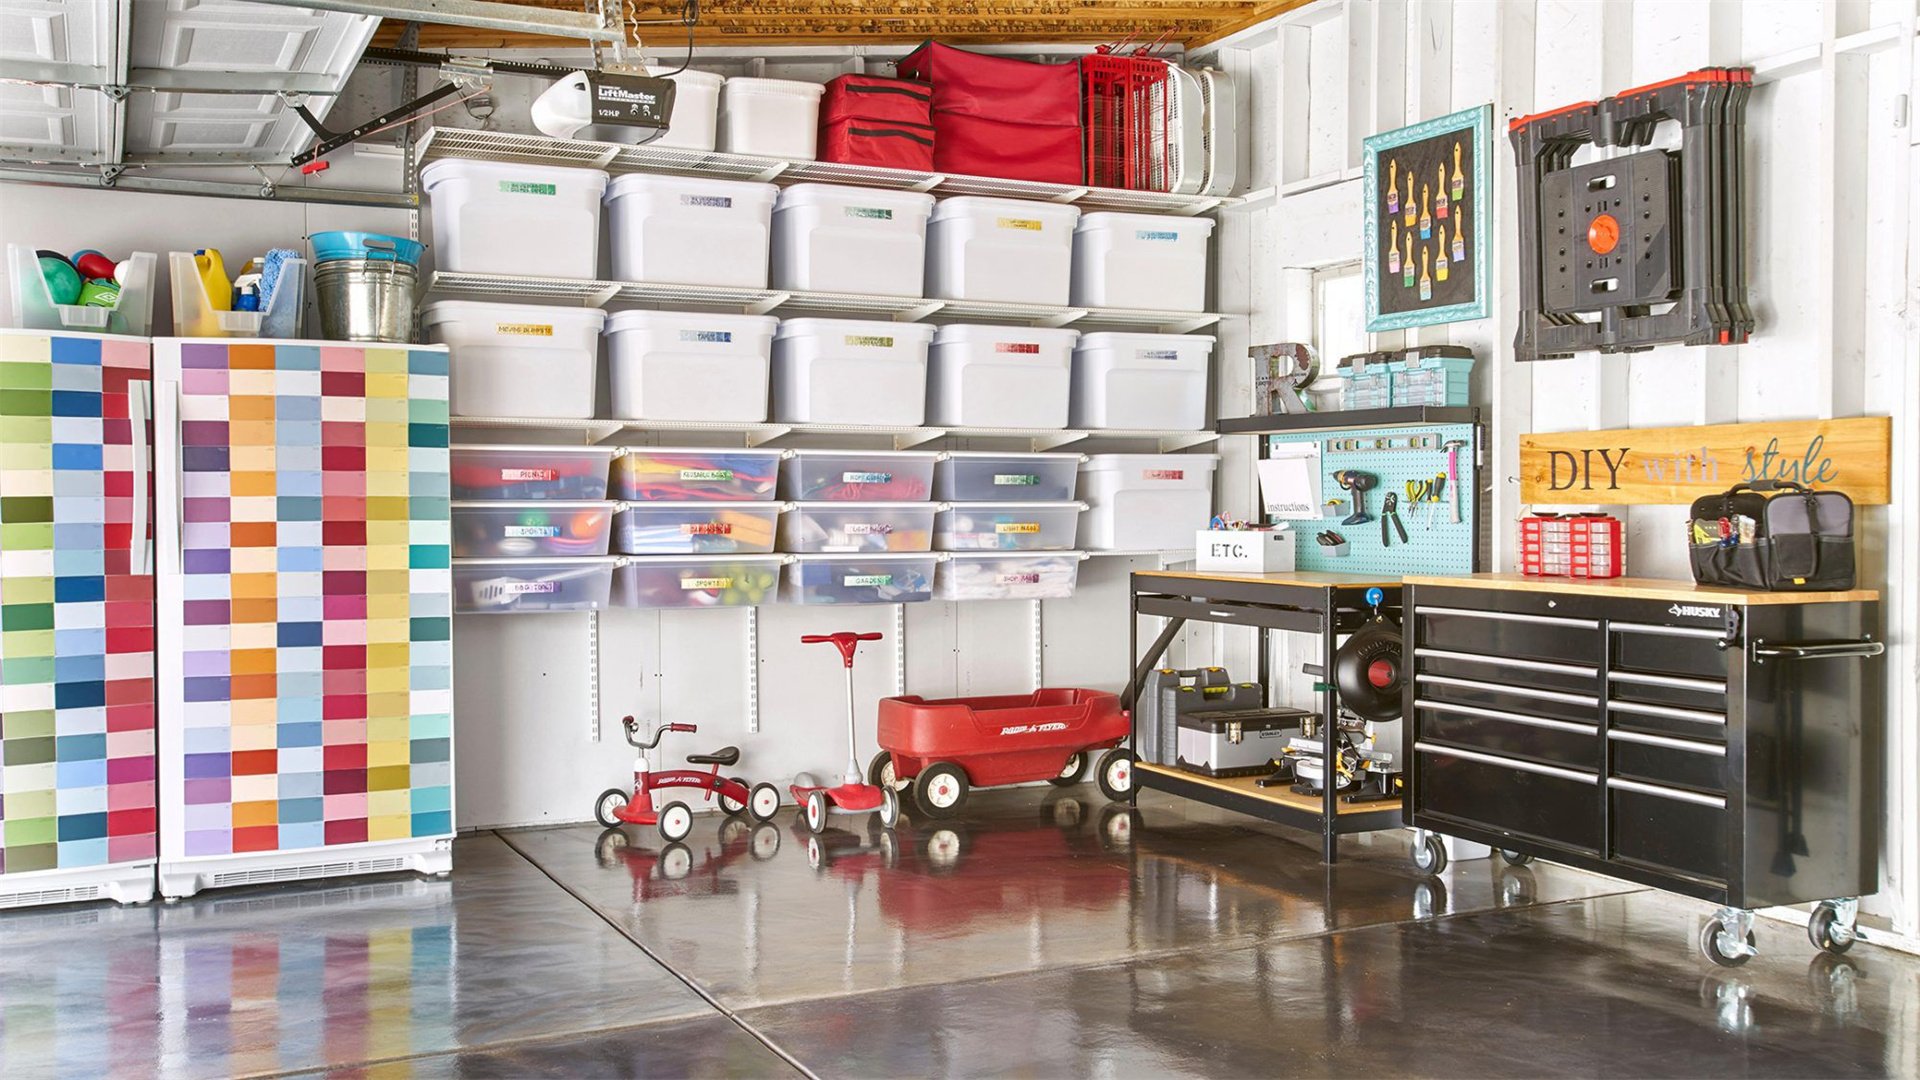
Vertical storage exploits unused wall space to keep items off the floor, making rooms feel more open. This trick includes installing shelves, hooks, and racks that go upward, providing ample storage without encroaching on living areas.
Advantages and Disadvantages
- Advantages:
- Maximizes height, which is often underutilized in small homes, keeping essentials within easy reach while reducing clutter.
- DIY versions are typically low-cost and easy to install, using materials like wood, metal rods, or repurposed items.
- Adds visual interest to walls.
- Disadvantages:
- Poor installation can lead to safety hazards, such as shelves collapsing.
- Overloading vertical storage might make spaces feel cramped or chaotic.
- Drilling into walls may not be feasible for renters without permission.
How to Implement
- Install Floating Shelves: Floating shelves provide sleek storage without visible brackets. Cut wooden boards to desired lengths, sand them smooth, and attach hidden shelf brackets to the wall studs. For a rustic look, use reclaimed wood and metal L-brackets. Arrange shelves in staggered patterns to hold books, plants, or decorative items, ensuring they’re level and secure.
- Build a Pegboard Organizer: Pegboards are versatile for kitchens, workshops, or entryways. Purchase a standard pegboard panel, cut it to fit your wall, and mount it with spacers for airflow. Add hooks, baskets, and shelves to hold tools, cookware, or accessories. Paint the pegboard a bright color to enhance visibility and style. This project can be completed in a few hours with basic tools.
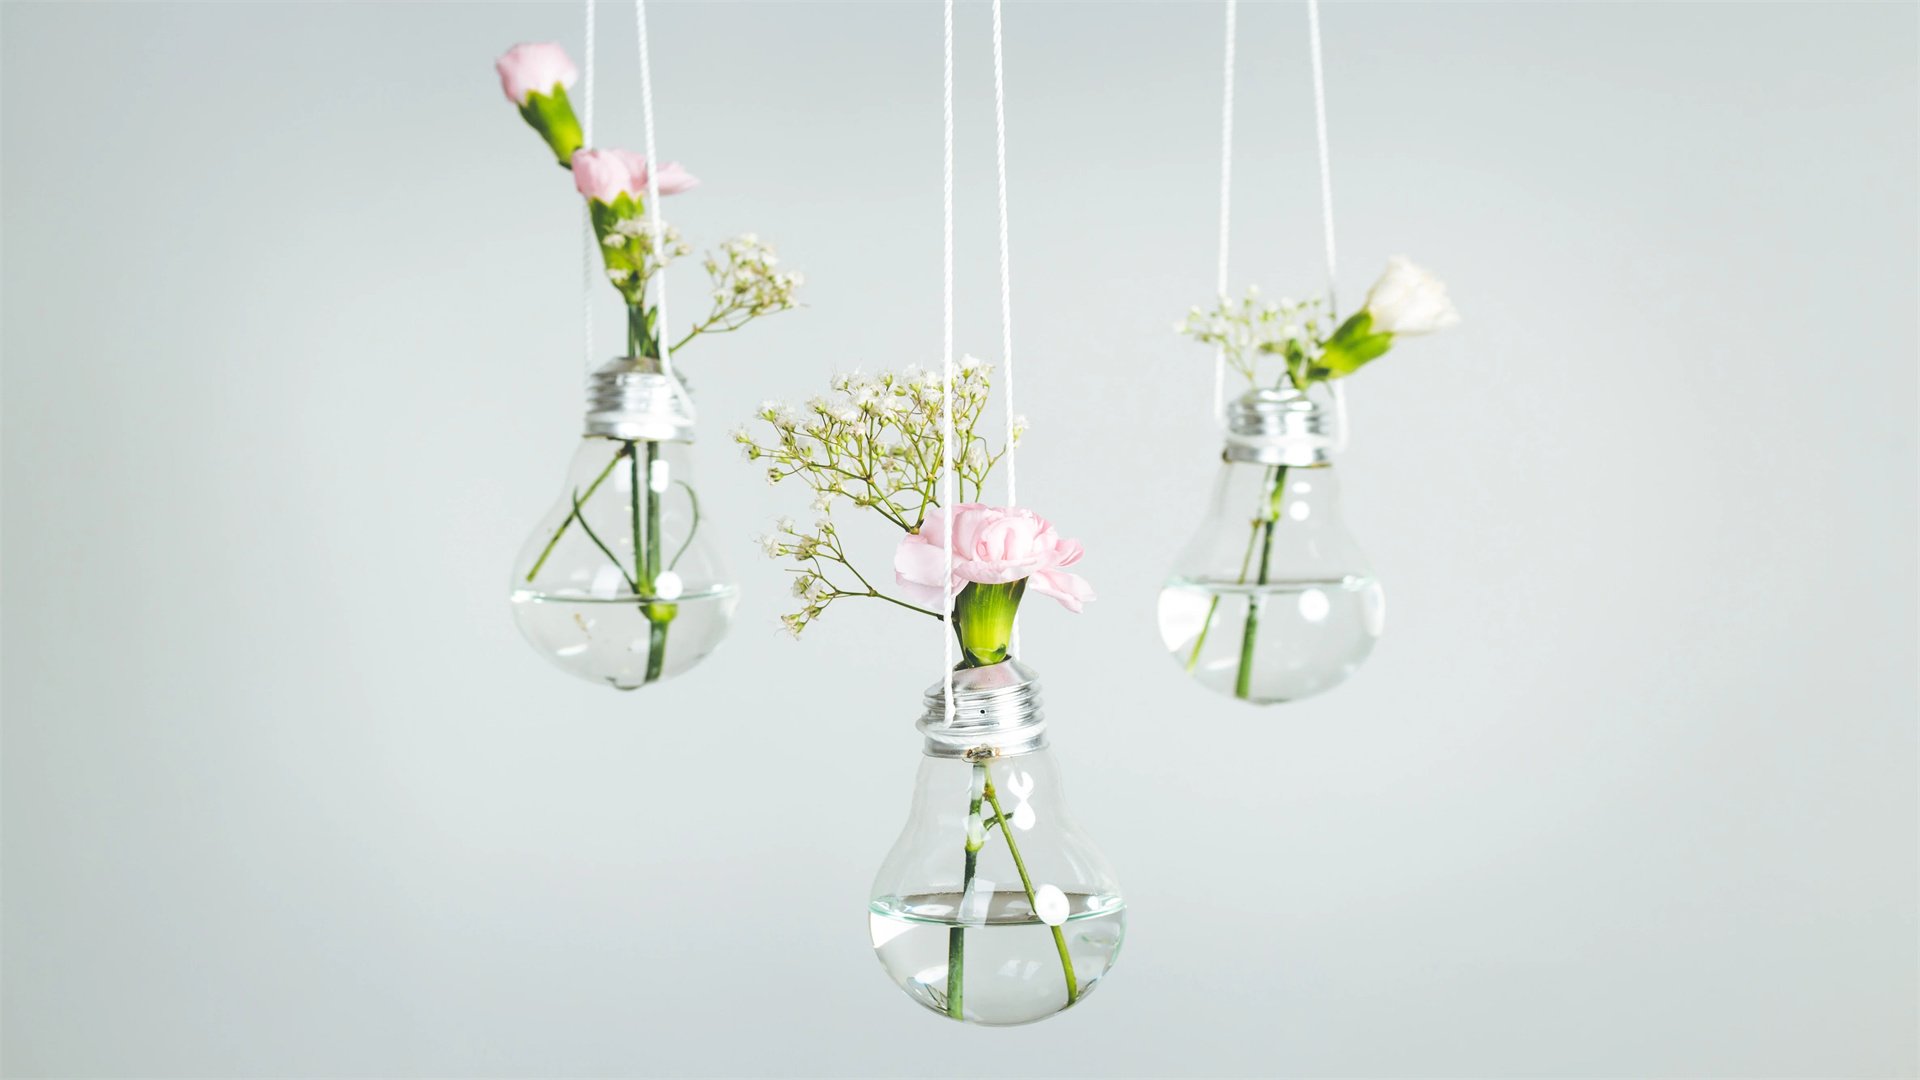
- Create a Vertical Garden: For small balconies or kitchens, a vertical garden saves floor space while adding greenery. Use a pallet, gutters, or hanging pockets to plant herbs or succulents. Secure the structure to a wall with screws, line with landscape fabric, and fill with soil. Ensure proper drainage and sunlight exposure. This DIY trick improves air quality and aesthetics.
🗄️ DIY Trick 3: Hidden Storage Ideas
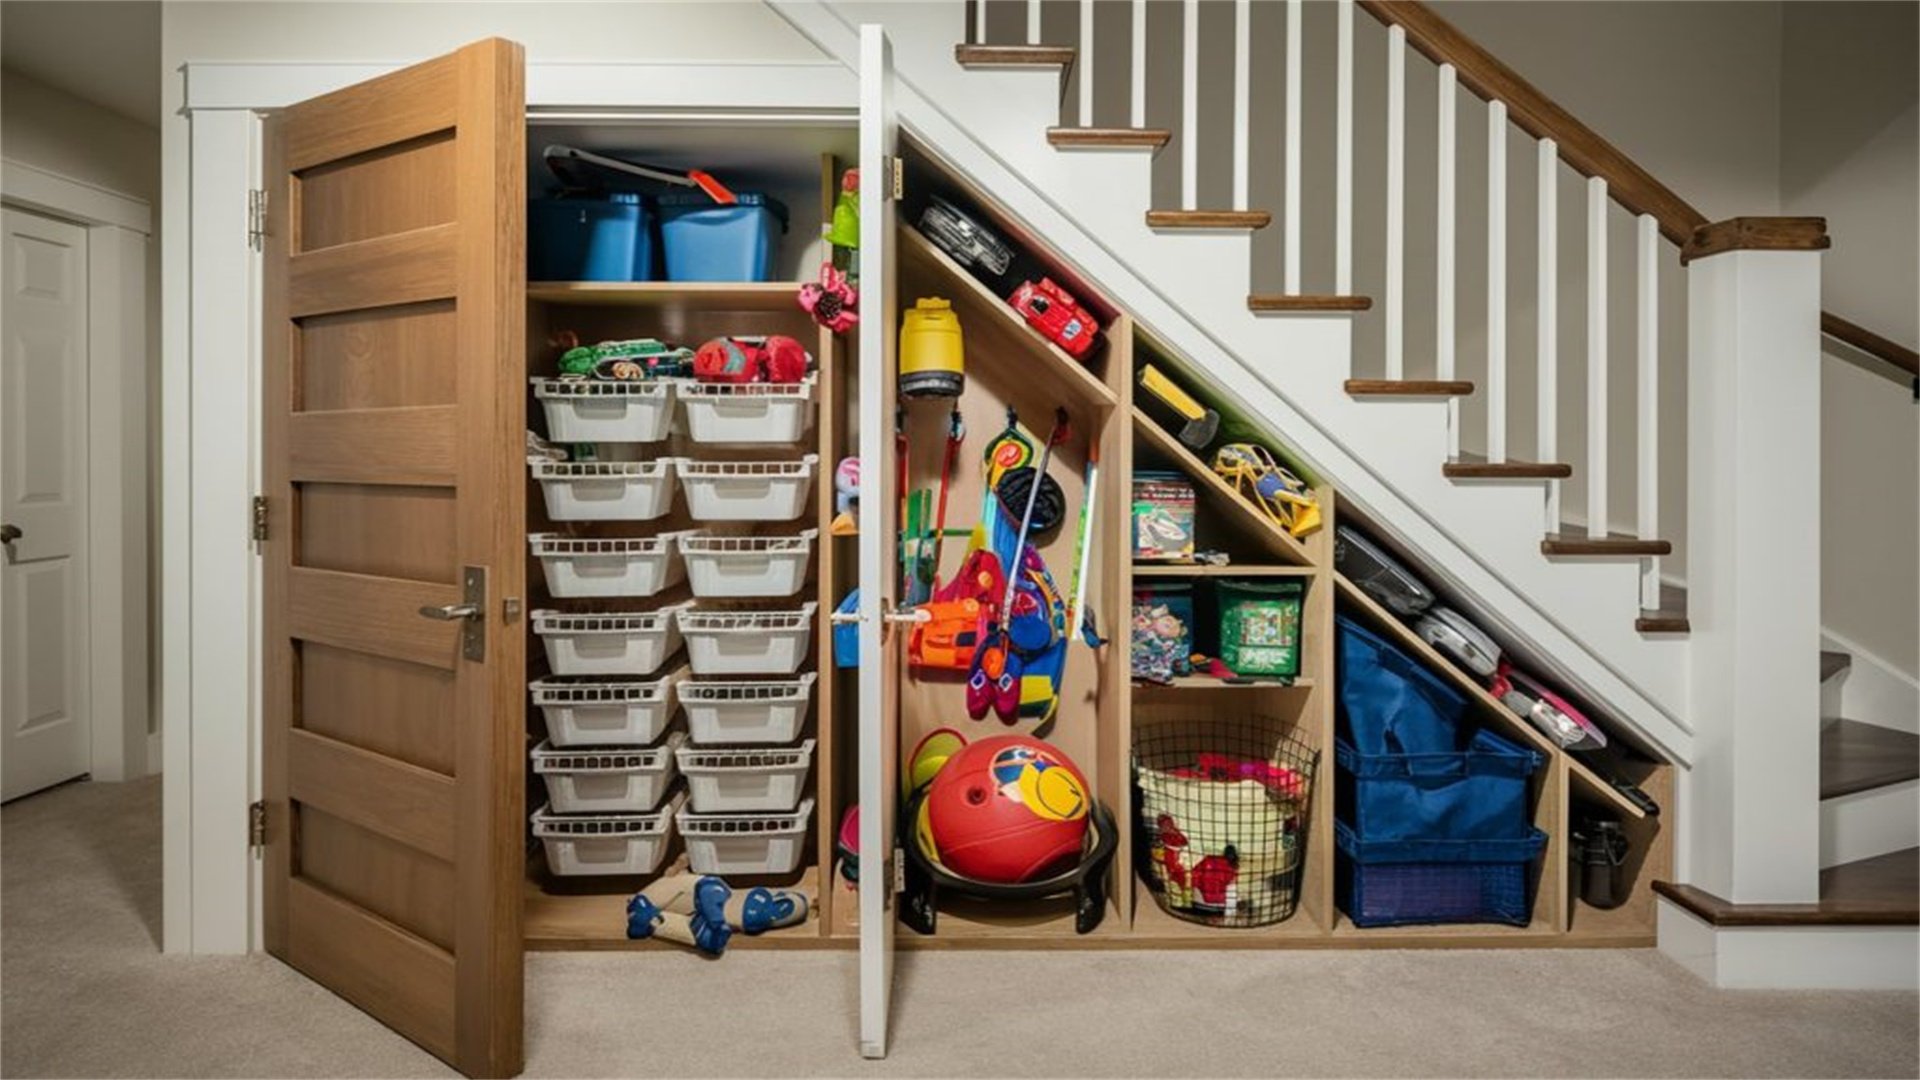
Hidden storage conceals items in plain sight, maintaining a minimalist look while maximizing functionality. This trick involves integrating storage into furniture, walls, or floors, so belongings are accessible yet out of view.
Advantages and Disadvantages
- Advantages:
- Reduces visual clutter, creating a cleaner and more spacious atmosphere.
- Protects items from dust and damage, and DIY solutions can be tailored to odd nooks and crannies.
- Enhances security for valuables.
- Disadvantages:
- Might be less convenient if frequently accessed items are hard to reach.
- DIY projects can be complex, requiring precise measurements and carpentry skills.
- Over-reliance on hidden spaces may lead to hoarding or disorganization.
How to Implement
- Build Under-Bed Storage Drawers: Utilize the space under beds by constructing rolling drawers. Measure the clearance under your bed, then assemble drawer boxes from plywood using screws and glue. Add casters for mobility and handles for pulling. Line with fabric for a finished look. This project provides storage for clothing, linens, or seasonal items, and can be done in a day.
- Create a False Bottom in a Bench or Ottoman: Multi-purpose seating with hidden compartments is ideal for small spaces. Build a wooden bench with a hinged top that opens to reveal storage inside. Use foam and fabric to upholster the top for comfort. Ensure the hinges are strong enough to support frequent use. This DIY trick offers seating and storage in one piece.
- Install Recessed Shelves in Walls: For a built-in look, cut recesses into drywall to create shallow shelves. This requires identifying non-load-bearing walls and using a stud finder. Frame the opening with wood, then insert a shelf panel. Finish with trim and paint. Recessed shelves are perfect for displaying decor or storing books without protruding into the room.
🍽️ DIY Trick 4: Space-Saving Kitchen Hacks
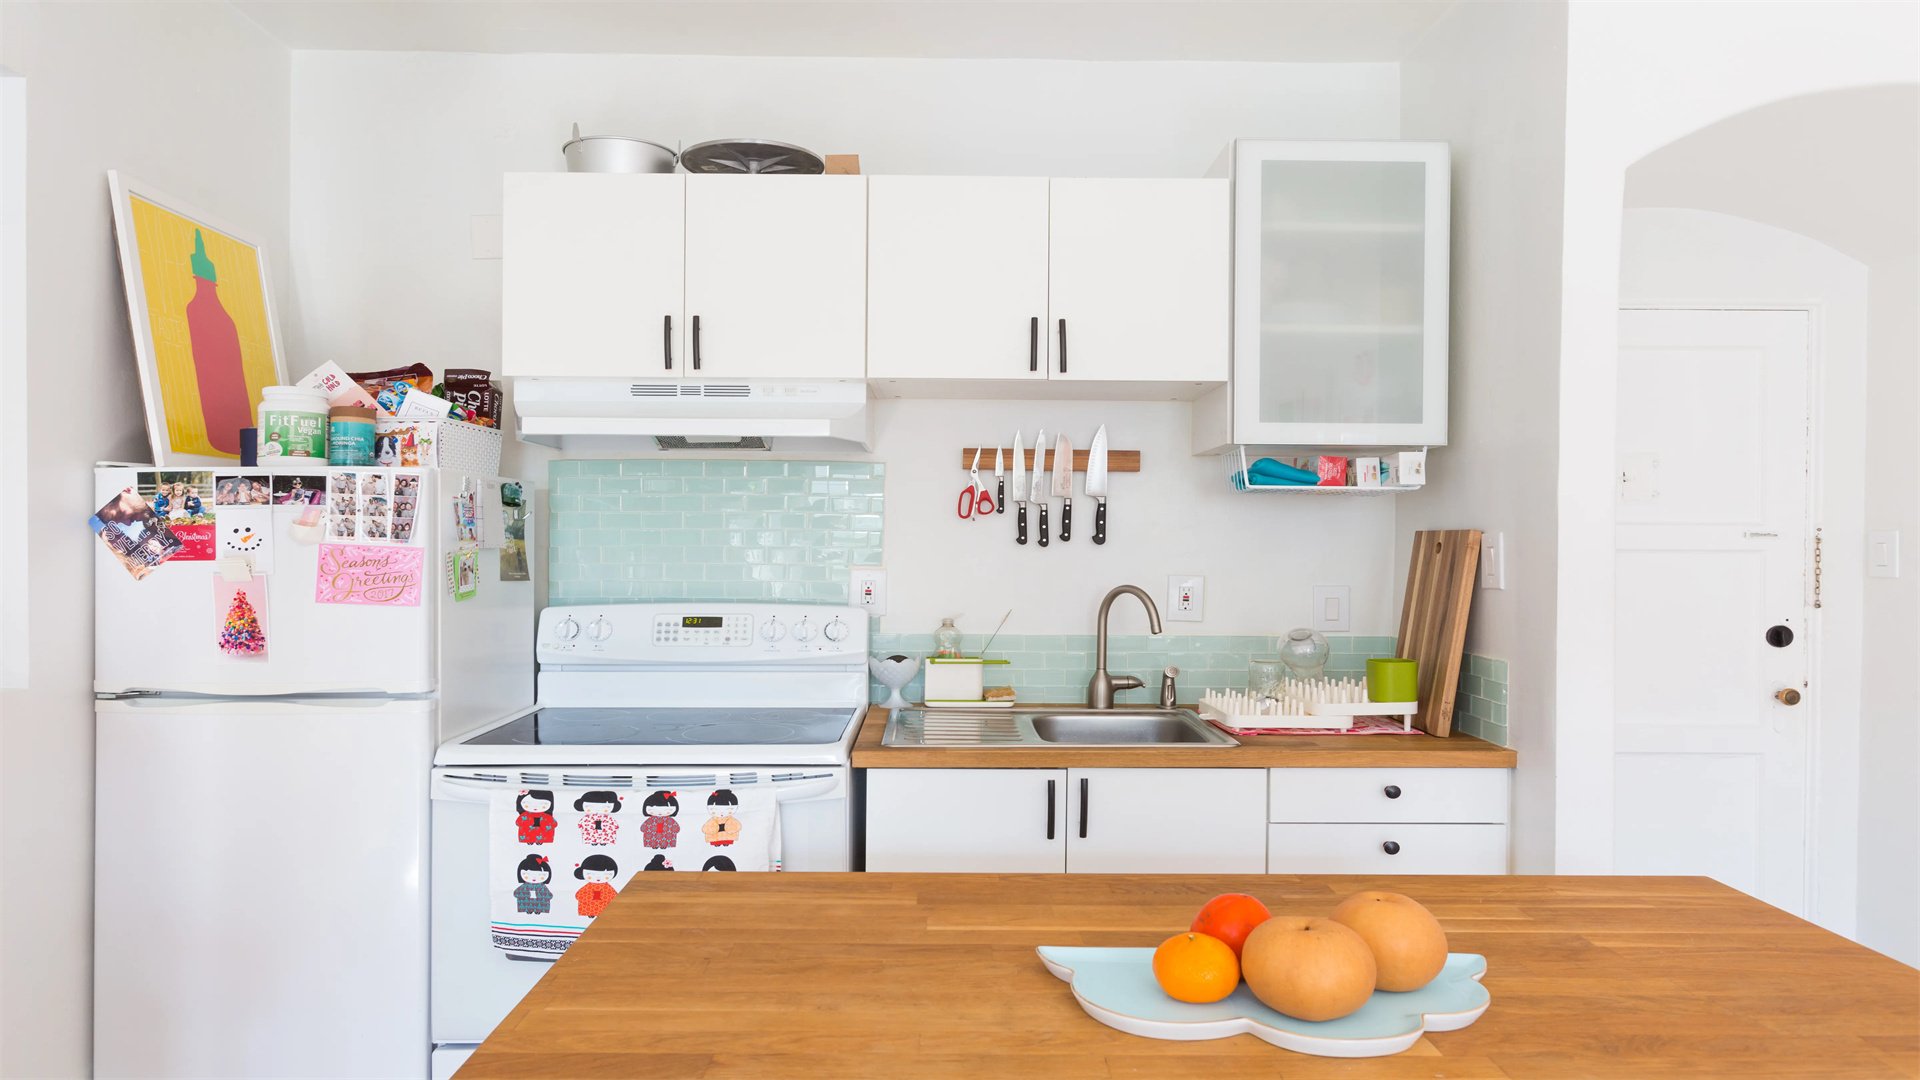
Kitchens in small homes often lack counter and cabinet space, but DIY tricks can optimize every corner. This section covers innovative projects for cooking areas, from fold-out counters to magnetic organizers, ensuring efficiency in compact kitchens.
Advantages and Disadvantages
- Advantages:
- Improves workflow and storage, making meal prep easier in tight spaces.
- DIY solutions are often cheaper than custom cabinetry and can be adjusted to fit unique layouts.
- Encourages creative use of vertical and underutilized areas.
- Disadvantages:
- Some hacks may not be as durable as commercial products, especially if made from lightweight materials.
- Installation might require drilling into walls or cabinets, which could be restrictive for renters.
- Overcomplicating designs can lead to functional issues.
How to Implement
- Build a Fold-Down Countertop Extension: Add extra prep space by attaching a fold-down board to a wall or existing counter. Use a sturdy hinge and a support leg that swings out. Sand and seal the wood to resist moisture. This extension can be folded up when not in use, saving floor space.
- Create a Magnetic Knife Strip and Spice Rack: Free up drawer space by mounting a magnetic strip on the wall for knives. For spices, attach magnetic sheets to small jars and place them on a metal backsplash or board. This keeps essentials visible and accessible while adding a modern touch. Ensure magnets are strong enough to hold items securely.
- Install Pull-Out Pantry Shelves: Convert deep cabinets into efficient storage with pull-out shelves. Build wooden trays on roller slides that allow easy access to items at the back. Measure the cabinet interior precisely and use smooth-gliding hardware. This DIY project reduces clutter and prevents food from getting lost.
🚽 DIY Trick 5: Bathroom Organization Projects
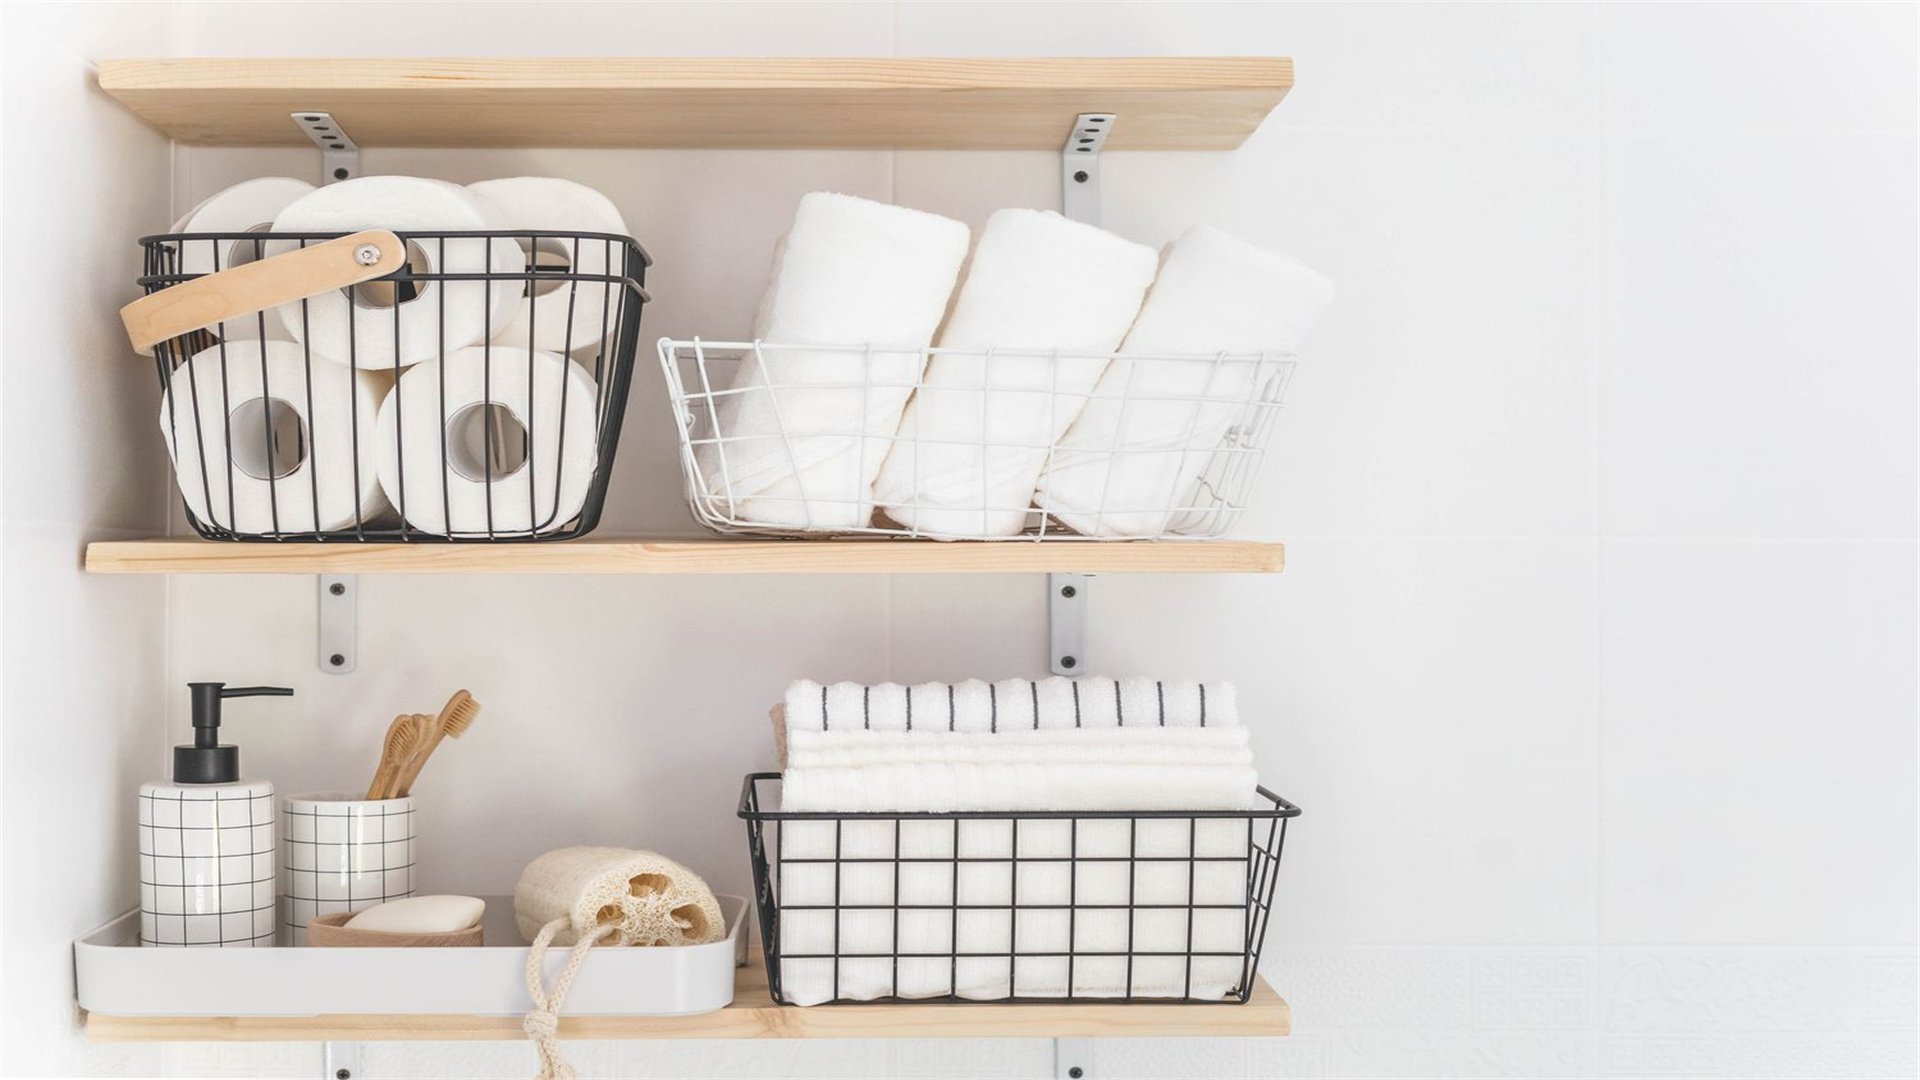
Small bathrooms can feel cramped, but DIY organization tricks can maximize storage and functionality. From over-the-toilet shelves to shower caddies, these projects help keep toiletries tidy and surfaces clear.
Advantages and Disadvantages
- Advantages:
- Optimizes limited square footage, reducing clutter and improving hygiene.
- Often inexpensive and uses water-resistant materials like PVC or teak.
- Custom solutions can fit awkward spaces better than store-bought options.
- Disadvantages:
- Humidity in bathrooms may damage certain materials if not properly sealed.
- DIY installations might not be as polished as professional work, and over-storing can make the space feel smaller.
- Safety is crucial when installing heavy items in wet areas.
How to Implement
- Build an Over-the-Toilet Storage Unit: Utilize vertical space above the toilet by constructing a freestanding or wall-mounted shelf unit. Use moisture-resistant wood like cedar or plywood with a waterproof sealant. Design with multiple tiers for towels, toiletries, and decor. Ensure it’s stable and doesn’t interfere with toilet use.
- Create a Custom Shower Niche: Instead of bulky caddies, build a recessed niche in the shower wall for shampoo bottles. During a renovation, cut an opening between studs, frame it with waterproof backer board, and tile the interior. This provides built-in storage that blends seamlessly with the shower.
- DIY a Vanity with Drawer Organizers: Maximize vanity storage by adding dividers to drawers. Cut acrylic or wood pieces to fit drawer dimensions, creating compartments for cosmetics, razors, and other items. Attach with glue or screws. For extra space, install a tension rod under the sink to hang cleaning supplies.
💡 DIY Trick 6: Lighting and Mirror Illusions
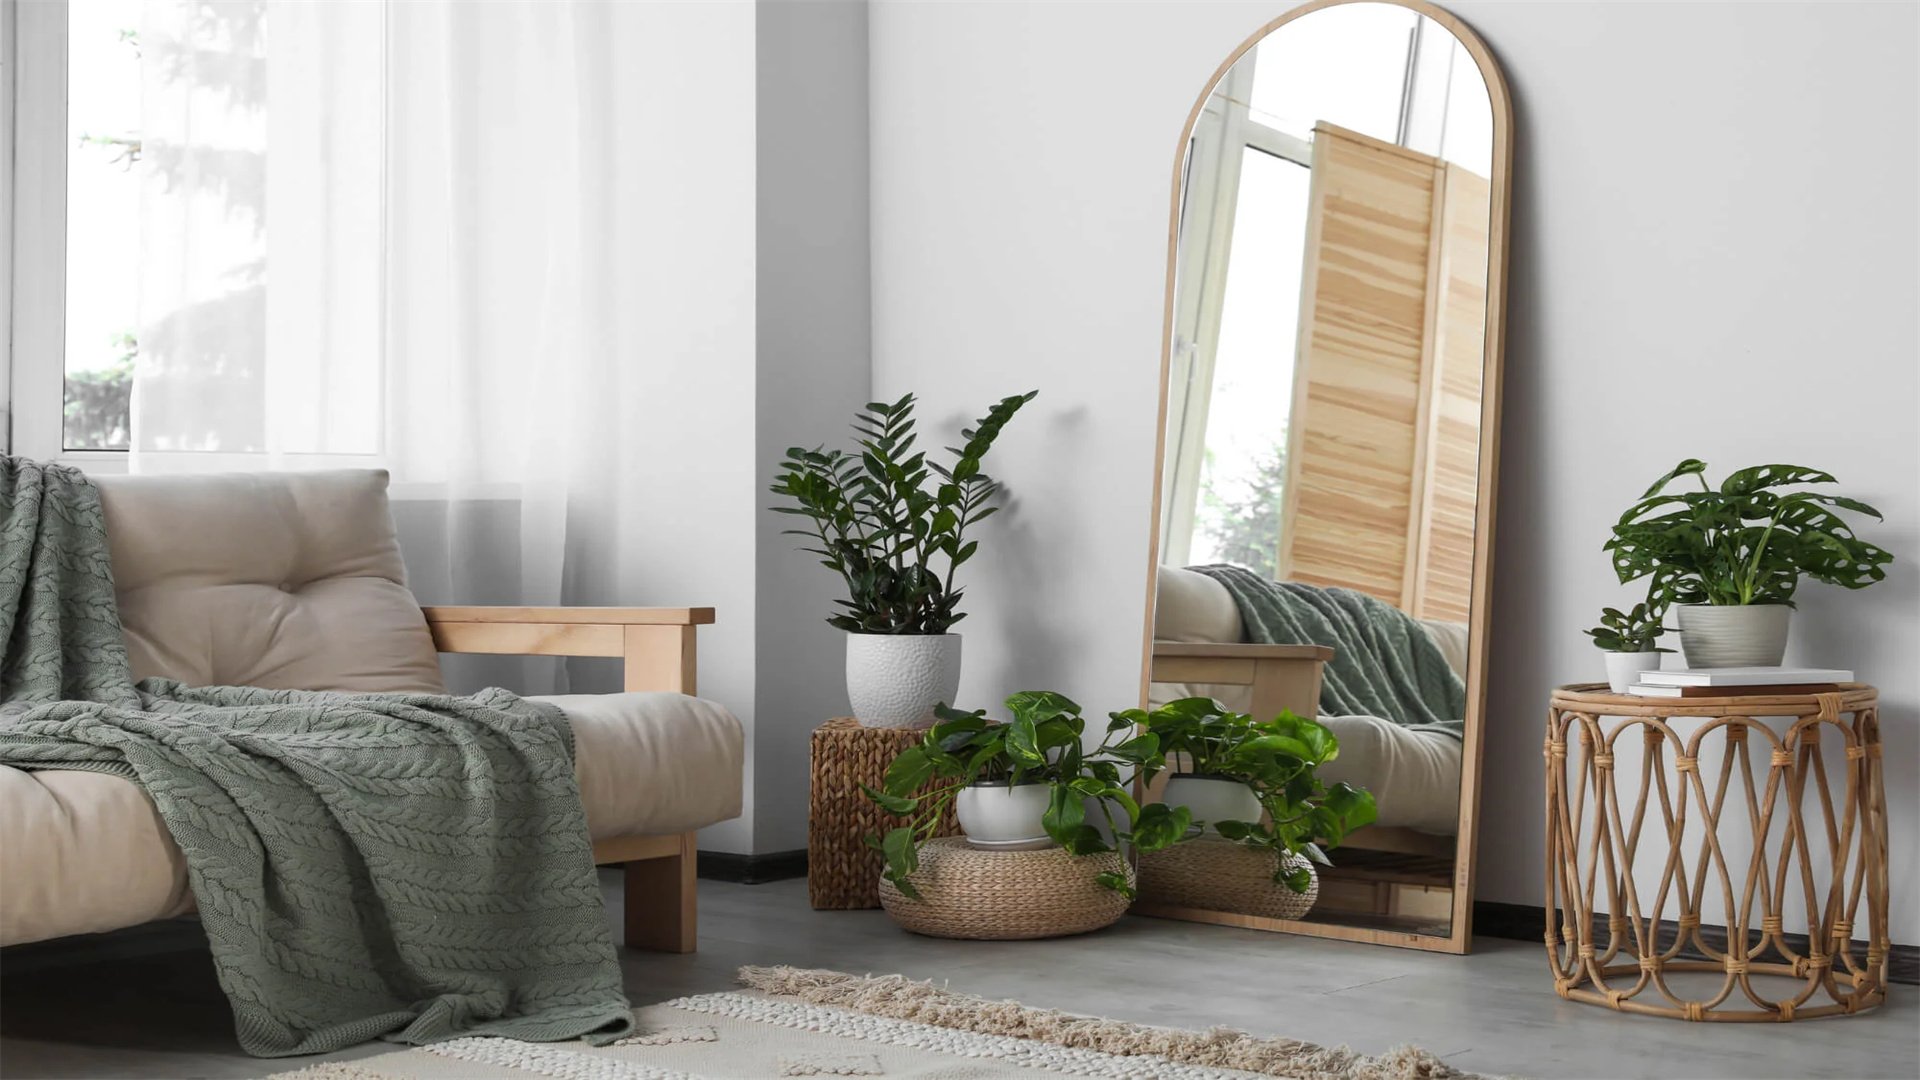
Lighting and mirrors are powerful tools to make small spaces appear larger and brighter. This trick involves DIY installations that enhance natural light, create depth, and improve ambiance without structural changes.
Advantages and Disadvantages
- Advantages:
- Non-invasive ways to visually expand space and improve functionality by ensuring adequate illumination for tasks.
- DIY projects like installing LED strips or hanging mirrors are relatively easy and affordable.
- Enhances natural light and creates a sense of openness.
- Disadvantages:
- Poorly placed mirrors can create glare or awkward reflections.
- DIY electrical work requires caution to avoid safety hazards.
- Overusing mirrors might make a space feel cold or impersonal.
How to Implement
- Install LED Strip Lighting: Add under-cabinet or cove lighting with LED strips to brighten dark corners. Purchase adhesive-backed strips, cut to length, and connect to a power source. Use a dimmer switch for adjustable ambiance. This DIY trick enhances visibility and adds a modern touch.
- Hang a Large Mirror or Create a Mirror Wall: Place a large mirror opposite a window to reflect light and create the illusion of depth. For a bold statement, attach multiple mirror tiles to a wall using adhesive. Frame the edges with molding for a polished look. Ensure the wall is smooth and clean for proper adhesion.
- Build a DIY Skylight or Light Tube: For windowless rooms, simulate natural light with a fake skylight. Construct a wooden frame on the ceiling, install LED panels behind frosted acrylic, and paint the surround to match the ceiling. This project requires basic wiring skills but can dramatically brighten a space.
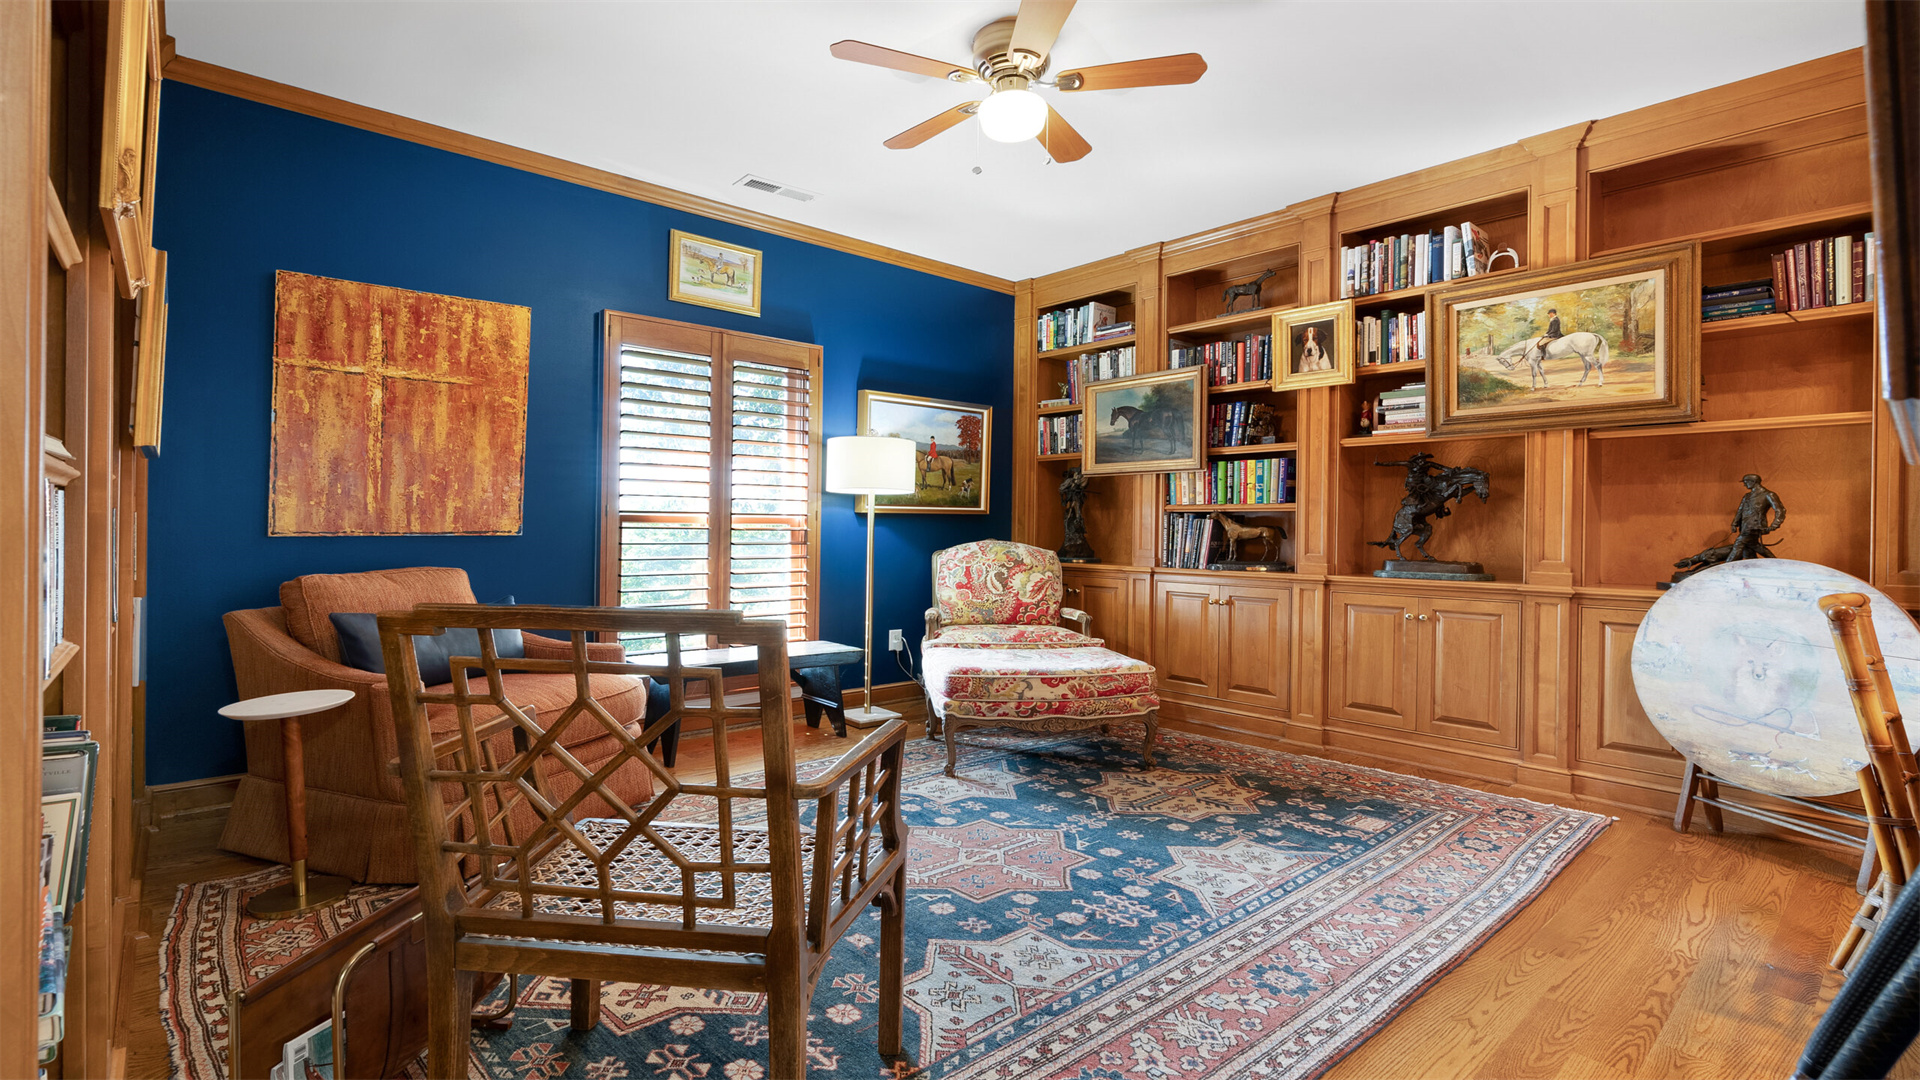
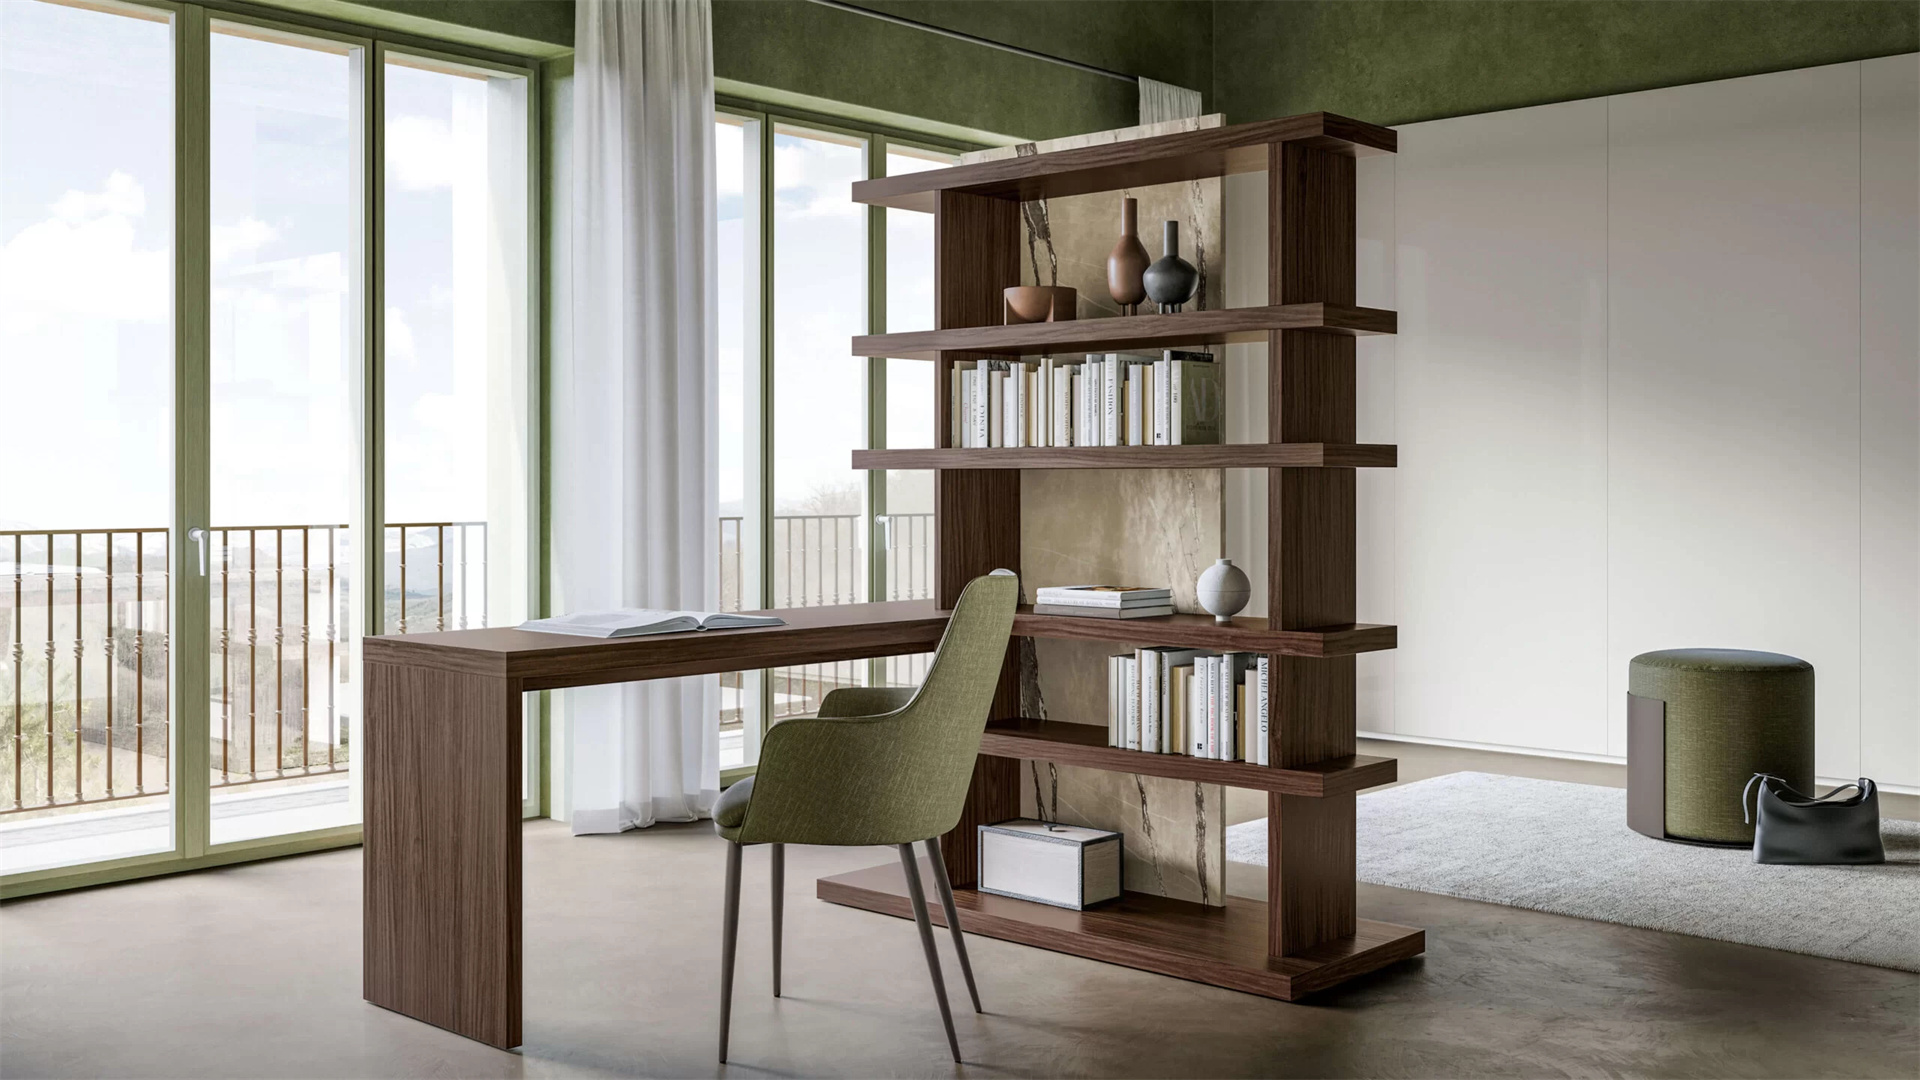
🧱 DIY Trick 7: Modular and Flexible Partitions
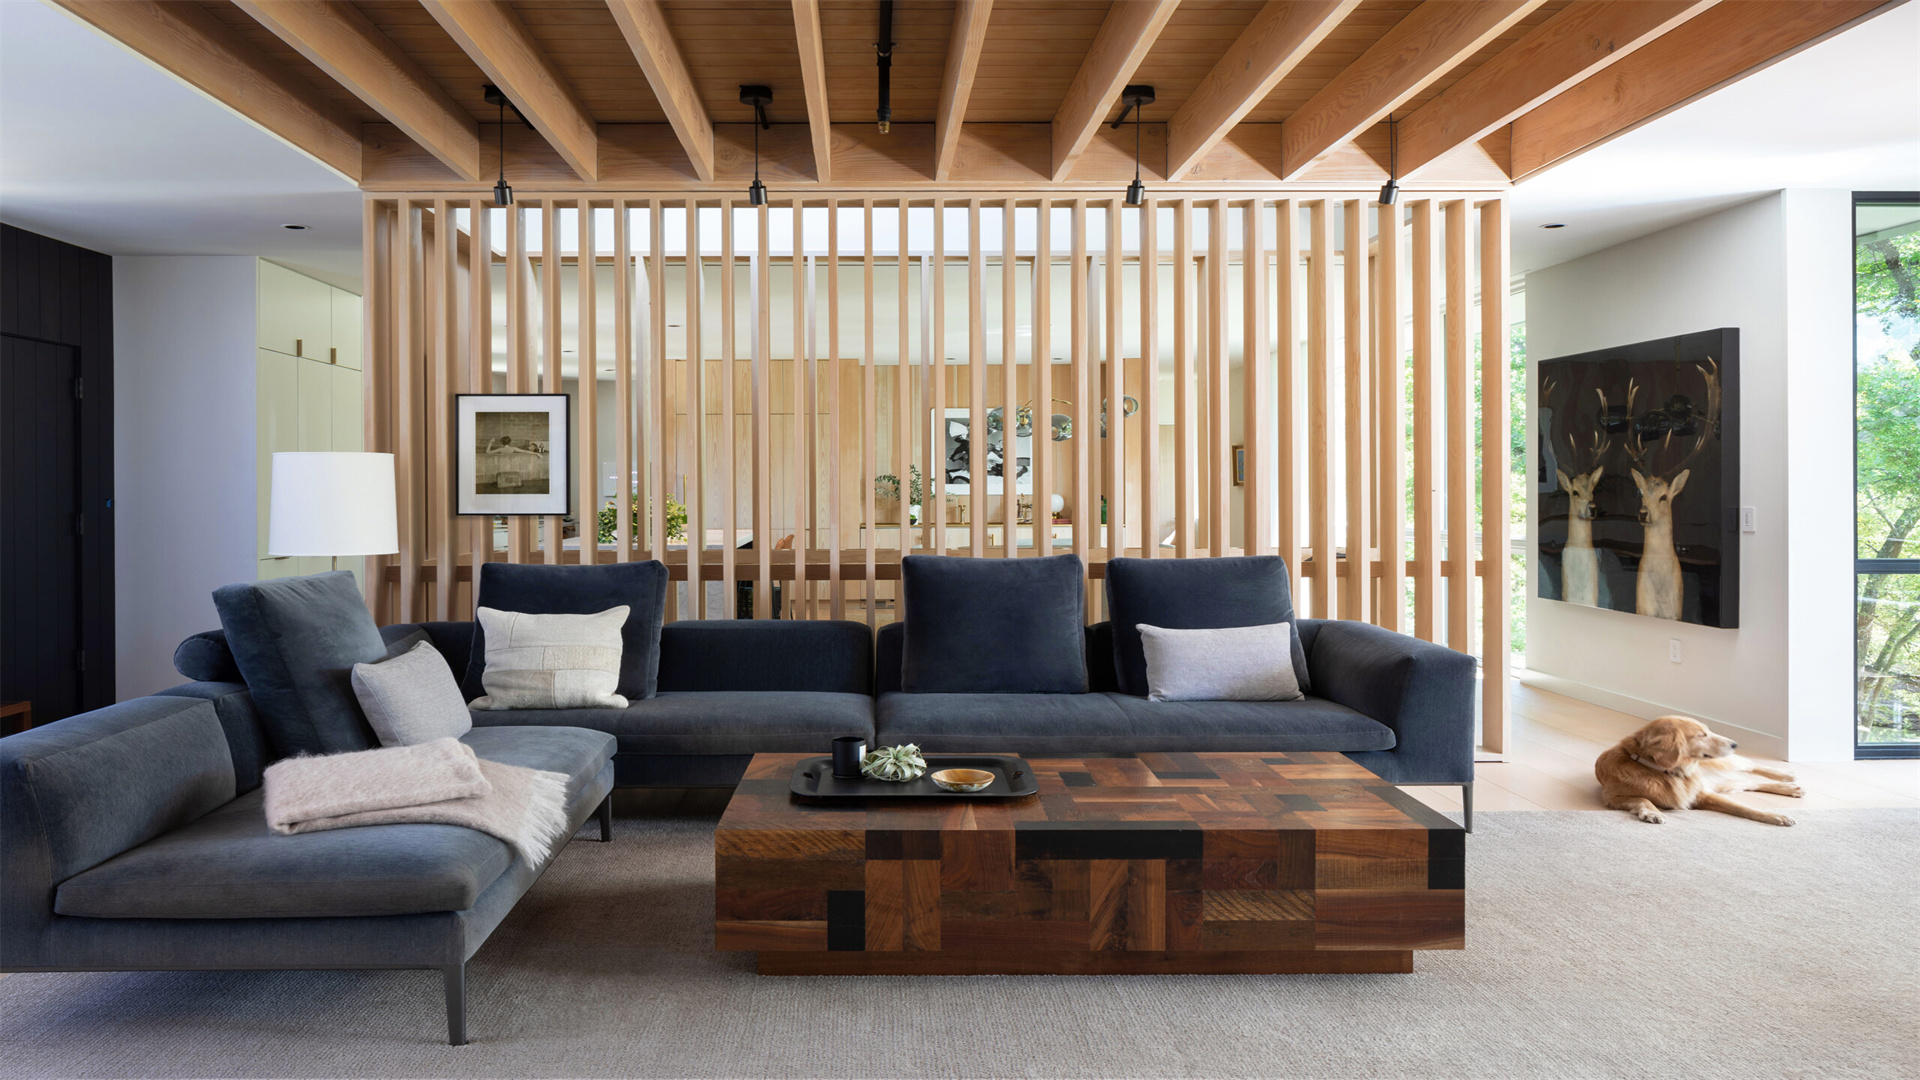
In open-plan small homes, partitions can define zones without permanent walls. This trick involves creating DIY room dividers that are modular, flexible, and multi-functional, such as bookshelf dividers or sliding panels.
Advantages and Disadvantages
- Advantages:
- Allows for easy reconfiguration of space, adapting to changing needs.
- Provides privacy and noise reduction while maintaining an open feel.
- DIY versions can incorporate storage or decorative elements.
- Disadvantages:
- May reduce natural light flow if not designed thoughtfully.
- DIY projects can be heavy or unstable if not properly constructed.
- Might not offer complete sound insulation.
How to Implement
- Build a Bookshelf Room Divider: Create a freestanding divider with shelves that store items and separate areas. Use plywood or reclaimed wood to construct a ladder-like frame with multiple shelves. Add casters for mobility. This DIY project combines storage and spatial division, perfect for studios.
- Create a Hanging Fabric or Plant Divider: For a lightweight option, install a ceiling track or rod and hang curtains, beads, or macramé plant holders. This adds texture and color while defining zones. Ensure the hanging system is secure and can be easily opened or closed.
- Construct Sliding Barn Doors: Replace traditional doors with sliding barn doors to save swing space. Build a door from wood planks, attach a sliding hardware kit, and mount it on a wall track. This DIY trick works for closets, bathrooms, or room entrances, adding rustic charm.
🌳 DIY Trick 8: Outdoor and Balcony Optimizations
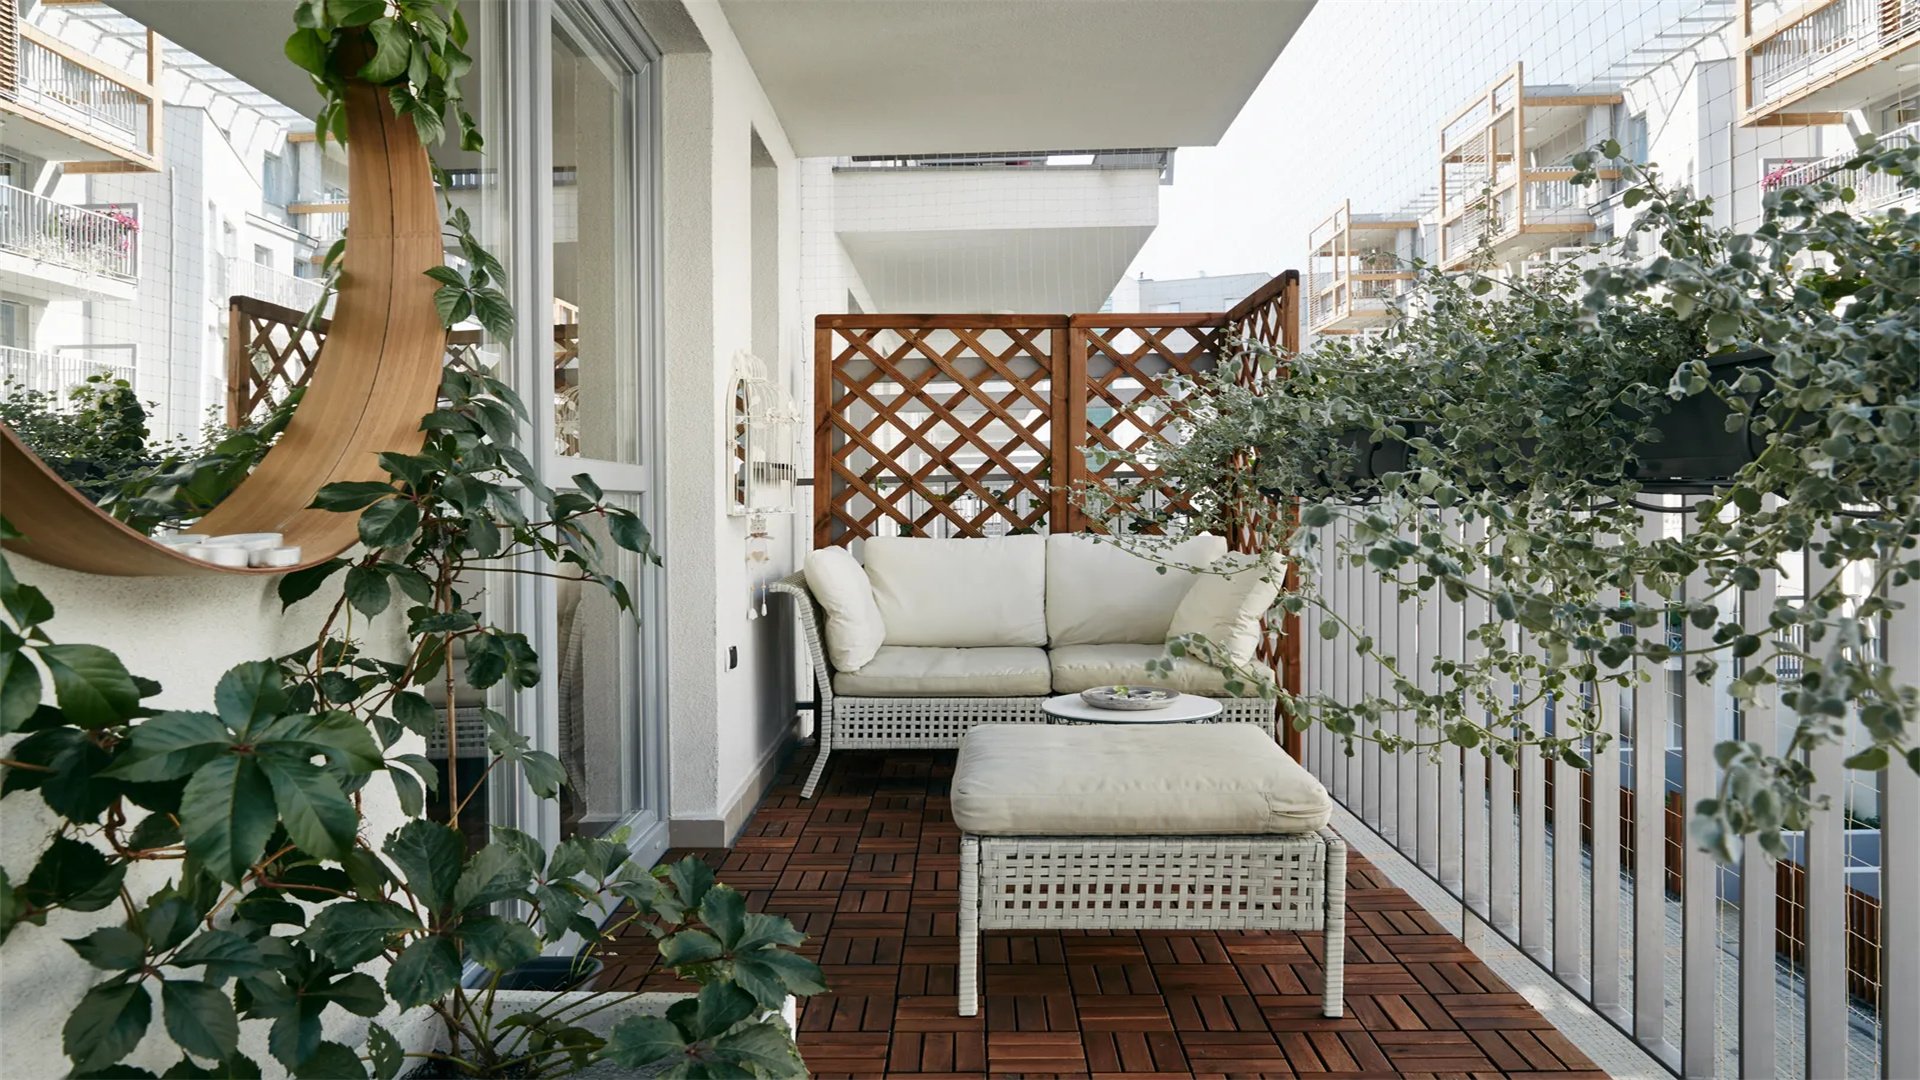
Even small outdoor areas like balconies or patios can be maximized for functionality with DIY tricks. This section covers projects for creating cozy lounges, vertical gardens, and storage solutions in limited exterior spaces.
Advantages and Disadvantages
- Advantages:
- Extends living space, providing areas for relaxation or entertainment.
- DIY projects are often weather-resistant and can be customized to fit small dimensions.
- Enhances curb appeal and connection to nature.
- Disadvantages:
- Exposure to elements requires durable materials and regular maintenance.
- DIY installations might not be as sturdy as professional builds, and space constraints can limit design options.
- Safety is key when working at heights.
How to Implement
- Build a Foldable Balcony Table and Seating: Create a compact dining set that folds against the wall when not in use. Use treated wood for durability and hinges for folding mechanisms. Add weather-resistant cushions for comfort. This project maximizes floor space for movement.
- Install Vertical Planters and Herb Gardens: Utilize balcony railings or walls for gardening. Construct planters from pallets, gutters, or PVC pipes, and secure them with brackets. Fill with soil and drought-tolerant plants to save water. This DIY trick brings greenery without sacrificing square footage.
- Create Under-Deck Storage Boxes: For ground-level patios, build storage boxes that fit under decks or stairs. Use waterproof wood like cedar and add lids with locks for security. These boxes can hold outdoor cushions, tools, or gardening supplies, keeping the area tidy.
📱 DIY Trick 9: Tech and Smart Home Integrations

Incorporating technology into small homes can enhance functionality through automation and space-saving gadgets. This trick involves DIY smart home projects that control lighting, climate, and storage with minimal footprint.
Advantages and Disadvantages
- Advantages:
- Improves convenience and efficiency, often reducing physical clutter.
- DIY smart home setups can be cost-effective and tailored to specific needs.
- Future-proofs small spaces for modern living.
- Disadvantages:
- DIY tech projects may require technical knowledge and troubleshooting.
- Compatibility issues between devices can arise, and over-reliance on technology might lead to malfunctions.
- Privacy concerns with smart devices should be considered.
How to Implement
- Set Up Voice-Controlled Lighting and Outlets: Install smart bulbs or plugs that connect to a hub like Amazon Alexa or Google Home. Follow manufacturer instructions for wiring and app setup. This allows you to control lights and appliances remotely, saving energy and reducing switch clutter.
- Build a Hidden Projector Screen and Media Center: For entertainment, create a drop-down projector screen that retracts into the ceiling. Use a motorized roller mechanism and a white fabric screen. Pair with a compact media console built into a wall niche. This DIY trick saves space compared to a traditional TV setup.
- Create a DIY Smart Storage System: Use sensors and motors to automate storage solutions. For example, build a motorized lift for a bed that reveals storage underneath, controlled by a remote. Incorporate RFID tags to organize items in cabinets. This requires intermediate electronics skills but maximizes accessibility.
♻️ DIY Trick 10: Repurposing and Upcycling Ideas
Repurposing old items into functional pieces is an eco-friendly and creative way to maximize small spaces. This trick focuses on transforming everyday objects into storage, furniture, or decor without buying new materials.
Advantages and Disadvantages
- Advantages:
- Reduces waste and saves money, aligning with sustainable living.
- Encourages unique, personalized designs that fit specific spaces.
- DIY upcycling projects often have a charming, rustic aesthetic.
- Disadvantages:
- Finding suitable items to repurpose can be time-consuming.
- The durability of upcycled pieces may be lower than new ones, and some projects require extensive modification.
- Aesthetic consistency might be challenging.
How to Implement
- Turn a Ladder into a Bookshelf or Towel Rack: An old wooden ladder can be cleaned, sanded, and mounted horizontally on a wall as a quirky shelf. Add planks between rungs for storage, or use it vertically in a bathroom to hang towels. Secure with heavy-duty brackets.
- Convert Suitcases into Stackable Storage: Vintage suitcases can be hinged together to create stackable boxes for under-bed or closet storage. Line the interiors with fabric and add handles. This DIY trick adds vintage flair while hiding belongings.
- Repurpose Pallets into a Multi-Functional Wall Unit: Disassemble wooden pallets and reassemble them into a wall-mounted unit with shelves, hooks, and a fold-down table. Sand and stain the wood for a finished look. This project is versatile and cost-effective, using free or cheap materials.
✅ Conclusion: Embracing DIY for Small Space Success
Maximizing functionality in small home spaces is an ongoing journey that blends creativity with practicality. The DIY tricks explored in this article—from multi-functional furniture and vertical storage to tech integrations and repurposing—offer actionable solutions for anyone looking to optimize their living environment. By adopting a hands-on approach, you can tailor each project to your specific needs, budget, and style, turning constraints into opportunities for innovation. Remember to plan carefully, prioritize safety, and enjoy the process of making your space more efficient and comfortable. As small living trends continue to grow, these smart DIY tricks will empower you to live large in even the coziest of homes. Start with one project today and gradually transform your space into a functional haven that reflects your personality and maximizes every square inch.