Creating a Functional and Stylish Mudroom
🔍 Part 1: Assessing Functional Requirements for Your Mudroom
Method 1: Conducting a Space and Usage Audit
Advantages:
- Customized design that fits your lifestyle
- Minimizes waste
Disadvantages:
- Time-consuming
- May require professional help for complex layouts
Implementation Steps:
- Measure the Area: Use a tape measure to record the length, width, and height of the mudroom. Note any architectural features like doors, windows, or vents that could impact design choices.
- List Storage Needs: Create an inventory of all items that need storage. Categorize them by frequency of use—for example, daily essentials like keys versus seasonal items like winter gear.
- Analyze Traffic Patterns: Observe how people move through the space during different times of day. This helps in positioning storage units and seating to avoid bottlenecks.
- Consider Future Needs: Anticipate changes, such as growing children or new hobbies, to ensure the design remains functional long-term.
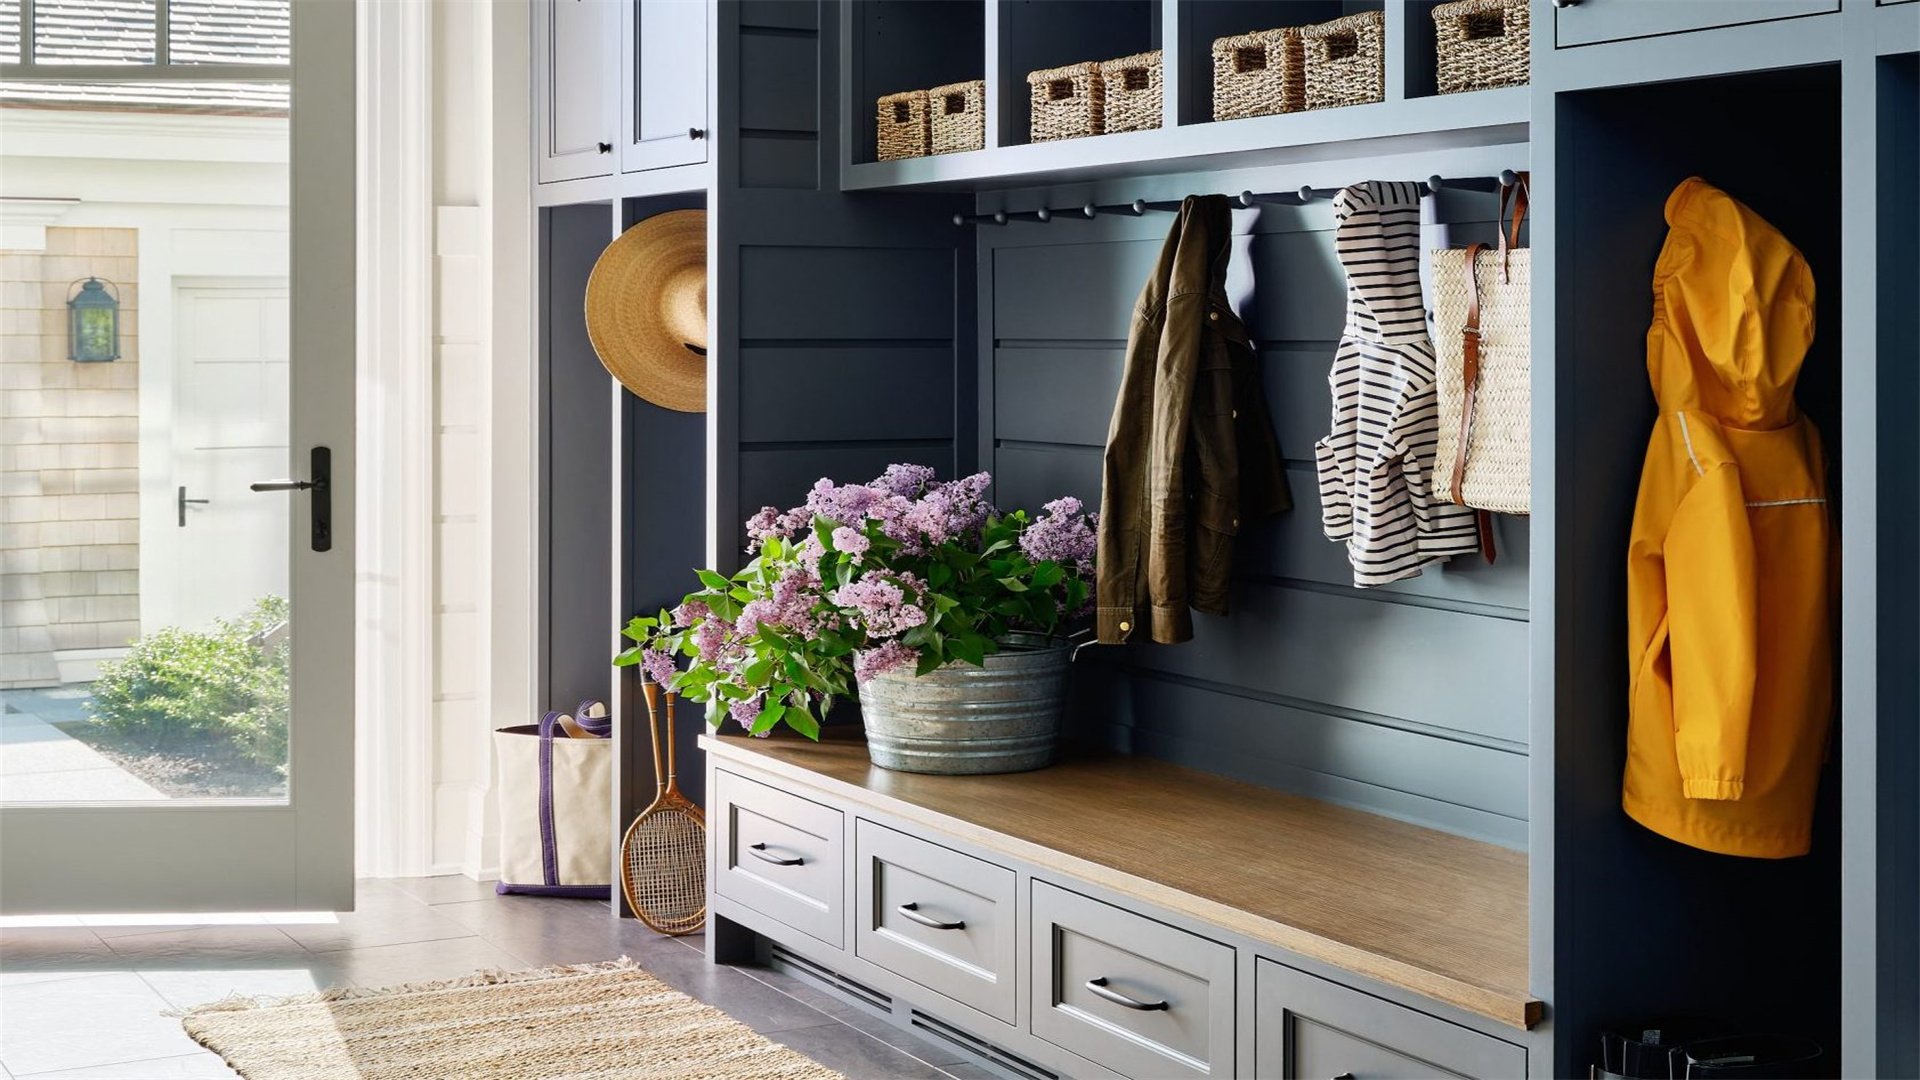
Method 2: Prioritizing Durability and Maintenance
Advantages:
- Reduced maintenance costs
- Longevity of materials
Disadvantages:
- Higher upfront expenses for premium materials
Implementation Steps:
- Selecting Flooring: Opt for waterproof and scratch-resistant options like porcelain tile, luxury vinyl plank, or sealed concrete. Avoid materials like carpet that trap dirt.
- Choosing Wall Finishes: Use washable paint or durable wainscoting to protect walls from scuffs and stains. Consider adding a backsplash for added protection.
- Incorporating Storage Materials: Select cabinetry made from moisture-resistant wood or laminate, and hardware that resists corrosion.
- Planning for Cleaning: Include features like a drain or mud sink for easy cleanup, especially in homes with pets or outdoor activities.
🗄️ Part 2: Designing Storage Solutions for Maximum Efficiency
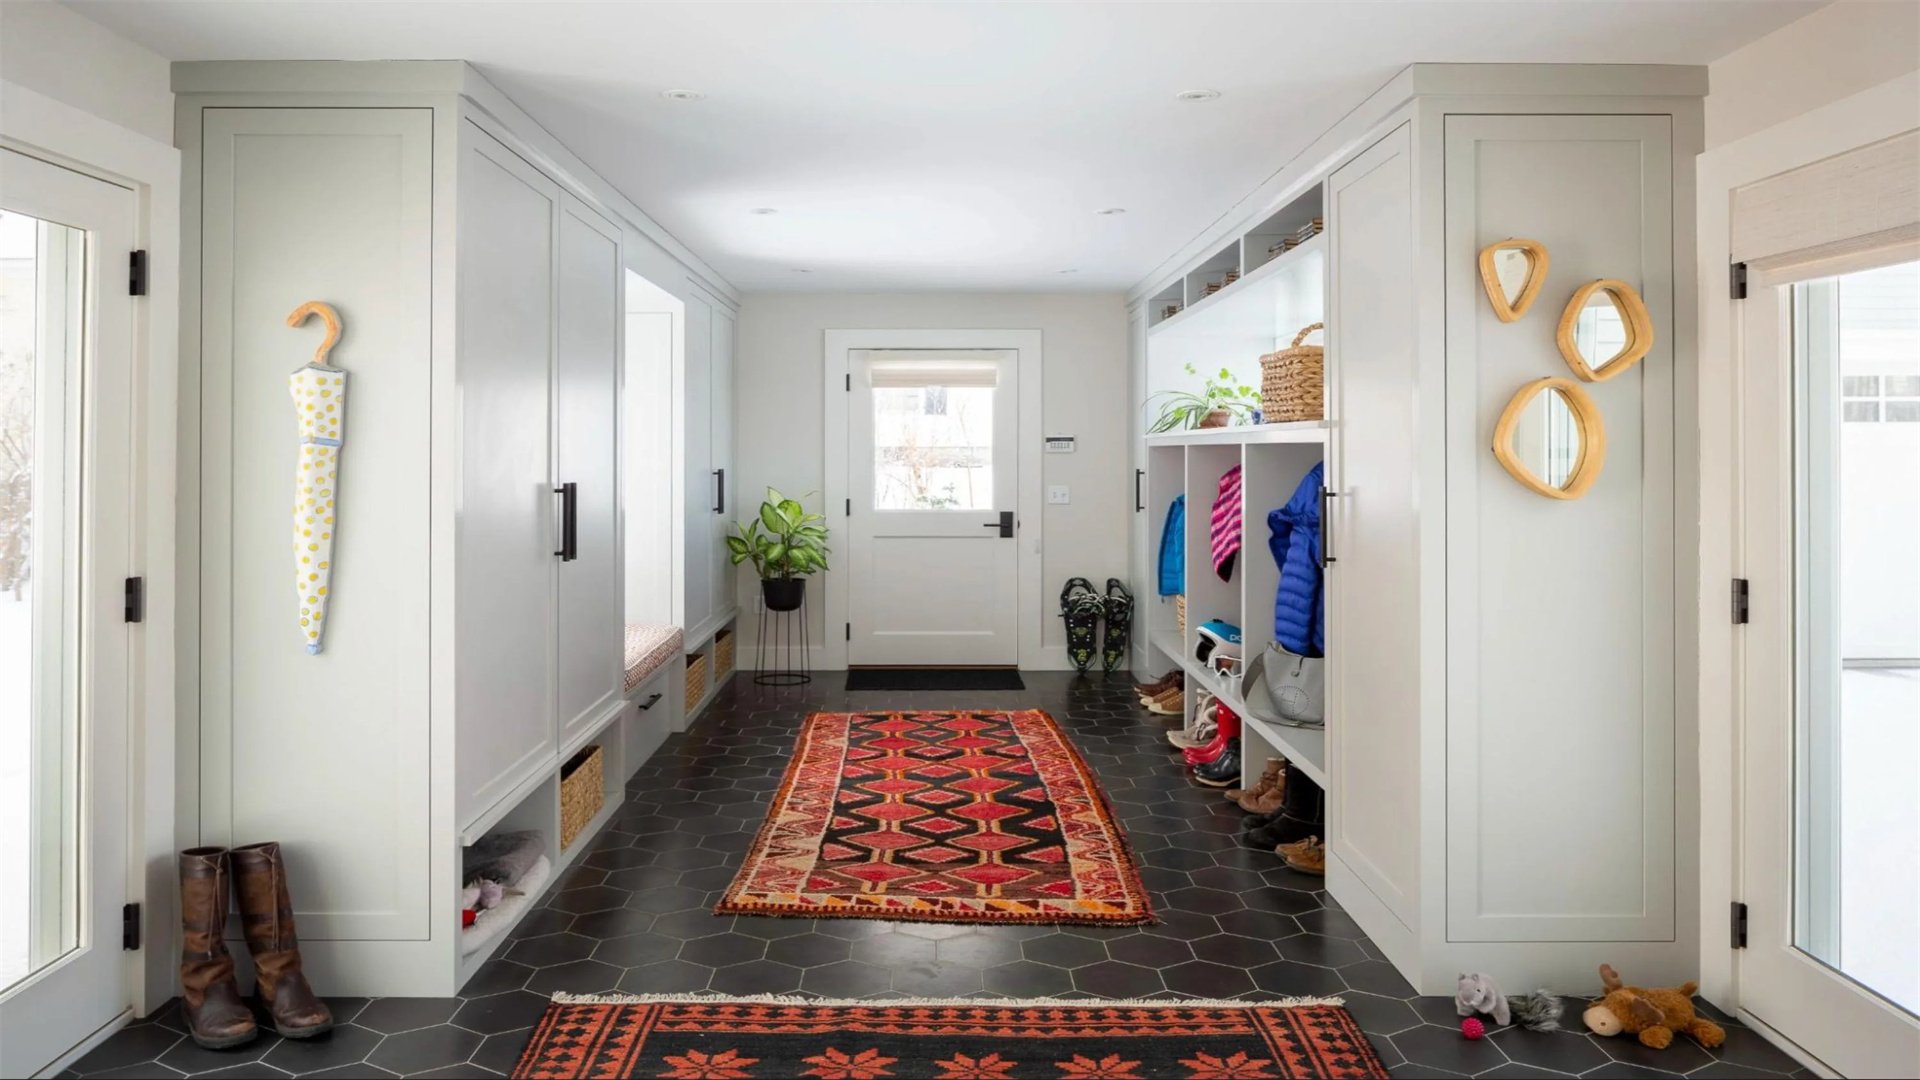
Method 1: Built-In Cabinetry and Shelving
Advantages:
- Tailored appearance and seamless look
- Efficient use of odd-shaped areas
Disadvantages:
- Higher cost
- Permanent installation
Implementation Steps:
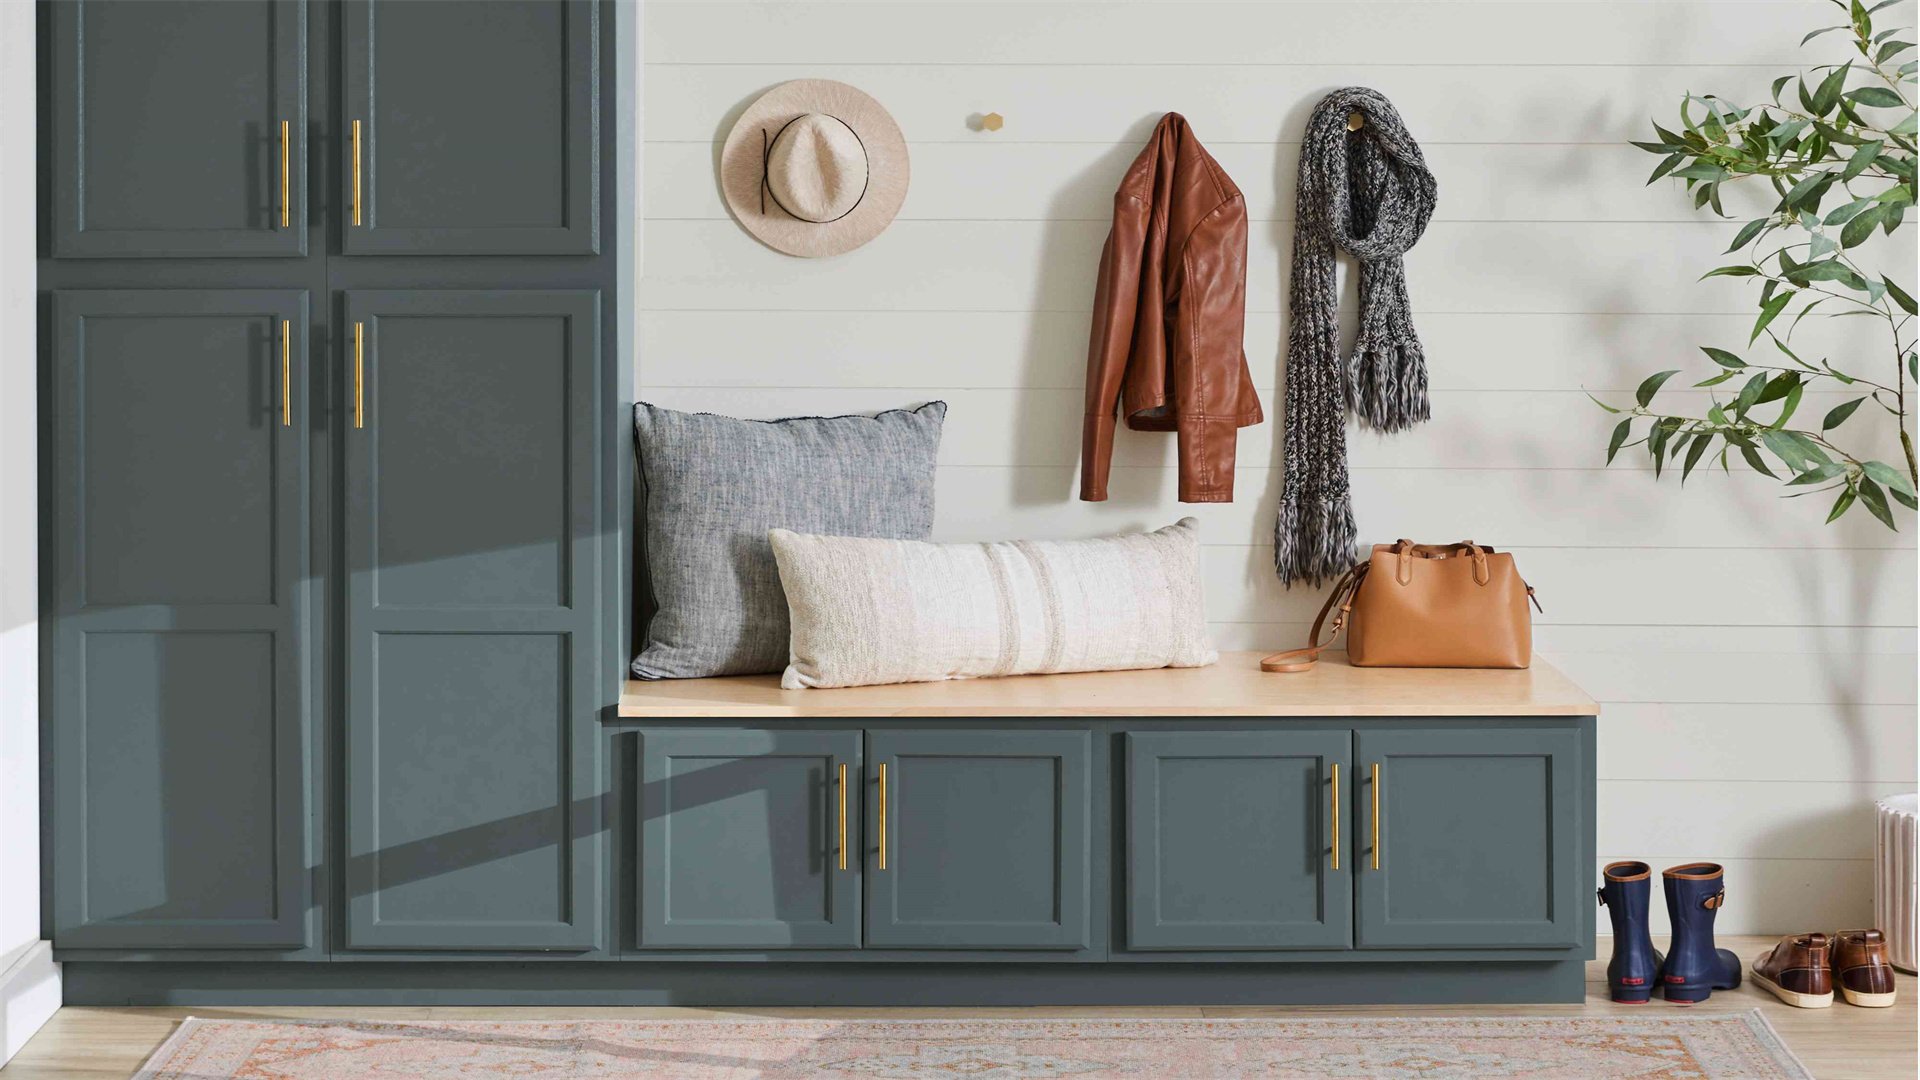
- Design Custom Units: Work with a carpenter or use pre-fabricated kits to create cabinets that fit your exact dimensions. Include a mix of open shelving for frequently used items and closed cabinets for hidden storage.
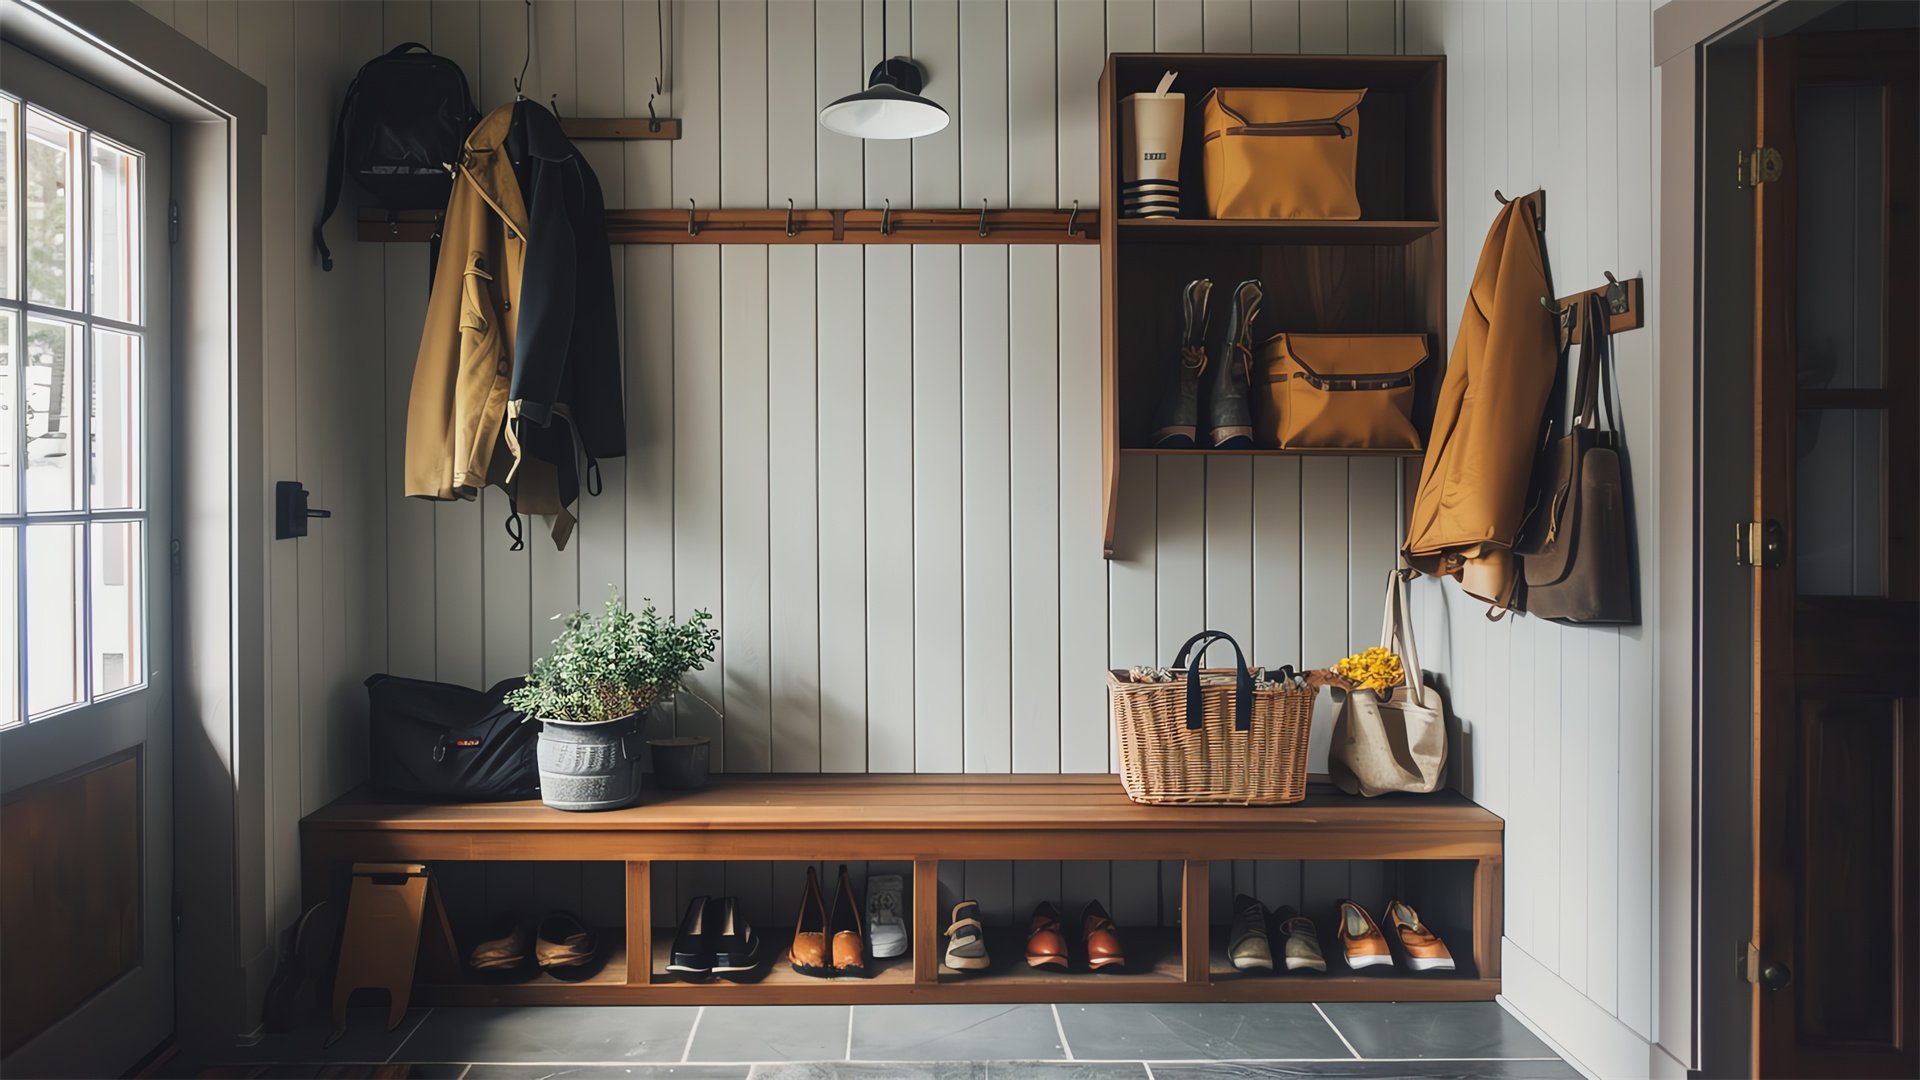
- Incorporate Multi-Functional Elements: Add a bench with lift-up seats for shoe storage, or hooks above for coats and bags. Ensure each family member has a designated spot.
- Optimize Vertical Space: Install shelves up to the ceiling for seasonal items, using baskets or bins to keep things organized and dust-free.
- Integrate Specialty Storage: Include drawers for small items like gloves and scarves, and dedicated racks for umbrellas or pet leashes.
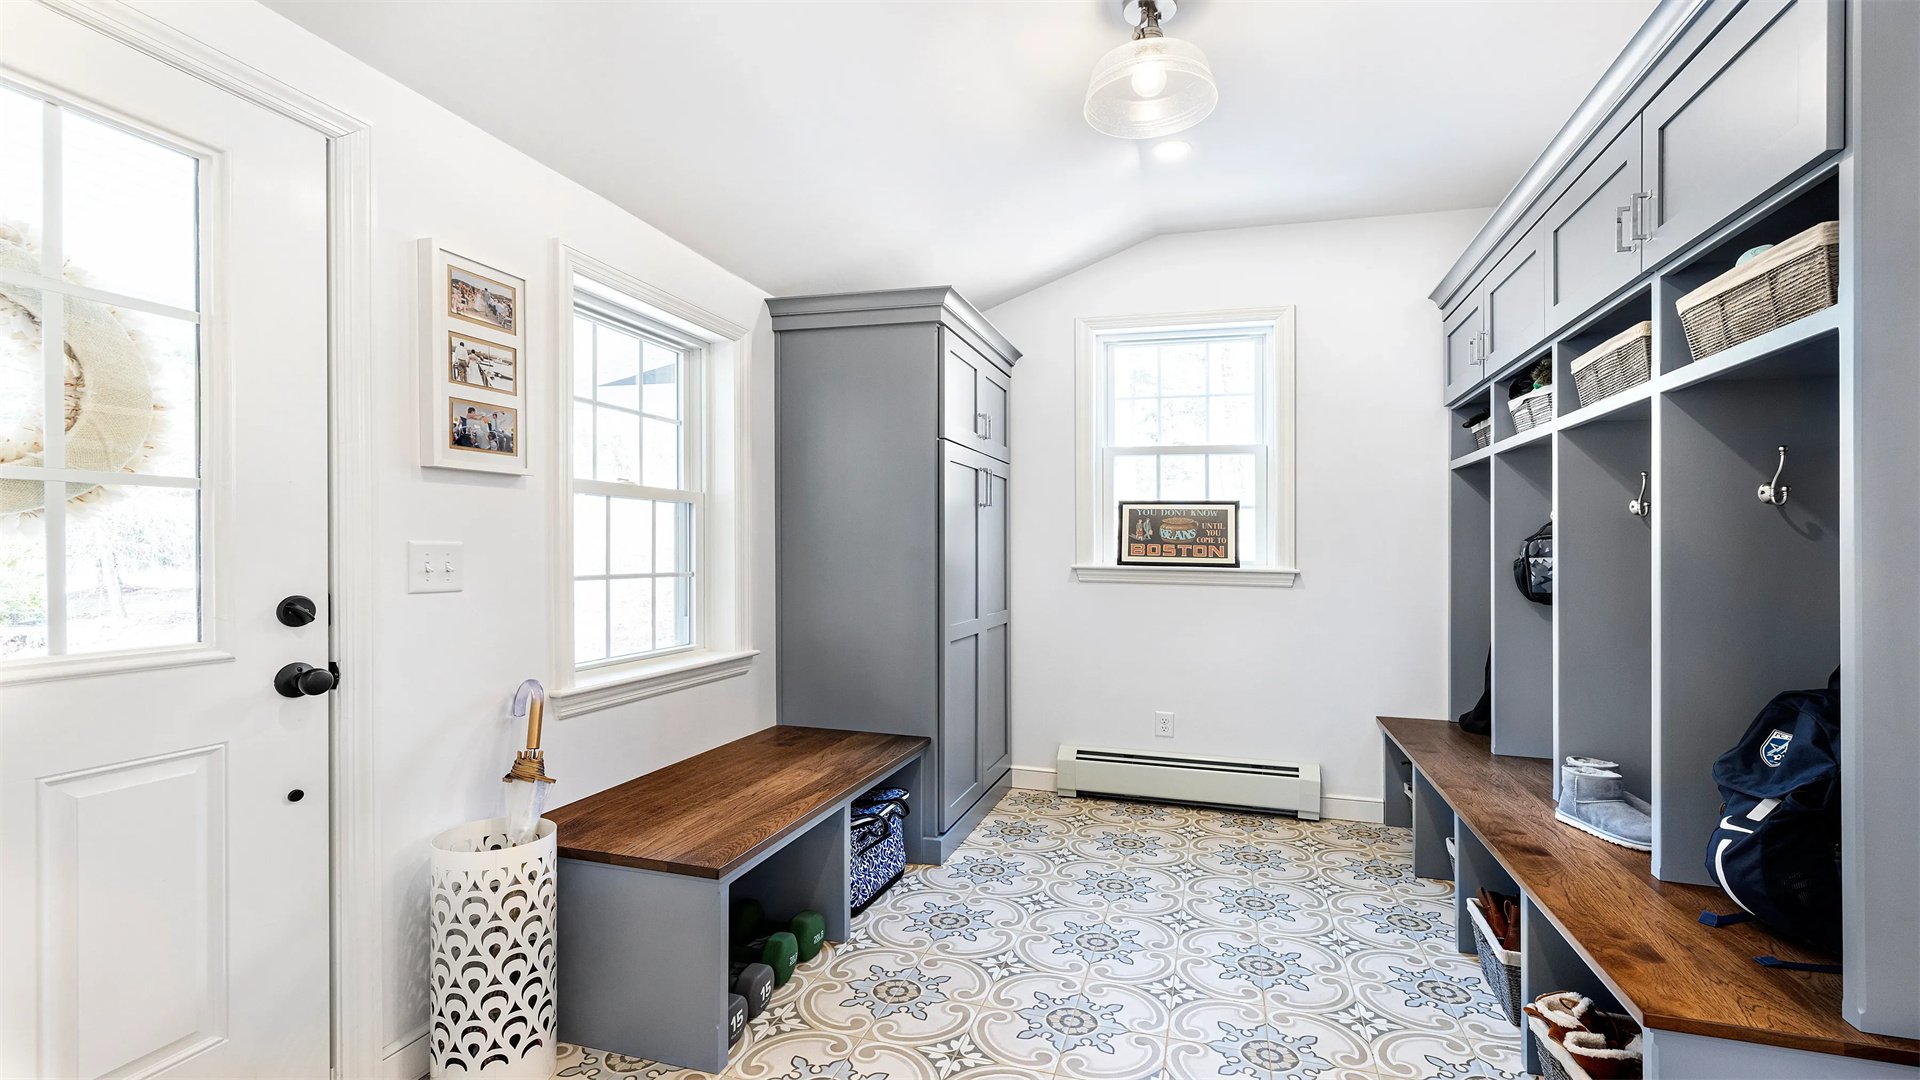
Method 2: Modular and Flexible Systems
Advantages:
- Affordability
- Flexibility to change as needs evolve
Disadvantages:
- Less polished look
- Potential instability
Implementation Steps:
- Choosing Modular Components: Select systems from brands like IKEA or Elfa, which offer mix-and-match shelves, hooks, and bins. Ensure they are sturdy enough for heavy items.
- Arranging for Accessibility: Place often-used items at eye level and heavier storage lower to the ground. Use labels or color-coding to keep everyone organized.
- Adding Mobility: Incorporate rolling carts or baskets for easy transport of laundry or cleaning supplies, enhancing the mudroom’s utility.
- Testing Layouts: Before permanent installation, experiment with different arrangements to find the most efficient setup for your daily routines.
🎨 Part 3: Incorporating Style and Aesthetics into Your Mudroom
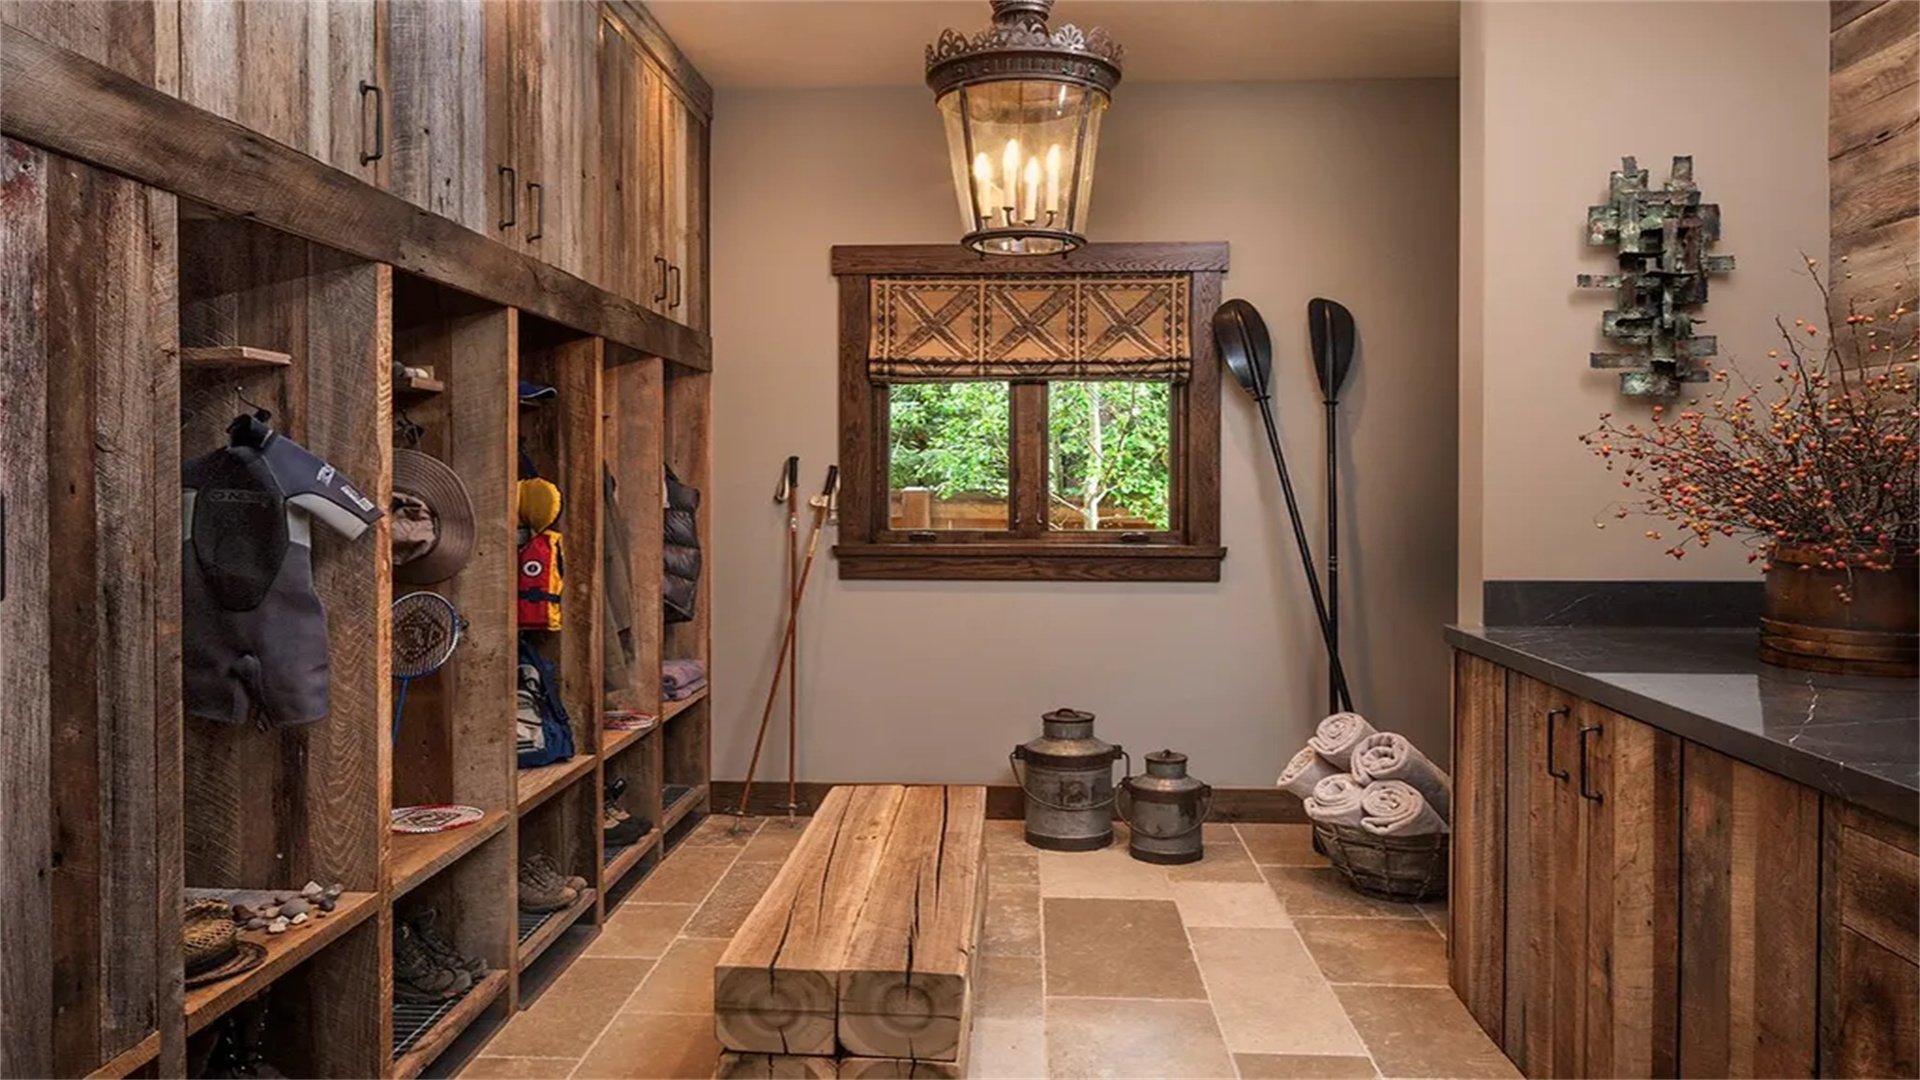
Method 1: Using Color and Patterns Strategically
Advantages:
- Personalized touch
- Ability to make small spaces feel larger
Disadvantages:
- Bold choices may require more maintenance
Implementation Steps:
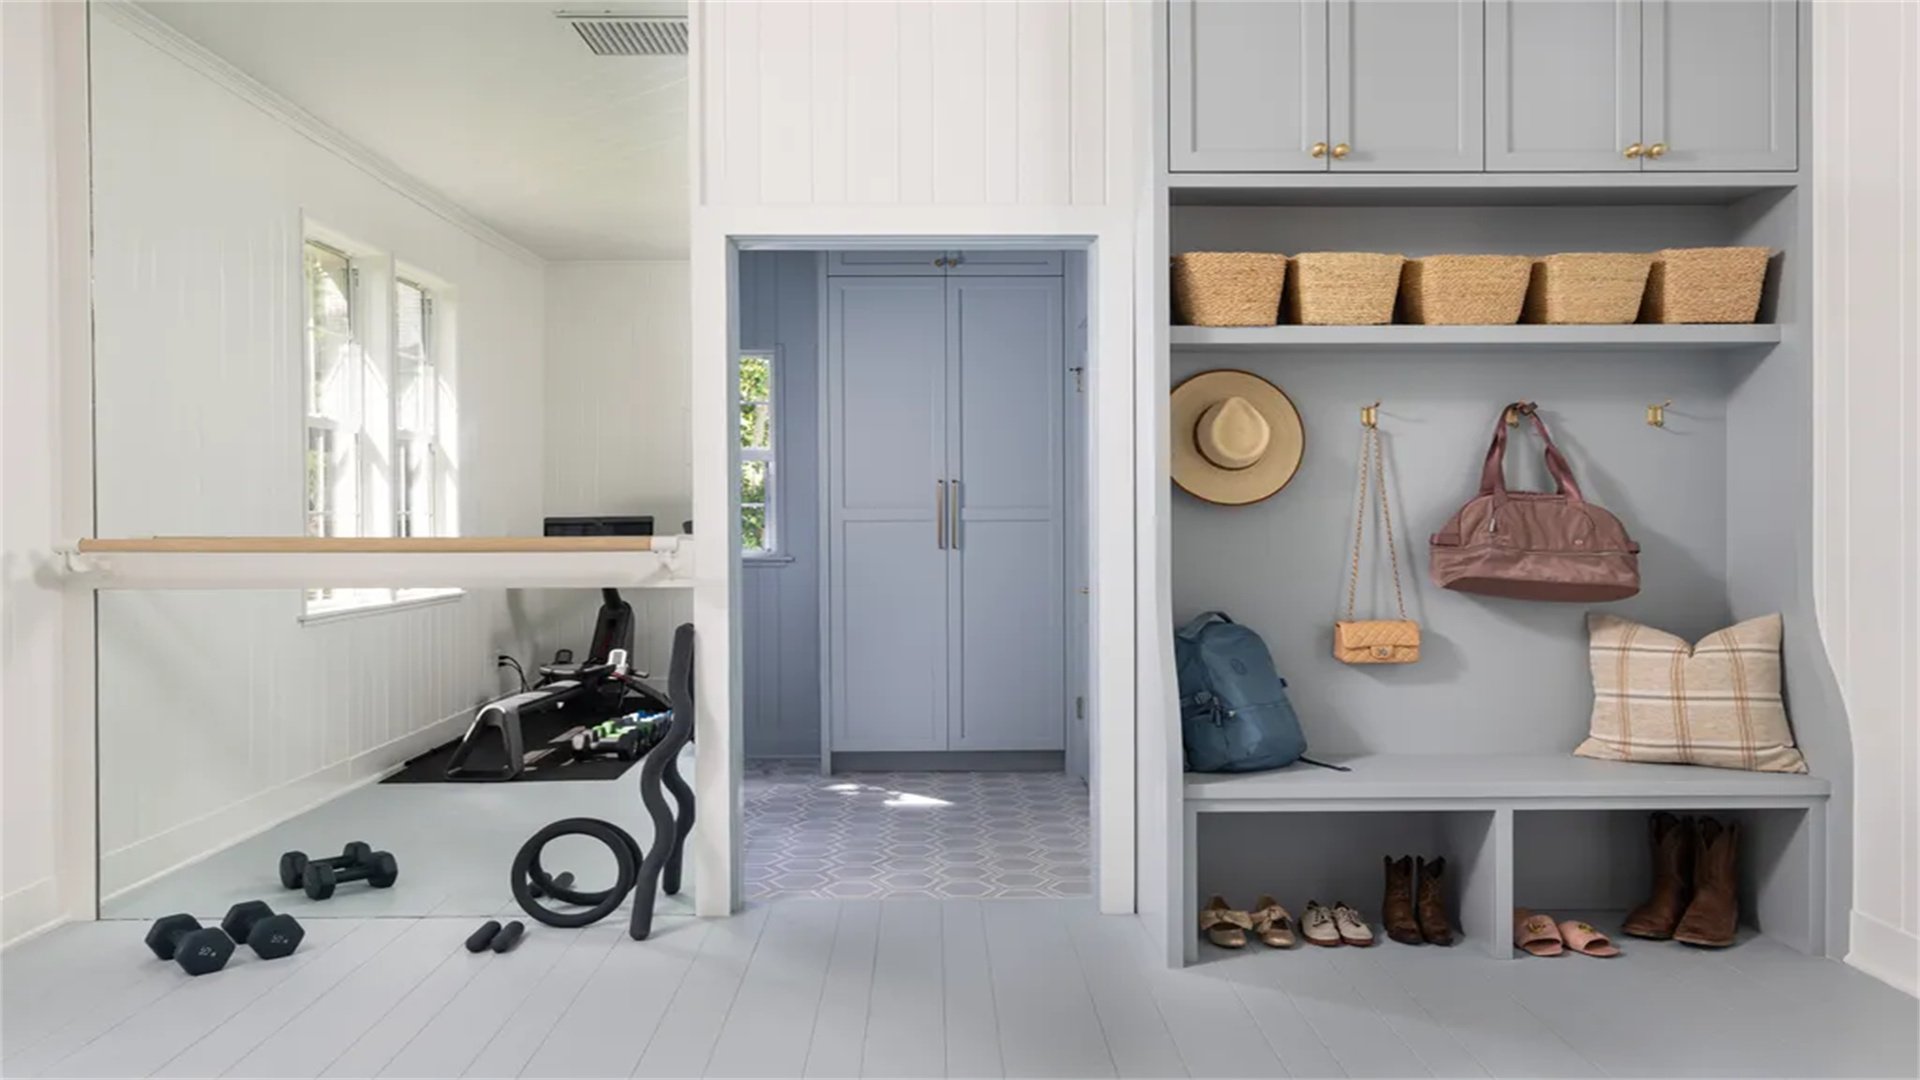
- Selecting a Color Scheme: Opt for durable, washable paints in shades that complement your home’s style. Darker hues like navy or charcoal can conceal stains, while light colors create an airy feel.
- Incorporating Patterns: Use patterned tiles on the floor or a statement wallpaper on an accent wall. Ensure materials are easy to clean and resistant to moisture.
- Adding Accents: Introduce pops of color with accessories like rugs, baskets, or artwork. This allows for easy updates without major renovations.
- Balancing with Neutrals: Pair vibrant elements with neutral cabinetry or benches to avoid overwhelming the space, creating a harmonious look.
Method 2: Integrating Decorative and Functional Elements
Advantages:
- Enhanced visual appeal
- Multi-purpose use
Disadvantages:
- Higher cost for designer pieces
Implementation Steps:
- Choosing Statement Furniture: Select a bench with elegant upholstery or a vintage console table that offers storage underneath. Ensure materials are durable and easy to wipe down.
- Adding Lighting Fixtures: Install pendant lights or sconces that provide ample illumination for tasks while serving as focal points. Opt for finishes that resist tarnishing.
- Incorporating Natural Elements: Use plants in sturdy pots to bring life to the space, or add a mirror to reflect light and create the illusion of more space.
- Personalizing with Details: Display family photos in wipeable frames or hang a decorative chalkboard for notes, blending practicality with charm.
📋 Part 4: Implementing Organizational Systems for Daily Efficiency
Method 1: Creating Designated Zones
Advantages:
- Streamlined routines
- Reduced clutter
Disadvantages:
- Requires consistent upkeep to maintain zones
Implementation Steps:
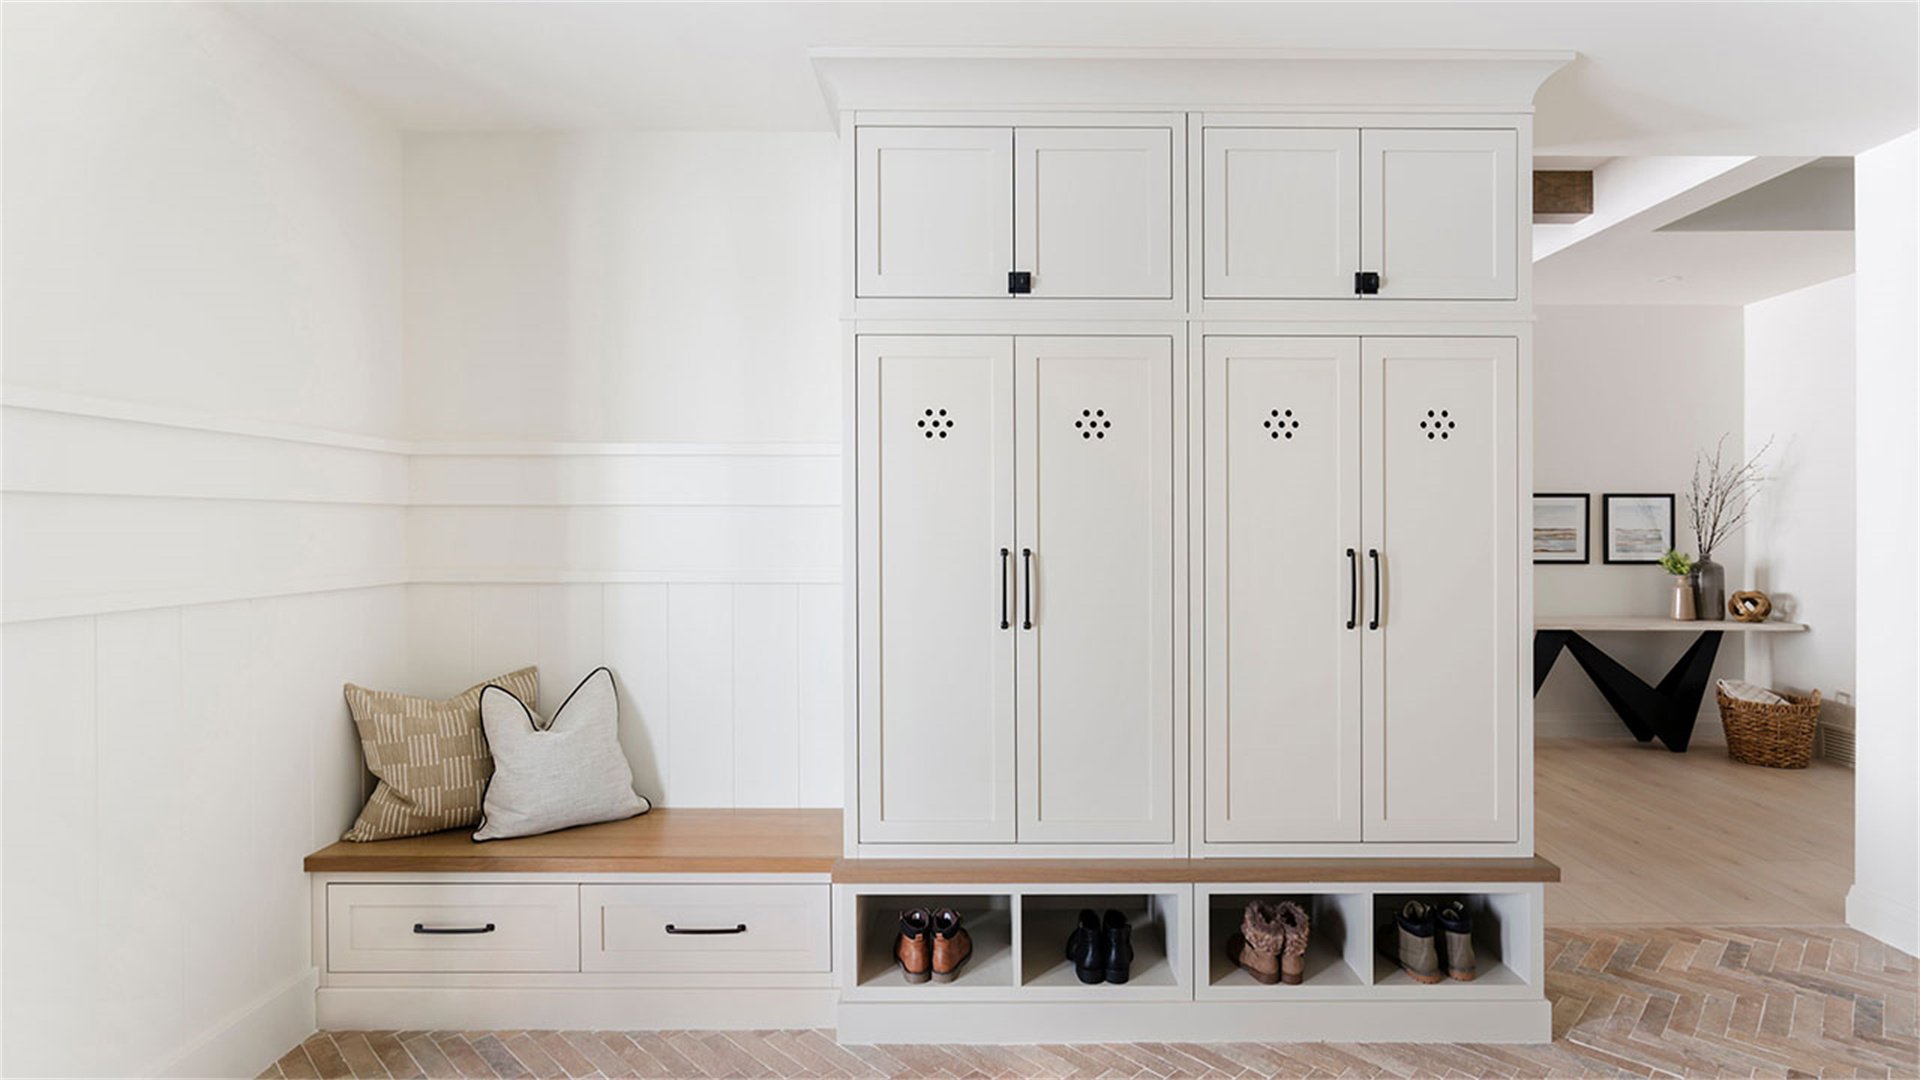
- Identifying Zones: Based on your audit, create zones like entry storage (for shoes and coats), laundry sorting, or hobby storage. Assign each family member a locker or cubby.
- Using Physical Dividers: Install shelves or racks to separate zones visually. For example, use a low bench to demarcate the seating area from storage.
- Labeling Everything: Apply labels to bins, hooks, and drawers to indicate what belongs where. This is especially helpful for children or guests.
- Establishing Routines: Encourage habits like placing shoes in designated racks or hanging coats immediately upon entry, reinforcing the zone system daily.
Method 2: Incorporating Smart Technology
Advantages:
- Improved efficiency
- Integration with smart home systems
Disadvantages:
- Higher costs
- Potential technical issues
Implementation Steps:
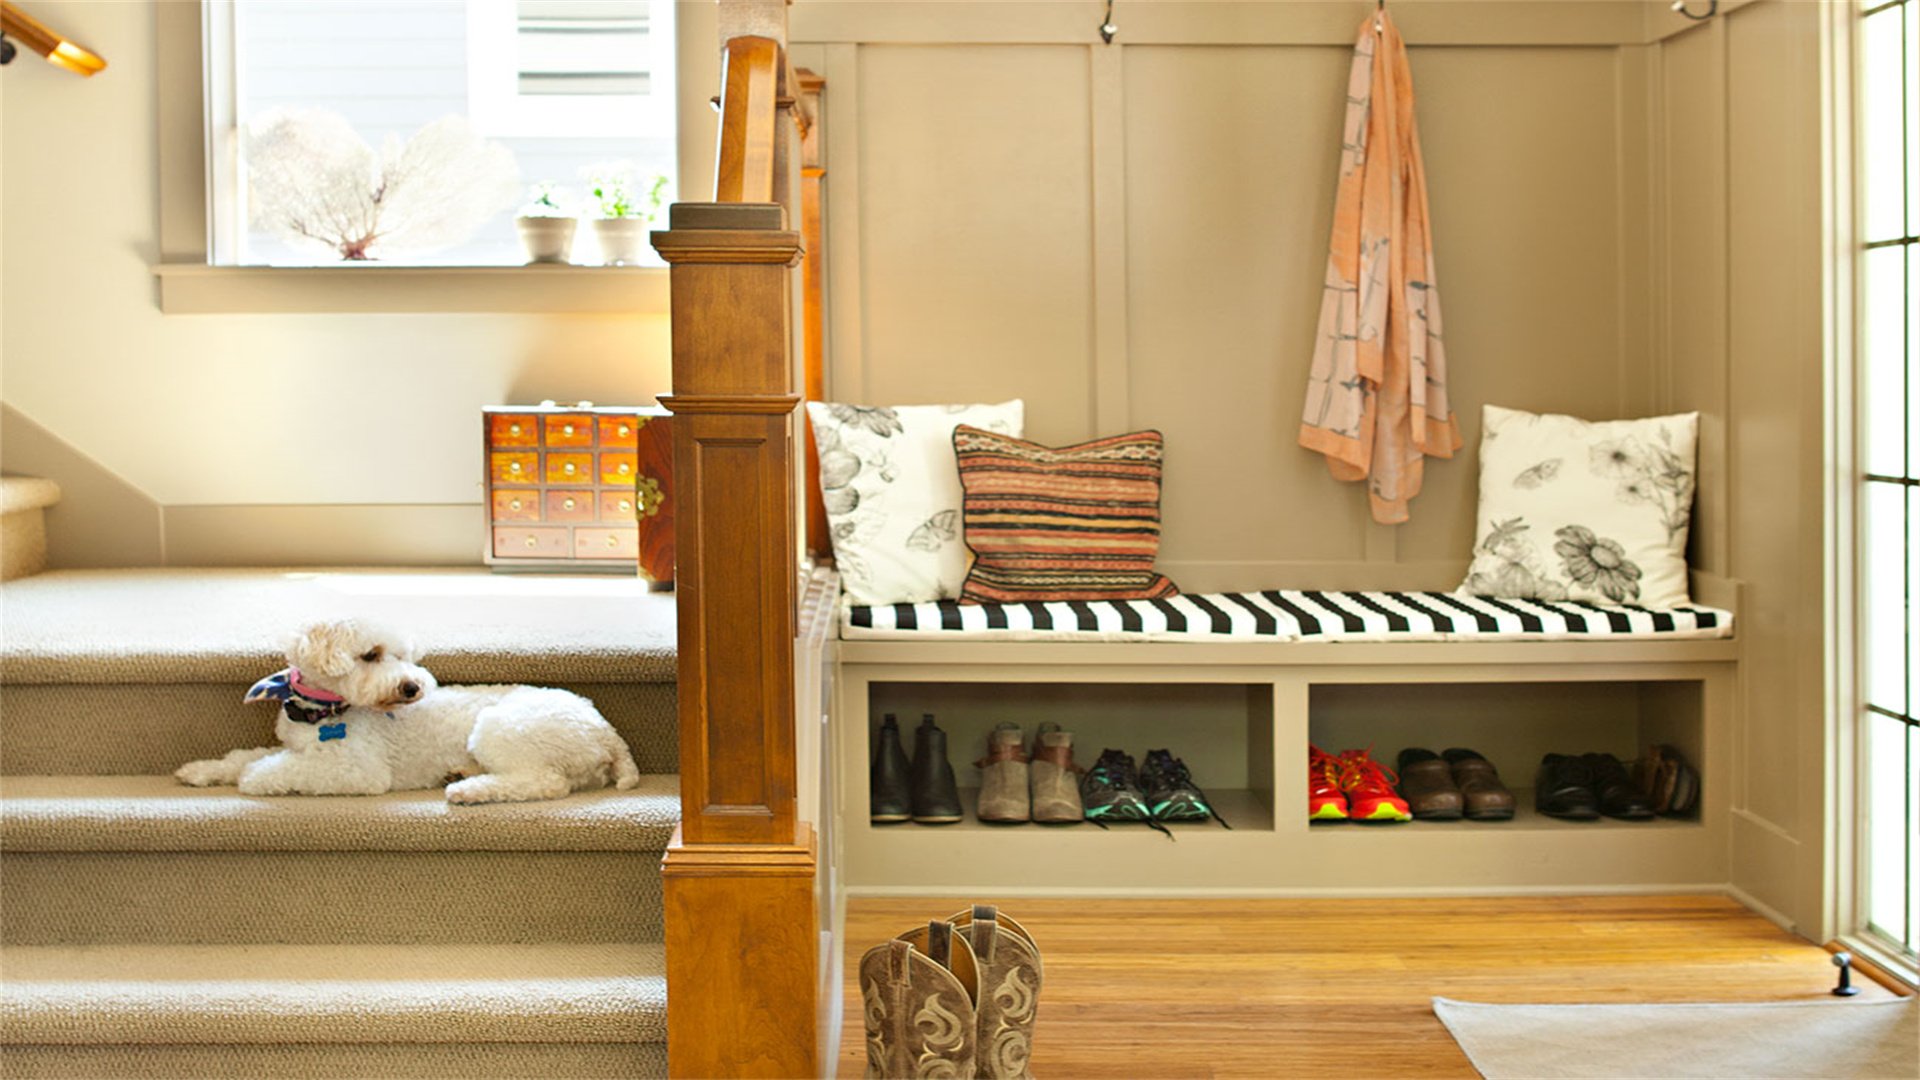
- Adding Charging Stations: Install built-in outlets or USB ports in cabinets or benches to charge devices out of sight. Choose waterproof models for safety.
- Integrating Smart Storage: Use sensor-activated lighting in cabinets or motorized lifts for overhead storage, making items more accessible.
- Incorporating Security Features: Include a smart lock on the mudroom door for keyless entry, or a camera to monitor the area, adding peace of mind.
- Using Organizing Apps: Complement physical systems with digital apps that track inventory or send reminders for maintenance tasks, keeping the mudroom high-tech and orderly.
⚠️ Part 5: Addressing Special Considerations and Challenges
Method 1: Designing for Small or Awkward Spaces
Advantages:
- Efficient use of limited areas
Disadvantages:
- Custom work may increase costs
Implementation Steps:
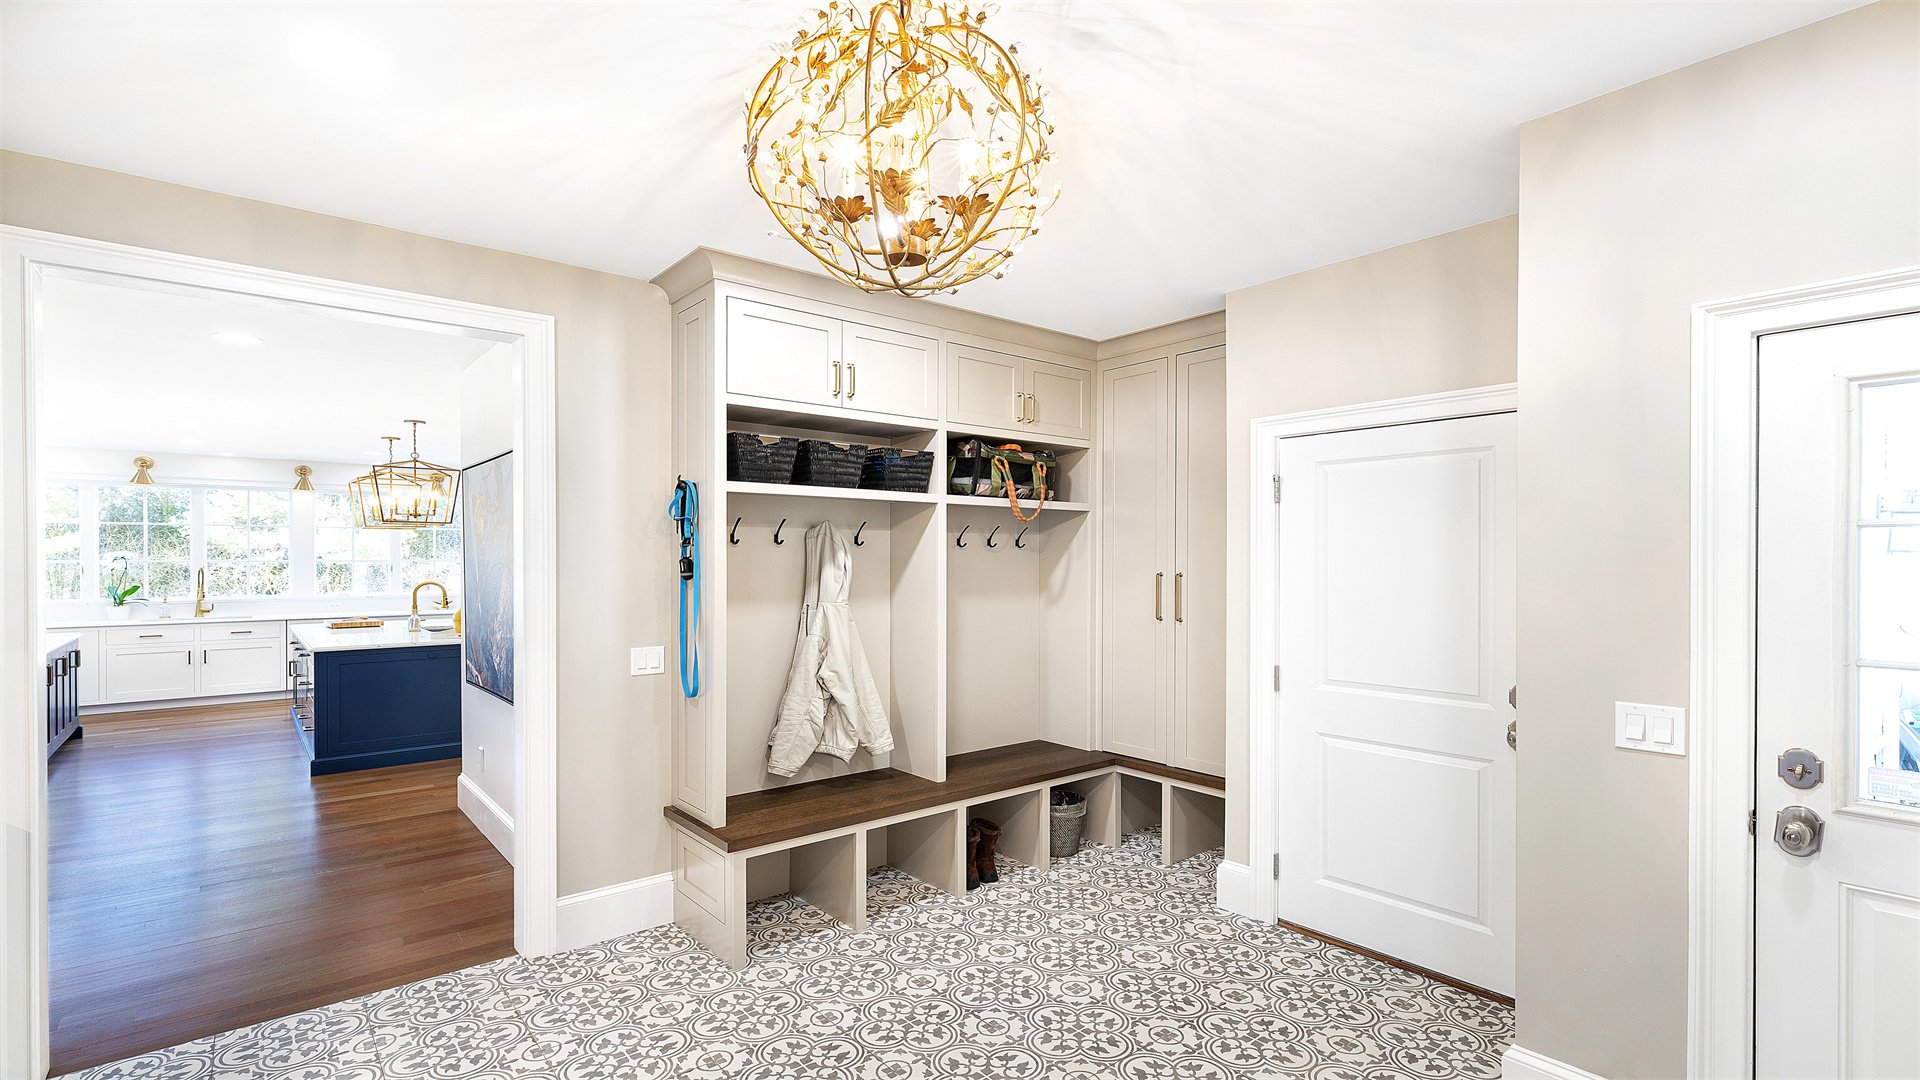
- Utilizing Corners: Install corner shelves or rotating racks to access dead space. Consider a fold-down bench that can be tucked away when not in use.
- Choosing Slimline Furniture: Opt for narrow consoles or wall-mounted units that don’t protrude into walkways. Use vertical storage to free up floor space.
- Incorporating Multi-Purpose Items: Select a storage ottoman that serves as seating and hidden storage, or a mirror with a built-in shelf for keys.
- Enhancing with Light Colors: Paint walls and ceilings in light shades to create an illusion of spaciousness, and use reflective surfaces like mirrors to amplify light.
Method 2: Catering to Pet and Family Needs
Advantages:
- More inclusive design
Disadvantages:
- Increased complexity and cleaning
Implementation Steps:
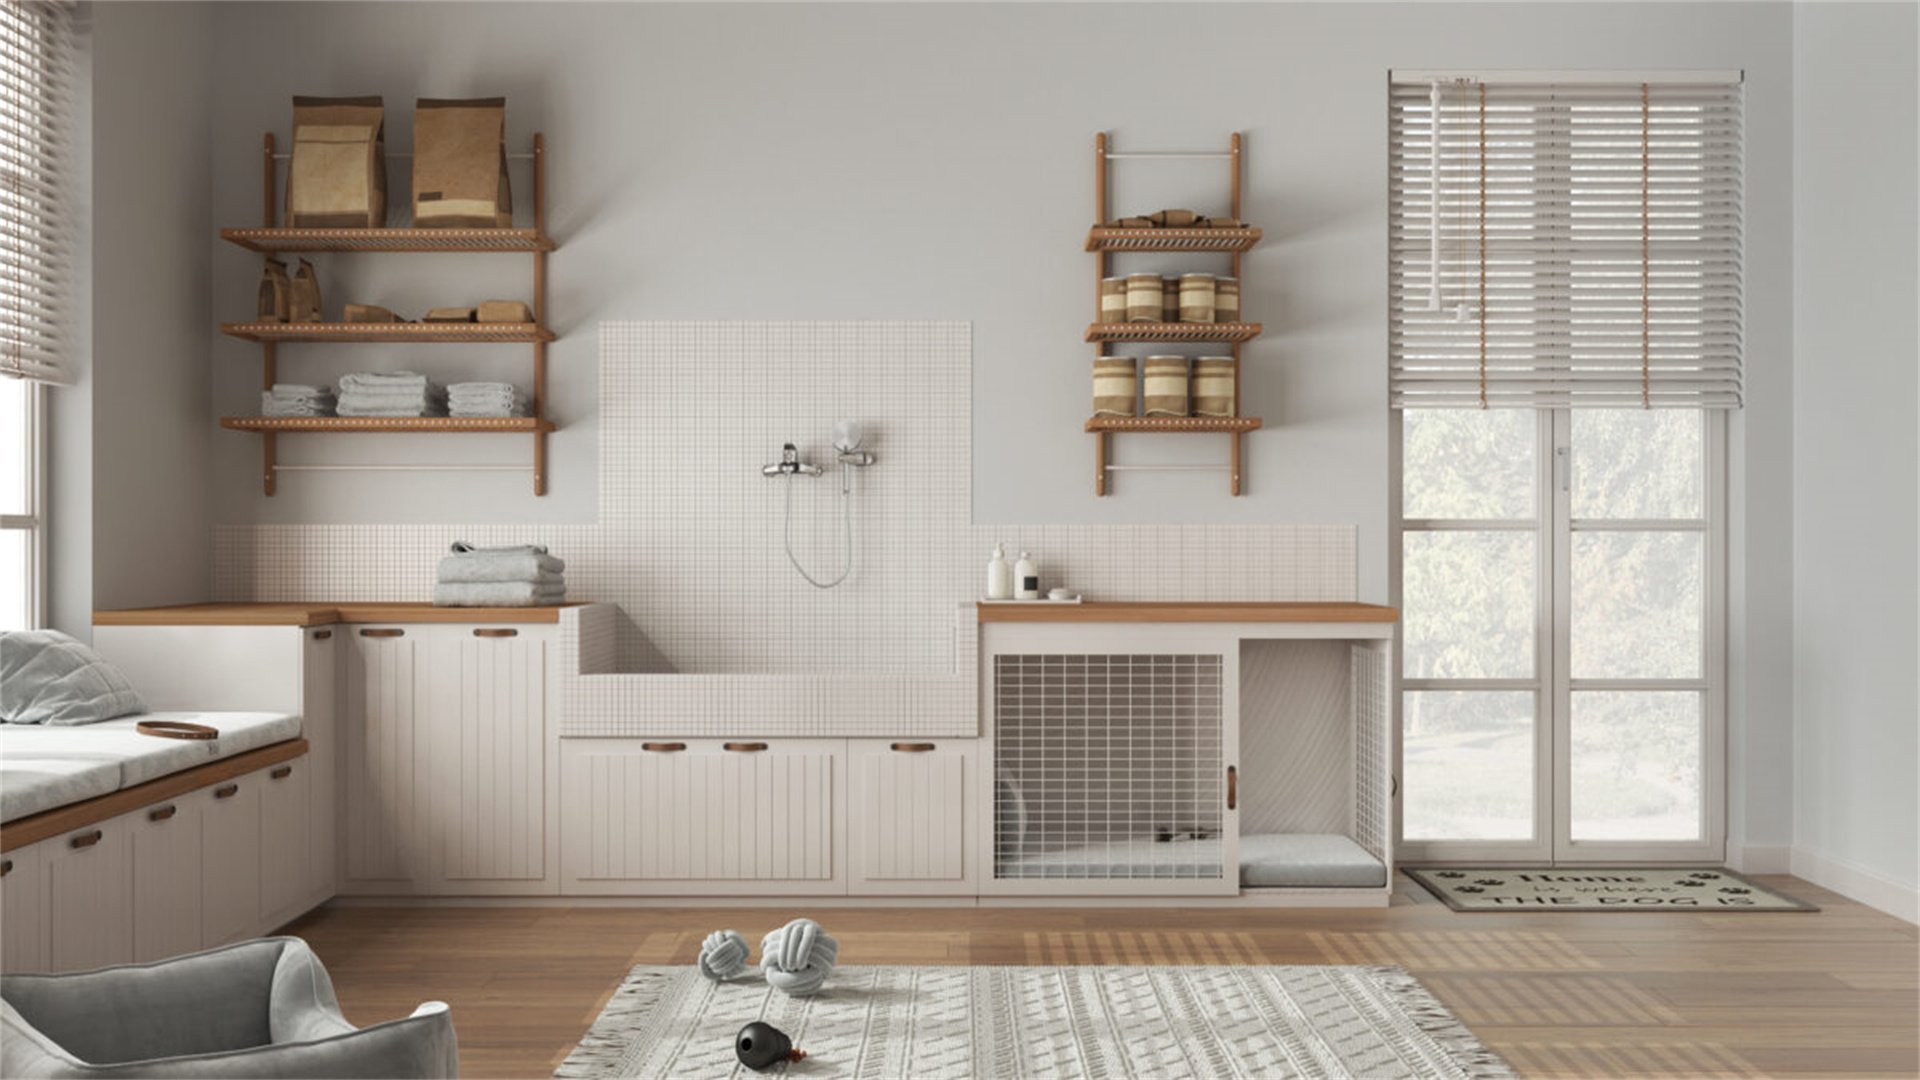
- Creating a Pet Zone: Designate an area with a durable mat, food and water bowls, and storage for leashes and toys. Include a low cabinet for pet supplies.
- Adding a Wash Station: Install a sink or handheld showerhead for cleaning pets or muddy boots. Choose materials that are waterproof and easy to sanitize.
- Incorporating Child-Safe Elements: Use rounded edges on furniture, non-slip flooring, and low hooks for kids to hang their own belongings, fostering independence.
- Planning for Growth: Design storage that can adapt as children age—for example, adjustable shelves or replaceable bins that accommodate changing needs.
✅ Conclusion: Bringing It All Together for the Perfect Mudroom
A well-designed mudroom seamlessly blends functionality with personal style, transforming a transitional space into a cornerstone of home organization. By carefully assessing your needs, implementing efficient storage solutions, and incorporating aesthetic touches, you create an area that not only manages daily clutter but also enhances your home's welcoming atmosphere. Remember to tailor the design to your lifestyle, whether through smart technology integration or dedicated zones for pets and family members. Ultimately, the perfect mudroom is one that evolves with your needs, offering durability, ease of maintenance, and a reflection of your unique taste, making every entry and exit a more pleasant and organized experience.