Cooking with Seasonal Ingredients: Tips and Recipes
📝 Introduction
Cooking is both an art and a science, and understanding core techniques ensures consistent results. Meanwhile, seasonal ingredients offer peak freshness and affordability, aligning your meals with nature's rhythms. We'll break down each technique with clear explanations, common applications, and pro tips, then dive into seasonal cooking with actionable advice and recipe examples. From sautéing vegetables to roasting winter squash, you'll learn how to adapt methods to ingredients at their best. Get ready to expand your culinary repertoire and enjoy delicious, wholesome meals year-round.
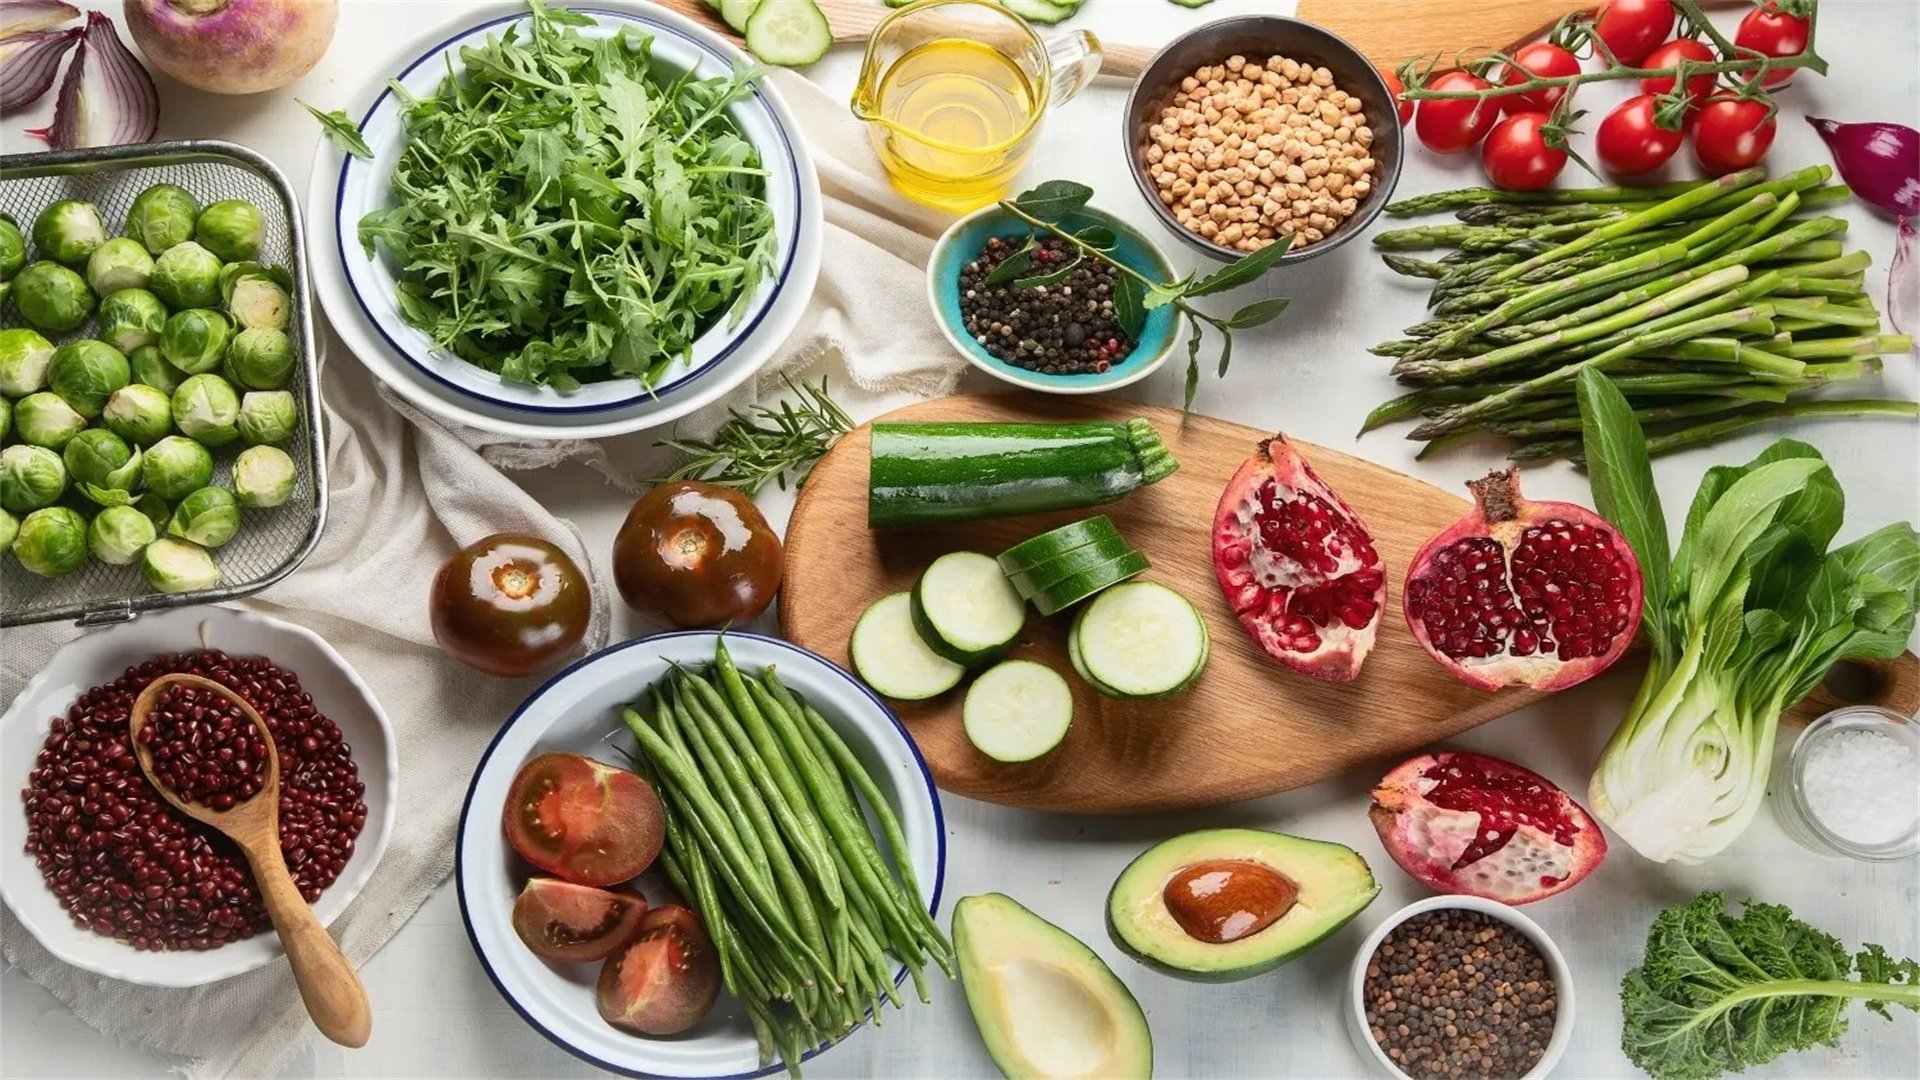
Cooking with seasonal ingredients ensures peak flavor, nutrition, and affordability. This section provides tips for selecting and using seasonal produce, followed by detailed recipes that incorporate the techniques from Part 1. We'll cover spring, summer, fall, and winter ingredients, with recipes designed to highlight each season's bounty. By aligning your meals with the seasons, you support local agriculture and enjoy diverse, vibrant dishes year-round.
Tips for Using Seasonal Ingredients
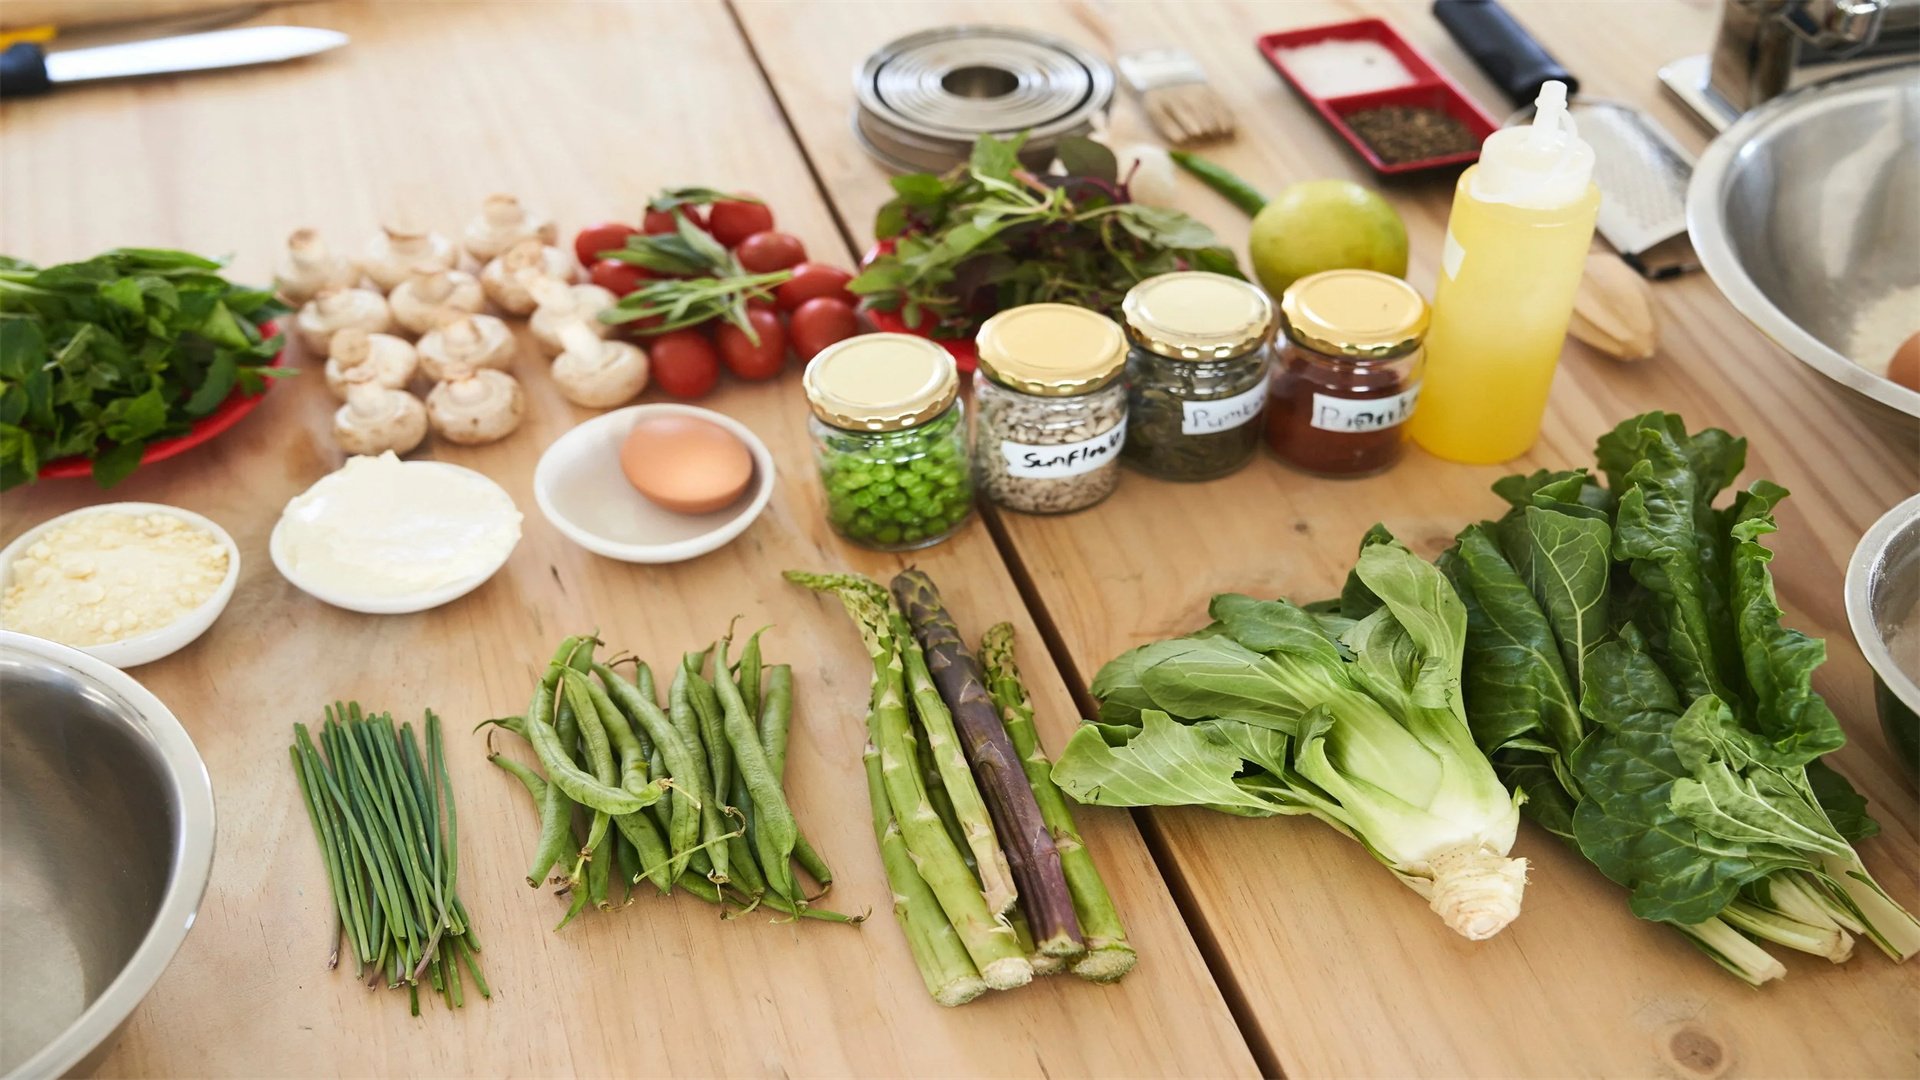
- 1. Know Your Seasons: Familiarize yourself with what's in season in your region. For example, asparagus and strawberries thrive in spring, while squash and apples are fall favorites. Use seasonal charts or visit farmers' markets for guidance.
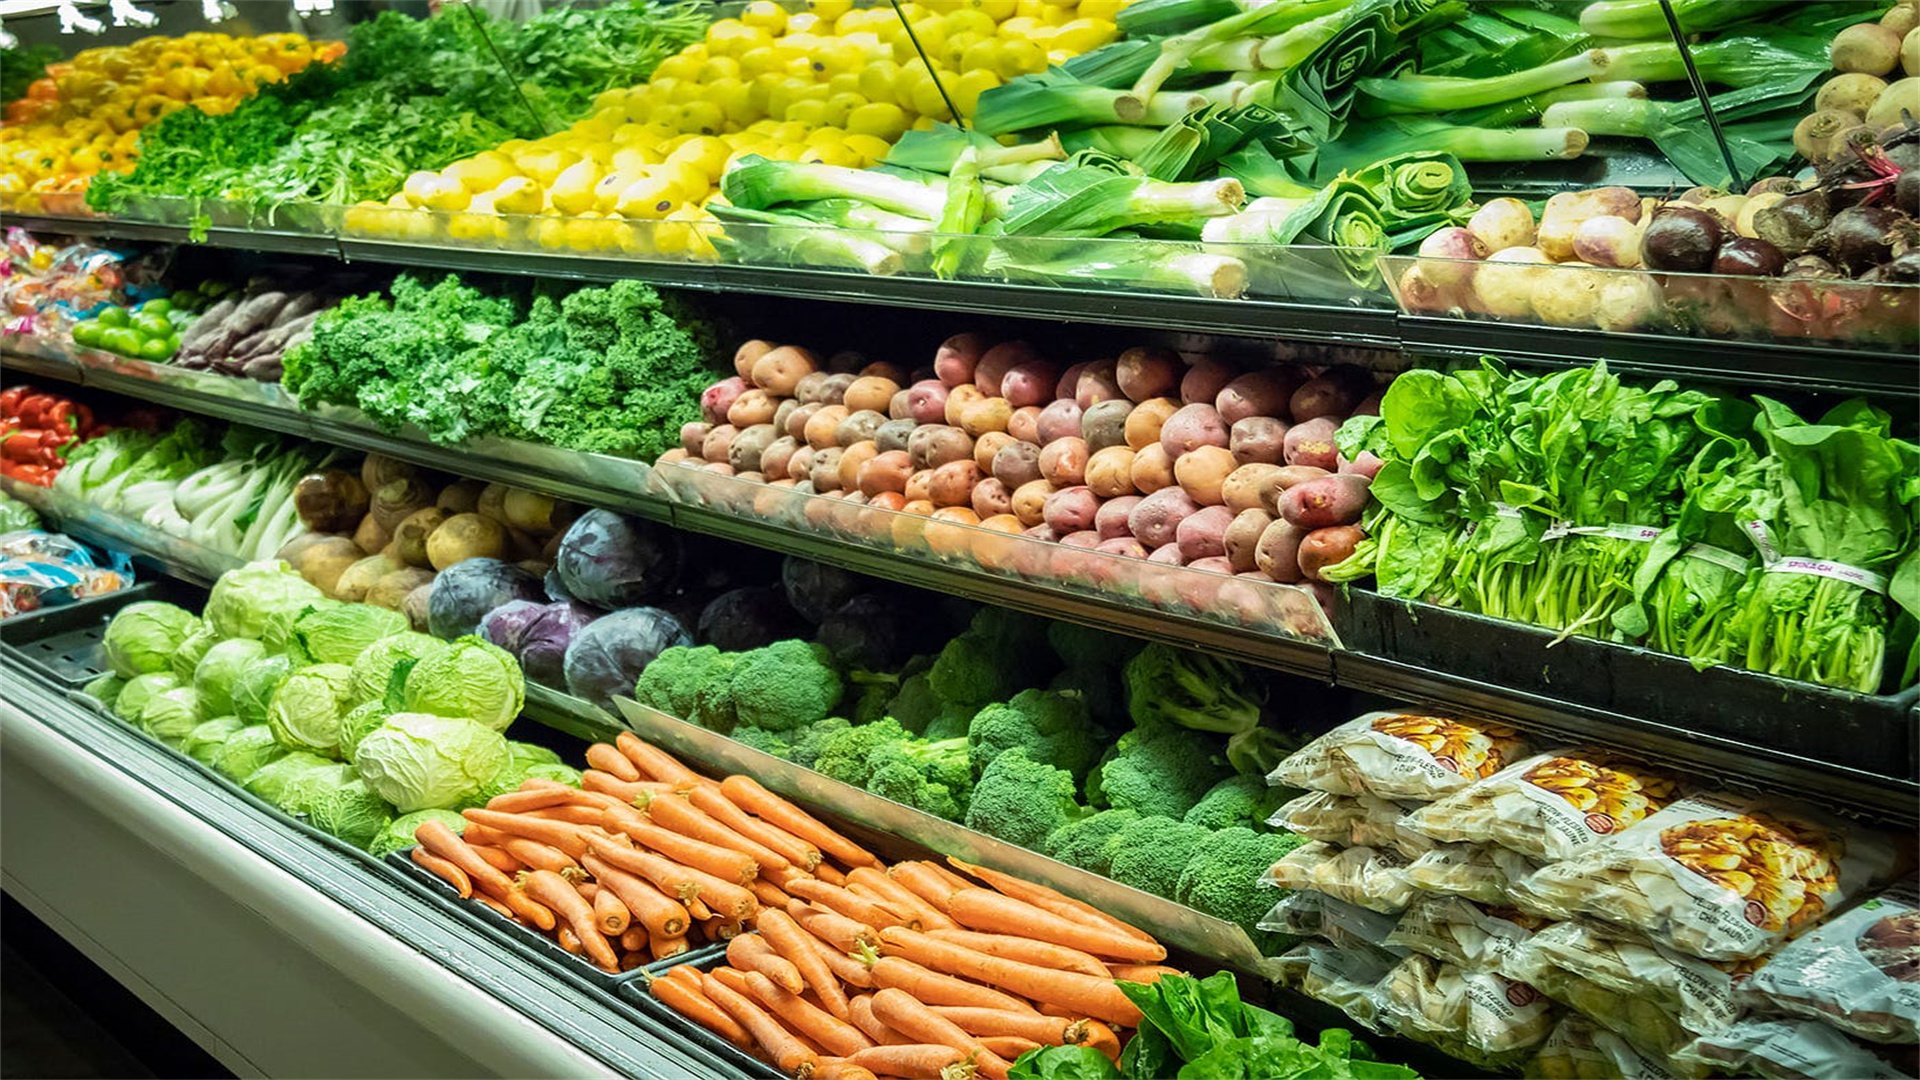
- 2. Shop Local: Purchase from farmers' markets or community-supported agriculture (CSA) boxes to get the freshest produce. Local items are often harvested at peak ripeness and have shorter travel times.
- 3. Store Properly: Extend the life of seasonal ingredients by storing them correctly. For instance, keep leafy greens in damp paper towels in the fridge, and store root vegetables in a cool, dark place.
- 4. Preserve Excess: If you have an abundance, consider preserving through freezing, canning, or drying. This allows you to enjoy seasonal flavors year-round.
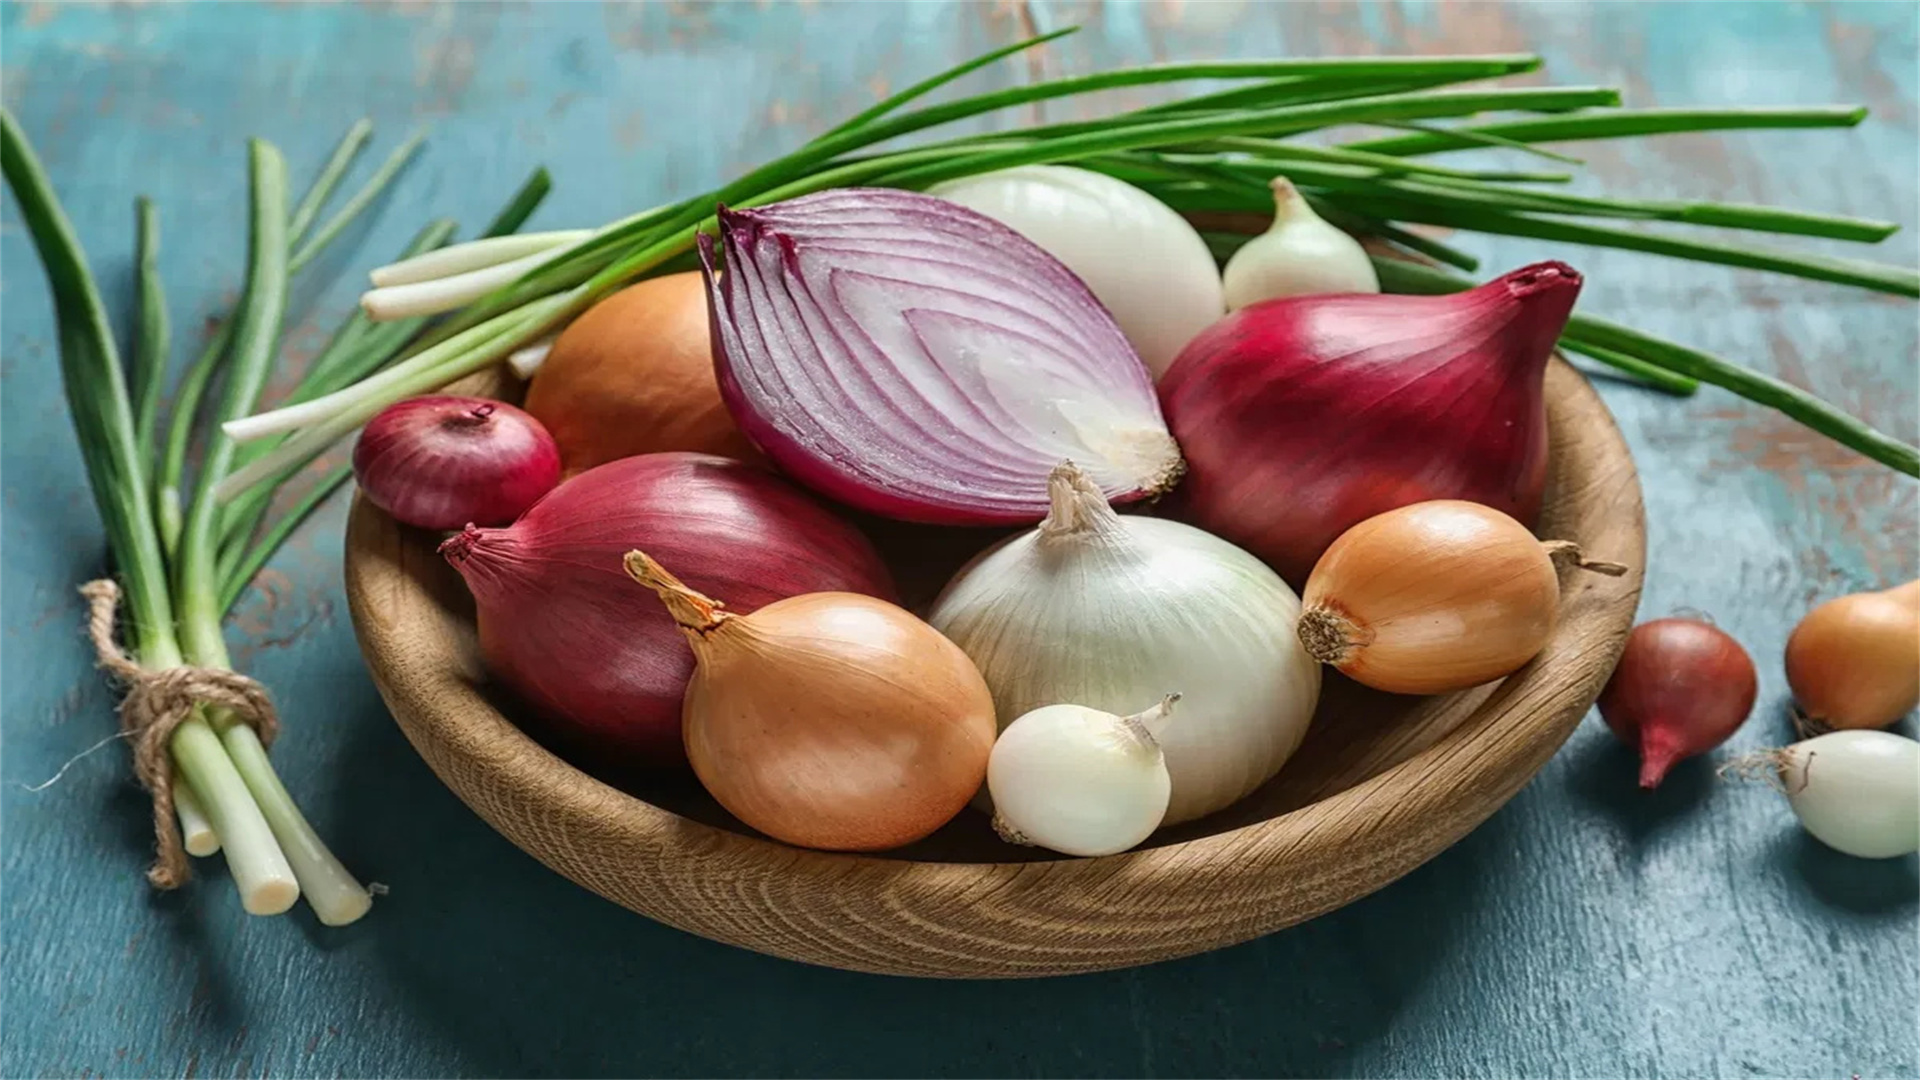
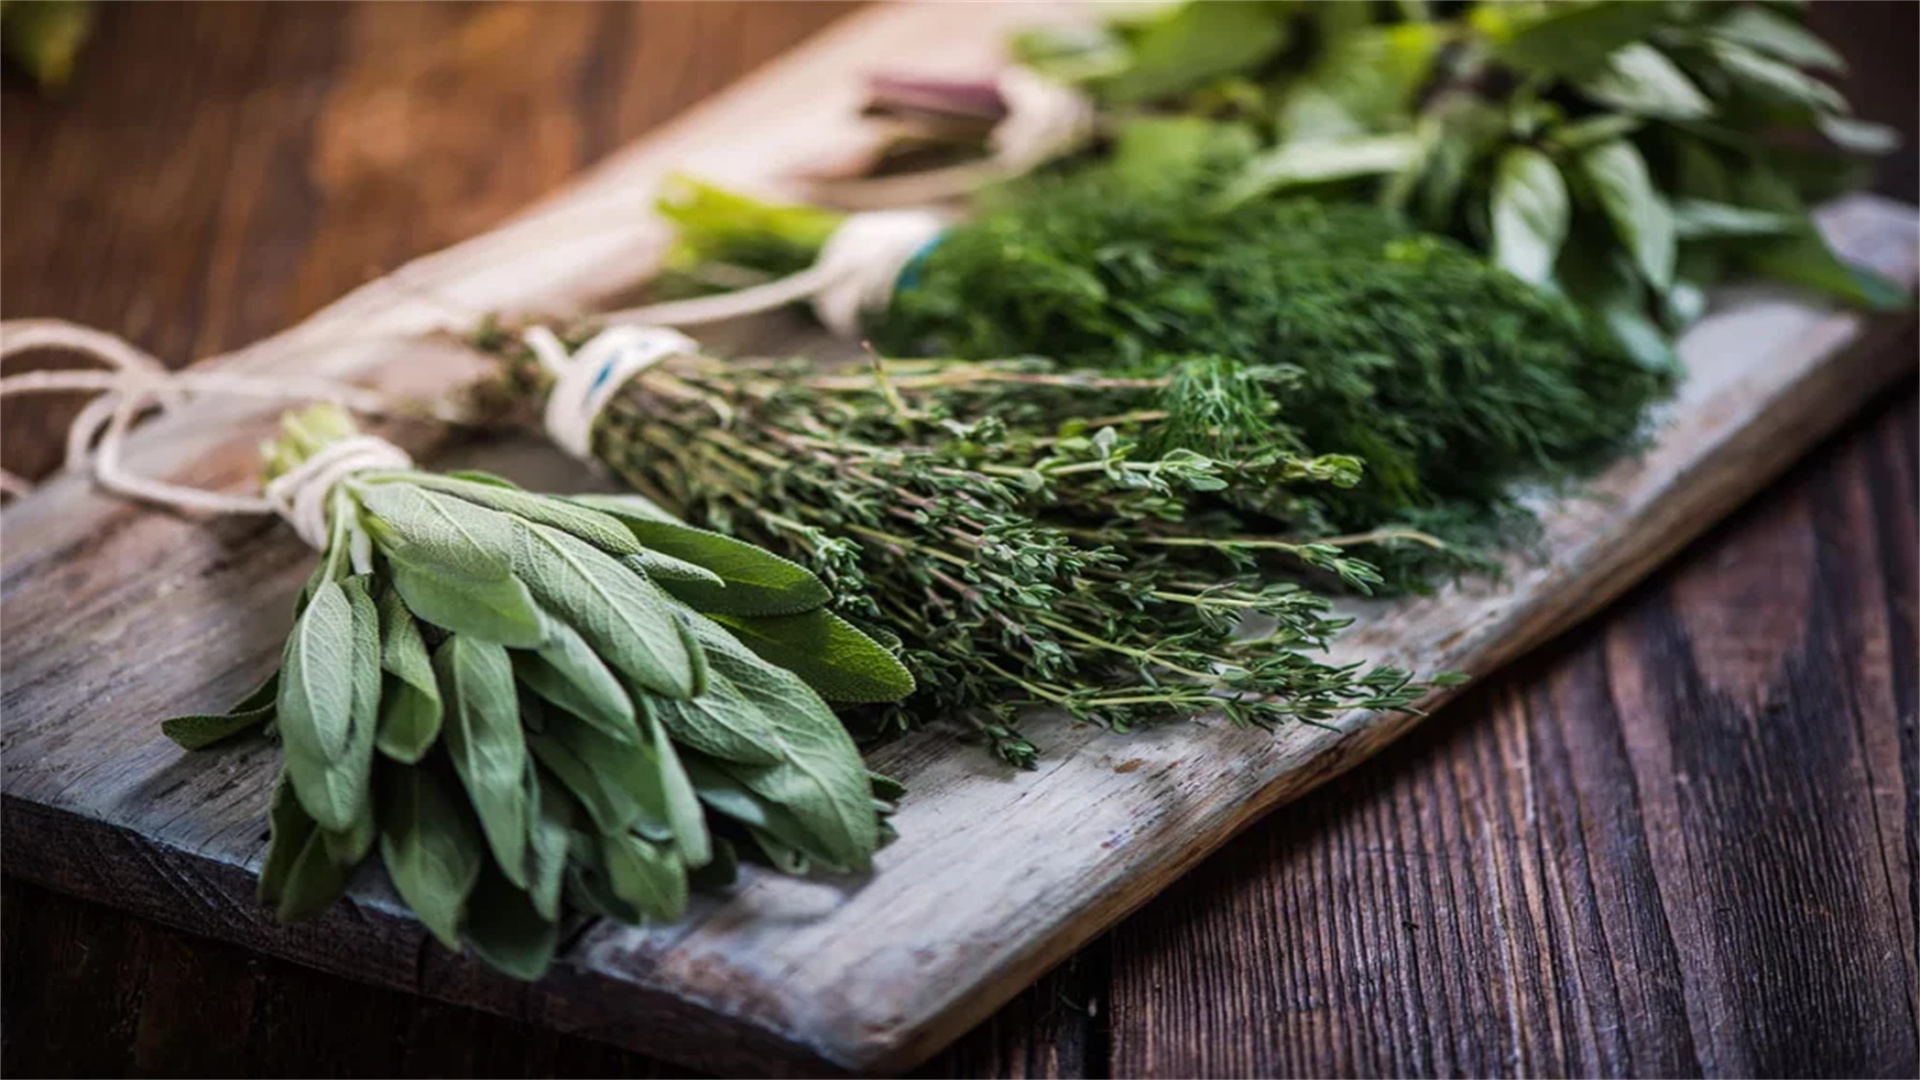
- 5. Pair with Complementary Flavors: Enhance seasonal produce with herbs, spices, and other ingredients. For example, pair summer tomatoes with basil or winter citrus with rosemary.
- 6. Adapt Recipes: Modify recipes based on what's available. Substitute seasonal vegetables in stir-fries or soups to keep meals exciting.
- 7. Embrace Simplicity: Often, seasonal ingredients shine with minimal preparation. A simple roast or salad can highlight natural tastes.
Recipes for Seasonal Cooking
Here are four recipes, one for each season, that utilize the cooking techniques from Part 1. Each recipe includes detailed ingredients and instructions, with tips for success.
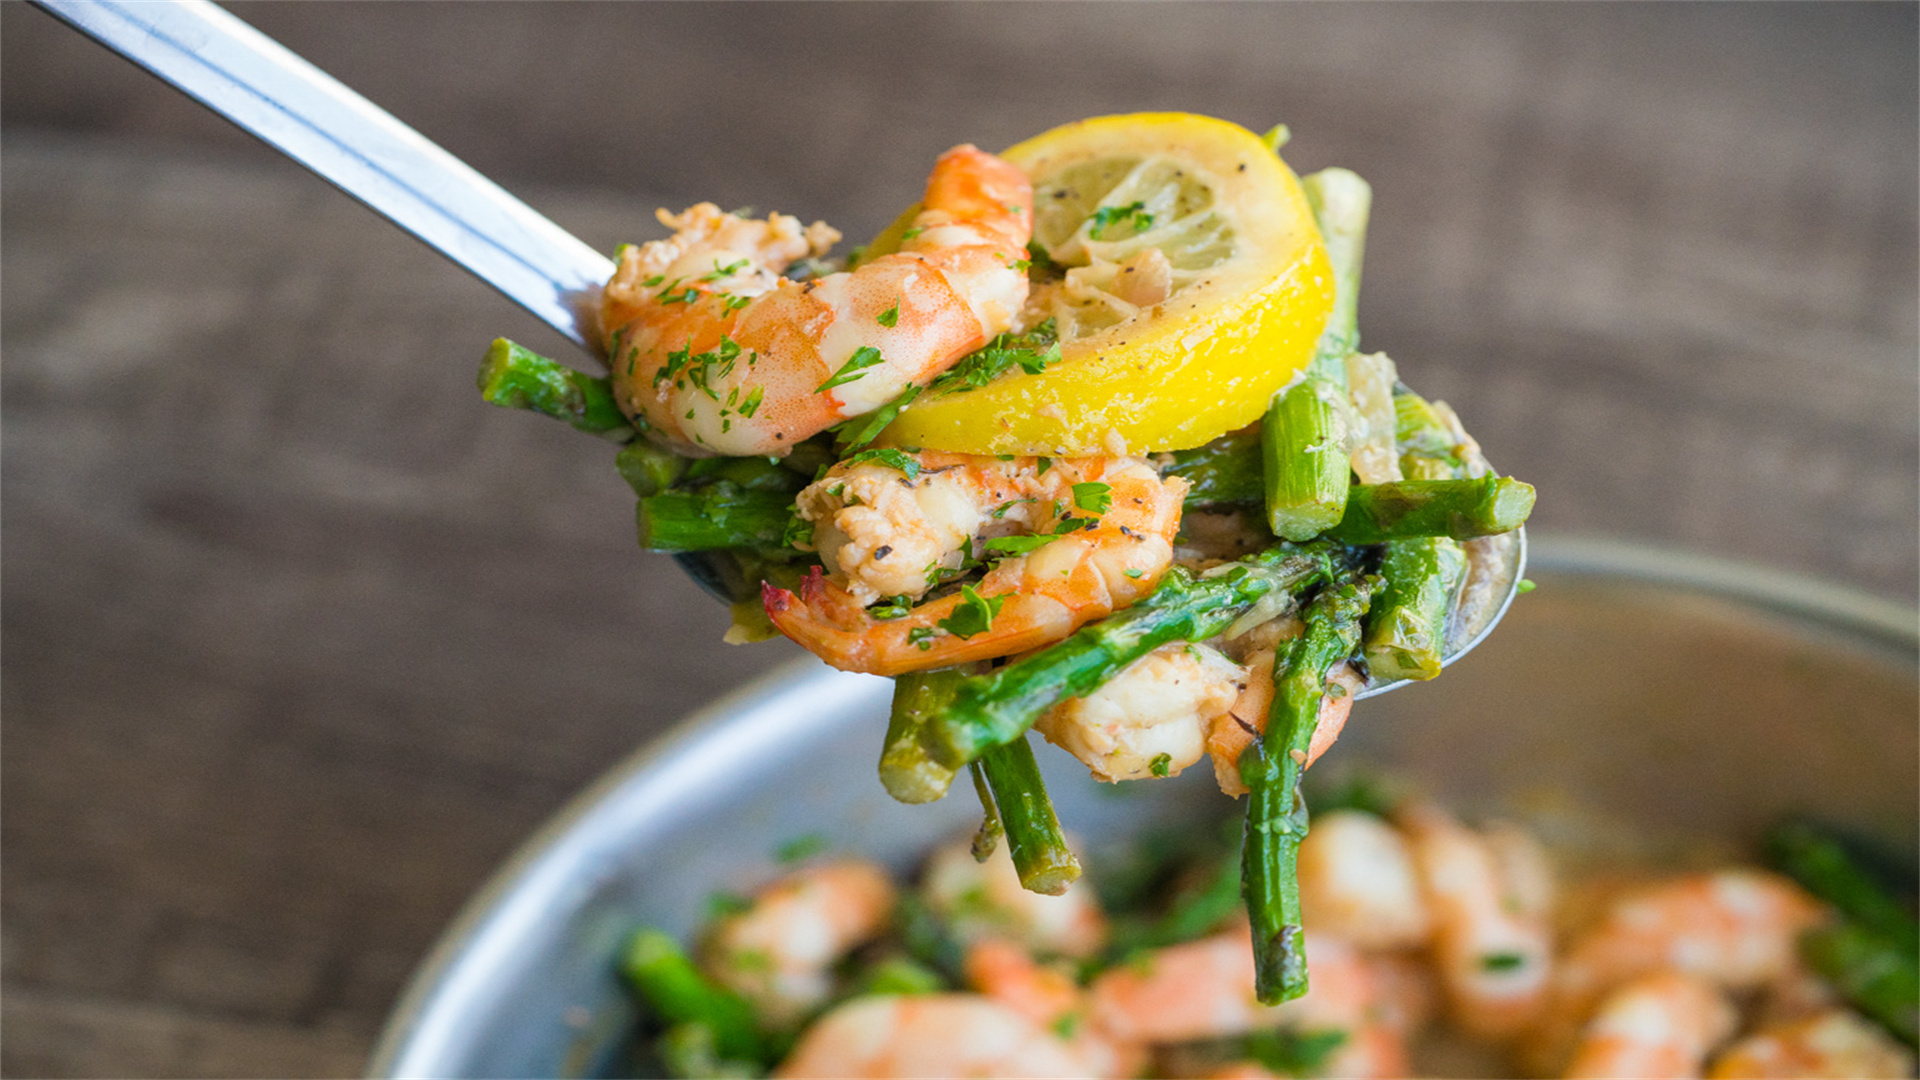
Spring Recipe: Sautéed Asparagus with Lemon and Garlic
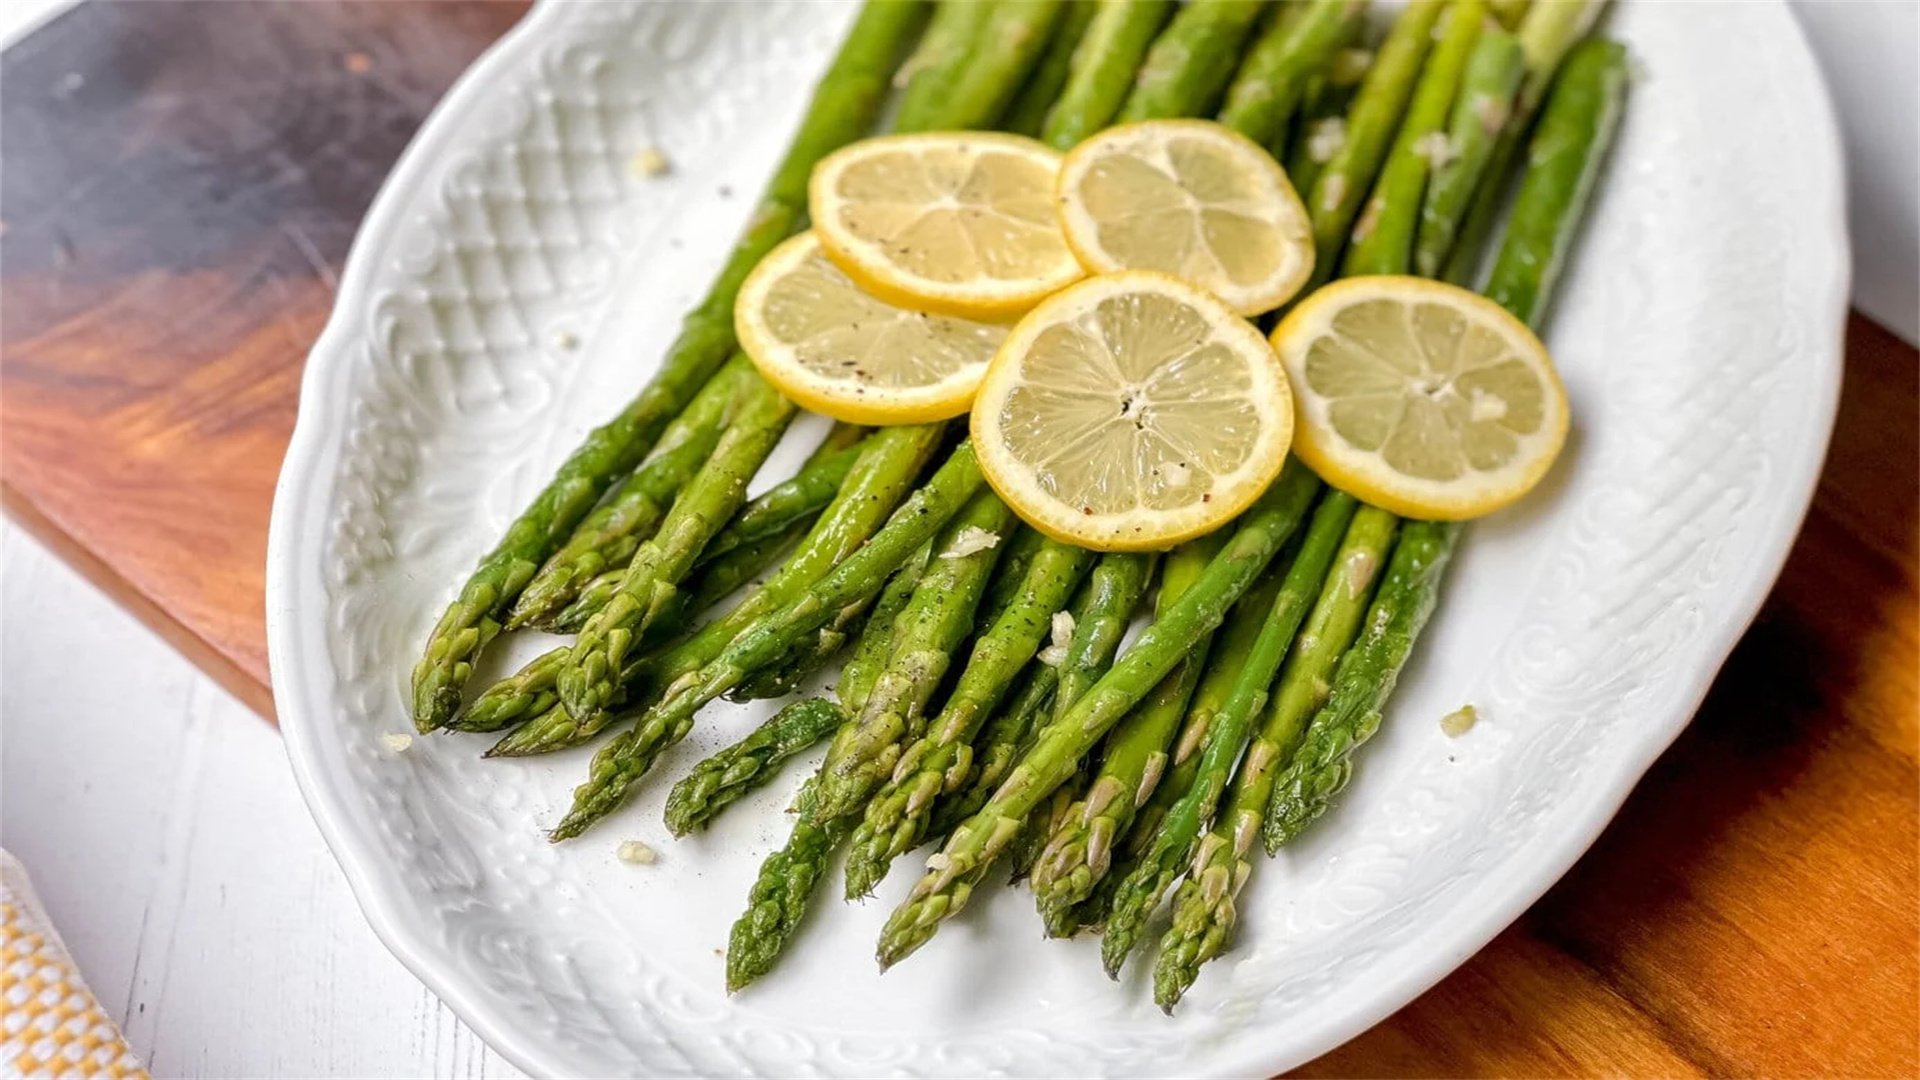
- Description: Spring brings tender asparagus, perfect for sautéing. This dish uses Technique 1 (Sautéing) and Technique 19 (Mincing) for a quick, flavorful side.
- Ingredients:
- 1 bunch of fresh asparagus (about 1 pound), woody ends trimmed
- 2 tablespoons extra-virgin olive oil
- 3 cloves garlic, minced (use Technique 19)
- Zest and juice of 1 lemon
- Salt and freshly ground black pepper to taste
- 2 tablespoons grated Parmesan cheese (optional)
- 1 tablespoon chopped fresh parsley for garnish
- Instructions:
- Prepare the asparagus by washing and drying thoroughly. Trim the tough ends by bending each spear until it snaps naturally, or cut about 1 inch from the bottom.
- Heat a large skillet over medium-high heat. Add the olive oil and swirl to coat the pan.
- Once the oil is hot (shimmering but not smoking), add the asparagus in a single layer. Avoid overcrowding; cook in batches if necessary.
- Sauté for 5-7 minutes, tossing occasionally with tongs, until the asparagus is bright green and tender-crisp. Use Technique 1 for even cooking.
- Add the minced garlic to the pan and sauté for an additional 1-2 minutes, until fragrant but not browned.
- Remove from heat. Stir in the lemon zest, lemon juice, salt, and pepper. Toss to combine.
- Transfer to a serving platter. Sprinkle with Parmesan cheese (if using) and chopped parsley. Serve immediately.
- Tips: For variation, add toasted almonds or prosciutto. This dish pairs well with grilled chicken or fish.
Summer Recipe: Grilled Corn and Zucchini Salad with Herb Vinaigrette
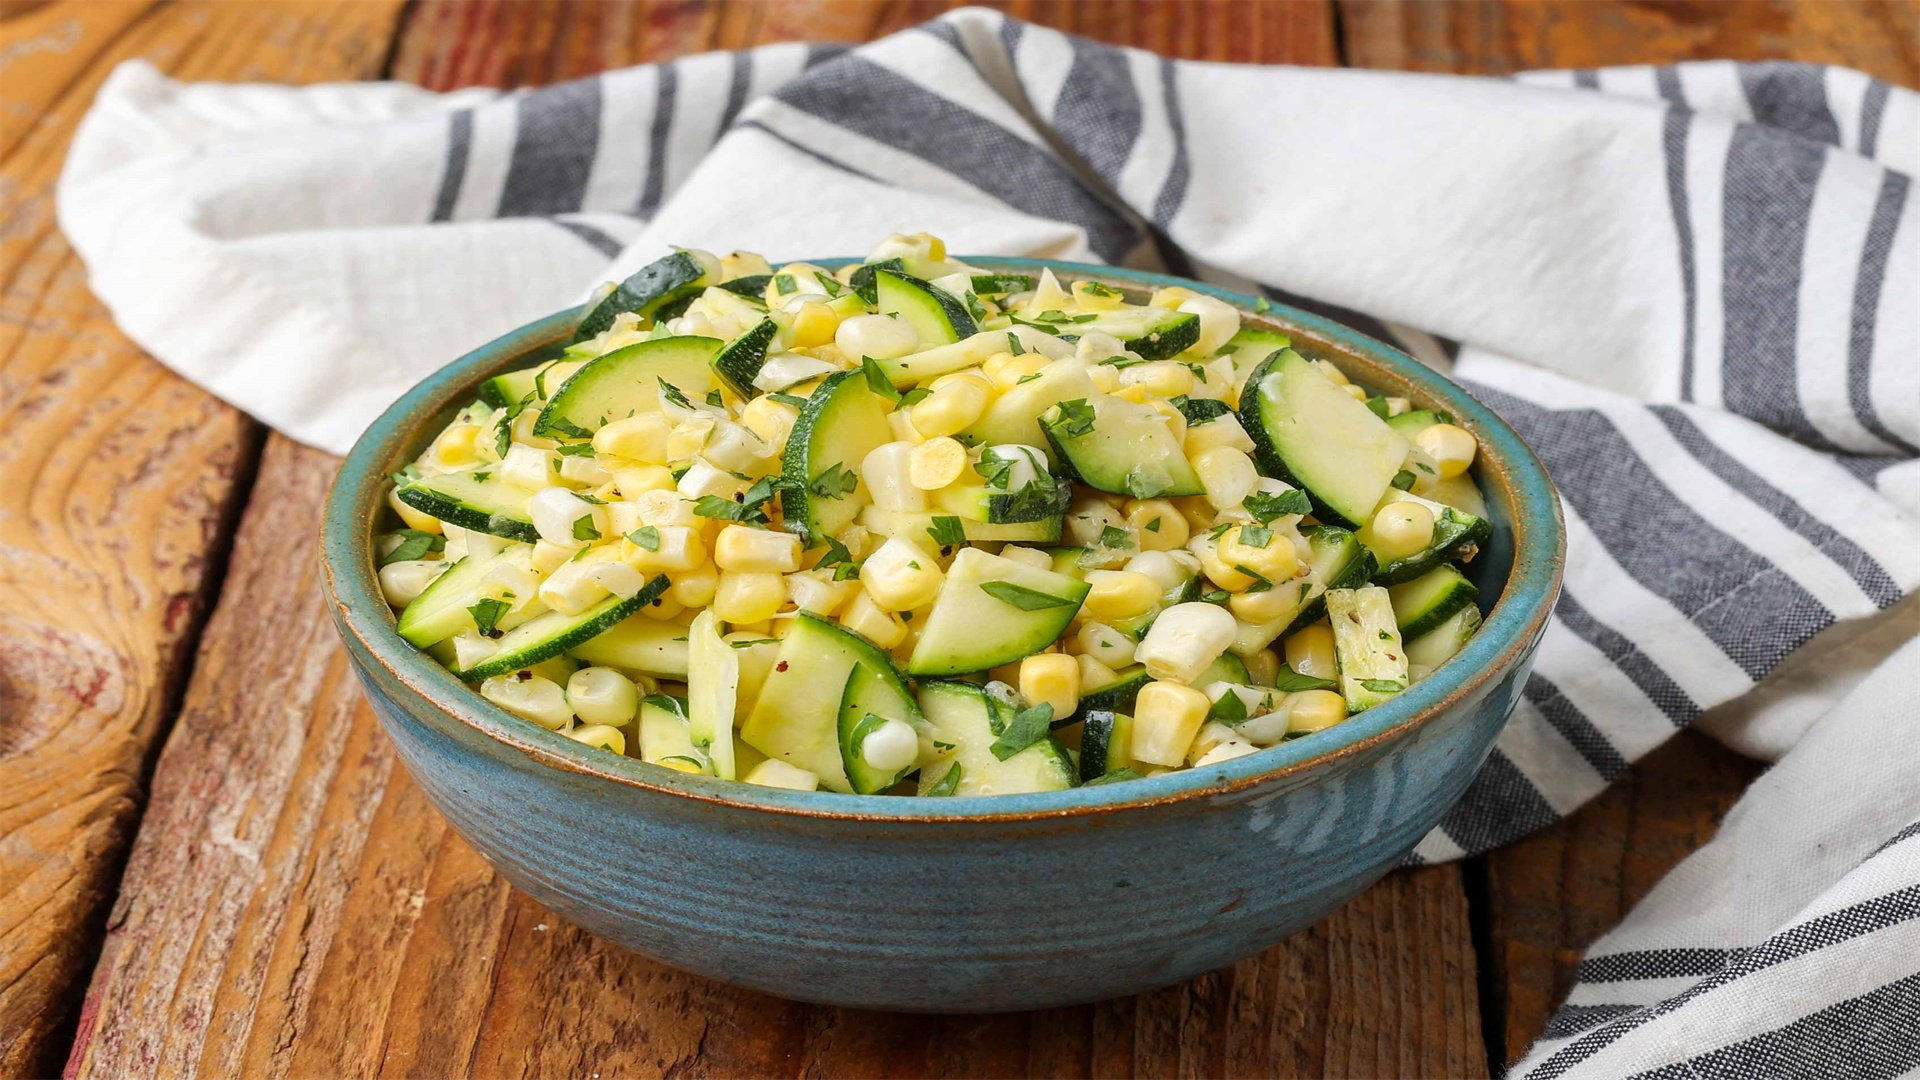
- Description: Summer offers sweet corn and zucchini, ideal for grilling (Technique 4) and emulsifying (Technique 15). This salad is refreshing and colorful.
- Ingredients:
- 4 ears of fresh corn, husks removed
- 2 medium zucchini, sliced lengthwise into 1/4-inch strips
- 2 tablespoons olive oil for brushing
- Salt and pepper to taste
- 1 cup cherry tomatoes, halved
- 1/4 red onion, thinly sliced
- 1/4 cup crumbled feta cheese
- For the herb vinaigrette:
- 1/4 cup extra-virgin olive oil
- 2 tablespoons white wine vinegar
- 1 tablespoon Dijon mustard (acts as an emulsifier)
- 2 tablespoons chopped fresh basil
- 1 tablespoon chopped fresh mint
- 1 clove garlic, minced
- Salt and pepper to taste
- Instructions:
- Preheat grill to medium-high heat (about 400°F or 200°C). Clean and oil the grates.
- Brush corn and zucchini slices with olive oil, and season with salt and pepper.
- Grill corn for 10-12 minutes, turning occasionally, until kernels are charred in spots. Grill zucchini for 3-4 minutes per side, until tender and marked.
- Let vegetables cool slightly. Cut corn kernels off the cobs and chop zucchini into bite-sized pieces.
- In a large bowl, combine corn, zucchini, cherry tomatoes, red onion, and feta cheese.
- To make the vinaigrette, in a small bowl, whisk together Dijon mustard, vinegar, garlic, salt, and pepper. Slowly drizzle in olive oil while whisking vigorously to emulsify (Technique 15). Stir in fresh herbs.
- Pour the vinaigrette over the salad and toss gently to coat. Adjust seasoning if needed. Serve at room temperature or chilled.
- Tips: Add grilled shrimp for a complete meal. This salad can be made ahead; store dressing separately until serving.
Fall Recipe: Roasted Butternut Squash Soup with Sage

- Description: Fall's butternut squash is perfect for roasting (Technique 2) and simmering (Technique 8). This creamy soup highlights seasonal flavors.
- Ingredients:
- 1 large butternut squash (about 3 pounds), peeled, seeded, and cubed
- 2 tablespoons olive oil
- 1 onion, diced (use Technique 20)
- 2 carrots, diced
- 2 cloves garlic, minced
- 4 cups vegetable broth
- 1 teaspoon fresh sage leaves, chopped, plus more for garnish
- 1/2 teaspoon ground nutmeg
- Salt and pepper to taste
- 1/2 cup heavy cream or coconut milk (optional)
- Toasted pumpkin seeds for garnish
- Instructions:
- Preheat oven to 400°F (200°C). Toss butternut squash cubes with 1 tablespoon olive oil, salt, and pepper. Spread on a baking sheet in a single layer.
- Roast for 25-30 minutes, stirring halfway, until squash is tender and caramelized (Technique 2).
- While squash roasts, heat remaining oil in a large pot over medium heat. Add diced onion and carrots, and sauté for 8-10 minutes until softened.
- Add minced garlic and sage, and cook for 1 minute until fragrant.
- Add the roasted squash and vegetable broth to the pot. Bring to a boil, then reduce heat to simmer (Technique 8). Cover and simmer for 20 minutes to blend flavors.
- Use an immersion blender to puree the soup until smooth, or transfer in batches to a blender (be careful with hot liquids).
- Stir in nutmeg, and season with salt and pepper. If using, add cream or coconut milk for richness.
- Serve hot, garnished with fresh sage and toasted pumpkin seeds.
- Tips: For a vegan version, omit cream and use coconut milk. This soup freezes well for future meals.
Winter Recipe: Braised Beef Short Ribs with Root Vegetables
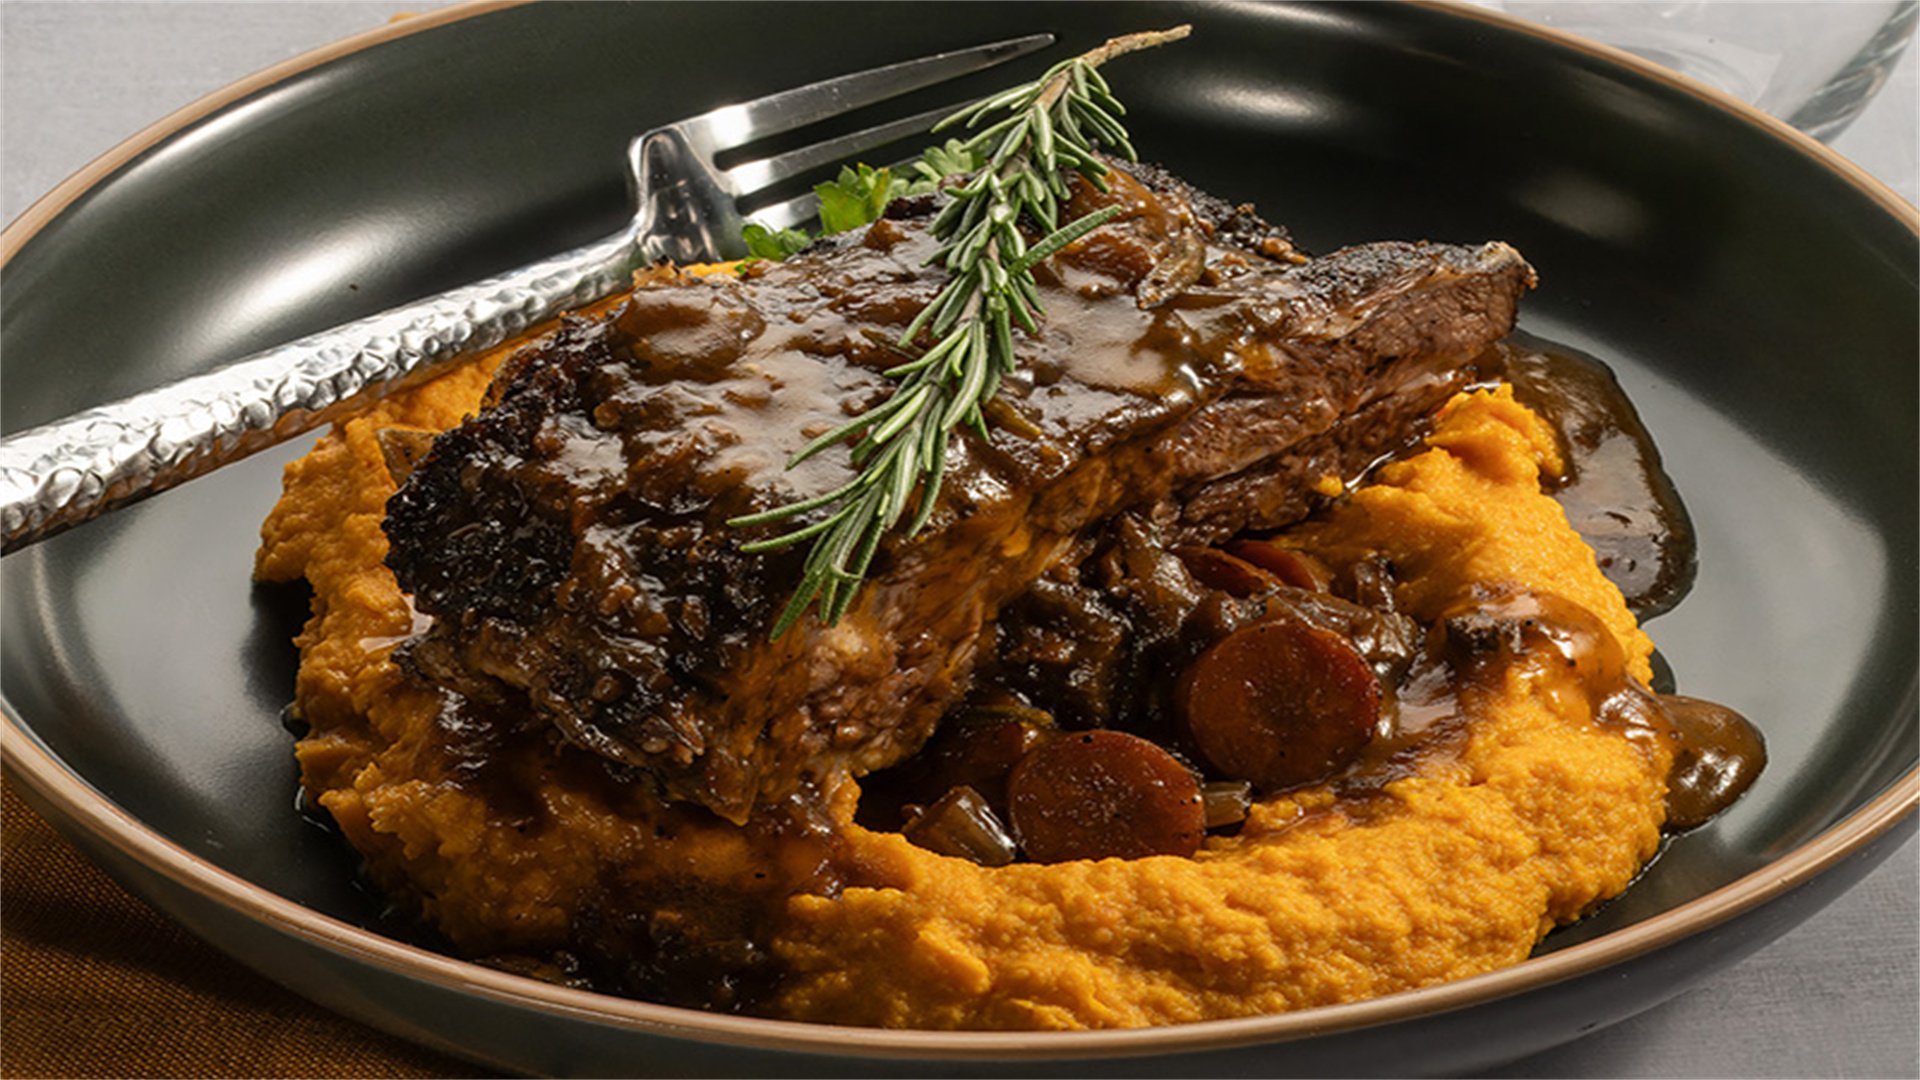
- Description: Winter calls for hearty dishes, and braising (Technique 3) tenderizes tough cuts like short ribs. This recipe uses seasonal root vegetables for a comforting meal.
- Ingredients:
- 4 pounds beef short ribs, trimmed of excess fat
- Salt and pepper to taste
- 2 tablespoons all-purpose flour
- 2 tablespoons olive oil
- 1 onion, diced
- 2 carrots, diced
- 2 parsnips, diced
- 3 cloves garlic, minced
- 2 cups red wine (such as Cabernet Sauvignon)
- 4 cups beef broth
- 2 tablespoons tomato paste
- 2 sprigs fresh thyme
- 2 bay leaves
- Chopped parsley for garnish
- Instructions:
- Preheat oven to 325°F (160°C). Season short ribs generously with salt and pepper, then dust with flour.
- In a large Dutch oven or oven-safe pot, heat olive oil over medium-high heat. Brown short ribs on all sides, about 3-4 minutes per side, in batches to avoid overcrowding. Remove and set aside.
- In the same pot, add diced onion, carrots, and parsnips. Sauté for 5-7 minutes until softened.
- Add minced garlic and cook for 1 minute. Stir in tomato paste and cook for another minute.
- Deglaze the pot (Technique 14) by pouring in red wine, scraping up browned bits. Simmer for 5 minutes to reduce slightly.
- Return short ribs to the pot. Add beef broth, thyme, and bay leaves. The liquid should cover about two-thirds of the ribs.
- Cover and transfer to the oven. Braise for 2.5 to 3 hours (Technique 3), until meat is fork-tender.
- Remove from oven. Skim off excess fat from the surface. Discard thyme sprigs and bay leaves.
- Serve short ribs and vegetables over mashed potatoes or polenta, garnished with chopped parsley.
- Tips: Make this a day ahead; flavors improve overnight. Reheat gently on the stove.
These recipes demonstrate how seasonal ingredients can be transformed with basic techniques. Experiment with different produce and methods to create your own seasonal masterpieces.
✅ Conclusion
Remember, cooking is a journey—start with one technique or recipe, practice regularly, and don't be afraid to adapt based on what's in season. By embracing these principles, you'll not only improve your home cooking but also develop a deeper appreciation for food's natural rhythms. Happy cooking!
For further inspiration, explore local farmers' markets, cookbooks, and online resources. Share your creations with friends and family, and enjoy the process of becoming a skilled home chef.