9 Winter Plant Care Hacks Every Gardener Should Know
Winter presents unique challenges for gardeners, as freezing temperatures, frost, snow, and reduced sunlight can stress or damage plants. However, with proactive care strategies, you can protect your garden and ensure it thrives come spring. This comprehensive guide delves into nine essential winter plant care hacks, drawing from expert advice and practices common on international gardening websites. Each hack is broken down with detailed explanations, advantages, disadvantages, and step-by-step implementation tips. By the end, you'll have a robust toolkit to safeguard both outdoor and indoor plants during the coldest months. Let's explore these techniques to keep your garden healthy and resilient.
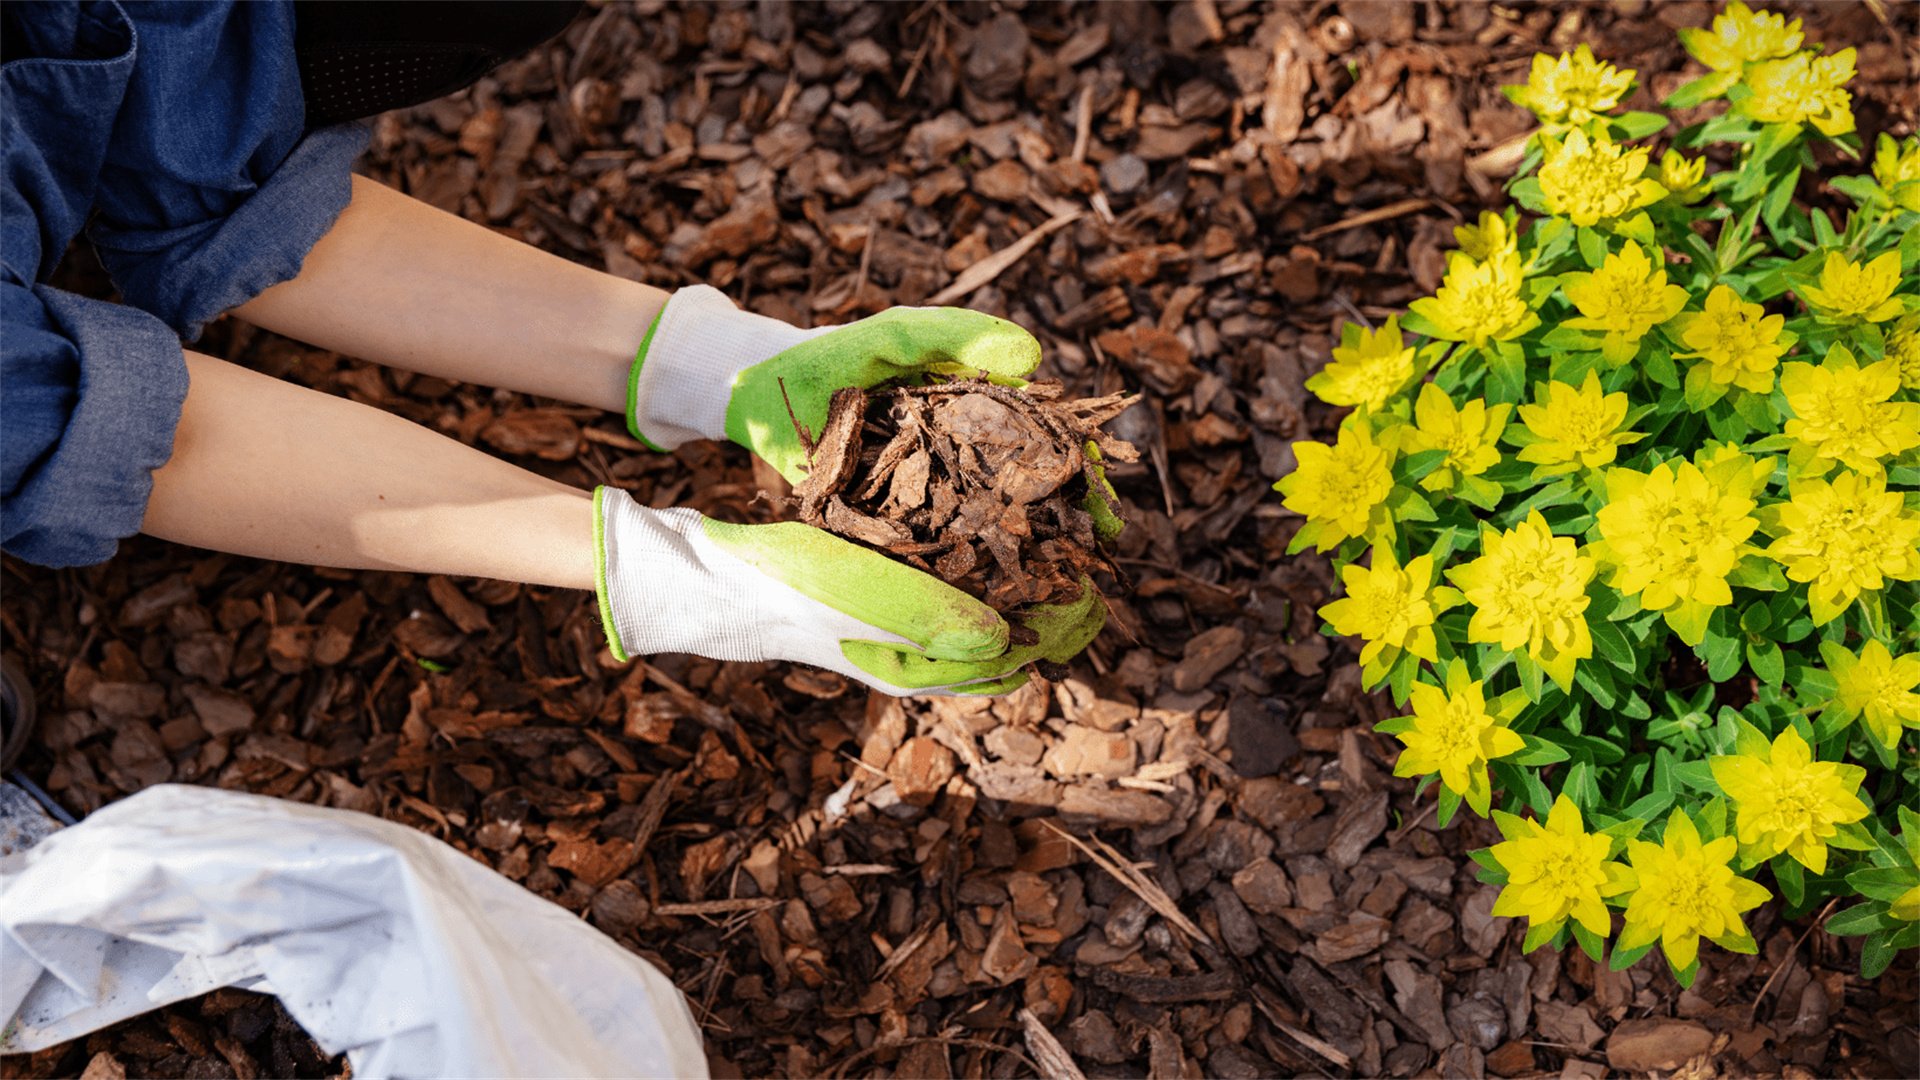
🍂 Hack 1: Mulching for Insulation
Mulching is a foundational winter care technique that involves applying a layer of material over soil to protect plant roots from extreme cold. It acts as a blanket, regulating soil temperature, retaining moisture, and suppressing weeds. This hack is especially crucial for perennials, shrubs, and newly planted trees in regions with harsh winters.
Advantages
- Temperature Regulation: Mulch insulates soil, preventing rapid freezing and thawing cycles that can heave roots out of the ground.
- Moisture Retention: It reduces water evaporation, ensuring roots remain hydrated even in dry winter air.
- Weed Suppression: By blocking sunlight, mulch minimizes weed growth that could compete with plants for resources.
- Soil Enrichment: Organic mulches decompose over time, adding nutrients and improving soil structure.
- Erosion Prevention: Mulch protects soil from wind and water erosion during winter storms.
Disadvantages
- Risk of Rot: If applied too thickly or placed against plant stems, mulch can trap moisture and cause stem or root rot.
- Pest Habitats: Some mulches, like straw, may harbor rodents or insects seeking warmth.
- Soil pH Alteration: Certain mulches, such as pine needles, can acidify soil, which may not suit all plants.
- Delayed Spring Growth: Excessive mulch can keep soil cold longer, delaying plant emergence in spring.
How to Implement
- Select the Right Mulch: Choose organic materials like shredded bark, straw, leaves, or compost. Avoid synthetic options that don't decompose. For cold climates, straw or wood chips are ideal for their insulating properties.
- Timing is Key: Apply mulch after the first hard frost, typically in late fall or early winter. This prevents soil from warming up prematurely and reduces frost heave.
- Proper Application: Spread mulch evenly to a depth of 2-4 inches around plants. Keep it at least 2-3 inches away from stems or trunks to avoid moisture buildup and rot. For trees, create a donut-shaped ring rather than a volcano mound.
- Monitor and Maintain: Check mulch periodically for compaction or pest activity. Fluff it with a rake if it becomes matted, and replenish as needed throughout winter.
- Consider Plant-Specific Needs: For tender perennials, add an extra layer of mulch after freezing sets in. In snowy regions, snow can act as natural mulch, but supplement with organic mulch for added protection.
Pro Tip
Use evergreen boughs or pine needles as mulch for acid-loving plants like azaleas; they provide insulation and slowly release nutrients.

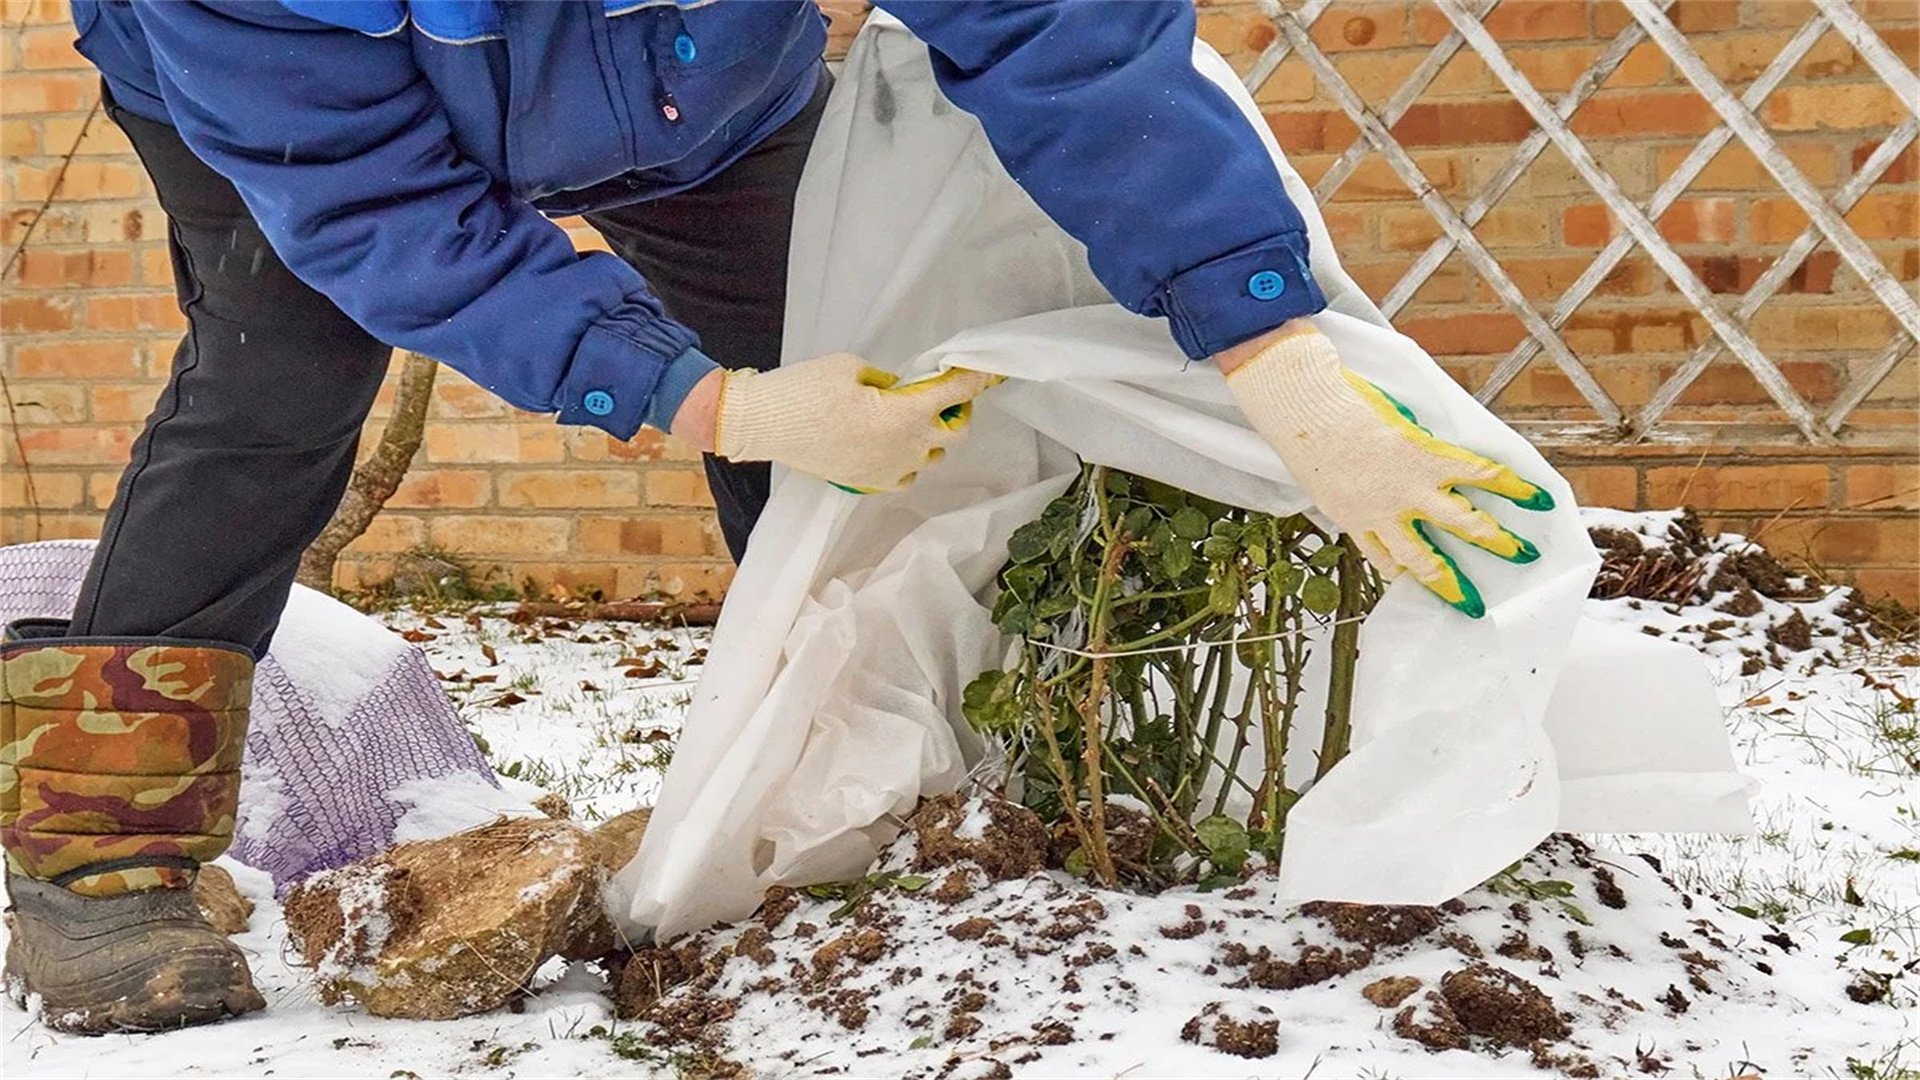
❄️ Hack 2: Protecting Plants from Frost
Frost occurs when temperatures drop below freezing, causing ice crystals to form on plant tissues, which can lead to cell damage and wilting. Protecting sensitive plants from frost is vital for survival, especially for tropical species, young seedlings, and early bloomers.
Advantages
- Prevents Tissue Damage: Shields leaves, buds, and stems from freezing, reducing the risk of blackened or mushy growth.
- Extends Growing Season: Allows cool-weather crops like kale or spinach to thrive longer into winter.
- Reduces Plant Stress: Minimizes shock from temperature fluctuations, promoting healthier regrowth in spring.
- Cost-Effective: Many frost protection methods use household items, making them affordable.
Disadvantages
- Labor-Intensive: Covering and uncovering plants daily can be time-consuming, especially for large gardens.
- Moisture Trapping: Improper covers may create humid conditions, encouraging fungal diseases like mildew.
- Limited Effectiveness: In severe cold (below 20°F), covers may not provide enough insulation without additional heat sources.
- Aesthetic Impact: Temporary covers like cloths or plastic can look untidy in garden spaces.
How to Implement
- Identify Frost-Sensitive Plants: Common examples include citrus trees, impatiens, fuchsias, and vegetable seedlings. Check plant tags or gardening guides for hardiness zones.
- Use Frost Cloths or Blankets: Invest in breathable fabrics like row covers or frost blankets. Drape them over plants before sunset on frosty nights, securing edges with stones or stakes to trap ground heat. Avoid plastic sheets directly on plants, as they can cause condensation freeze.
- Employ Cloches or Domes: For individual plants, use cloches made from glass, plastic, or even milk jugs with bottoms cut out. Place them over plants and remove during the day for ventilation.
- Water Before Frost: Water soil deeply in the afternoon before a frost forecast. Moist soil retains heat better than dry soil, radiating warmth overnight.
- Utilize Microclimates: Group potted plants together in sheltered areas like against south-facing walls or under eaves. For in-ground plants, install cold frames or hoop houses for ongoing protection.
- Remove Covers Promptly: Uncover plants in the morning once temperatures rise above freezing to prevent overheating and allow photosynthesis.
Pro Tip
For potted trees, wrap pots with bubble wrap or burlap to insulate roots, and move them to a garage or shed during extreme cold snaps.
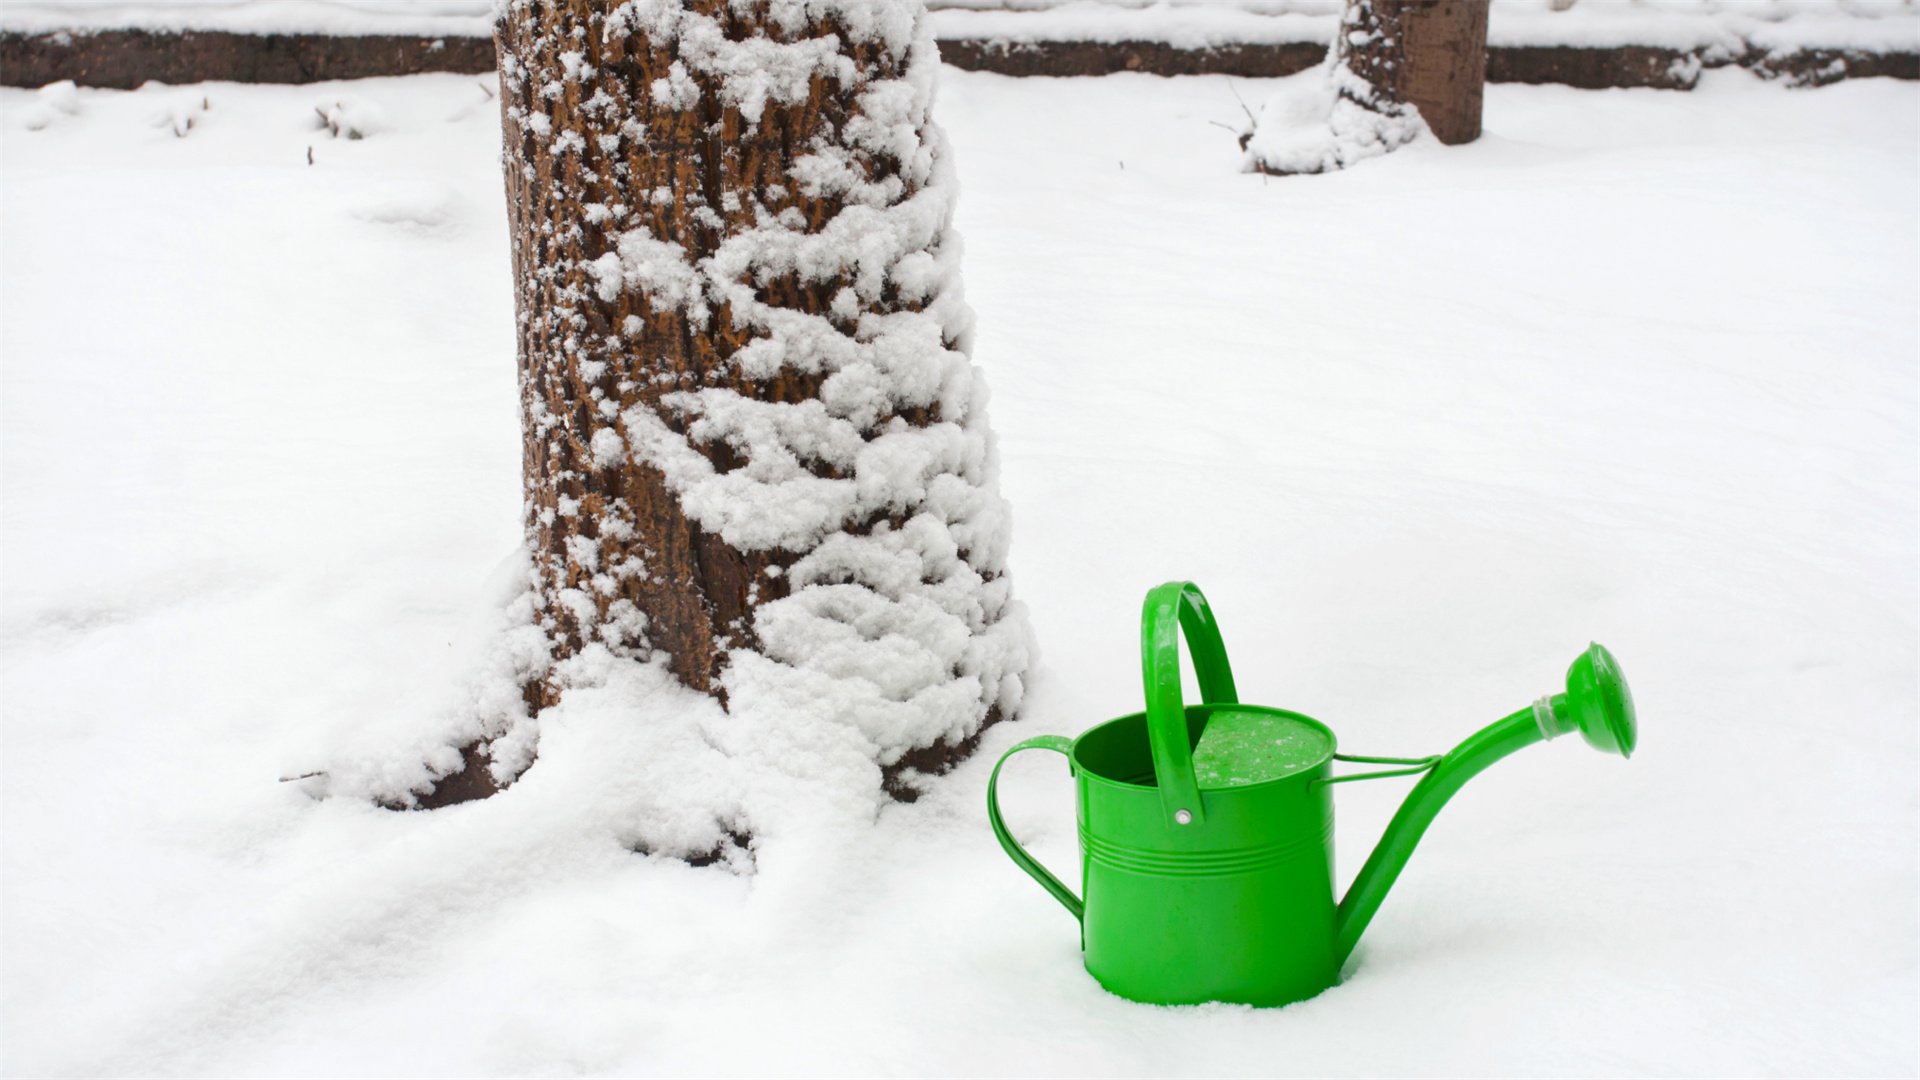
💧 Hack 3: Watering Wisely in Winter
Winter watering requires a balanced approach, as plants experience reduced growth and evaporation rates. Overwatering can lead to root rot, while underwatering causes dehydration, especially in evergreens. Understanding soil moisture and weather patterns is key to effective winter hydration.
Advantages
- Prevents Winter Drought: Evergreen plants continue to lose moisture through leaves; watering prevents desiccation and browning.
- Enhances Frost Resistance: Well-hydrated cells are less prone to freeze damage, as water acts as a buffer against cold.
- Supports Root Health: Maintains soil moisture for root systems, which remain active in milder winter spells.
- Reduces Stress: Helps plants enter dormancy healthily and emerge stronger in spring.
Disadvantages
- Risk of Overwatering: Cold, wet soil can suffocate roots and promote fungal diseases like root rot.
- Timing Challenges: Watering late in the day may lead to ice formation on plants or soil surface.
- Difficulty in Assessment: Snow cover or mulch can obscure soil moisture levels, making it hard to gauge when to water.
- Waste of Resources: In areas with frequent snow or rain, supplemental watering may be unnecessary.
How to Implement
- Monitor Soil Moisture: Use a soil moisture meter or manually check by digging a small hole 2-3 inches deep. Water only if soil feels dry; avoid watering if frozen.
- Water in the Morning: Schedule watering for mid-morning on sunny days when temperatures are above freezing. This allows absorption before nightfall.
- Focus on Key Plants: Prioritize evergreens, newly planted trees, shrubs, and perennials, as they are most vulnerable. Container plants also need attention since pots dry out faster.
- Apply Deep, Infrequent Watering: Water slowly and deeply to reach root zones, but reduce frequency to once every 2-4 weeks, depending on weather. Aim for about 1 inch of water per session.
- Use Efficient Methods: Employ soaker hoses or drip irrigation systems to deliver water directly to roots, minimizing runoff and evaporation. Avoid overhead sprinklers, which can ice over foliage.
- Adjust for Weather Conditions: In snowy regions, rely on snow melt for moisture. In dry, windy areas, increase watering frequency slightly. Always check local forecasts to avoid watering before a freeze.
Pro Tip
For indoor plants, reduce watering by 50% in winter, and use room-temperature water to prevent shock. Ensure pots have drainage holes to prevent waterlogging.
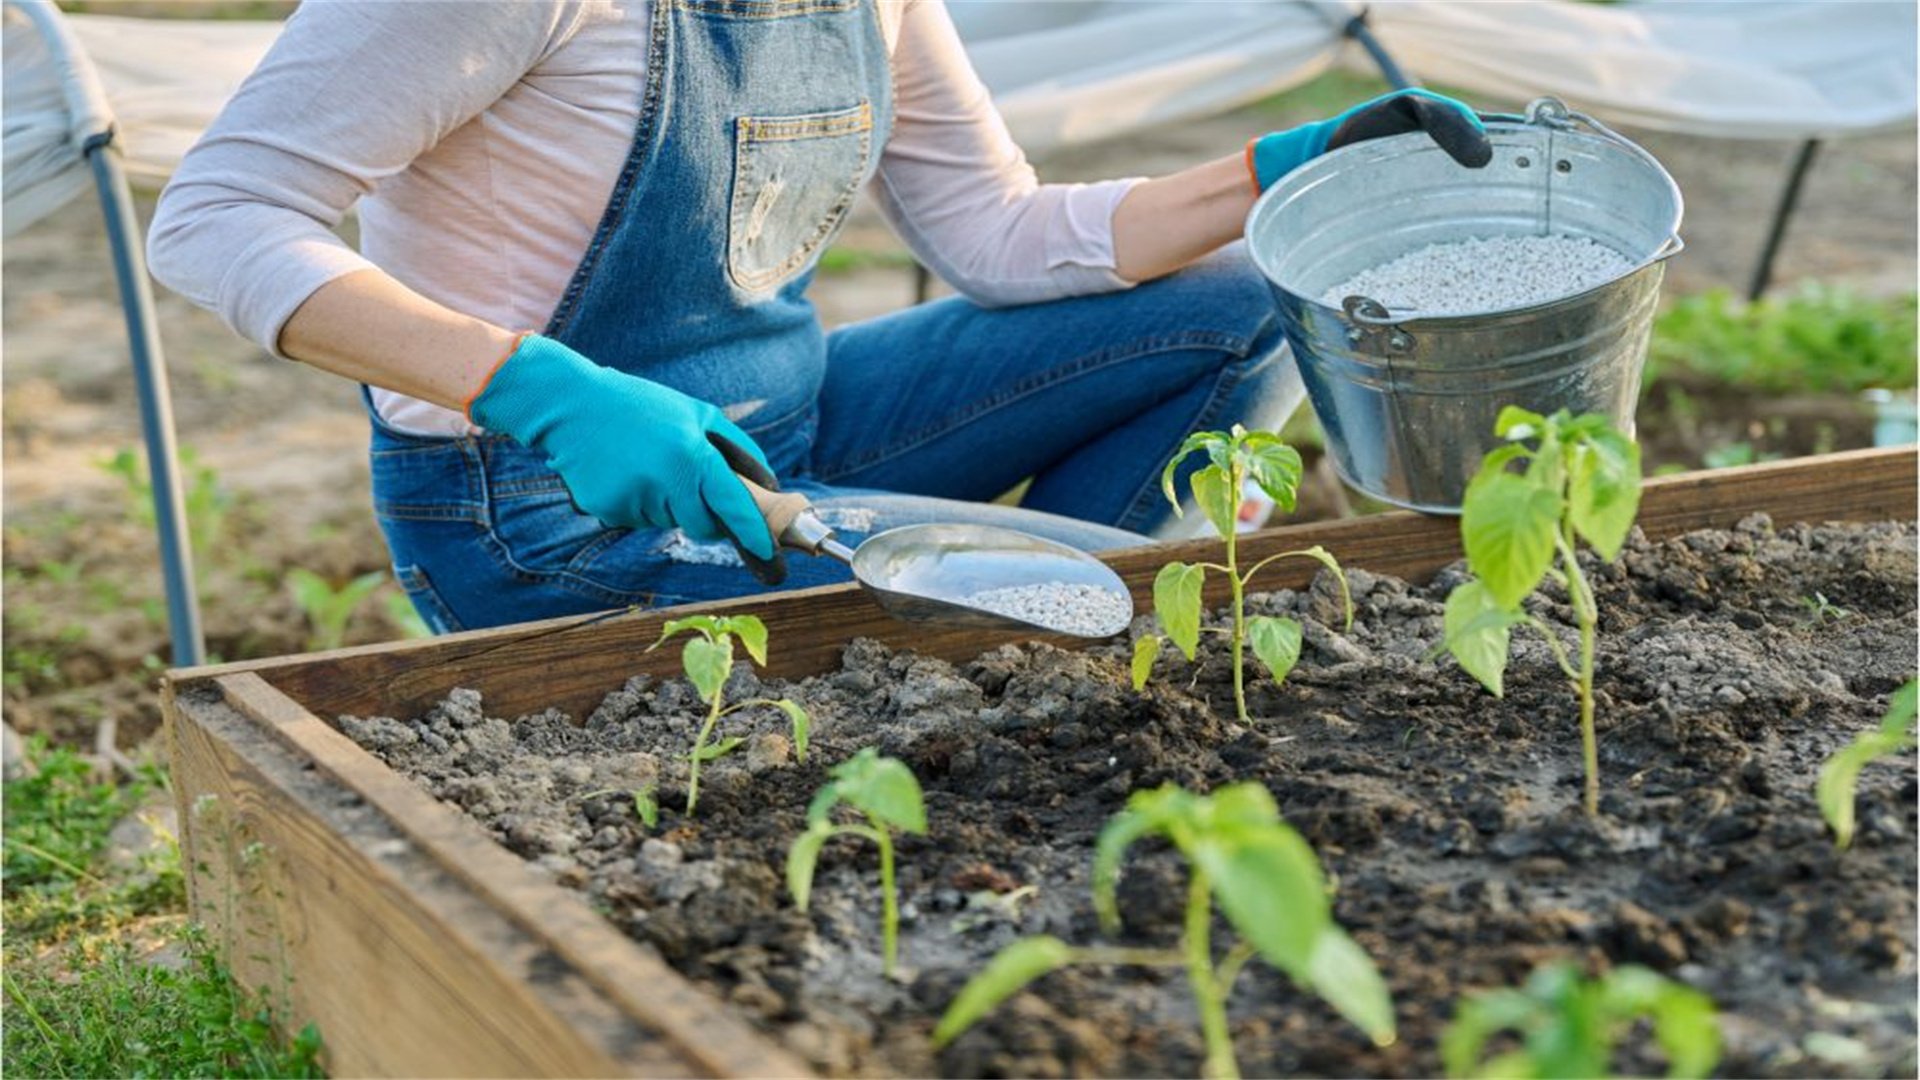
🚫 Hack 4: Avoiding Winter Fertilization
Fertilizing plants in winter is generally discouraged because most plants are dormant and not actively growing. Applying fertilizer can stimulate tender new growth that is susceptible to frost damage, and nutrients may leach away in wet soils. This hack emphasizes holding off on feeding until spring.
Advantages
- Prevents Frost Damage: Avoids promoting soft growth that can be killed by cold, preserving plant energy.
- Encourages Natural Dormancy: Allows plants to slow down metabolism and conserve resources for spring.
- Reduces Environmental Impact: Minimizes fertilizer runoff into waterways, which is more common in rainy winter months.
- Saves Money and Effort: Eliminates unnecessary applications, focusing resources on spring when plants need them most.
Disadvantages
- Potential Nutrient Deficiency: In mild climates where plants remain semi-active, some may benefit from light feeding, but this requires careful assessment.
- Misconceptions: Gardeners may worry about plant health, leading to overcompensation with fertilizers.
- Limited Options for Exceptions: Certain winter-blooming plants or indoor varieties may still require fertilization, but at reduced rates.
How to Implement
- Stop Fertilizing in Fall: Begin tapering off fertilizer applications in late summer to early fall, as days shorten. This helps plants harden off for winter.
- Resume in Spring: Wait until after the last average frost date and when plants show signs of new growth, such as bud break or green shoots. Typically, this is in early to mid-spring.
- Use Soil Tests: Conduct a soil test in late winter to assess nutrient levels. This informs spring fertilization plans without guessing.
- Focus on Soil Health: Instead of fertilizers, apply compost or well-rotted manure in fall. This enriches soil slowly and improves structure without forcing growth.
- Exceptions for Indoor and Container Plants: For houseplants or greenhouse specimens, reduce fertilization frequency to once every 6-8 weeks in winter, using half-strength balanced fertilizer. Avoid feeding dormant plants like succulents entirely.
- Avoid Quick-Release Fertilizers: If you must fertilize in late winter for early crops, opt for slow-release organic options like bone meal or kelp meal, which break down gradually.
Pro Tip
For vegetable gardens, plant cover crops like clover in fall to fix nitrogen naturally, eliminating the need for winter fertilization.
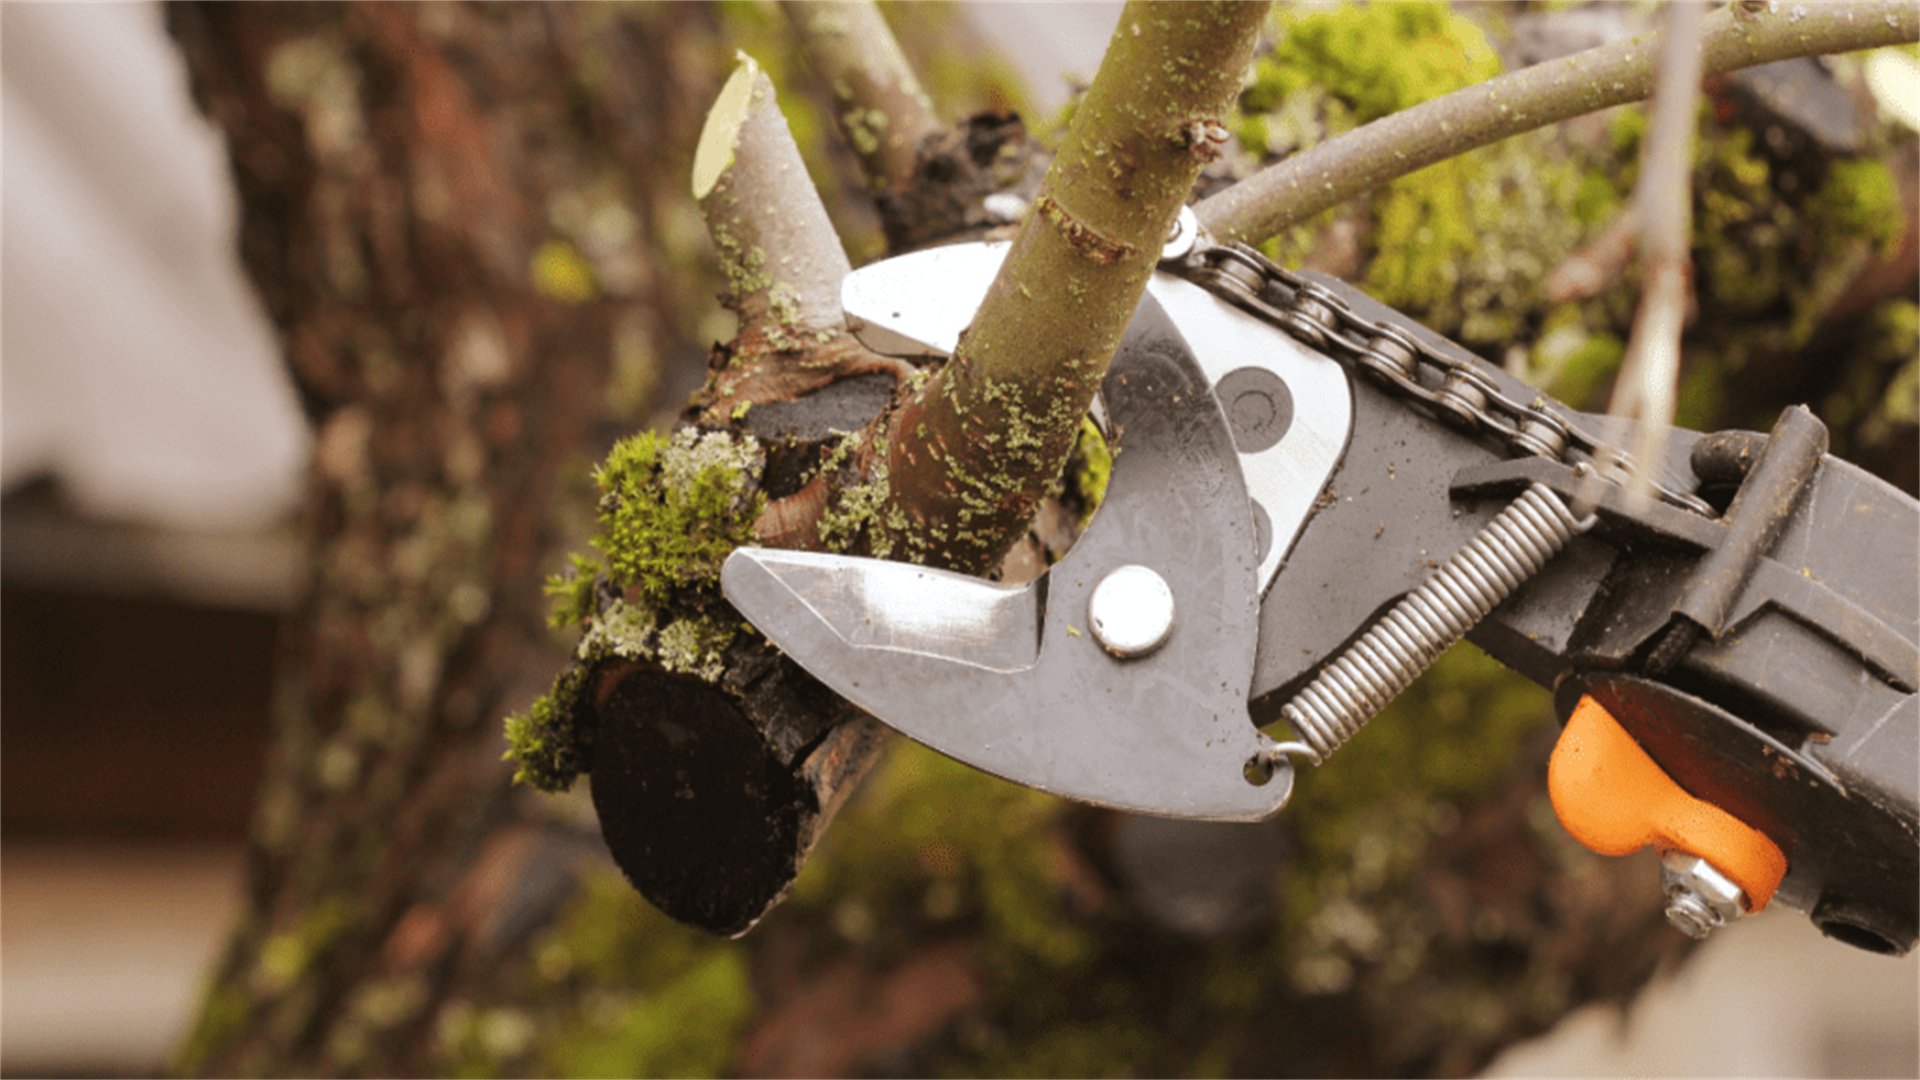
✂️ Hack 5: Pruning for Health and Structure
Winter pruning is a strategic practice that removes dead, diseased, or overgrown branches while plants are dormant. It improves air circulation, shapes plants, and encourages vigorous spring growth. However, timing and technique are critical to avoid harm.
Advantages
- Enhances Plant Health: Removes infected or damaged wood, preventing disease spread and pest infestations.
- Promotes Better Growth: Directs energy to healthy buds, resulting in stronger stems and more blooms or fruit.
- Improves Visibility: With leaves gone, it's easier to see branch structure and make precise cuts.
- Reduces Storm Damage: Thinning out weak branches minimizes breakage from snow or wind loads.
- Stimulates Fruit Production: For fruit trees, winter pruning increases sunlight penetration and air flow, boosting yield.
Disadvantages
- Risk of Cold Injury: Pruning too early in winter can expose cuts to freezing temperatures, causing dieback.
- Incorrect Timing for Spring-Bloomers: Plants like lilacs or forsythia set buds on old wood; pruning in winter removes flowers.
- Over-Pruning Stress: Removing too much foliage can weaken plants, making them susceptible to disease or sunscald.
- Disease Transmission: If tools are not sanitized, pruning can spread pathogens between plants.
How to Implement
- Identify Pruning Candidates: Focus on deciduous trees, shrubs, and vines that benefit from dormant pruning, such as maples, oaks, roses, and grapes. Avoid pruning evergreens in winter, as they are more vulnerable.
- Choose the Right Time: Prune in late winter, just before spring growth begins (e.g., February to March in temperate zones). This minimizes exposure to cold and allows quick healing.
- Use Proper Tools: Employ sharp, clean bypass pruners for small branches, loppers for medium ones, and a saw for large limbs. Disinfect tools with a solution of 70% alcohol or bleach between plants.
- Follow Pruning Techniques: For large branches, use the three-cut method: make an undercut 12 inches from the trunk, then a top cut further out to remove weight, and finally a clean cut just outside the branch collar. This prevents bark tearing.
- Remove Specific Growth: Target dead, crossing, rubbing, or inward-growing branches. Thin out crowded areas to improve air flow. For shaping, cut back to outward-facing buds.
- Protect Pruning Wounds: In very cold climates, consider applying a thin layer of tree wound dressing to large cuts, though this is debated; natural healing is often best.
- Avoid Pruning in Wet Weather: Moist conditions can spread fungal spores; prune on dry, mild days.
Pro Tip
For roses, prune hybrid teas in late winter by cutting back to 12-18 inches and removing any dead canes. This encourages robust spring blooms.

🏠 Hack 6: Caring for Indoor Plants During Winter
Indoor plants face challenges in winter, including low humidity, reduced sunlight, and temperature fluctuations from heating systems. Adjusting care routines can prevent common issues like leaf drop, pests, and stunted growth.
Advantages
- Maintains Plant Vitality: Adapts care to seasonal changes, keeping plants healthy and attractive.
- Prevents Pest Outbreaks: Regular monitoring catches spider mites or mealybugs early, which thrive in dry indoor air.
- Improves Indoor Environment: Healthy plants boost humidity and air quality, counteracting dry winter air.
- Encourages Dormancy: Allows some plants, like cacti, to rest naturally, promoting better growth in spring.
Disadvantages
- Overcare Risks: Gardeners may overwater or over-fertilize out of concern, leading to root rot or nutrient burn.
- Light Limitations: Short days and weak sunlight can cause etiolation (leggy growth), especially in sun-loving plants.
- Heating System Effects: Forced air can dry out soil and foliage quickly, requiring more frequent humidity management.
- Space Constraints: Moving plants to brighter spots may be challenging in small homes.
How to Implement
- Optimize Light Exposure: Place plants near south or west-facing windows for maximum sunlight. Rotate them weekly to ensure even growth. For low-light areas, use full-spectrum grow lights for 12-14 hours daily.
- Increase Humidity: Group plants together to create a microclimate. Use humidifiers set to 40-50% humidity, or place pots on trays filled with water and pebbles (ensure pots don't sit in water). Mist leaves occasionally with room-temperature water.
- Adjust Watering: Reduce watering frequency, as plants grow slower. Check soil moisture weekly—water only when the top inch feels dry. Use lukewarm water to avoid root shock.
- Maintain Consistent Temperatures: Keep plants away from drafts, cold windows, and heat vents. Ideal indoor temperatures are 65-75°F during the day and slightly cooler at night.
- Fertilize Sparingly: Suspend fertilization for most indoor plants in winter. If growth continues, apply a diluted, balanced fertilizer once every 6-8 weeks.
- Monitor for Pests: Inspect leaves and stems weekly for signs of pests. Treat infestations with insecticidal soap or neem oil, isolating affected plants to prevent spread.
- Prune and Clean: Remove yellowing or dead leaves to encourage new growth. Wipe leaves with a damp cloth to remove dust, which can block sunlight.
Pro Tip
For flowering plants like poinsettias or orchids, provide bright indirect light and avoid temperature swings to prolong blooms through winter.
🛡️ Hack 7: Shielding Plants from Wind and Snow
Wind and snow can cause physical damage and exacerbate cold stress in plants. Windburn dries out foliage, while heavy snow can break branches. This hack involves using barriers and techniques to mitigate these effects, especially for exposed gardens.
Advantages
- Reduces Desiccation: Windbreaks slow wind speed, preventing moisture loss from leaves and stems.
- Prevents Breakage: Proper support and snow removal minimize branch damage from snow load.
- Creates Microclimates: Sheltered areas stay warmer, protecting tender plants and extending the growing season.
- Improves Plant Stability: Staking or wrapping prevents plants from toppling in strong winds.
Disadvantages
- Installation Effort: Setting up windbreaks or wraps can be labor-intensive, especially for large gardens.
- Potential Shading: Improperly placed barriers may block sunlight, affecting plant growth.
- Cost: Commercial windbreak materials like burlap or fencing can be expensive.
- Temporary Nature: Some solutions need to be removed in spring, requiring storage space.
How to Implement
- Install Windbreaks: Erect barriers on the windward side of plants (usually north or west). Use materials like burlap screens, snow fencing, or evergreen shrubs. For immediate protection, stake burlap around vulnerable plants, leaving the top open for light.
- Wrap Vulnerable Plants: For young trees or thin-barked species like maples, wrap trunks with commercial tree guards or burlap from the base up to the first branches. This prevents sunscald and wind damage.
- Manage Snow Load: After snowfalls, gently brush snow off branches with a broom, working upward to avoid breakage. For shrubs, tie branches loosely with twine to prevent splaying under snow weight.
- Use Anti-Desiccant Sprays: Apply anti-transpirant sprays to evergreen leaves in late fall. These coatings reduce moisture loss without blocking photosynthesis.
- Stake Tall Plants: Secure perennials or young trees with stakes and soft ties to prevent wind rock, which can damage roots.
- Employ Natural Barriers: Plant hardy hedges or install trellises with evergreen vines to create permanent windbreaks. Position potted plants in groups against walls or under eaves for mutual protection.
- Monitor and Adjust: Check barriers regularly for damage or displacement. Remove wraps and stakes in early spring once the threat of severe weather passes.
Pro Tip
For vegetable gardens, use cold frames or hoop houses covered with row covers to shield crops from wind and snow while allowing light penetration.

🐛 Hack 8: Monitoring for Pests and Diseases
Winter doesn't eliminate pests and diseases; many overwinter in soil, plant debris, or bark, emerging in spring. Regular monitoring and preventive measures can reduce outbreaks, keeping plants healthy through the season.
Advantages
- Early Intervention: Detecting issues early allows for targeted treatments, minimizing damage.
- Reduces Chemical Use: Preventive care often avoids the need for harsh pesticides in spring.
- Improves Garden Hygiene: Removing debris and sanitizing tools disrupts pest life cycles.
- Protects Beneficial Organisms: Encourages natural predators by maintaining a balanced ecosystem.
Disadvantages
- Time-Consuming: Frequent inspections require dedication, especially in large gardens.
- Difficulty in Detection: Some pests, like scale insects or fungal spores, are hard to spot in winter.
- Weather Limitations: Cold temperatures may restrict treatment options, such as spraying certain oils.
- Risk of Over-Treatment: Misidentifying issues can lead to unnecessary applications that harm plants.
How to Implement
- Conduct Weekly Inspections: Examine plants for signs of pests (e.g., egg masses, webbing, chewed bark) or diseases (e.g., cankers, mold, discolored stems). Use a magnifying glass for small insects.
- Clean Up Garden Debris: Remove fallen leaves, dead plants, and mulch litter where pests and pathogens overwinter. Compost healthy material, but discard infected debris in trash.
- Apply Dormant Oils: In late winter, before buds break, spray horticultural oil on trees and shrubs. This smothers overwintering insects like aphids, mites, and scale. Follow label instructions for temperature thresholds (usually above 40°F).
- Prune Out Infected Areas: If you spot diseased branches, prune them off during dry weather. Cut back to healthy wood and disinfect tools after each cut.
- Use Physical Barriers: Wrap tree trunks with sticky bands to trap crawling insects. Install row covers over vegetable beds to exclude pests.
- Encourage Beneficials: Leave some leaf litter or install insect hotels to provide habitat for predatory insects like ladybugs and lacewings.
- Soil Management: Turn over soil lightly in fall to expose pests to cold. Avoid watering in evening to reduce fungal growth.
- Keep Records: Note any issues in a garden journal to track patterns and plan spring treatments.
Pro Tip
For indoor plants, quarantine new additions for a few weeks to prevent introducing pests, and use yellow sticky traps to monitor for fungus gnats.

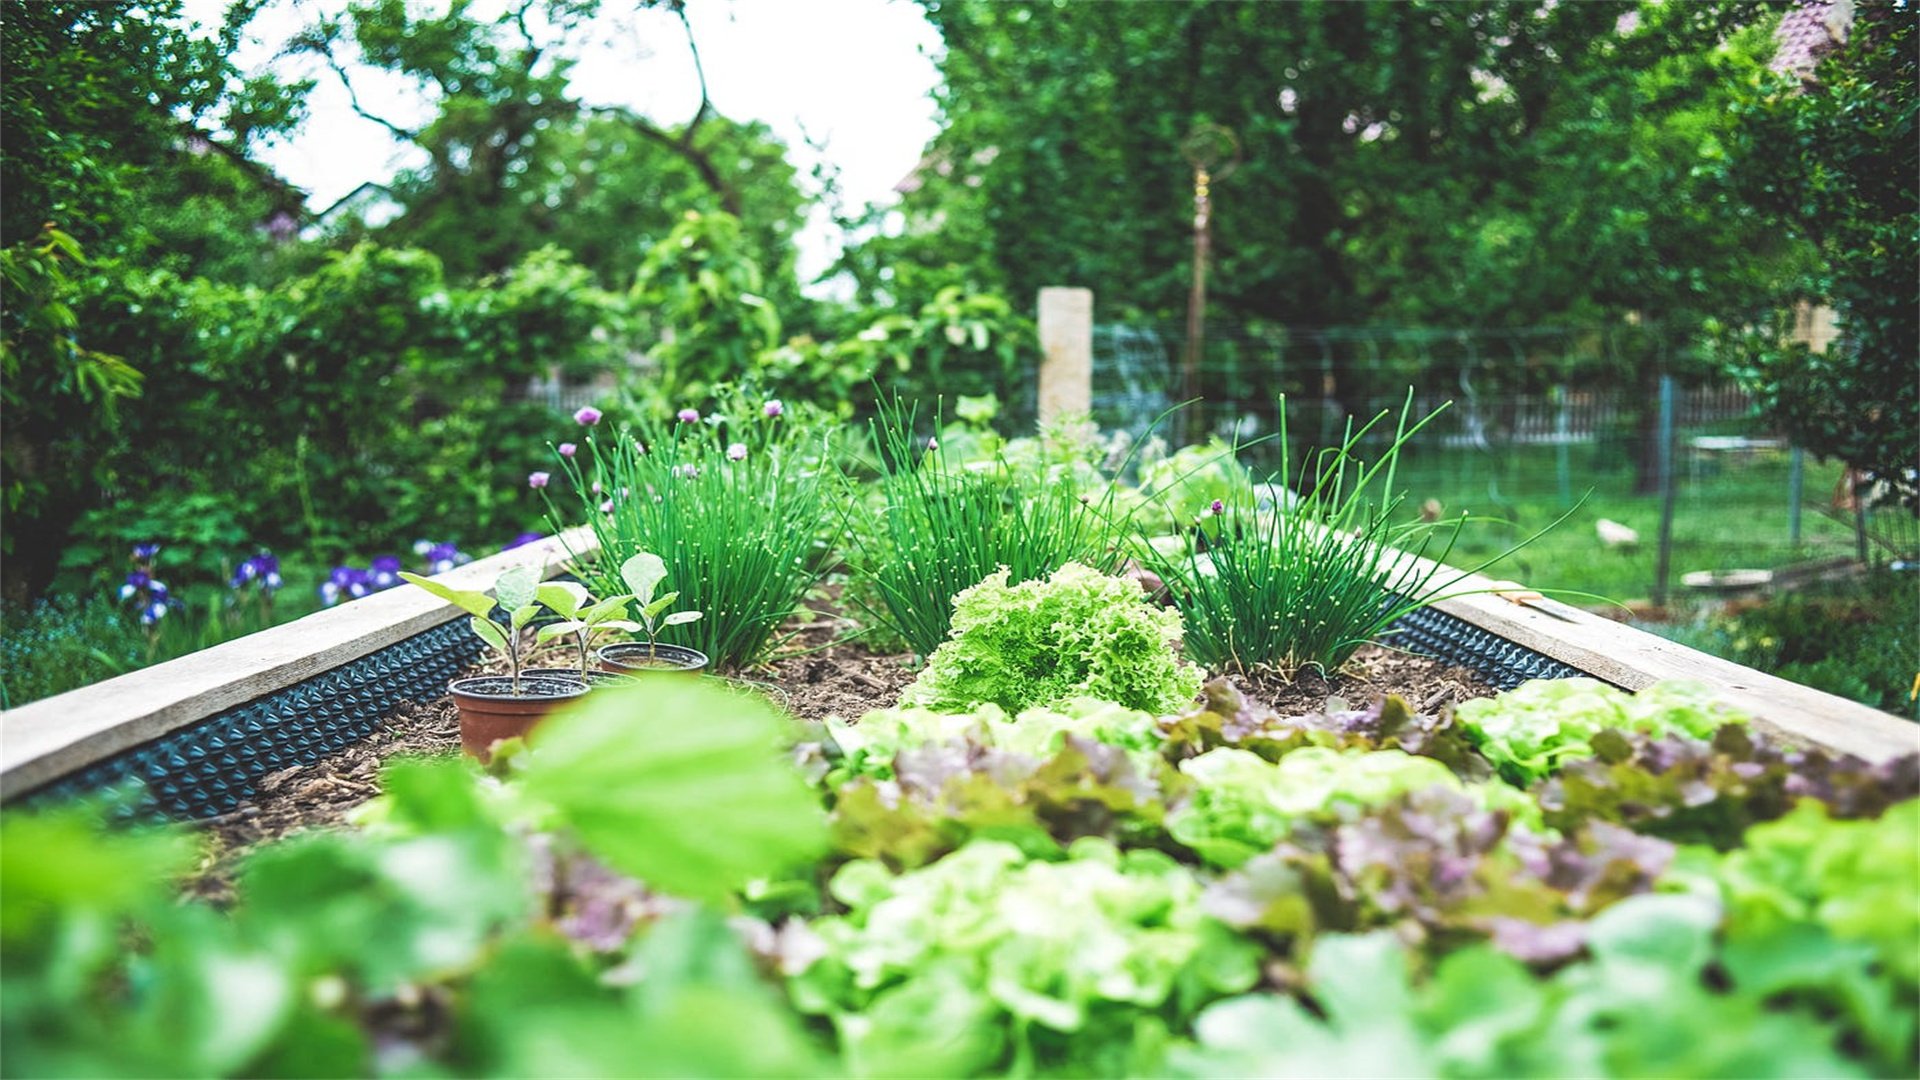
📅 Hack 9: Planning and Preparing for Spring
Winter is an ideal time for garden planning and preparation, as it allows reflection on past seasons and organization for the upcoming growing season. This hack involves tasks like seed ordering, design, tool maintenance, and early sowing to ensure a productive spring.
Advantages
- Maximizes Efficiency: Planning ahead reduces last-minute decisions and errors in spring.
- Saves Money: Ordering seeds and supplies early often yields discounts and ensures availability.
- Enhances Garden Design: Allows time to sketch layouts, consider crop rotation, and incorporate new elements.
- Promotes Learning: Reviewing past successes and failures improves gardening skills.
- Early Start: Starting seeds indoors gives plants a head start, leading to earlier harvests.
Disadvantages
- Overplanning Risk: Spending too much time planning without action can lead to frustration.
- Weather Dependence: Unpredictable winter conditions may delay outdoor preparations.
- Space Requirements: Indoor seed starting requires adequate light and room, which may be limited.
- Information Overload: With many resources available, it can be overwhelming to decide on best practices.
How to Implement
- Review Garden Journals: Analyze notes from previous years on plant performance, pest issues, and weather patterns. Use this to select resilient varieties and adjust planting times.
- Order Seeds and Plants: Browse catalogs or online retailers for seeds suited to your hardiness zone. Consider heirlooms, disease-resistant strains, and new experiments. Order bare-root plants for early spring delivery.
- Design Garden Layouts: Sketch garden beds on paper or use digital tools. Factor in crop rotation to prevent soil depletion, companion planting for pest control, and spacing for growth. Plan paths and structures like trellises.
- Clean and Maintain Tools: Sharpen blades of pruners, shears, and shovels. Oil moving parts, and disinfect with bleach solution. Organize tools in a shed or storage area for easy access.
- Start Seeds Indoors: For vegetables like tomatoes or flowers like petunias, begin sowing 6-8 weeks before the last frost date. Use seed trays with sterile potting mix, provide bottom heat with mats, and ensure 14-16 hours of light daily with grow lights.
- Prepare Soil Outdoors: On mild winter days, turn over soil in empty beds to aerate and incorporate compost or manure. Avoid working wet soil to prevent compaction.
- Build or Repair Structures: Construct raised beds, cold frames, or irrigation systems during downtime. Repair fences or gates to secure the garden.
- Educate Yourself: Read gardening books, attend online workshops, or join forums to learn new techniques for the coming season.
Pro Tip
Use winter to test soil pH and nutrient levels with a kit, and amend as needed with lime or sulfur for optimal spring planting.
🌱 Conclusion
Winter plant care is a proactive endeavor that can transform your garden's resilience and spring vitality. By mastering these nine hacks—mulching for insulation, protecting from frost, watering wisely, avoiding fertilization, pruning strategically, caring for indoor plants, shielding from wind and snow, monitoring pests, and planning for spring—you equip yourself with a comprehensive toolkit. Each technique addresses specific winter challenges, from temperature extremes to moisture management, and when combined, they create a holistic care regimen. Remember to adapt these tips to your local climate and plant varieties, as gardening is both science and art. Embrace winter as a season of preparation and protection, and you'll be rewarded with a thriving garden that bursts into life when warmer days return. Happy gardening, and may your winter efforts bloom into spring success!