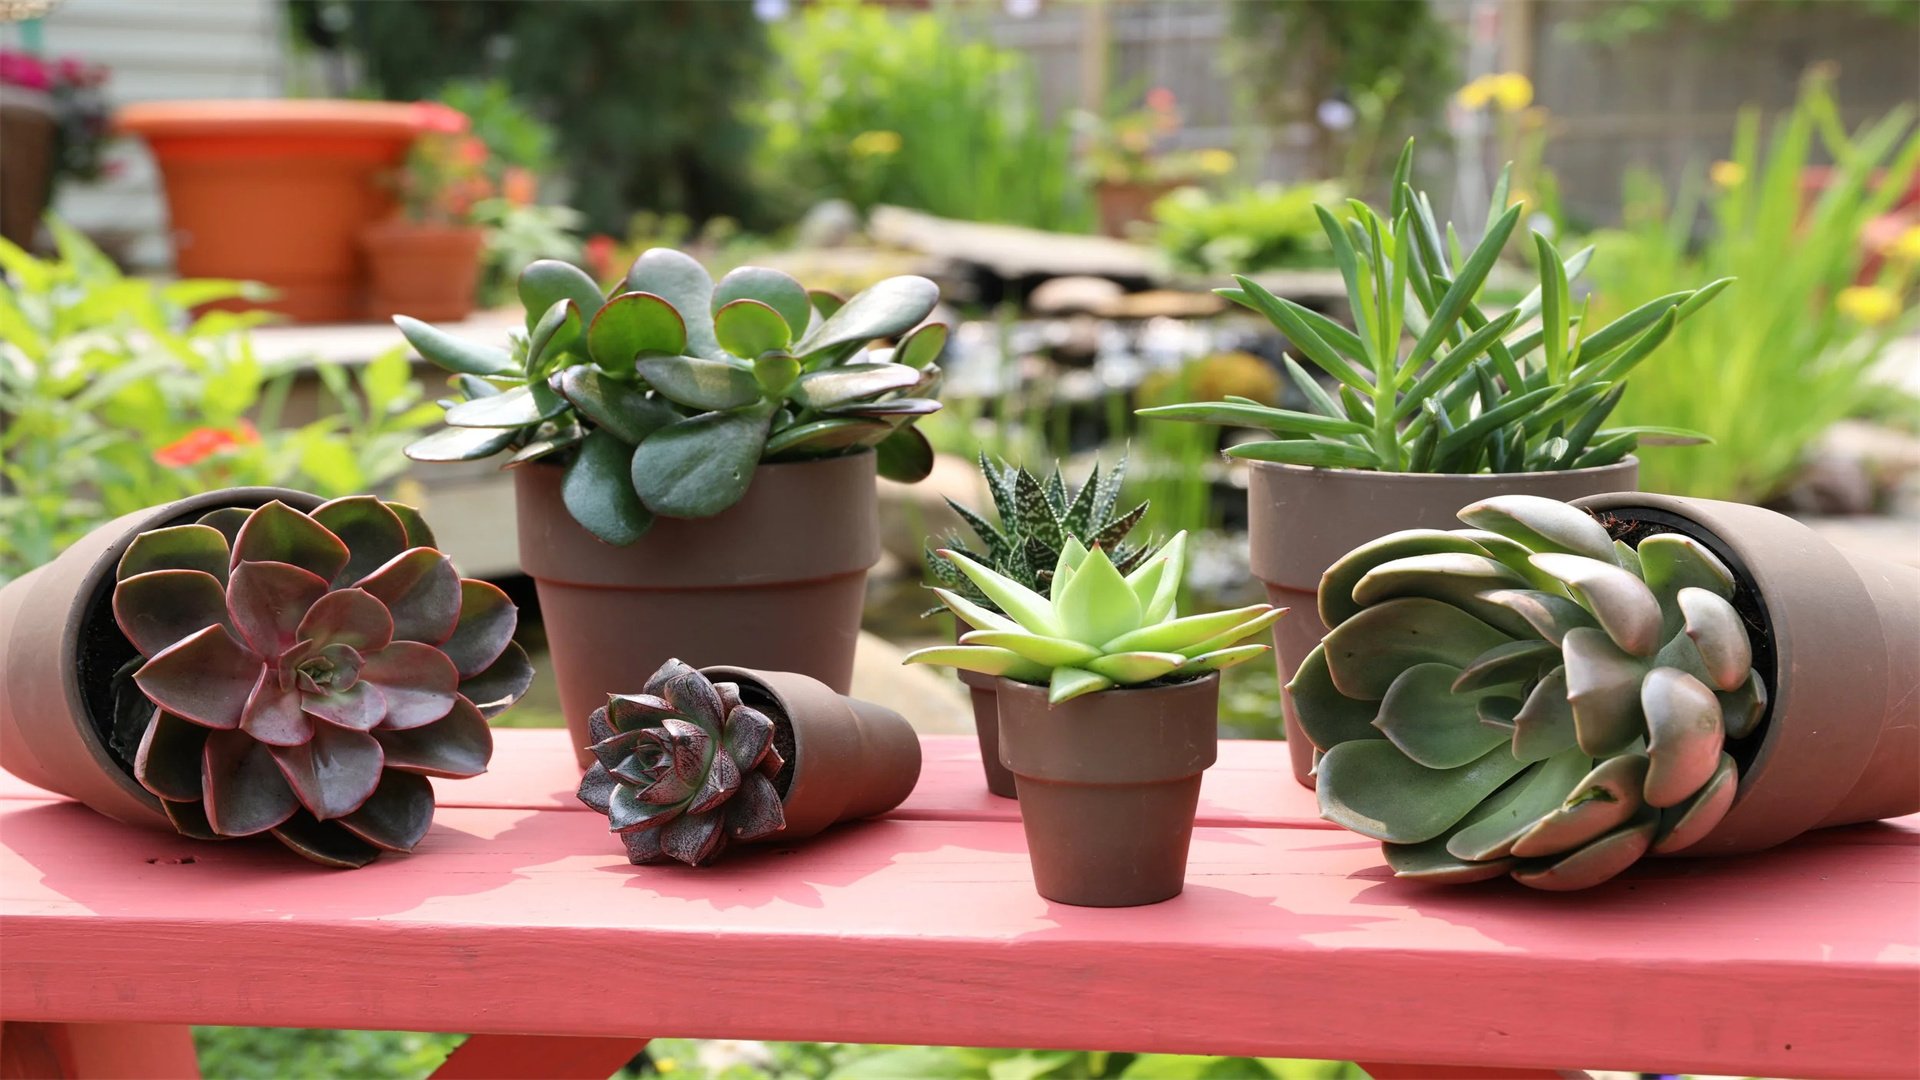
Succulent Care Made Simple: Tips to Maximize Growth and Longevity
Succulents have become immensely popular in recent years, thanks to their unique shapes, vibrant colors, and reputation for being low-maintenance plants. However, despite their hardy nature, many succulent owners struggle with issues like overwatering, etiolation, or root rot, which can hinder growth and shorten their lifespan. This comprehensive guide aims to demystify succulent care by providing practical, science-backed tips that maximize growth and ensure longevity. By breaking down care into manageable steps, from lighting and watering to soil and pest control, you'll learn how to create an optimal environment for your succulents to thrive. Whether you're a beginner or an experienced gardener, this article will equip you with the knowledge to transform your succulent collection into a lush, healthy display. Let's dive into the essential aspects of succulent care, starting with an overview of why these plants are unique and how to approach their maintenance systematically.
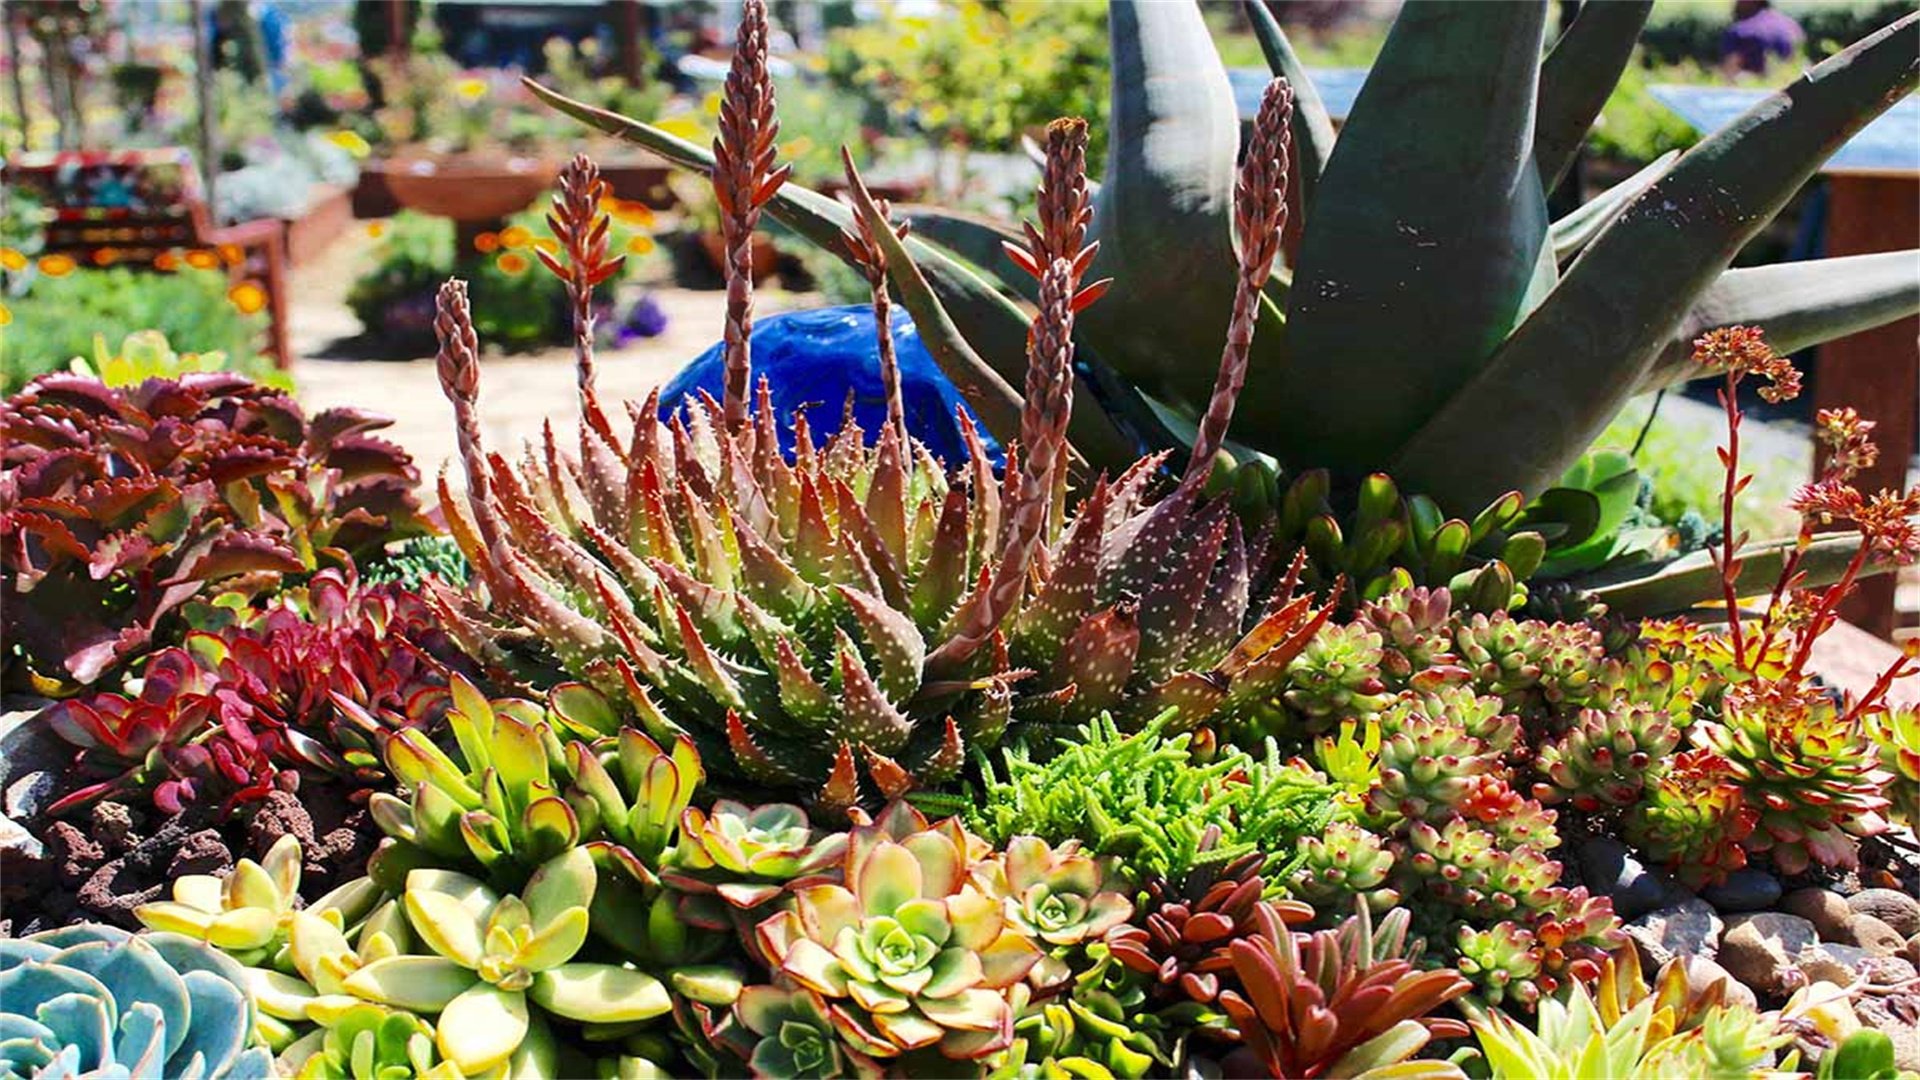
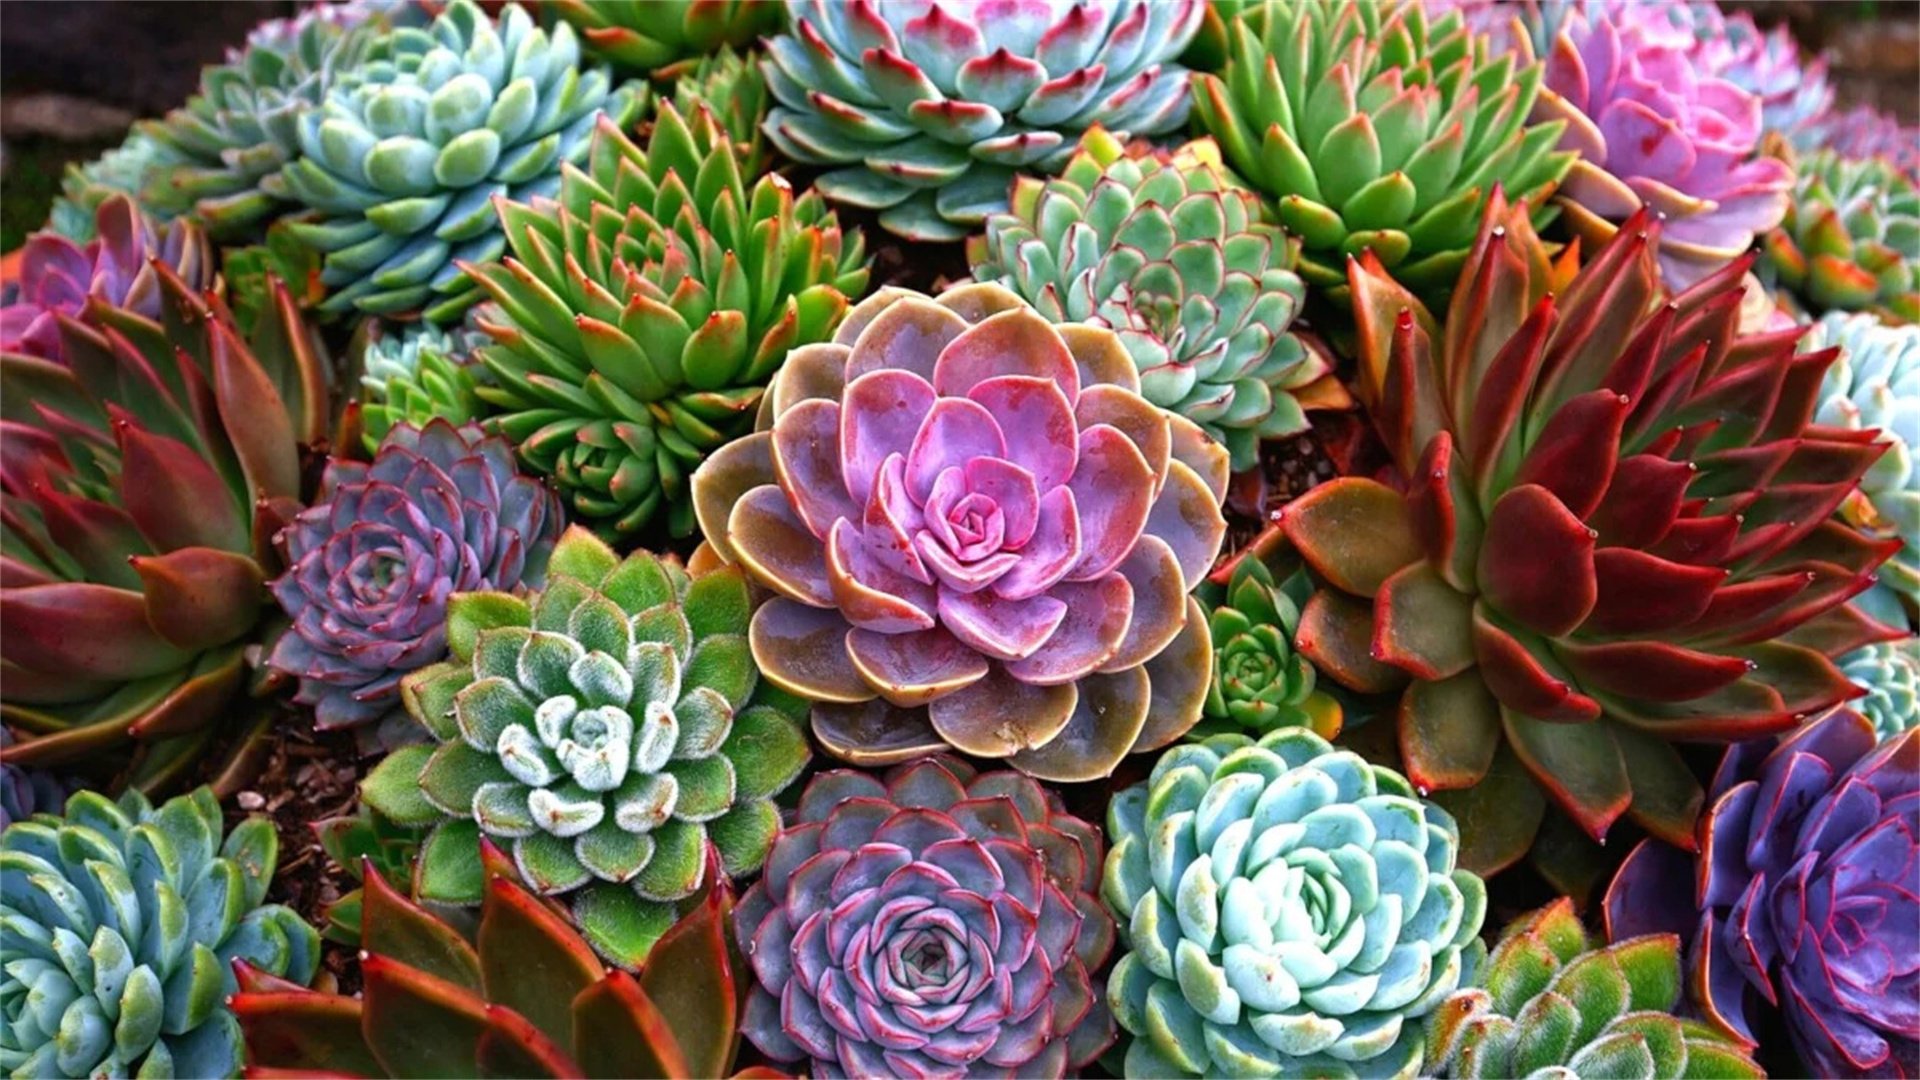
🌵 Understanding Succulents: The Basics of Their Biology and Needs
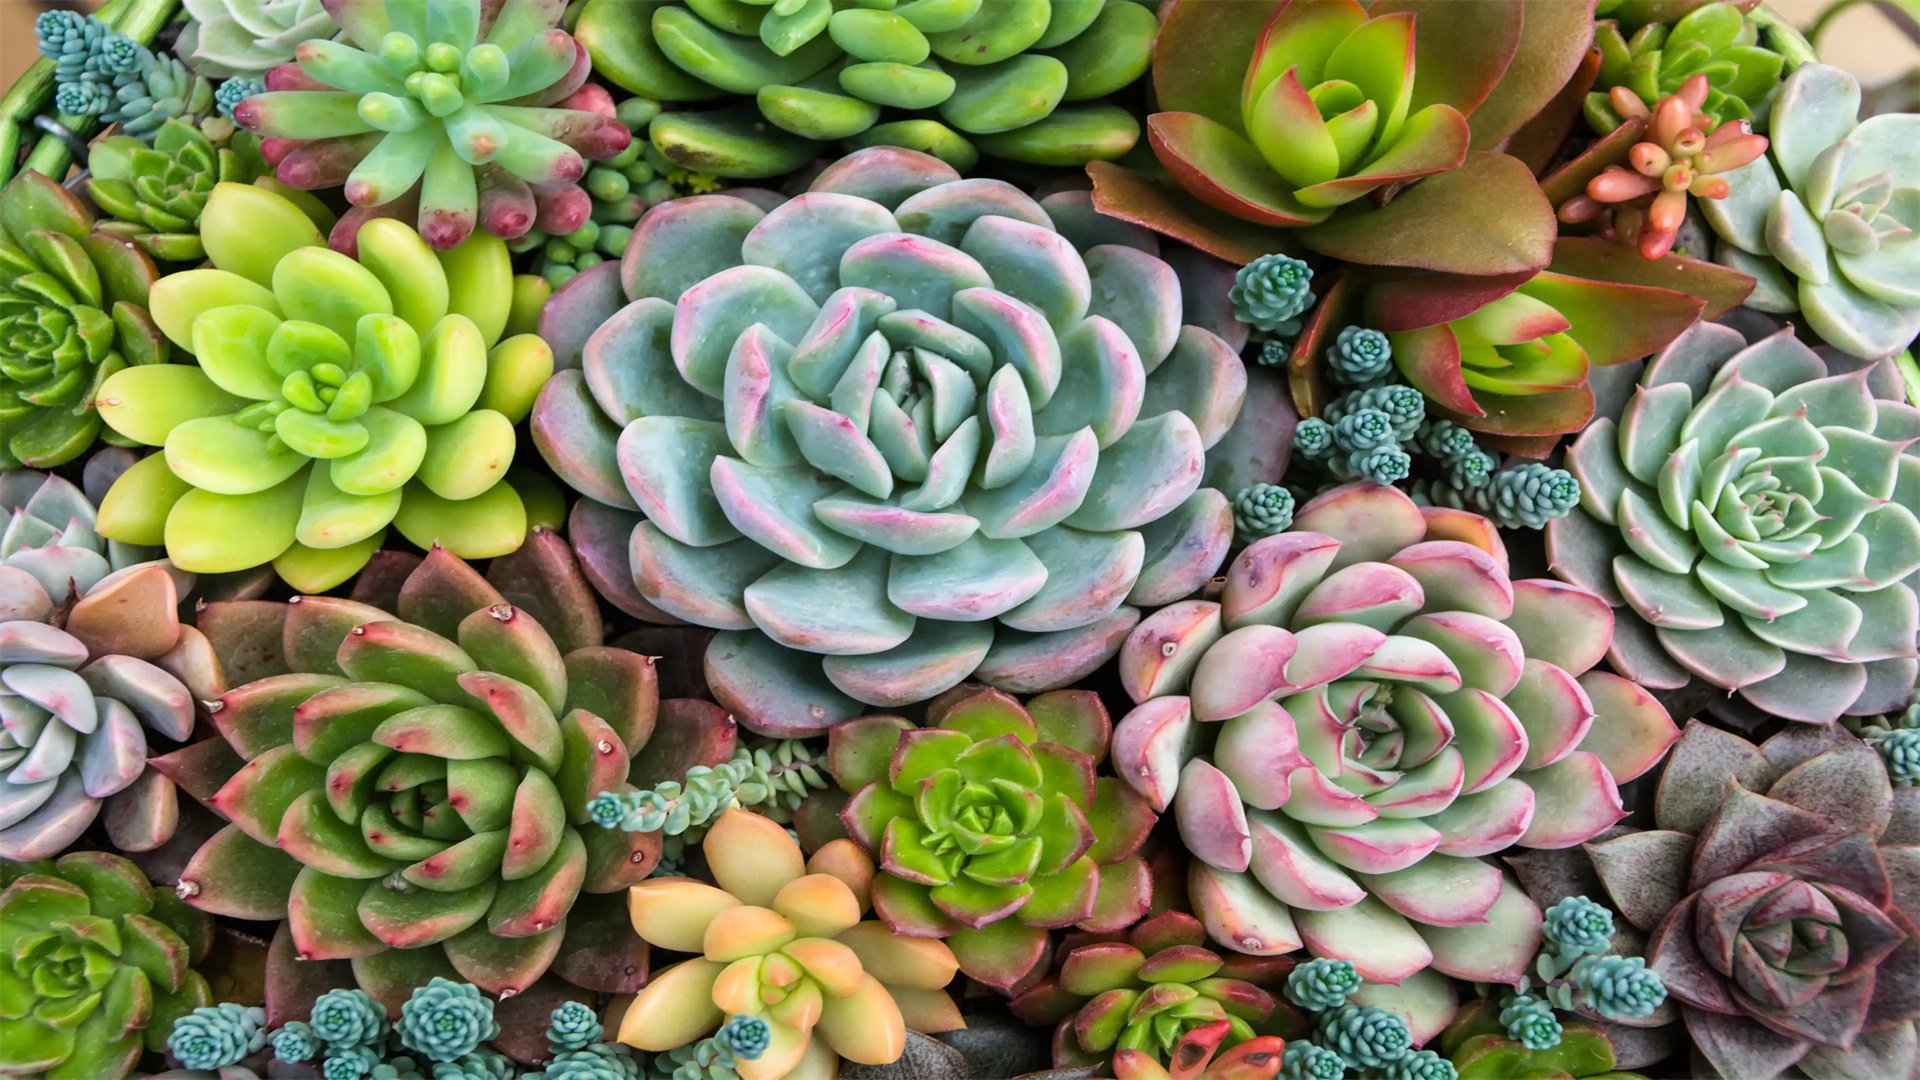
Succulents are a diverse group of plants that store water in their leaves, stems, or roots, allowing them to survive in arid environments. This adaptation makes them resilient but also dictates specific care requirements. To care for them effectively, it's crucial to understand their natural habitat—typically dry, sunny regions with well-draining soil. By mimicking these conditions, you can prevent common problems and promote robust growth. In this section, we'll explore the fundamental principles behind succulent biology, including their water storage mechanisms, photosynthesis processes (such as CAM photosynthesis), and growth cycles. This foundation will help you appreciate why certain care methods are necessary and how to apply them in your home or garden.
💡 Method One: Optimal Lighting Strategies for Succulents
Light is one of the most critical factors in succulent care, directly impacting growth rate, color intensity, and overall health. Without adequate light, succulents can become leggy, lose their vibrant hues, and weaken over time. Here, we'll delve into how to manage lighting effectively, balancing natural and artificial sources to meet your plants' needs.
Advantages and Disadvantages of Different Lighting Approaches
- Natural sunlight: Provides full spectrum benefits and promotes vibrant colors, but can be inconsistent due to weather or seasons and may cause sunburn in extreme heat.
- Artificial lights: Offers control over intensity and duration, ideal for indoor settings, but may lack some natural light benefits and incur energy costs.
- Placement strategies: South-facing windows provide bright light indoors, but in low-light climates, supplemental lighting is necessary; outdoors, direct sun maximizes growth but requires monitoring to prevent damage.
How to Implement Effective Lighting: A Step-by-Step Guide
- Assess Your Environment: Start by evaluating the light conditions in your home or garden. Use a light meter or observe sun patterns throughout the day. Succulents generally need 6-8 hours of bright, indirect light daily. If natural light is limited, consider artificial options like LED grow lights, which are energy-efficient and provide full spectrum coverage.
- Choose the Right Light Source: For indoor succulents, position them near a south or east-facing window to capture morning sun. Avoid north-facing windows in northern hemispheres, as they offer insufficient light. If using grow lights, select models with a color temperature of 5000-6500 Kelvin to mimic daylight. Place lights 6-12 inches above the plants and adjust duration based on species—some succulents, like Echeverias, need more light than Haworthias.
- Monitor and Adjust: Regularly check your succulents for signs of light stress. If leaves turn red or brown, they may be getting too much direct sun; move them to a shadier spot. If stems stretch or leaves pale, increase light exposure. Rotate pots weekly to ensure even growth. In seasonal changes, adapt lighting schedules—for instance, reduce intensity in winter when plants are dormant.
💧Method Two: Watering Techniques to Prevent Overwatering and Underwatering
Watering is often the biggest challenge in succulent care, as improper practices can lead to root rot or dehydration. Succulents' water-storing abilities mean they require less frequent watering than most plants, but the timing and amount are crucial. This section covers how to water wisely, ensuring your plants receive moisture without becoming waterlogged.
Advantages and Disadvantages of Various Watering Methods
- Bottom watering: Encourages deep root growth and prevents leaf wetness, but can be time-consuming and may not evenly moisten the soil.
- Top watering: Convenient and allows quick application, but risks water pooling on leaves (causing rot) and may not reach deep roots if done too lightly.
- Misting: Suitable for propagation or increasing humidity, but inadequate for mature plants as it doesn't provide sufficient soil moisture.
How to Implement a Successful Watering Routine: A Step-by-Step Guide
- Check Soil Moisture: Before watering, always test the soil. Insert a finger or moisture meter into the soil up to 2 inches deep—if it feels dry, it's time to water. Succulents prefer a "soak and dry" method, where the soil is thoroughly drenched then allowed to dry completely. Avoid watering on a fixed schedule; instead, adjust based on factors like temperature, humidity, and pot size.
- Water Thoroughly but Infrequently: When watering, use room-temperature water and apply it directly to the soil until it drains out the bottom. This ensures roots absorb moisture evenly. For potted succulents, ensure pots have drainage holes to prevent standing water. In hot climates, water every 7-10 days; in cooler periods, extend to 2-4 weeks. Reduce frequency in winter when growth slows.
- Observe Plant Signals: Learn to read your succulents' cues. Plump, firm leaves indicate adequate hydration, while wrinkled or shriveled leaves suggest underwatering. Yellow, mushy leaves often signal overwatering. Adjust your routine accordingly. For outdoor succulents, consider rainfall—supplement only during dry spells. Use well-draining soil to enhance water management.
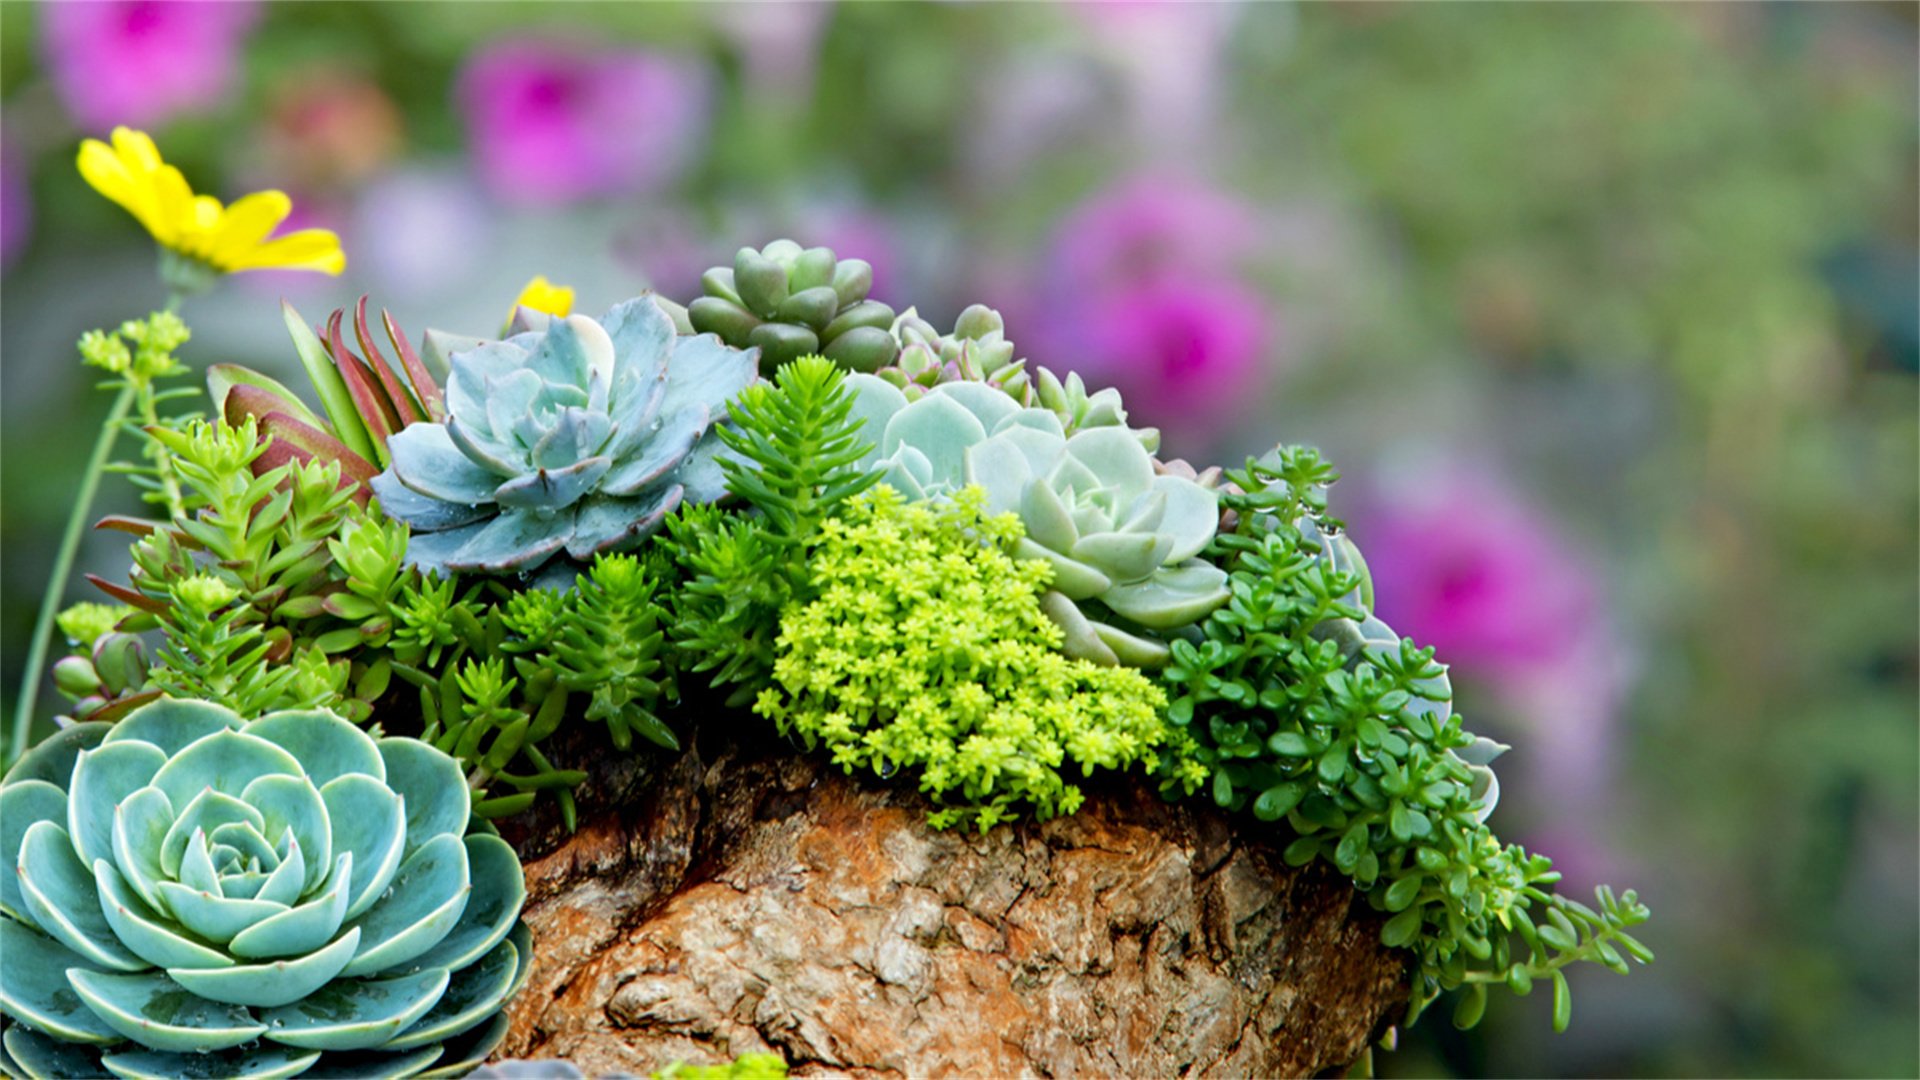
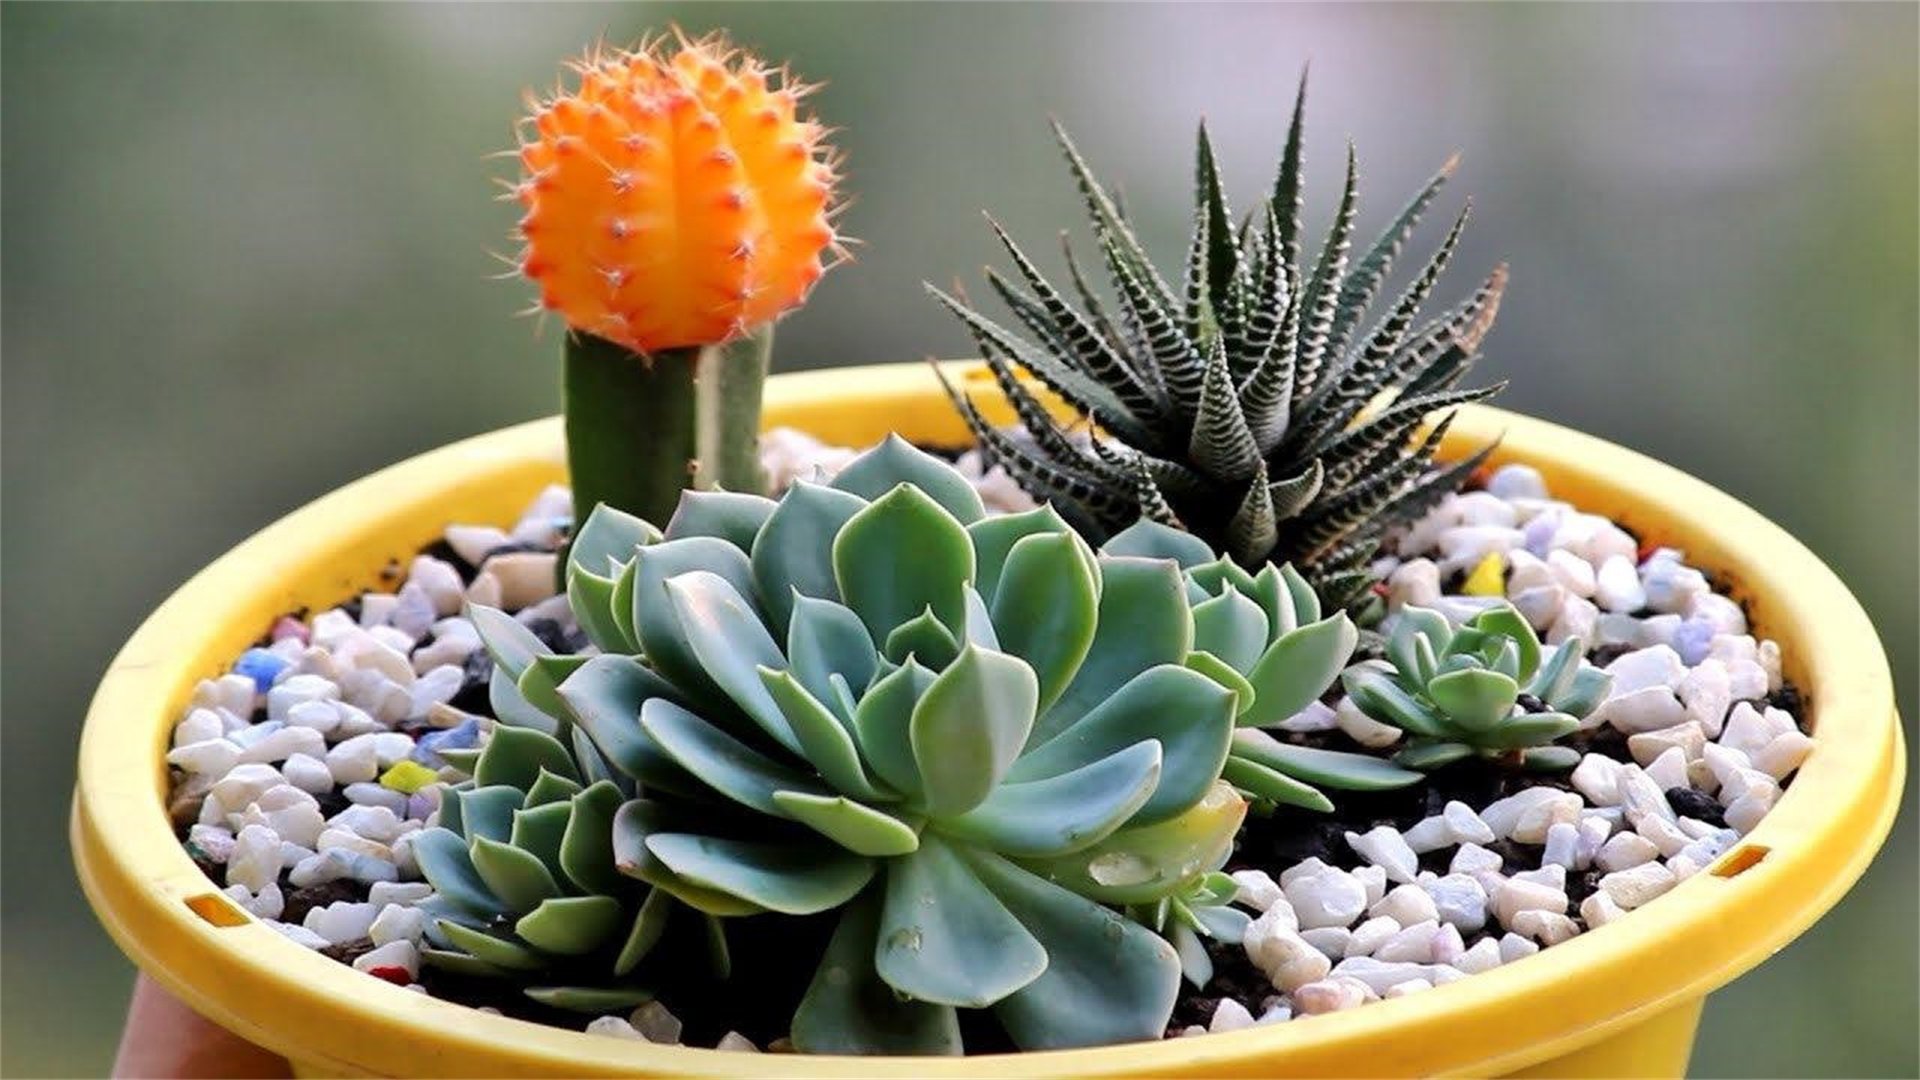
🌱 Method Three: Soil and Pot Selection for Healthy Root Systems
The right soil and pot are foundational to succulent health, as they influence drainage, aeration, and root development. Poor soil choices can lead to compaction and rot, while inappropriate pots may hinder growth. Here, we'll explore how to select and mix soil, along with choosing containers that support longevity.
Advantages and Disadvantages of Soil Types and Pot Materials
- Commercial succulent mixes: Convenient and pre-blended for drainage, but may require amendments like perlite for optimal aeration.
- DIY soil mixes: Allow customization for specific succulent needs, but demand more effort and knowledge to balance ingredients correctly.
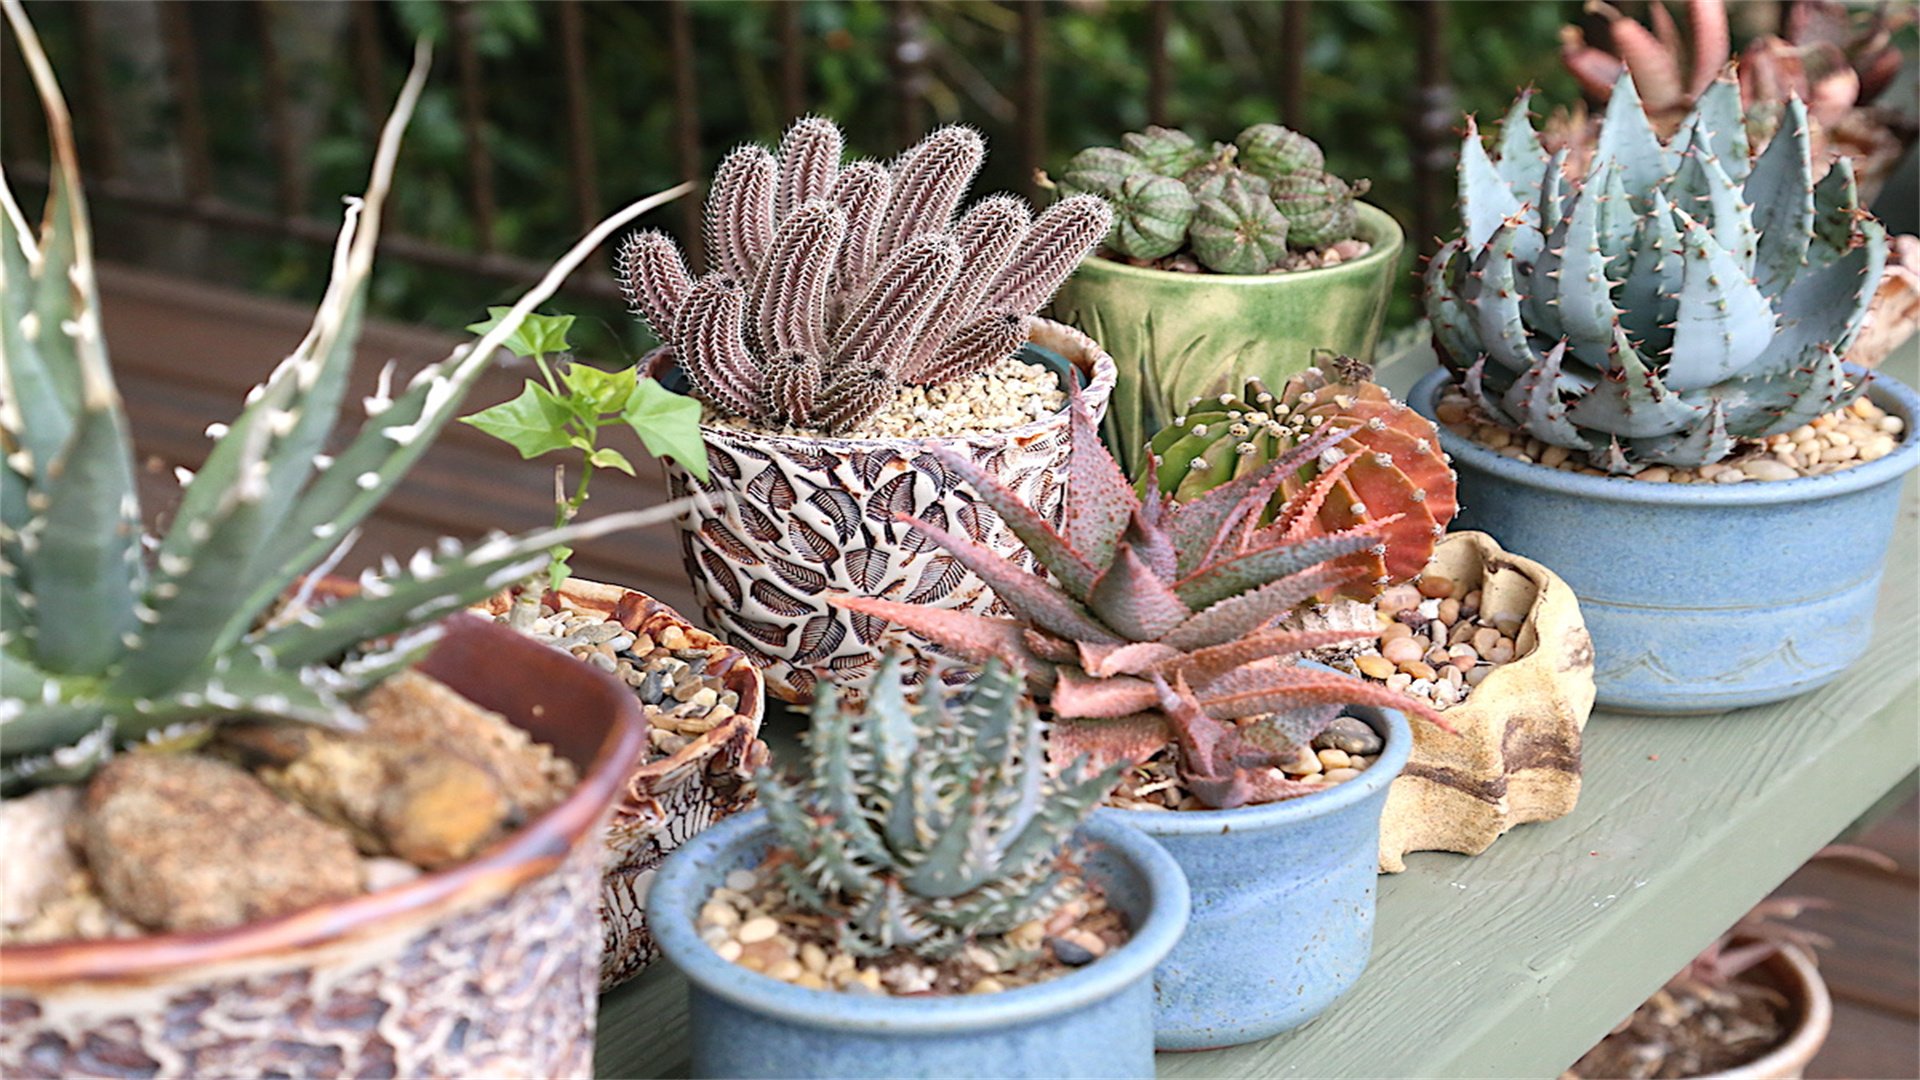
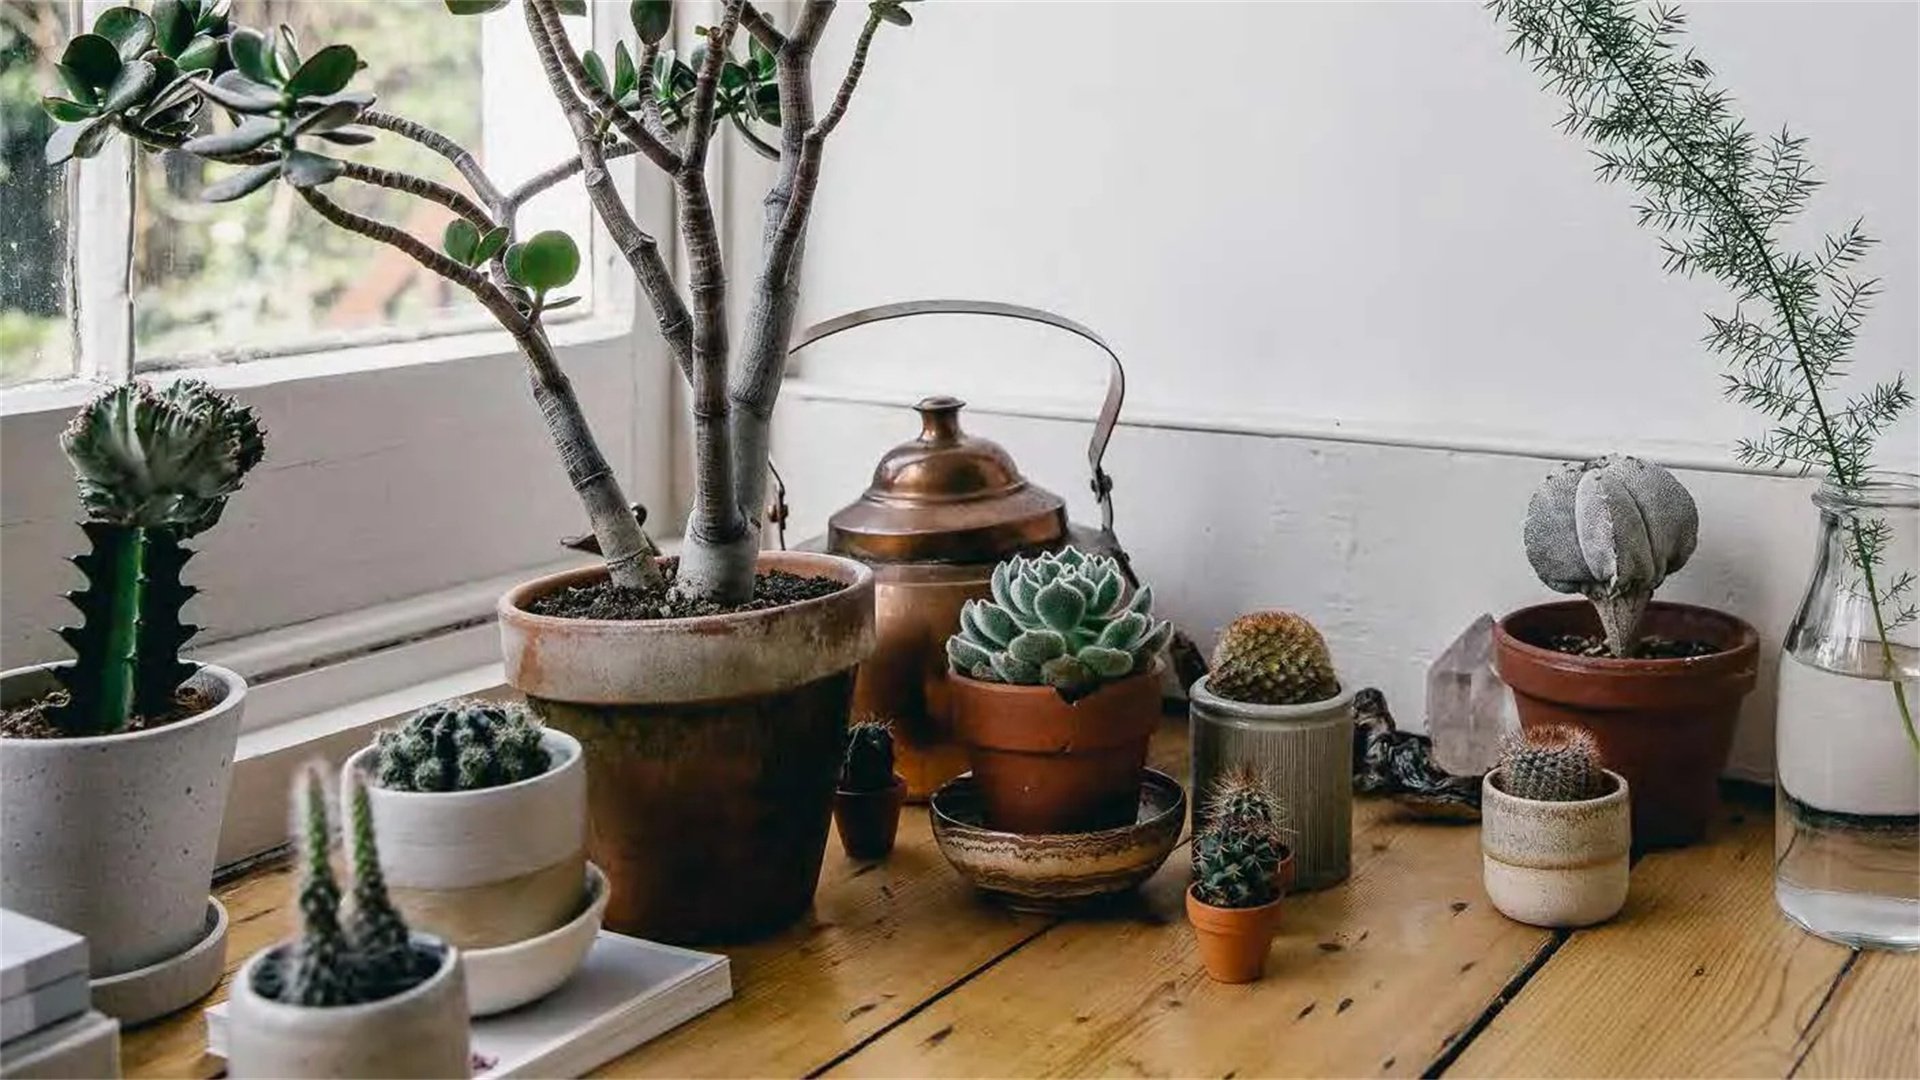
- Terracotta pots: Porous and promote drying, reducing overwatering risks, but can break easily and dry out too quickly in hot conditions.
- Plastic pots: Lightweight and retain moisture longer, but may lack breathability, potentially leading to waterlogging if drainage is poor.
How to Implement Ideal Soil and Potting Practices: A Step-by-Step Guide
- Create a Well-Draining Soil Mix: Start with a base of cactus or succulent potting soil, which is formulated for drainage. Enhance it by adding inorganic materials like perlite, pumice, or coarse sand in a 1:1 ratio. This improves aeration and prevents water retention. Avoid using regular garden soil, as it compacts easily and retains too much moisture. For specific succulents, research preferences—for example, Lithops thrive in gritty mixes with minimal organic matter.
- Choose the Right Pot: Select pots with adequate drainage holes at the bottom. Size matters: pots should be slightly larger than the root ball, as oversized pots hold excess water. Material-wise, terracotta is excellent for beginners due to its breathability, while ceramic or glazed pots work well in humid climates if drainage is ensured. For indoor setups, consider decorative pots with removable saucers to catch runoff.
- Repot Periodically: Repot succulents every 1-2 years to refresh soil and accommodate growth. Gently remove the plant, shake off old soil, and trim any dead roots. Place it in a new pot with fresh soil, water lightly, and avoid direct sun for a week to reduce stress. This practice prevents nutrient depletion and root-bound issues, promoting vigorous growth.
🌡️ Method Four: Temperature and Humidity Control for Optimal Growth
Succulents are adapted to stable, warm climates, but they can tolerate a range of conditions if managed properly. Extreme temperatures or high humidity can cause stress, leading to disease or poor growth. This section details how to maintain an ideal microclimate, whether indoors or outdoors.
Advantages and Disadvantages of Climate Management Strategies
- Using heaters or humidifiers indoors: Provides precise control over temperature and humidity, but can be costly and energy-intensive.
- Relying on natural ventilation: Eco-friendly and cost-effective, but less predictable and may not maintain consistent conditions.
- Outdoor cultivation: Benefits from natural seasonal cycles, but requires protection from frost, heatwaves, or excessive rain.
How to Implement Temperature and Humidity Adjustments: A Step-by-Step Guide
- Monitor Environmental Conditions: Invest in a thermometer and hygrometer to track temperature and humidity levels. Most succulents prefer temperatures between 60-80°F (15-27°C) and low humidity (below 50%). Avoid sudden fluctuations, which can shock plants. In winter, keep indoor succulents away from cold drafts or heating vents; outdoors, use frost cloths or move pots to sheltered areas.
- Adjust for Seasons: During active growth periods (spring and summer), maintain warmer temperatures and slightly higher humidity if needed. In dormancy (fall and winter), reduce watering and keep conditions cooler (around 50-60°F or 10-15°C) to mimic natural cycles. For humid regions, increase air circulation with fans or open windows to prevent fungal issues. In arid areas, mist occasionally but avoid wetting leaves excessively.
- Protect from Extremes: Shield succulents from frost by bringing them indoors or using covers. In heatwaves, provide shade with cloths or move pots to partial shade. For indoor plants, avoid placing them near air conditioners or radiators. Consider using a pebble tray with water to increase humidity locally without overwatering, but ensure it doesn't raise overall moisture too much.
🌿 Method Five: Fertilization and Nutrient Management
While succulents are light feeders, providing nutrients can boost growth, color, and flowering. However, overfertilization can harm roots and cause salt buildup. This section explains how to fertilize safely, focusing on timing, type, and application methods.
Advantages and Disadvantages of Fertilizer Types
- Organic fertilizers: Release nutrients slowly and improve soil health, but may be messy and have variable nutrient content.
- Synthetic fertilizers: Offer precise nutrient control and quick results, but risk chemical burns if misused and may harm soil microbiota.
- Liquid fertilizers: Easy to apply and allow frequent dosing, but require careful dilution and regular application.
- Slow-release granules: Convenient and long-lasting, but less adjustable and may not suit all succulent types.
How to Implement a Balanced Fertilization Plan: A Step-by-Step Guide
- Select the Right Fertilizer: Use a balanced, water-soluble fertilizer with an NPK ratio like 10-10-10 or one formulated for succulents (e.g., 2-7-7). Dilute it to half-strength to avoid burning roots. Organic options like worm castings or compost tea are gentle alternatives. Avoid high-nitrogen fertilizers, which promote leggy growth at the expense of color.
- Apply During Active Growth: Fertilize only in spring and summer when succulents are growing. Apply every 4-6 weeks, following package instructions. For potted plants, water lightly before fertilizing to prevent root shock. For in-ground succulents, incorporate fertilizer into the soil at the start of the season. Skip fertilization in fall and winter, as plants are dormant and excess nutrients can accumulate.
- Observe and Adjust: Watch for signs of nutrient deficiency, such as pale leaves or stunted growth, which may indicate a need for fertilization. Conversely, if leaves turn brown or tips burn, reduce frequency or strength. Flush the soil occasionally with plain water to leach out salt buildup. For flowering succulents, consider a phosphorus-rich fertilizer to encourage blooms.
🐛 Method Six: Pest and Disease Prevention and Treatment
Succulents can fall prey to pests like mealybugs, aphids, or spider mites, as well as diseases like root rot or fungal infections. Early detection and intervention are key to maintaining plant health. This section covers common issues and how to address them using safe, effective methods.
Advantages and Disadvantages of Pest Control Approaches
- Chemical pesticides: Act quickly and effectively, but may harm beneficial insects, the environment, and can be toxic to pets or humans.
- Natural remedies: Such as neem oil or insecticidal soap, are safer and environmentally friendly, but require repeated applications and may be less potent.
- Preventive measures: Reduce risk of infestations, but demand vigilance and consistent practices.
- Reactive treatments: Address outbreaks directly, but can stress plants and may not prevent future issues.
How to Implement Integrated Pest Management: A Step-by-Step Guide
- Inspect Regularly: Check your succulents weekly for signs of pests or disease. Look for white cottony masses (mealybugs), tiny webs (spider mites), or discolored spots (fungal issues). Use a magnifying glass for small pests. Isolate infected plants immediately to prevent spread. Keep the growing area clean by removing dead leaves and debris where pests hide.
- Use Natural Treatments First: For minor infestations, wipe pests off with a cotton swab dipped in rubbing alcohol. Apply neem oil or insecticidal soap sprays, covering all plant surfaces. Repeat every 7-10 days until pests are gone. For fungal problems, improve air circulation and reduce watering. Use a fungicide labeled for succulents if necessary, but test on a small area first.
- Employ Preventive Measures: Quarantine new plants for 2-3 weeks before introducing them to your collection. Avoid overwatering, as damp conditions attract pests and diseases. Encourage beneficial insects like ladybugs in outdoor gardens. Sterilize tools and pots between uses. If chemical pesticides are needed, choose products specific to succulents and follow safety guidelines.
🌱 Advanced Tips for Propagation and Long-Term Care
Beyond basic care, propagating succulents can expand your collection and rejuvenate older plants. This section delves into techniques like leaf cuttings, offsets, and seeds, along with strategies for maintaining succulents over years. Propagation not only maximizes growth but also ensures longevity by allowing you to replace declining plants.
Advantages and Disadvantages of Propagation Methods
- Leaf propagation: Easy to do and can yield many new plants from a single leaf, but can be slow and not all leaves root successfully.
- Offset division: Faster and ensures genetic consistency, but requires mature plants that produce offsets.
- Seed growing: Offers genetic diversity and can be rewarding, but is challenging, time-consuming, and requires specific conditions.
How to Implement Successful Propagation: A Step-by-Step Guide
- Select Healthy Plant Material: For leaf cuttings, gently twist leaves from the stem, ensuring they come off cleanly. Let them callous over for 2-3 days to prevent rot. For offsets (pups), separate them from the mother plant with a sterile knife, keeping some roots intact. For seeds, use fresh, high-quality seeds from reputable sources.
- Provide Optimal Conditions: Place leaf cuttings on well-draining soil without burying them. Mist lightly every few days to keep soil slightly moist. For offsets, plant them in small pots with succulent mix and water sparingly. For seeds, sow on soil surface, cover lightly, and keep warm and bright. Use a propagation tray with a lid to maintain humidity if needed.
- Monitor Growth and Transplant: Roots and new rosettes should appear in weeks to months. Once established, gradually introduce to regular care. Transplant when plants are sturdy, handling roots gently. This process not only multiplies succulents but also helps maintain genetic vigor, contributing to long-term collection health.
❌ Common Mistakes to Avoid in Succulent Care
Even with good intentions, succulent owners often make errors that compromise growth. This section highlights frequent pitfalls, such as overwatering, inadequate light, or using wrong soil, and explains how to correct them. Avoiding these mistakes is crucial for maximizing longevity.
For instance, overwatering is the top killer of succulents—always err on the side of underwatering. Similarly, placing succulents in dark corners leads to etiolation; prioritize bright light. Using non-draining pots or rich soil causes root rot; stick to gritty mixes and containers with holes. By learning from common errors, you can refine your care routine and prevent issues before they arise.
✅ Conclusion: Embracing Simplicity for Thriving Succulents
Succulent care doesn't have to be complicated. By focusing on key aspects—lighting, watering, soil, climate, nutrients, and pest control—you can create an environment where these resilient plants flourish. Remember, succulents thrive on neglect to some extent; less is often more when it comes to intervention. Start by implementing one method at a time, observe how your plants respond, and adjust as needed. With patience and attention, you'll enjoy vibrant, healthy succulents that grow steadily and live for years. Whether you're cultivating a windowsill garden or an outdoor landscape, these tips will help you maximize growth and longevity, turning succulent care into a simple, rewarding hobby. Keep learning and experimenting, and don't hesitate to share your successes with fellow enthusiasts. Happy growing!