14 Stylish Home Decor Tips to Elevate Your Space Without Breaking the Bank
Transforming your home into a stylish sanctuary doesn't have to drain your wallet. With a bit of creativity and strategic thinking, you can achieve a high-end look on a budget. This article compiles 14 practical and affordable home decor tips, drawing inspiration from popular international design blogs and magazines. Each tip is broken down into actionable steps, advantages, potential drawbacks, and implementation details to help you revitalize your space without overspending. Whether you're a renter or a homeowner, these ideas will empower you to create a cozy, inviting, and aesthetically pleasing environment. Let's dive into these budget-friendly strategies that prioritize style and savings.
By focusing on simple changes like rearranging furniture, incorporating DIY projects, and leveraging natural elements, you can dramatically enhance your home's appeal. The key is to think outside the box and repurpose what you already have. Throughout this guide, we'll explore each tip in depth, ensuring you have a clear roadmap for execution. Remember, home decor is about expressing your personality, so don't be afraid to experiment. With these 14 tips, you'll learn how to maximize impact while minimizing costs, making your space feel fresh and updated.
🛋️ Tip 1: Rearrange Your Furniture for a Fresh Layout
One of the easiest and most cost-effective ways to refresh your home is by rearranging your existing furniture. This approach requires no financial investment, only your time and creativity. By shifting sofas, tables, and chairs, you can alter the flow and functionality of a room, making it feel new. Start by assessing your space: consider traffic patterns, focal points like windows or fireplaces, and the room's purpose. For example, in a living room, try floating furniture away from walls to create a more intimate seating area. This tip is ideal for renters or those who want an instant change without buying anything new.
How to Implement
- Measure Your Space: Use a tape measure to note room dimensions and furniture sizes. Sketch a floor plan on paper or use a free online tool to visualize arrangements before moving heavy items.
- Declutter First: Remove unnecessary items and clean the area. This makes it easier to see possibilities and prevents a cramped look.
- Experiment with Angles: Place sofas or beds at diagonal angles to add dynamic energy. This works well in corners or to highlight architectural features.
- Create Zones: In open-plan spaces, use furniture to define separate areas for lounging, dining, or working. A rug or bookshelf can act as a natural divider.
- Involve Lighting: Ensure furniture is positioned to take advantage of natural light or existing lamps. Avoid blocking windows or creating dark corners.
Advantages
- Completely free and can instantly make a room feel larger or cozier.
- Encourages you to reassess your belongings, potentially leading to decluttering.
- Allows for better social interaction by improving seating arrangements.
- Can enhance safety by clearing walkways.
- A sustainable practice that reduces waste by utilizing what you already own.
Disadvantages
- Physically demanding, especially with heavy pieces, and might require assistance.
- Risk of damaging floors or walls during the process.
- Some layouts may not work due to fixed elements like outlets or vents, leading to trial and error.
- In small spaces, options might be limited, so creativity is key.
🎨 Tip 2: Use Paint to Transform Walls and Accents
Paint is a powerhouse in budget decor, offering dramatic changes at a low cost. A fresh coat of paint can update walls, furniture, or accessories, injecting color and personality. Choose neutral tones for a timeless look or bold hues for statement walls. For renters, removable peel-and-stick wallpaper or temporary paint options are available. Focus on high-impact areas like an accent wall, ceiling, or dated furniture pieces. This tip leverages color psychology to influence mood—for instance, blues for calm or yellows for energy. With proper preparation, painting can be a DIY project that saves hundreds compared to hiring professionals.
How to Implement
- Select the Right Paint: Opt for high-quality, washable paints in finishes like eggshell or satin for durability. Consider eco-friendly options with low VOCs for healthier indoor air.
- Prepare Surfaces: Clean walls, sand rough spots, and use painter's tape for crisp edges. Drop cloths protect floors from spills.
- Test Colors First: Buy sample pots and paint small sections to see how colors look in different lighting throughout the day.
- Use Techniques for Interest: Try ombre effects, stenciling, or geometric patterns. For furniture, chalk paint requires minimal prep and gives a rustic finish.
- Accessorize with Paint: Paint old frames, vases, or shelves to coordinate with your new palette. This ties the room together cohesively.
Advantages
- Affordable and widely available, with a typical gallon covering 350-400 square feet.
- Allows for complete customization, hiding imperfections and refreshing worn surfaces.
- DIY painting builds skills and can be completed over a weekend.
- Light colors can make rooms feel larger, while dark tones add depth and sophistication.
Disadvantages
- Requires time, effort, and can be messy.
- Poor preparation may lead to peeling or uneven coverage.
- Some colors might look different than expected, necessitating repaints.
- In rental spaces, permanent changes might require landlord approval or re-painting upon moving out.
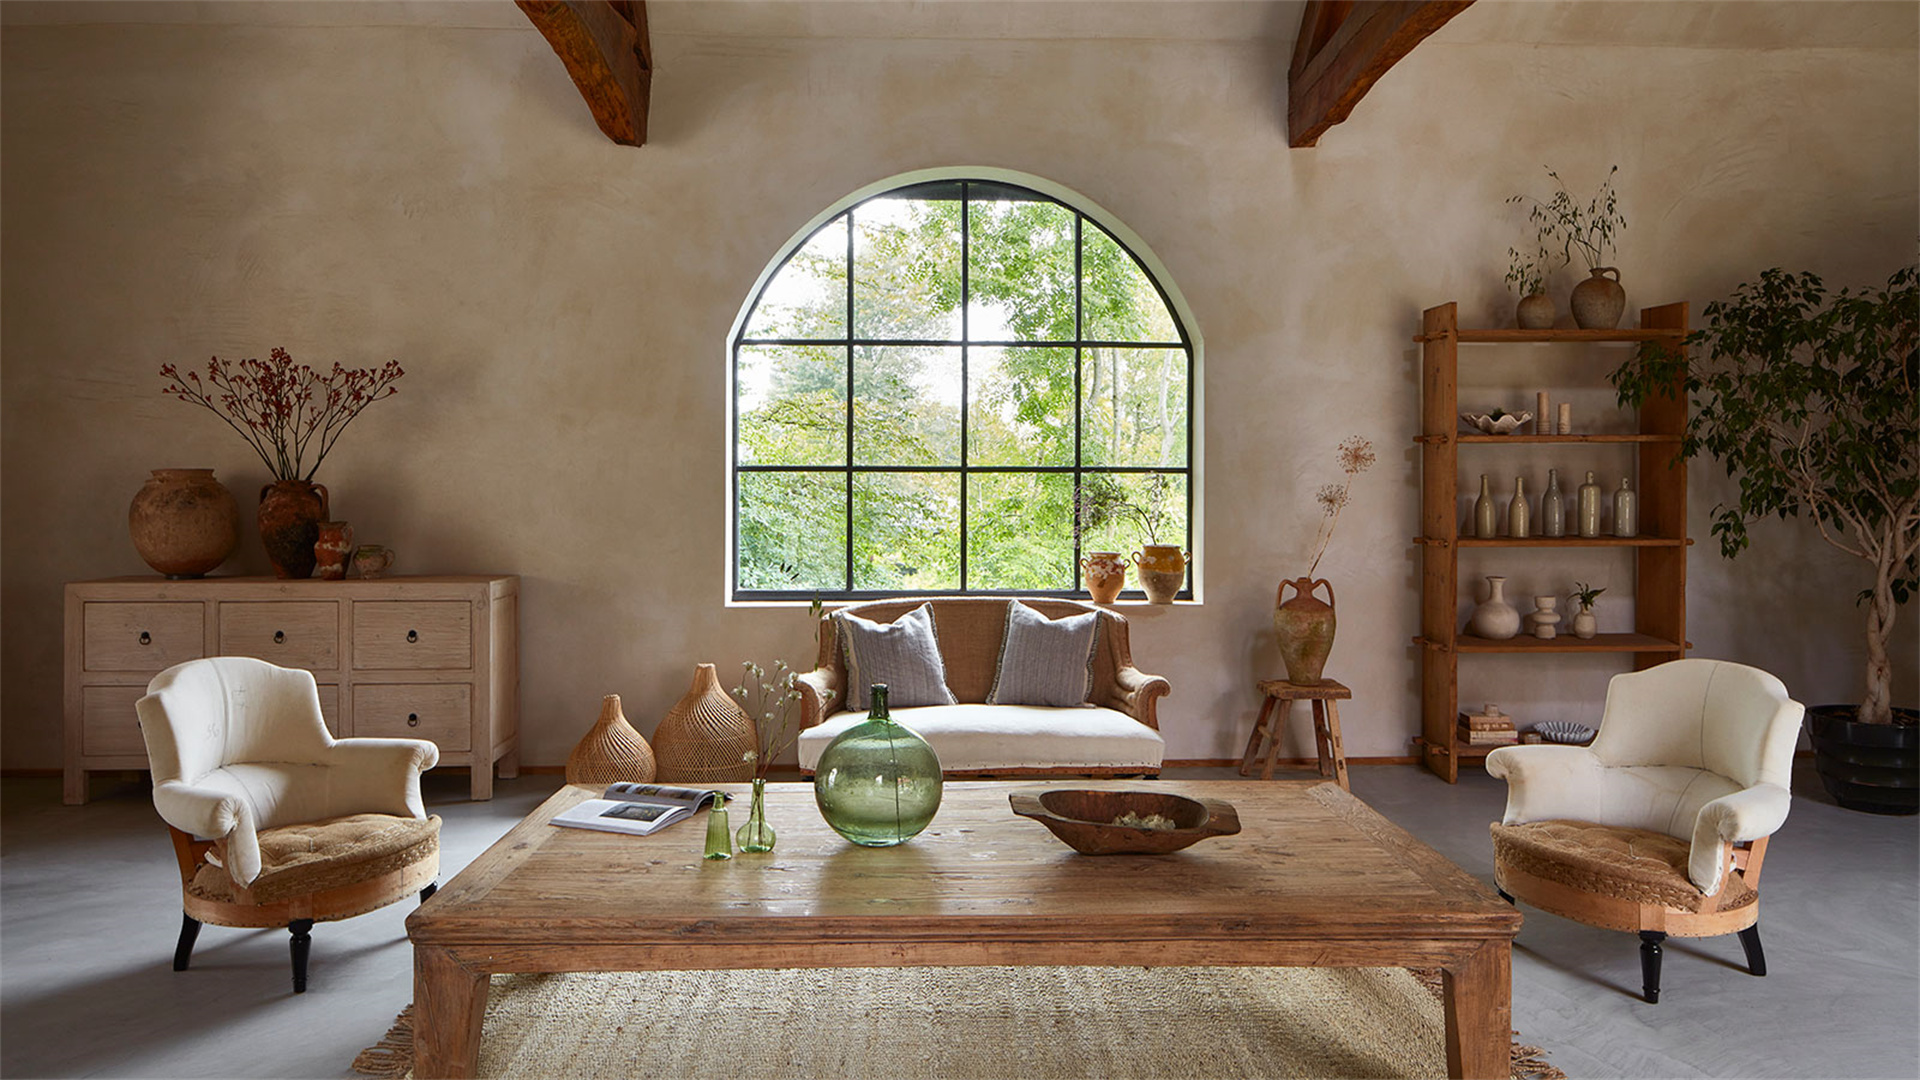
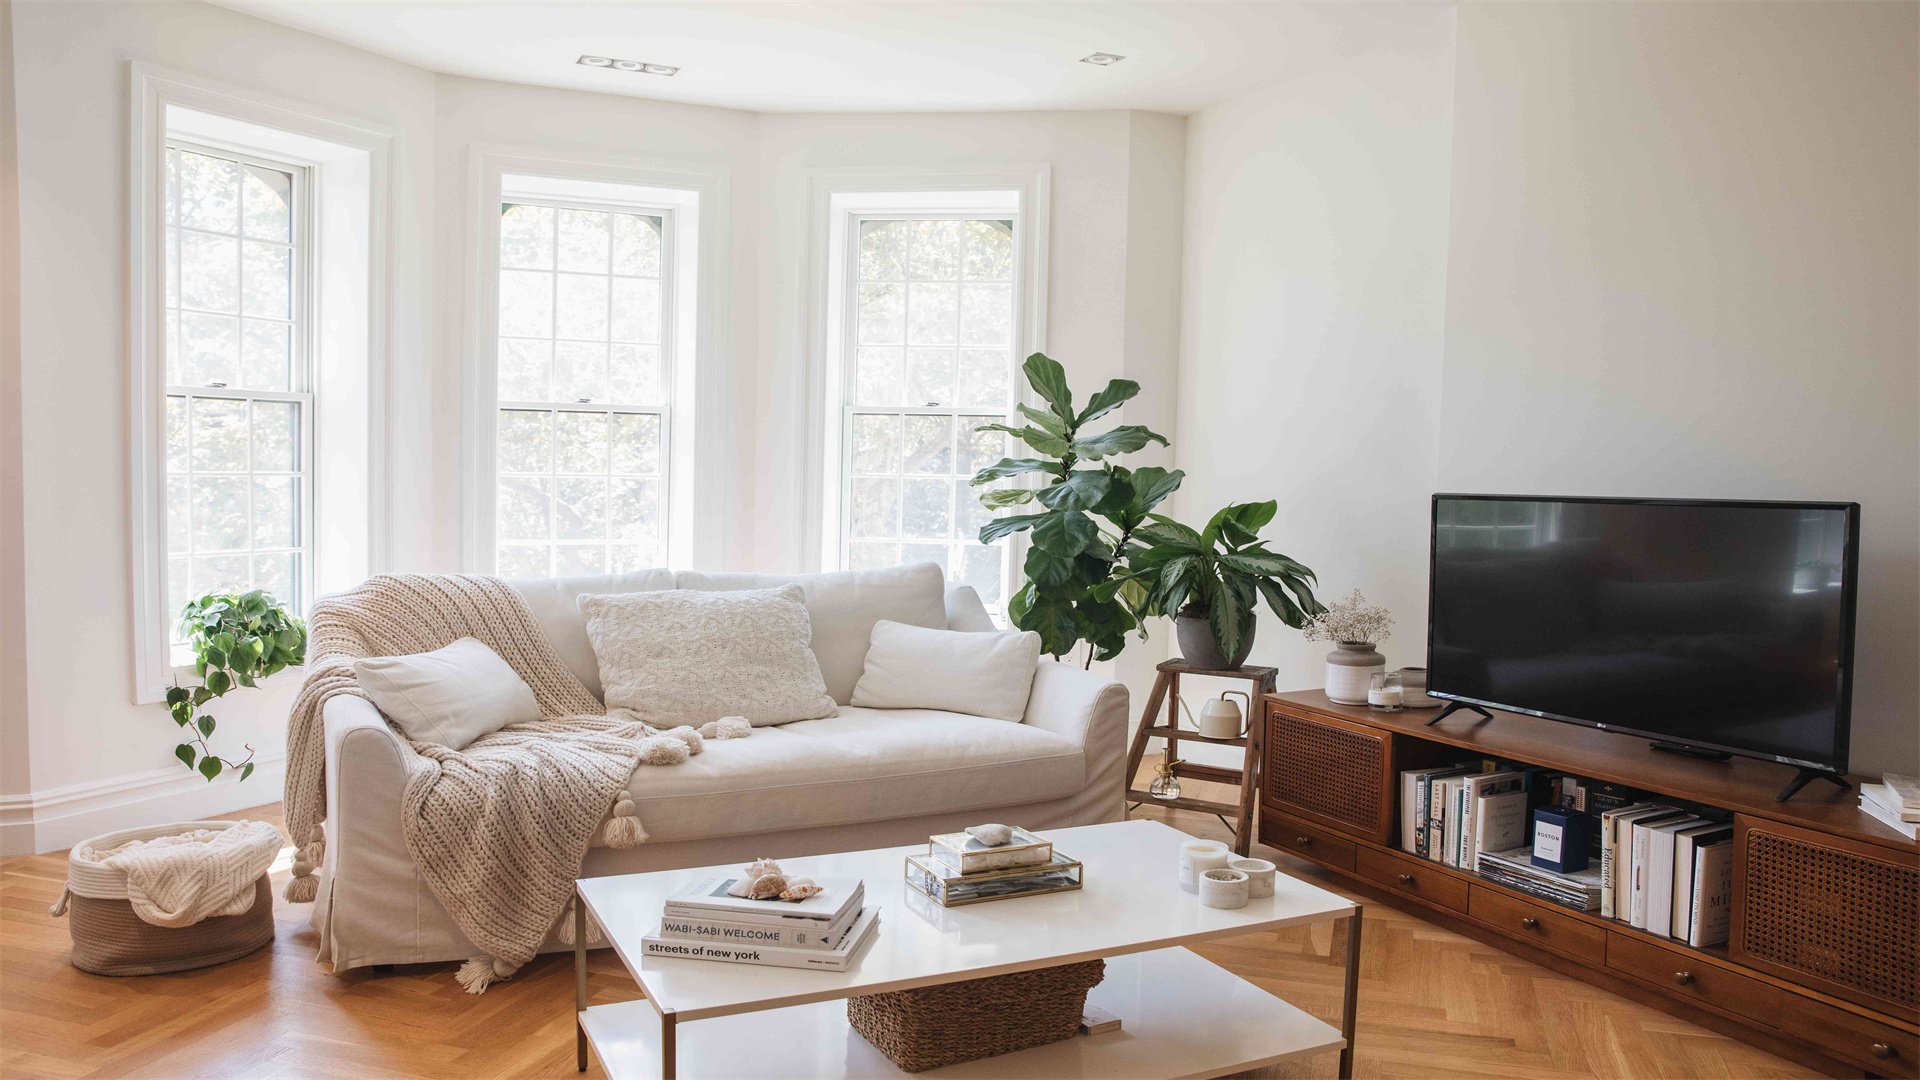
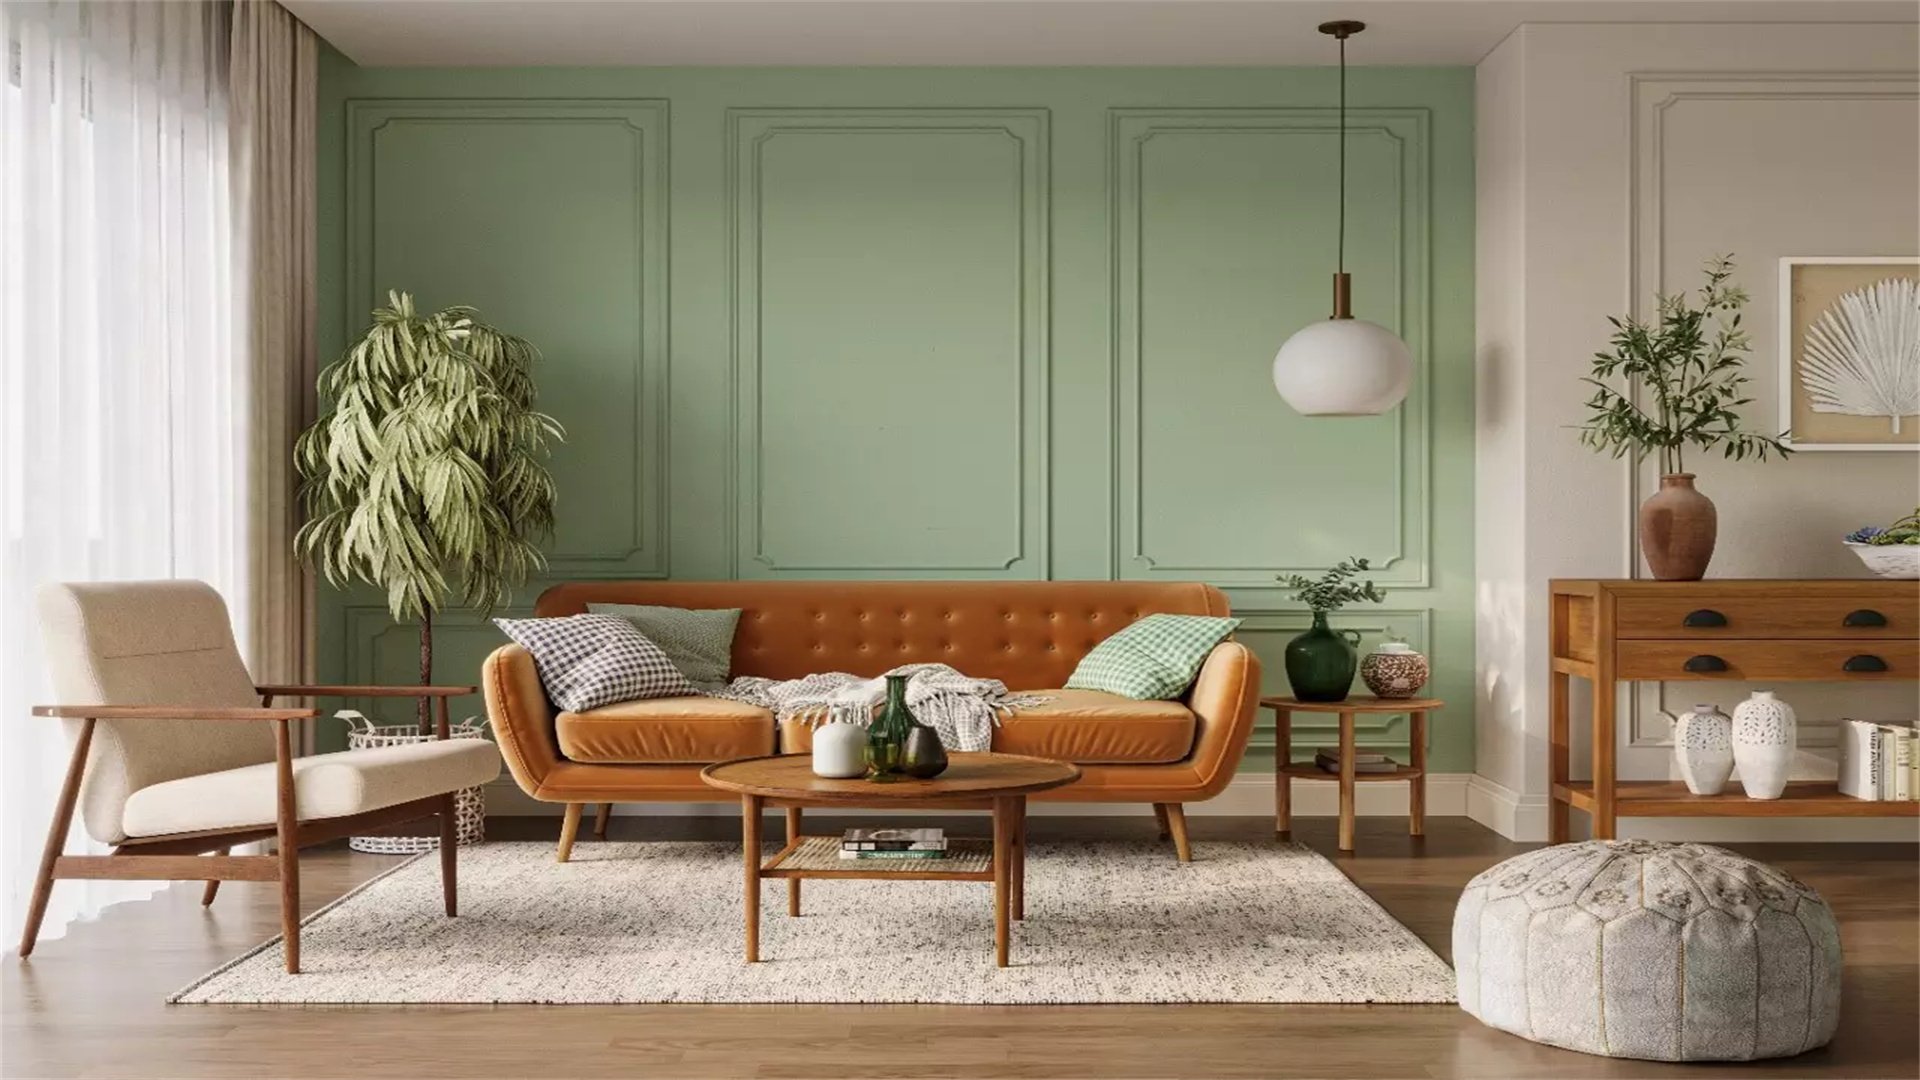
🧵 Tip 3: Incorporate Textiles for Layers and Comfort
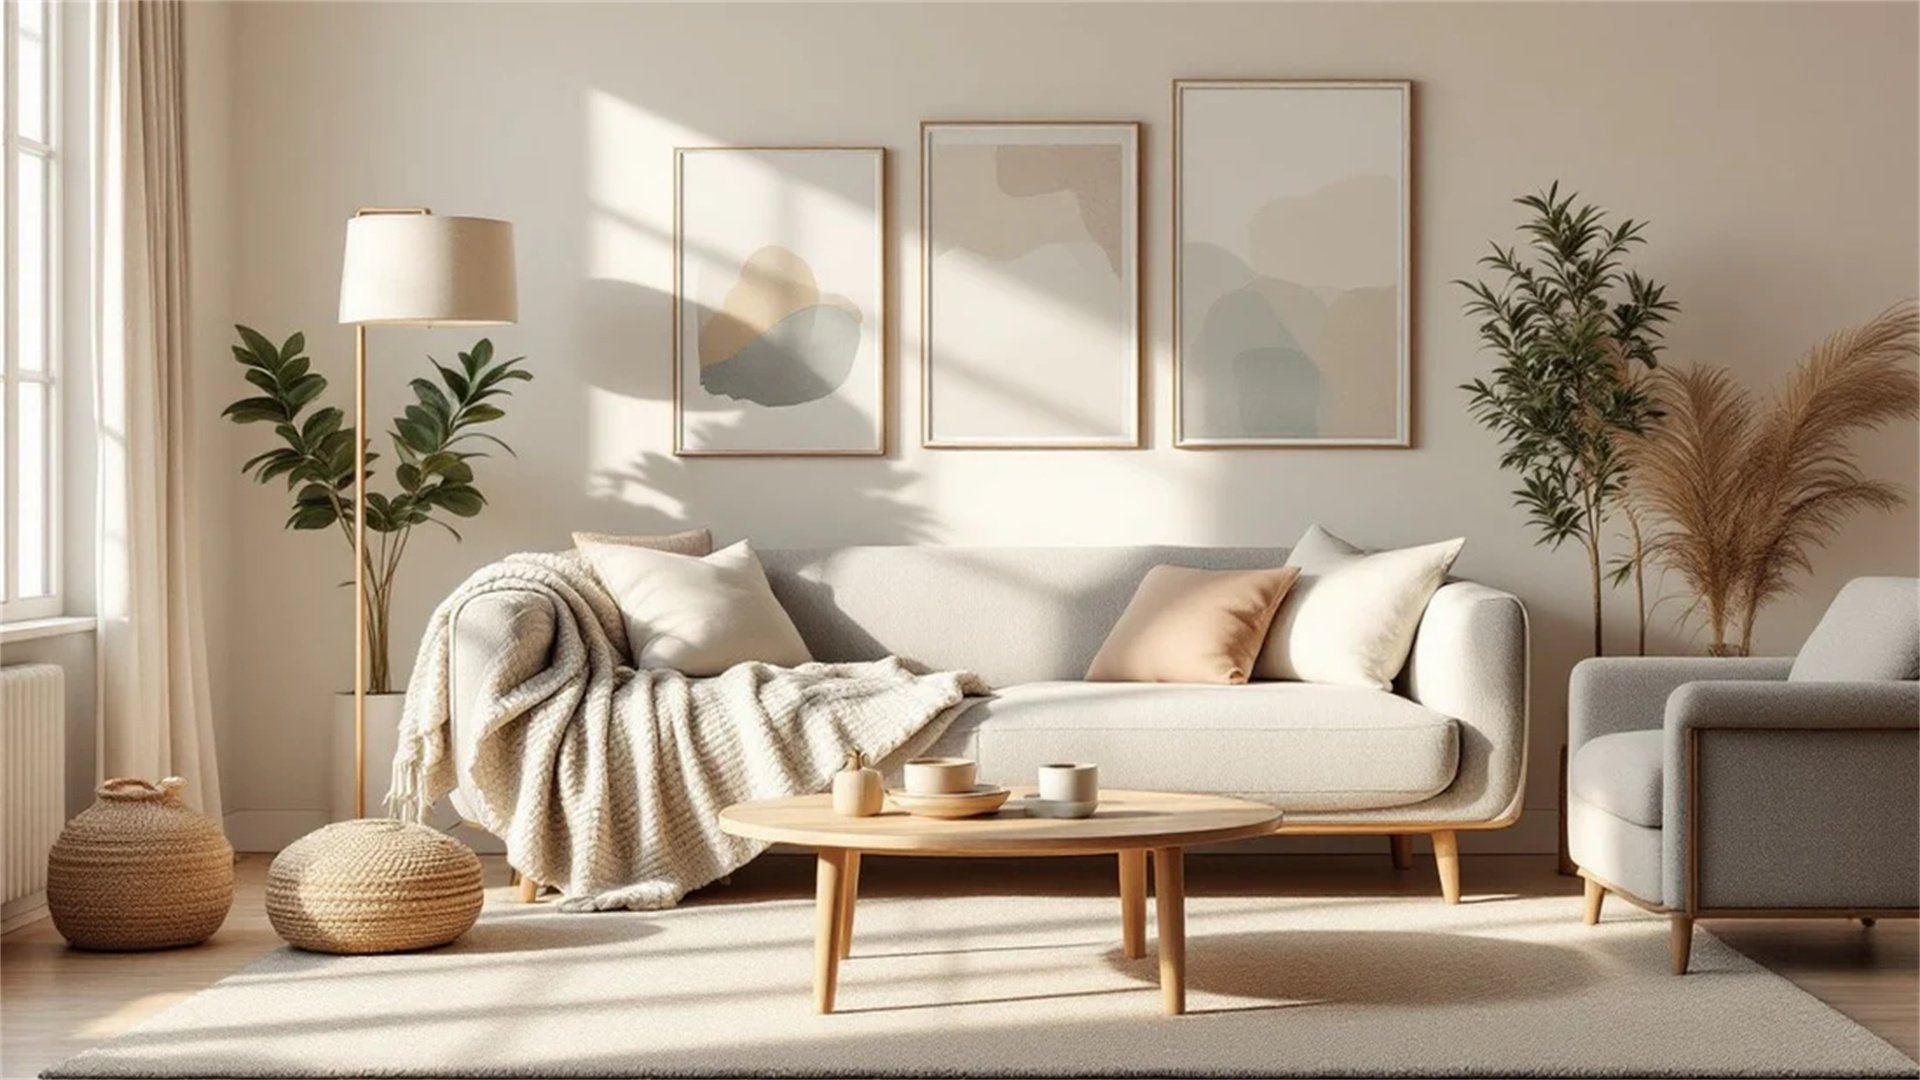
Textiles such as throw pillows, blankets, curtains, and rugs add texture, color, and warmth to any room. They are relatively inexpensive and easy to swap seasonally. Layering different fabrics—like cotton, wool, or velvet—creates visual interest and coziness. Start with a base rug to anchor the space, then add cushions in varying sizes and patterns. Curtains can soften windows and control light. This tip is perfect for renters because textiles are non-permanent and portable. Look for sales at discount stores or DIY your own by sewing covers from fabric remnants.
How to Implement
- Choose a Color Scheme: Pick 2-3 main colors and mix patterns (e.g., stripes with florals) while keeping a common hue. Neutral bases allow bolder accents.
- Layer Rugs: Place a smaller patterned rug over a larger jute or sisal one for dimension. Ensure rugs are sized appropriately—for living rooms, furniture should sit partially on them.
- Update Window Treatments: Install curtain rods higher than windows to create illusion of height. Use lightweight linen for airiness or blackout curtains for privacy.
- Mix Textures: Combine chunky knits, smooth silks, and fuzzy faux fur for tactile appeal. This adds depth without clutter.
- Rotate Seasonally: Switch to lighter linens in summer and heavier wools in winter. This keeps decor fresh and functional.
Advantages
- Versatile and can instantly change a room's ambiance.
- Provide acoustic benefits by absorbing sound and add insulation against cold floors.
- Many are machine-washable for easy maintenance.
- Shopping second-hand or upcycling old fabrics reduces costs further.
Disadvantages
- Cheap textiles may wear quickly or shed fibers.
- Overloading with too many patterns can look chaotic.
- Allergies to certain materials like wool might be an issue.
- Rugs can be tripping hazards if not secured properly.
🖼️ Tip 4: Create DIY Artwork and Wall Decor
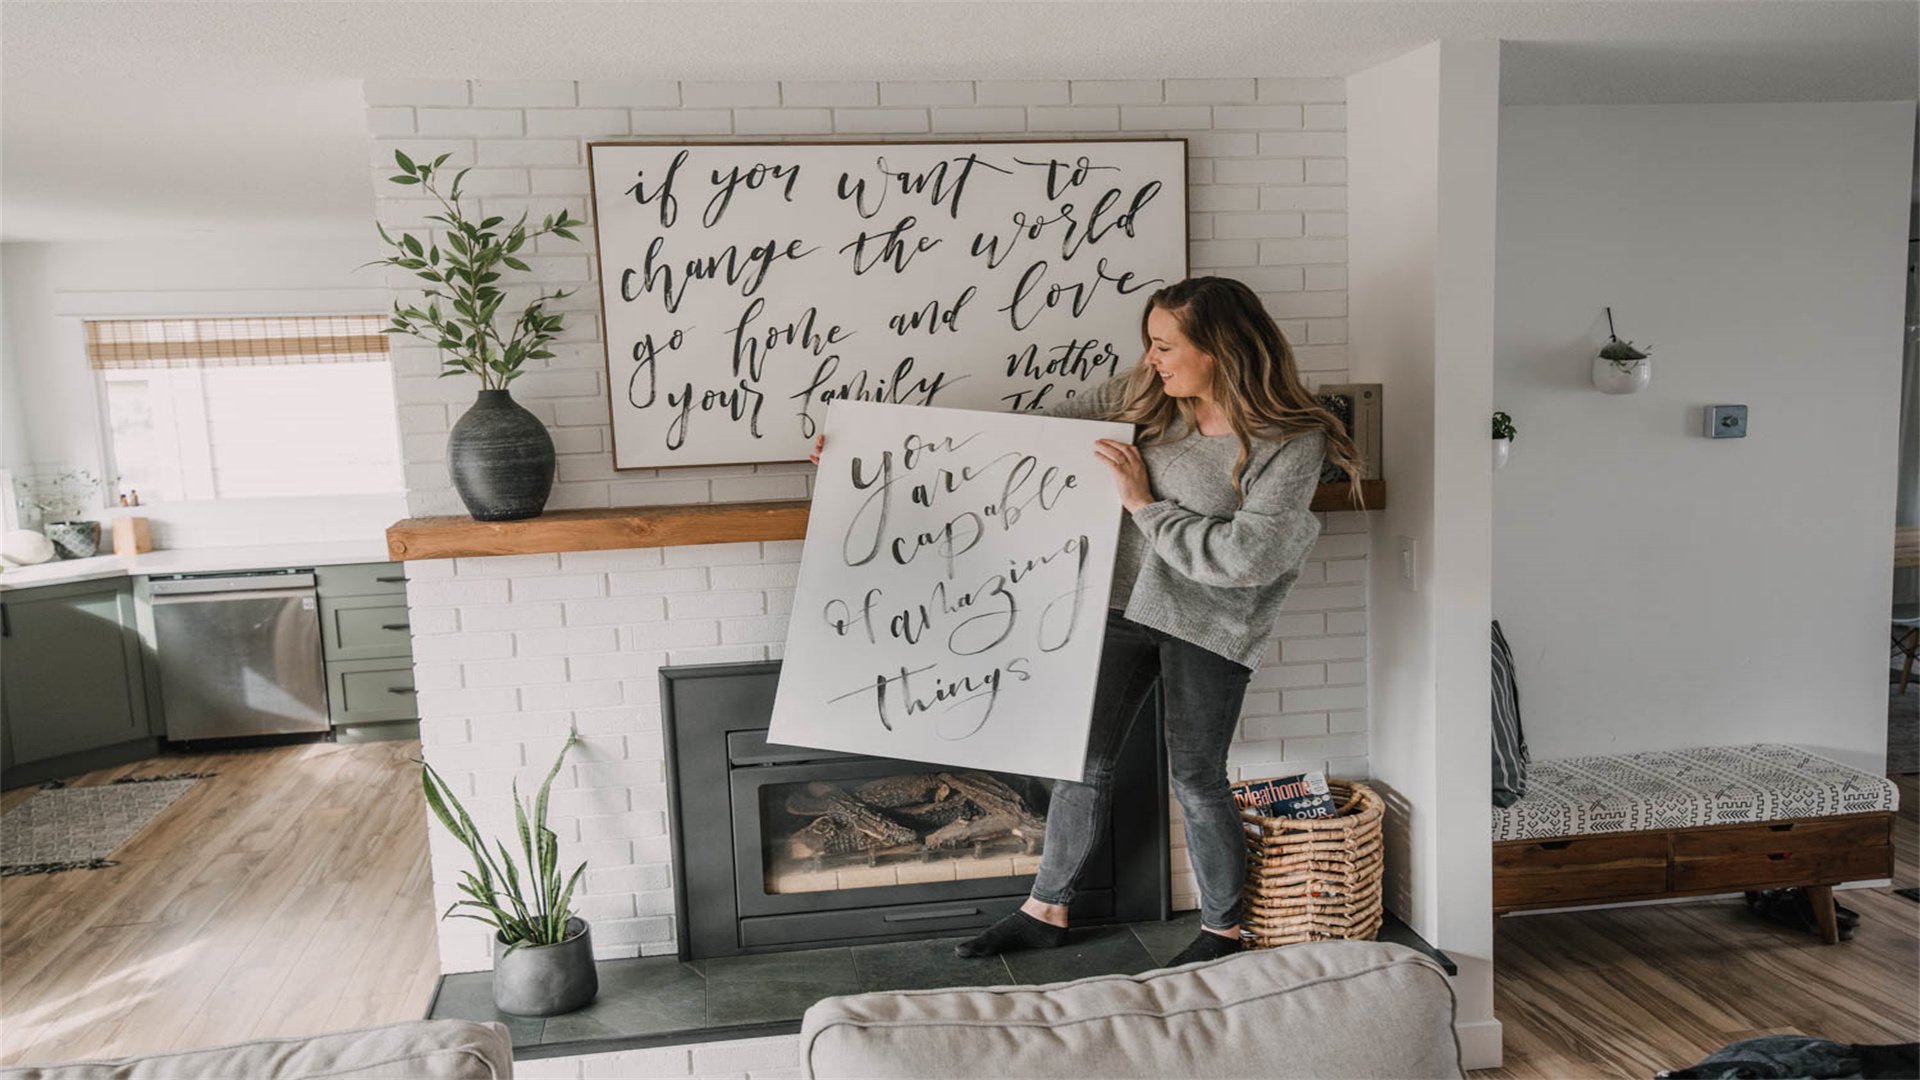
Art doesn't have to be expensive; DIY projects allow you to personalize your space with unique pieces. From canvas paintings to framed photos, handmade art adds character. Use materials like scrap wood, fabric, or recycled items. Ideas include abstract acrylic pours, macrame wall hangings, or gallery walls of family memories. This tip encourages creativity and can be a fun activity with friends or family. By making your own art, you save money and ensure no one else has the same piece. Look online for tutorials tailored to beginners.
How to Implement
- Gather Materials: Use affordable supplies from craft stores: canvases, paint, brushes, frames. Repurpose old magazines, maps, or fabric scraps for collages.
- Plan a Gallery Wall: Arrange frames on the floor first to design a layout. Mix sizes and orientations for visual interest. Use command strips for damage-free hanging.
- Try Simple Techniques: For abstract art, use masking tape to create geometric shapes or blend colors with a palette knife. Nature prints with leaves or flowers are also easy.
- Incorporate Personal Photos: Print high-quality images in black and white for a cohesive look. Frame them in thrifted frames painted uniformly.
- Use Everyday Objects: Hang plates, baskets, or vintage keys as wall decor. This adds texture and tells a story.
Advantages
- Cost-effective, with many projects under $20.
- Fosters creativity and provides a sense of accomplishment.
- Custom pieces reflect your style and can be tailored to fit exact spaces.
- Eco-friendly by upcycling materials.
Disadvantages
- Requires time and some artistic skill; beginners might feel frustrated.
- Results may not look professional.
- Materials can add up if multiple attempts are needed.
- Hanging heavy pieces requires proper hardware to avoid damage.
🌿 Tip 5: Bring in Plants for Natural Vibrancy
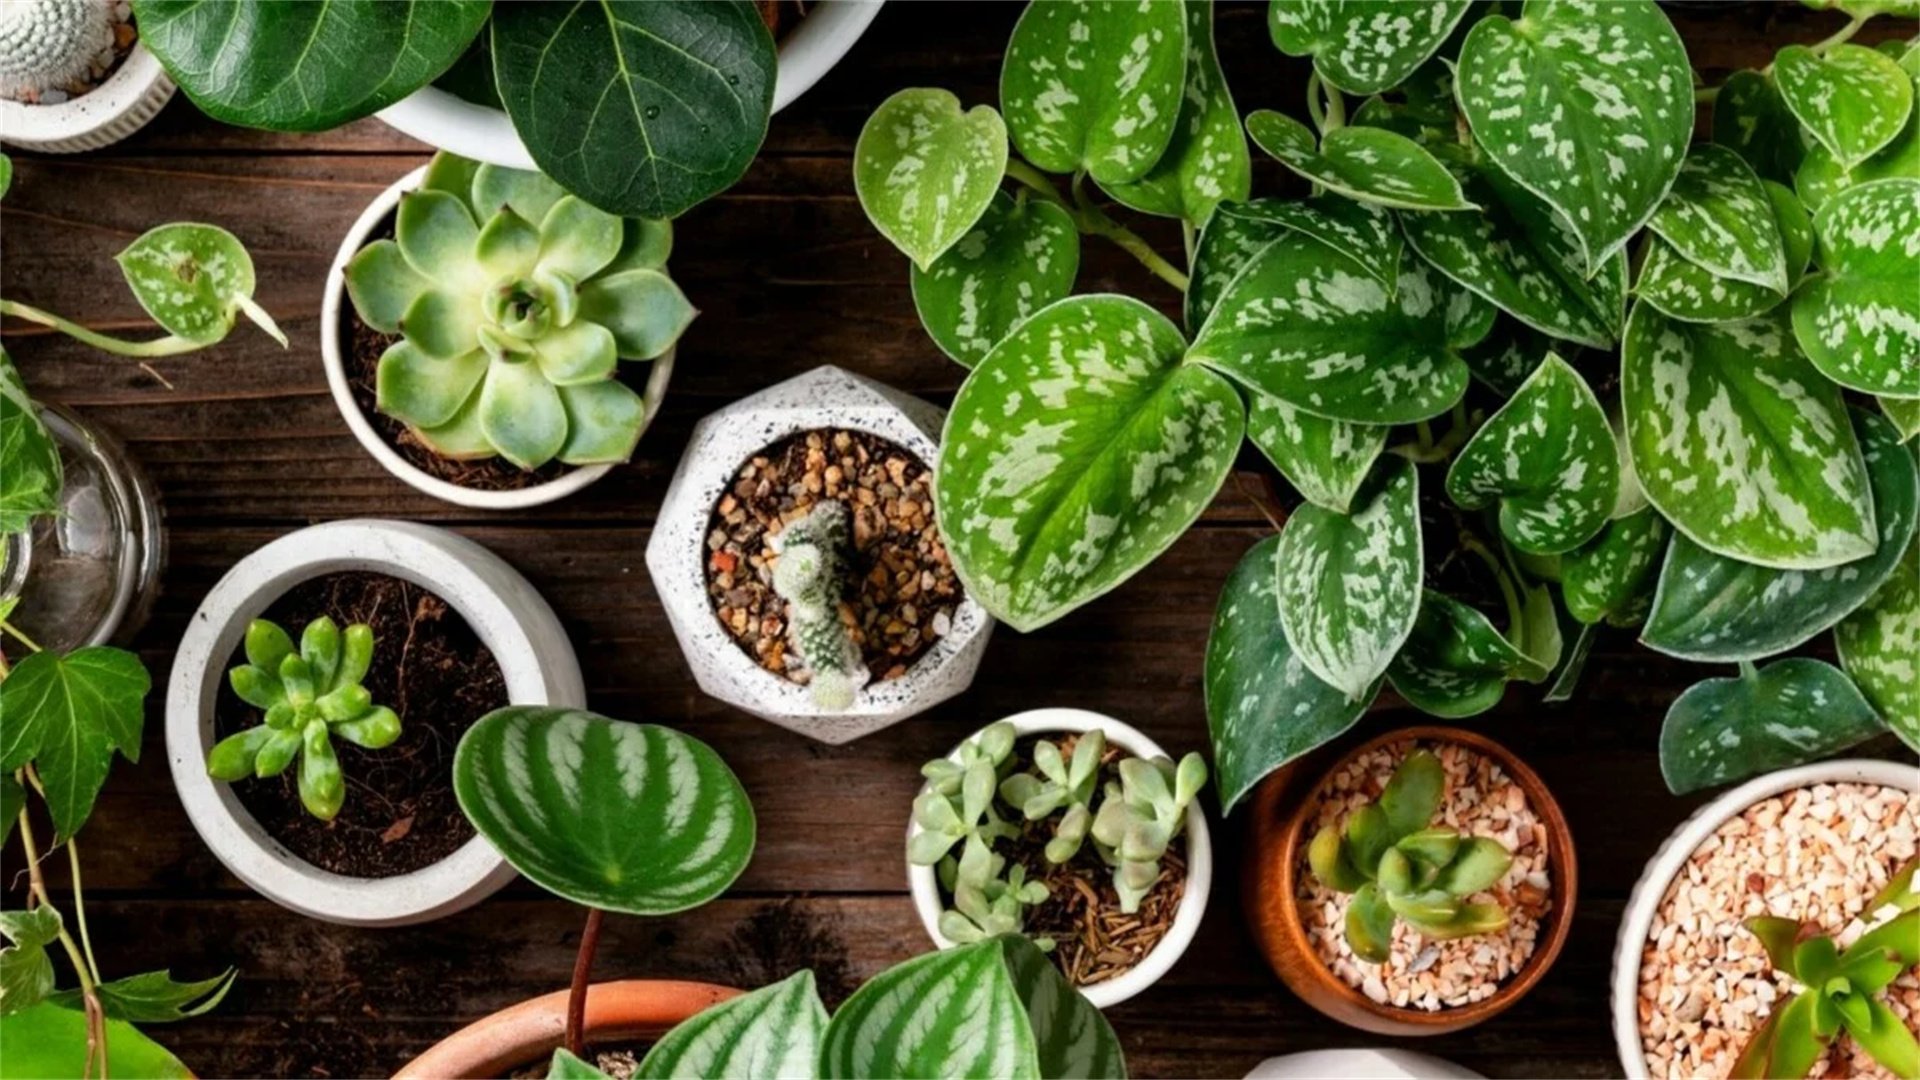
Plants are an affordable way to add life, color, and health benefits to your home. They improve air quality, reduce stress, and serve as living decor. Choose low-maintenance varieties like succulents, snake plants, or pothos for beginners. Place them in strategic spots: shelves, windowsills, or hanging planters. Use decorative pots that complement your style. This tip works for any budget—propagate plants from cuttings or swap with friends. For those without green thumbs, high-quality faux plants offer a realistic alternative without upkeep.
How to Implement
- Select Suitable Plants: Assess light conditions—bright indirect light for most houseplants. Research care needs; succulents need minimal water, while ferns prefer humidity.
- Choose Creative Containers: Repurpose mugs, tin cans, or baskets as pots. Ensure drainage holes to prevent root rot.
- Group Plants: Create clusters of varying heights for a lush, jungle-like effect. Use stands or shelves to maximize vertical space.
- Incorporate Herbs: Grow kitchen herbs like basil or mint in sunny windows. They're functional and fragrant.
- Maintain Regularly: Water according to needs, prune dead leaves, and rotate pots for even growth. Use fertilizer during growing seasons.
Advantages
- Purify air by removing toxins and increase humidity.
- Boost mood and productivity, making spaces feel inviting.
- Many are inexpensive, and propagation allows free expansion.
- Faux plants require no care and last indefinitely.
Disadvantages
- Live plants need consistent care; overwatering or neglect can kill them.
- Some may attract pests or cause allergies.
- Pets might chew toxic varieties, requiring pet-safe selections.
- Faux plants collect dust and lack air-purifying benefits.
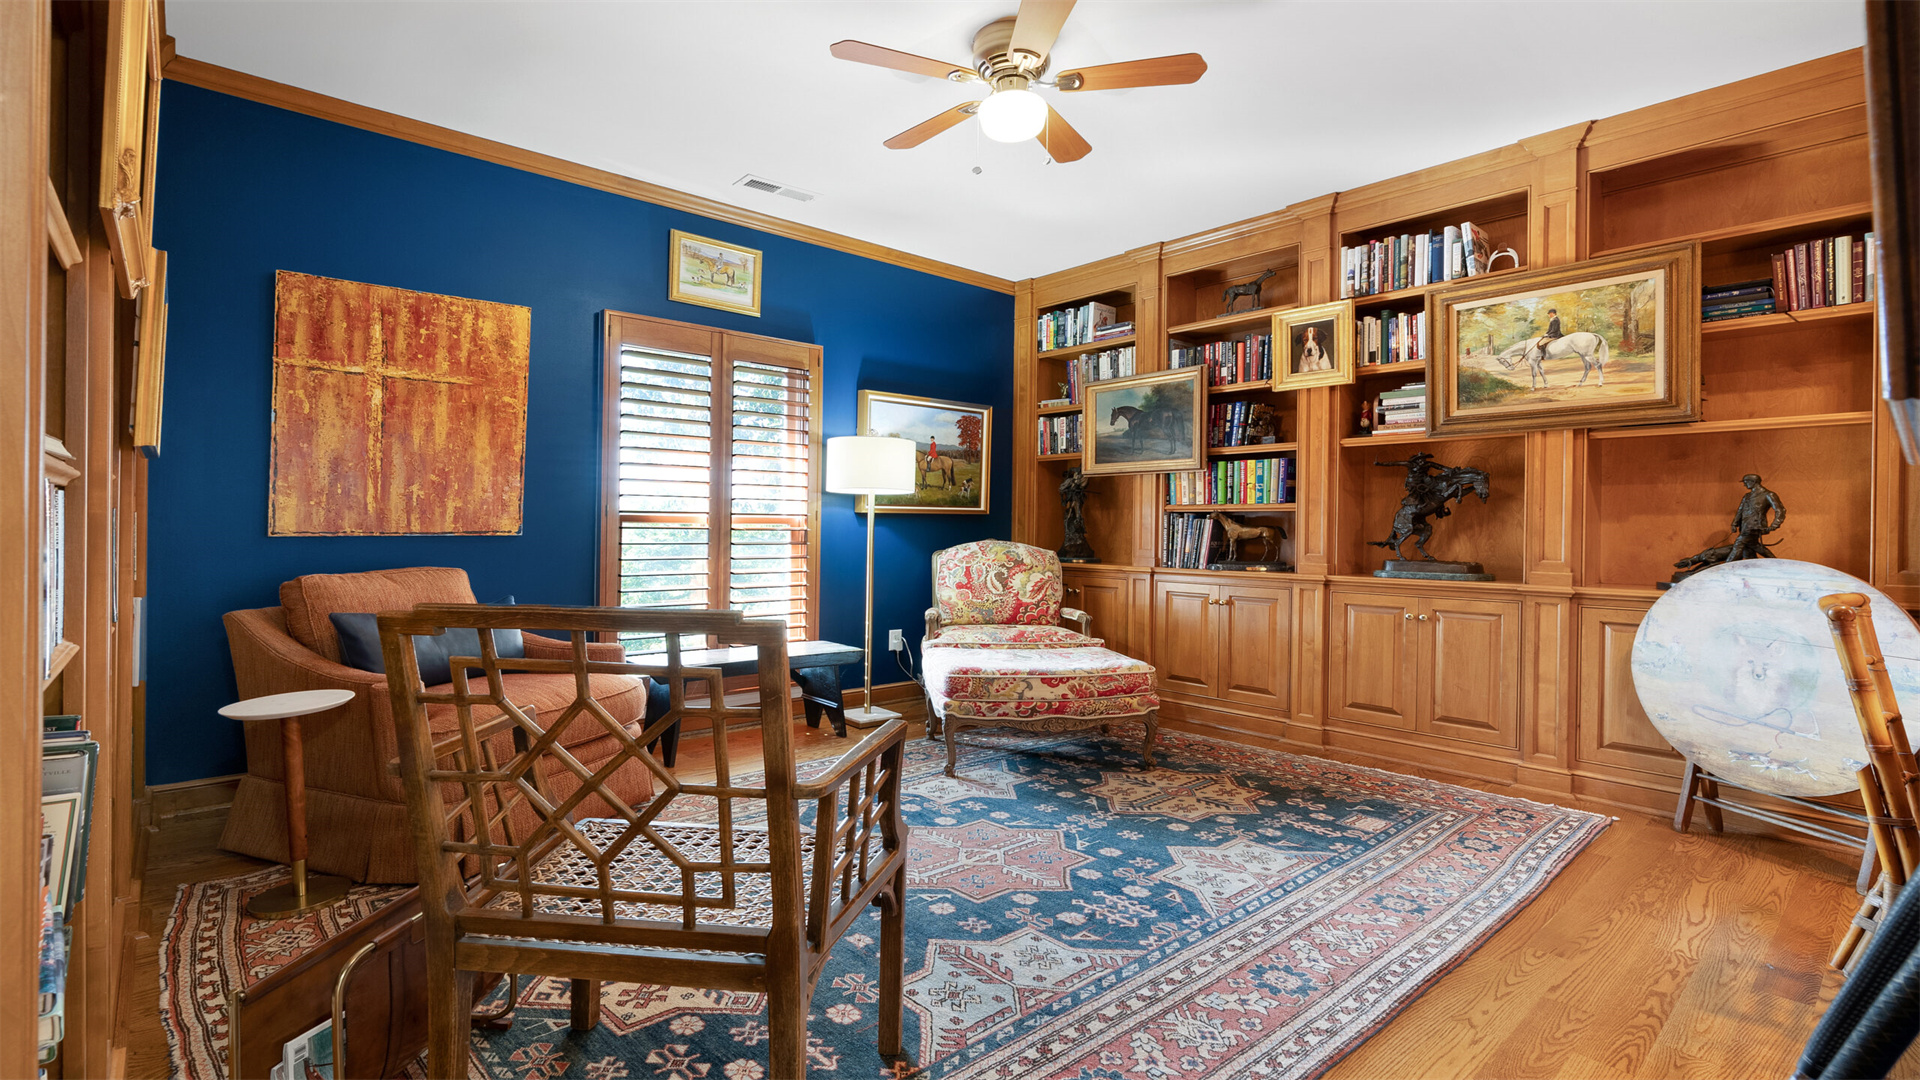
💡 Tip 6: Update Lighting for Ambiance and Function
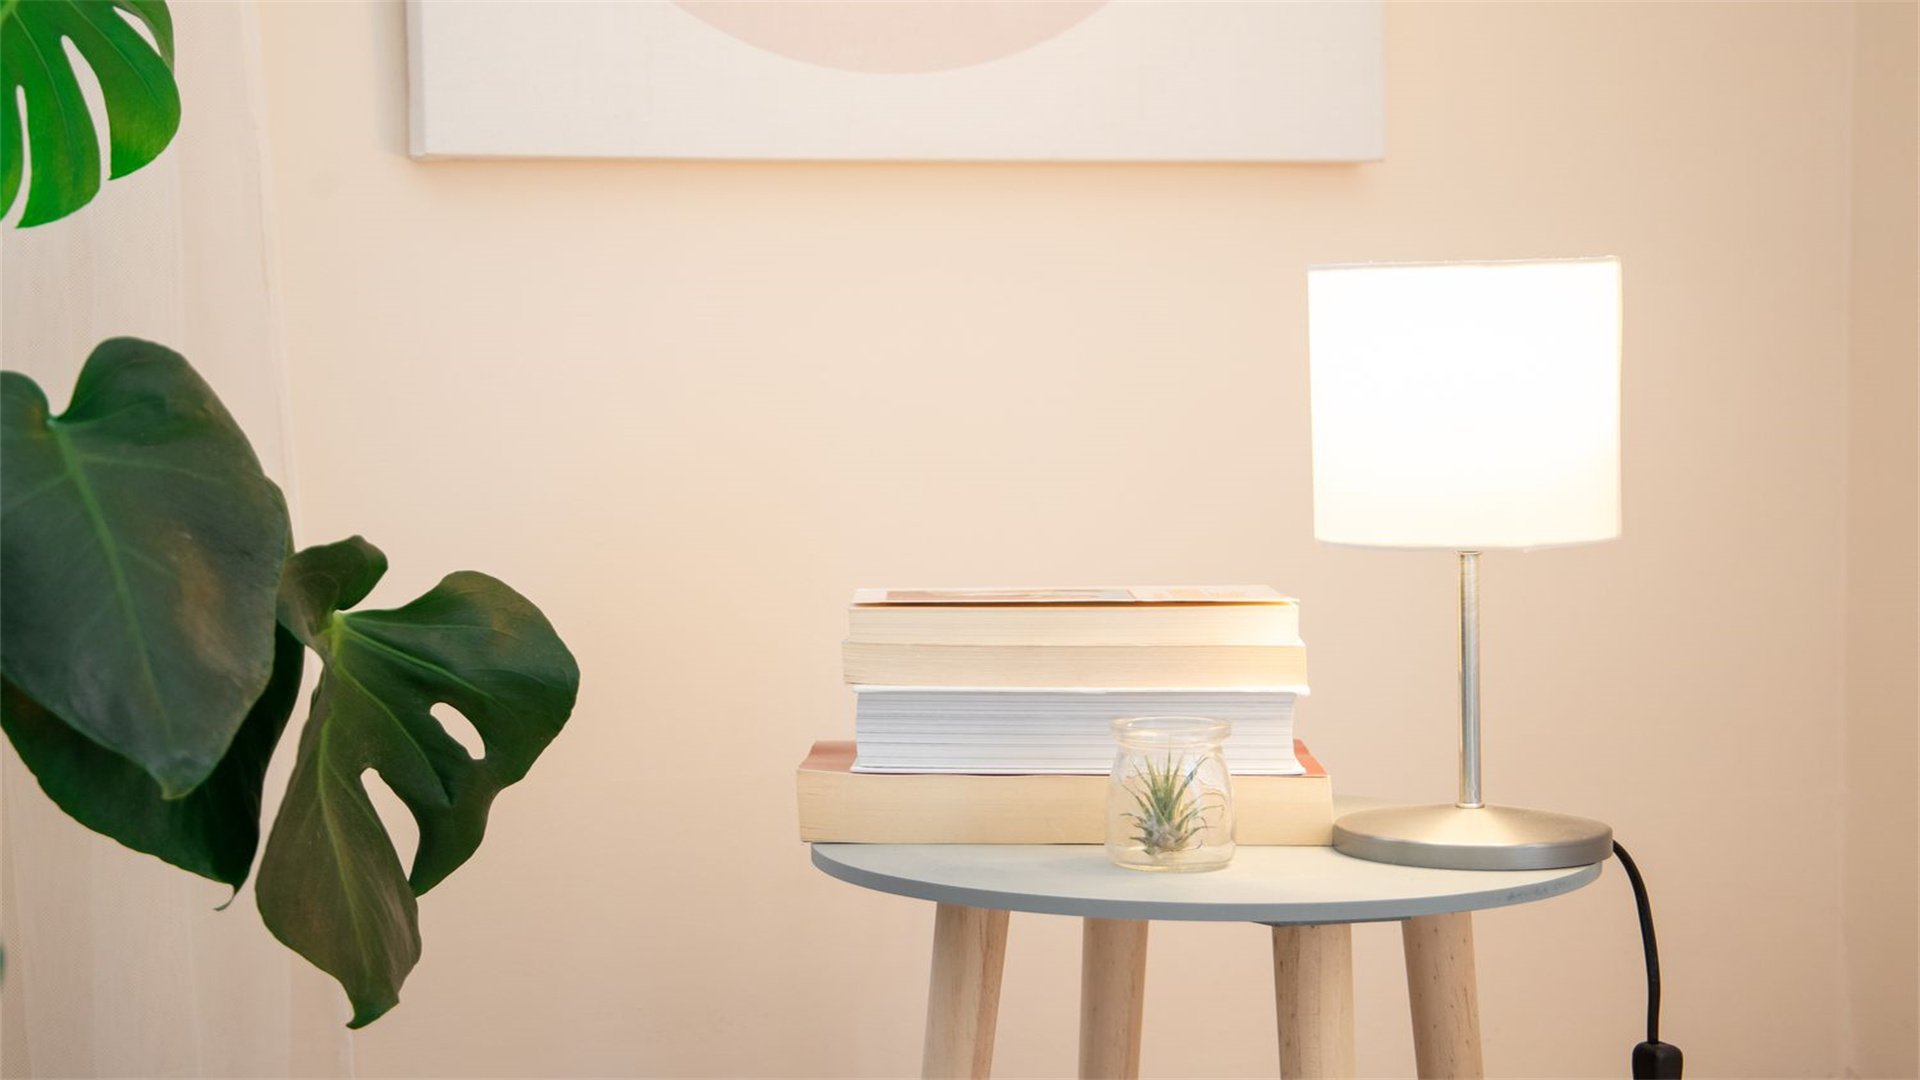
Lighting sets the mood and functionality of a room. Instead of expensive renovations, swap out fixtures, add lamps, or use smart bulbs. Layered lighting—ambient, task, and accent—creates depth. For example, pair overhead lights with floor lamps and string lights. This tip is budget-friendly because second-hand lamps or DIY shades can be found cheaply. Consider energy-efficient LED bulbs to save on electricity. Focus on key areas like reading nooks or dining tables where good lighting is essential.
How to Implement
- Assess Existing Lighting: Identify dark corners or harsh glares. Use dimmer switches to adjust brightness for different times of day.
- Add Portable Lamps: Place table lamps on side tables or floor lamps near seating. Thrift stores often have unique bases; update with new shades.
- Use String Lights: Drape fairy lights around mirrors, headboards, or plants for a cozy glow. Battery-operated options offer flexibility.
- Change Bulbs: Switch to warm white bulbs (2700K-3000K) for a welcoming hue. Smart bulbs allow color changes via apps.
- DIY Fixtures: Make pendants from baskets or jars. Ensure electrical safety by consulting tutorials or hiring an electrician for hardwired changes.
Advantages
- Improved lighting enhances aesthetics and practicality, reducing eye strain.
- Can make small spaces feel larger.
- Energy-efficient bulbs lower utility bills.
- Portable options require no installation, ideal for renters.
Disadvantages
- Some fixtures may be costly.
- Wiring changes can be complex.
- Poor placement can create shadows or glare.
- Cheap lamps might be unstable or short-lived.
🧸Tip 7: Use Mirrors to Enhance Space and Light
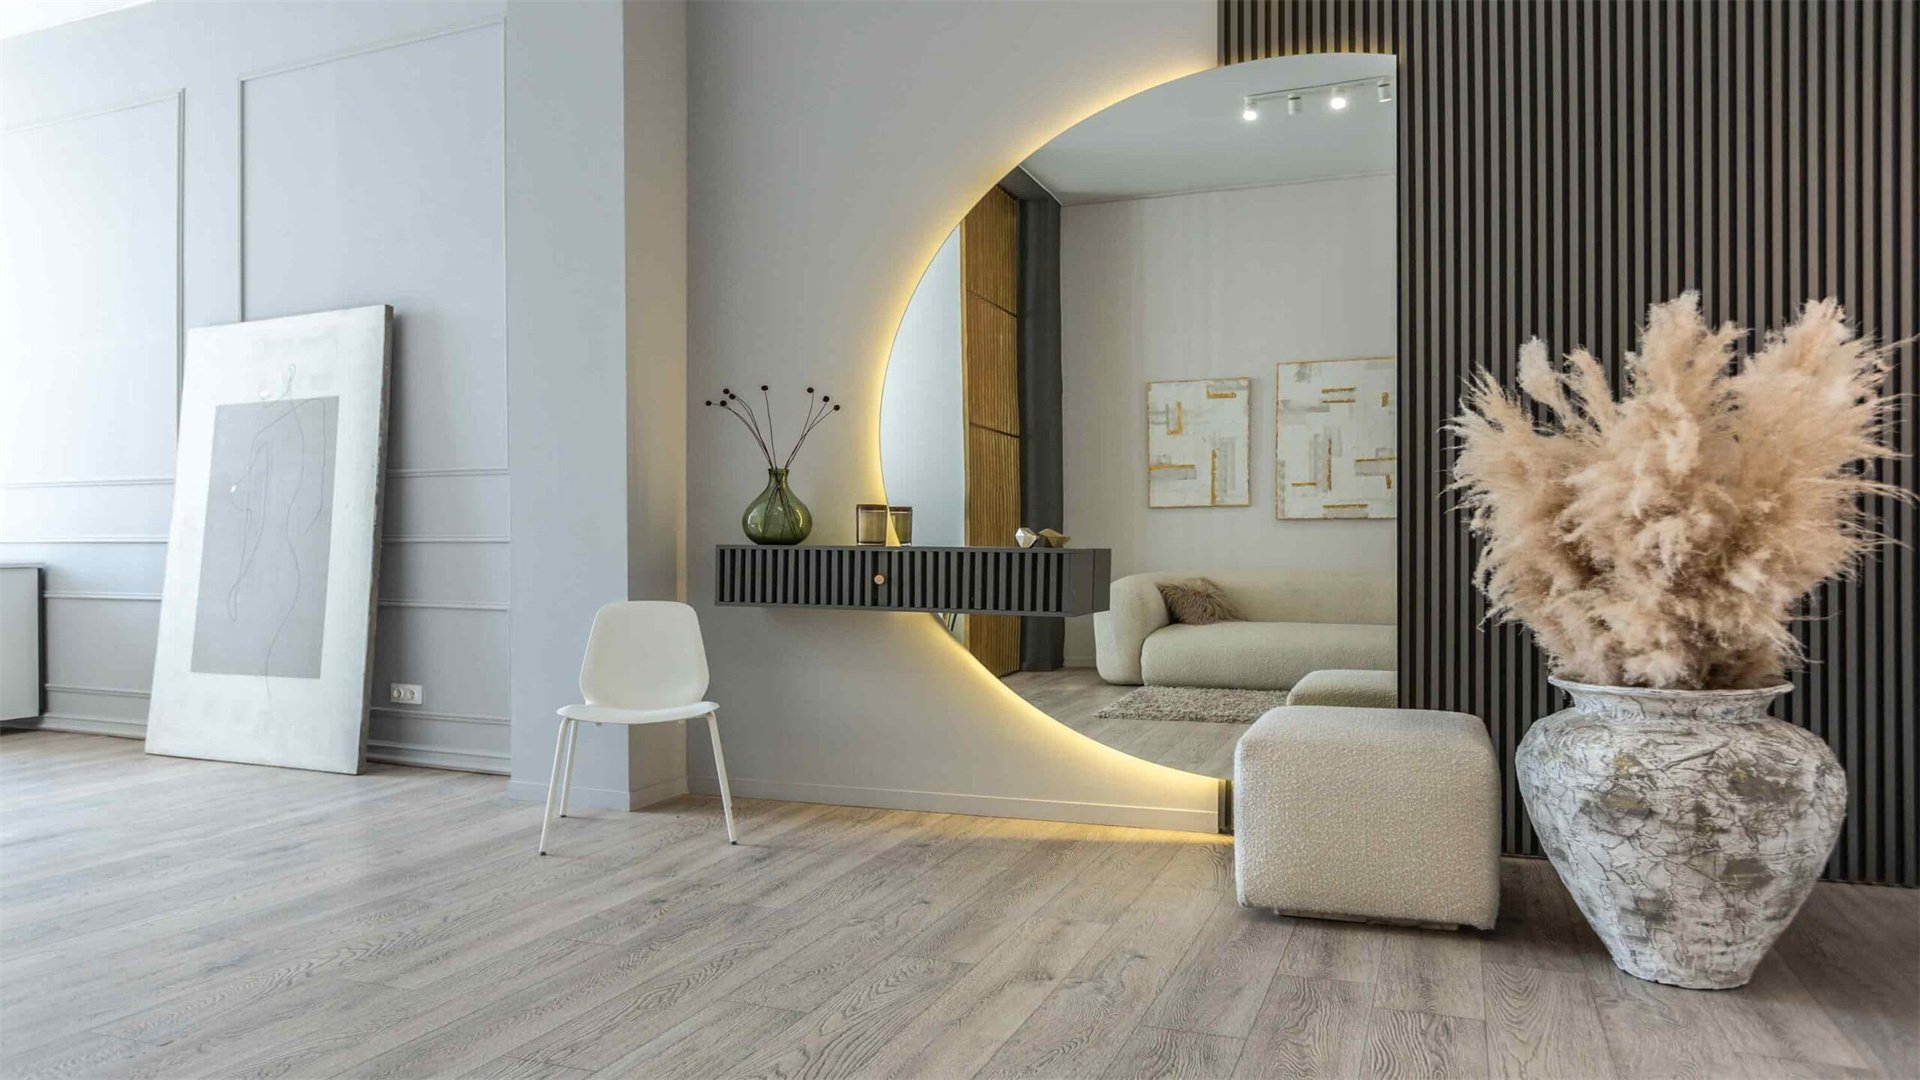
Mirrors are a classic decor trick to make rooms appear larger and brighter by reflecting light. Place them opposite windows to double natural light or in narrow hallways to create illusion of depth. Choose frames that match your style—ornate for traditional, sleek for modern. This tip is affordable because mirrors come in all price ranges; check discount stores or garage sales. Additionally, mirrored furniture or accessories can add glamour without overwhelming a space.
How to Implement
- Select the Right Size: Large mirrors work best in living rooms or bedrooms, while small ones can group as a collage. Ensure proportions suit the wall.
- Position Strategically: Hang mirrors at eye level and angle them to reflect attractive views, not cluttered areas.
- Create Focal Points: Use a statement mirror above a fireplace or sofa. Sunburst or geometric designs add artistic flair.
- Incorporate Multiple Mirrors: Group small mirrors in symmetrical arrangements for a dynamic effect. This works well in entryways.
- Use Mirrored Accents: Add trays, vases, or candle holders with mirror finishes to bounce light around.
Advantages
- Instantly amplify light and space, ideal for small or dark rooms.
- Serve dual purposes as decor and functional items for grooming.
- Easy to install with hooks or adhesive strips.
Disadvantages
- Heavy mirrors require secure mounting to avoid accidents.
- Can show smudges easily, needing frequent cleaning.
- Poor placement might reflect unattractive areas or cause glare.
♻️ Tip 8: Repurpose and Upcycle Old Items

Upcycling transforms discarded items into stylish decor, saving money and reducing waste. Look for old furniture, jars, or crates at thrift stores or your attic. With paint, new hardware, or creative adjustments, you can give them new life. This tip embraces sustainability and uniqueness. For example, turn a ladder into a bookshelf or wine bottles into candle holders. It requires minimal investment but yields custom pieces that add charm.
How to Implement
- Source Materials: Visit flea markets, online marketplaces, or curb alerts for free items. Prioritize solid wood pieces over particleboard for durability.
- Clean and Repair: Sand surfaces, tighten joints, and remove old finishes. This ensures a good base for transformations.
- Apply Creative Touches: Paint dressers in bold colors, reupholster chairs with fabric remnants, or add stenciled designs. Use decoupage for decorative patterns.
- Repurpose Functionally: Convert suitcases into side tables, pallets into coffee tables, or teacups into planters. Let imagination guide you.
- Seal and Protect: Apply varnish or wax to finished pieces for longevity, especially for items used outdoors or in high-traffic areas.
Advantages
- Eco-friendly and cost-effective, often costing less than $50 per project.
- Results in one-of-a-kind items that reflect personal style.
- Develops DIY skills and reduces landfill waste.
Disadvantages
- Can be time-consuming and may require tools like saws or sanders.
- Some items might be beyond repair, leading to wasted effort.
- Improper upcycling could damage antiques or reduce functionality.
🏠 Tip 9: Add Rugs to Define Areas and Add Warmth
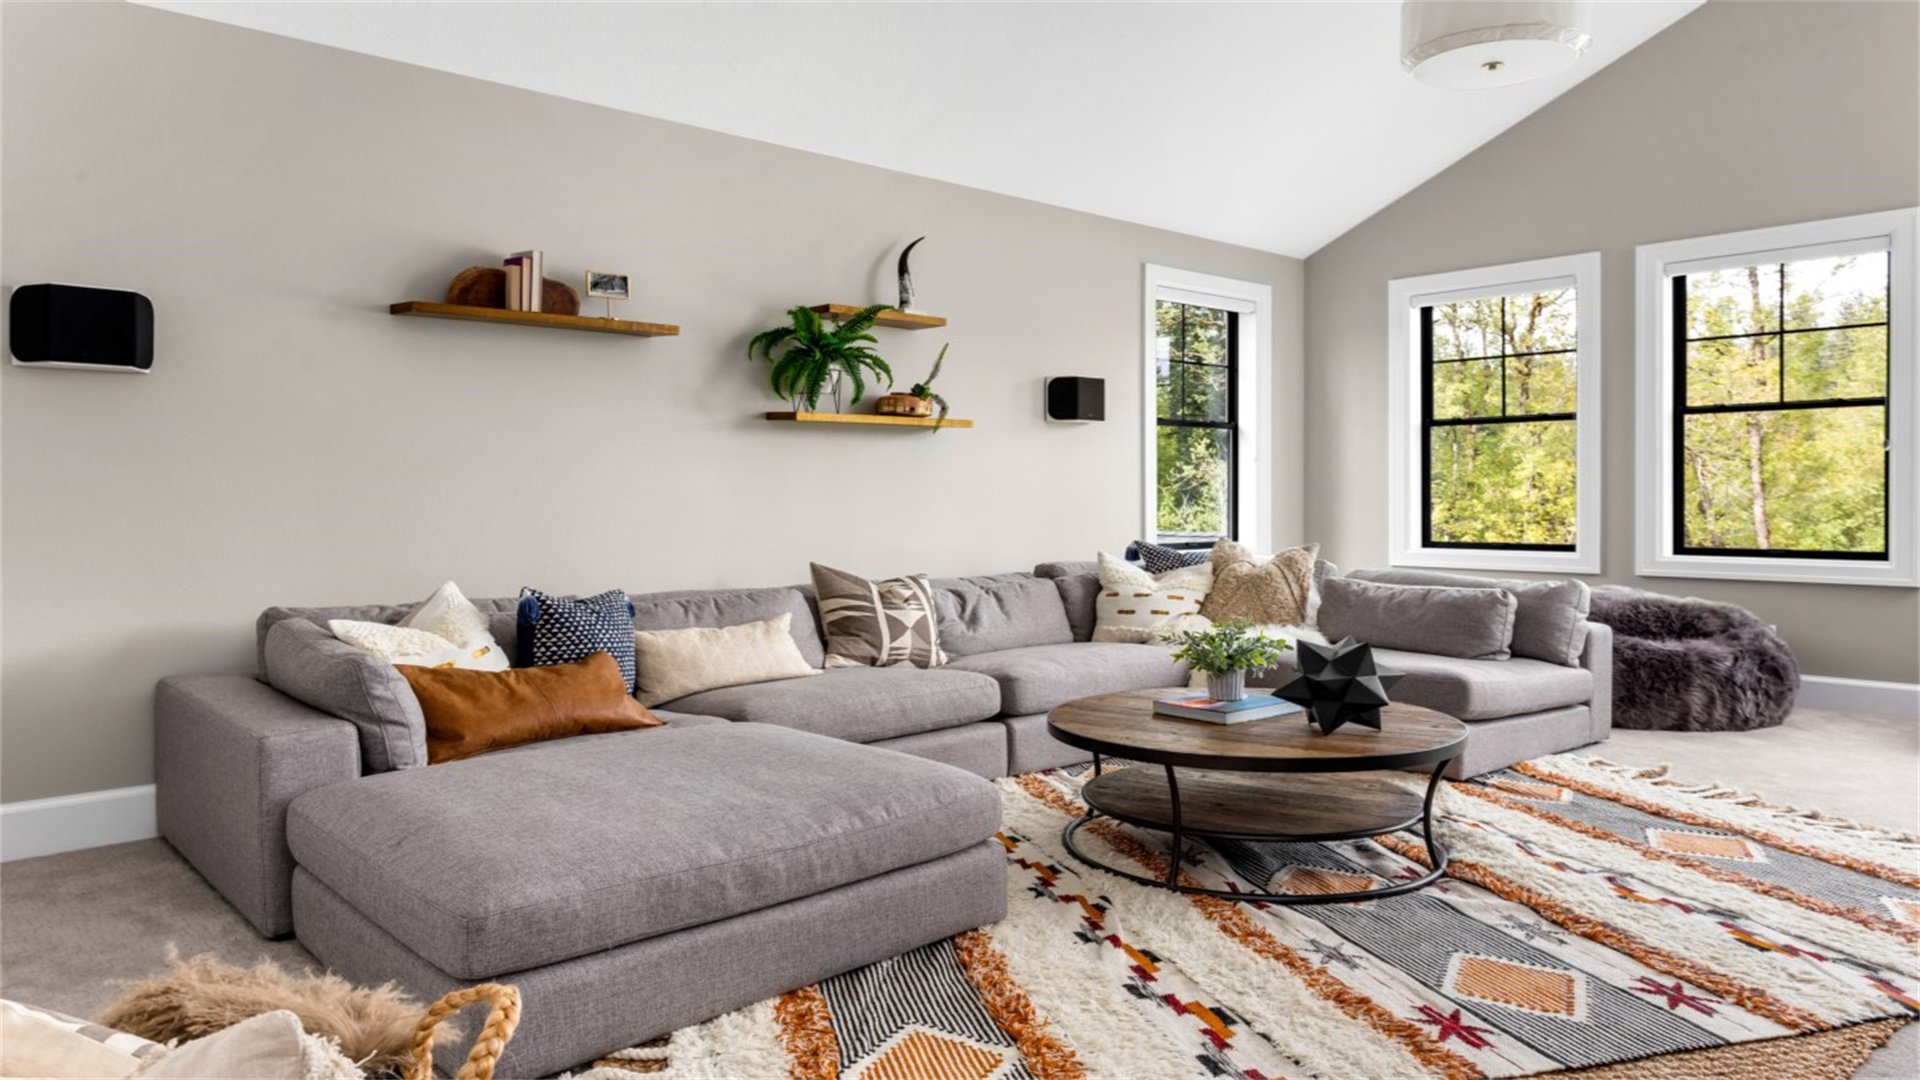
Rugs anchor furniture, define spaces, and provide comfort underfoot. They come in various materials, from affordable synthetic to natural fibers like jute. Use rugs to zone open-plan areas or add color to neutral rooms. Layering rugs, as mentioned earlier, adds texture. This tip is budget-friendly because sales, online discounts, or second-hand options abound. Even small rugs in entryways or bathrooms can make a big impact.
How to Implement
- Choose the Right Size: In living rooms, ensure the rug is large enough for front legs of sofas and chairs to sit on. In dining rooms, it should extend beyond pulled-out chairs.
- Select Materials Wisely: Low-pile rugs like flatweave are easy to clean, while plush rugs add coziness. Outdoor rugs work well in high-moisture areas.
- Use Non-Slip Pads: Place rug pads underneath to prevent slipping and extend rug life. They also add cushioning.
- Rotate and Clean: Rotate rugs periodically to even out wear. Vacuum regularly and spot-clean spills to maintain appearance.
- DIY Rug Ideas: Braid old t-shirts into a rag rug or paint patterns on plain canvas rugs. This customizes on a dime.
Advantages
- Reduce noise, provide insulation, and protect floors.
- Easy to change seasonally or for updates.
- Affordable options allow frequent refreshing without commitment.
Disadvantages
- Cheap rugs may shed or wear quickly.
- Large rugs can be expensive and difficult to clean.
- Allergies to dust or fibers might be aggravated.
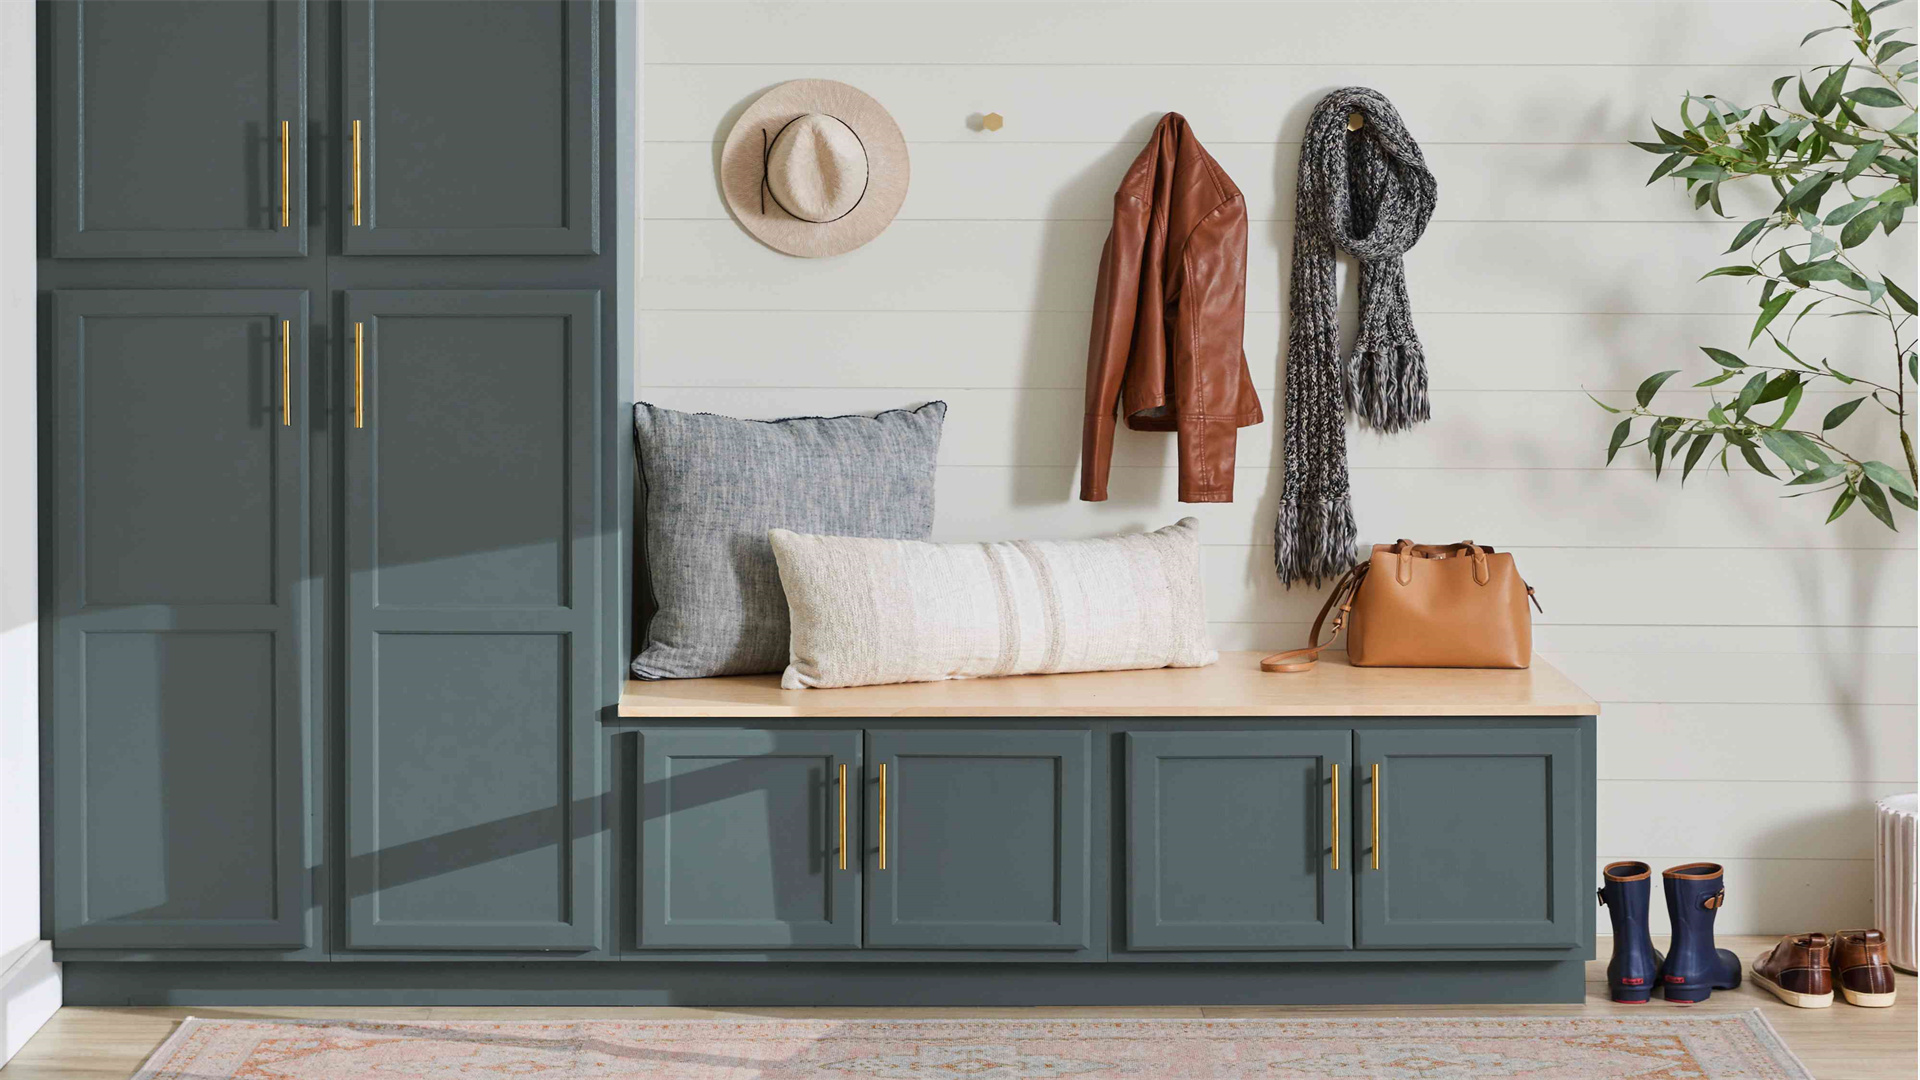
🧹 Tip 10: Declutter and Organize for a Clean Look
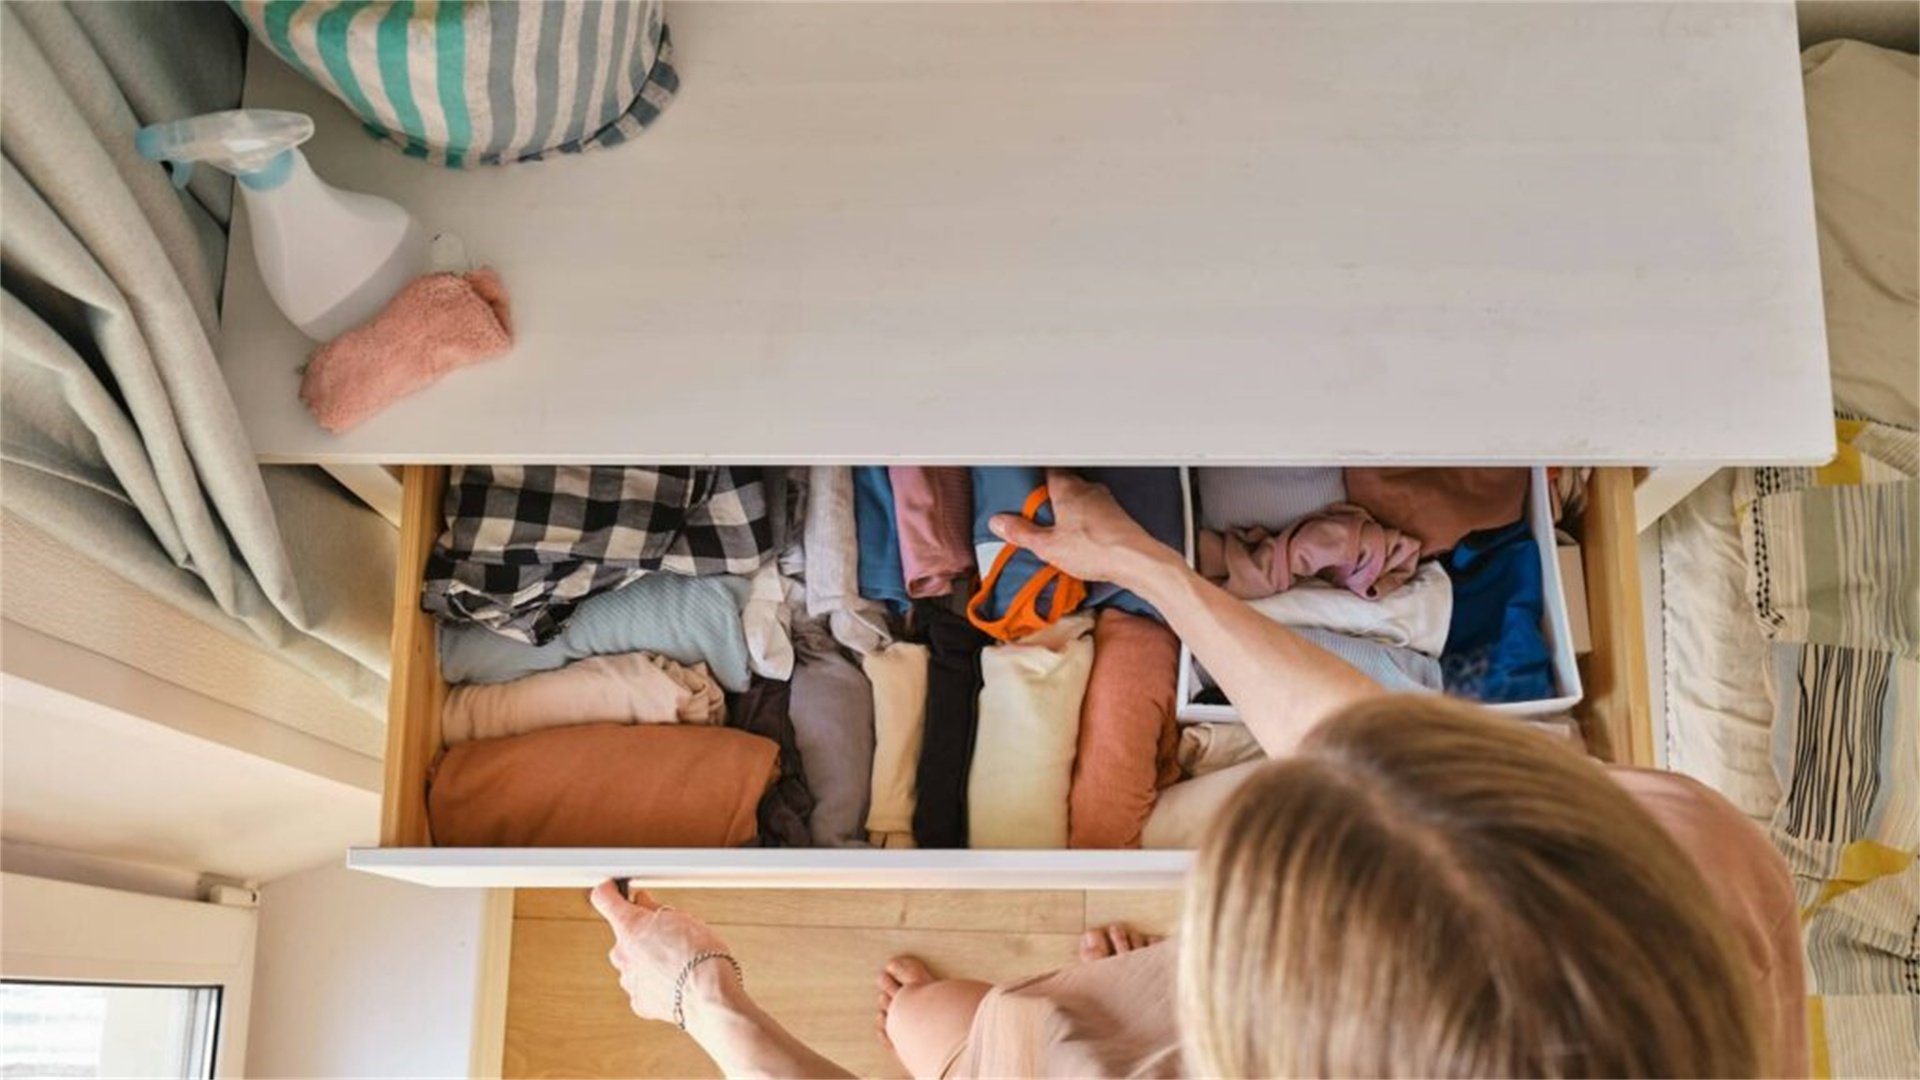
Clutter can make even well-decorated spaces feel chaotic. Decluttering is free and instantly enhances aesthetics. Use the KonMari method or simple sorting to keep only what sparks joy. Then, organize with affordable storage solutions like baskets, bins, or shelves. This tip improves functionality and mental clarity. Focus on high-visibility areas like countertops, shelves, and closets. A tidy home appears more spacious and stylish.
How to Implement
- Start Small: Tackle one room or category at a time, such as books or kitchen utensils. Donate, sell, or recycle unused items.
- Use Vertical Space: Install floating shelves or pegboards to store items off floors. This maximizes space in small homes.
- Incorporate Hidden Storage: Use ottomans with storage, under-bed boxes, or decorative trunks. This keeps essentials accessible but out of sight.
- Label Everything: Label bins and jars for easy identification. This maintains order and saves time.
- Adopt Daily Habits: Spend 10 minutes daily tidying up to prevent clutter buildup. Make organization part of your routine.
Advantages
- Cost-free and reduces stress by creating a serene environment.
- Makes cleaning easier and can reveal forgotten items to repurpose.
- Organized spaces look more intentional and designer-like.
Disadvantages
- Requires discipline and time investment.
- Letting go of sentimental items can be emotionally challenging.
- Storage solutions might cost money if purchased new.
🏷️ Tip 11: Utilize Removable Wallpaper and Decals
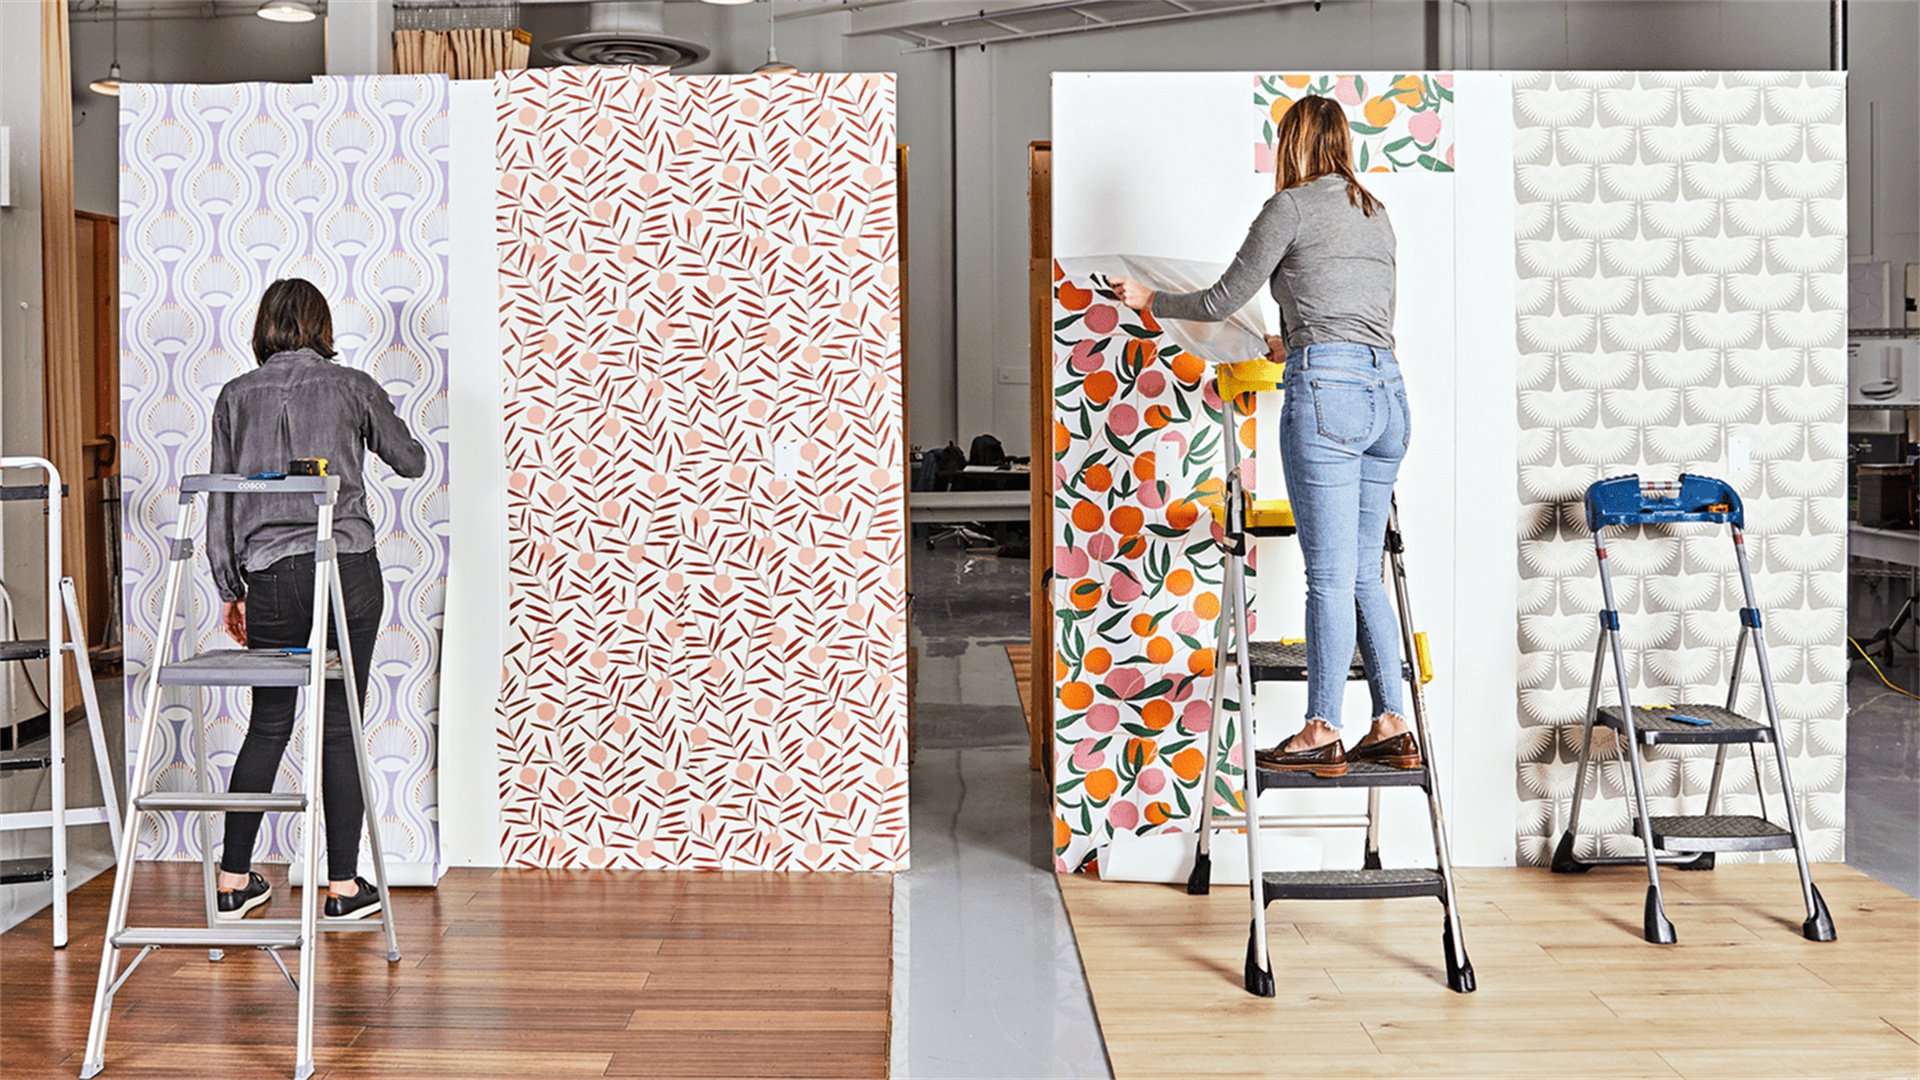
For renters or those avoiding permanent changes, removable wallpaper and decals offer temporary style. They come in endless patterns, from subtle textures to bold prints. Apply to accent walls, furniture, or even ceilings. This tip is affordable because small rolls cost less than paint in some cases. Decals are especially easy—just peel and stick. They can mimic expensive materials like brick or wood without the hassle.
How to Implement
- Measure Accurately: Calculate wall area and order slightly extra for mistakes. Most removable wallpapers are sold in panels or rolls.
- Prepare Surfaces: Clean walls thoroughly and ensure they're smooth. This helps adhesion and prevents bubbles.
- Apply Carefully: Use a squeegee to smooth out air pockets. Start from top and work downward. For decals, follow manufacturer instructions.
- Mix and Match: Combine different patterns on adjacent walls or create geometric shapes. This adds personality without overwhelming.
- Remove Gently: When moving, peel slowly from a corner. Most options leave no residue, but test a small area first.
Advantages
- Ideal for rentals, allowing customization without penalties.
- Easier to apply than traditional wallpaper and can be changed frequently.
- Many are durable and washable.
Disadvantages
- Can be pricey for large areas and may not adhere well to textured walls.
- Improper application can look wrinkled or peel prematurely.
- Some cheaper decals might tear easily.
🔩 Tip 12: Update Hardware for a Quick Refresh
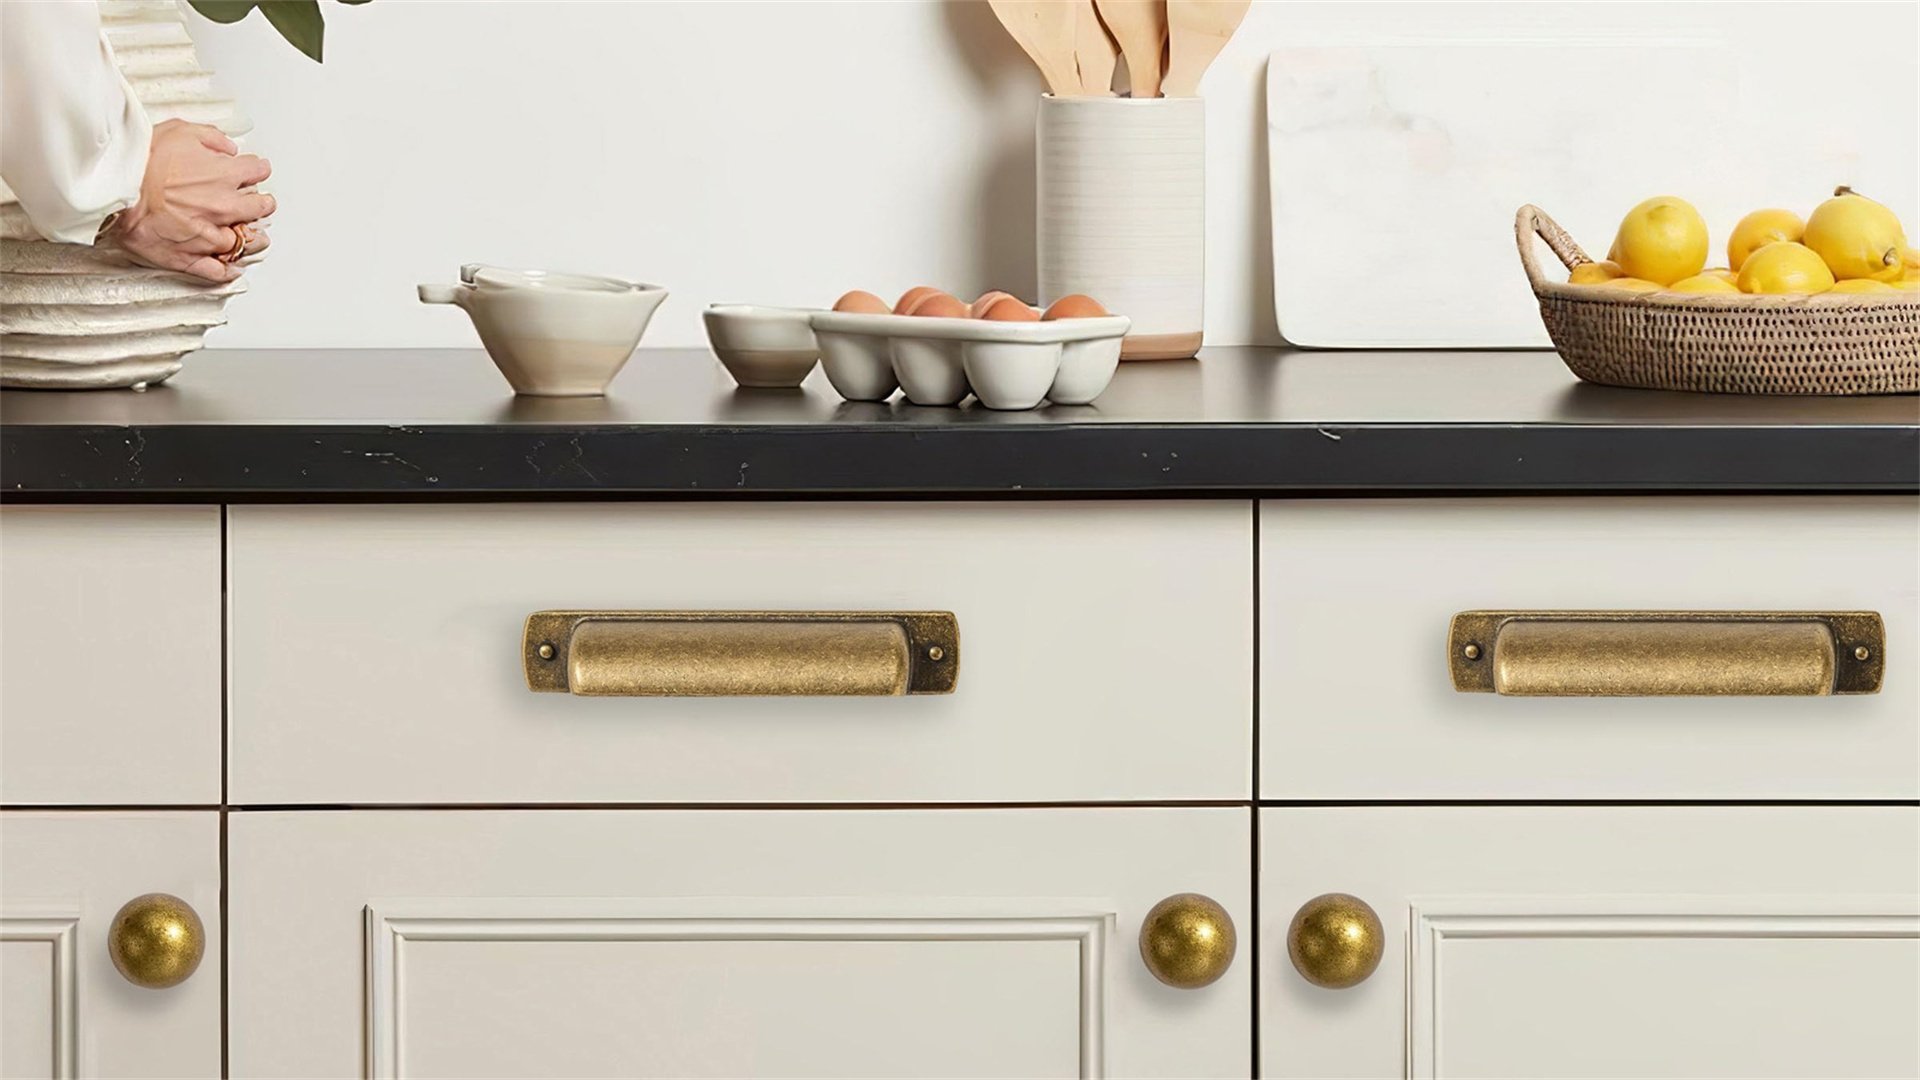
Swapping out hardware like drawer pulls, cabinet knobs, and door handles is an inexpensive way to modernize furniture and fixtures. Choose styles that complement your decor—brass for vintage, matte black for contemporary. This tip requires minimal tools and time. Focus on kitchens, bathrooms, or dressers where hardware is prominent. Even updating hinges or switch plates can add cohesion.
How to Implement
- Measure Existing Holes: Ensure new hardware fits existing screw spacings to avoid drilling new holes. Take samples when shopping.
- Select Cohesive Pieces: Stick to one finish throughout a room for unity. Mix shapes (e.g., round and bar pulls) for interest if finishes match.
- Install Properly: Use a screwdriver or drill to remove old hardware. Fill any unwanted holes with wood filler if necessary.
- Consider DIY Finishes: Spray-paint old hardware with metallic paint for a budget update. Seal with clear coat to prevent chipping.
- Extend to Accessories: Match hardware with other metal accents like light fixtures or curtain rods for a polished look.
Advantages
- Cheap, with knobs costing as little as $2 each.
- Instantly elevate dated furniture without replacement.
- Low-commitment change that can be reversed easily.
Disadvantages
- If holes don't align, drilling new ones can damage furniture.
- Cheap hardware may tarnish or break quickly.
- Requires some DIY skill to install evenly.
🎯 Tip 13: Create a Focal Point with an Accent Wall
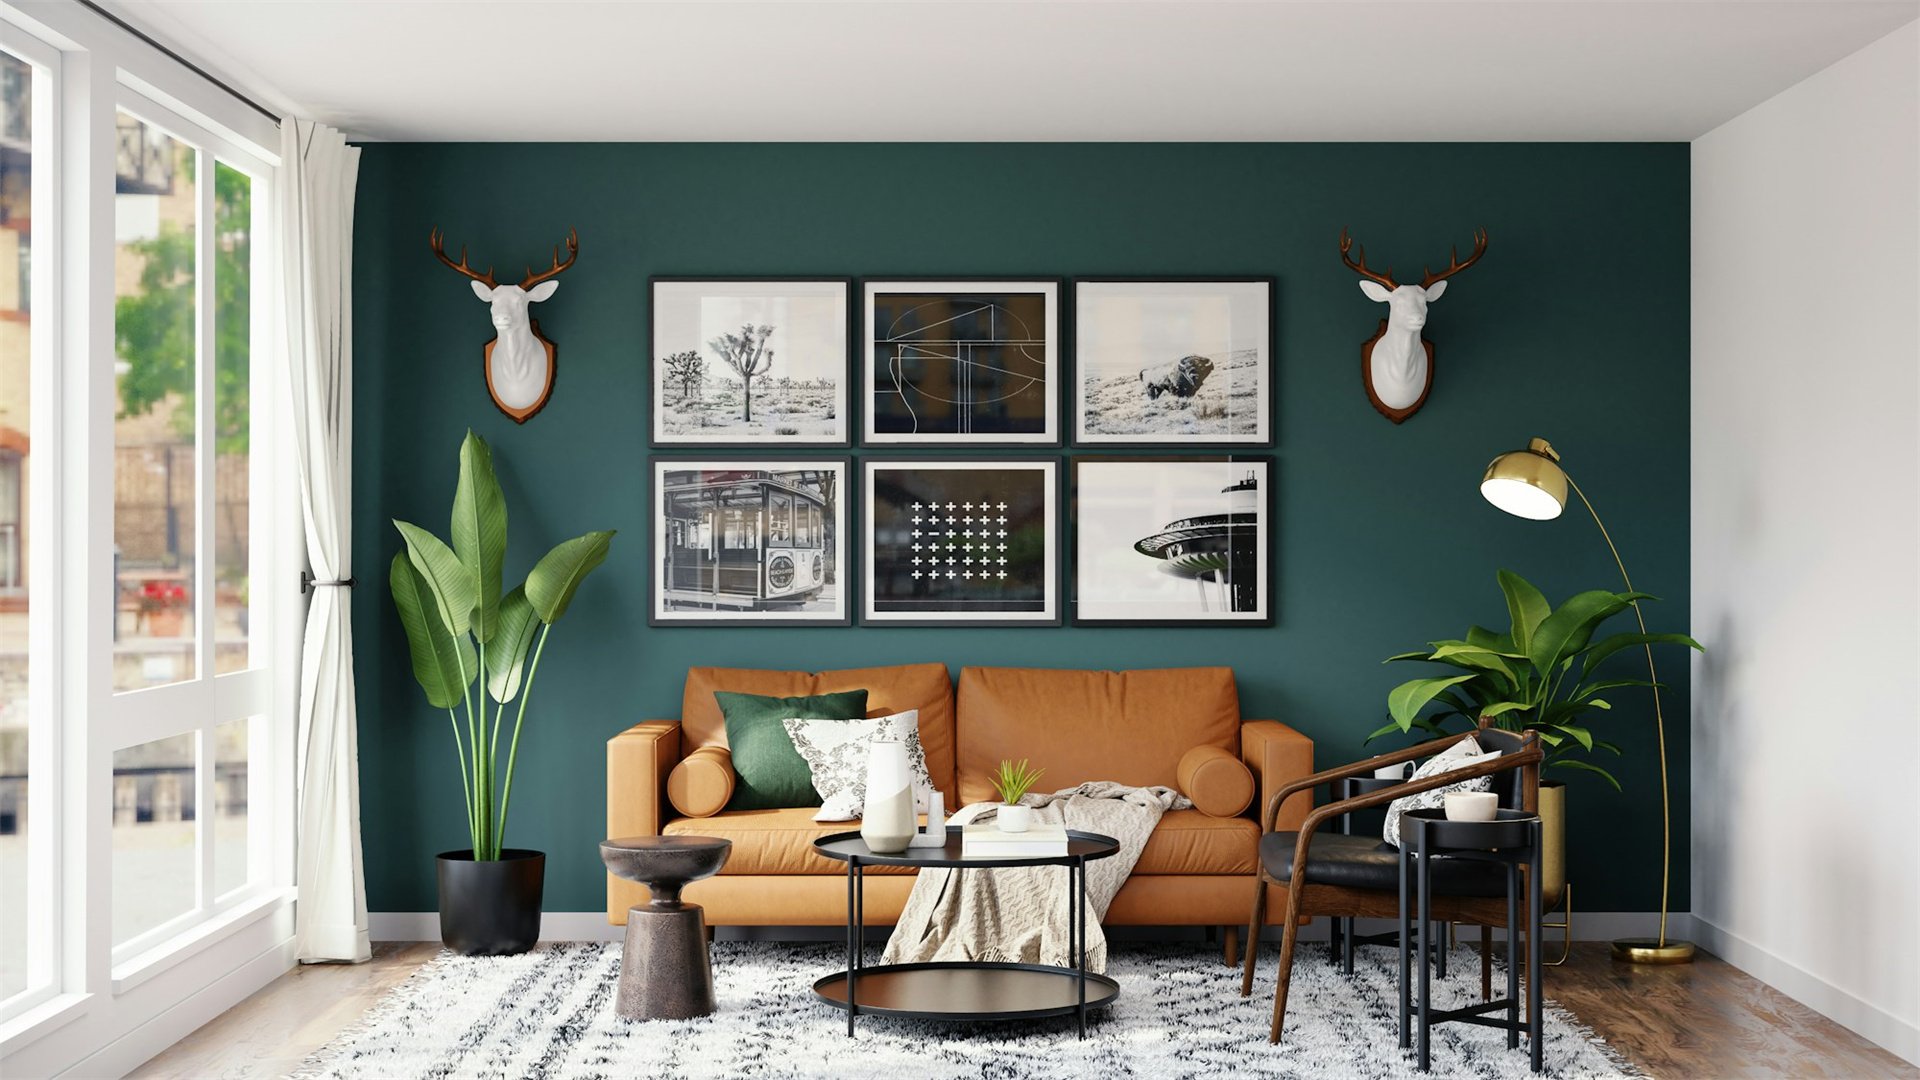
An accent wall draws attention and adds depth to a room. Use paint, wallpaper, wood planks, or shelving to create this feature. Choose a wall with natural emphasis, like behind a bed or sofa. This tip is budget-friendly because it focuses on one wall, reducing material costs. It allows bold choices without overwhelming the space. For example, a dark navy wall can make a living room feel cozy, while a gallery wall serves as visual art.
How to Implement
- Choose the Right Wall: Pick a wall with minimal interruptions like windows or doors. Typically, the first wall seen upon entering a room works well.
- Select a Method: Paint is cheapest; try bold colors or techniques like sponge painting. Wood planks can be installed with adhesive for a rustic look.
- Add Functional Elements: Install floating shelves or pegboards on the accent wall for display and storage. This combines style and utility.
- Use Lighting: Highlight the accent wall with spotlights or sconces to enhance its impact, especially in evenings.
- Keep Other Walls Neutral: Balance the bold accent with subdued tones elsewhere to avoid visual clutter.
Advantages
- Adds drama and personality without full-room renovations.
- Can make rooms feel larger or cozier depending on color.
- Project can often be completed in a day.
Disadvantages
- If poorly executed, it can look disjointed or dated.
- Removing materials like wallpaper might be difficult later.
- In small rooms, dark accents can feel oppressive.
🌈 Tip 14: Mix Textures and Patterns for Depth
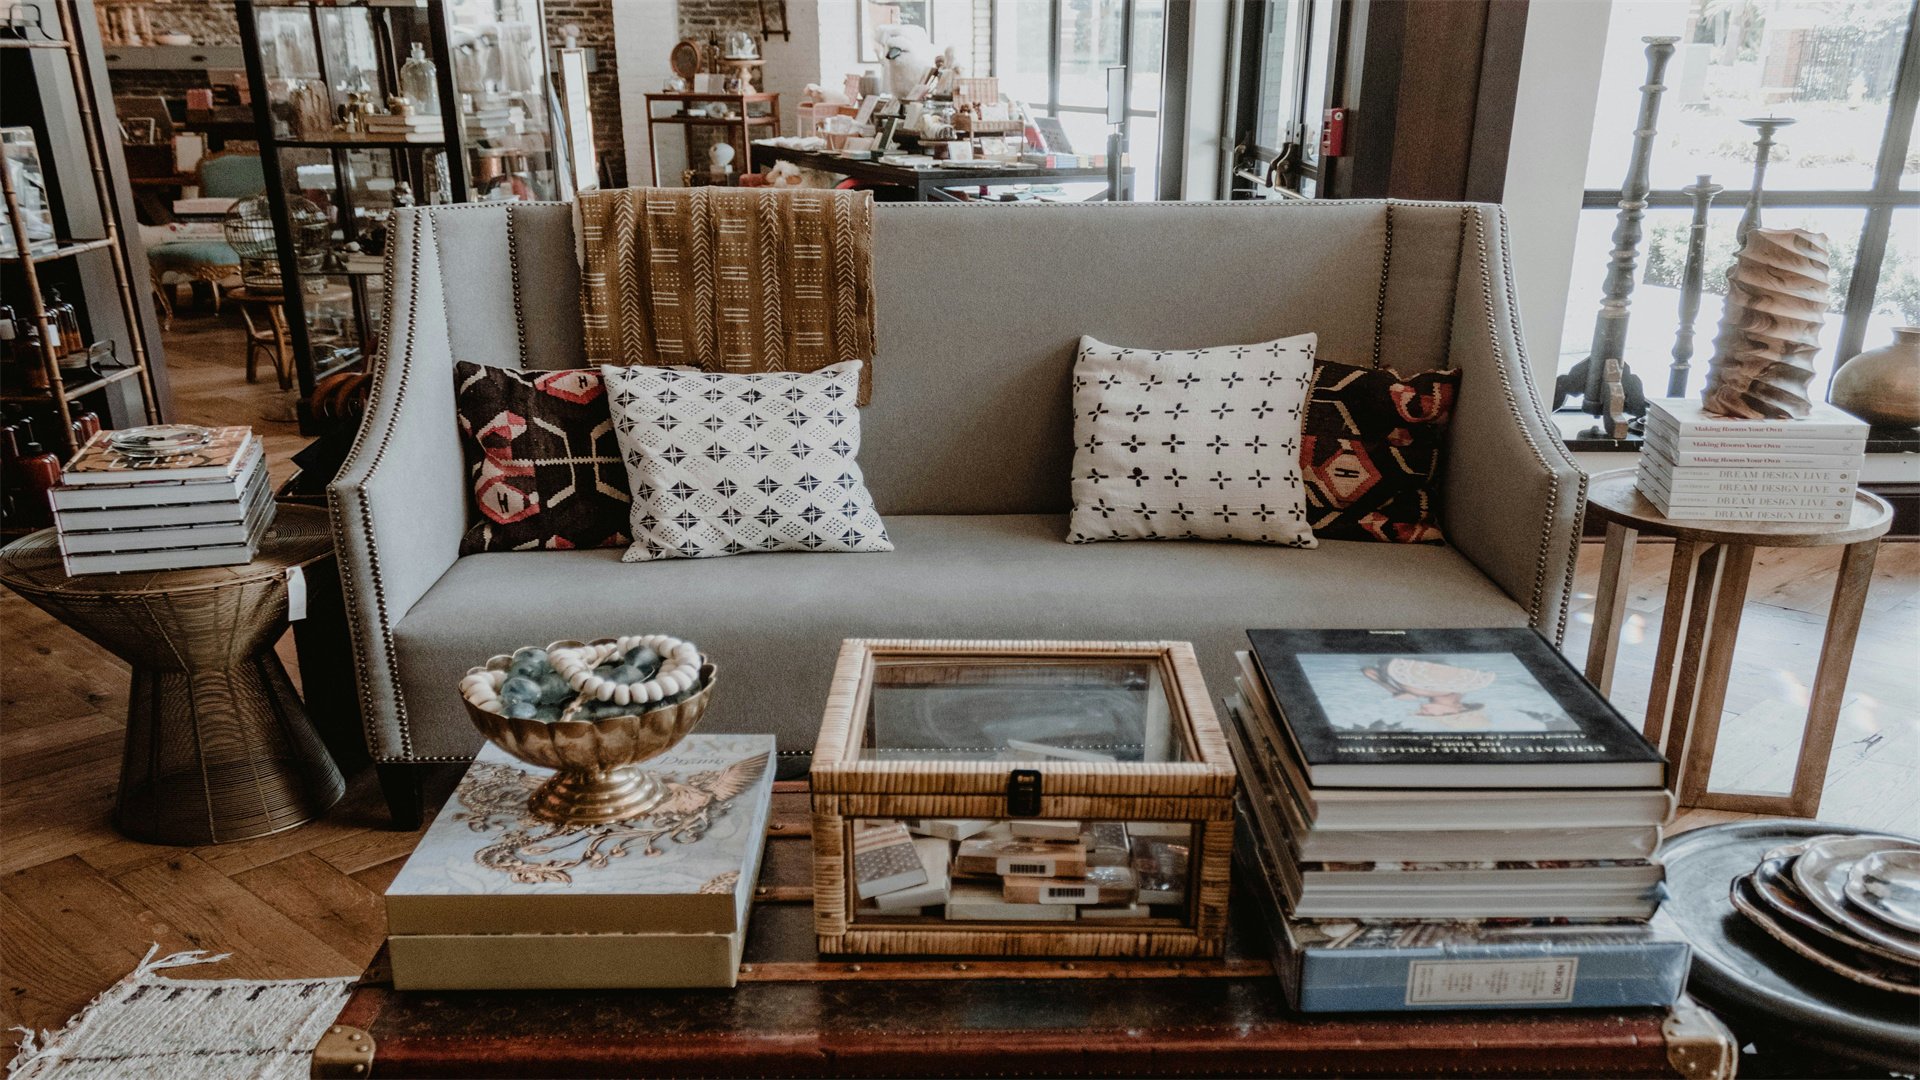
Layering textures and patterns creates a rich, curated look that feels expensive. Combine materials like wood, metal, glass, and fabric in varied scales. For patterns, mix stripes, florals, and geometrics with a unifying color. This tip avoids a flat, monotonous appearance. Start with a neutral base and add accents through pillows, rugs, and artwork. It's budget-friendly because you can accumulate pieces over time from thrift stores or sales.
How to Implement
- Start with a Neutral Foundation: Use beige, white, or gray walls and large furniture as a canvas. This allows bolder textures to pop.
- Add Texture Gradually: Incorporate woven baskets, velvet cushions, linen curtains, and wooden trays. Touch items to ensure variety.
- Mix Patterns Safely: Choose patterns in similar color families but different scales—e.g., large floral with small polka dots. Use solids as buffers.
- Use Natural Elements: Include stone, plants, or jute for organic texture. These are often inexpensive and timeless.
- Edit and Balance: Step back occasionally to assess. Avoid overloading; aim for harmony where each piece complements others.
Advantages
- Adds visual interest and tactile appeal, making spaces feel luxurious.
- Allows incorporation of diverse items, even mismatched ones, for an eclectic style.
- Flexible and can evolve over time.
Disadvantages
- Over-mixing can look chaotic or cluttered.
- Requires a good eye for design; beginners might struggle.
- Cheap textures may feel rough or look fake.
Elevating your home decor on a budget is entirely achievable with these 14 stylish tips. From rearranging furniture and using paint to incorporating plants and mixing textures, each strategy offers practical, affordable ways to transform your space. Remember, the goal is to create a home that reflects your personality without financial strain. Start with one tip, like decluttering or adding textiles, and gradually incorporate others as your budget allows. By repurposing items, DIYing, and shopping smart, you can achieve a high-end look that feels fresh and inviting. Home decor is a journey—enjoy the process of making your space uniquely yours, and don't hesitate to experiment. With creativity and these budget-friendly approaches, you'll have a stylish sanctuary that impresses without breaking the bank.
In summary, focus on small changes that yield big impacts: leverage light with mirrors and updated lighting, add warmth with rugs and textiles, and personalize with DIY art. Always prioritize functionality and comfort, as these elements make a house a home. By implementing these tips, you'll not only save money but also develop a deeper connection to your living environment. Happy decorating!