Step-by-Step Guide to Building a Raised Garden Bed
Building a raised garden bed is an excellent way to enhance your gardening experience, whether you're growing vegetables, flowers, or herbs. Raised beds offer numerous advantages, such as improved soil quality, better drainage, reduced weed growth, and easier access for planting and maintenance. This step-by-step guide will walk you through the entire process, from initial planning to final planting, ensuring you have a sturdy and productive garden bed. We'll cover everything from material selection to construction techniques, drawing on insights from popular gardening websites and expert advice. By following this comprehensive guide, you'll create a raised bed that lasts for years and boosts your garden's yield.
In this guide, we'll break down the process into clear, manageable steps. Each step includes detailed instructions, tips, and considerations to help you avoid common pitfalls. Whether you're a beginner or an experienced gardener, this resource will provide the knowledge needed to build a raised garden bed successfully. Let's dive into the planning phase to get started.
📝 Step 1: Planning and Design
Before you pick up any tools, thorough planning is essential for a successful raised garden bed. This step involves deciding on the bed's size, shape, location, and materials, which will impact its functionality and longevity. Start by assessing your garden space and gardening goals. Consider what plants you want to grow—vegetables like tomatoes and carrots may require deeper beds, while flowers might thrive in shallower ones. Sketch a rough design on paper or use digital tools to visualize the layout.
Size and Dimensions
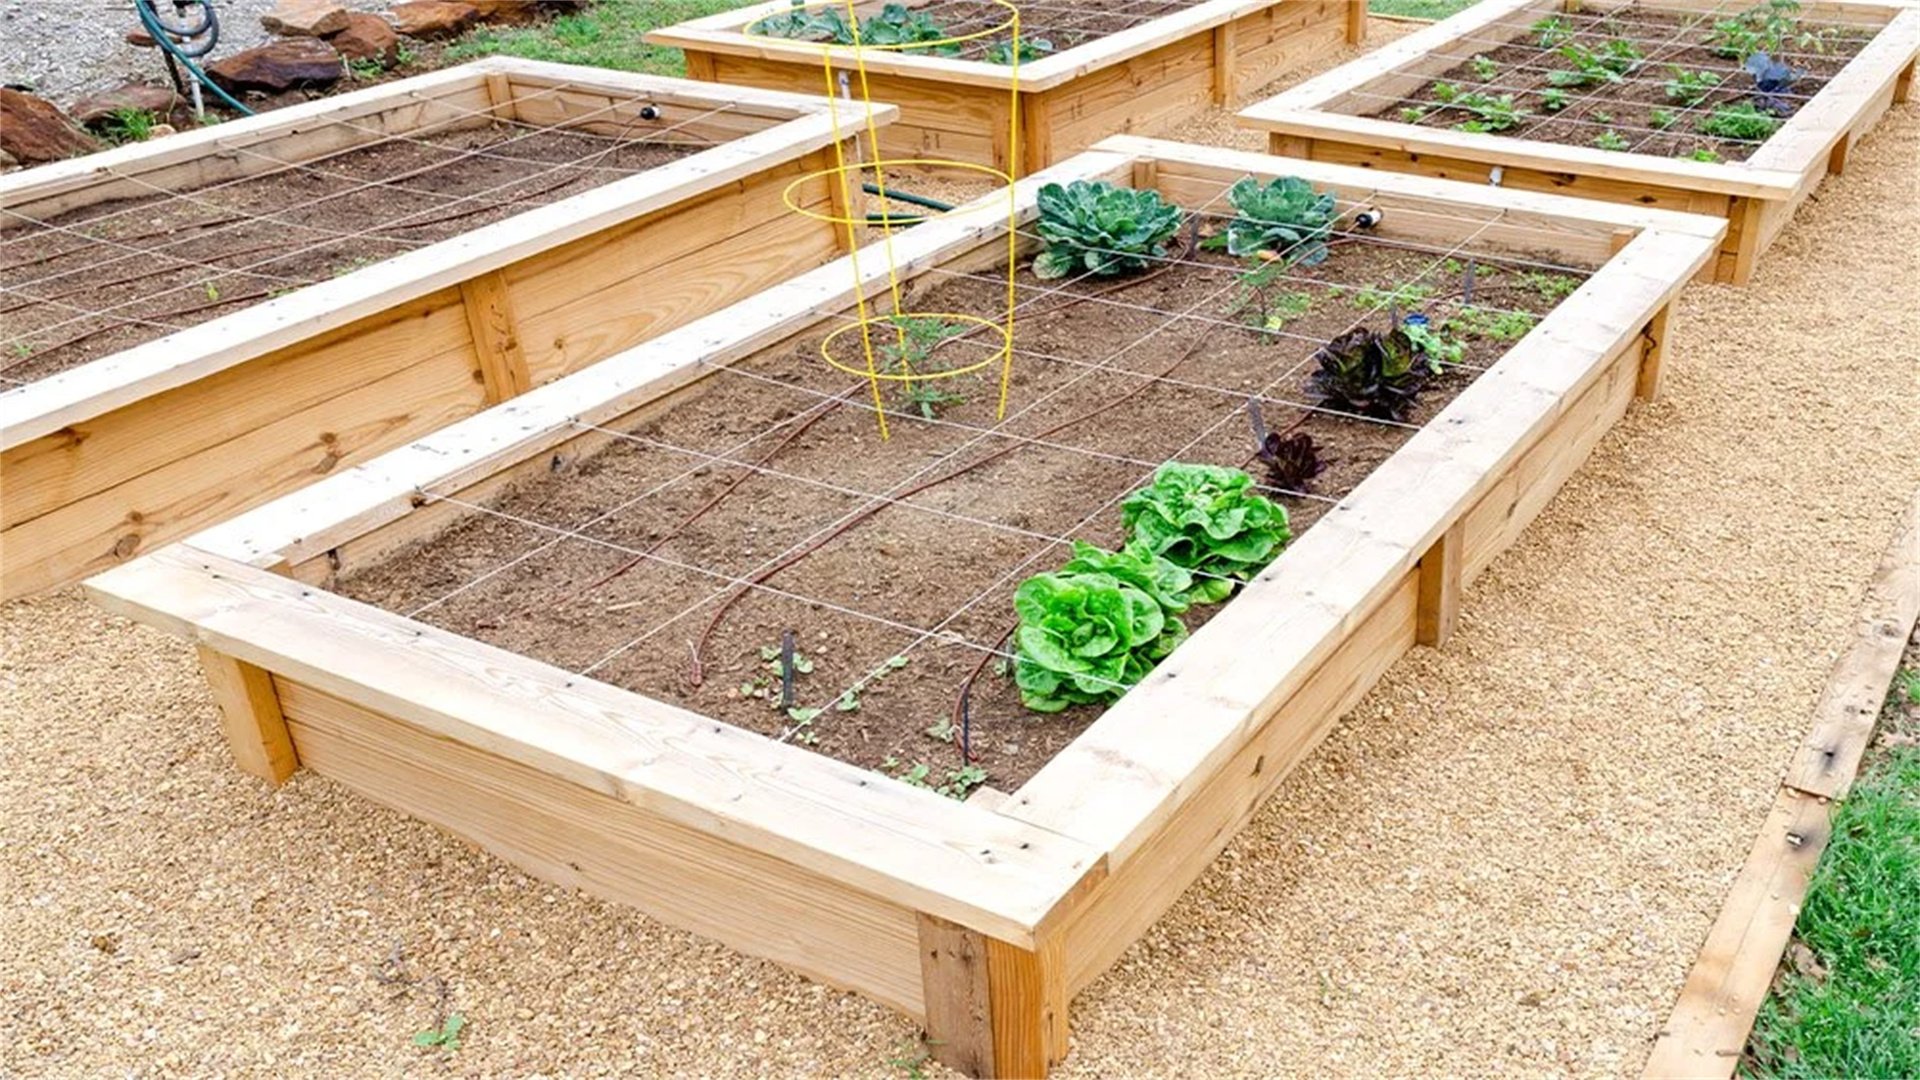
- A common raised bed size is 4 feet wide by 8 feet long, as this allows easy reach from all sides without stepping into the soil.
- The height can range from 6 inches to 2 feet; a height of 12-18 inches is ideal for most plants, providing ample root space and reducing back strain.
- If you have limited space, opt for smaller beds or vertical designs.
Material Selection
- Choose durable, safe materials that won't leach harmful chemicals into the soil.
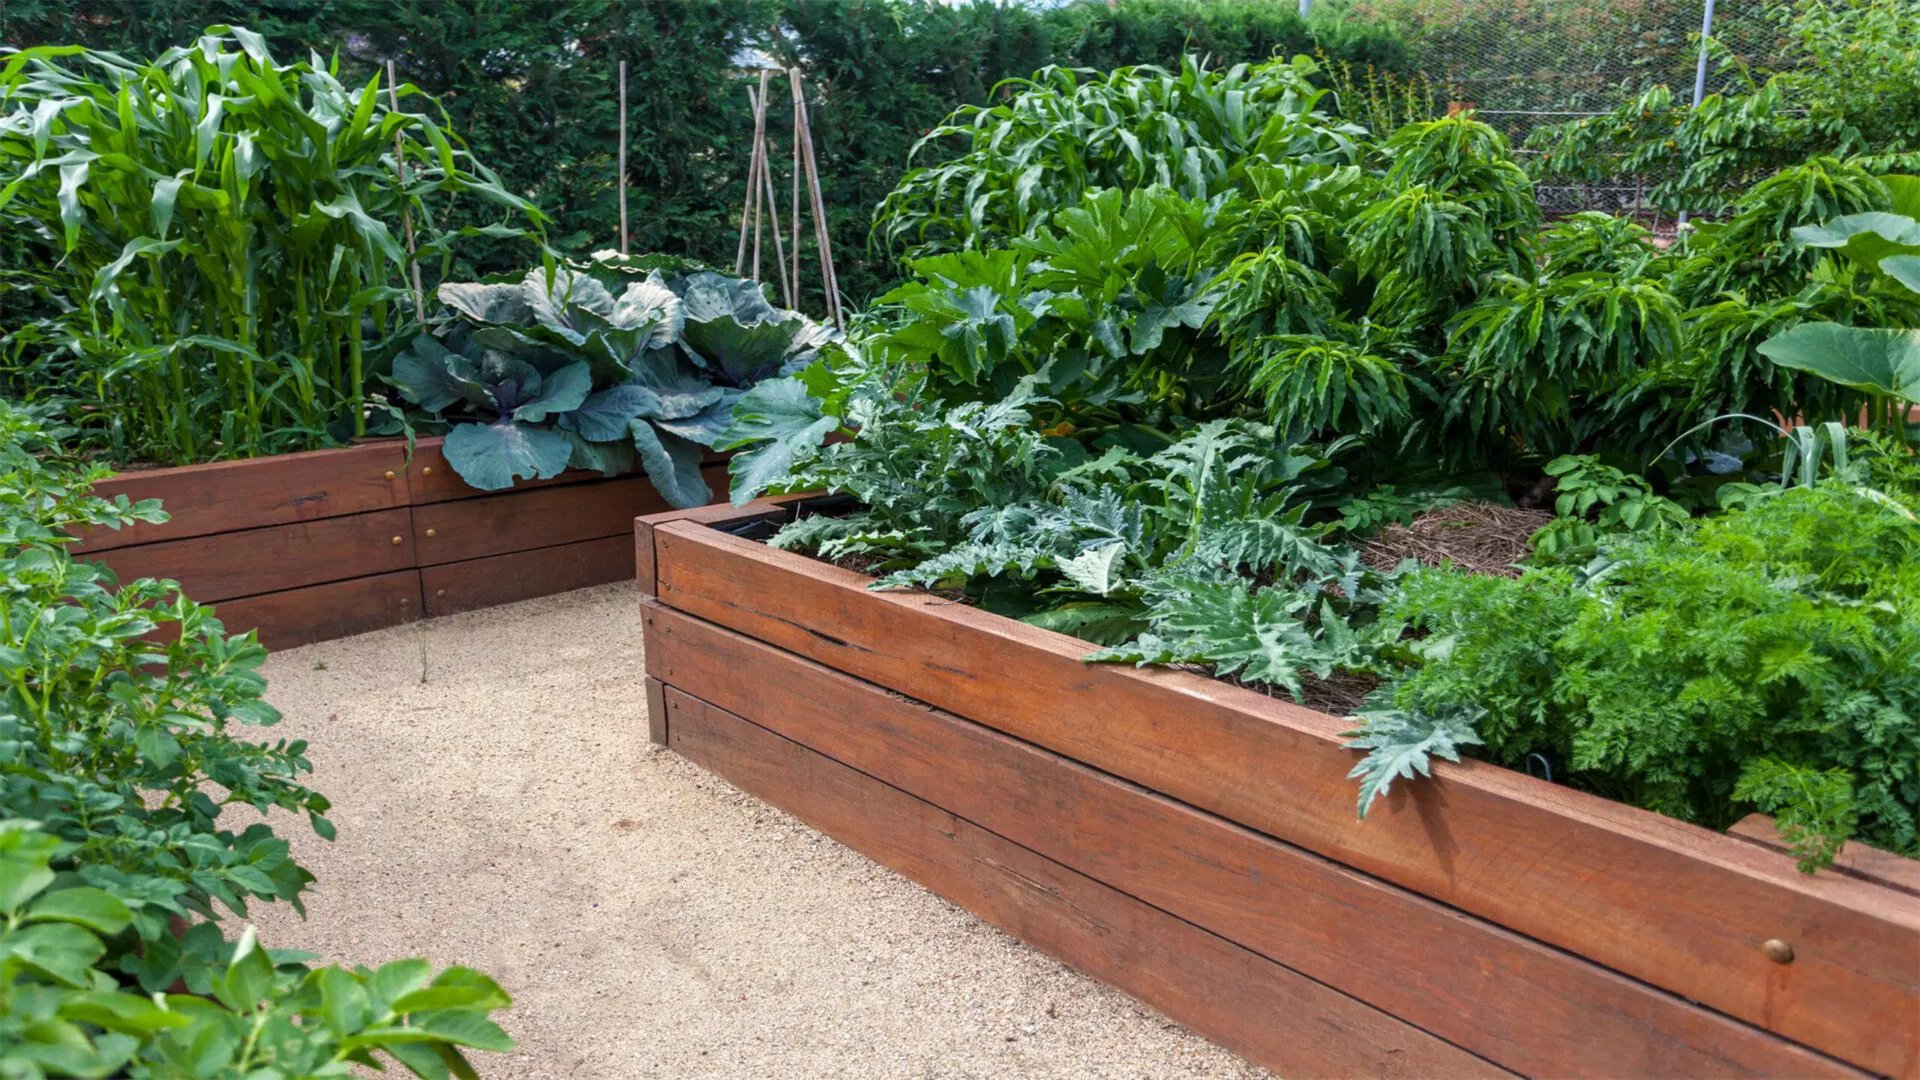
- Untreated cedar or redwood is popular due to natural rot resistance, while composite lumber or recycled plastic offers longevity.
- Avoid treated wood, such as pressure-treated lumber, which may contain chemicals like arsenic.
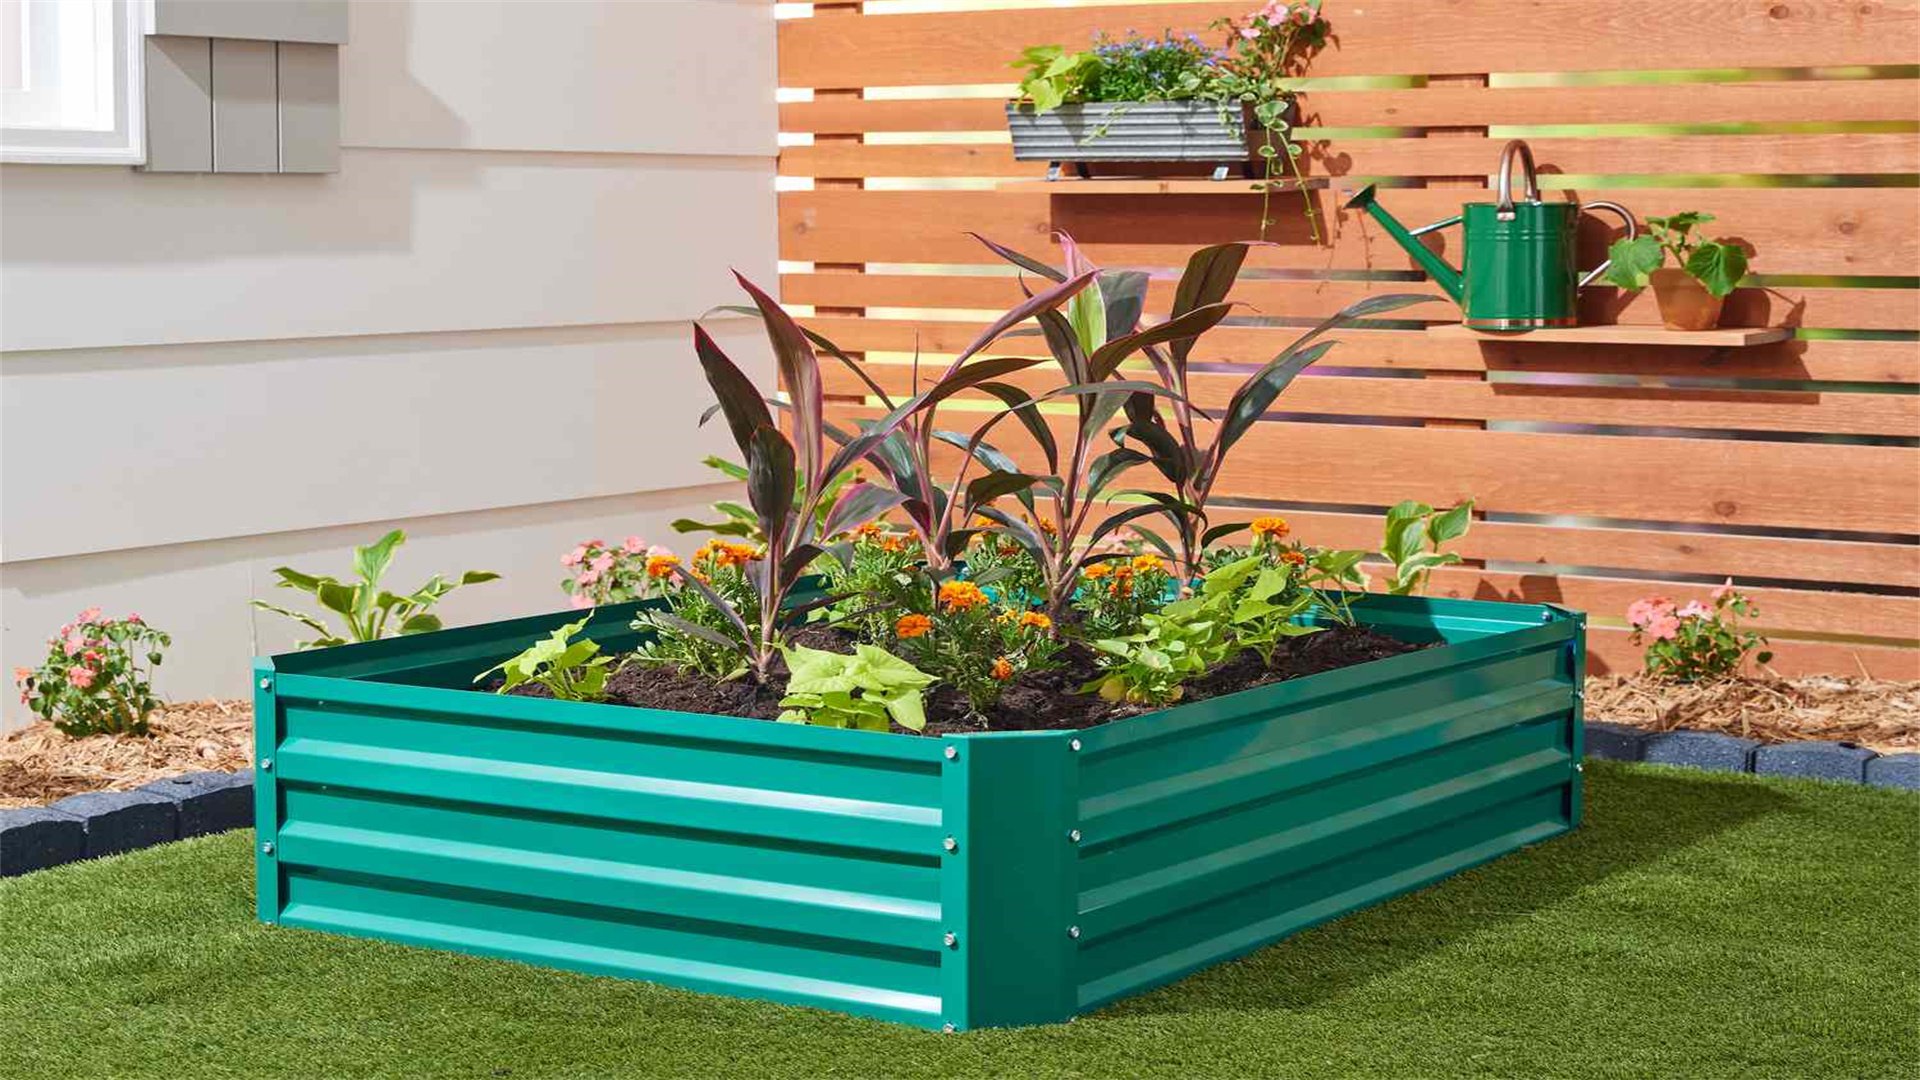
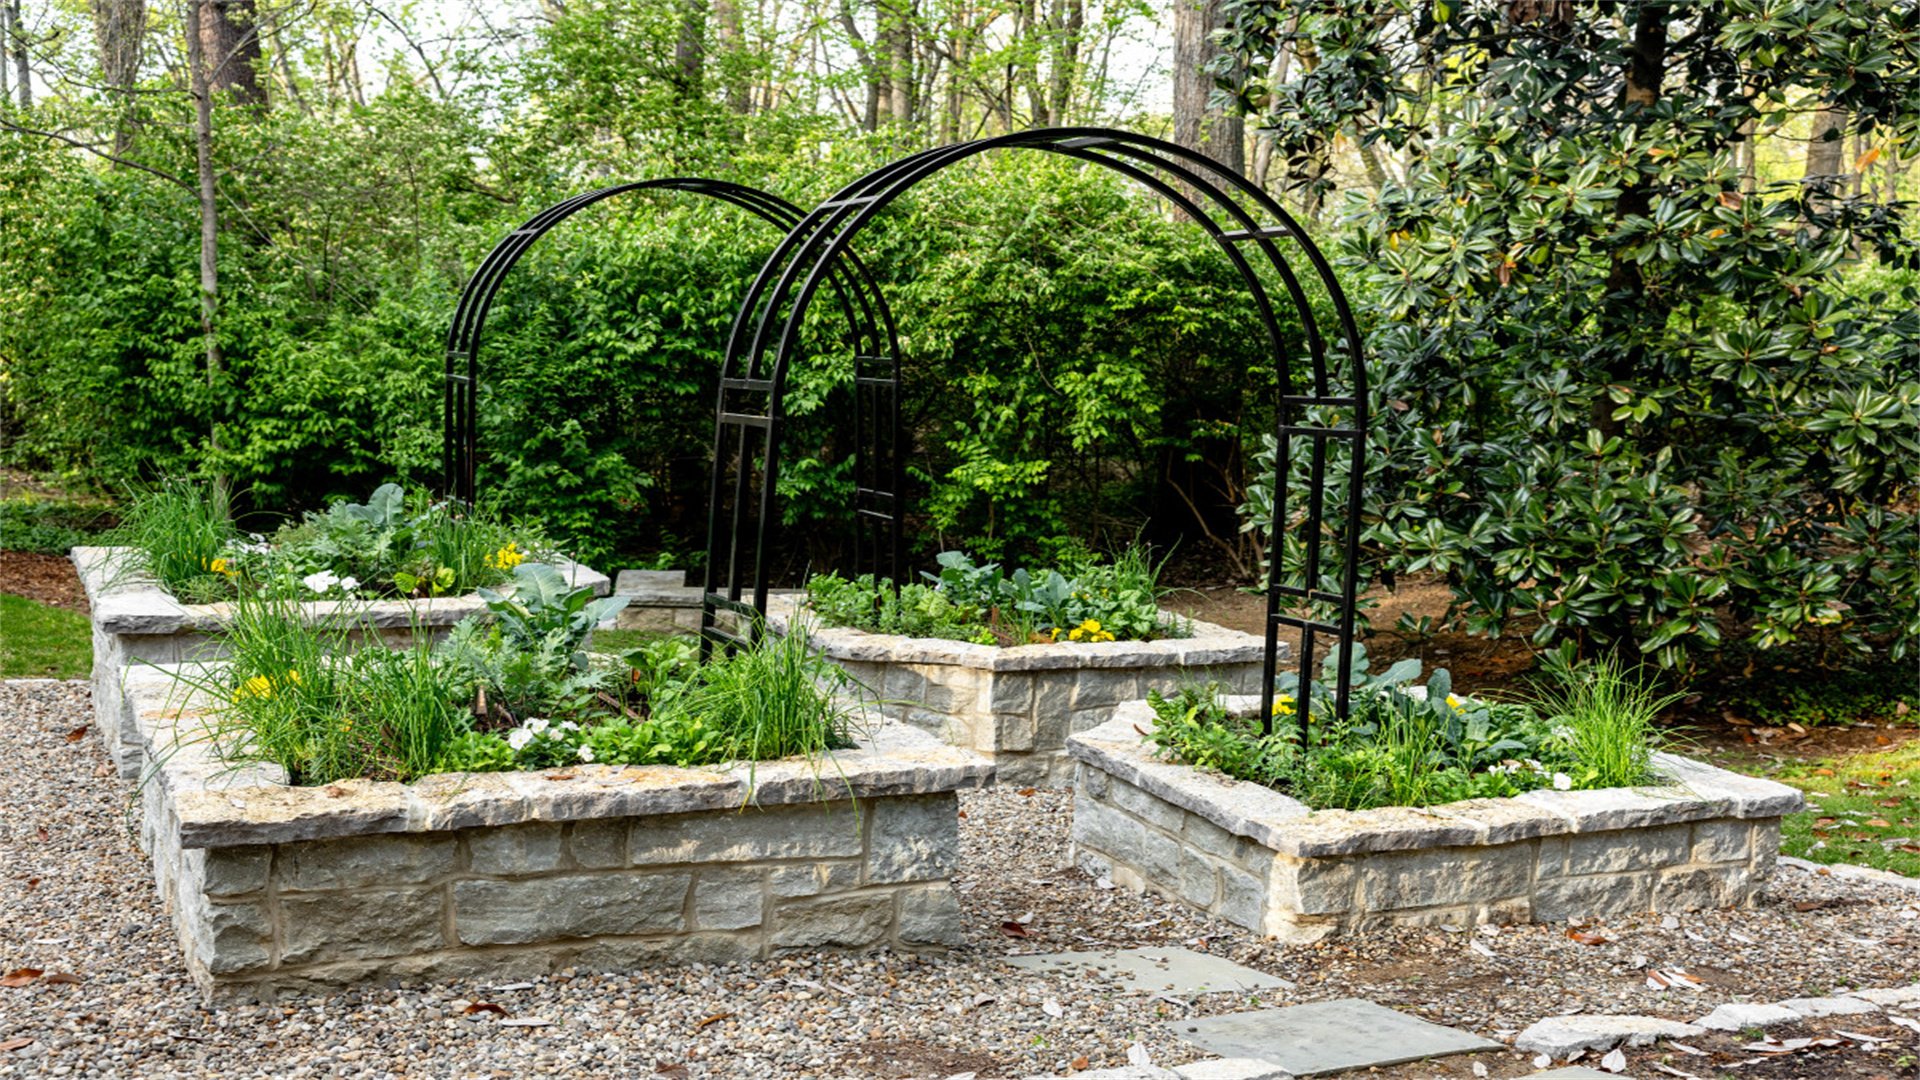
- Metal or stone beds are also options but require more effort to install.
Design Features
- Think about adding extras like trellises for climbing plants, covers for pest protection, or irrigation systems for efficient watering.
- Plan pathways between beds (at least 2 feet wide) for easy access.
- If building multiple beds, arrange them in a sunny spot with good air circulation.
Budget and Time
- Estimate costs for materials and tools; a simple wood bed can cost $50-$200, depending on size.
- Allocate a weekend for construction, factoring in time for soil preparation.
- Check local building codes or homeowners association rules that might restrict height or placement.
Once you have a solid plan, gather your materials and tools. This preparation phase sets the foundation for a smooth building process. Refer to gardening websites for design inspiration—many recommend raised beds with angled sides or corner braces for added stability. With your design finalized, move on to gathering supplies.
🛠️ Step 2: Gathering Materials and Tools
Having the right materials and tools on hand is crucial for efficient construction. This step ensures you have everything needed to build your raised garden bed without interruptions. Based on your design from Step 1, create a shopping list and gather items from hardware stores or garden centers. Here’s a comprehensive list to guide you:
Materials
- Lumber: For a 4x8-foot bed, purchase four 2x12-inch boards (8 feet long) for the sides, or use smaller boards for custom sizes. If using cedar, aim for untreated boards to avoid soil contamination.
- Corner posts: 4x4-inch posts cut to the bed's height (e.g., 12-18 inches) to reinforce corners, or use metal brackets for simpler assembly.
- Fasteners: Galvanized screws or nails (3-4 inches long) for durability; stainless steel is best for wet environments. Avoid regular nails that may rust.
- Liner: Optional landscape fabric to line the bottom, preventing weeds while allowing drainage.
- Soil: A mix of topsoil, compost, and peat moss or coconut coir for filling the bed; calculate volume based on dimensions (e.g., a 4x8x1-foot bed needs 32 cubic feet of soil).
- Mulch: Straw or wood chips for topping the soil to retain moisture.
Tools
- Measuring tape and pencil for marking cuts.
- Saw (circular saw or handsaw) for cutting lumber to size.
- Drill with screwdriver bits for assembling the frame.
- Level to ensure the bed is even.
- Shovel and rake for site preparation and soil filling.
- Safety gear: Gloves, goggles, and ear protection.
When selecting materials, consider sustainability—opt for locally sourced wood or recycled options. Many gardening websites emphasize using untreated materials to protect soil health. Double-check your list before starting; missing items can delay the project. With materials ready, proceed to site selection and preparation.
📍 Step 3: Choosing and Preparing the Location
The location of your raised garden bed significantly affects plant growth and maintenance. This step involves picking a spot with optimal sunlight, drainage, and accessibility, then preparing the ground for construction. Spend time observing your yard to identify the best area, keeping in mind that most vegetables need 6-8 hours of direct sunlight daily. Avoid low-lying spots where water pools, as poor drainage can lead to root rot.
Site Assessment
- Walk around your garden at different times of day to note sun patterns. Use a sun calculator app if needed.
- Ensure the site is away from large trees whose roots might invade the bed.
- Check for level ground; a slope can cause uneven watering.
Clearing the Area
- Remove any grass, weeds, or debris from the site.
- Use a shovel to cut and lift sod, or smother grass with cardboard for a few weeks before building. This prevents weeds from growing up into the bed.
- If the ground is uneven, use a rake to level it slightly.
Marking the Layout
- Lay out the bed's dimensions using stakes and string.
- For a rectangular bed, drive stakes at each corner and run string between them.
- Measure diagonals to ensure the layout is square (equal diagonals indicate square corners). Adjust as needed for a precise fit.
Improving Drainage
- If your soil is clay-heavy and drains poorly, consider tilling the area lightly or adding a gravel base under the bed.
- However, many raised beds don't require this, as they sit above ground.
- For extra drainage, you can drill holes in the bottom boards if using a solid liner.
Once the site is prepped, allow for easy access to water sources—ideally, place the bed within hose reach. Gardening experts often recommend orienting beds north-south for even sun exposure. With a clean, level location, you're ready to start building the frame.
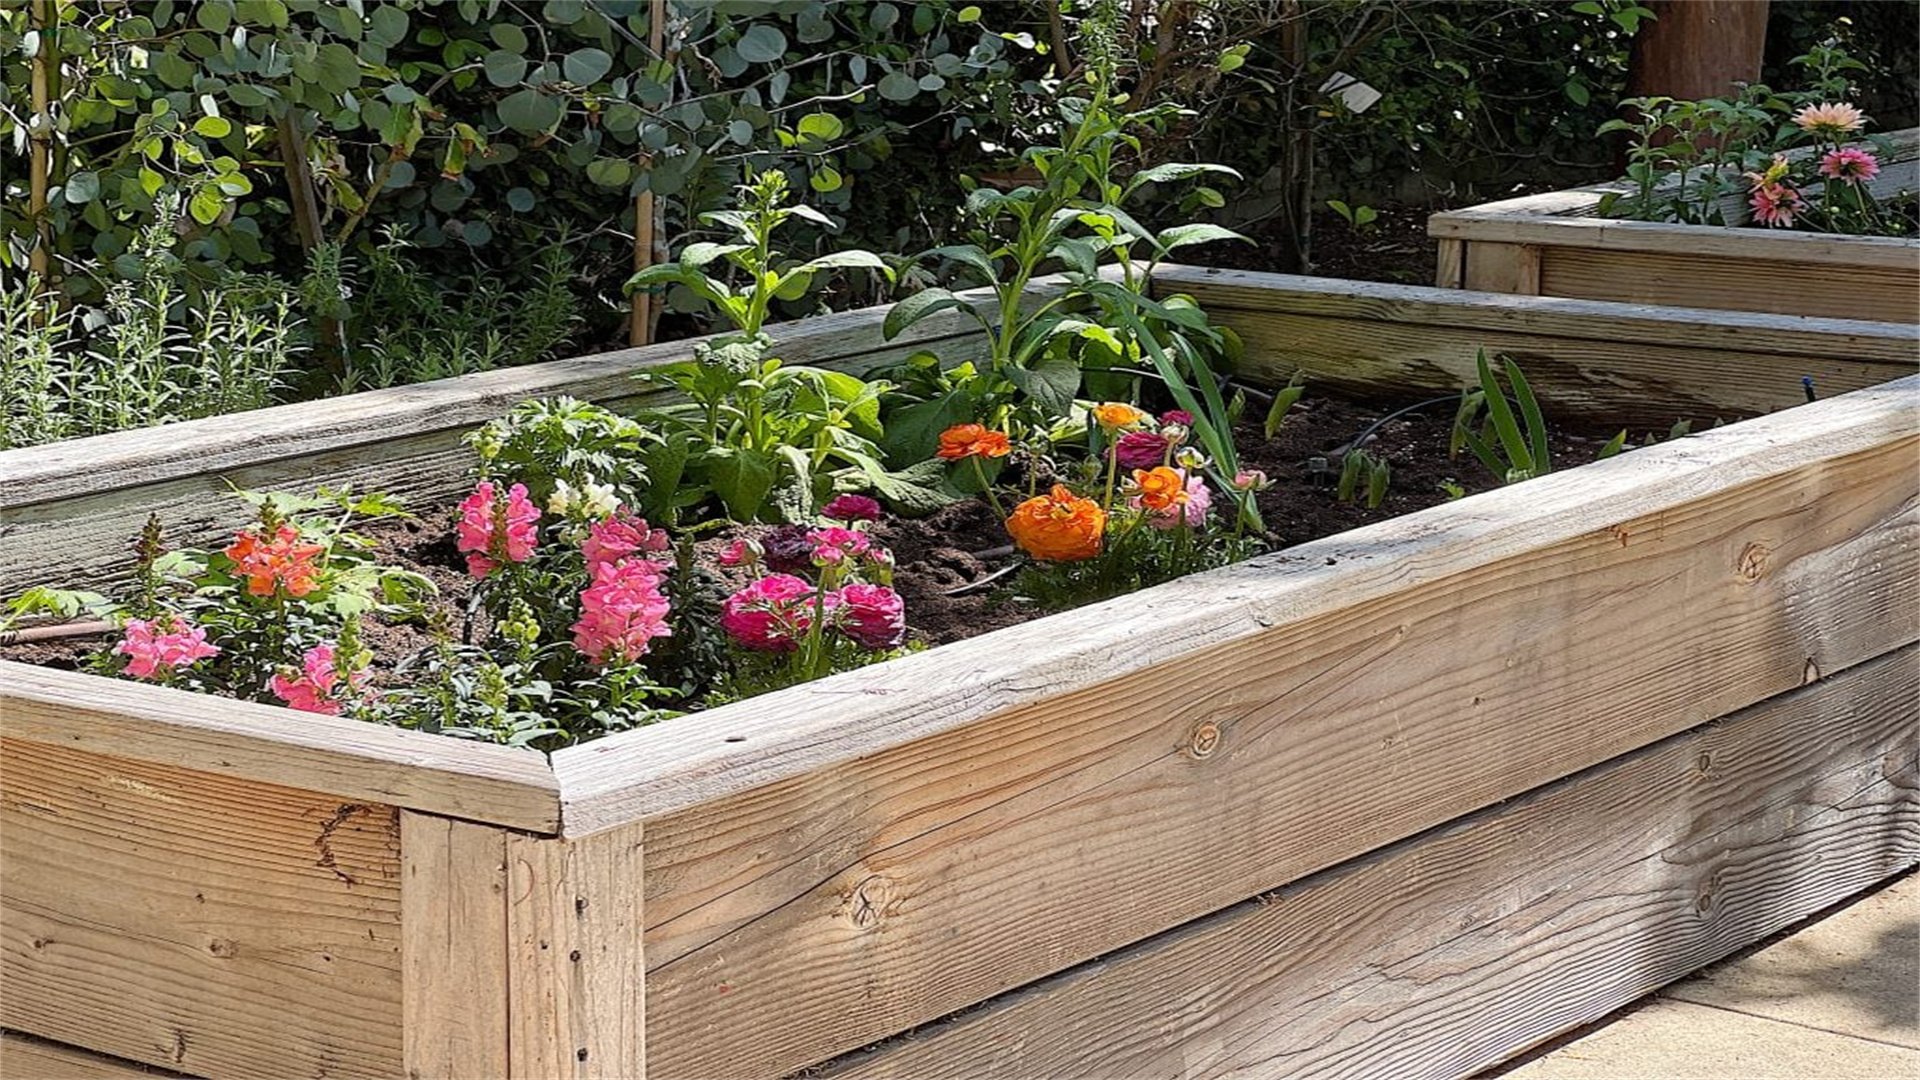
🔨 Step 4: Building the Frame
Constructing the frame is the core of building a raised garden bed. This step involves cutting lumber, assembling the sides, and securing the structure for durability. Take your time to ensure the frame is sturdy and level, as it will support soil and plants for years. Follow these detailed instructions for a standard wooden raised bed:
Cutting the Lumber
- Based on your design, cut the side boards to length. For a 4x8-foot bed, cut two boards to 8 feet (long sides) and two to 4 feet (short sides).
- Use a saw on a stable surface, and wear safety gear.
- If using corner posts, cut four 4x4 posts to the bed's height (e.g., 18 inches). Sand any rough edges to prevent splinters.
Assembling the Sides
- Lay out the boards on a flat surface, forming a rectangle.
- Attach the short sides to the long sides using corner posts or metal brackets.
- If using posts, position them at each interior corner and drill pilot holes to prevent splitting. Then, drive 3-inch screws through the side boards into the posts—use at least two screws per connection.
- Ensure joints are tight and square.
Securing the Frame
- Once the basic frame is assembled, check for squareness by measuring diagonals again; adjust if necessary.
- Reinforce the structure by adding additional screws along the seams or installing cross-braces for larger beds.
- If your bed is tall (over 18 inches), consider adding a middle rail for extra support against soil pressure.
Adding a Liner (Optional)
- If using landscape fabric to deter weeds, staple it to the inside bottom of the frame before placing the bed.
- Leave some slack for soil settling, and ensure the liner allows water to drain by not covering it completely with solid material.
During assembly, keep the frame level by placing a level on top and adjusting the ground underneath if needed. Many gardening websites suggest treating the wood with a natural sealant (like linseed oil) for added weather resistance, but this is optional. Once the frame is built, move it to the prepared location—it's easier to build nearby and then transport. With the frame in place, you're set to fill it with soil.
🌱 Step 5: Filling the Bed with Soil
Filling your raised garden bed with the right soil mix is critical for plant health and productivity. This step involves creating a balanced blend that provides nutrients, drainage, and aeration. Avoid using plain garden soil, as it may compact and lack organic matter. Instead, opt for a custom mix tailored to your plants' needs. Here’s how to fill the bed efficiently:
Choosing Soil Components
- A recommended mix is 60% topsoil, 30% compost, and 10% soilless amendment like peat moss or coconut coir.
- Topsoil provides structure, compost adds nutrients, and amendments improve drainage and moisture retention.
- You can buy pre-mixed raised bed soil or blend your own. For acidic plants like blueberries, adjust the pH with sulfur or pine needles.
Calculating Soil Volume
- Determine how much soil you need by multiplying the bed's length, width, and height (in feet). For example, a 4x8x1.5-foot bed requires 48 cubic feet of soil (4 x 8 x 1.5).
- Purchase or mix slightly extra to account for settling.
- If filling a deep bed, consider adding a layer of logs or leaves at the bottom to reduce soil usage and improve drainage over time.
Layering the Soil
- Start by adding a 2-3 inch layer of coarse material like small rocks or broken pottery at the bottom for drainage, especially if your bed doesn't have a liner.
- Then, fill the bed with your soil mix in layers, tamping it down lightly to remove air pockets.
- Use a rake to level the top, leaving about 1-2 inches below the rim to prevent overflow when watering.
Enriching the Soil
- Once filled, incorporate organic fertilizers or worm castings by mixing them into the top 6 inches.
- Water the soil thoroughly to settle it and check for low spots; add more soil if needed.
- Let the bed sit for a few days before planting to allow the soil to stabilize.
Gardening experts often emphasize testing soil pH and nutrient levels after filling; kits are available at garden centers. Maintain soil health by adding compost annually. With the bed filled, you're ready for the final step: planting and ongoing care.
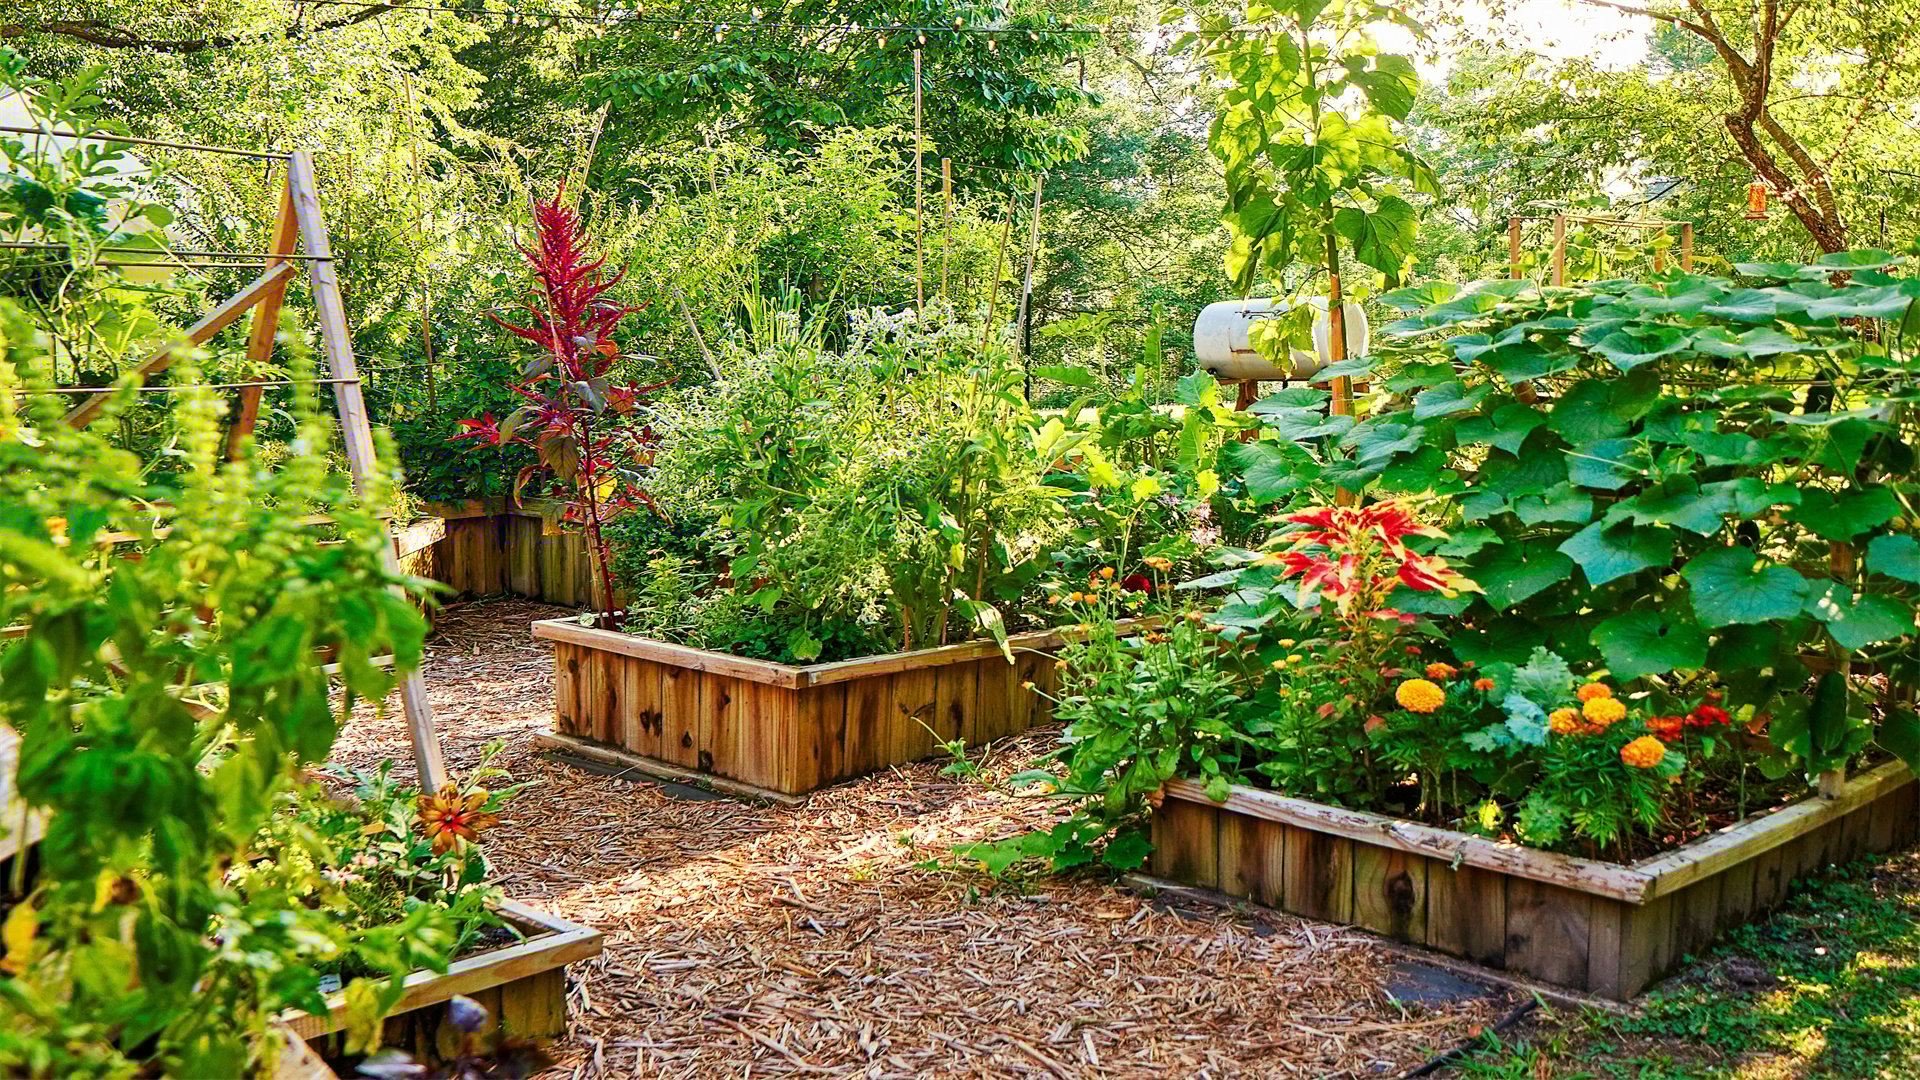
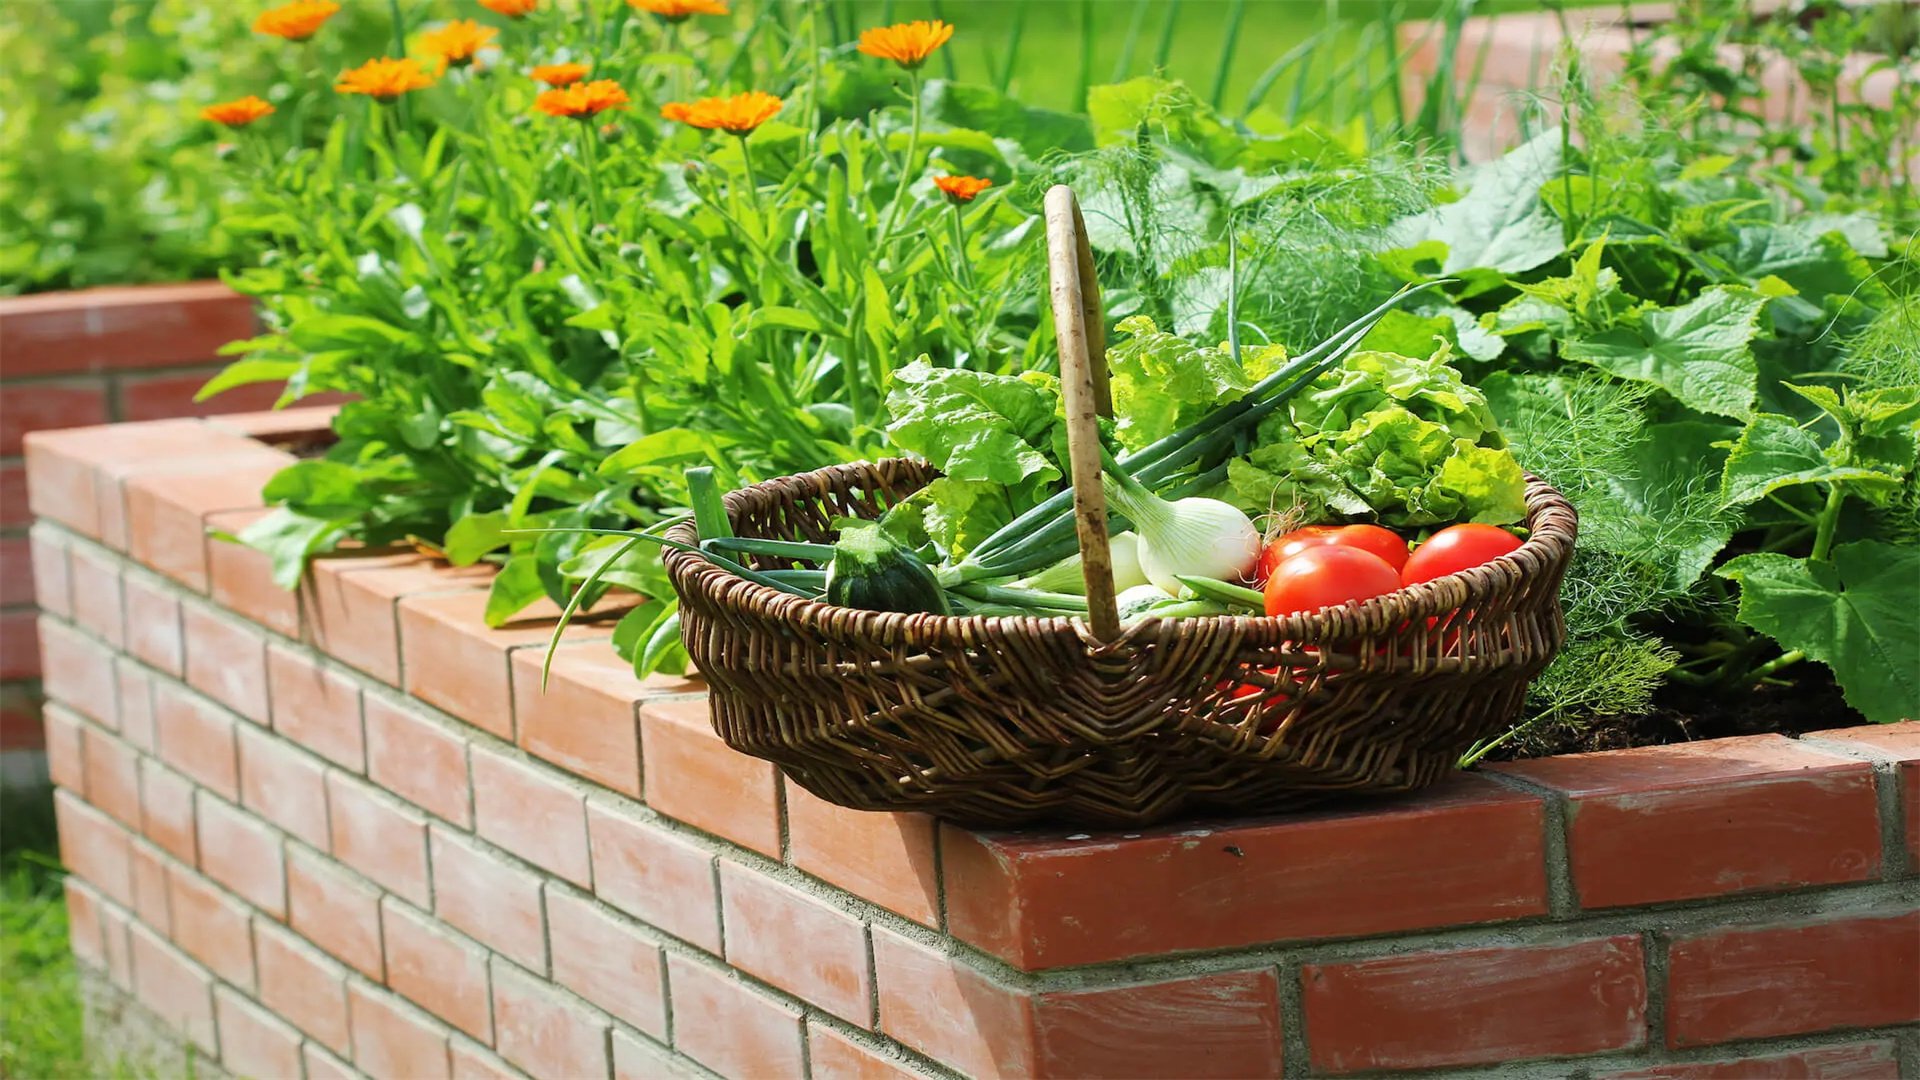
🌿 Step 6: Planting and Maintenance
With your raised garden bed built and filled, it's time to plant and maintain your garden. This step covers selecting plants, planting techniques, and long-term care to ensure a bountiful harvest. Raised beds warm up faster in spring, allowing for earlier planting, but they also dry out quicker, requiring consistent watering. Follow these guidelines for success:
Plant Selection
- Choose plants suited to your climate and bed conditions. For vegetables, consider spacing: tomatoes need 2 feet apart, while carrots can be planted densely.
- Use companion planting principles—for instance, grow marigolds with tomatoes to deter pests.
- Start with easy crops like lettuce, radishes, or herbs if you're a beginner.
Planting Techniques
- Follow seed packet instructions for depth and spacing.
- For transplants, dig holes slightly larger than the root balls and water them in after planting.
- Arrange plants with taller ones on the north side to avoid shading shorter plants.
- Consider succession planting: after harvesting early crops, replant with another variety to maximize yield.
Watering and Irrigation
- Raised beds require regular watering, especially in hot weather.
- Install a drip irrigation system or soaker hoses for efficiency, watering deeply but infrequently to encourage deep roots.
- Mulch the soil surface with straw or wood chips to retain moisture and suppress weeds.
- Check soil moisture by sticking your finger an inch deep; water if it feels dry.
Ongoing Maintenance
- Fertilize every 4-6 weeks with organic options like fish emulsion or compost tea.
- Monitor for pests and diseases; use row covers or natural repellents like neem oil.
- Weed regularly to reduce competition.
- At the end of the season, remove dead plants and add mulch to protect soil over winter.
- Rotate crops annually to prevent soil depletion.
Many gardening websites recommend keeping a journal to track planting dates and yields. With proper care, your raised bed can produce for years. Remember to enjoy the process—gardening is a rewarding hobby that connects you with nature.
✅ Conclusion
Building a raised garden bed is a straightforward project that offers immense rewards for gardeners of all levels. By following this step-by-step guide—from planning and design to planting and maintenance—you've created a sustainable, productive space for growing plants. Raised beds improve soil quality, reduce physical strain, and can even enhance the aesthetic appeal of your yard. Remember to adapt the steps to your specific needs, whether it's adjusting the size for a small balcony or choosing materials for a sloped area.
In summary, key takeaways include: plan thoroughly to avoid mistakes, use safe and durable materials, select a sunny location with good drainage, build a sturdy frame, fill with nutrient-rich soil, and maintain with regular watering and care. As you continue gardening, you'll learn what works best for your environment. For further inspiration, explore online resources or local gardening clubs. Happy gardening, and may your raised bed yield a plentiful harvest for seasons to come!