Tips
Simple Steps to Defrost and Maintain Your Refrigerator
❓ Why Defrosting and Maintenance Matter
Key Reasons for Defrosting
- 1. Frost accumulation acts as an insulator, forcing the compressor to work harder.
- 2. Increases energy consumption by up to 30%, leading to higher bills.
- 3. Can cause poor cooling, food spoilage, and bacterial growth.
Benefits of Regular Maintenance
- 1. Extends the lifespan of your refrigerator.
- 2. Ensures food safety and appliance reliability.
- 3. Saves money on energy and potential repair costs.
Types of Refrigerators
- 1. Auto-defrost models: may require less manual intervention.
- 2. Manual defrost models: need regular defrosting to maintain efficiency.
- 3. Understanding your model helps in proper care and troubleshooting.
🔧 Part 1: Defrosting Your Refrigerator – A Step-by-Step Guide
Step 1: Preparation and Safety Measures
- 1. Plan ahead: choose a time during cooler weather to minimize food spoilage.
- 2. Gather supplies: coolers, towels, plastic scraper, bucket, and fan or hairdryer.
- 3. Safety first: unplug the refrigerator or turn off the circuit breaker.
- 4. Remove all food items: store perishables in coolers with ice packs below 40°F (4°C).
Step 2: Emptying and Cleaning the Interior
- 1. Unplug and empty the refrigerator completely.
- 2. Remove shelves, drawers, and compartments: wash separately in warm, soapy water.
- 3. Wipe interior surfaces: use mild detergent and water to remove spills and debris.
- 4. Air-dry all parts completely before reassembly to prevent mold and odors.
Step 3: Accelerating the Defrosting Process
- 1. Avoid forceful ice chipping: it can damage cooling coils or lining.
- 2. Use natural methods: place bowls of hot water inside to loosen frost with steam.
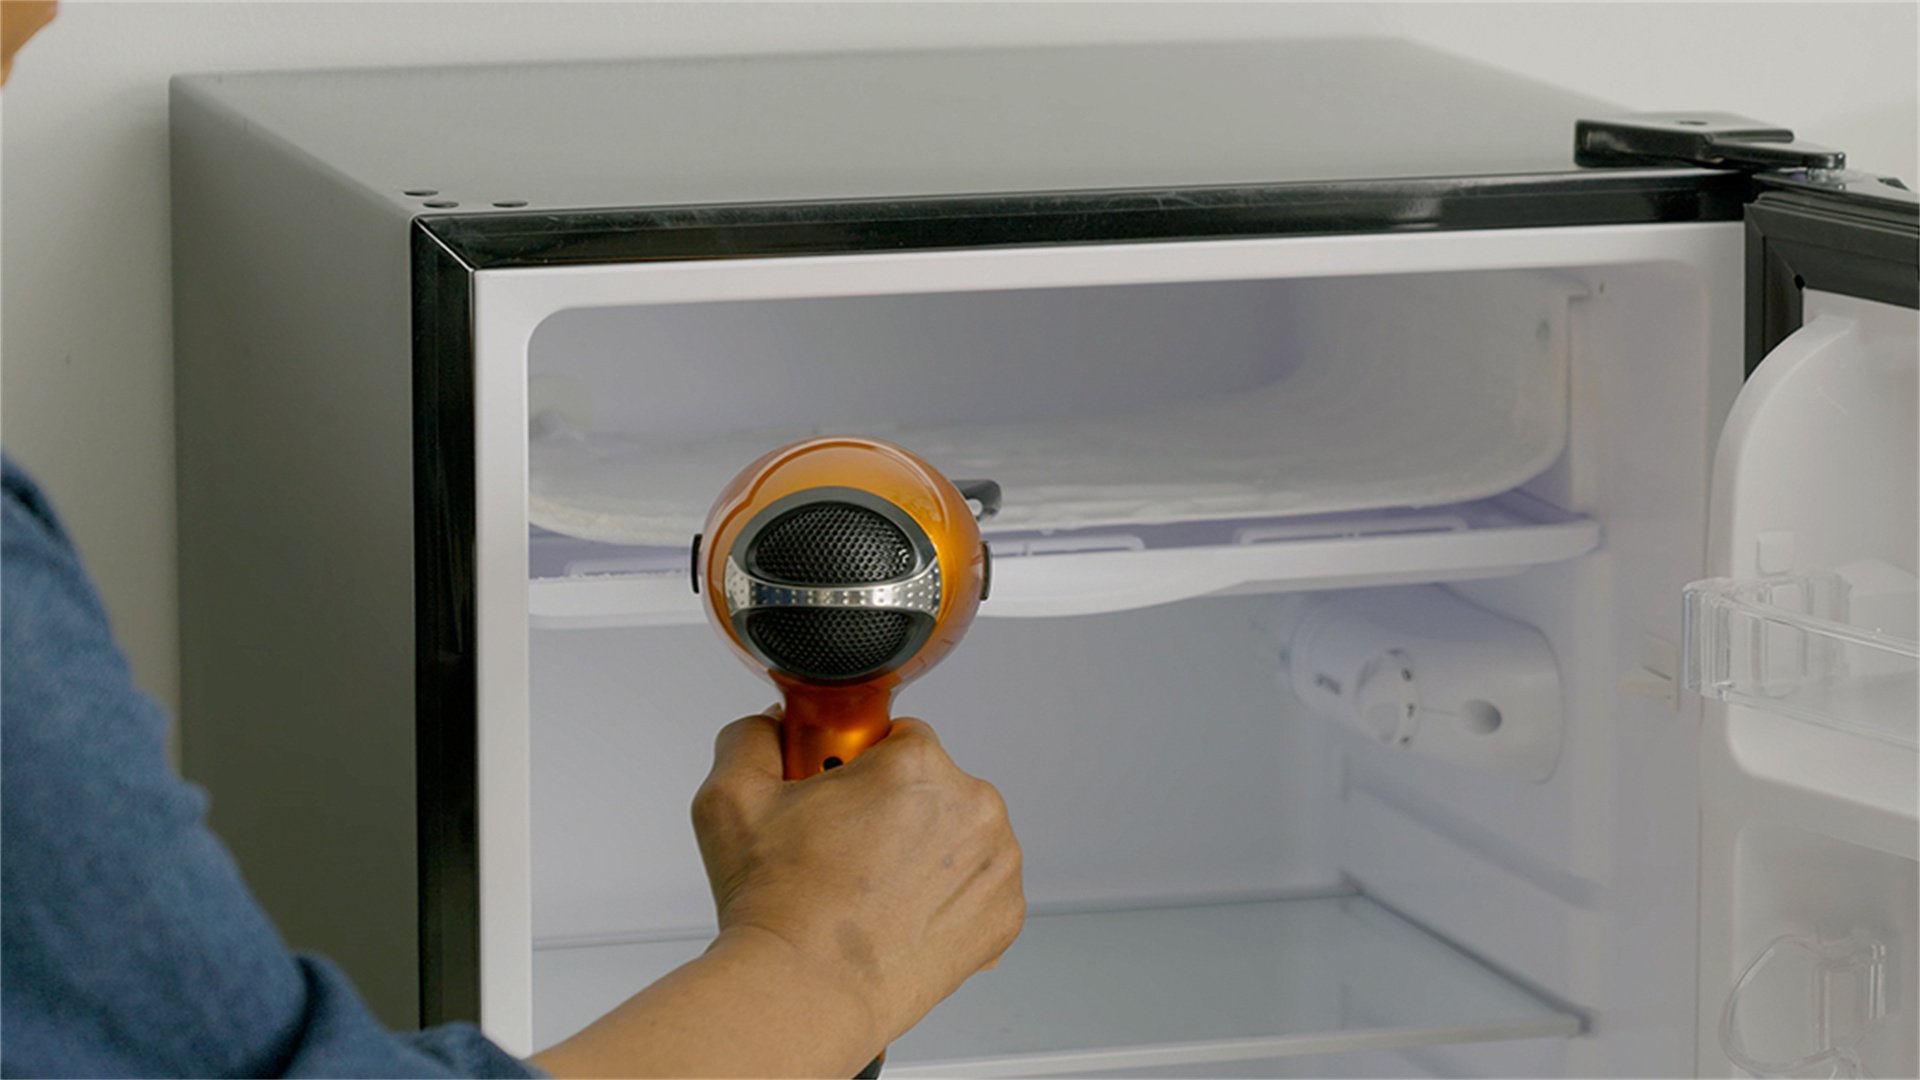
- 3. Use tools cautiously: a fan or hairdryer on low setting, keeping a safe distance.
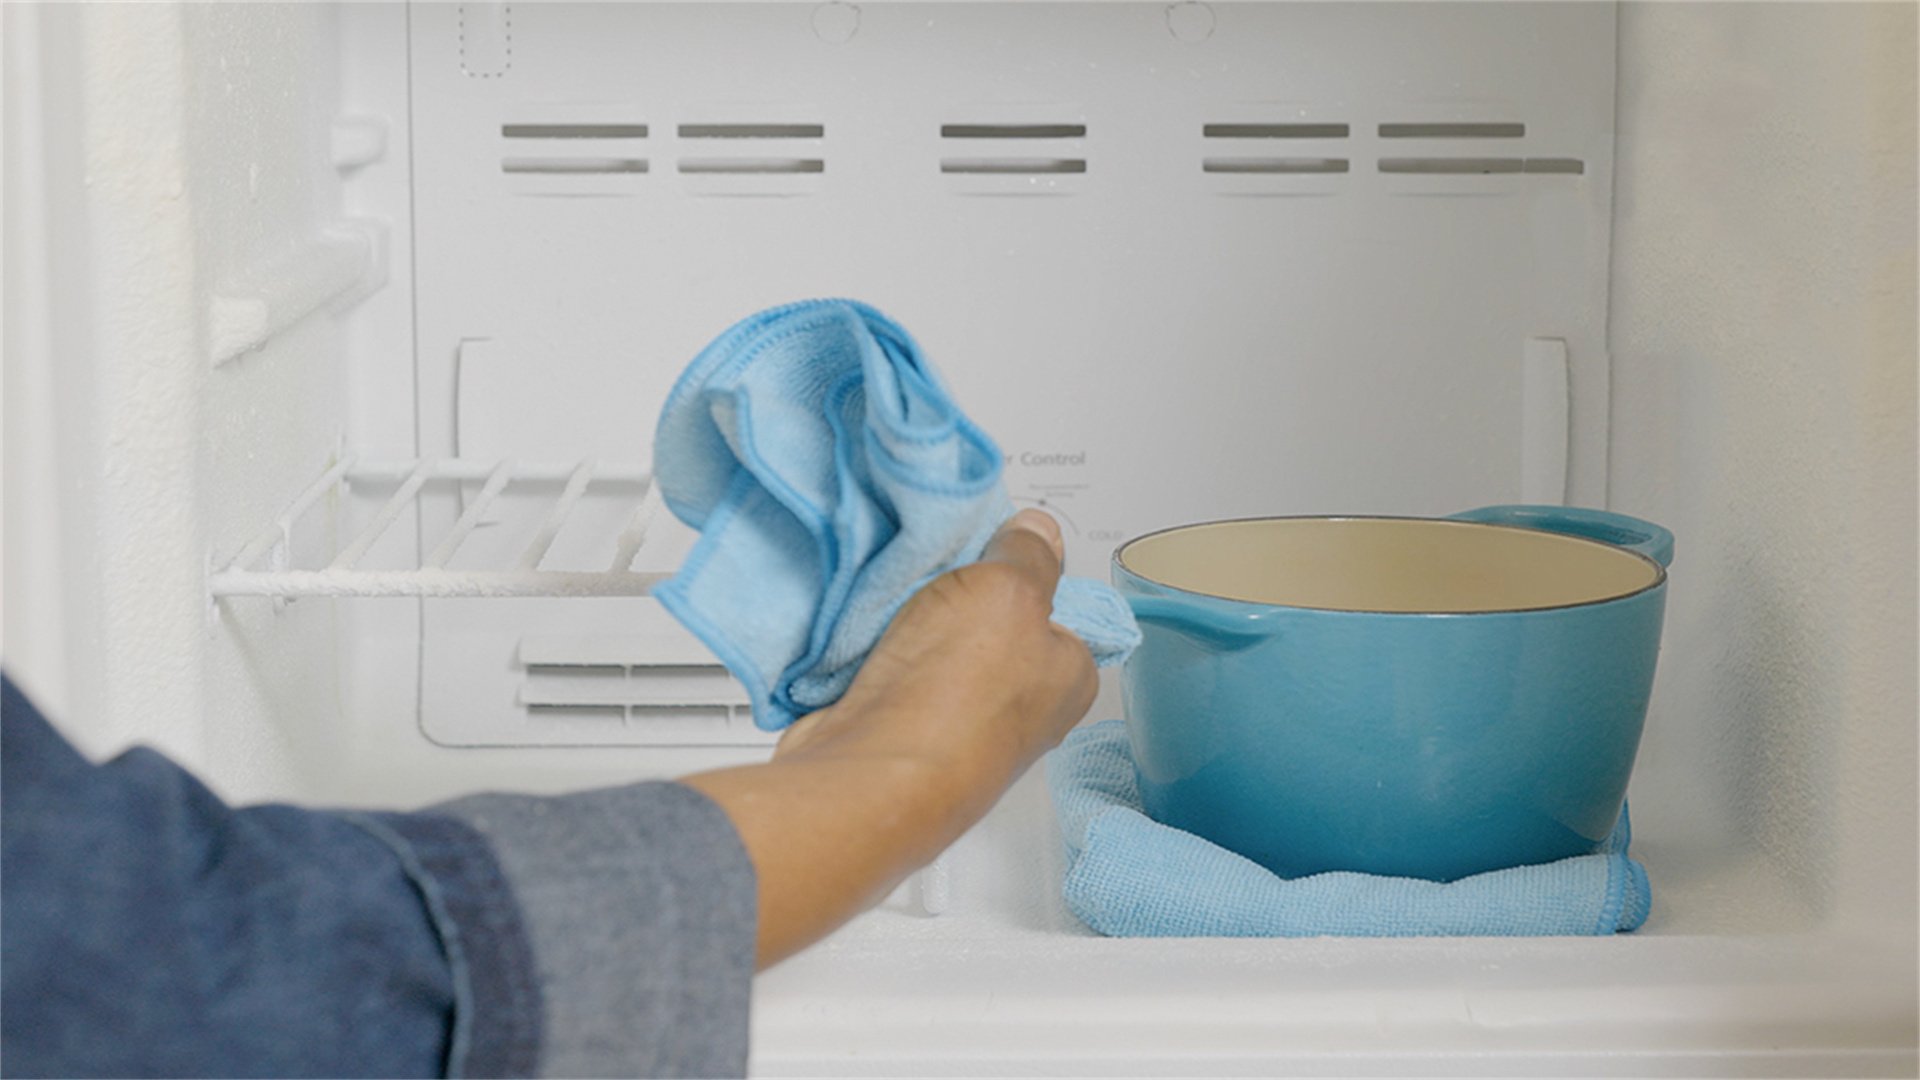
- 4. Monitor the process: place towels to absorb water and empty the bucket regularly.
Step 4: Removing Frost and Final Cleaning
- 1. Gently remove softened frost: use a plastic scraper from top to bottom.
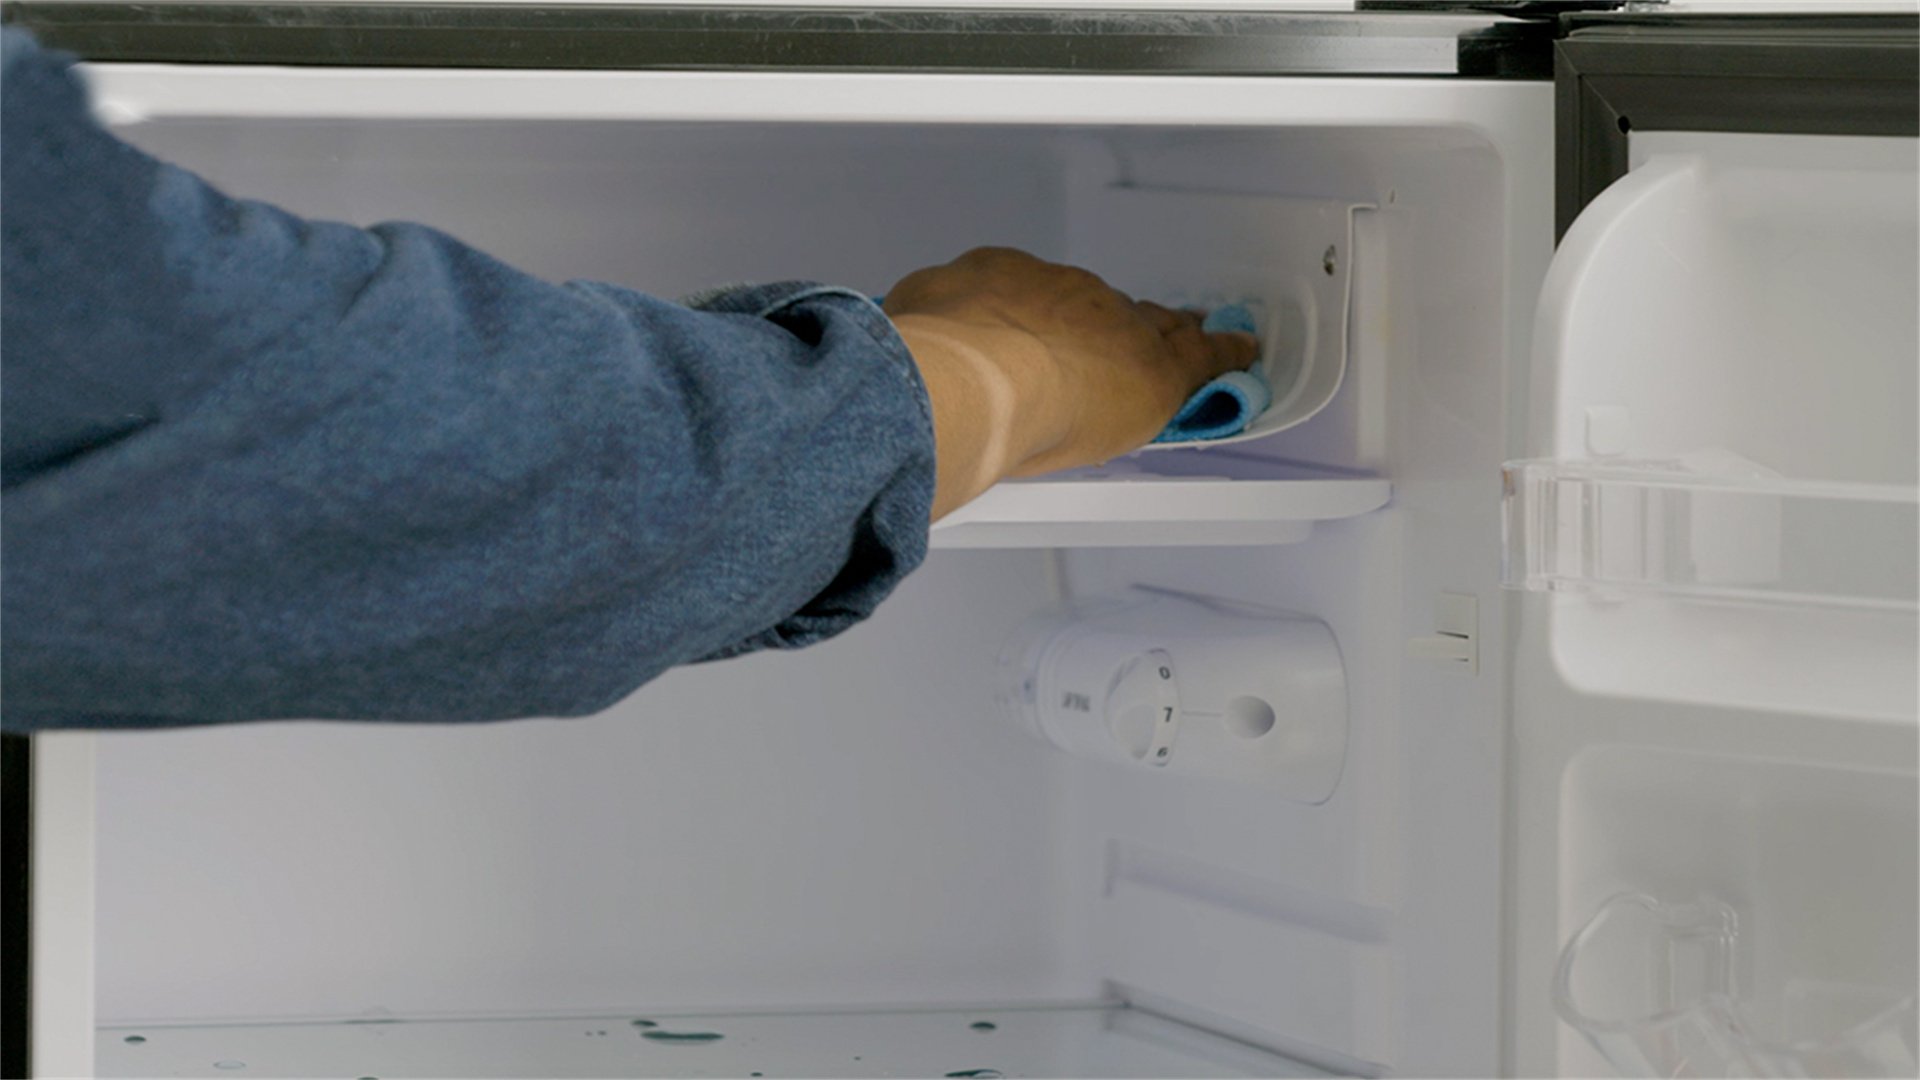
- 2. Wipe surfaces: use dry towels to remove residual moisture.
- 3. Disinfect interior: use a vinegar and water solution (1:1 ratio) to eliminate odors.
- 4. Rinse and dry: ensure complete dryness before reinstalling shelves and drawers.
Step 5: Restarting the Refrigerator
- 1. Check door seals: for gaps or damage before plugging back in.
- 2. Plug in and set temperature: to recommended levels (37°F or 3°C for fridge, 0°F or -18°C for freezer).
- 3. Allow run time: let it run for 30 minutes before restocking food.
- 4. Monitor efficiency: check temperature over next few hours to ensure optimal cooling.
🛠️ Part 2: Comprehensive Maintenance for Your Refrigerator
Monthly Maintenance Tasks
- 1. Inspect door seals: use the dollar bill test; clean with warm, soapy water.
- 2. Vacuum condenser coils: use a brush attachment to remove dust and pet hair.
- 3. Check temperature settings: use an appliance thermometer for accuracy.
- 4. Wipe exterior: with a damp cloth to prevent grime buildup.
Quarterly Maintenance Tasks
- 1. Empty and discard expired items: to improve airflow and space.
- 2. Clean interior thoroughly: use baking soda solution (1 tablespoon per quart of water) for odors.
- 3. Inspect drip pan: clean with mild detergent to remove mold or debris.
- 4. Check door alignment and water filter: adjust hinges if needed; replace filter per guidelines.
Annual Maintenance Tasks
- 1. Clean condenser coils thoroughly: unplug and pull refrigerator out to access back area.
- 2. Inspect evaporator fan: for ice blockage or damage; clean with a soft cloth.
- 3. Check defrost timer and heater: in manual defrost models; replace faulty components.
- 4. Lubricate door hinges: with food-safe grease for smooth operation.
Special Maintenance Considerations for Different Refrigerator Types
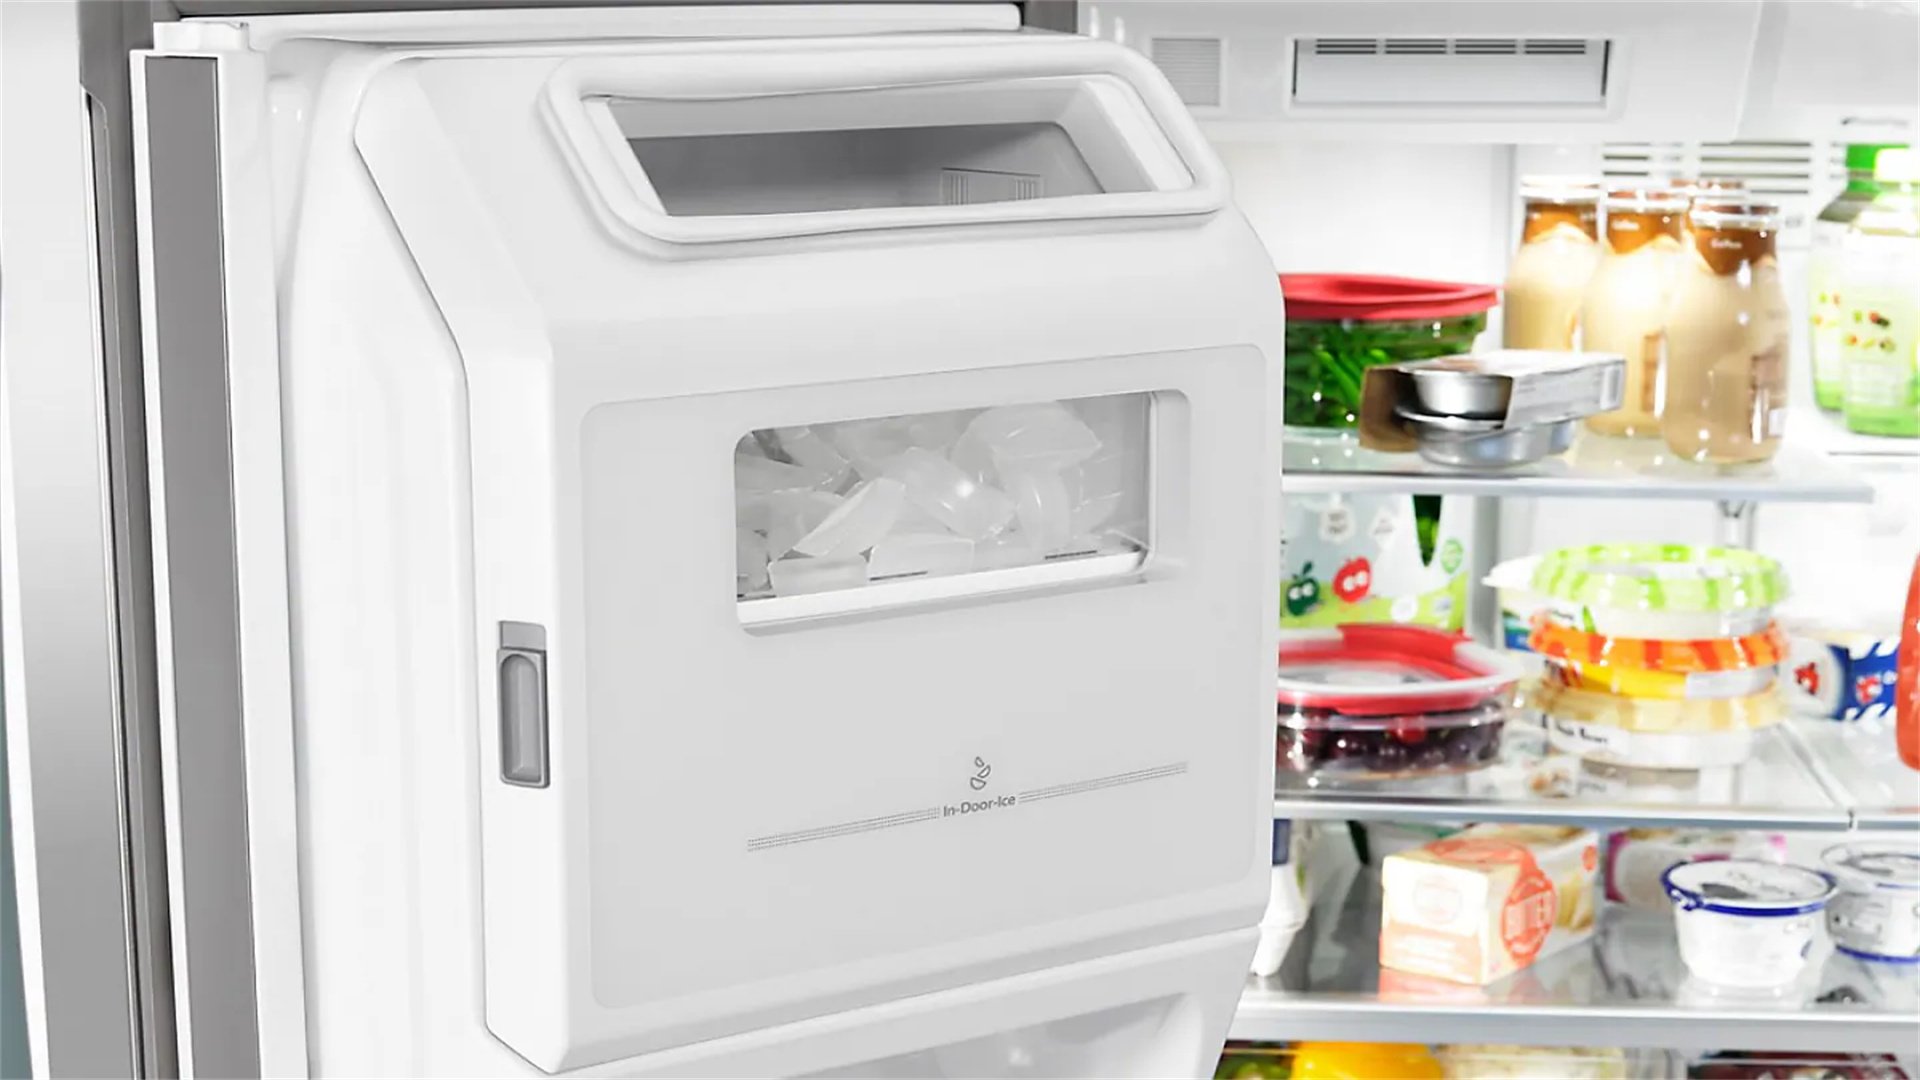
- 1. Side-by-side models: clean ice maker and water dispenser lines with vinegar solution.
- 2. French door refrigerators: ensure middle seal is intact to prevent air leaks.
- 3. Compact or mini-fridges: avoid overloading and ensure adequate ventilation.
- 4. Smart refrigerators: update software regularly and clean touchscreen with appropriate cleaners.
⚠️ Part 3: Troubleshooting Common Issues
Issue 1: Excessive Frost Buildup
- 1. Check door seals: perform dollar bill test and replace if worn.
- 2. Ensure proper door closure: adjust hinges or level the refrigerator.
- 3. Avoid overpacking freezer: blocked vents can disrupt airflow.
- 4. Inspect defrost system: if issues persist, seek professional help for timer, heater, or thermostat.
Issue 2: Unusual Noises
- 1. Buzzing noise: clean condenser coils or check compressor; consult technician if needed.
- 2. Clicking noise: may relate to defrost timer or relay; refer to manual or hire professional.
- 3. Rattling noise: tighten loose parts or ensure refrigerator is level.
- 4. Never ignore persistent sounds: they can signal imminent failure.
Issue 3: Inadequate Cooling
- 1. Check thermostat settings and thermometer readings for accuracy.
- 2. Clean condenser coils: dirt can impede cooling efficiency.
- 3. Ensure vents are unblocked: redistribute food to improve airflow.
- 4. Listen for fan operation: if silent, fan motor might need replacement; for refrigerant issues, call professional.
Issue 4: Water Leaks
- 1. Clear clogged defrost drain: use a pipe cleaner or warm water on freezer drain hole.
- 2. Inspect drip pan: for cracks and replace if necessary.
- 3. Check water supply line: for leaks in models with dispensers.
- 4. Regular cleaning: of these components during maintenance prevents leaks.
🚀 Part 4: Advanced Tips for Long-Term Care

Energy Efficiency Optimization
- 1. Place refrigerator in a cool, well-ventilated area away from heat sources.
- 2. Set temperatures to recommended levels: avoid unnecessary energy waste.
- 3. Use airtight containers: to minimize moisture and frost buildup.
- 4. Monitor energy usage: with a watt meter to identify inefficiencies; consider ENERGY STAR upgrade.
Seasonal Maintenance Adjustments
- 1. Summer: check condenser coils more frequently due to higher ambient temperatures.
- 2. Winter: avoid placing refrigerator near cold drafts that affect thermostat readings.
- 3. Holidays: temporarily lower temperatures slightly if overloaded, but avoid blocking vents.
- 4. Seasonal awareness: prevents stress on the appliance and maintains efficiency.
DIY Repairs and When to Call a Professional
- 1. DIY feasible tasks: replacing door seals, cleaning coils with online tutorials.
- 2. Professional needed for: refrigerant leaks, compressor failures, or electrical problems.
- 3. Safety first: attempting complex repairs without expertise can be dangerous and void warranties.
- 4. Keep maintenance log: to provide history during service calls.
✅ Conclusion
Summary of Key Points
- 1. Regular defrosting and maintenance extend refrigerator lifespan and improve efficiency.
- 2. Follow step-by-step guides for defrosting and routine checks to prevent common issues.
- 3. Proactive troubleshooting saves money on energy and repairs while ensuring food safety.
- 4. Incorporate advanced tips for long-term care, such as energy optimization and seasonal adjustments.
Final Recommendations
- 1. Start today: schedule regular maintenance sessions based on this guide.
- 2. Consult reputable resources: like appliance websites or international organizations for updates.
- 3. Prioritize manufacturer instructions: to avoid voiding warranties and ensure proper care.
- 4. Consistent care: leads to a reliable appliance that runs like new for years to come.
Advertisement