Quick Fixes for a Clogged Toilet: A Complete DIY Guide You’ll Wish You Knew Earlier
Few household emergencies are as inconvenient — or as dreaded — as a clogged toilet. It always seems to happen at the worst possible moment: right before guests arrive, during a holiday dinner, or in the middle of the night when calling a plumber isn’t an option.
The good news? Most toilet clogs are simple to fix with a few household tools, some patience, and the right technique. Knowing how to handle the problem yourself can save you time, money, and a great deal of frustration.
This comprehensive guide walks you through everything you need to know — from what causes toilet clogs and how to fix them safely, to when it’s time to call in a professional. Whether you’re a first-time homeowner or a seasoned DIYer, you’ll find practical tips and troubleshooting advice to handle toilet blockages like a pro.
Understanding the Causes of Toilet Clogs
Before you reach for your plunger, it’s important to understand why toilets clog in the first place. Clogs can range from minor, surface-level obstructions to serious blockages deep within your plumbing system. Identifying the cause will help you choose the best fix and prevent future problems.
Common Causes:
Flushing Non-Flushable Items
Toilets are designed to handle only human waste and toilet paper. However, many people accidentally flush items like baby wipes, paper towels, feminine hygiene products, or cotton swabs — all of which can easily block pipes. Even so-called “flushable” wipes don’t fully break down and can build up over time.
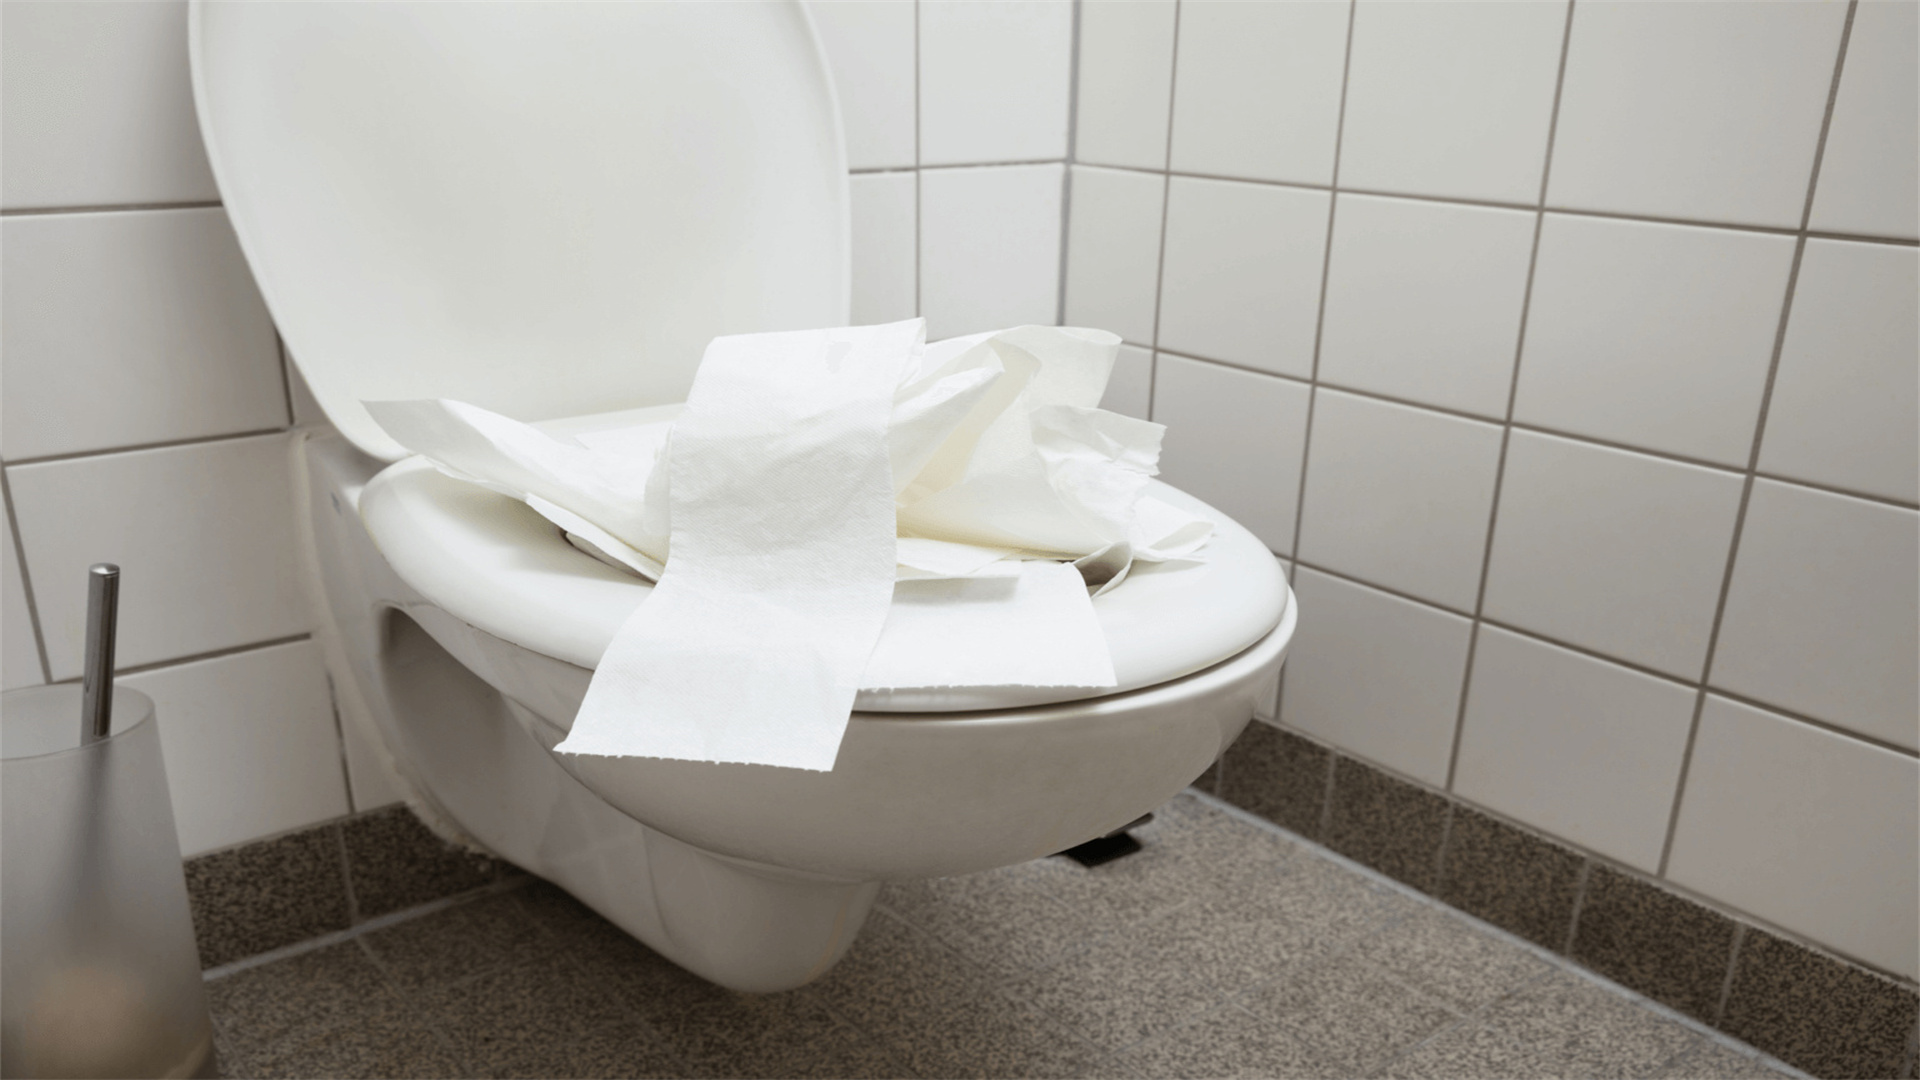
Excessive Toilet Paper
Using too much toilet paper in a single flush is one of the most frequent causes of minor clogs. Thick or quilted paper tends to absorb water and clump, creating a soft blockage that restricts water flow.
Hard Water and Mineral Buildup
If your home has hard water, mineral deposits can accumulate inside your toilet’s drain or trap, gradually narrowing the passageway. Over time, this buildup can make your toilet more prone to frequent clogs.
Foreign Objects
Small toys, toothbrushes, or even soap bars can accidentally fall into the toilet — especially in homes with children. These items can cause major blockages that require mechanical removal.
Drain or Sewer Line Issues
Sometimes, the issue isn’t in the toilet at all. Tree roots, collapsed pipes, or obstructions in the main sewer line can lead to multiple fixtures backing up at once. If sinks and showers are also draining slowly, it’s likely a larger plumbing problem.
Gather Your Tools: What You’ll Need
Preparation makes all the difference. Before you start unclogging, gather these supplies to make the process efficient and sanitary:
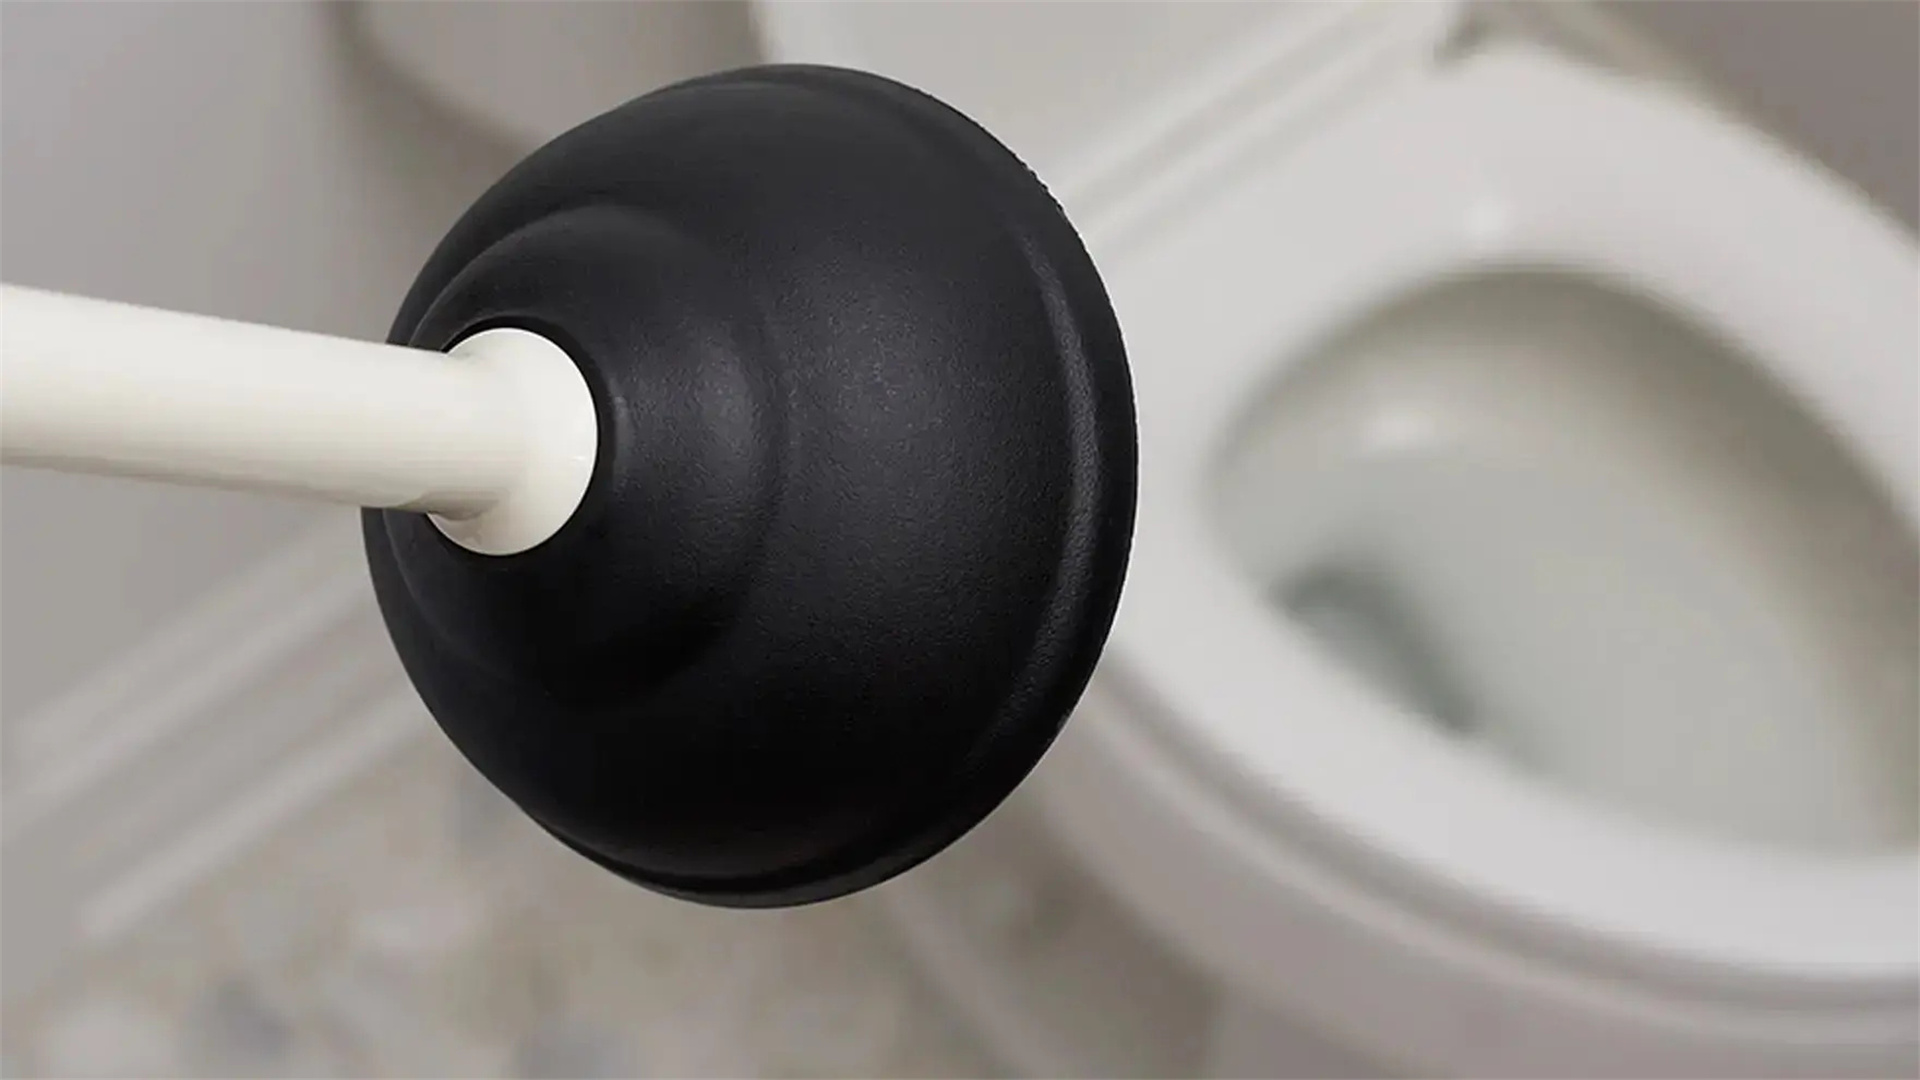
Flange Plunger – Unlike a standard sink plunger, this model has an extra rubber sleeve to form a strong seal in a toilet bowl.
Plumbing Snake (Toilet Auger) – A long, flexible tool that reaches deep into the drain to break apart or retrieve stubborn clogs.
Rubber Gloves – Essential for protecting your hands from bacteria and cleaning chemicals.
Old Towels or Rags – Useful for catching drips or containing overflow.
Bucket – Handy for removing excess water from the bowl if it’s full.
Disinfectant Cleaner or Bleach Solution – For cleaning up afterward and ensuring the area is properly sanitized.
Protective Eyewear (Optional) – To avoid splashes when plunging vigorously.
Step 1: Evaluate the Severity of the Clog
Not all clogs are equal. Before plunging, take a minute to observe what’s happening.
Minor clog: The toilet bowl fills up when flushed but slowly drains afterward.
Moderate clog: The water rises higher than normal and drains very slowly, or not at all.
Severe clog: The water remains stagnant, or flushing causes overflow. You may also notice gurgling sounds in nearby drains — a sign the blockage is deeper in your system.
If the water level is near the rim, don’t flush again. Wait 10–15 minutes to see if it recedes naturally. If not, scoop out excess water into a bucket before proceeding. Attempting to flush repeatedly can lead to flooding and contaminated water spilling onto your floor.
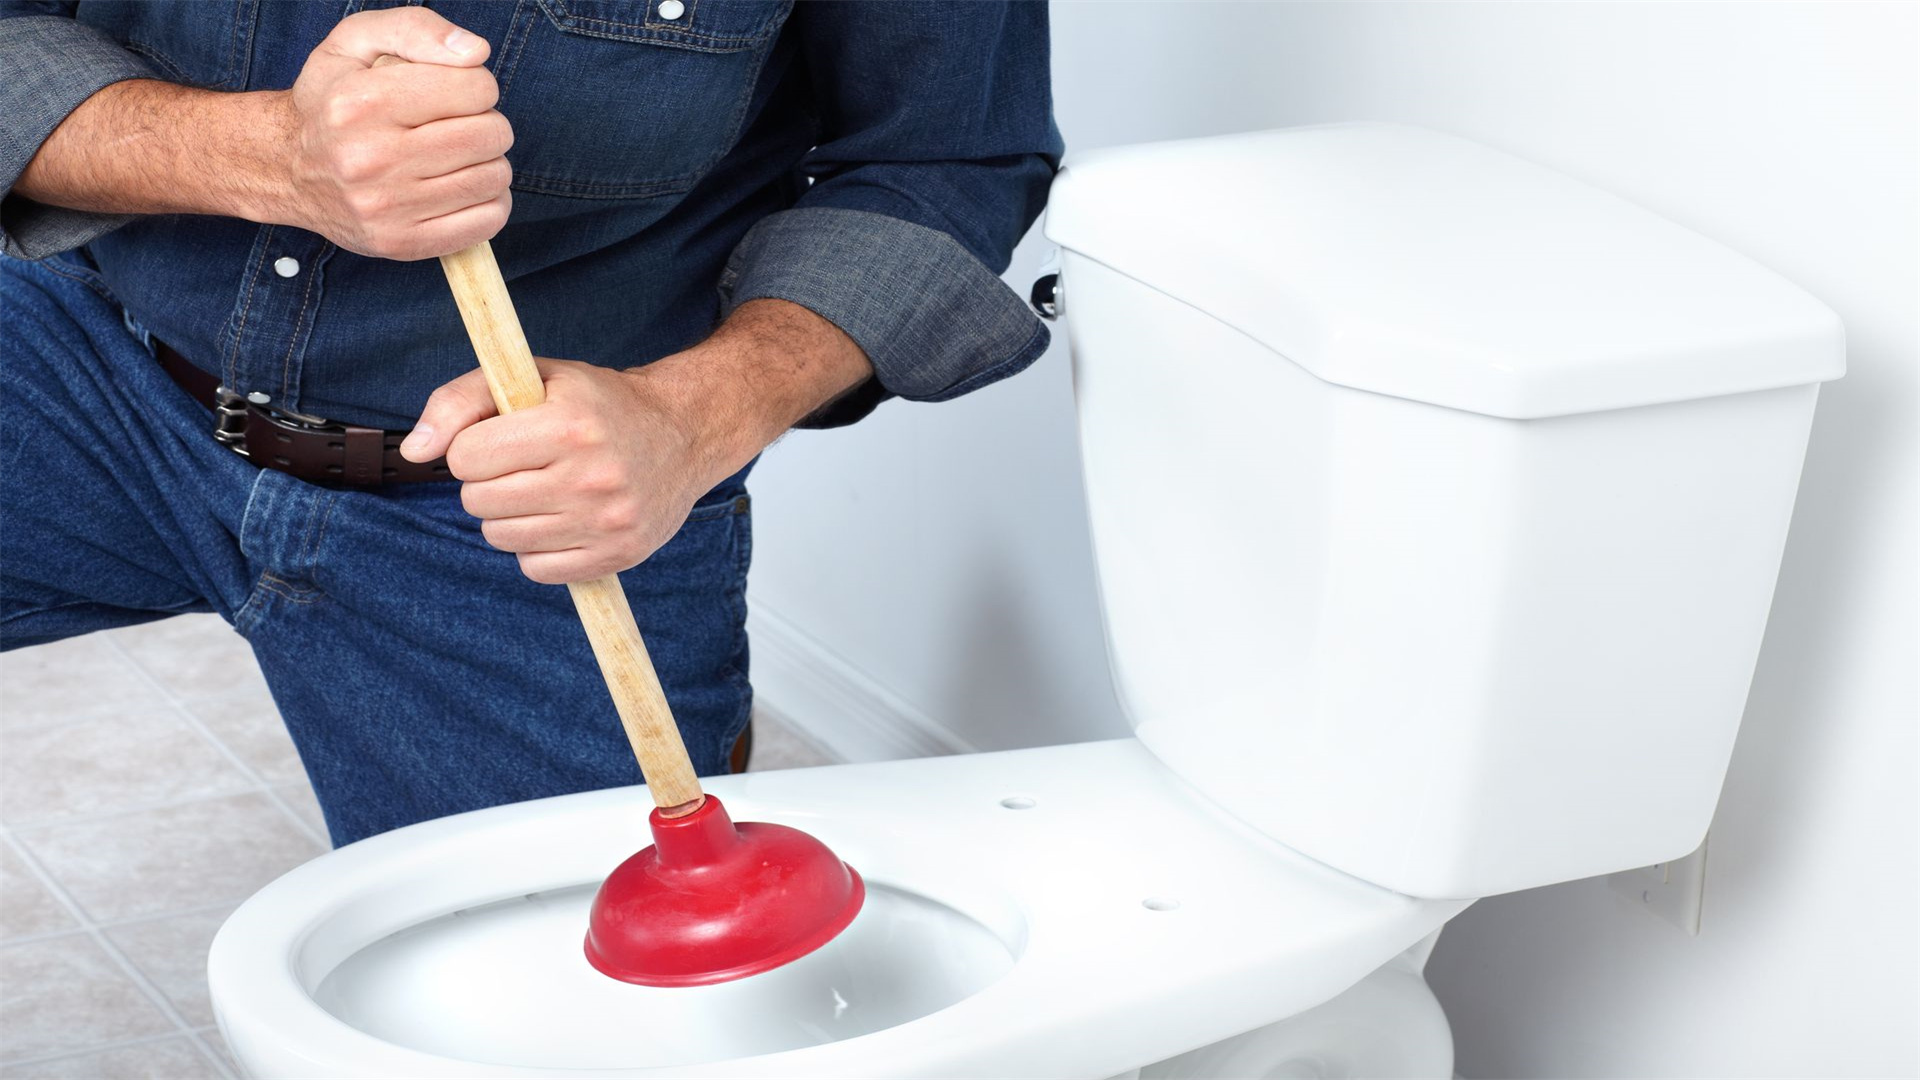
Step 2: The Right Way to Use a Plunger
The plunger is your first line of defense. Although it looks simple, using it correctly is key to success.
Prepare the Area:
Place towels or newspaper around the base of the toilet to absorb any splashes. Put on your gloves.
Ensure Proper Water Level:
The plunger cup needs to be fully submerged in water to create suction. If the bowl is too empty, pour in enough water to cover the plunger head.
Create a Seal:
Position the flange inside the drain hole at the bottom of the bowl. Press down gently to expel air and form a tight seal.
Start Slowly:
Begin with gentle, slow plunges to push trapped air out of the plunger. Once you feel resistance, switch to firm, rhythmic thrusts — about one plunge per second.
Use Controlled Pressure:
Maintain the seal and push downward forcefully for 15–20 seconds. Avoid jerky movements, which can break the seal and splash water.
Check Your Progress:
Lift the plunger slightly to see if water begins draining. If it does, flush the toilet to confirm. If not, repeat the process several times — many clogs take 3–5 cycles of plunging to fully clear.
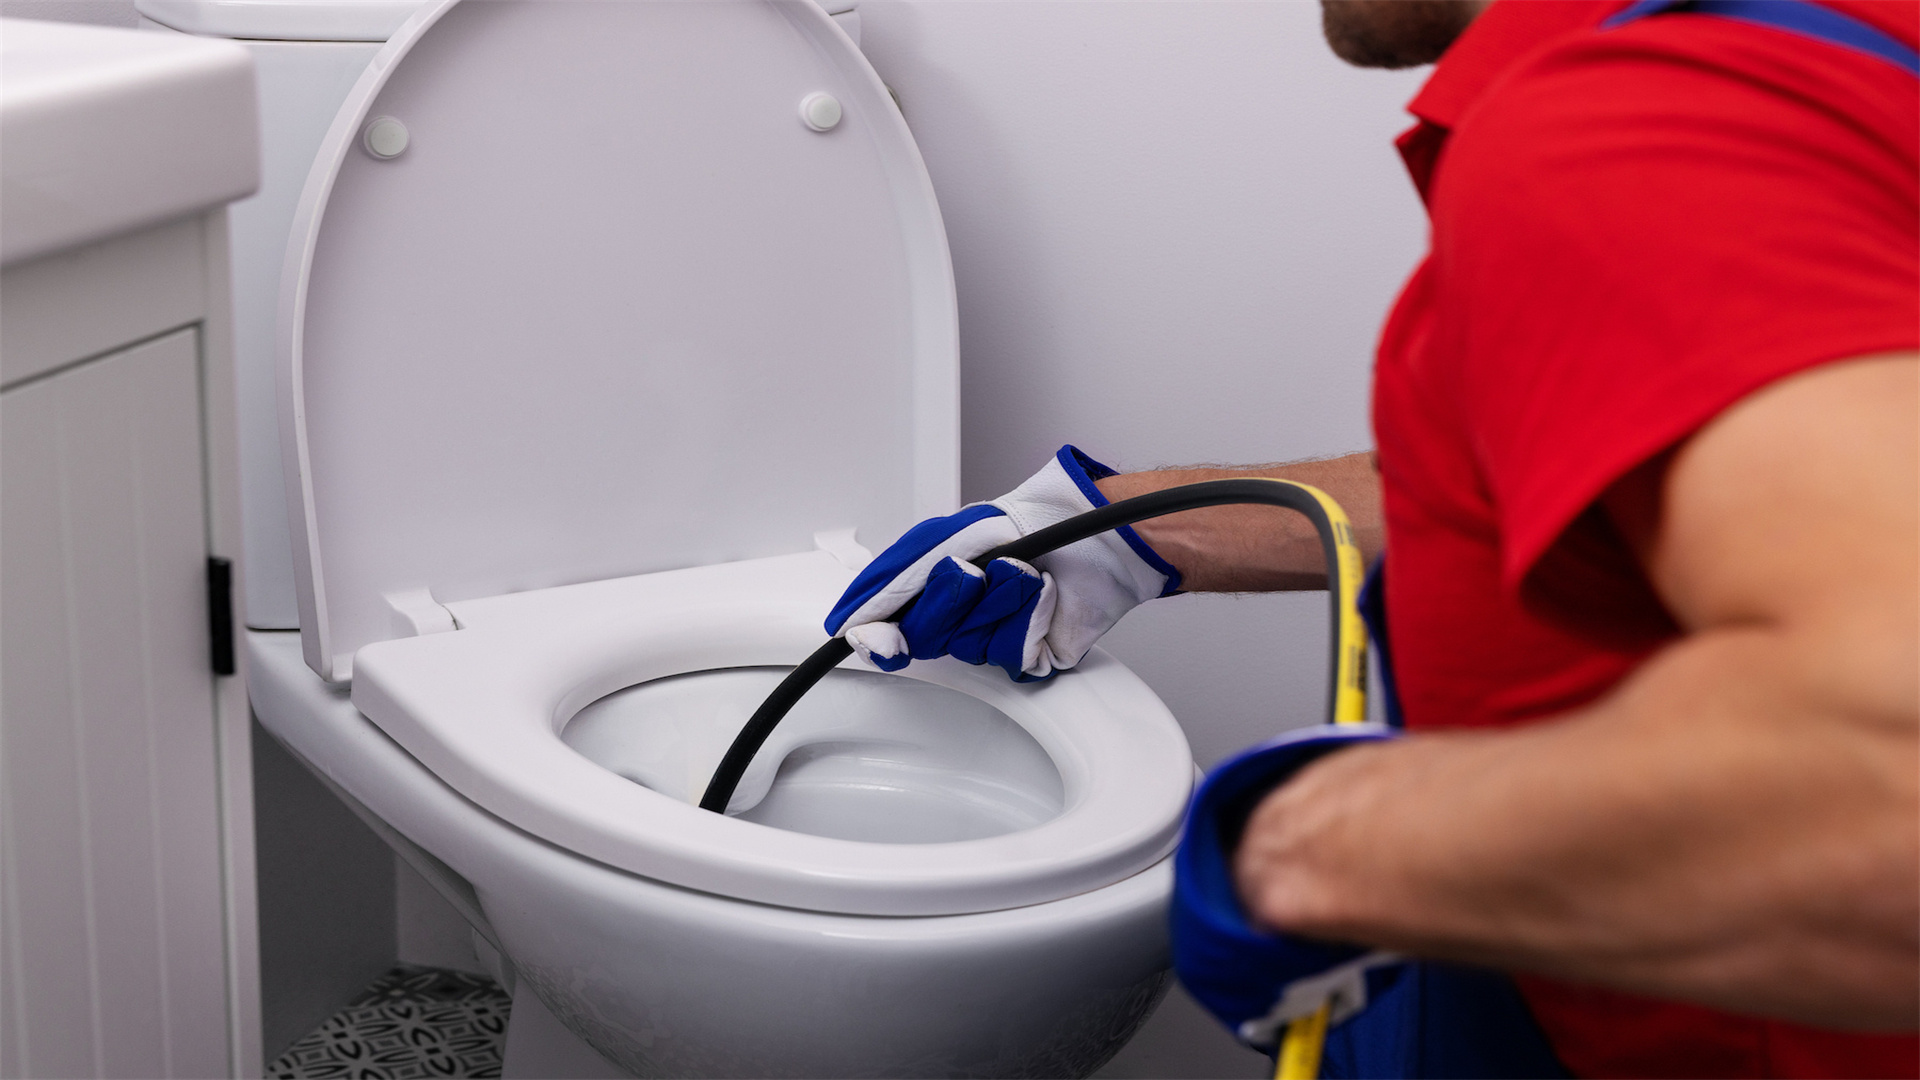
Step 3: Using a Plumbing Snake or Toilet Auger
If plunging doesn’t solve the problem, move on to a toilet auger — a flexible coil designed to reach deep into the toilet’s S-trap and pipes. It’s more effective for stubborn or deep-seated blockages.
How to Use It:
Insert Carefully:
Feed the auger’s coiled end into the drain hole. Turn the handle clockwise while gently pushing downward. If you feel resistance, you’ve reached the clog.
Break or Hook the Clog:
Continue rotating the handle slowly. The auger’s tip is designed either to break apart the blockage or to latch onto it so it can be pulled out.
Remove the Auger:
Once the resistance eases, carefully pull the tool back out. Clean the tip using a disposable towel.
Test the Toilet:
Flush to check whether water drains normally. If the clog persists, repeat the process — sometimes debris shifts but doesn’t clear completely the first time.
Step 4: The Clean-Up Process
After you’ve unclogged the toilet, cleaning up thoroughly is critical to prevent bacteria from spreading.
Sanitize Tools:
Wash your plunger and auger with disinfectant or a bleach-water solution (1 part bleach to 10 parts water). Let them dry completely before storing.
Clean Surfaces:
Wipe down the toilet bowl, seat, and surrounding area. Even minor splashes can spread harmful germs.
Dispose of Waste Properly:
Throw away used towels or disposable materials in sealed garbage bags.
Disinfect Yourself:
Wash your hands thoroughly with soap and warm water, even if you wore gloves.
Step 5: Common DIY Mistakes to Avoid
Even the simplest tasks can go wrong if rushed or done incorrectly. Avoid these common missteps:
Using the Wrong Plunger:
A cup plunger (flat bottom) works for sinks, not toilets. Always use a flange-style plunger.
Overusing Chemical Cleaners:
Many commercial drain cleaners contain harsh acids that can damage your toilet’s porcelain, rubber seals, or pipes. They’re rarely effective on solid clogs.
Repeated Flushing:
Flushing again and again doesn’t help — it only risks overflow and potential water damage.
Ignoring Early Signs:
Slow drainage, gurgling noises, or recurring blockages suggest a deeper plumbing issue that needs professional inspection.

Preventing Future Clogs
Prevention is always better (and cleaner) than cure. Follow these tips to keep your toilet running smoothly year-round:
Be Mindful of What You Flush:
Only flush human waste and toilet paper — nothing else. Keep a covered trash bin nearby for wipes, feminine products, and other waste.
Use Moderate Paper Amounts:
Overuse of toilet paper is a top clog cause. Try flushing halfway through large amounts of paper instead of all at once.
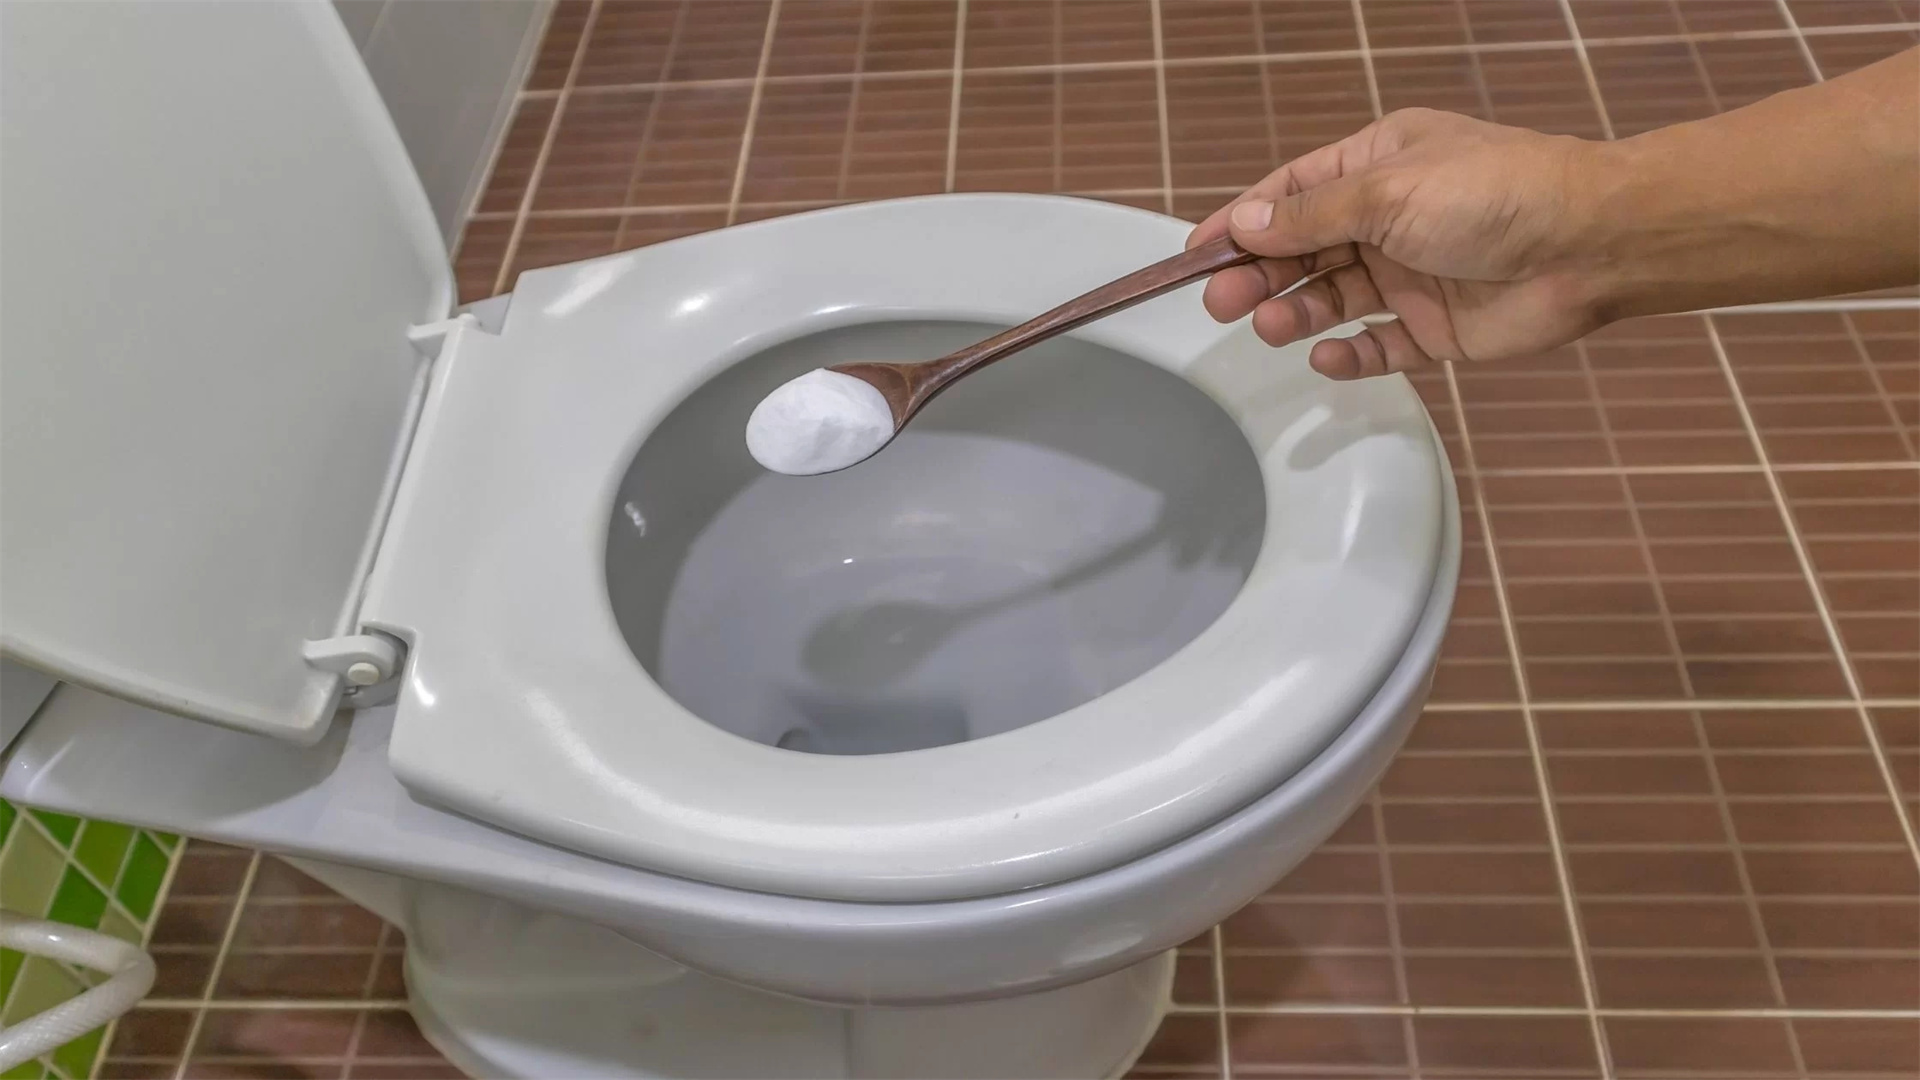
Regular Maintenance:
Once every few months, pour a gallon of hot (not boiling) water mixed with a cup of baking soda into the bowl. This can help loosen early buildup.
Install a High-Pressure Flush Toilet:
Modern toilets are designed with better water pressure and waste removal systems, making clogs far less frequent.
Educate Children:
Teach kids what should and shouldn’t go into the toilet — and make sure they know where to dispose of non-flushable items.
When to Call a Professional Plumber
Sometimes, despite your best efforts, the clog persists. That’s when it’s time to call in the experts. You may need professional help if:
The toilet keeps clogging repeatedly, even after clearing.
Multiple fixtures (sinks, tubs, or showers) are draining slowly or gurgling.
You smell sewage or notice water backing up elsewhere.
The clog is caused by tree roots or damaged sewer lines.
Professional plumbers have advanced tools — such as video inspection cameras, hydro-jetting equipment, and power augers — to diagnose and fix major blockages quickly and safely.
Final Thoughts
Dealing with a clogged toilet may not be pleasant, but with a calm approach and the right know-how, it’s a problem anyone can solve. Armed with a plunger, an auger, and a bit of patience, you can handle most clogs within 20–30 minutes — no emergency plumber required.
More importantly, regular care and preventive habits will help you avoid future plumbing headaches altogether. Remember: the key to a smoothly running toilet isn’t luck — it’s maintenance, mindfulness, and a little DIY confidence.
With this guide, you’re not just fixing a clog — you’re gaining peace of mind (and saving a few hundred dollars while you’re at it).