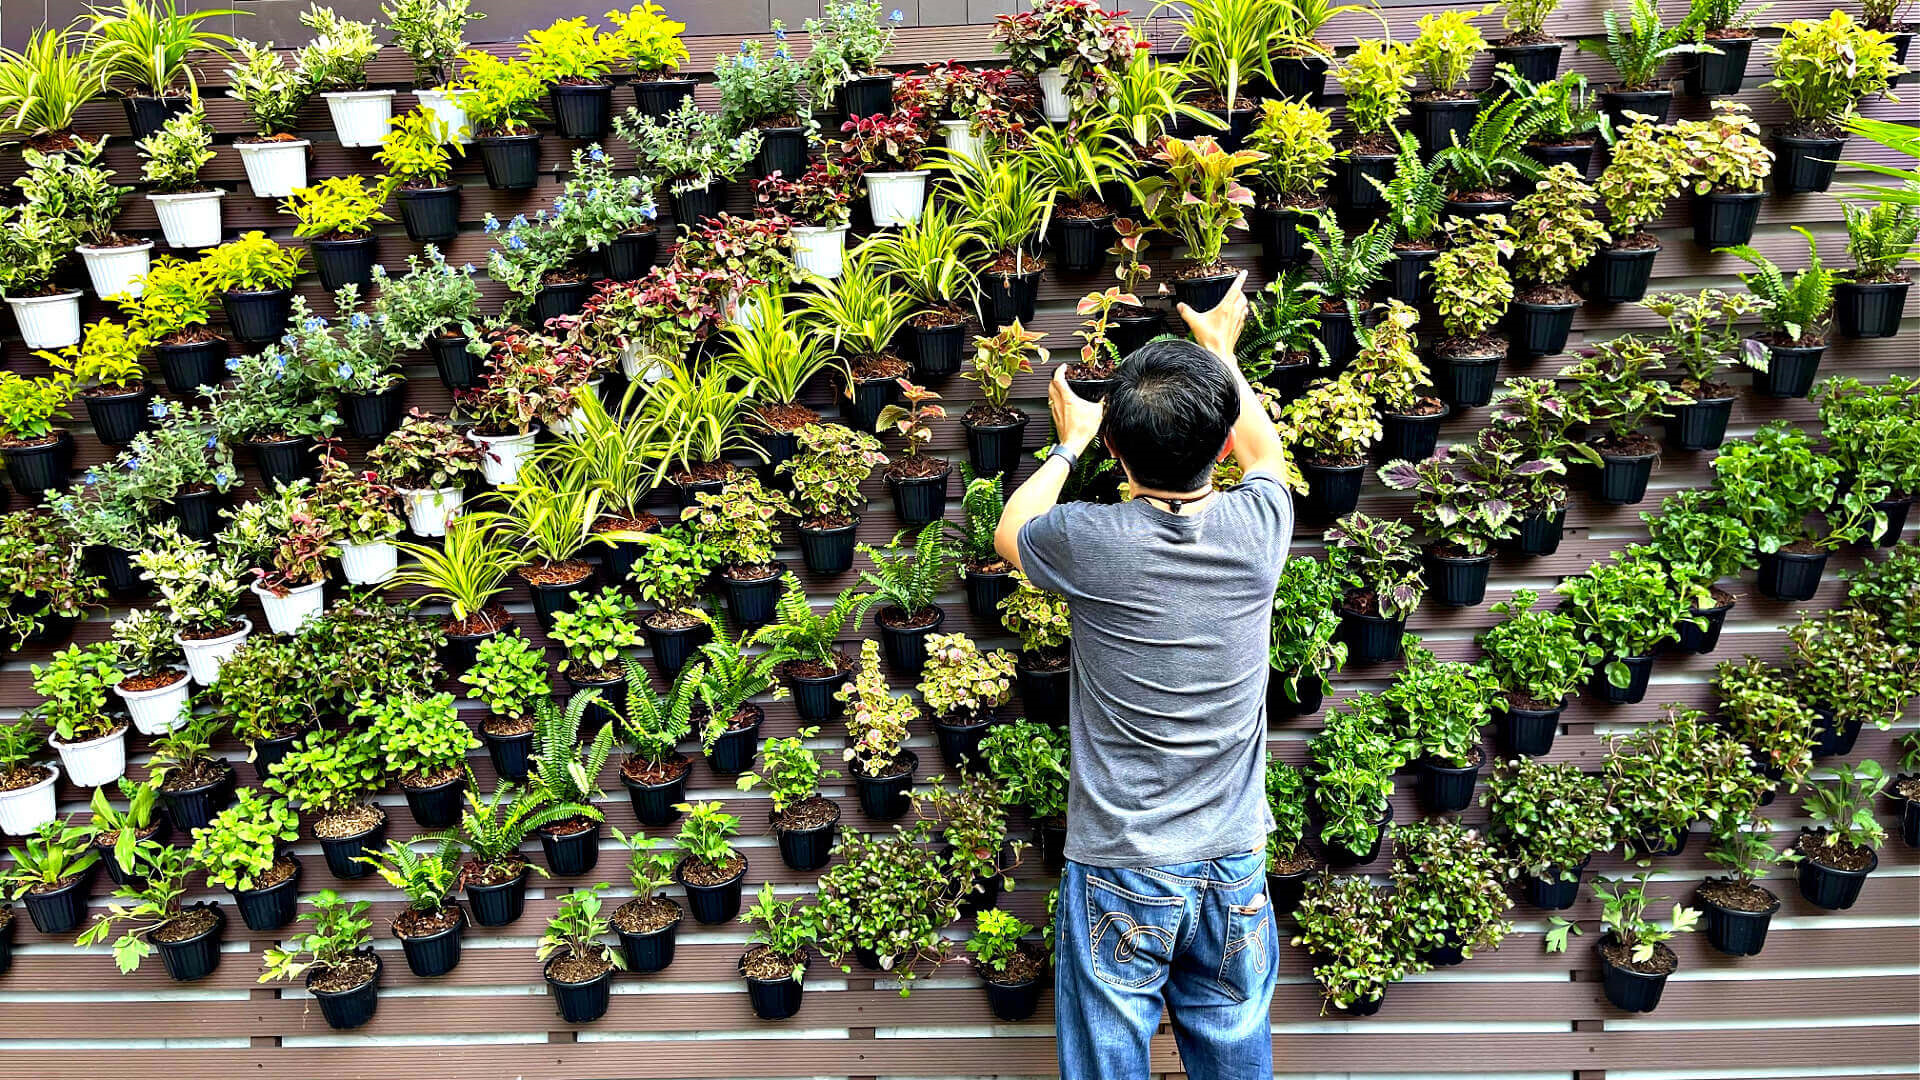
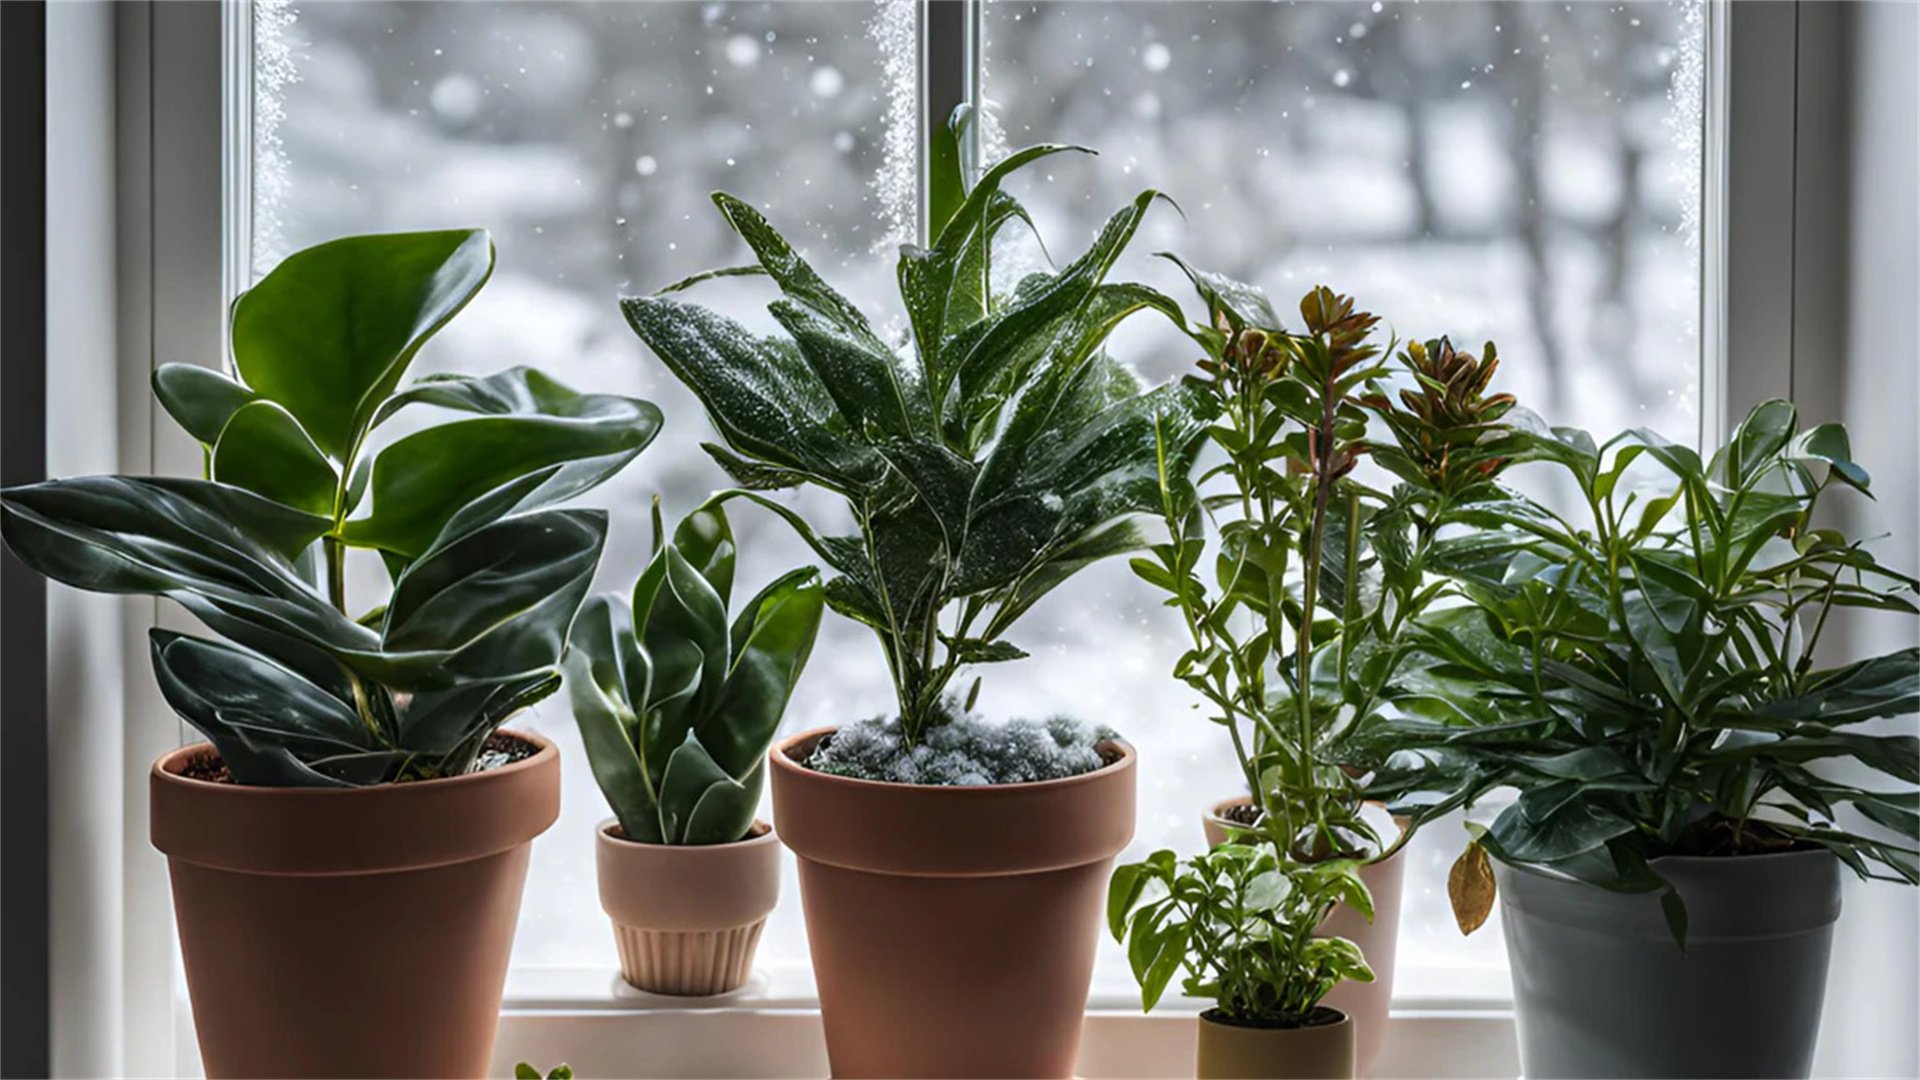
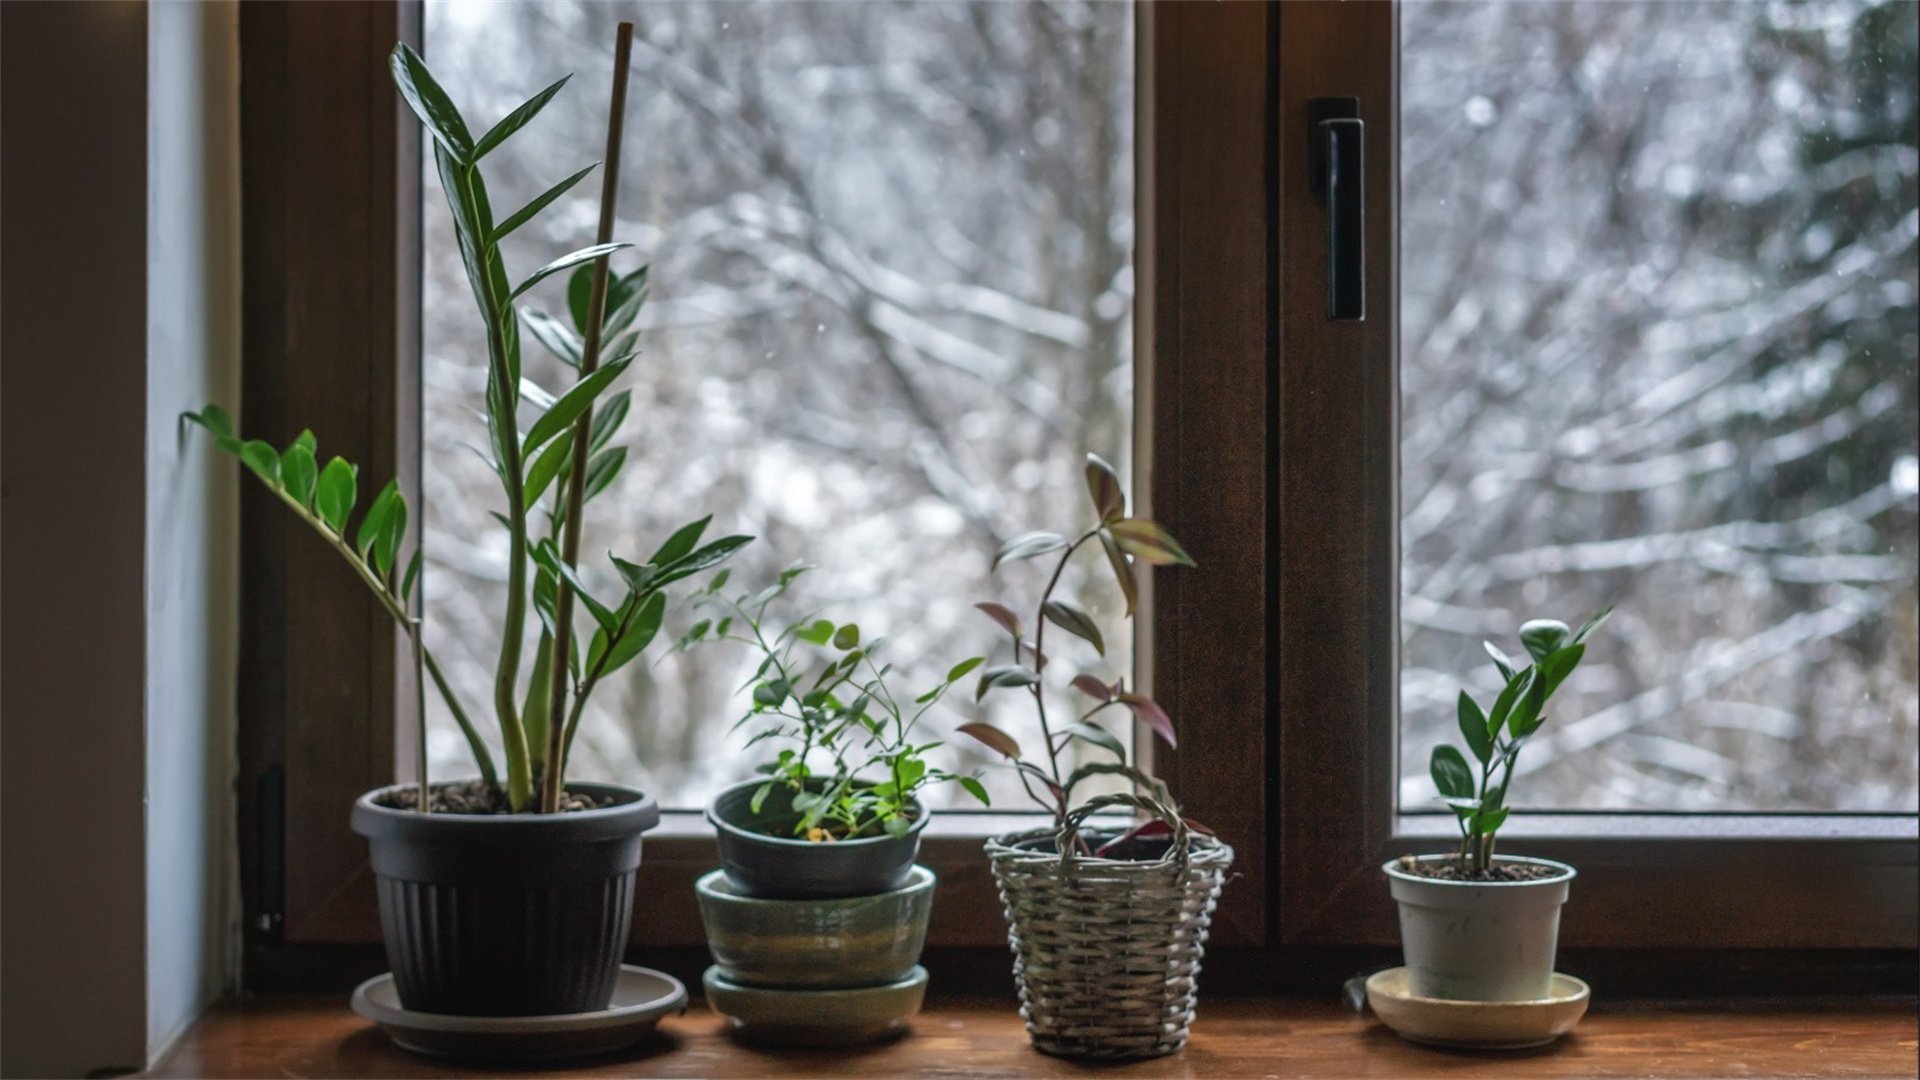
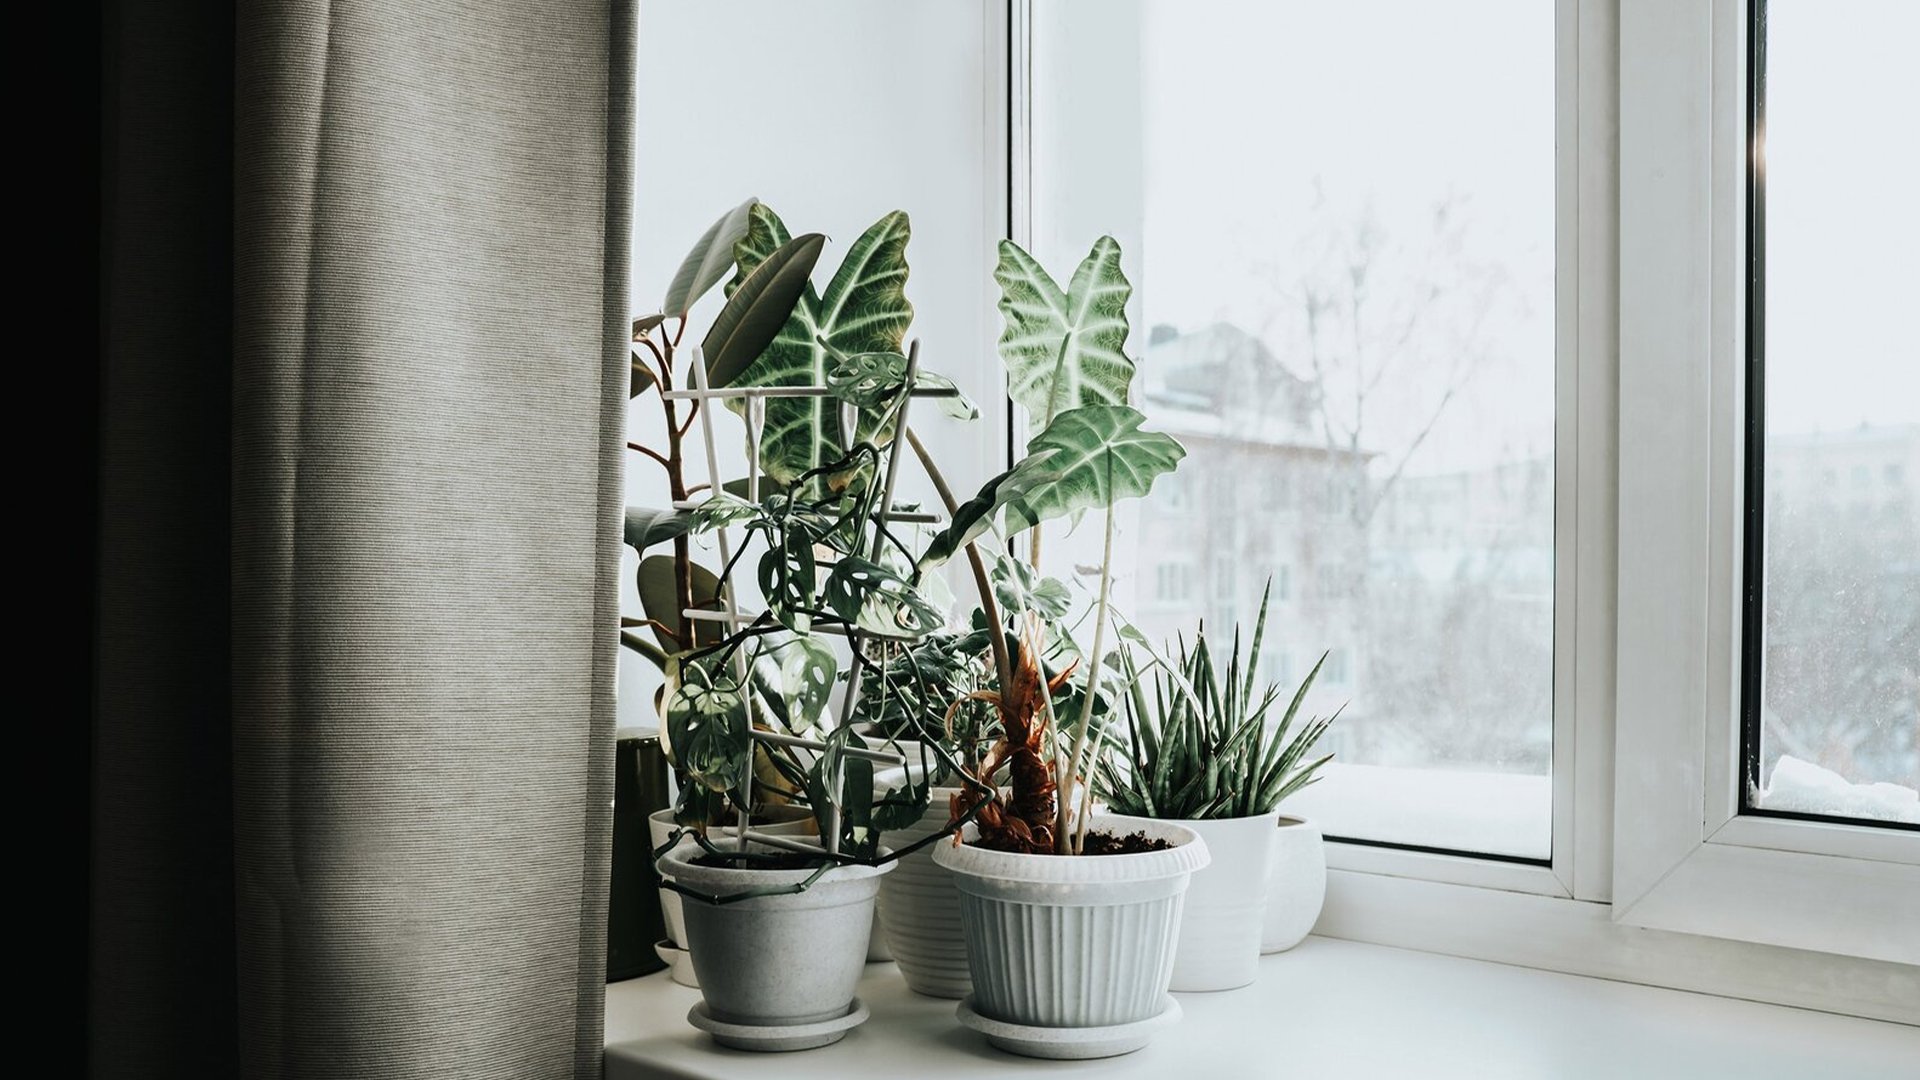
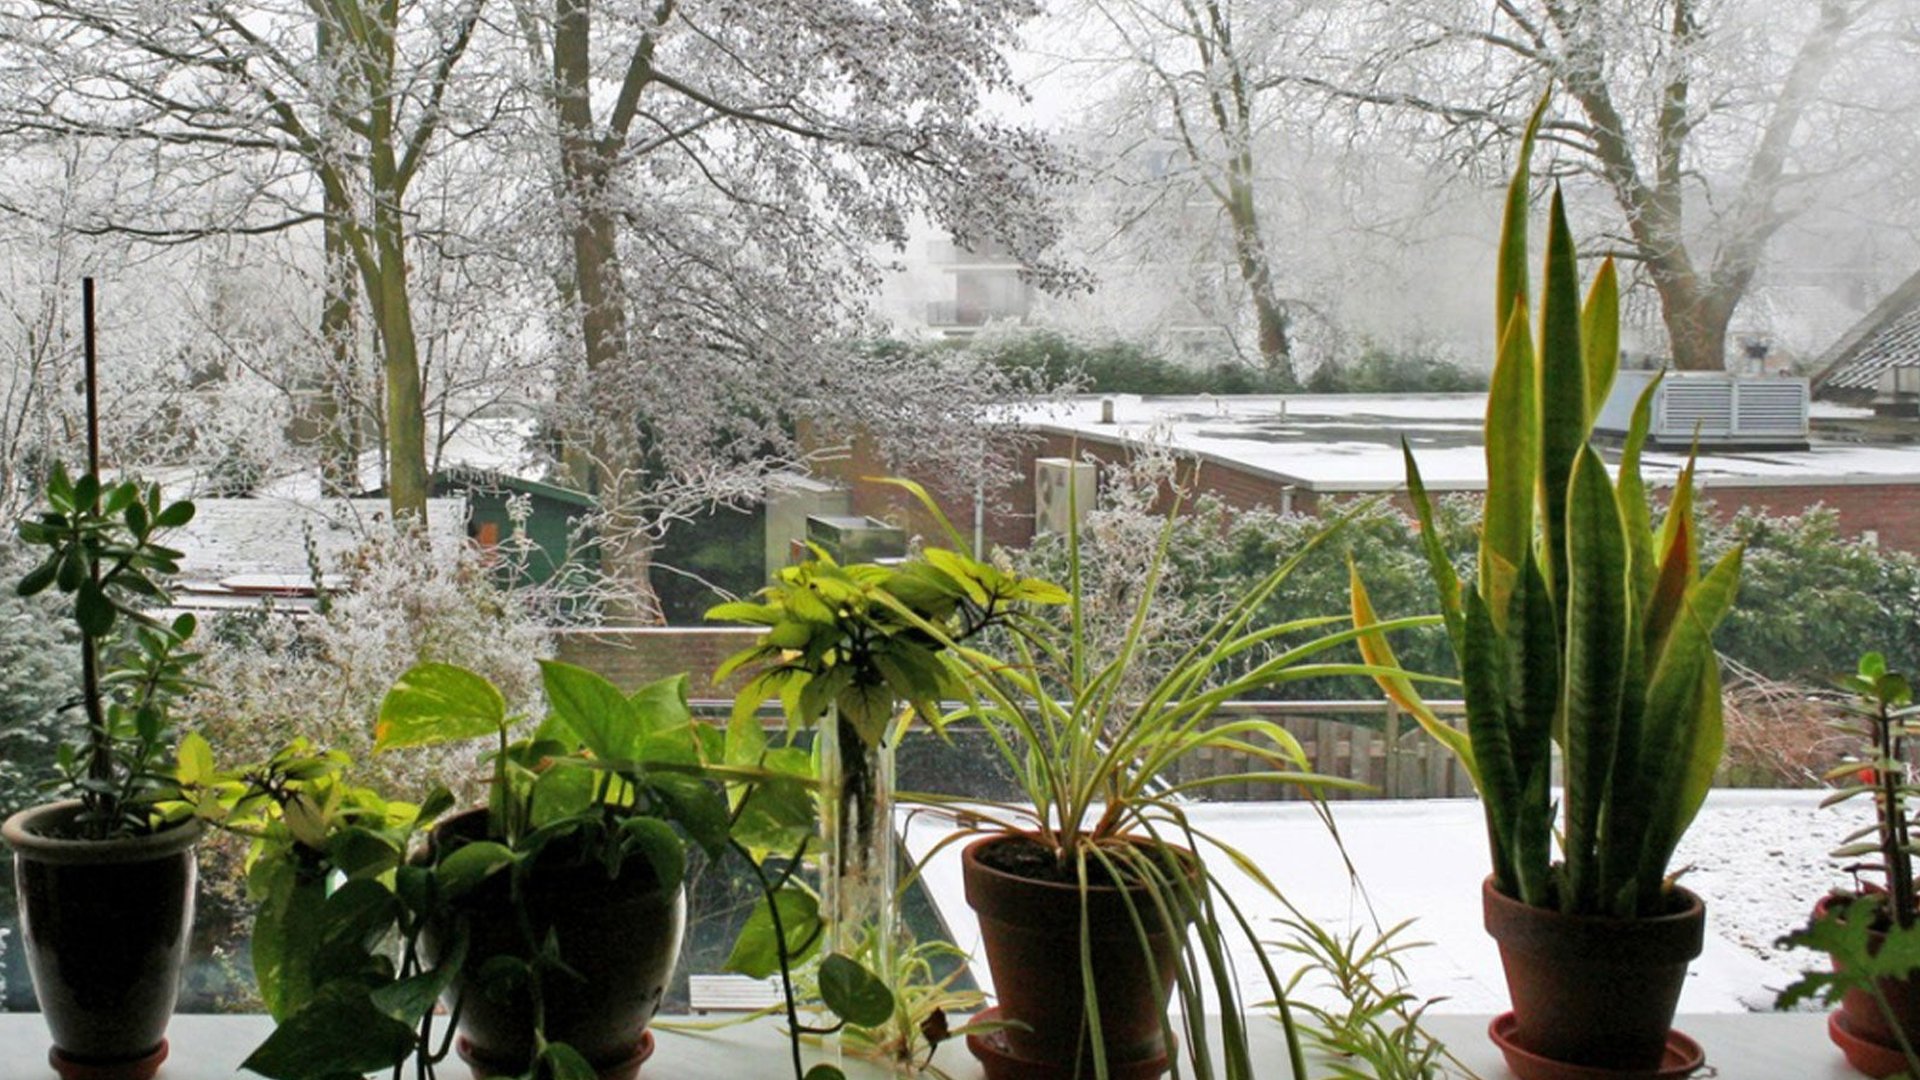
7 Proven Methods to Keep Houseplants Healthy Through Winter
Winter presents a unique set of challenges for houseplant enthusiasts. As daylight hours shorten, temperatures drop, and indoor heating systems create dry air, many plants enter a period of dormancy or slowed growth. Without proper care, this season can lead to issues like leaf yellowing, pest infestations, and even plant death. However, by adopting proven strategies, you can ensure your indoor garden remains vibrant and healthy throughout the cold months. This article delves into seven effective methods, backed by horticultural expertise and insights from reputable gardening websites, to help your houseplants thrive in winter. Each method is explained in detail, covering advantages, disadvantages, and step-by-step implementation guides. By the end, you'll have a comprehensive toolkit to navigate winter plant care with confidence. The key to success lies in understanding how winter conditions affect plant physiology. Reduced light slows photosynthesis, lower humidity increases transpiration stress, and cooler temperatures alter water and nutrient uptake. Adapting your care routine to these changes is crucial. The following methods address these factors holistically, ensuring your plants not only survive but also maintain their beauty. Let's explore each method, structured with clear headings and points for easy reference.
💧 Method 1: Adjust Watering Frequency to Match Dormancy Periods
During winter, most houseplants experience reduced metabolic activity due to lower light levels and cooler temperatures. This dormancy means they require less water than in the growing season. Overwatering is a leading cause of winter plant decline, as it can lead to root rot, fungal diseases, and oxygen deprivation in the soil. Adjusting your watering schedule is essential to mimic natural seasonal cycles and prevent stress.
Advantages and Disadvantages
Advantages:
- Reduces risk of root rot and fungal infections
- Conserves water resources
- Aligns with plant natural rhythms, promoting healthier root systems
- Prevents nutrient leaching from soil
Disadvantages:
- Requires careful monitoring to avoid underwatering, which can cause wilting, leaf drop, and irreversible damage
- May vary significantly between plant species, demanding individualized attention
- Can be confusing for beginners who might misinterpret soil moisture levels
How to Implement
- Assess Soil Moisture Thoroughly: Use a moisture meter or the finger test—insert your finger up to the second knuckle into the soil. If it feels dry, water; if moist, wait. For succulents and cacti, allow soil to dry completely between waterings, while tropical plants like ferns may need slightly moist soil.
- Establish a Reduced Watering Schedule: Typically, water every 2-4 weeks instead of weekly. For example, a snake plant might need water only once a month, while a peace lily may require every two weeks. Keep a journal to track watering dates and plant responses.
- Optimize Water Quality and Temperature: Use room-temperature water to avoid shocking roots. Let tap water sit for 24 hours to dissipate chlorine and fluoride, which can build up in soil. Alternatively, use filtered or rainwater for sensitive plants like orchids.
- Ensure Efficient Drainage: Check that pots have drainage holes and use well-draining potting mix. After watering, empty saucers to prevent roots sitting in water. Consider adding perlite or sand to soil to improve aeration.
- Observe Plant Signals: Look for signs like drooping leaves (indicating thirst) or yellowing leaves (indicating overwatering). Adjust frequency based on these cues rather than a rigid calendar schedule.
💡 Method 2: Ensure Adequate Light Exposure Despite Shorter Days
Light is the primary energy source for plants, and winter's reduced daylight can severely limit photosynthesis. Without sufficient light, plants may become leggy, lose leaves, or fail to produce new growth. Ensuring adequate light involves maximizing natural sources and supplementing with artificial means to compensate for seasonal deficits.
Advantages and Disadvantages
Advantages:
- Promotes robust photosynthesis, preventing etiolation (stretching)
- Enhances leaf coloration and overall plant vigor
- Supports minimal growth during dormancy
- Reduces risk of pest infestations linked to weak plants
Disadvantages:
- Natural light may be insufficient in northern climates, necessitating costly grow lights
- Improper placement can cause sunburn if plants are suddenly exposed to direct sun through windows
- Artificial lighting requires electricity and setup time
How to Implement
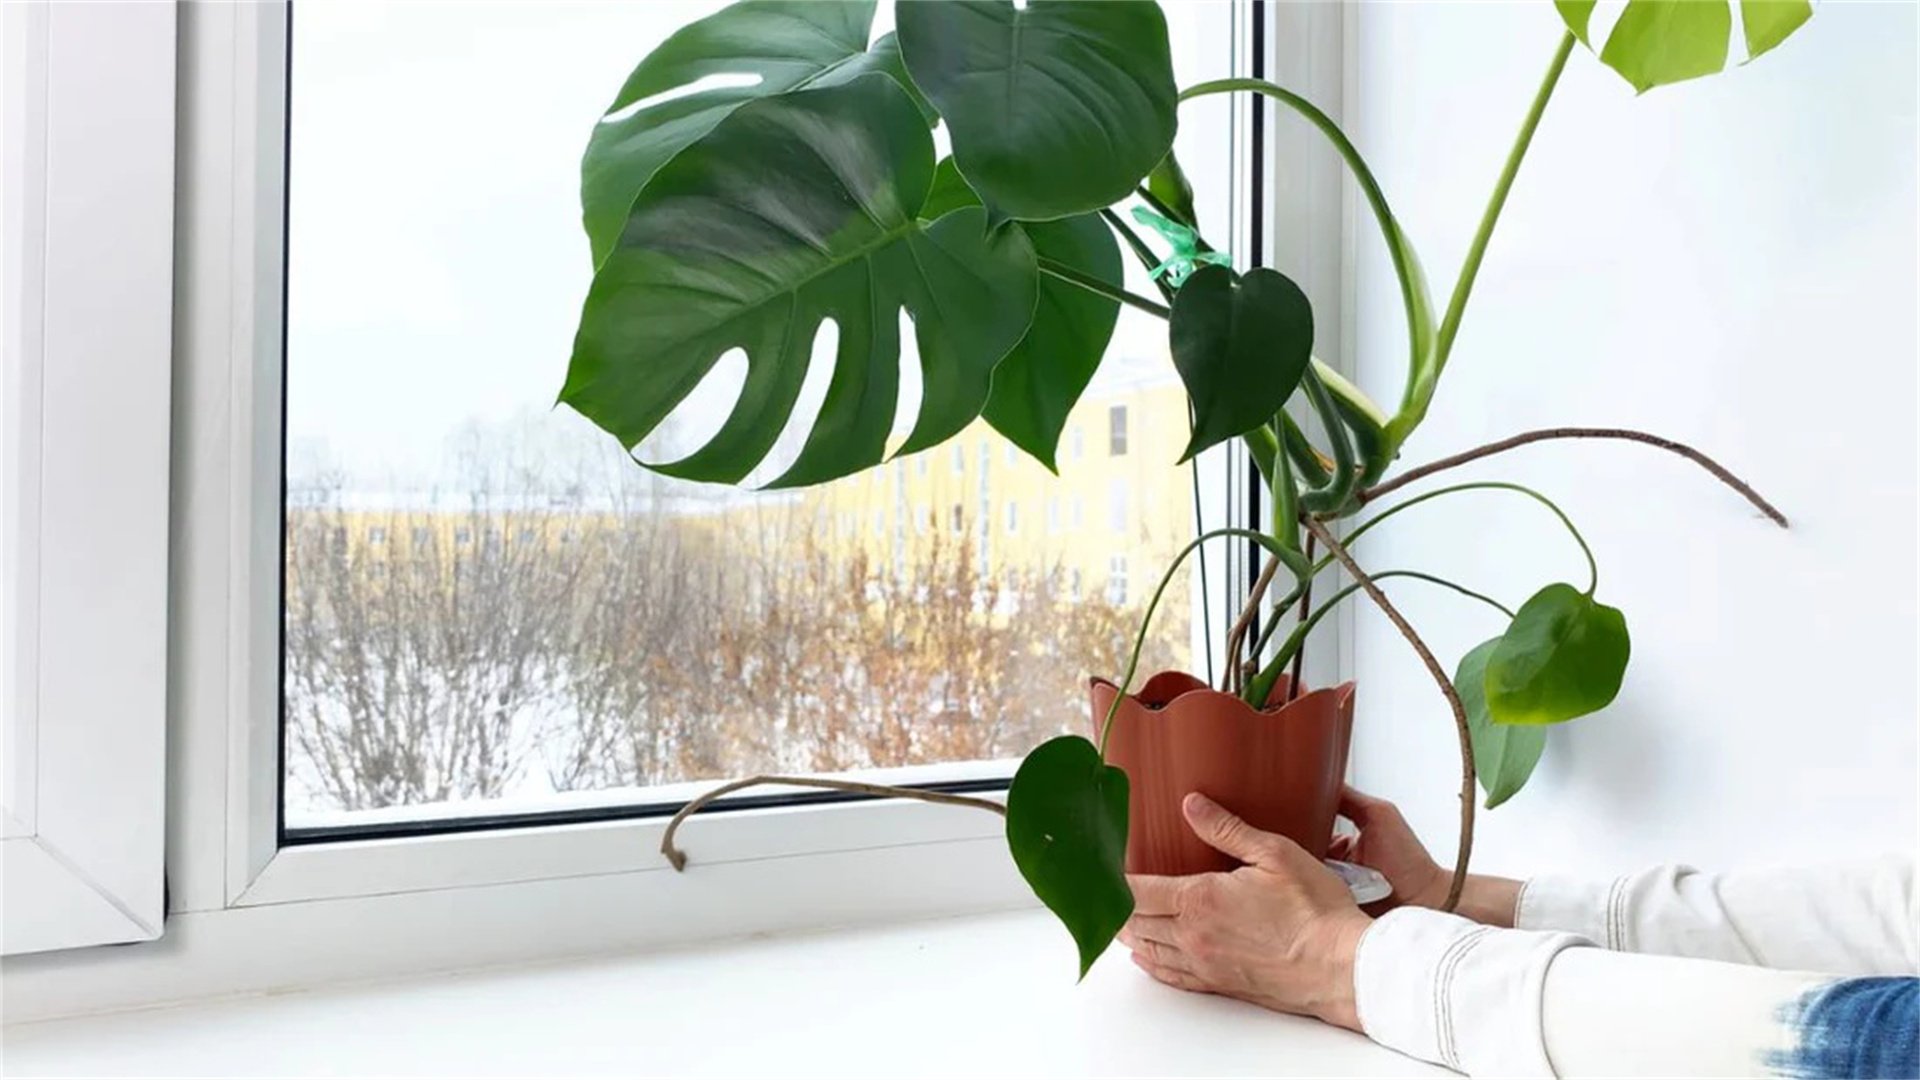
- Maximize Natural Light: Place plants near south-facing windows for maximum sunlight in the Northern Hemisphere (north-facing in the Southern Hemisphere). Clean windows regularly to remove dust that blocks light. Rotate plants weekly to ensure even exposure on all sides.
- Supplement with Grow Lights: Use full-spectrum LED grow lights for 12-14 hours daily if natural light is poor. Position lights 6-12 inches above plants, adjusting based on species—succulents need higher intensity, while low-light plants like pothos can manage with less. Timers can automate lighting schedules.
- Choose Appropriate Light for Plant Types: Research specific light requirements: high-light plants (e.g., fiddle leaf fig) need direct or bright indirect light; medium-light plants (e.g., philodendron) thrive in indirect light; low-light plants (e.g., snake plant) tolerate shade but still benefit from bright indirect light in winter.
- Monitor Light Intensity and Duration: Use a light meter app to measure foot-candles or lux. Aim for 100-500 foot-candles for low-light plants and up to 2000 for high-light plants. Adjust placement seasonally as sun angles change.
- Avoid Direct Sunburn Risks: In winter, sun through windows can still be intense. Use sheer curtains to diffuse direct sunlight, especially for sensitive plants like ferns, to prevent leaf scorch.
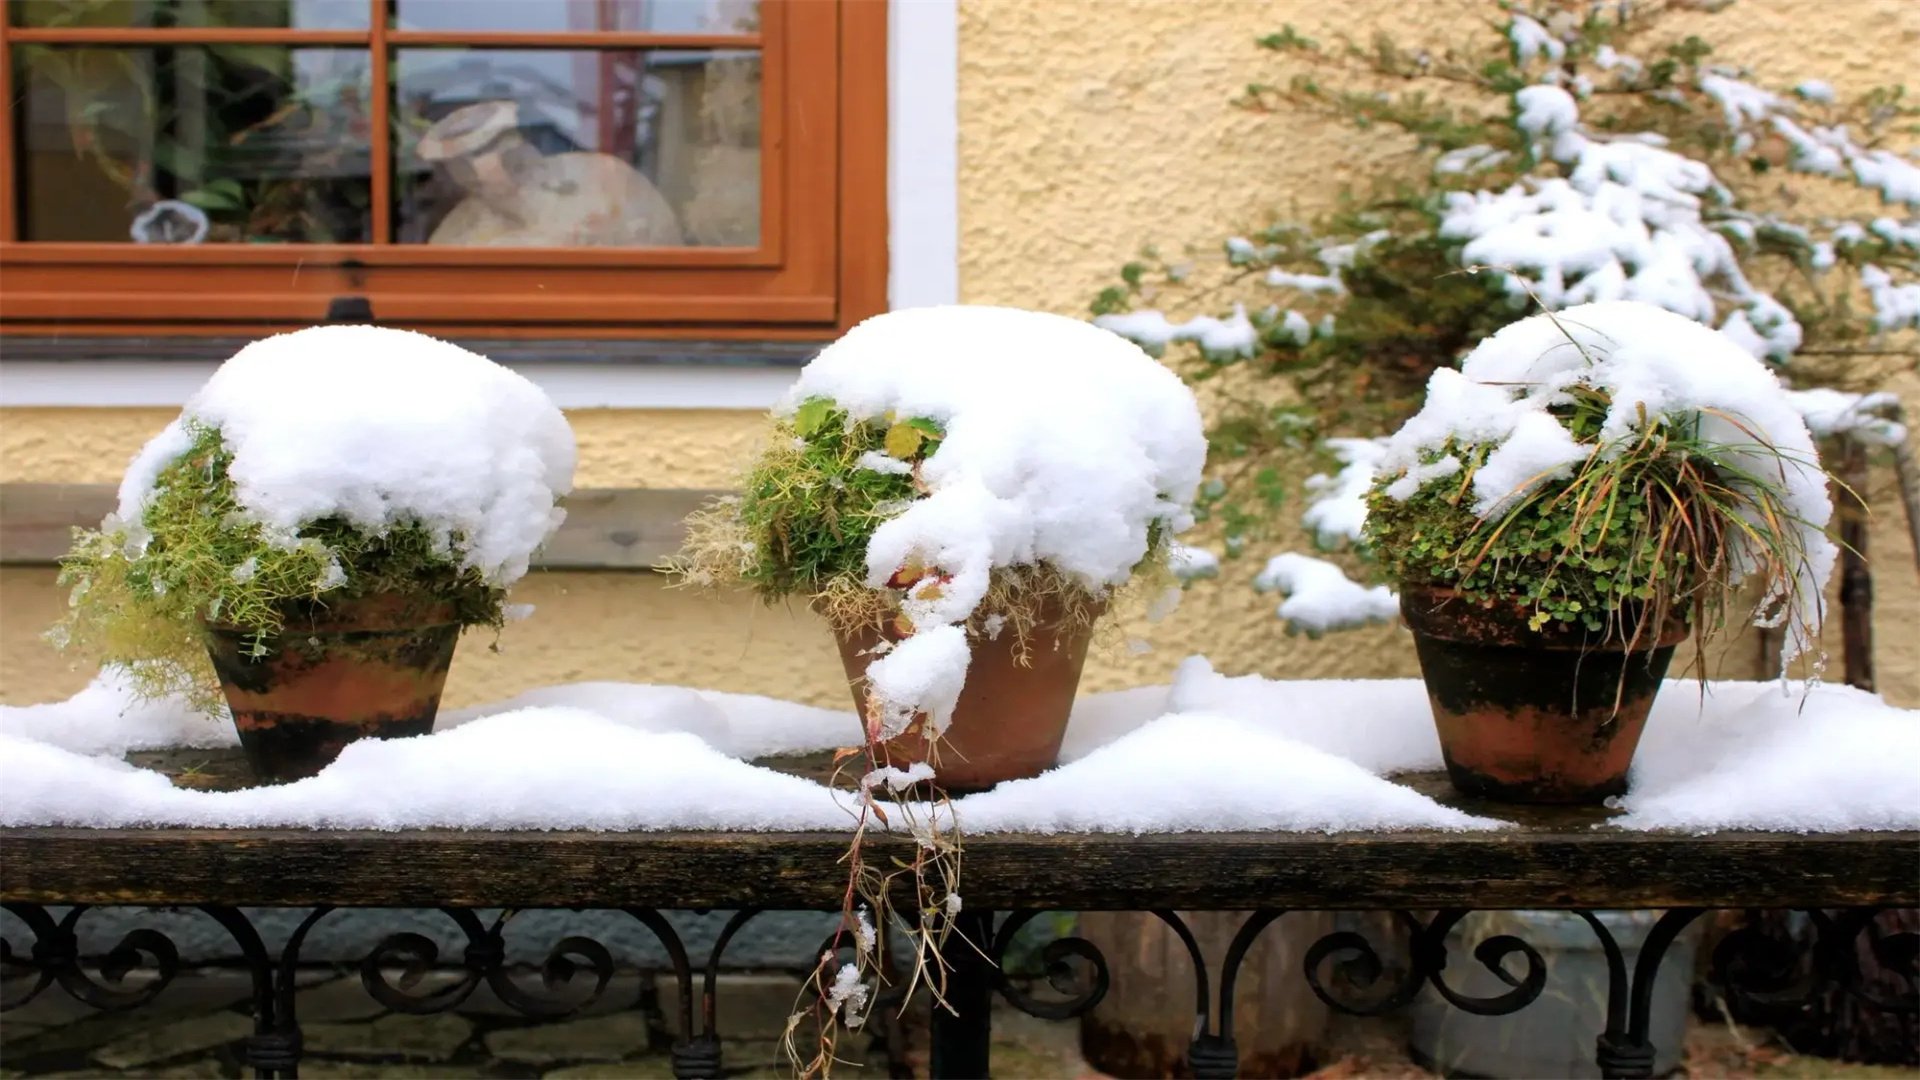
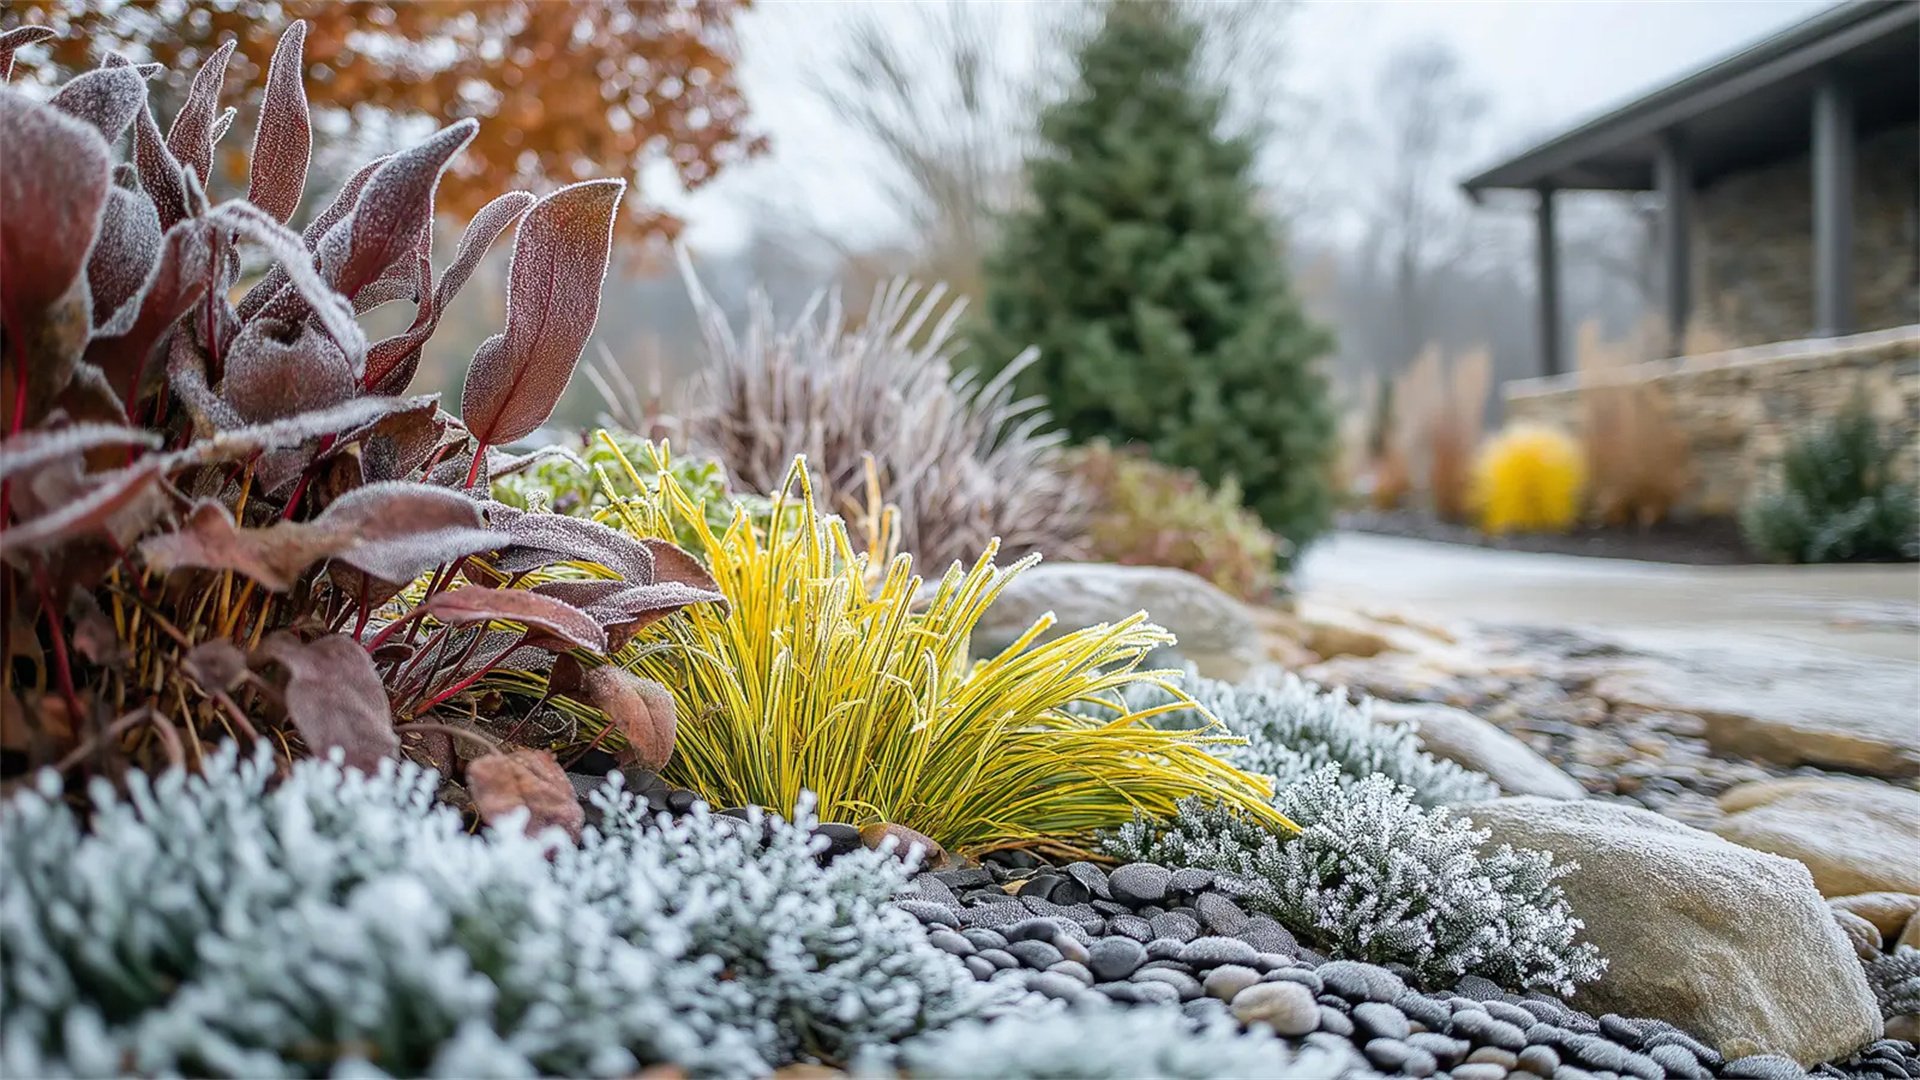
🌡️ Method 3: Maintain Optimal Temperature Ranges for Plant Health
Temperature fluctuations are common in winter due to heating systems and cold drafts. Most houseplants prefer consistent temperatures between 65-75°F (18-24°C) during the day and slightly cooler at night. Sudden drops or rises can stress plants, leading to leaf drop or slowed growth. Maintaining stable temperatures is key to mimicking their native habitats.
Advantages and Disadvantages
Advantages:
- Reduces thermal stress, preventing leaf loss and wilting
- Supports metabolic functions without interruptions
- Minimizes risk of cold damage like blackened leaves
- Enhances overall plant resilience
Disadvantages:
- Can be challenging in poorly insulated homes
- Heating vents may create hot spots, requiring frequent adjustments
- Some plants have specific needs, demanding separate microclimates
How to Implement
- Identify Ideal Temperature Zones: Group plants by temperature preferences. Tropical plants (e.g., monstera) thrive at 70-80°F, while cooler-tolerant plants (e.g., cyclamen) prefer 50-65°F. Use a digital thermometer to monitor room conditions in different areas.
- Avoid Drafts and Heat Sources: Keep plants away from windows with cold drafts, doors, and heating vents or radiators. Place them on insulated surfaces like wooden stands instead of cold floors. Use draft stoppers on windows if necessary.
- Stabilize Nighttime Temperatures: Ensure nighttime drops don't exceed 10-15°F from daytime highs. Close curtains at night to add insulation, or move sensitive plants to interior rooms. Avoid placing plants near unheated spaces like garages.
- Utilize Heating Mats for Root Zones: For plants that require warm roots, such as seedlings or tropical varieties, use seedling heat mats set to low temperatures (around 70°F) under pots to promote root health without overheating foliage.
- Adjust Heating Systems Gradually: If using space heaters, avoid sudden temperature swings. Set thermostats to a consistent level and use humidifiers to counteract dry heat, which can exacerbate temperature stress.
💦 Method 4: Increase Humidity to Combat Dry Indoor Air
Winter indoor air often becomes dry due to heating systems, with humidity levels dropping below 30%, whereas many houseplants prefer 40-60%. Low humidity can cause leaf tips to brown, increase transpiration rates, and make plants more susceptible to pests like spider mites. Boosting humidity is a proven way to mimic tropical environments and keep plants hydrated.
Advantages and Disadvantages
Advantages:
- Prevents leaf desiccation and curling
- Reduces pest attraction
- Promotes lush growth and reduces watering frequency
- Improves air quality for both plants and humans
Disadvantages:
- High humidity can encourage mold or fungal growth if not managed
- Methods like humidifiers require maintenance and energy
- Over-humidifying may cause root rot in some plants
How to Implement
- Use a Humidifier: Place a cool-mist humidifier near plant groupings, aiming for 50-60% humidity. Run it during daytime hours when plants are active. Clean the humidifier weekly to prevent mineral buildup and bacteria.
- Create Humidity Trays: Fill shallow trays with pebbles and water, placing pots on top (ensure pots don't sit in water). As water evaporates, it increases local humidity. Refill trays regularly to maintain evaporation rates.
- Group Plants Together: Cluster plants to create a microclimate with higher humidity through transpiration. Place larger, leafy plants like palms in the center to amplify the effect. Avoid overcrowding to ensure air circulation.
- Mist Leaves Cautiously: Mist plants with room-temperature water in the morning, allowing leaves to dry by evening to prevent fungal issues. This is suitable for plants like ferns but avoid misting succulents or fuzzy-leaved plants like African violets.
- Incorporate Terrariums or Cloches: For small, humidity-loving plants like mosses or orchids, use glass terrariums or cloches to trap moisture. Ventilate occasionally to prevent condensation buildup and rot.
⏸️ Method 5: Hold Off on Fertilizing During Dormant Periods
In winter, reduced light and temperature slow plant growth, meaning nutrient requirements decrease. Fertilizing during dormancy can lead to salt buildup in soil, root burn, and forced growth that is weak and leggy. Suspending or reducing fertilization allows plants to rest naturally and prepares them for spring growth spurts.
Advantages and Disadvantages
Advantages:
- Prevents nutrient toxicity and soil degradation
- Reduces risk of fertilizer burn on roots
- Aligns with plant natural cycles, promoting stronger spring growth
- Saves money on fertilizer costs
Disadvantages:
- Some winter-blooming plants (e.g., Christmas cactus) may still need nutrients
- Under-fertilizing can cause deficiencies if soil is depleted
- Requires careful observation to resume feeding at the right time
How to Implement
- Cease Standard Fertilization: Stop using balanced fertilizers from late fall to early spring. For most plants, avoid fertilizing from October to March in the Northern Hemisphere. Instead, focus on improving soil health with organic matter.
- Identify Exceptions for Active Growers: If plants are under grow lights and show active growth, use a diluted, half-strength fertilizer once every 6-8 weeks. Winter bloomers like poinsettias may benefit from a phosphorus-rich fertilizer until flowering ends.
- Flush Soil to Remove Salt Buildup: Before winter, water plants thoroughly until water runs out drainage holes to leach excess salts from previous fertilizing. Repeat every few months if using tap water high in minerals.
- Monitor Plant Signals for Nutrient Needs: Watch for signs like pale leaves or stunted growth, which could indicate deficiencies. In such cases, apply a weak, organic fertilizer like fish emulsion, but only if light and temperature conditions support growth.
- Prepare for Spring Resumption: As daylight increases in late winter, gradually resume fertilizing with a balanced formula. Start at quarter-strength and increase to full strength by early spring, coinciding with new leaf emergence.
🍃 Method 6: Clean Plant Leaves to Enhance Photosynthesis and Health
Dust accumulation on leaves during winter can block sunlight, reduce photosynthesis, and clog stomata, impairing transpiration and gas exchange. Cleaning leaves not only improves plant health but also deters pests that thrive on dusty surfaces. Regular cleaning is a simple yet effective winter maintenance task.
Advantages and Disadvantages
Advantages:
- Maximizes light absorption for better growth
- Improves plant appearance and vigor
- Reduces pest habitats like dust mites
- Allows early detection of issues like spots or mold
Disadvantages:
- Can be time-consuming for large plant collections
- Risk of damaging delicate leaves if done roughly
- Over-cleaning with chemicals may harm leaf cuticles
How to Implement
- Wipe Leaves with a Damp Cloth: For large, smooth leaves (e.g., monstera), use a soft cloth dipped in lukewarm water. Gently wipe both sides to remove dust. Add a drop of mild soap for stubborn grime, but rinse afterward to avoid residue.
- Use a Soft Brush for Delicate Leaves: For fuzzy-leaved plants like African violets, use a small, dry paintbrush to dust lightly without wetting foliage. Avoid touching leaves excessively to prevent damage.
- Shower Plants Occasionally: Place small plants in the sink or shower and spray with lukewarm water to rinse dust. Let them drain completely before returning to their spots. This method works well for plants like ferns and pothos.
- Apply Leaf Shine Sparingly: Commercial leaf shine products can block stomata if overused. Opt for natural alternatives like diluted neem oil, which cleans and deters pests. Apply monthly with a soft cloth, focusing on upper leaf surfaces.
- Inspect for Pests During Cleaning: While cleaning, check undersides of leaves and stems for signs of aphids, mealybugs, or spider mites. Early detection allows prompt treatment with insecticidal soap or neem oil.
🐛 Method 7: Monitor for Pests and Diseases with Increased Vigilance
Winter stresses can weaken plants, making them more prone to pest infestations and diseases like powdery mildew or root rot. Common pests include spider mites, scale, and fungus gnats, which thrive in dry, warm indoor conditions. Regular monitoring and preventive measures are crucial to catch issues early and maintain plant health.
Advantages and Disadvantages
Advantages:
- Early intervention minimizes damage and spread
- Reduces need for harsh chemical treatments
- Promotes overall plant hygiene
- Saves plants from irreversible decline
Disadvantages:
- Requires consistent effort and time
- Misidentification can lead to ineffective treatments
- Some remedies may harm beneficial insects or soil microbes
How to Implement
- Conduct Weekly Inspections: Examine leaves, stems, and soil for signs like webbing (spider mites), sticky residue (scale), or flying insects (fungus gnats). Use a magnifying glass for small pests. Isolate infected plants immediately to prevent spread.
- Implement Preventive Treatments: Apply neem oil or insecticidal soap as a preventive spray every 2-4 weeks on susceptible plants. Ensure coverage under leaves and along stems. These organic options disrupt pest life cycles without toxicity.
- Control Fungus Gnats in Soil: Let soil dry between waterings to discourage gnat larvae. Use yellow sticky traps to catch adults. For severe infestations, apply a Bacillus thuringiensis (Bt) drench to target larvae.
- Manage Diseases with Proper Airflow: Improve air circulation around plants using a small fan on low setting to prevent fungal diseases. Avoid overcrowding and remove dead leaves promptly. For mildew, apply a baking soda solution (1 teaspoon per quart of water) as a spray.
- Quarantine New Plants: Before introducing new plants to your collection, keep them separate for 2-3 weeks to monitor for hidden pests. This prevents introducing issues to healthy plants during vulnerable winter months.
Winter plant care demands a proactive and informed approach to counteract the season's harsh conditions. By implementing these seven proven methods—adjusting watering, ensuring adequate light, maintaining temperature, increasing humidity, holding off on fertilizing, cleaning leaves, and monitoring for pests—you can create a supportive environment for your houseplants. Each method addresses specific winter challenges, from dormancy adjustments to pest prevention, offering a holistic strategy for health. Remember that consistency is key; observe your plants closely and tailor these methods to their unique needs. As winter transitions to spring, your plants will reward you with resilience and vibrant growth. Embrace these practices as part of your seasonal routine, and enjoy the thriving indoor oasis that results, no matter how cold it gets outside. With dedication and these evidence-based tips, keeping houseplants healthy through winter is not only achievable but also deeply satisfying.