Practical Guide to Cleaning a Log Cabin Without Damaging the Wood
Cleaning a log cabin is an essential maintenance task that preserves its aesthetic appeal, structural integrity, and longevity. However, wood is a delicate material that can easily be damaged by improper cleaning methods, leading to issues like discoloration, warping, or mold growth. This comprehensive guide provides step-by-step instructions, based on best practices from expert sources and international log home care websites, to ensure you clean your log cabin effectively without harming the wood. We'll cover everything from understanding wood types to detailed cleaning techniques, making this a thorough resource for homeowners and professionals alike. By following this guide, you can maintain your cabin's natural beauty while protecting it from environmental wear and tear.

🔍 Understanding Log Cabin Wood and Its Vulnerabilities
Before diving into cleaning, it's crucial to understand the wood used in log cabins. Most log cabins are constructed from softwoods like pine, cedar, or spruce, which are porous and susceptible to moisture absorption, UV damage, and biological growth like mold or insects. The wood's finish—whether it's stained, sealed, or left natural—also impacts cleaning approaches. For instance, sealed wood may resist stains but require gentle cleaners to avoid stripping the sealant. This section explores wood properties, common damages (e.g., weathering, mildew), and why standard cleaning methods can be harmful. We'll discuss how factors like climate, age of the cabin, and previous treatments influence your cleaning strategy, ensuring you tailor the process to your specific situation.
🛠️ Essential Tools and Materials for Safe Cleaning
Gathering the right tools and materials is the first step to a successful cleaning. Using inappropriate items can scratch or saturate the wood.
1. Soft-bristled brushes
- Choose brushes with natural or synthetic bristles that are gentle on wood surfaces.
- Avoid wire brushes, which can gouge the wood.
- Long-handled brushes are ideal for reaching high areas.
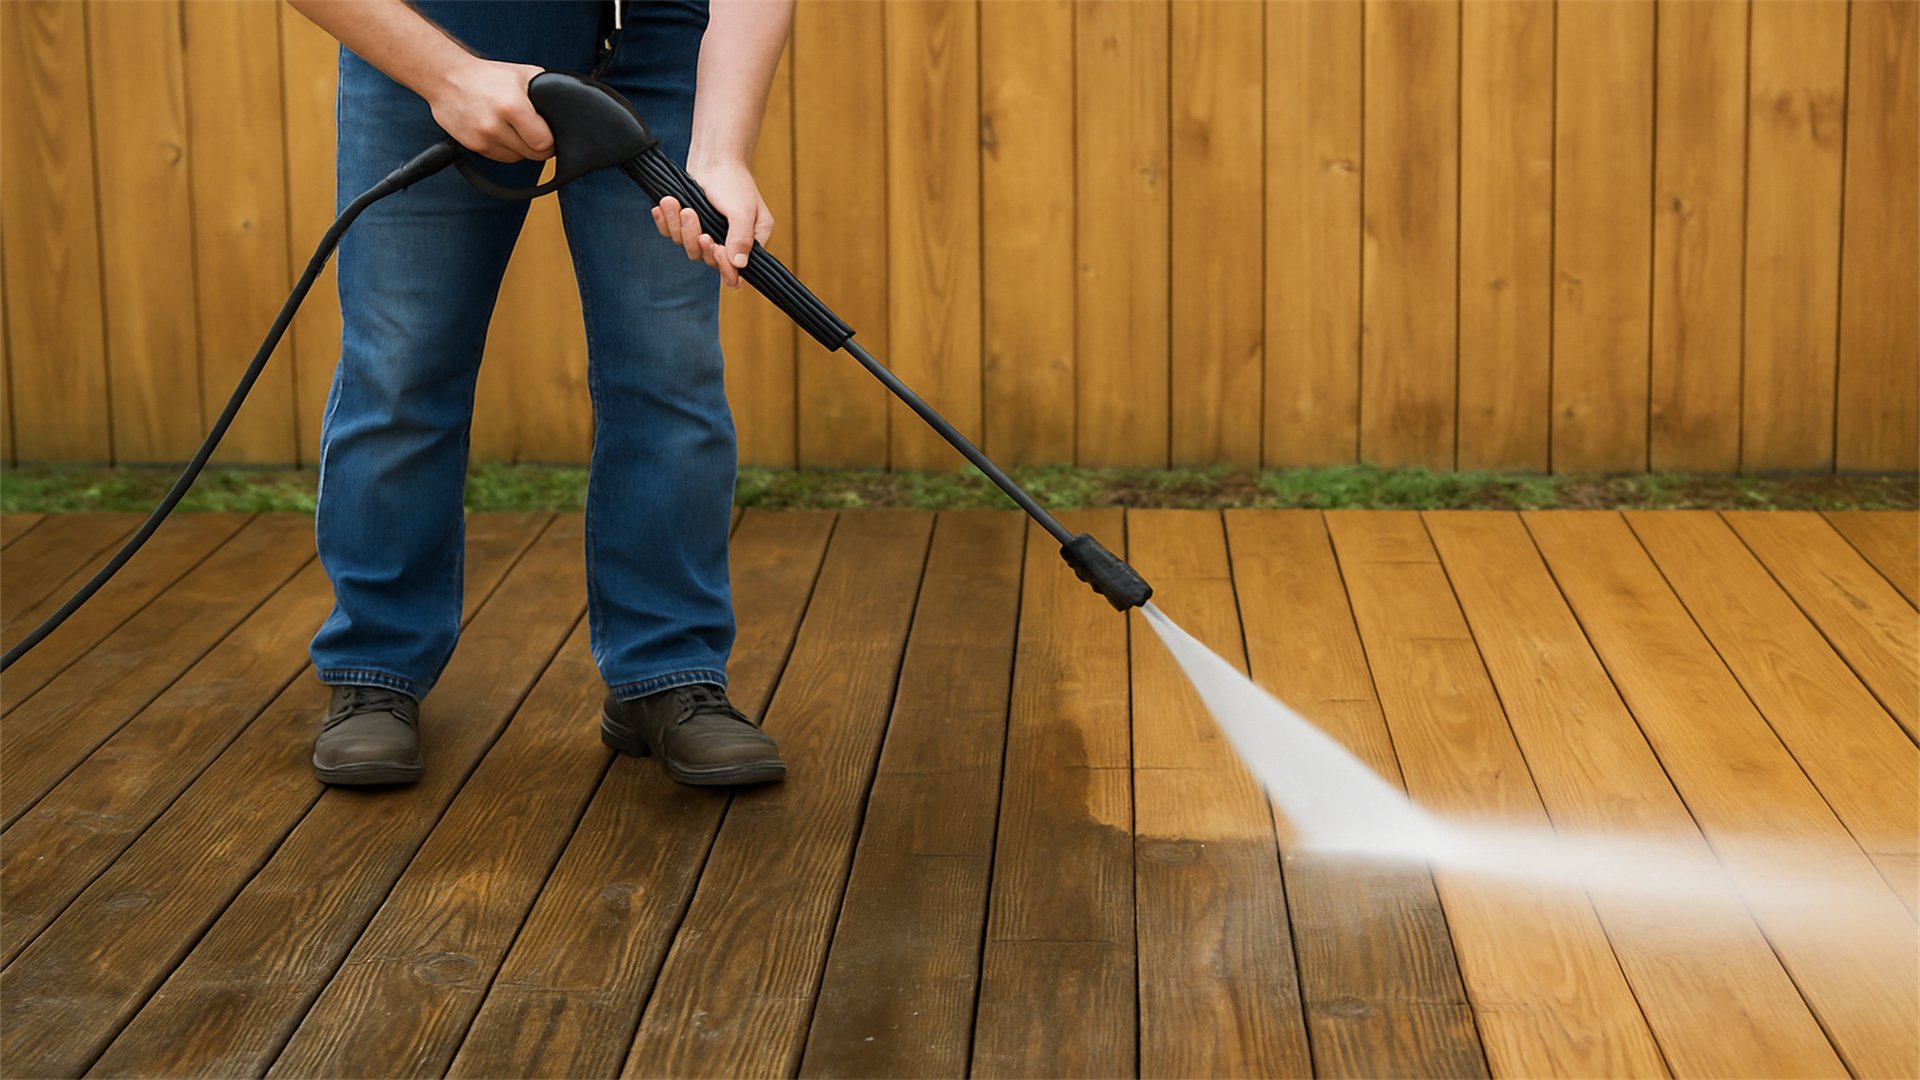
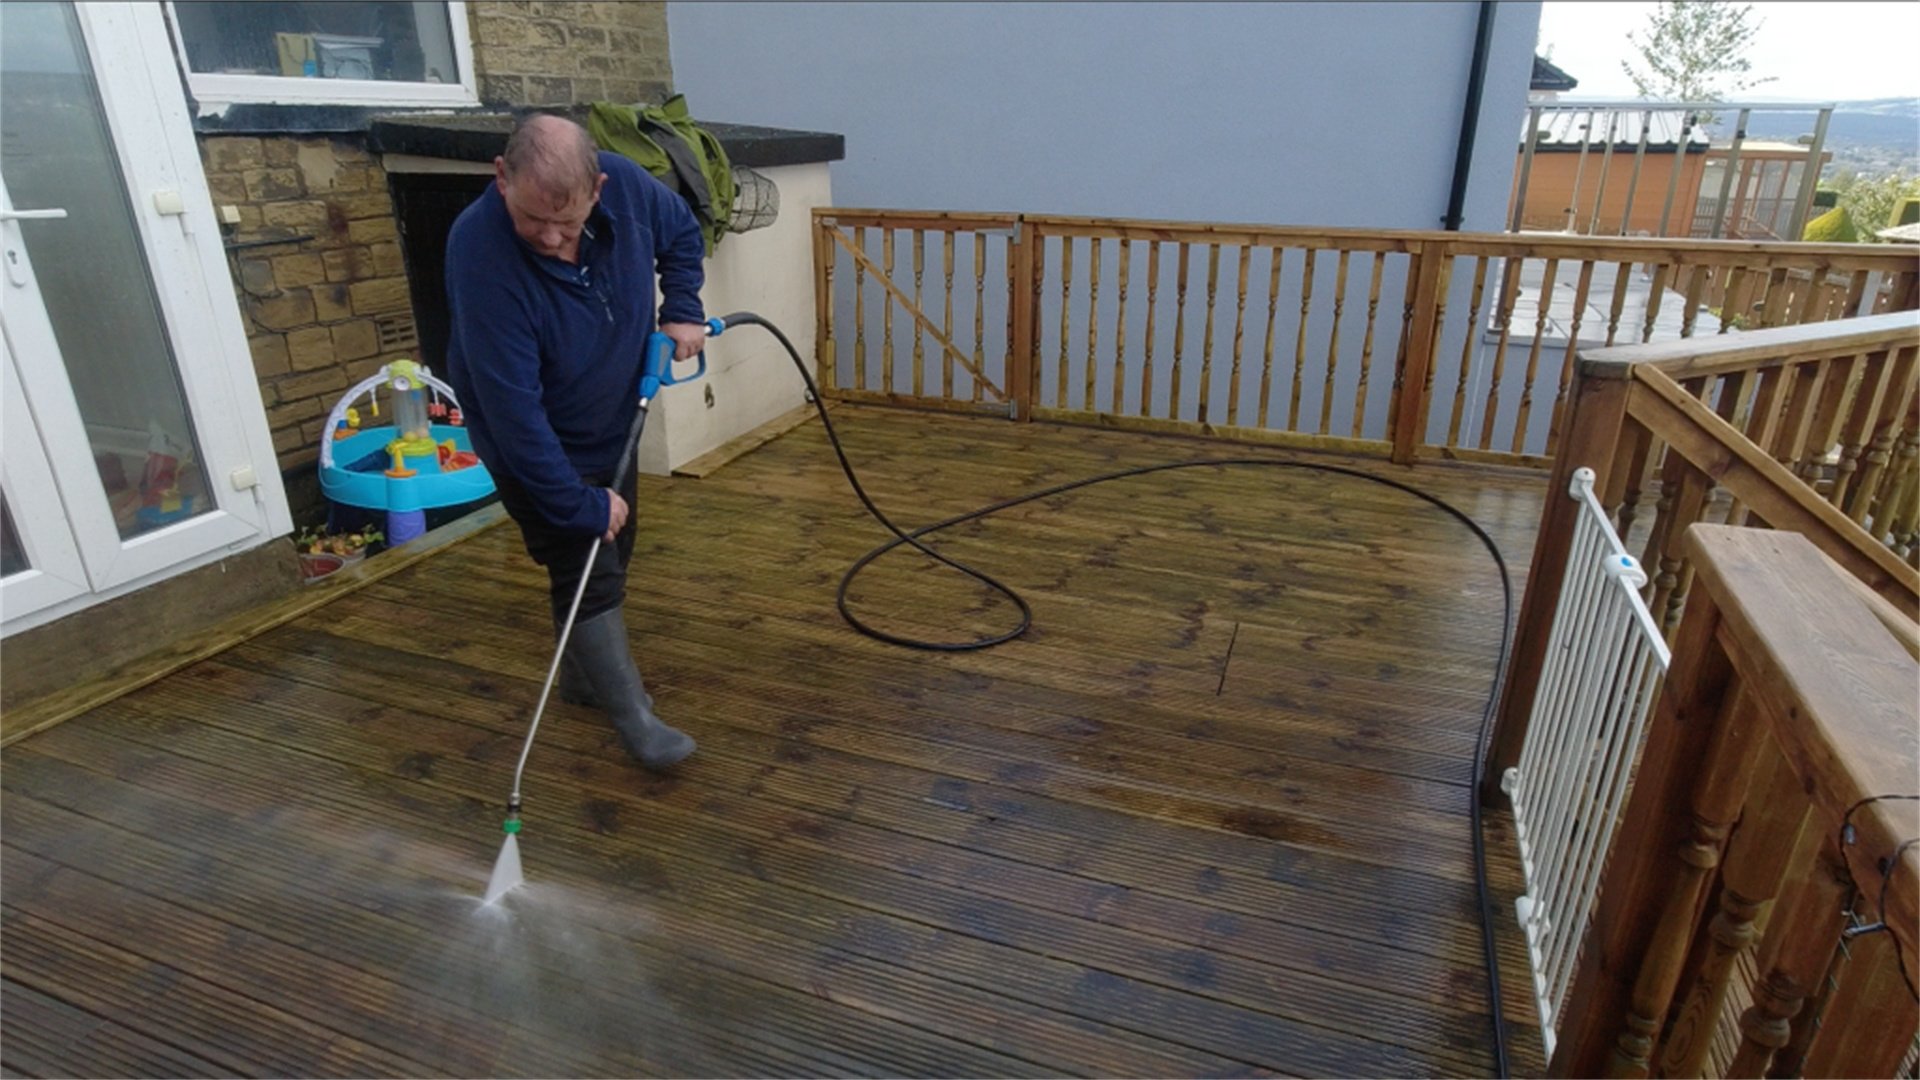
2. Low-pressure washer
- A pressure washer set below 500 psi (pounds per square inch) is recommended to avoid driving water into the wood grains.
- Always test on a small area first.
3. Wood-safe cleaners
- Opt for pH-balanced, biodegradable cleaners specifically designed for log cabins.
- Avoid bleach or harsh chemicals that can strip natural oils.
- We'll provide recipes for homemade solutions, such as mixing water with mild soap or vinegar.
4. Protective gear
- Safety goggles, gloves, and masks are essential to shield yourself from cleaners and debris.
5. Ladders and scaffolding
- Ensure stable access to all cabin areas without leaning directly on the wood to prevent dents or stains.
6. Towels and sponges
- Use microfiber cloths or soft sponges for wiping surfaces without leaving lint.
7. Garden hose with spray nozzle
- For rinsing, a hose with adjustable settings helps control water flow.
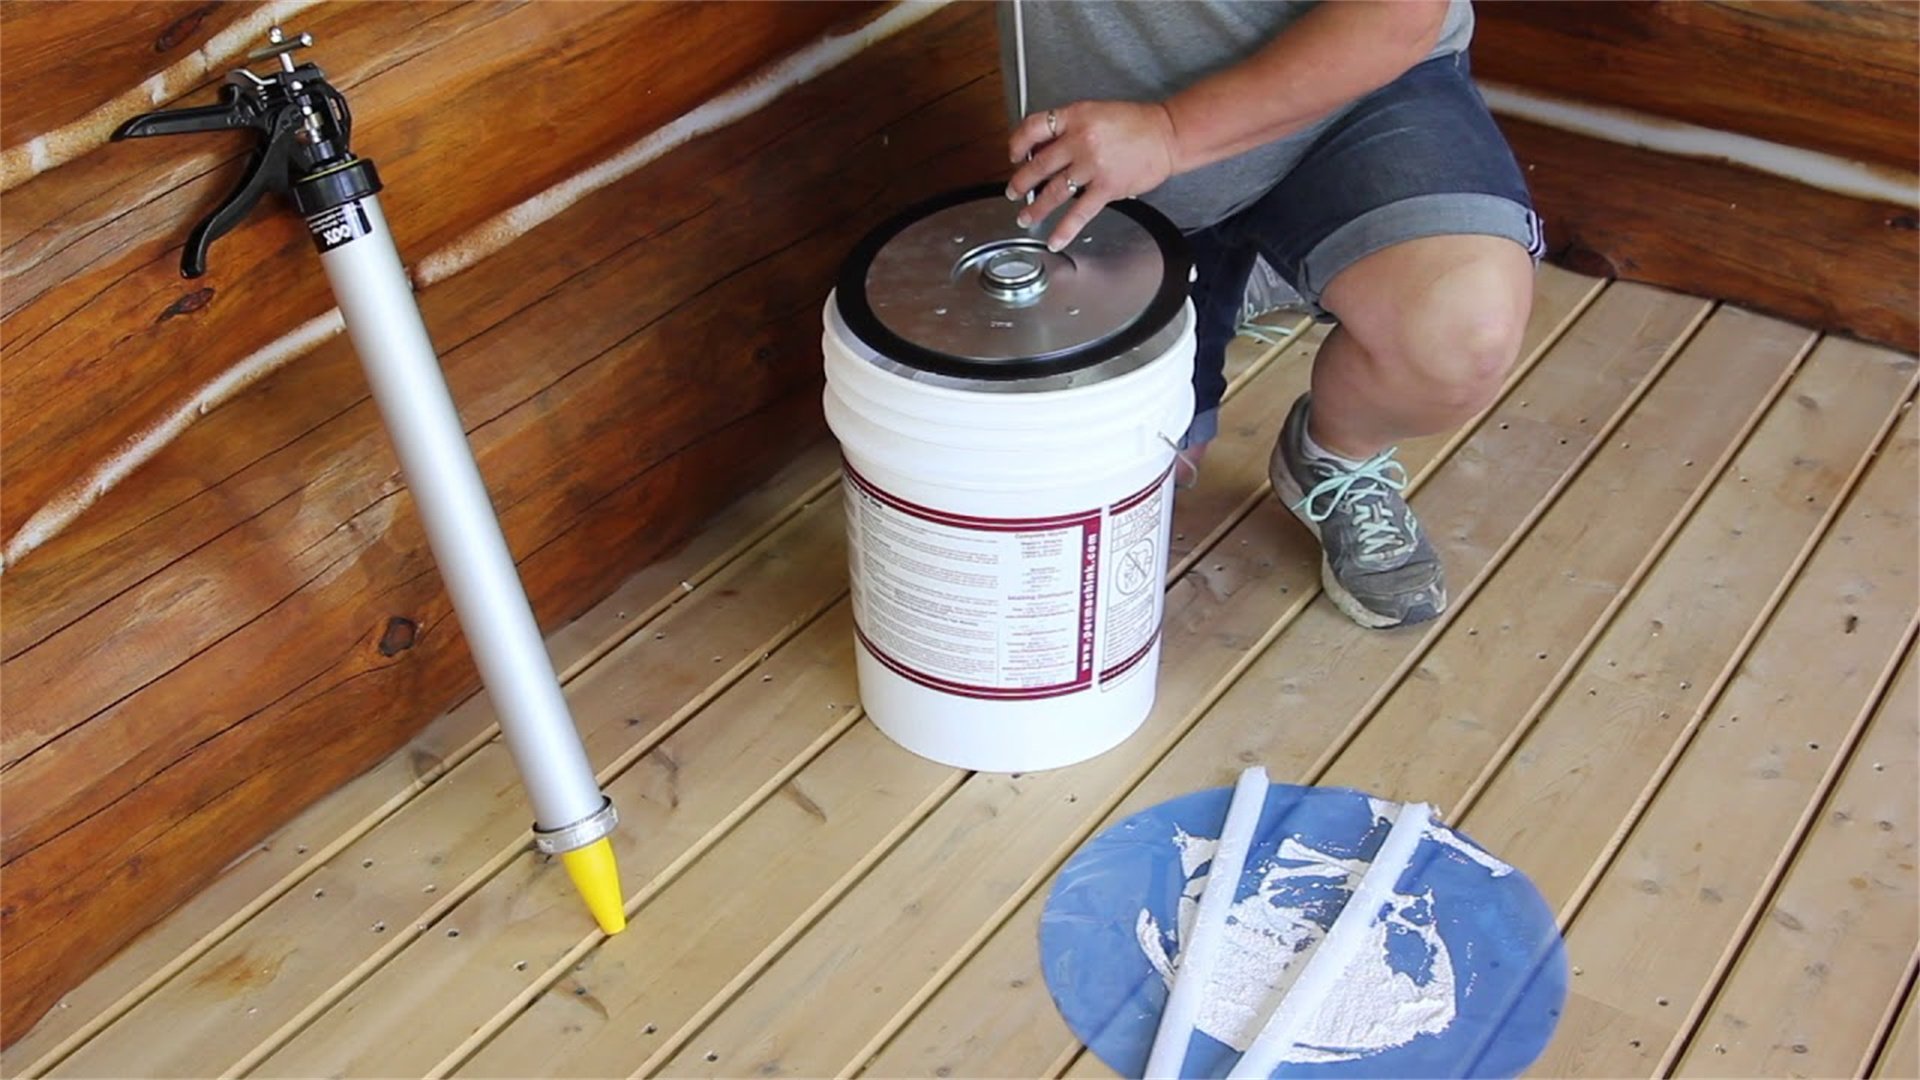
8. Wood sealant or stain (optional)
- After cleaning, you may need to reapply protective coatings; have these ready if part of your maintenance plan.
Each tool should be inspected before use to ensure it's in good condition. We'll also discuss where to purchase these items and cost-effective alternatives.
📋 Pre-Cleaning Inspection and Preparation
Thorough preparation prevents damage during cleaning.
1. Inspect the cabin
- Start by inspecting the entire cabin for signs of rot, cracks, or insect infestations.
- Mark these areas with tape to avoid aggressive cleaning there.
2. Check weather conditions
- Choose a dry, overcast day to prevent rapid drying that can cause streaking.
3. Clear surroundings
- Move furniture, plants, and debris away from the cabin walls.
- Cover nearby vegetation with plastic sheets to protect from runoff.
4. Test cleaning solution
- Test your cleaning solution on a small, inconspicuous area to ensure it doesn't discolor or damage the wood.
5. Document condition
- Document the wood's current condition with photos for comparison post-cleaning.
This step minimizes surprises and ensures a systematic approach.
🧽 Step-by-Step Cleaning Process
This core section breaks down the cleaning into detailed phases, each explained with precision to avoid ambiguity.
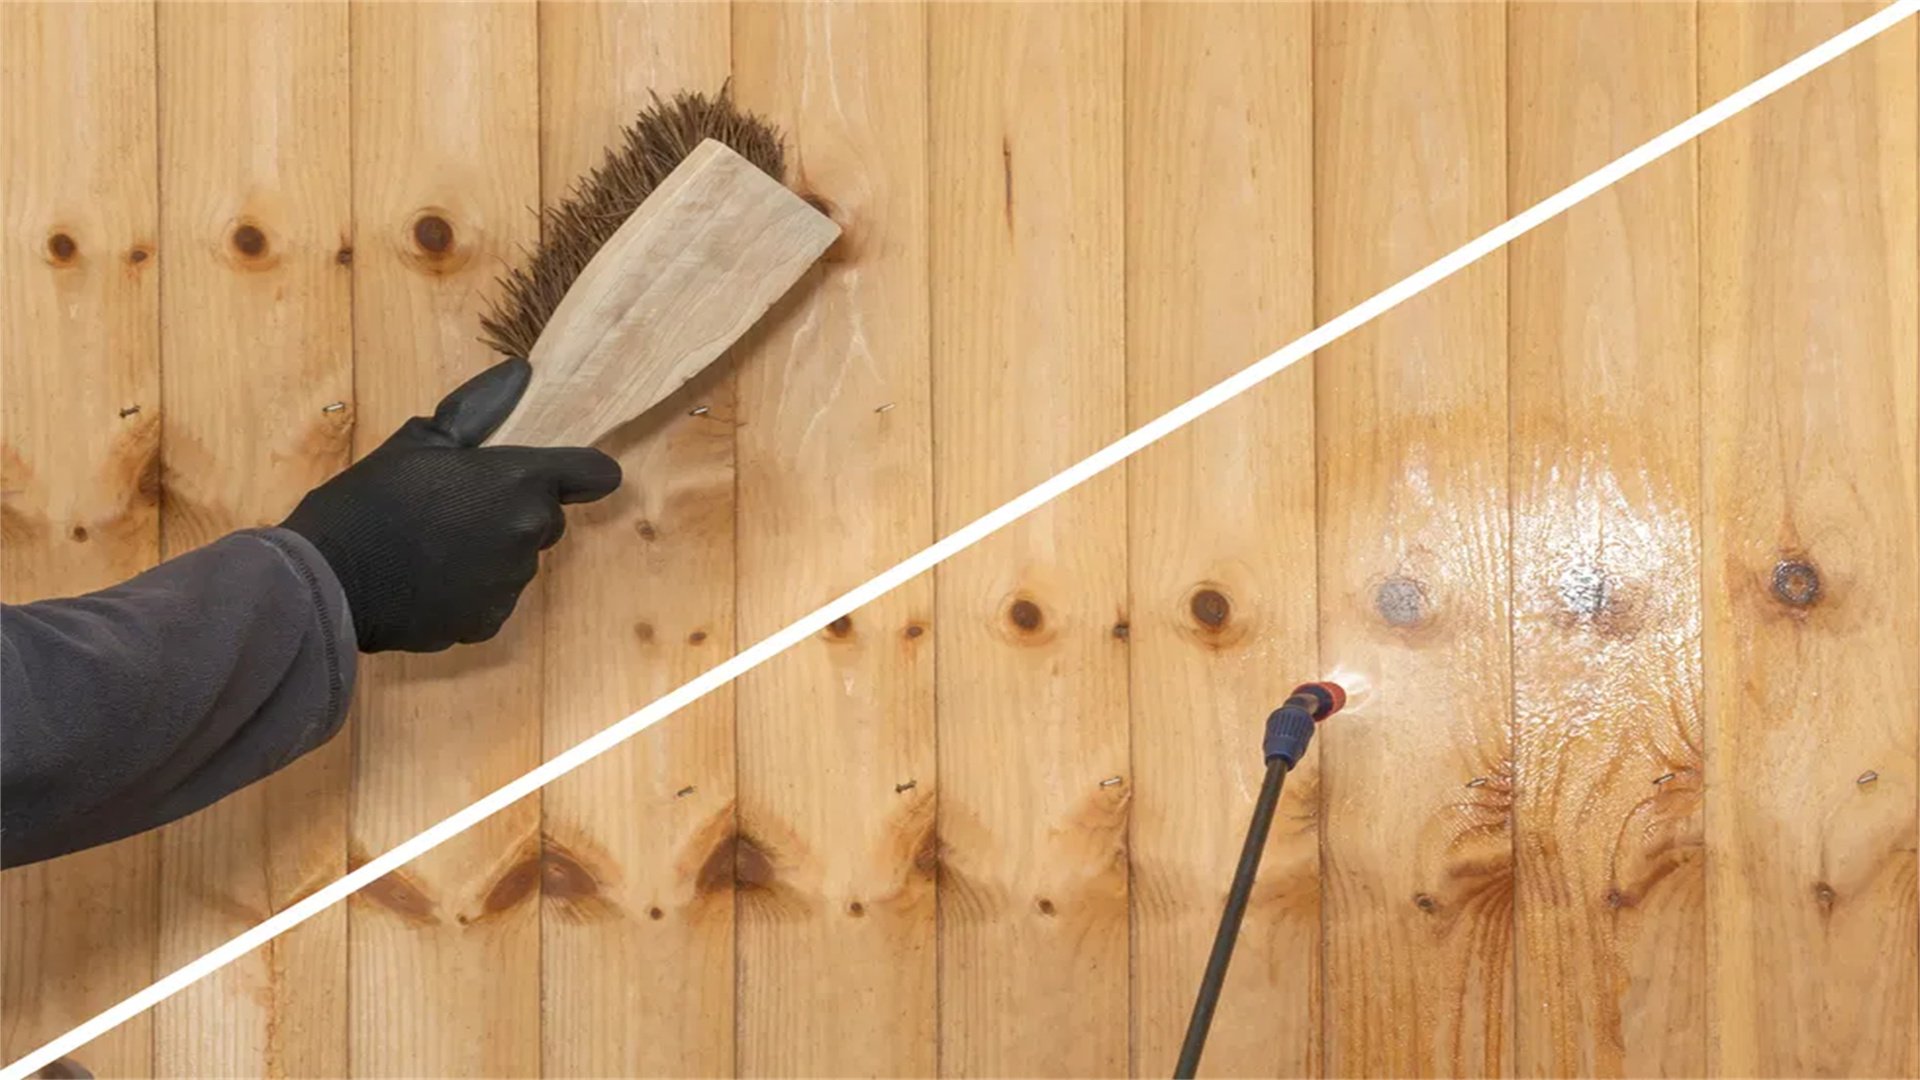
Phase 1: Dry Cleaning and Debris Removal
- Begin by removing loose dirt, cobwebs, and dust using a soft brush or a vacuum with a brush attachment.
- Sweep from the top down to prevent debris from falling onto cleaned areas.
- Pay attention to crevices between logs, where dirt accumulates.
- This dry cleaning reduces the amount of mud formed during wet cleaning, making the process more efficient.
- For stubborn debris like bird nests, use gentle prying tools, but avoid scratching the wood.
- This phase typically takes 1-2 hours for an average-sized cabin and sets the stage for deeper cleaning.
Phase 2: Applying Cleaning Solutions
- Mix your chosen cleaner according to manufacturer instructions or a homemade recipe.
- Apply the solution using a pump sprayer or soft brush, working in small sections to prevent drying.
- Start from the bottom and move upward to avoid drips on dry wood, which can cause watermarks.
- Let the solution sit for 10-15 minutes to loosen grime, but don't allow it to dry completely.
- For heavily soiled areas, gently scrub with a brush in circular motions, following the wood grain.
- We'll include specific techniques for different stains, such as using baking soda paste for mold or mineral spirits for oil stains.
Phase 3: Rinsing Thoroughly
- Rinsing is critical to remove cleaner residue that can attract dirt or damage wood.
- Use a garden hose with a wide nozzle set to a gentle shower setting.
- If using a pressure washer, keep it at least 2 feet from the surface and use a fan tip to distribute pressure evenly.
- Rinse from the top down to push dirt downward, and ensure all soap is washed off.
- Check for suds or slippery areas, which indicate leftover cleaner.
- Avoid over-saturating the wood; excessive water can lead to swelling or rot.
Phase 4: Drying and Post-Cleaning Care
- Allow the wood to air dry completely, which can take 24-48 hours depending on weather.
- Ensure good ventilation by opening windows and doors.
- Use fans or dehumidifiers in enclosed areas to speed up drying.
- Once dry, inspect the cabin for any missed spots or damage.
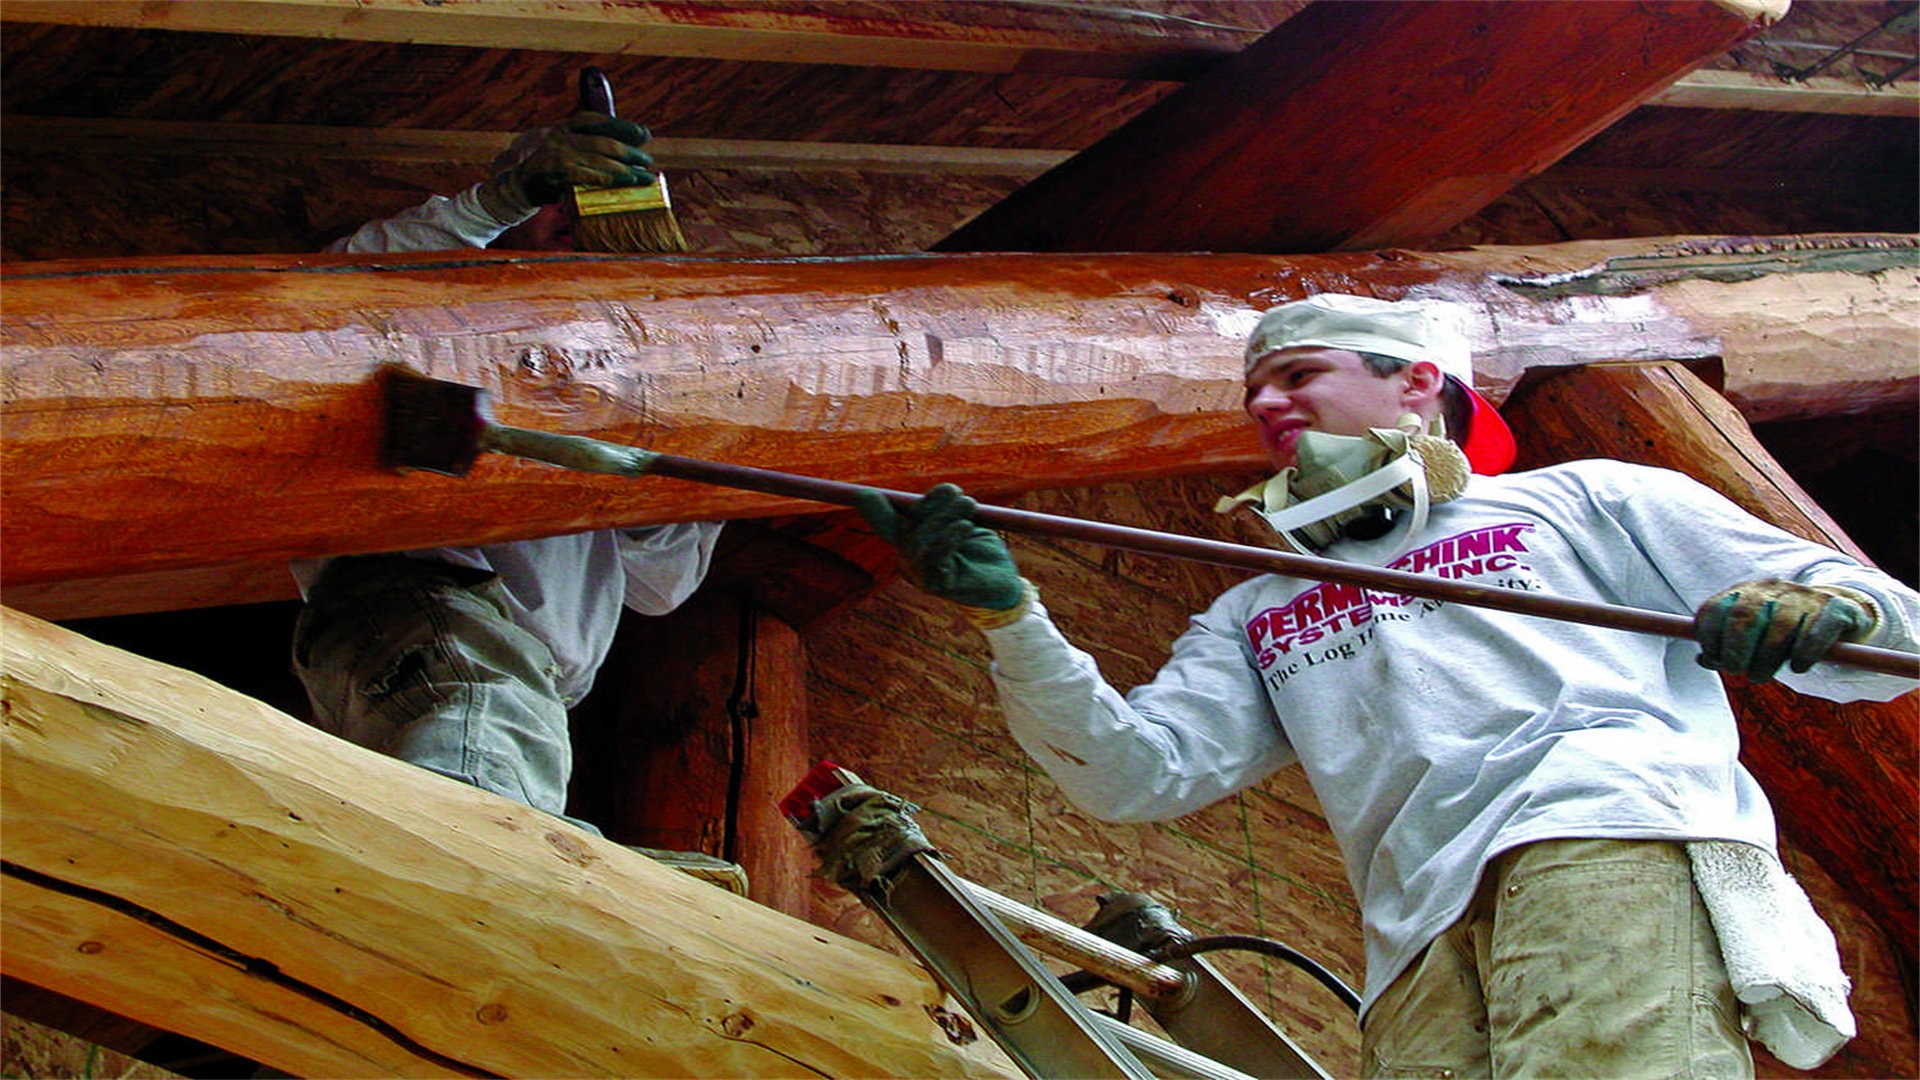
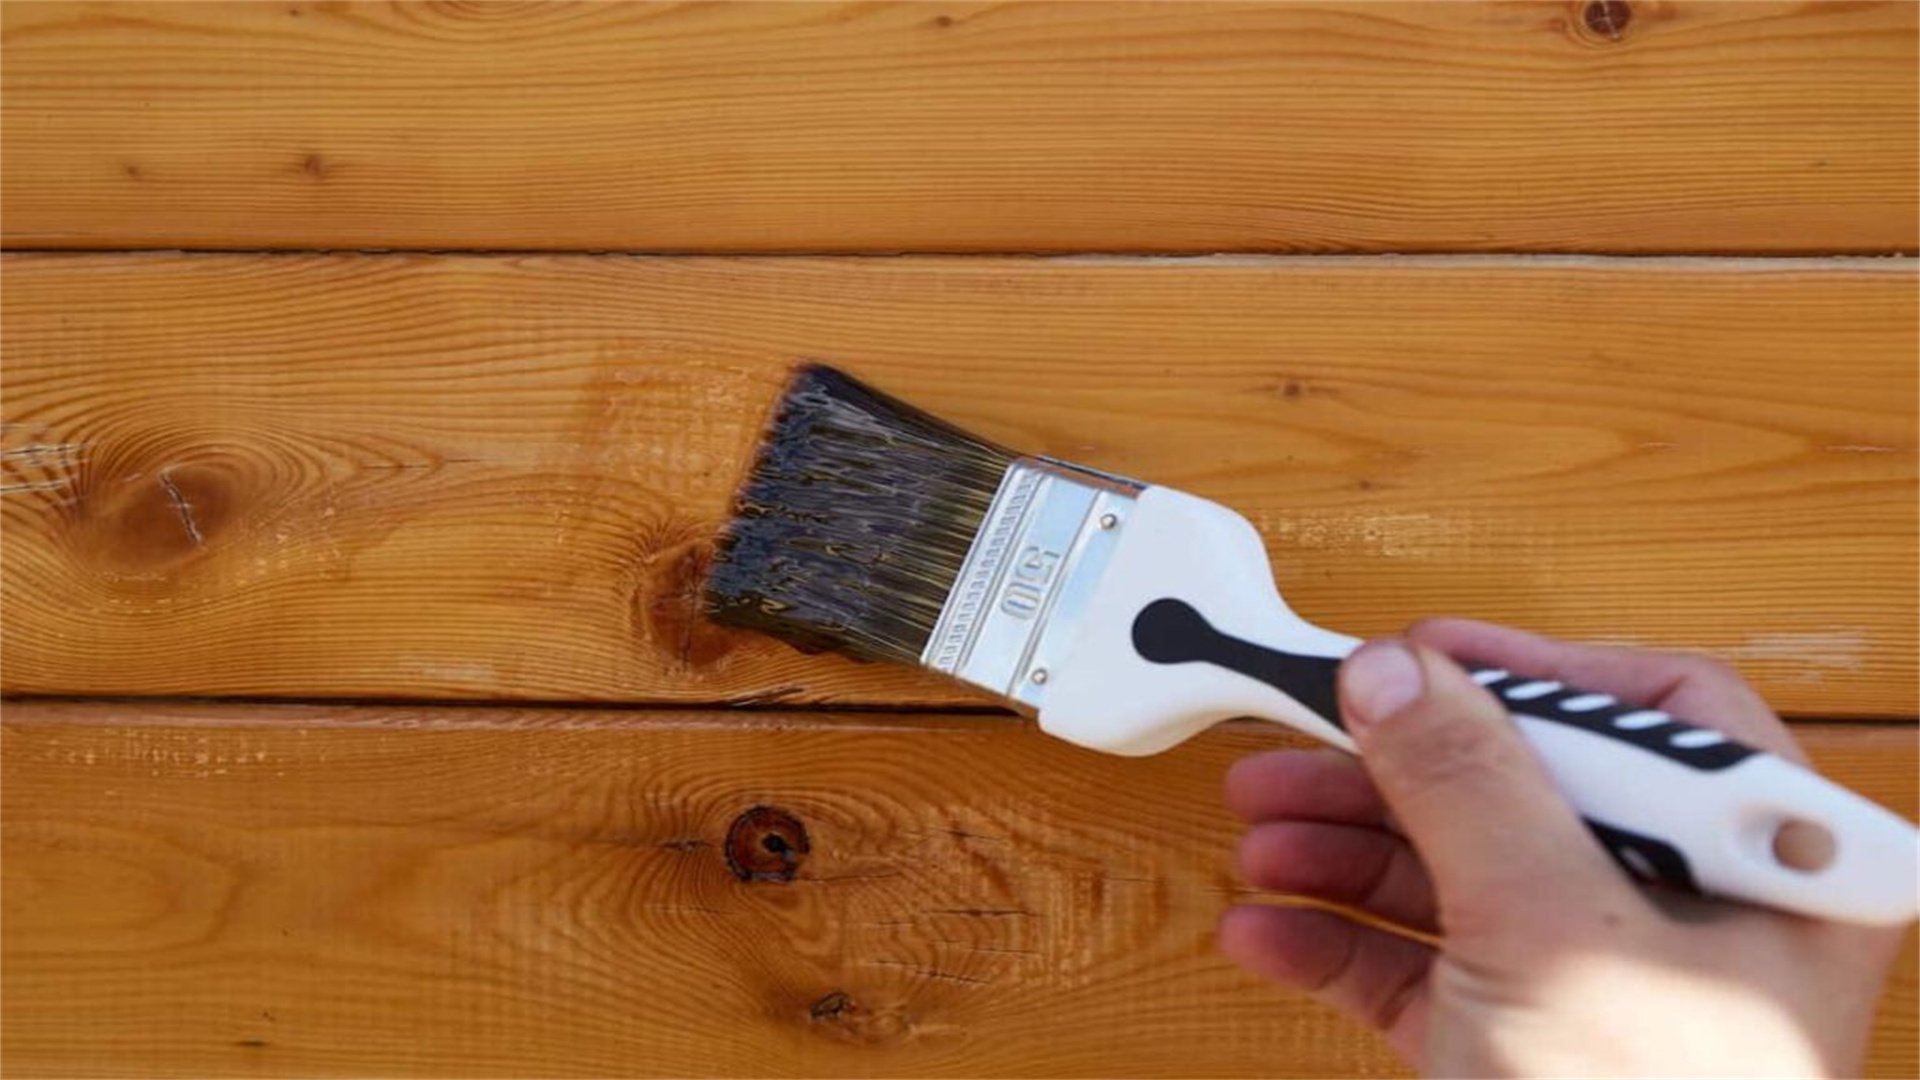
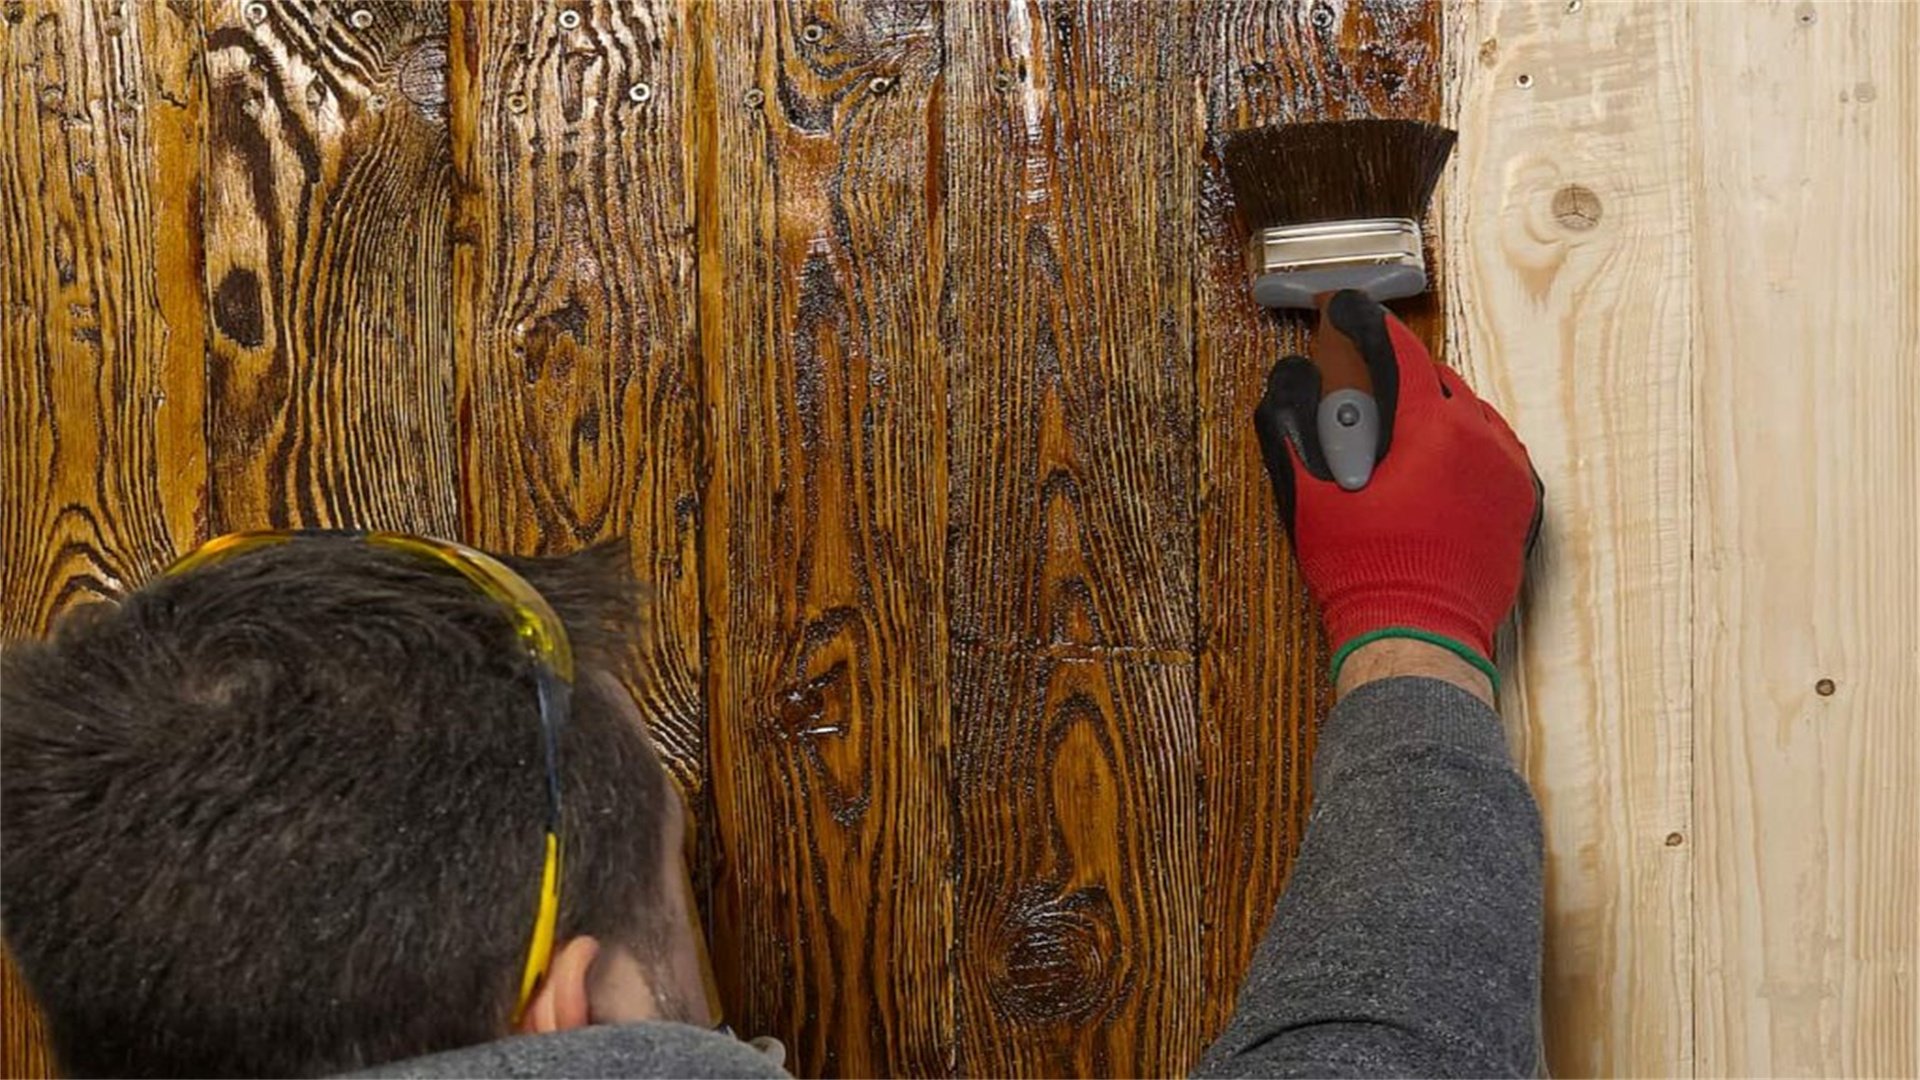
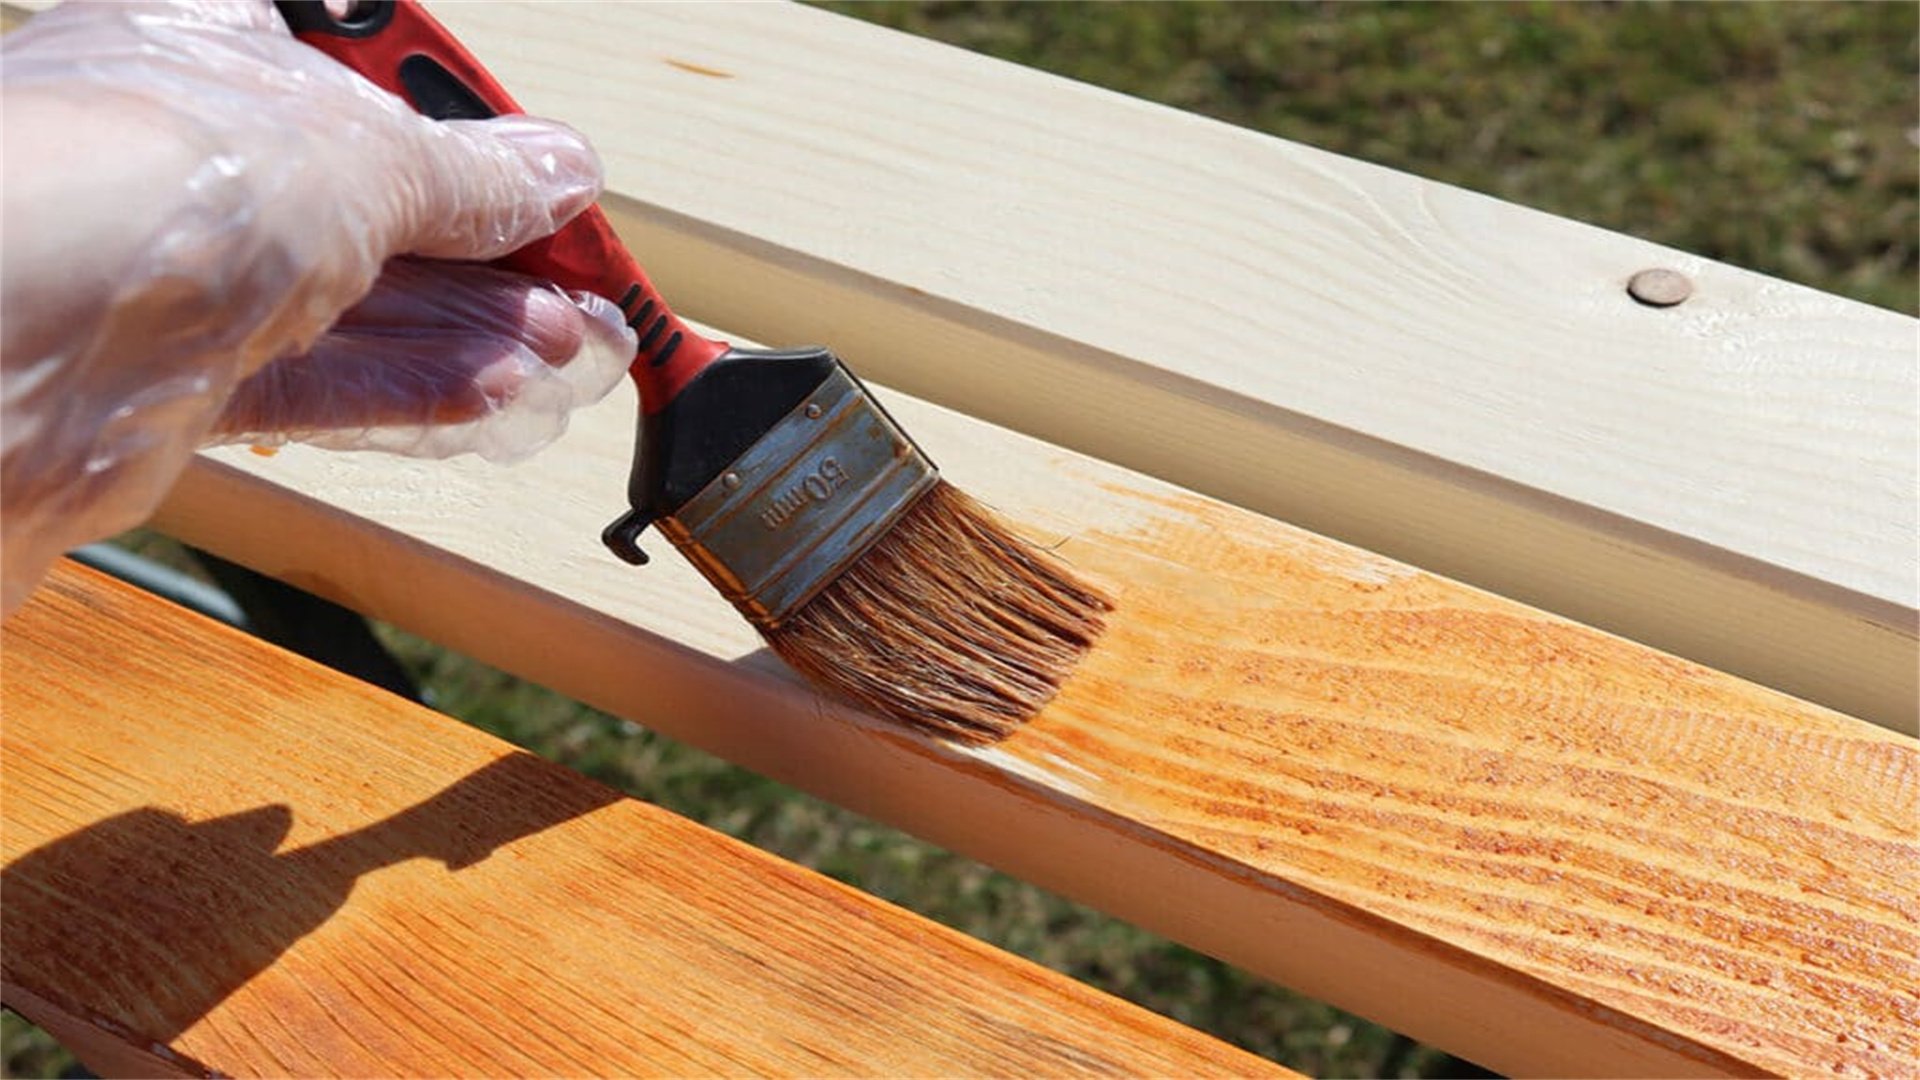
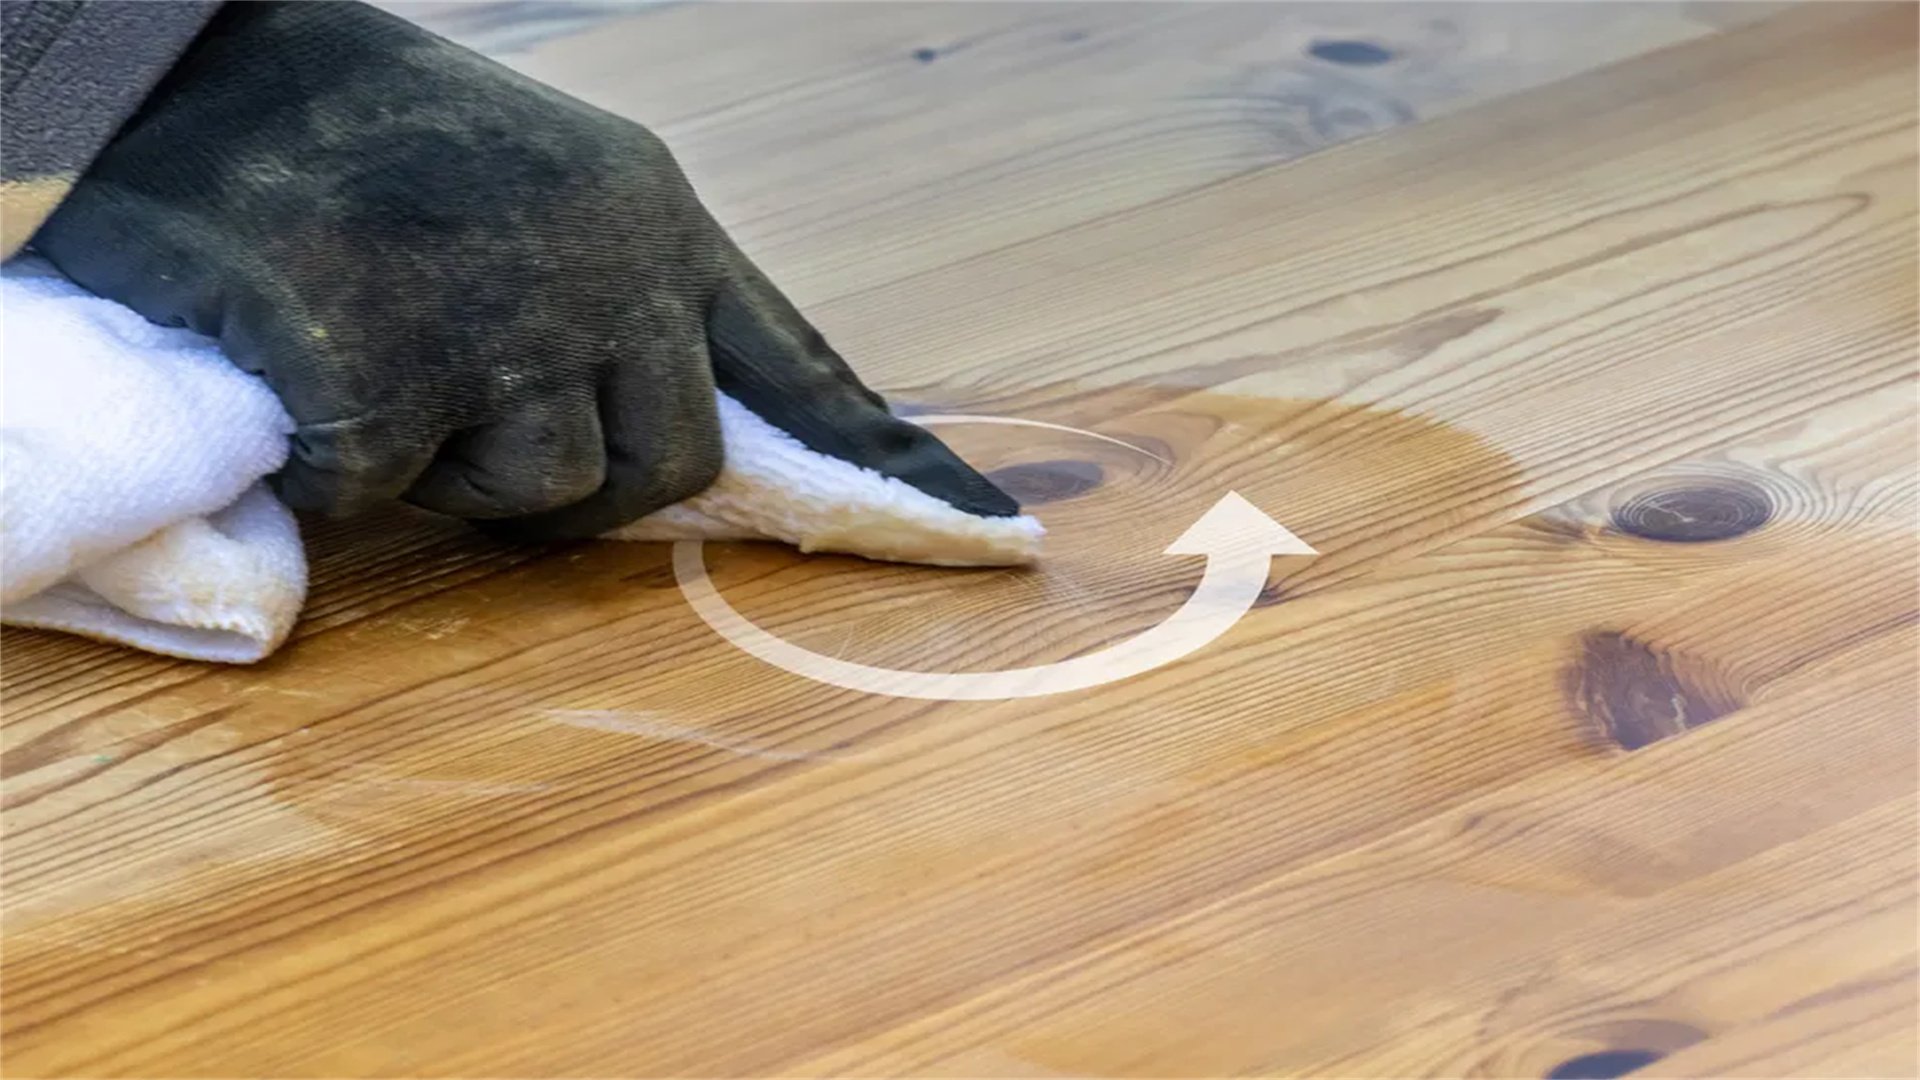
- If necessary, apply a wood brightener to restore color, followed by a sealant or stain to protect against future dirt and moisture.
- We'll detail how to choose and apply these products, emphasizing even coats and drying times.
⚠️ Addressing Specific Cleaning Challenges
Log cabins often face unique issues that require tailored approaches.
1. Mold and Mildew
- These thrive in damp areas. Use a solution of oxygen bleach mixed with water.
- Apply, scrub gently, and rinse.
- Prevent recurrence by improving drainage and sunlight exposure.
2. Insect Residue or Sap
- For sticky substances, use a plastic scraper to remove bulk.
- Apply rubbing alcohol or a citrus-based cleaner.
- Avoid abrasive tools that can mar the wood.
3. Weathering and Graying
- Sun-exposed wood may turn gray. Use a wood brightener containing oxalic acid to restore color.
- Test first on a small area.
- Regular sealing prevents this.
4. Stains from Rust or Berries
- Treat with specialized stain removers for wood, or try a paste of lemon juice and salt.
- Rinse promptly to avoid acid damage.
5. Interior Log Walls
- For inside cleaning, use drier methods like dusting and mild soap solutions.
- Avoid excess moisture that can warp indoor wood.
⚠️ Safety Precautions and Environmental Considerations
Cleaning a log cabin involves risks to both the cleaner and the environment.
1. Personal Safety
- Always wear protective gear to avoid chemical burns or inhalation hazards.
- Work with a partner for tall areas to prevent falls.
- When using ladders, secure them on stable ground.
2. Environmental Protection
- Choose biodegradable cleaners and minimize water runoff into soil or waterways.
- Collect runoff in containers if possible, especially when using chemicals.
- Dispose of waste according to local regulations.
3. Sustainable Practices
- Handle old sealant or stain removal responsibly.
- Emphasize sustainability in cabin maintenance.
🔧 Long-Term Maintenance and Preventive Measures
Regular maintenance reduces the need for deep cleaning.
1. Inspection Schedule
- Inspect your cabin biannually for dirt buildup, cracks, or moisture issues.
2. Gutter and Vegetation Management
- Keep gutters clean to prevent water overflow onto logs.
- Trim nearby trees to reduce shade and debris accumulation.
3. Protective Coatings
- Reapply sealants every 2-5 years, depending on exposure.
- Use UV-protective coatings to minimize sun damage.
4. Structural Additions
- Consider installing overhangs or rain screens to shield walls.
❌ Common Mistakes to Avoid
Many DIY cleaners inadvertently damage their cabins.
1. Using High-Pressure Washers
- Avoid pressure washers above 500 psi, which can etch wood or force water into joints.
2. Applying Harsh Chemicals
- Avoid bleach or harsh chemicals, leading to discoloration or wood degradation.
3. Cleaning in Direct Sunlight
- This causes rapid drying and streaks.
4. Neglecting Thorough Rinsing
- Leaving residue attracts dirt.
5. Over-Wetting the Wood
- Promotes rot or mold growth.
6. Skipping Pre-Cleaning Inspection
- Missing vulnerabilities can lead to damage.
👷 Professional Cleaning vs. DIY: When to Call Experts
While DIY cleaning is cost-effective, some situations warrant professional help.
1. When to DIY
- Routine light cleaning.
- Minor surface maintenance.
2. When to Call Professionals
- Extensive rot or structural damage.
- Historical value cabins.
- After storm damage.
3. Selecting Services
- Choose certified log home cleaners.
- Ask about expertise and equipment.
- Reference industry standards from North American and European associations.
🌿 Eco-Friendly and Natural Cleaning Alternatives
For environmentally conscious owners, natural methods can be effective.
1. Homemade Cleaner Recipes
- Mix 1 cup vinegar, 1 gallon water, and a few drops of essential oil for scent.
- Use baking soda paste for scrubbing.
2. Pros and Cons
- Pros: Biodegradable, non-toxic, cost-effective.
- Cons: May require more scrubbing, less potent on tough stains.
3. Sustainable Tools
- Use bamboo brushes or recycled materials.
- Align with global green living trends.

✅ Conclusion
Cleaning a log cabin without damaging the wood is a meticulous but rewarding process that safeguards your investment. By understanding wood properties, using the right tools, following detailed steps, and implementing preventive care, you can maintain a beautiful, durable cabin for years. This guide has covered everything from basic cleaning to tackling specific issues, all based on practical, internationally-sourced advice. Remember, regular upkeep is key—schedule cleanings annually or as needed, and don't hesitate to seek professional help for complex tasks. With patience and care, your log cabin will remain a cozy, pristine retreat.
For further reading, consult log home association websites or wood care manuals, which offer updates on techniques and products. Happy cleaning!