9 Practical DIY Solutions for Routine Home Maintenance with Simple Tools
Home maintenance is an essential aspect of preserving the value, safety, and comfort of your living space. While professional services can be costly, many routine tasks can be efficiently handled through do-it-yourself (DIY) approaches using simple tools. This article delves into nine practical DIY solutions that empower homeowners to tackle common household issues without extensive expertise or expensive equipment. By focusing on clear, step-by-step instructions and emphasizing the use of basic tools like screwdrivers, pliers, wrenches, and cleaning supplies, we aim to provide a comprehensive guide that saves time and money. Whether you're a novice or a seasoned DIY enthusiast, these solutions will help you maintain your home proactively, ensuring it remains in top condition year-round. We'll explore each solution in detail, covering tools needed, procedures, tips, and potential pitfalls to avoid, so you can approach each task with confidence.
🔧 1. Fixing a Leaky Faucet
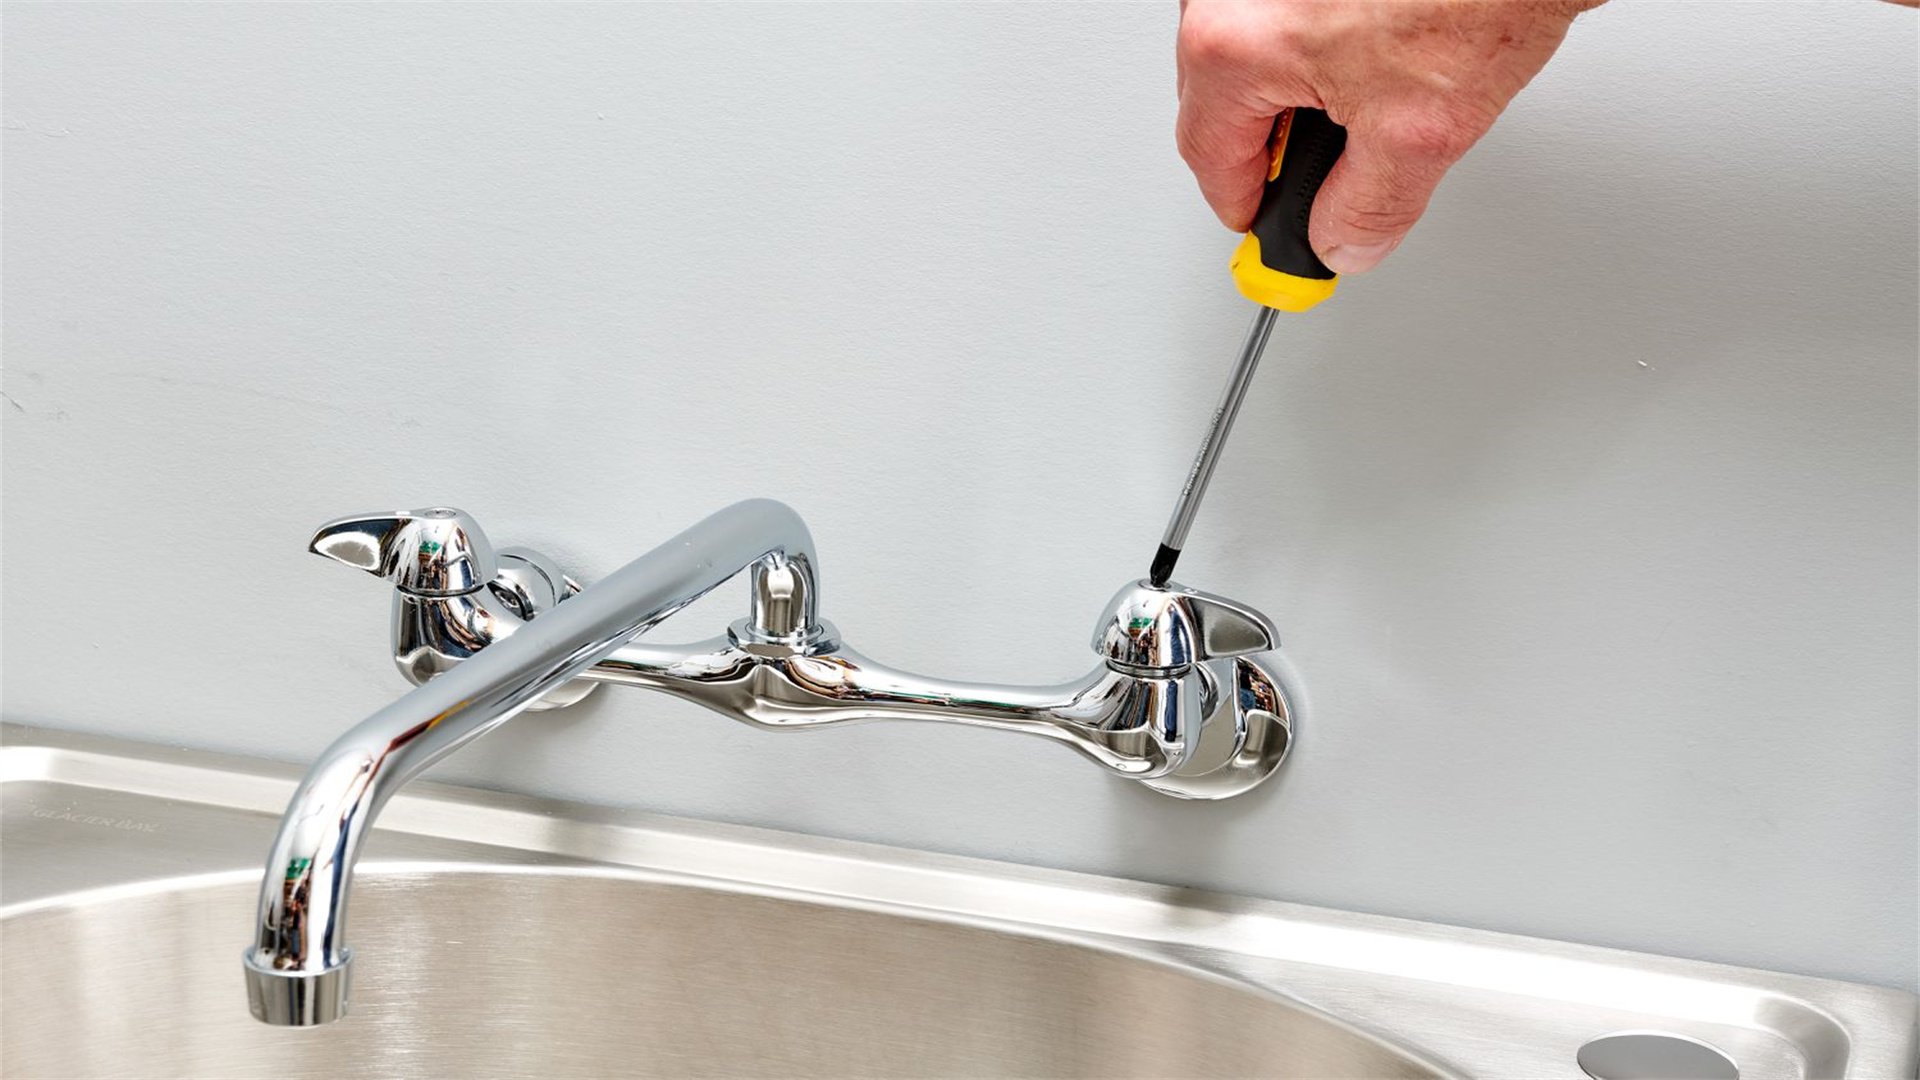
A leaky faucet is not only annoying but can also waste significant amounts of water, leading to higher utility bills.
Advantages and Disadvantages
- Advantages:
- Saves money on water bills.
- Prevents water damage and mineral buildup.
- Enhances DIY skills and self-reliance.
- Disadvantages:
- Risk of improper reassembly causing continued leaks.
- Potential for damaging fixtures if forced.
- May require purchasing specific replacement parts.
Procedure
- Tools & Materials Needed:
- Adjustable wrench
- Screwdrivers (flathead and Phillips)
- Replacement washers/O-rings/cartridges
- Cloth for surface protection
- Step-by-Step Instructions:
- Turn off the water supply under the sink.
- Remove the faucet handle by prying off the cap and unscrewing.
- Use the wrench to loosen the packing nut.
- Inspect and replace worn washers or O-rings.
- Reassemble the faucet in reverse order.
- Turn water back on and test for leaks.
- Tips & Precautions:
- Take photos during disassembly for easier reassembly.
- Do not overtighten components to avoid damage.
- Clean the aerator regularly to prevent future clogs.
🚰 2. Unclogging a Drain
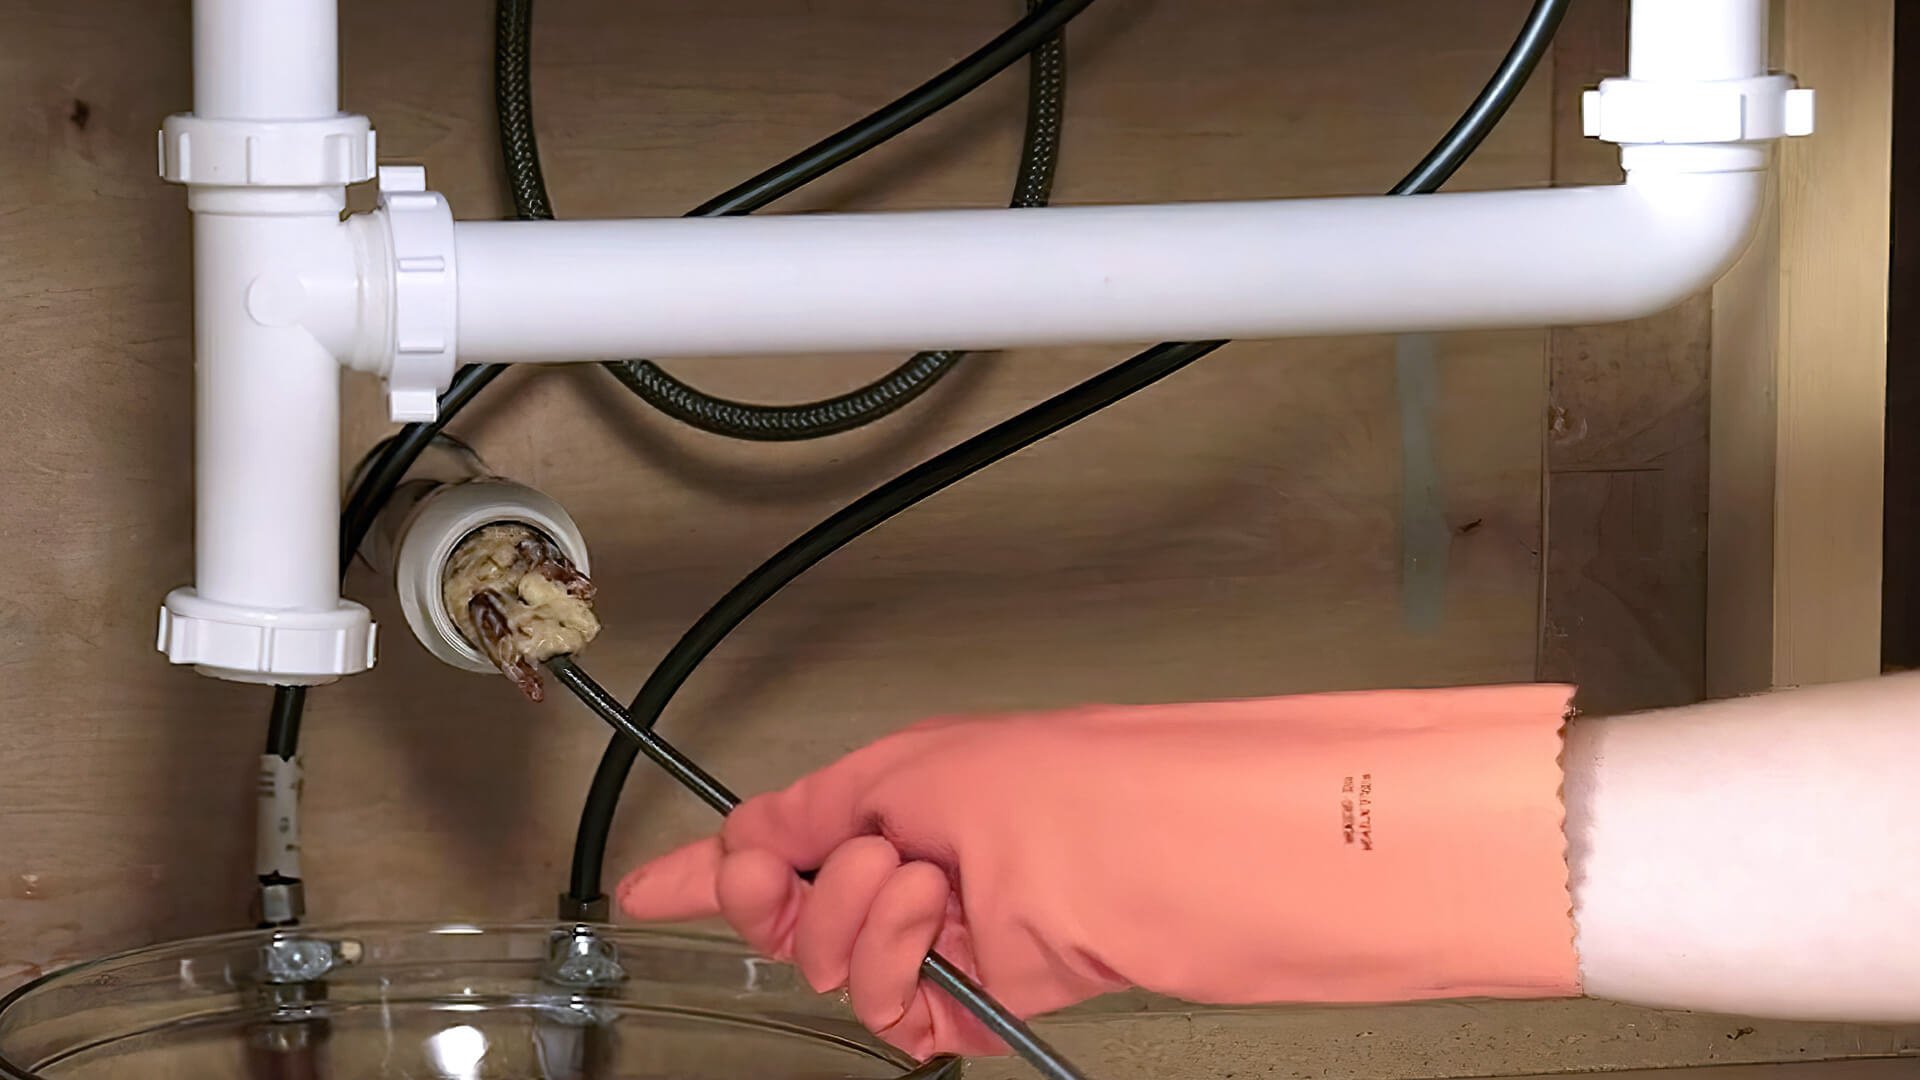
Clogged drains are a common household problem, often caused by hair, soap scum, food particles, or grease accumulation.
Advantages and Disadvantages
- Advantages:
- Avoids harsh chemical cleaners that damage pipes.
- Cost-effective and quick.
- Preventive measures reduce future blockages.
- Disadvantages:
- Manual methods can be messy.
- May not work for severe or deep clogs.
- Risk of exposure to bacteria if protective gear is not used.
Procedure
- Tools & Materials Needed:
- Plunger
- Drain snake or bent wire hanger
- Baking soda and vinegar
- Bucket, gloves, and eye protection
- Step-by-Step Instructions:
- Use a plunger with a tight seal and plunge vigorously.
- If clog persists, insert a drain snake to hook debris.
- For chemical-free cleaning, pour baking soda then vinegar down the drain.
- Wait 15 minutes, then flush with hot water.
- For severe clogs, clean the P-trap under the sink.
- Tips & Precautions:
- Always wear gloves and eye protection.
- Use drain strainers to catch hair and debris.
- Avoid pouring grease or oil down drains.
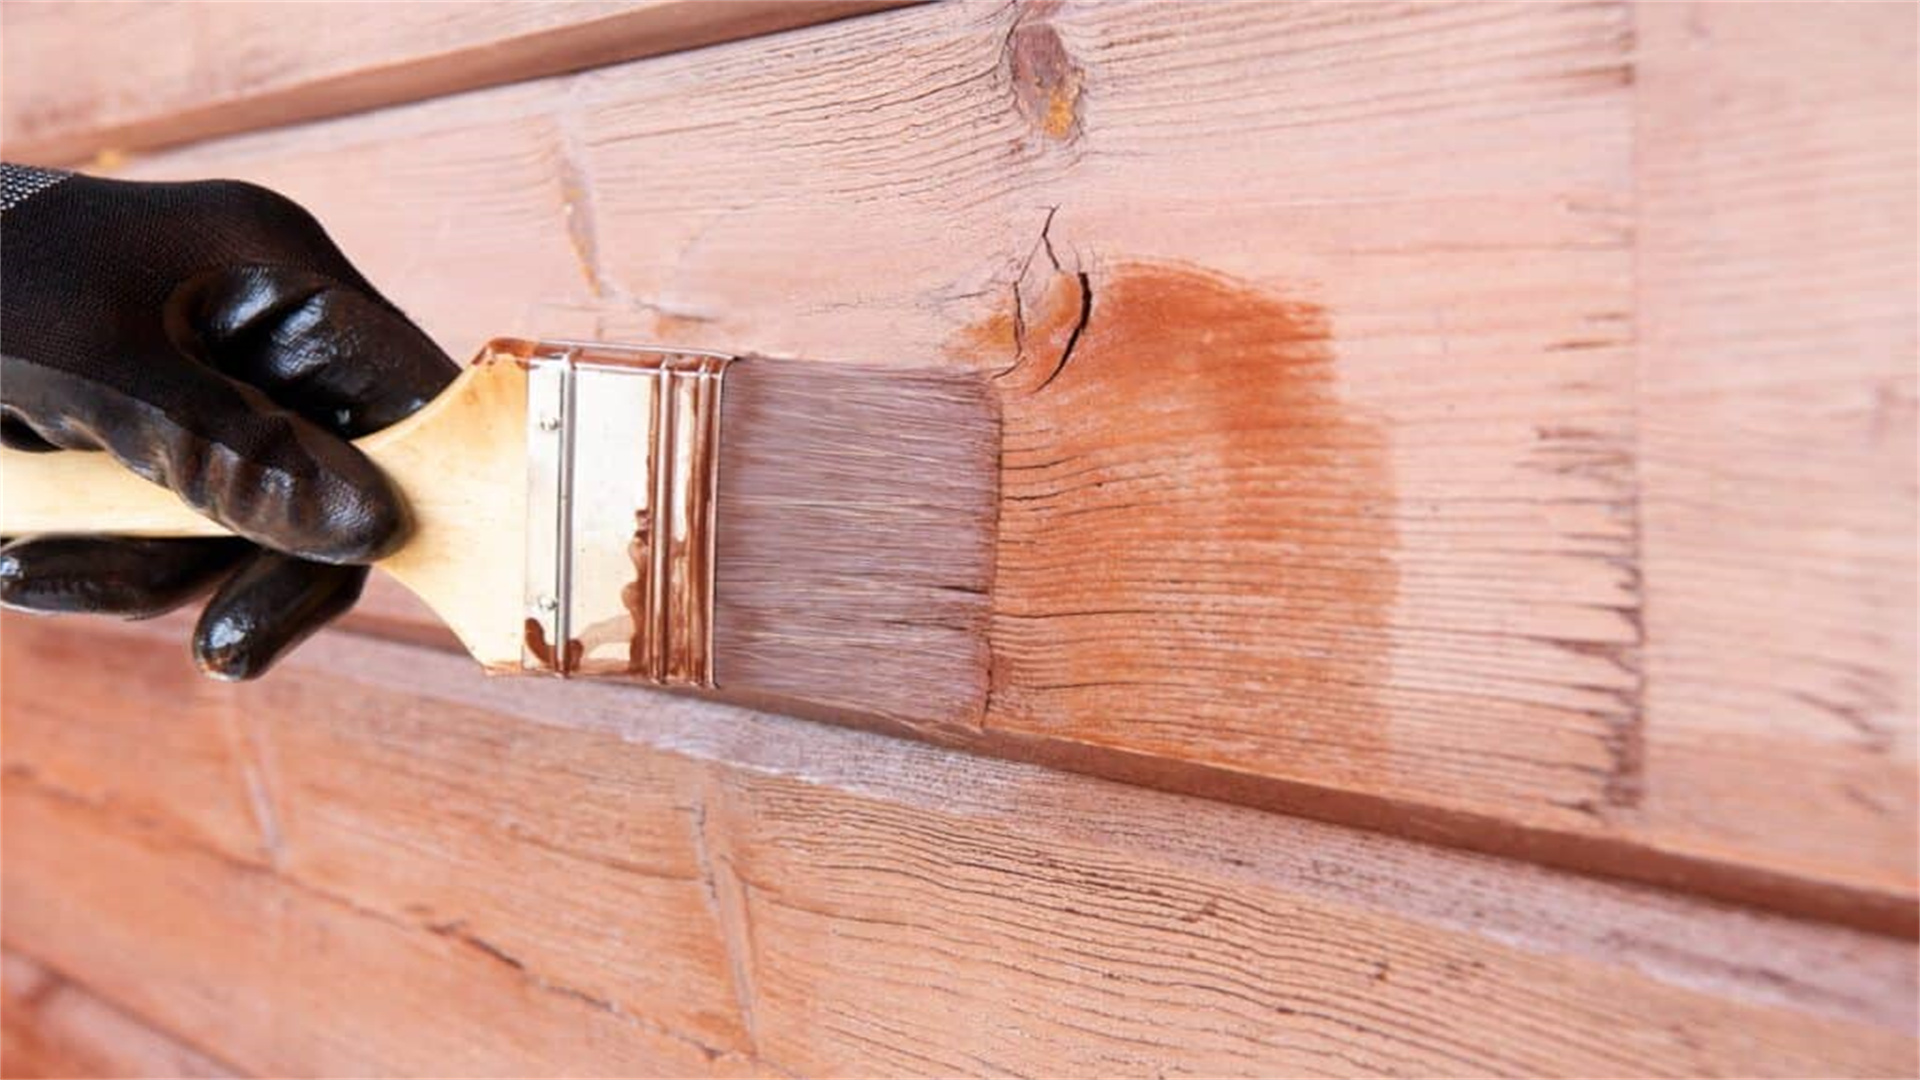
🛠️ 3. Patching Wall Holes
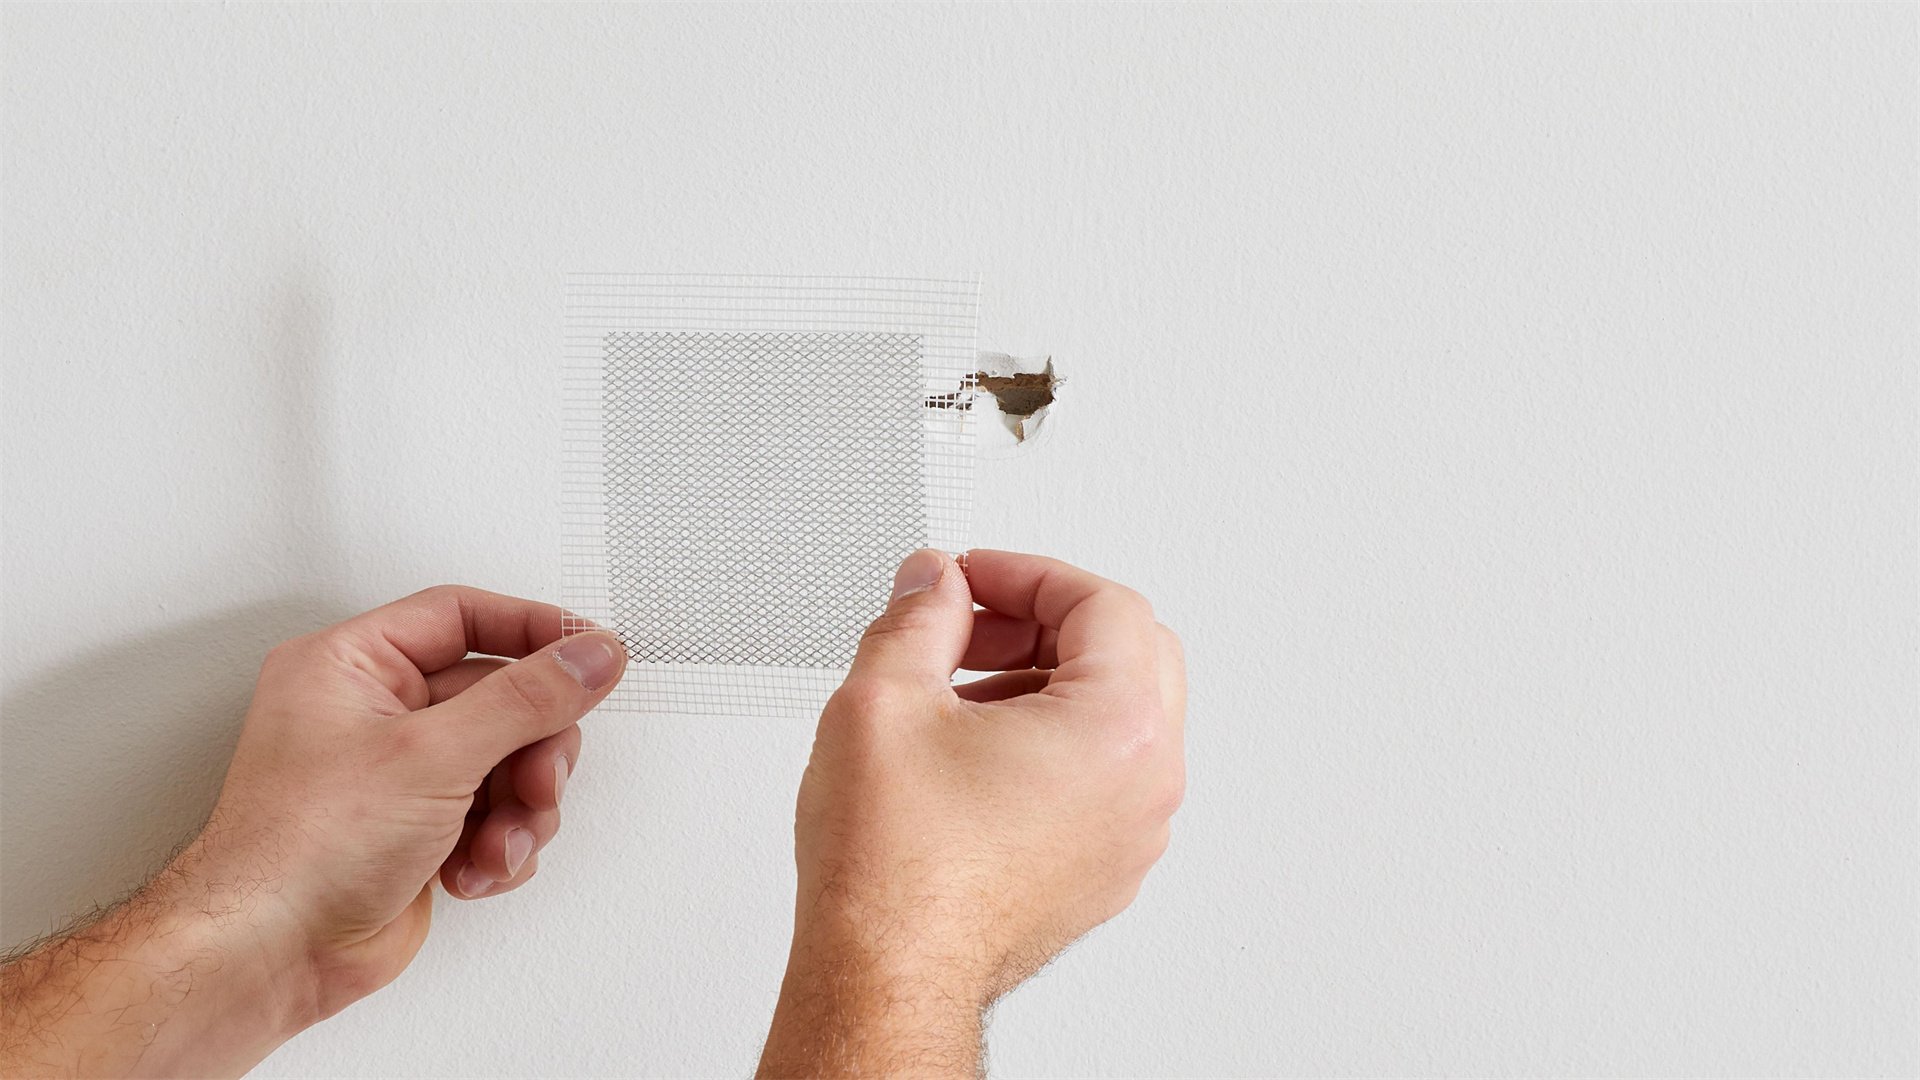
Small holes in walls from nails, screws, or impacts can be easily repaired with basic tools, restoring a smooth surface for painting.
Advantages and Disadvantages
- Advantages:
- Improves wall aesthetics and prevents further damage.
- Inexpensive compared to professional repair.
- Quick process with readily available materials.
- Disadvantages:
- Matching paint texture and color can be challenging.
- Requires drying time, delaying painting.
- Larger holes may need additional reinforcement.
Procedure
- Tools & Materials Needed:
- Putty knife
- Sandpaper (medium and fine grit)
- Spackling or joint compound
- Patch kit or mesh tape (for larger holes)
- Damp cloth and primer
- Step-by-Step Instructions:
- Clean the hole and remove loose debris.
- For small holes, apply spackling with a putty knife.
- For large holes, use a patch kit before applying compound.
- Let the compound dry completely.
- Sand the area smooth, then wipe with a damp cloth.
- Apply primer before painting.
- Tips & Precautions:
- Save leftover paint for color matching.
- Replicate wall texture with a sponge while compound is wet.
- Work in a well-ventilated area when sanding.
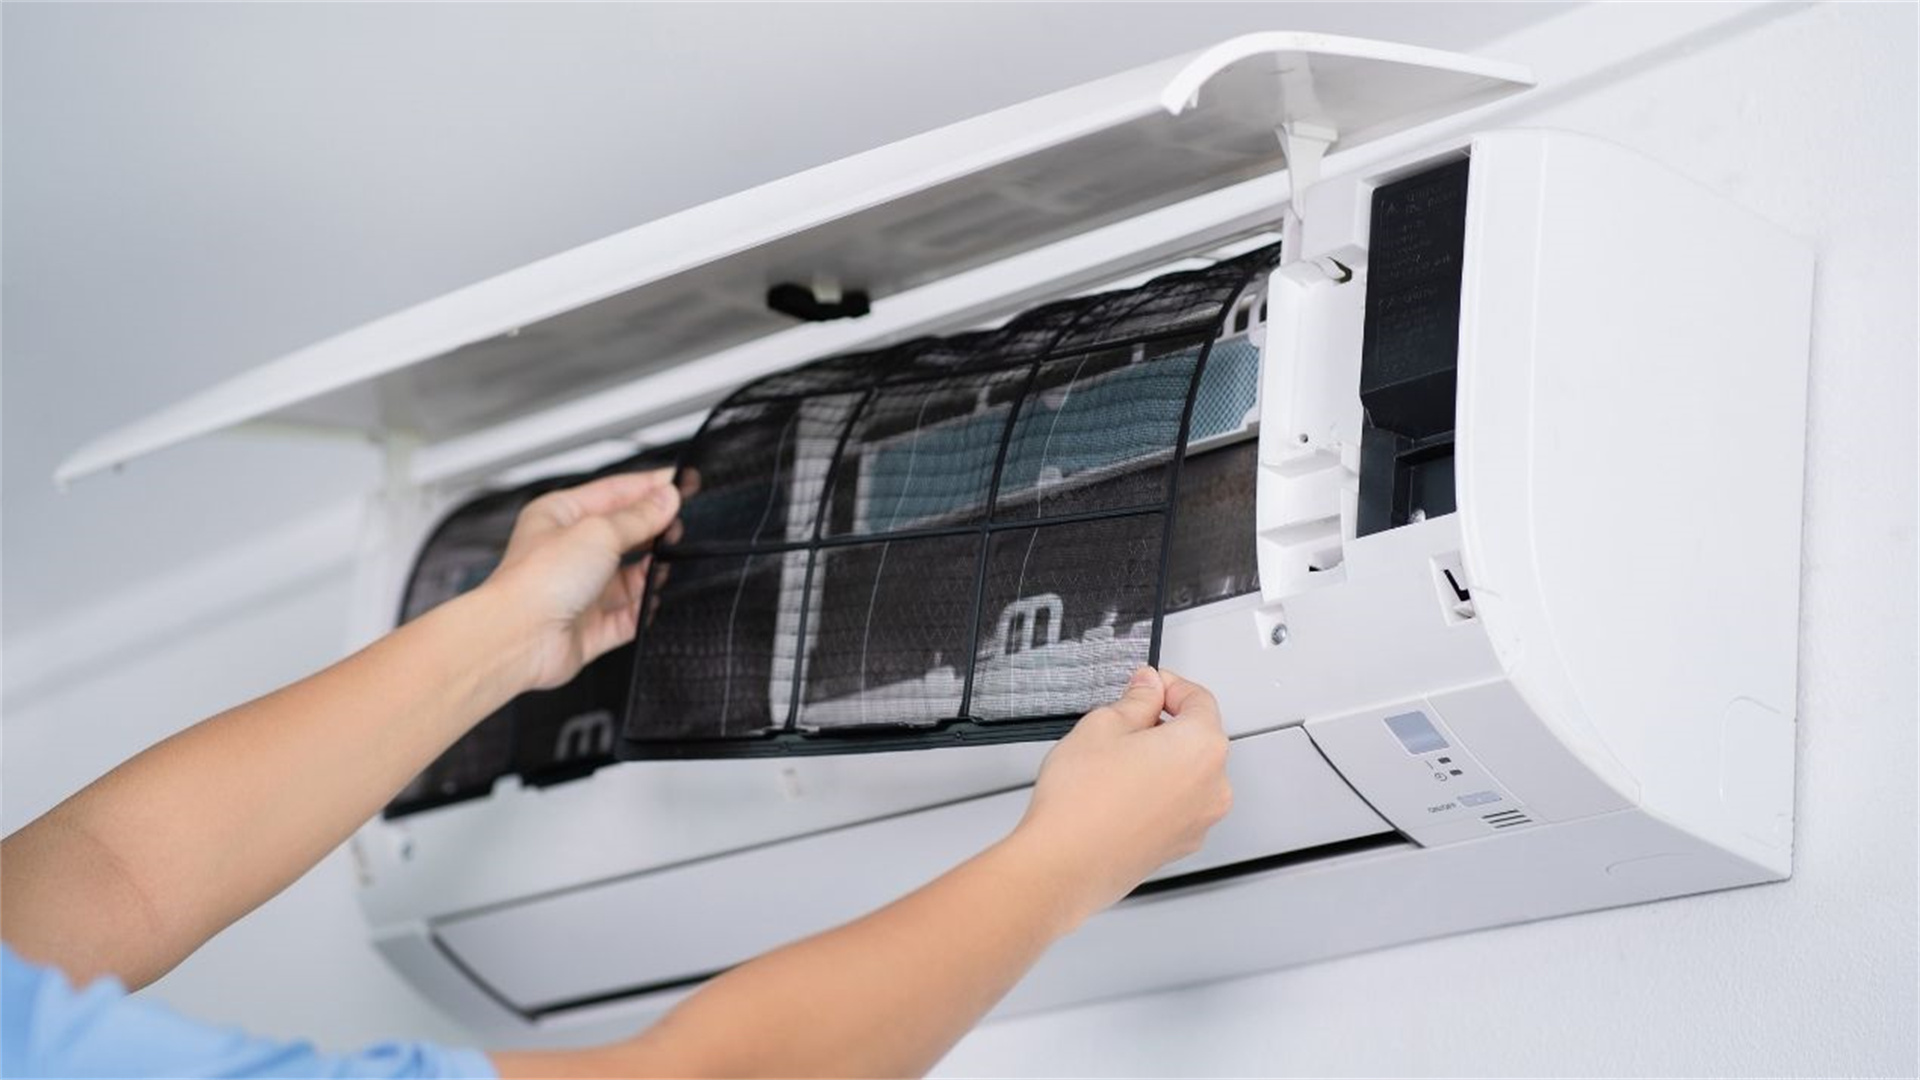
🌬️ 4. Maintaining Air Conditioning Filters
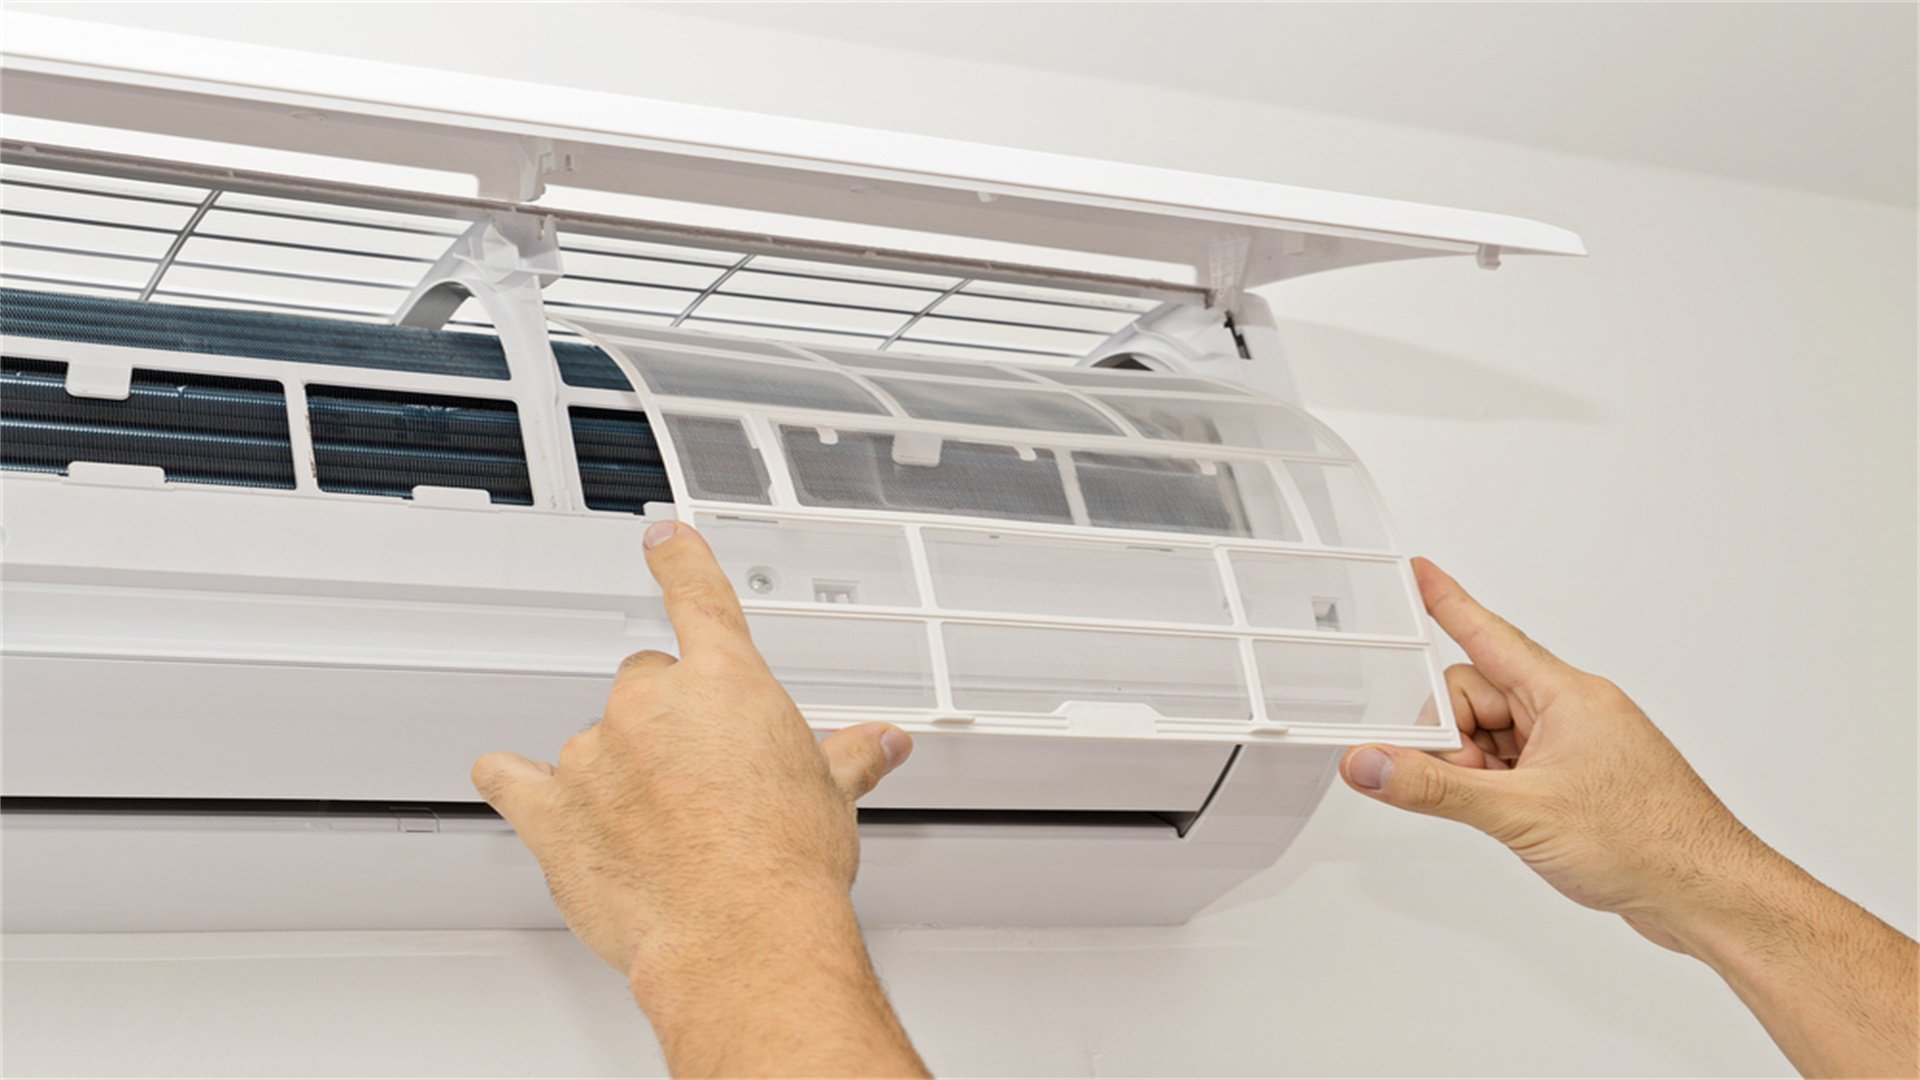
Regular maintenance of air conditioning filters is crucial for indoor air quality, energy efficiency, and system longevity.
Advantages and Disadvantages
- Advantages:
- Improves AC efficiency, reducing energy bills.
- Extends the lifespan of the AC system.
- Enhances indoor air quality by removing dust and allergens.
- Disadvantages:
- Forgetting to replace filters can reduce system performance.
- Reusable filters require thorough drying to prevent mold.
- Incorrect filter size or MERV rating can affect airflow.
Procedure
- Tools & Materials Needed:
- Screwdriver
- Vacuum cleaner with brush attachment
- Replacement filters (if disposable)
- Step-by-Step Instructions:
- Turn off the AC system for safety.
- Locate and remove the filter from its compartment.
- Inspect the filter: replace disposable ones, clean reusable ones.
- Vacuum or rinse the filter, let it dry completely.
- Reinstall the filter and turn the system back on.
- Tips & Precautions:
- Check filters monthly during high-use seasons.
- Replace or clean filters every 1-3 months.
- Vacuum around vents and ducts to remove debris.
🍂 5. Cleaning Gutters
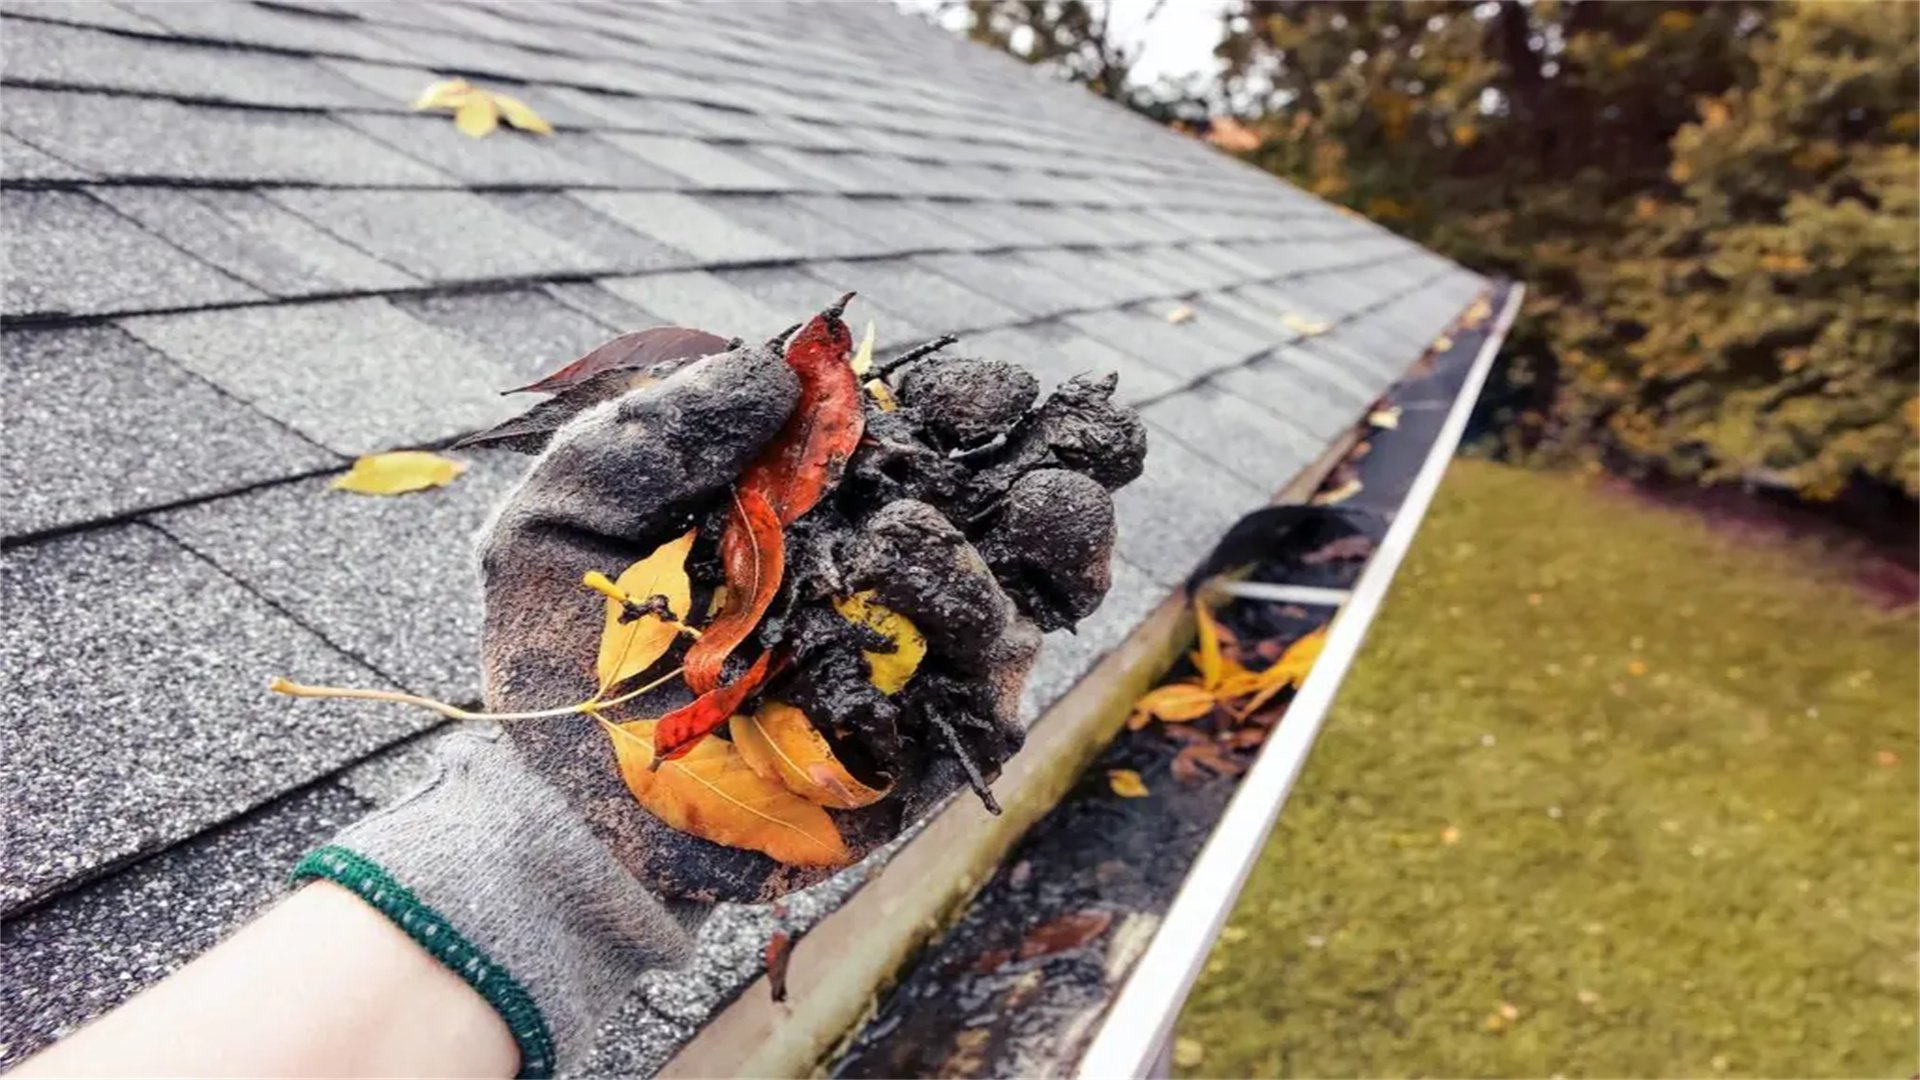
Gutters play a vital role in directing rainwater away from your home's foundation, preventing water damage and mold growth.
Advantages and Disadvantages
- Advantages:
- Prevents water damage to roof, walls, and foundation.
- Reduces risk of mold and pest infestations.
- Extends gutter lifespan.
- Disadvantages:
- Working at height involves fall risks.
- Can be time-consuming and physically demanding.
- May require dealing with unpleasant debris.
Procedure
- Tools & Materials Needed:
- Sturdy ladder
- Gloves and non-slip shoes
- Gutter scoop or small trowel
- Bucket and garden hose
- Step-by-Step Instructions:
- Place ladder on level ground; have a spotter if possible.
- Scoop out leaves and debris into a bucket.
- Use a hose to flush gutters and check for proper flow.
- Inspect for leaks or sagging; tighten hangers or apply sealant.
- Tips & Precautions:
- Clean gutters at least twice a year (spring and fall).
- Install gutter guards to minimize future buildup.
- Avoid working in wet or windy conditions.
🧼 6. Sealing Windows and Doors
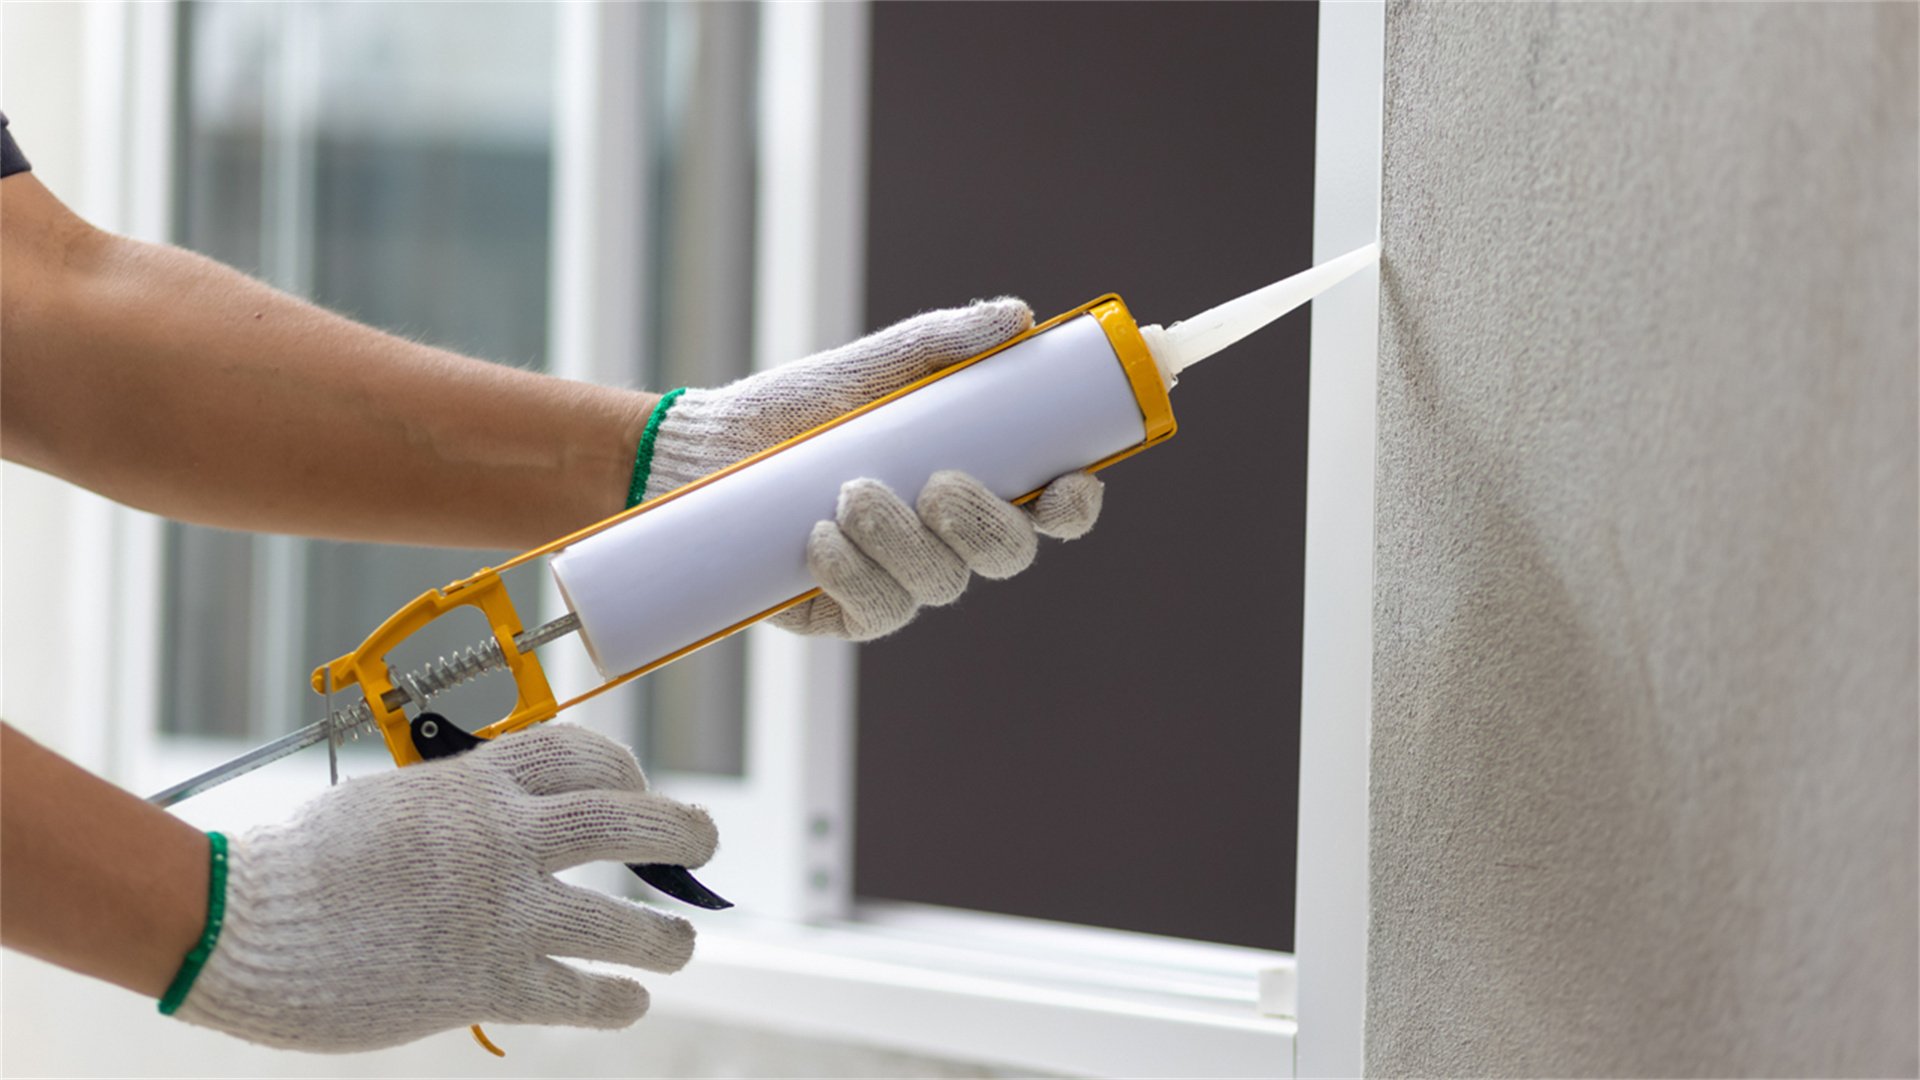
Drafty windows and doors can lead to energy loss, higher heating and cooling bills, and discomfort.
Advantages and Disadvantages
- Advantages:
- Reduces energy costs by improving insulation.
- Enhances indoor comfort by eliminating drafts.
- Inexpensive materials and quick application.
- Disadvantages:
- Improper application can be messy or ineffective.
- Weatherstripping may need replacement over time.
- Identifying all draft sources can be challenging.
Procedure
- Tools & Materials Needed:
- Caulking gun and caulk (silicone or latex)
- Weatherstripping tape
- Utility knife and putty knife
- Clean cloth
- Step-by-Step Instructions:
- Inspect for drafts using a candle flame on a windy day.
- Clean window/door frames thoroughly.
- Apply caulk to cracks between frame and wall; smooth with a wet finger.
- Measure, cut, and apply weatherstripping tape around door frames.
- Replace worn door sweeps.
- Tips & Precautions:
- Check seals before each season for wear.
- Use foam tape for larger gaps.
- Ensure surfaces are dry before applying caulk or tape.
🔩 7. Lubricating Squeaky Hinges
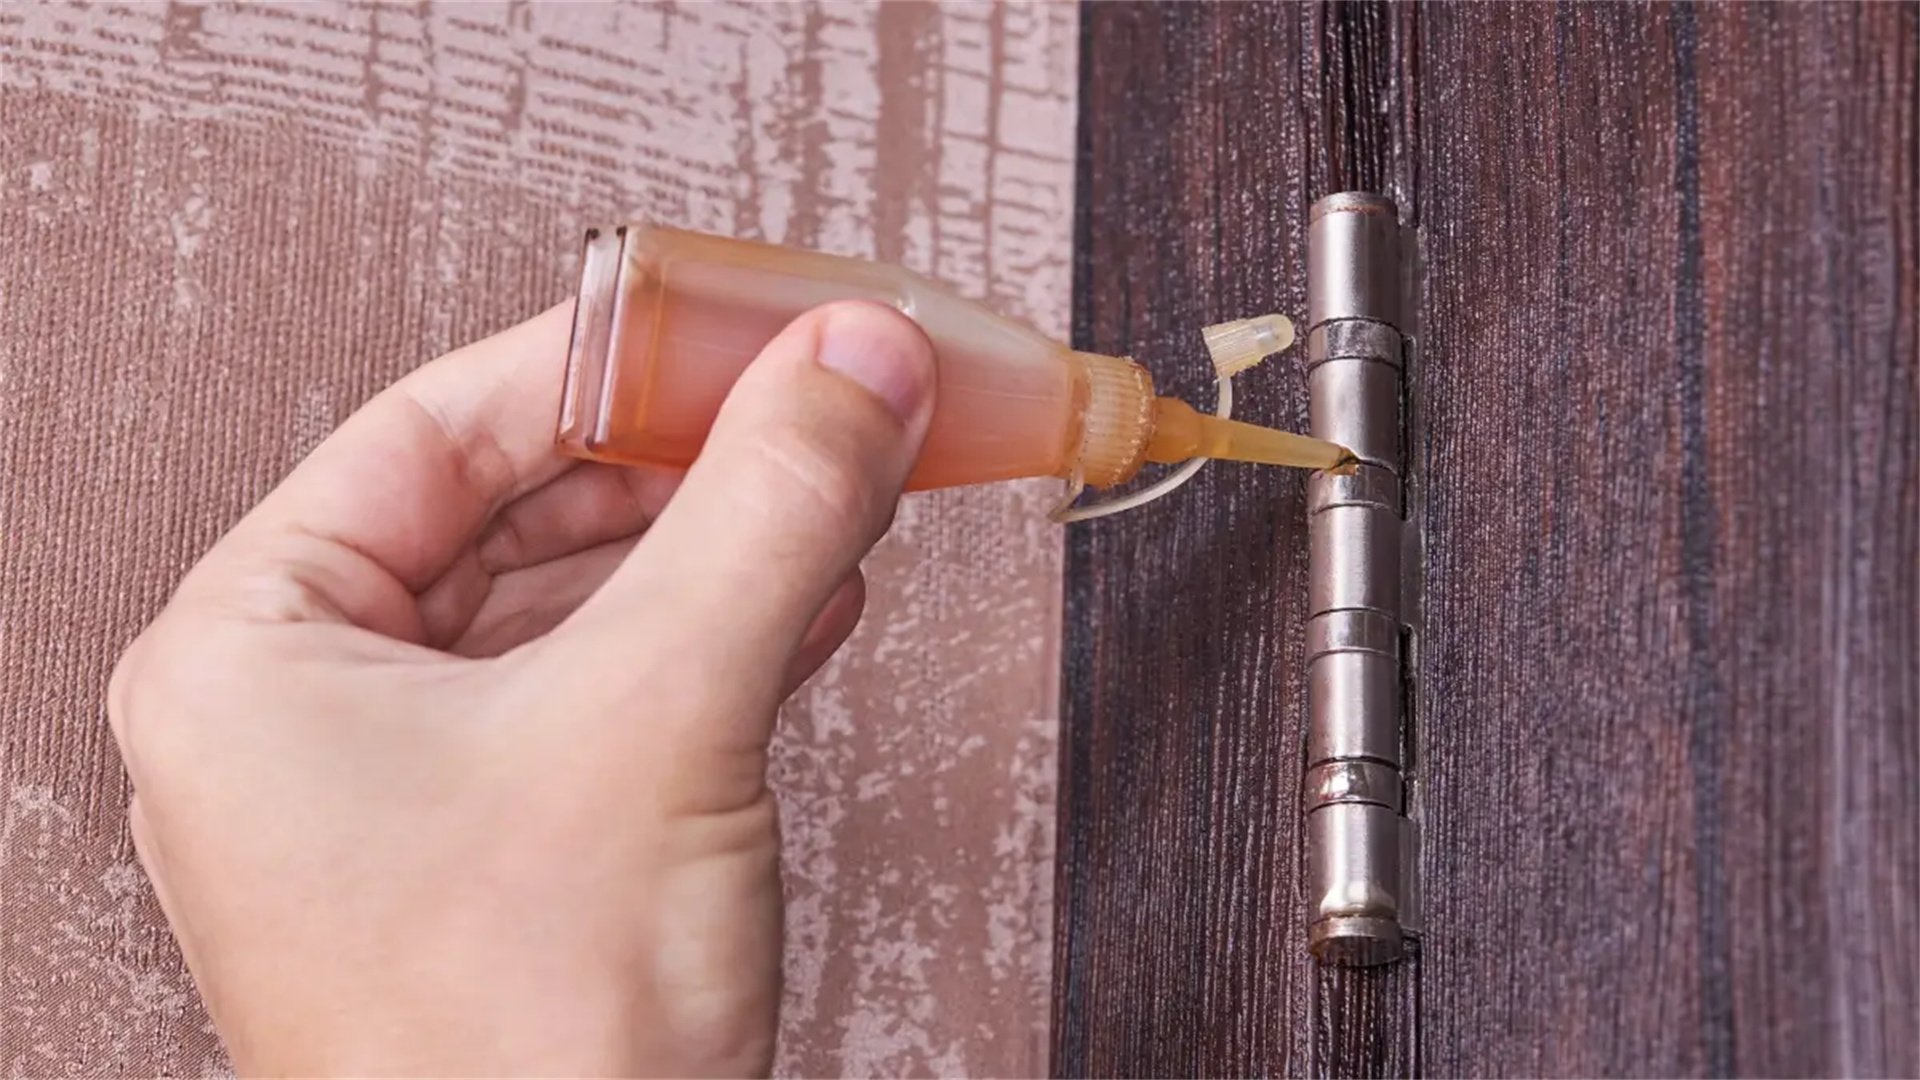
Squeaky hinges on doors, cabinets, or gates are a common nuisance caused by friction and lack of lubrication.
Advantages and Disadvantages
- Advantages:
- Quick and inexpensive fix.
- Eliminates annoying noise.
- Extends the life of hinges and hardware.
- Disadvantages:
- Over-lubrication can attract dust and cause mess.
- Some lubricants may stain surrounding surfaces.
- May require periodic reapplication.
Procedure
- Tools & Materials Needed:
- Screwdriver
- Lubricant (WD-40, silicone spray, graphite powder)
- Rag for cleaning and wiping excess
- Step-by-Step Instructions:
- Identify the squeaky hinge and wipe it clean.
- Tighten any loose screws with a screwdriver.
- Apply a small amount of lubricant to the hinge pin and pivot points.
- Work the lubricant in by opening and closing the door multiple times.
- Wipe off any excess lubricant.
- Tips & Precautions:
- Use a dropper or brush for precise application to avoid overspray.
- For interior hinges, consider non-toxic options like vegetable oil.
- Perform maintenance every 6-12 months to prevent squeaks.
🔥 8. Testing and Replacing Smoke Detector Batteries

Smoke detectors are critical for home safety, but they require regular testing and battery replacement to function properly.
Advantages and Disadvantages
- Advantages:
- Ensures life-saving equipment is operational.
- Prevents false alarms caused by dust or weak batteries.
- Simple task that requires minimal time and tools.
- Disadvantages:
- Neglecting this task can lead to detector failure in an emergency.
- Some detectors are hardwired or have specific battery types.
- Working on ceilings may require a step stool or ladder.
Procedure
- Tools & Materials Needed:
- Step stool or ladder
- New batteries (9-volt or AA as required)
- Vacuum cleaner with brush attachment
- Step-by-Step Instructions:
- Press the test button on each detector; listen for alarm sound.
- If alarm is weak or silent, replace the batteries.
- Open detector cover, remove old batteries, insert new ones with correct polarity.
- Vacuum inside the detector to remove dust.
- Test the detector again after battery replacement.
- Tips & Precautions:
- Test detectors monthly.
- Replace batteries at least once a year (e.g., during daylight saving time changes).
- Replace entire smoke detector units every 10 years.
📦 9. Organizing Tool Storage
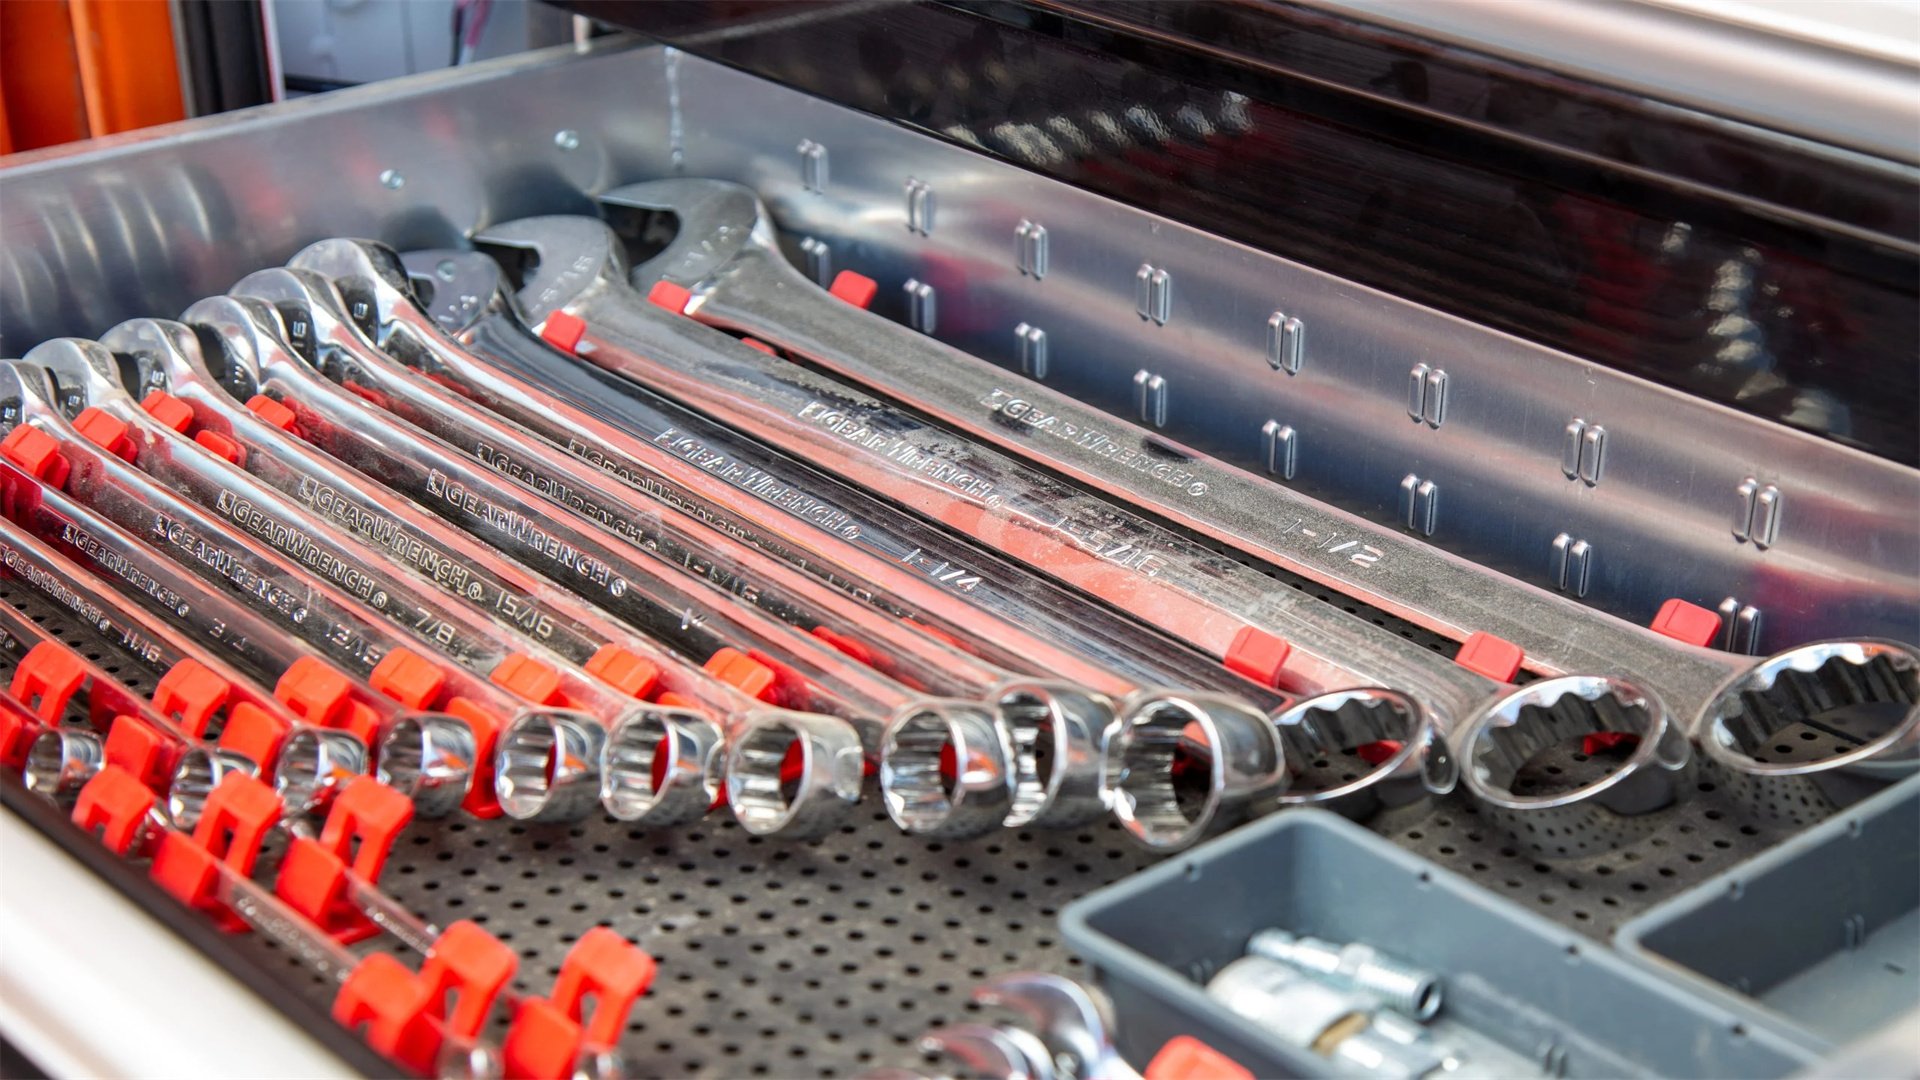
Efficient tool storage not only saves time during DIY projects but also prolongs tool life and reduces clutter.
Advantages and Disadvantages
- Advantages:
- Saves time by making tools easy to find.
- Protects tools from damage and loss.
- Creates a safer, more efficient workspace.
- Disadvantages:
- Initial setup can be time-consuming.
- Requires some investment in storage materials.
- Needs consistent maintenance to stay organized.
Procedure
- Tools & Materials Needed:
- Pegboard, hooks, and baskets
- Shelves (plywood and brackets)
- Toolbox dividers, clear bins, labels
- Cleaning supplies for tools
- Step-by-Step Instructions:
- Gather and sort all tools by category.
- Clean each tool to remove dirt and rust.
- Install a pegboard: measure, cut, mount, and arrange tools with hooks.
- Use bins and dividers for small parts; label everything clearly.
- Build shelves for larger tools, ensuring proper weight support.
- Tips & Precautions:
- Return tools to their designated spots after each use.
- Conduct seasonal inventories to check for missing/damaged items.
- Perform weekly quick checks to maintain organization.
Conclusion
In conclusion, these nine practical DIY solutions demonstrate that routine home maintenance is accessible to everyone with simple tools and a bit of know-how. By addressing common issues like leaks, clogs, and drafts, you can improve your home's functionality, safety, and efficiency while saving money on professional services. Each solution is designed to be clear and actionable, with detailed steps to avoid ambiguity. Remember to prioritize safety by using protective gear and following instructions carefully. Incorporate these tasks into your regular home care schedule to prevent small problems from becoming major repairs. With consistency and confidence, you'll not only enhance your living space but also develop valuable skills that empower you to tackle future projects. Home maintenance is an ongoing journey, and these DIY approaches make it manageable and rewarding.