Microwave and Fan Troubleshooting: Quick DIY Fixes
In today's fast-paced world, household appliances like microwaves and fans are essential for daily convenience. However, when these devices malfunction, it can disrupt your routine. Instead of immediately calling a professional, many common issues can be resolved with some basic DIY troubleshooting. This comprehensive guide will walk you through quick and effective fixes for both microwaves and fans, saving you time and money. We'll cover common problems, step-by-step repair methods, and safety tips to ensure you handle these appliances confidently. By following this guide, you can extend the lifespan of your devices and maintain a smoothly running home.
Before diving into specific fixes, it's important to understand the basic principles behind microwave and fan operation. Microwaves use magnetrons to generate electromagnetic waves that heat food, while fans rely on motors and blades to circulate air. Familiarizing yourself with these components can make troubleshooting easier. Always remember to unplug appliances before attempting any repairs to avoid electrical hazards. Now, let's explore the most frequent issues and their DIY solutions.
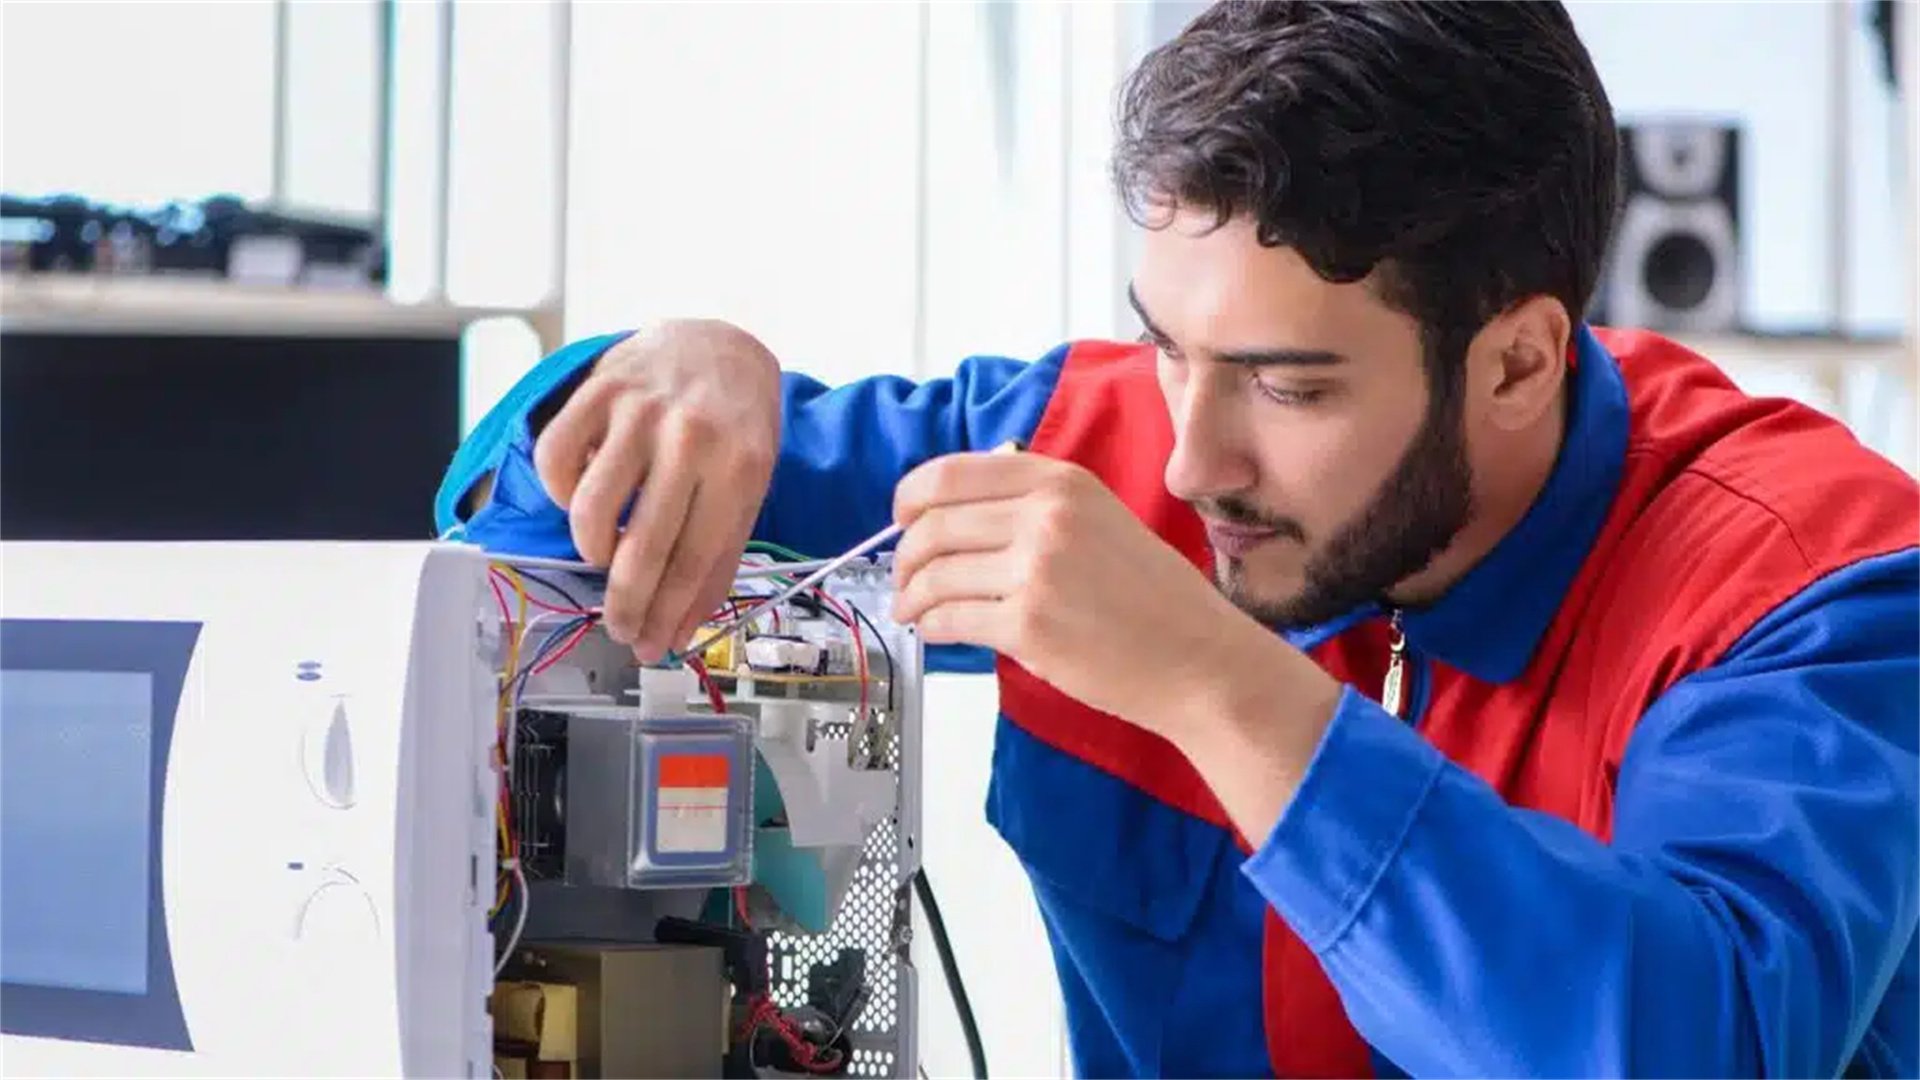
🔧 Microwave Troubleshooting: Common Problems and DIY Fixes
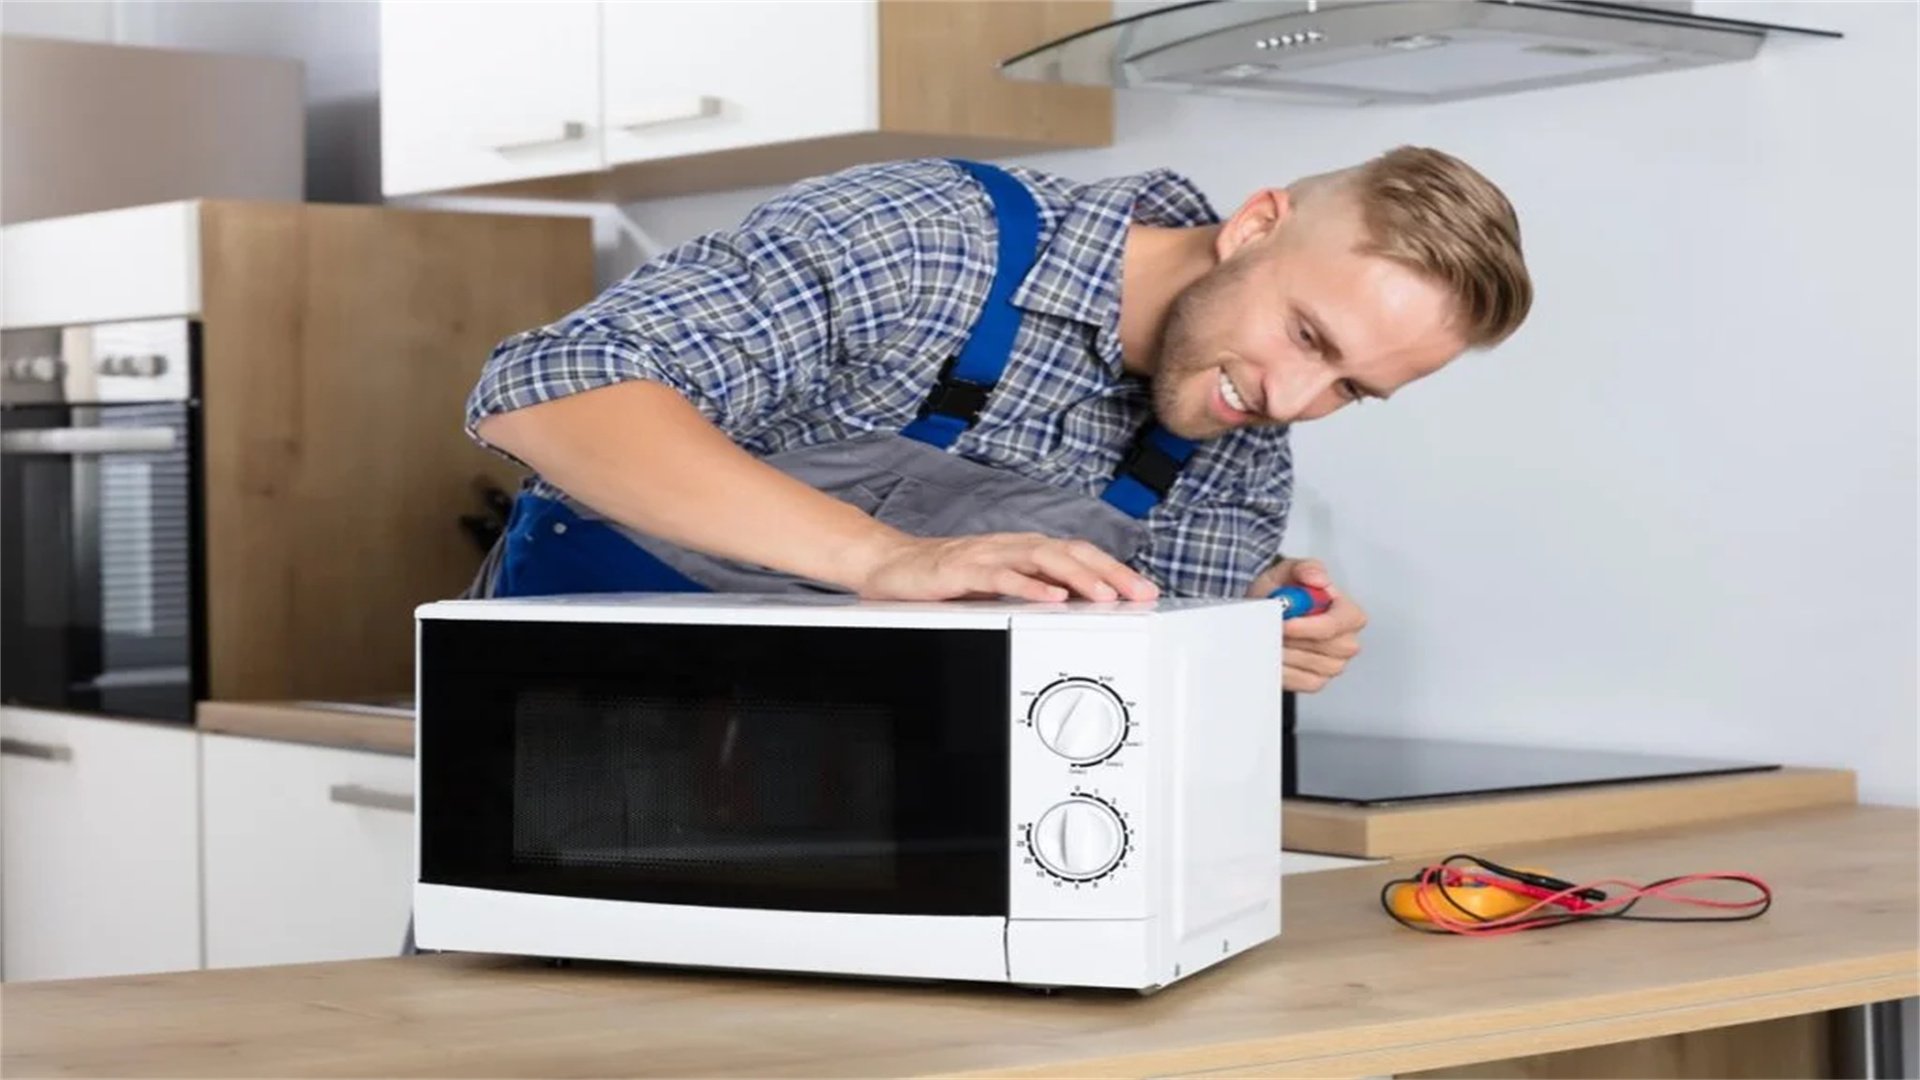
Microwaves are complex appliances, but many malfunctions stem from simple parts that you can inspect and replace yourself. Below, we detail common microwave issues, their causes, and step-by-step repair instructions.
1. Microwave Not Heating
If your microwave runs but doesn't heat food, it's often due to a faulty magnetron, high-voltage diode, or capacitor. Start by checking the power supply and ensuring the door closes properly. If those are fine, proceed with these steps:
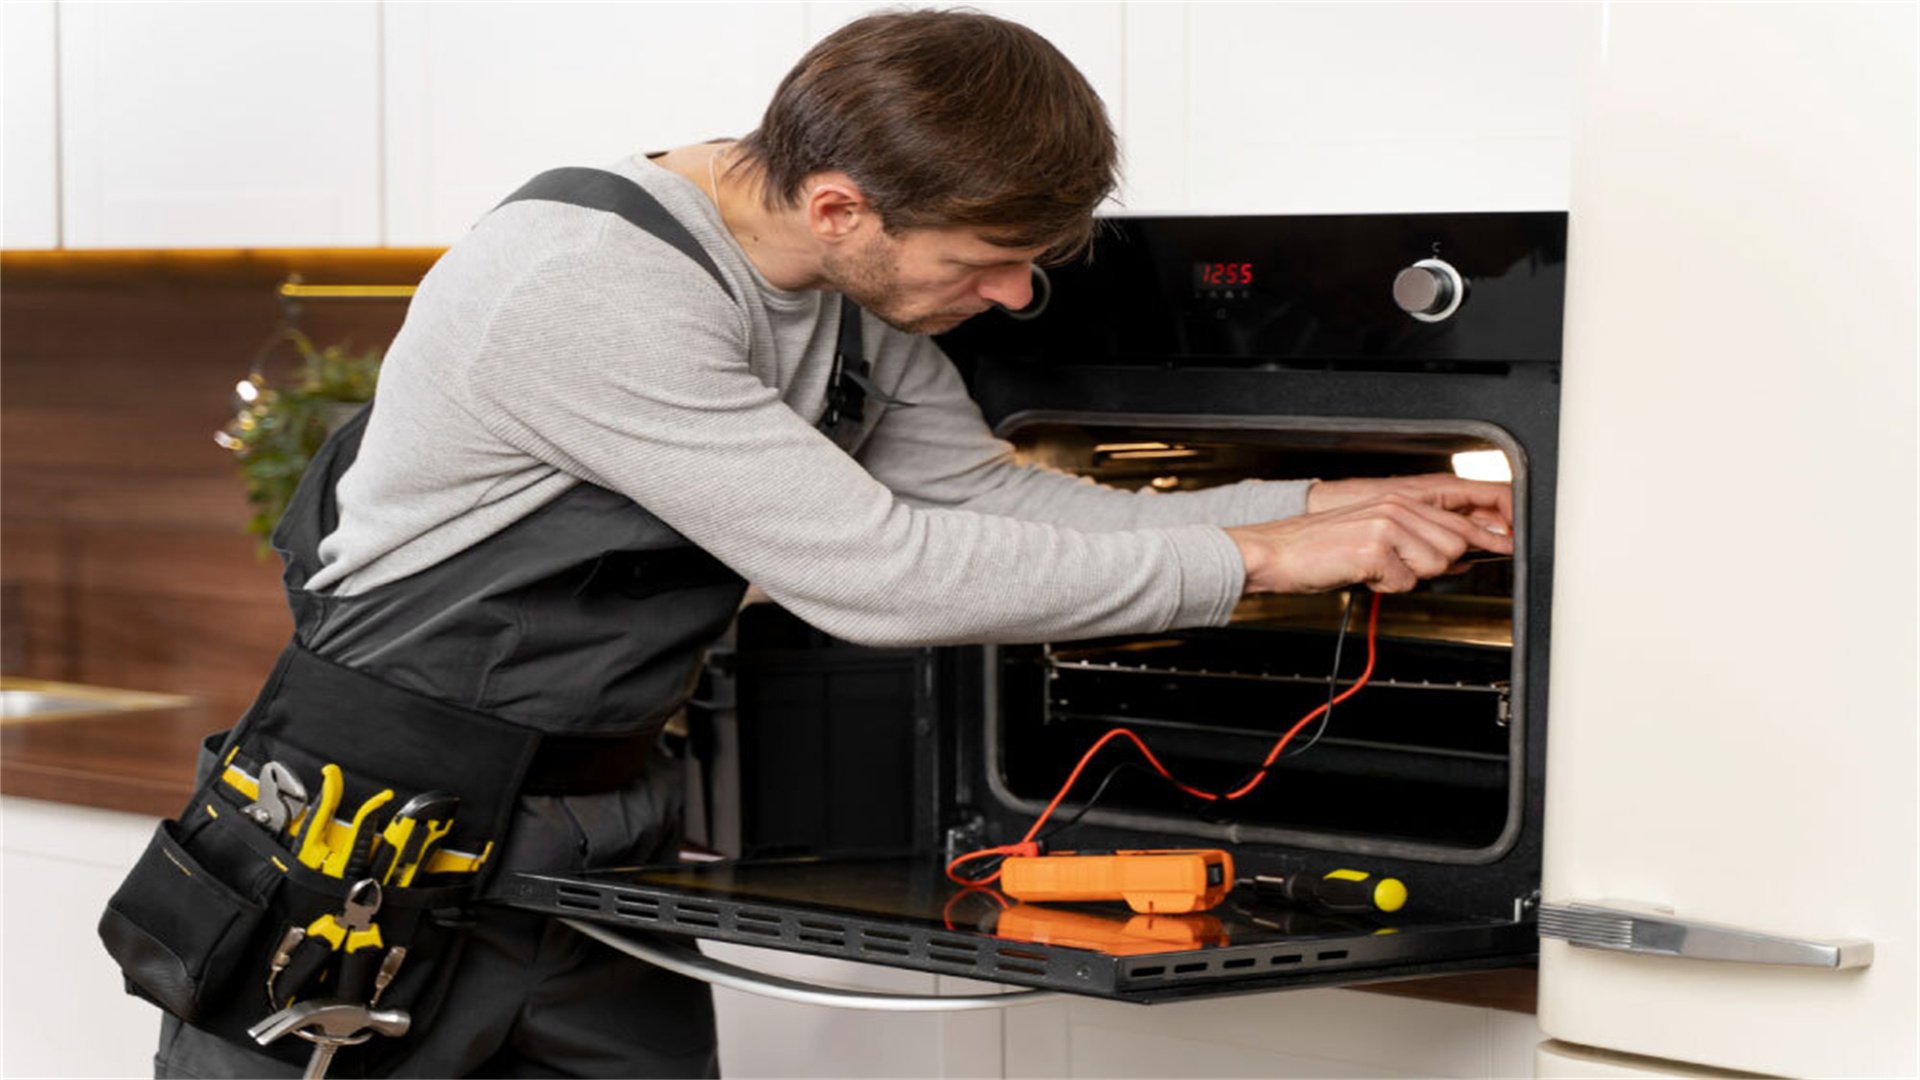
- Inspect the Magnetron: The magnetron is the component that generates microwaves. Use a multimeter to test for continuity. If it shows no continuity, the magnetron is likely dead and needs replacement. To access it, unplug the microwave, remove the outer casing, and locate the magnetron (usually a metal box with wires attached). Disconnect the wires, unscrew it, and install a new one matching your model.
- Check the High-Voltage Diode: This diode converts voltage for the magnetron. Test it with a multimeter set to the diode setting. A good diode should show high resistance in one direction and low in the other. If it reads open or shorted, replace it. Note that high-voltage components can retain charge, so discharge the capacitor first by shorting its terminals with an insulated screwdriver.
- Examine the Capacitor: The capacitor stores electrical energy. Use a multimeter to check for capacitance or shorts. If faulty, replace it carefully, as capacitors can hold dangerous charges. Always discharge it before handling.
- Test the Door Switches: Microwaves have safety switches that prevent operation when the door is open. If a switch is stuck or broken, the microwave might run but not heat. Use a multimeter to test each switch for continuity when the door is closed. Replace any defective switches.
After replacing parts, reassemble the microwave and test it with a cup of water. If it heats, the issue is resolved. If not, consider professional help, as internal wiring or control board problems may be involved.
2. Turntable Not Rotating
A non-rotating turntable can lead to uneven heating. This is usually caused by a worn drive motor, broken roller guide, or obstruction. Follow these steps:
- Clear Obstructions: First, remove the turntable and check for food debris or broken pieces in the track. Clean the area thoroughly with a damp cloth.
- Inspect the Roller Guide: The roller guide is a plastic or metal ring that supports the turntable. If cracked or missing, replace it with a compatible part. You can find these online or at appliance stores.
- Test the Drive Motor: The motor underneath the microwave turns the turntable. Unplug the microwave, access the motor by removing the bottom panel, and disconnect its wires. Use a multimeter to test for continuity. If the motor shows no continuity, it's faulty and needs replacement. Install a new motor by reconnecting wires and securing it with screws.
- Check the Coupling: Some models have a coupling between the motor and turntable. Ensure it's not stripped or broken. Replace if necessary.
Once fixed, reassemble and test the turntable rotation. Regular cleaning can prevent this issue.
3. Door Switch Issues
Microwave doors have multiple switches that must engage for safe operation. If the microwave doesn't start or stops intermittently, door switches might be the culprit. Here's how to fix them:
- Identify the Switches: Open the door and locate the switches along the door latch area. There are usually three: primary, secondary, and monitor switches. Refer to your manual for specifics.
- Test Each Switch: Unplug the microwave and remove the outer casing to access the switches. Use a multimeter to test continuity. Press the door latch mechanism to simulate closing. Each switch should show continuity when engaged. Replace any that fail the test.
- Adjust or Replace the Latch: If switches are fine, the latch might be misaligned. Tighten screws or adjust the latch so it fully engages the switches. If broken, replace the latch assembly.
- Inspect the Door Hinges: Worn hinges can prevent proper door closure. Check for cracks or looseness. Tighten screws or replace hinges as needed.
After repairs, ensure the door seals tightly. Test the microwave by starting it with the door closed—it should run smoothly.
4. Control Panel Problems
Unresponsive buttons or display issues often stem from a faulty control board or membrane switch. Try these fixes:
- Reset the Microwave: Unplug it for a few minutes, then plug it back in. This can reset the control board.
- Clean the Control Panel: Spills or debris can cause short circuits. Gently clean with a damp cloth and mild detergent. Avoid excessive moisture.
- Check the Membrane Switch: If buttons are unresponsive, the membrane switch behind the panel might be damaged. Access it by removing the control panel cover. Test for continuity with a multimeter when pressing buttons. Replace the membrane if faulty.
- Inspect the Control Board: The main control board regulates functions. Look for burnt components or loose connections. If you spot damage, replacing the board is best. Order a compatible board and carefully swap it, noting wire connections.
If problems persist, the issue might be with the touchpad or wiring; consider professional diagnosis.
5. Noise Issues
Unusual noises like buzzing, grinding, or humming can indicate mechanical or electrical problems. Address them as follows:
- Buzzing Sounds: Often caused by a faulty diode or capacitor. Test and replace these components as described earlier.
- Grinding Noises: Usually from the turntable motor or roller guide. Inspect and replace worn parts. Lubricate moving parts with appliance-safe grease if recommended by the manufacturer.
- Humming or Vibrations: Check for loose panels or screws. Tighten all fasteners. Also, ensure the microwave is on a level surface.
- Magnetron Noise: If the magnetron is failing, it might produce a loud hum. Test and replace it if necessary.
Regular maintenance, such as cleaning and tightening screws, can reduce noise over time.
🌀 Fan Troubleshooting: Common Problems and DIY Fixes
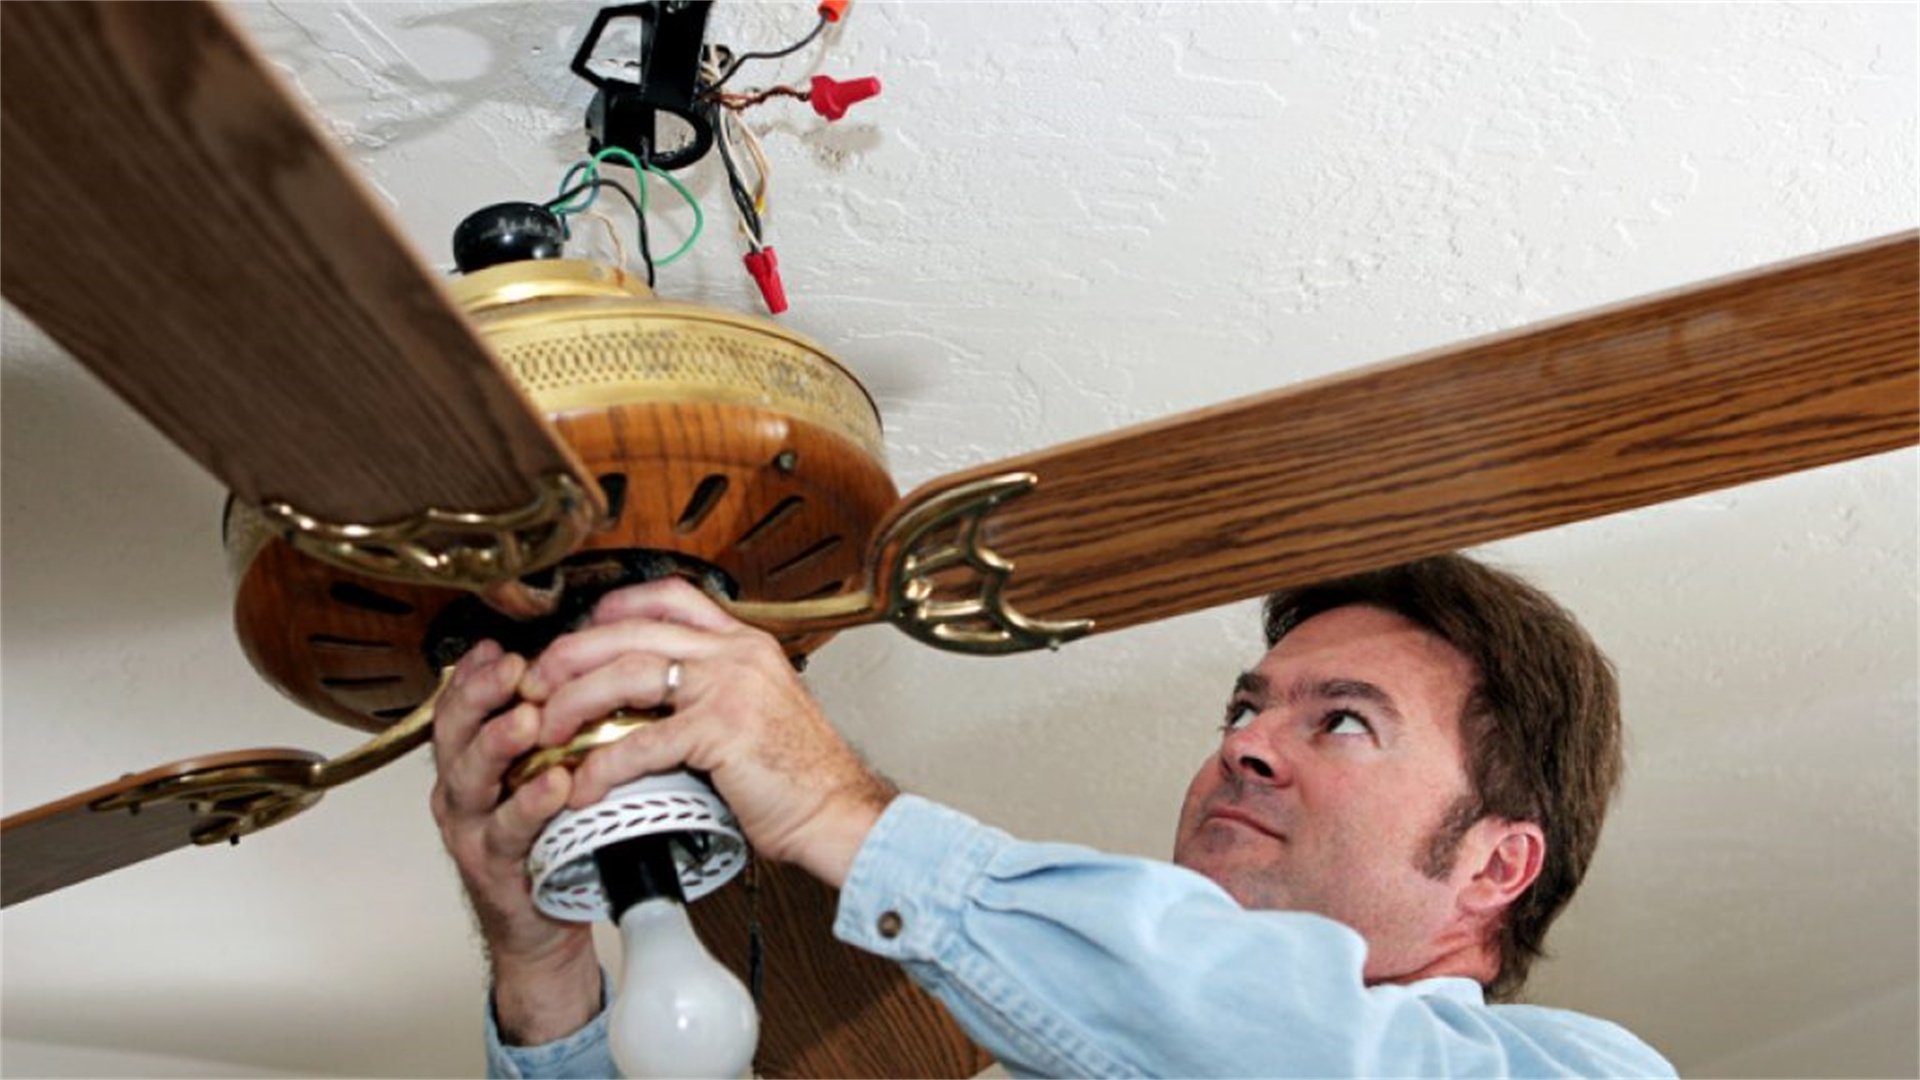
Fans, including ceiling fans, table fans, and exhaust fans, are simpler than microwaves but still encounter issues. Below, we cover common fan problems and how to fix them yourself.
1. Fan Not Spinning
If a fan doesn't spin at all, it could be due to power issues, a faulty motor, or obstructed blades. Follow this troubleshooting process:
- Check Power Supply: Ensure the fan is plugged in or the circuit breaker isn't tripped. Test the outlet with another device. For ceiling fans, check the wall switch and pull chain.
- Inspect the Capacitor: Fans use capacitors to start the motor. A blown capacitor is a common cause. Locate the capacitor (usually a small cylindrical part near the motor). Use a multimeter to test capacitance. If it reads out of range or shows no charge, replace it with an identical capacitor.
- Test the Motor: If the capacitor is fine, the motor might be dead. Use a multimeter to check windings for continuity. No continuity indicates a burnt motor; replace the entire fan or motor assembly depending on the model.
- Clear Obstructions: Ensure blades move freely by hand. Remove any debris or dust buildup. For ceiling fans, check if blades are bent and straighten them gently.
- Examine the Switch or Remote: For fans with controls, test switches or remote batteries. Replace if defective.
After repairs, restore power and test the fan. If it still doesn't spin, the wiring or internal fuse might be faulty—consider professional help.
2. Fan Noisy
Noises like clicking, wobbling, or buzzing can be annoying. Here's how to silence your fan:
- Tighten Loose Parts: Over time, screws on blades, motor housings, or light kits can loosen. Tighten all visible screws with a screwdriver. For ceiling fans, ensure the mounting bracket is secure.
- Balance the Blades: Unbalanced blades cause wobbling and noise. Use a balancing kit (available online) or DIY by attaching small weights to blades until balanced. Alternatively, clean blades evenly to remove dust buildup.
- Lubricate the Motor: Older fans may have dry bearings. Apply a few drops of electric motor oil to the motor bearings. Avoid over-lubrication.
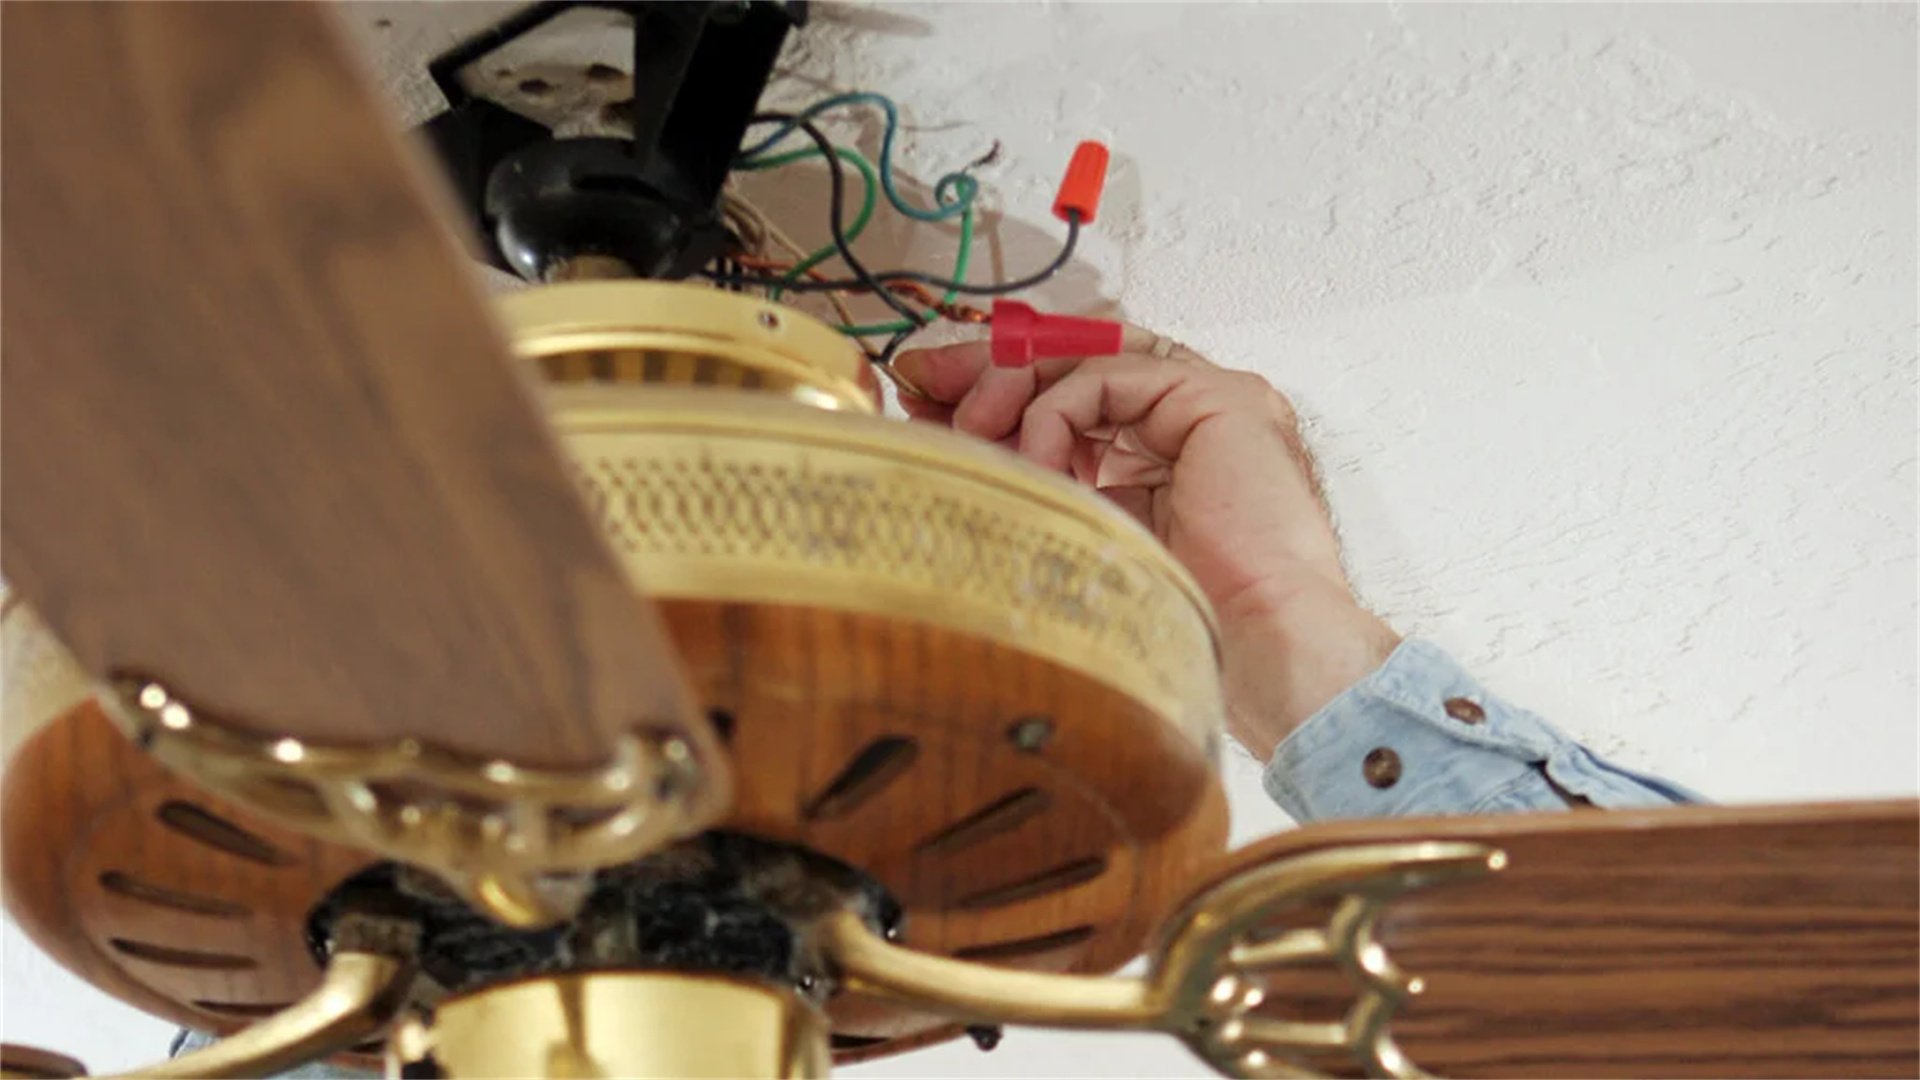
- Check for Wire Interference: Internal wires touching blades can cause clicking. Turn off power, open the fan housing, and secure wires away from moving parts.
- Inspect the Light Kit: If your fan has lights, loose sockets or bulbs can rattle. Tighten bulbs and sockets, or replace faulty components.
Regular cleaning and tightening can prevent most noise issues.
3. Fan Speed Issues
If a fan runs at only one speed or speeds are inconsistent, focus on the control system or motor windings:
- Test the Speed Switch or Pull Chain: For fans with multiple speeds, the switch might be worn. Use a multimeter to test continuity at each speed setting. Replace the switch if it fails. For pull chains, ensure the chain isn't broken or stuck.
- Check the Capacitor: A failing capacitor can affect speed regulation. Test and replace as described earlier.
- Examine the Remote or Wall Control: For remote-controlled fans, replace batteries and ensure the receiver is properly connected. Reset the remote according to the manual.
- Inspect the Motor Windings: Speed issues can stem from damaged windings. Test with a multimeter; if windings are shorted or open, replace the motor.
- Clean the Fan: Dust on motor components can impede performance. Disassemble and clean the motor and blades with compressed air.
After fixes, test all speed settings to ensure smooth operation.
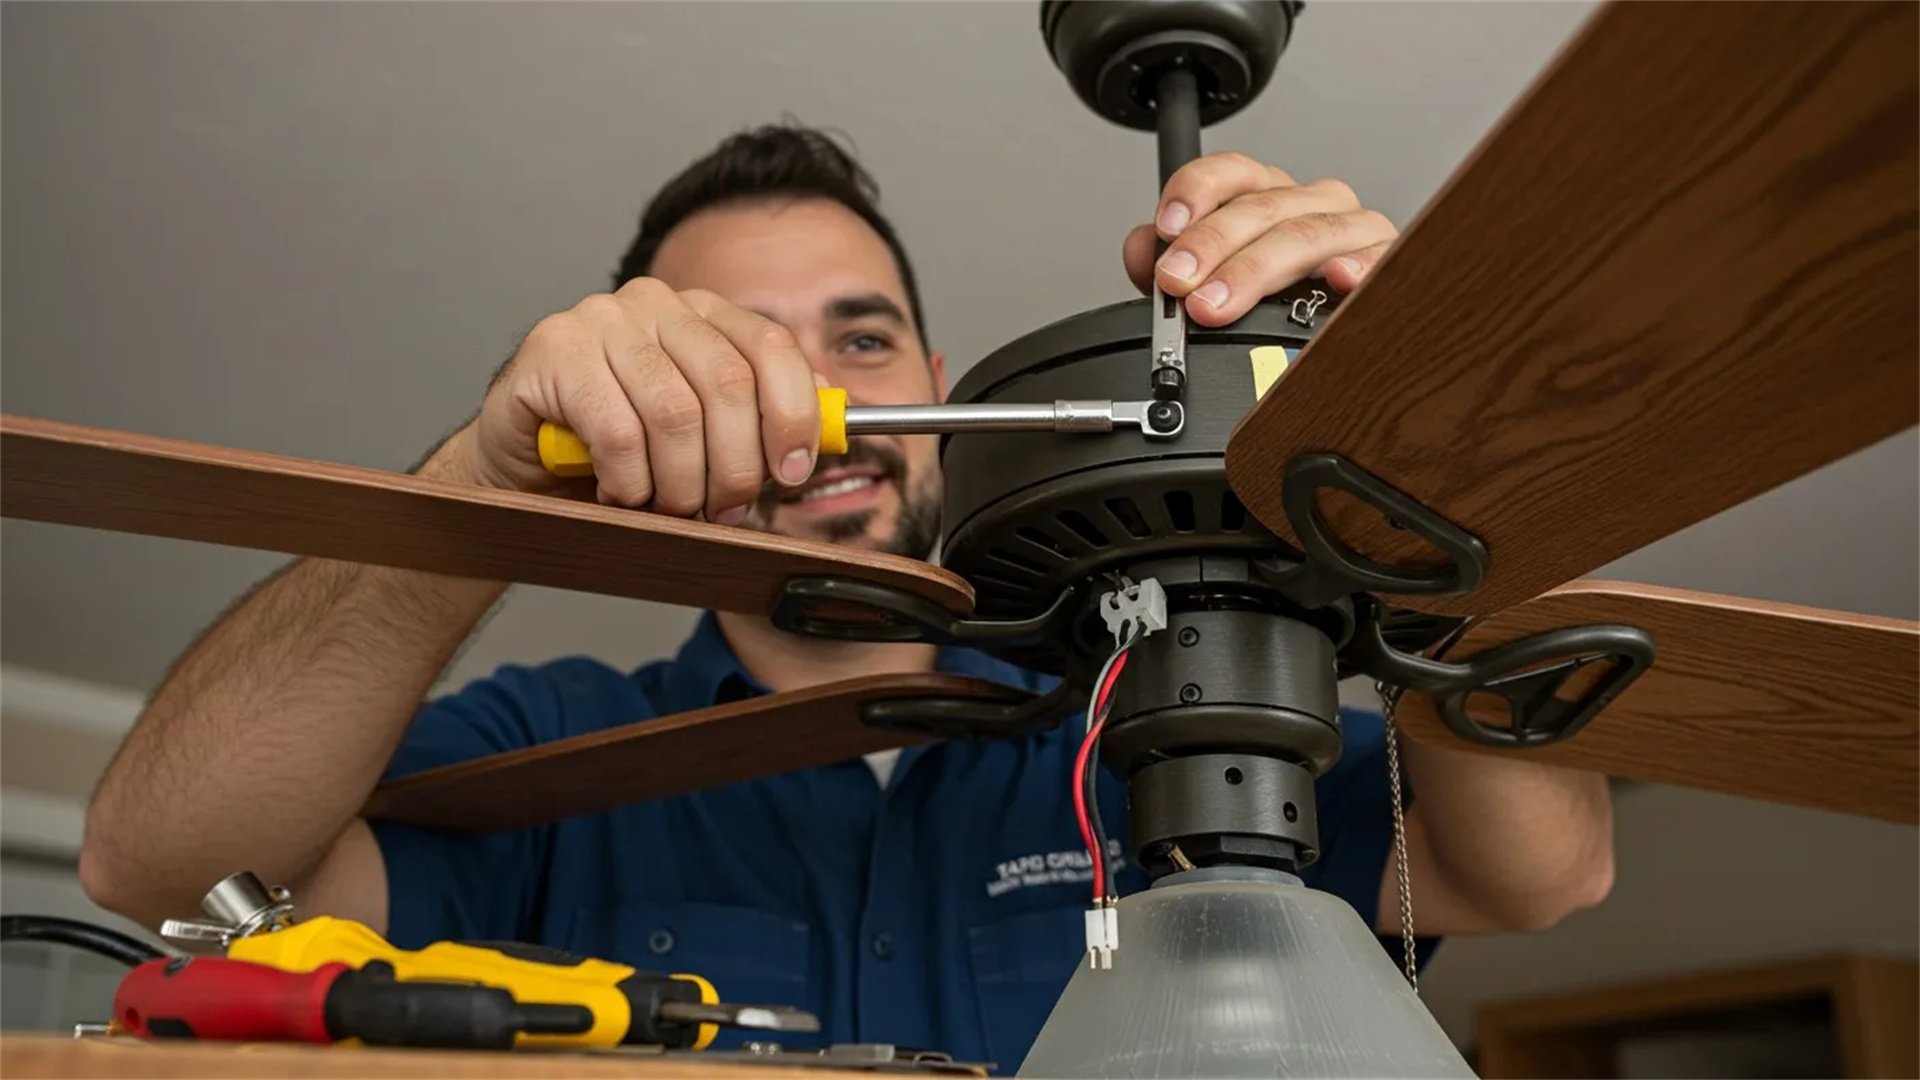
4. Fan Vibration
Excessive vibration can lead to wear and noise. Address it with these steps:
- Ensure Proper Installation: For ceiling fans, verify that the mounting bracket is securely attached to the ceiling joist. Tighten all screws and use a rubber pad between the bracket and ceiling to dampen vibrations.
- Balance the Blades: As mentioned, unbalanced blades are a common cause. Use a balancing kit or manually adjust blade angles.
- Check Blade Alignment: Blades should be at the same angle and distance from the ceiling. Use a measuring tape to align them, and tighten blade screws evenly.
- Inspect the Downrod: For ceiling fans, the downrod might be bent or loose. Replace it if necessary, and ensure it's properly seated.
- Lubricate Moving Parts: Apply lubricant to motor bearings and joints to reduce friction-induced vibration.
If vibration persists, the motor shaft might be bent—consider replacing the fan.
⚠️ Safety Precautions for DIY Appliance Repairs
While DIY fixes can save money, safety is paramount. Follow these guidelines to avoid injury or damage:
- Always Unplug Appliances: Before any repair, disconnect the microwave or fan from power. For hardwired ceiling fans, turn off the circuit breaker.
- Discharge Capacitors: Microwave capacitors hold high voltage even when unplugged. Safely discharge them using an insulated screwdriver across terminals.
- Use Proper Tools: Have a multimeter, screwdrivers, pliers, and insulated gloves on hand. Avoid using metal tools near live circuits.
- Work in a Dry Area: Moisture can cause electrical shorts. Ensure your workspace is dry and well-lit.
- Consult Manuals: Refer to the appliance manual for specific diagrams and warnings. If unsure, seek online resources or professional advice.
- Test Safely: After repairs, plug in the appliance and test from a distance initially. Look for sparks or unusual sounds.
- Know Your Limits: If a repair involves complex wiring or gas components (for some exhaust fans), hire a professional. Don't risk electrical shocks or fires.
By adhering to these precautions, you can tackle DIY repairs confidently and safely.
✅ Conclusion

Microwave and fan troubleshooting doesn't always require a technician. With this guide, you've learned to diagnose and fix common issues like heating problems, turntable failures, noise, and speed irregularities. Remember to start with simple checks, such as power supply and obstructions, before moving to component replacements. Regular maintenance, like cleaning and tightening parts, can prevent many problems. However, if you encounter persistent issues or feel uncomfortable with electrical work, don't hesitate to call a professional. DIY repairs empower you to maintain your appliances efficiently, ensuring they serve you well for years to come. Keep this guide handy for quick reference, and enjoy the satisfaction of fixing things yourself!
For further assistance, consider watching tutorial videos or joining online forums dedicated to appliance repair. Always prioritize safety and use genuine replacement parts for best results. Happy troubleshooting!