How to Unclog Drains Quickly: Step-by-Step DIY Tips
Dealing with a clogged drain is a common household nuisance that can disrupt daily routines, from slow-draining sinks to backed-up showers. While calling a professional plumber is always an option, many clogs can be resolved quickly and affordably with do-it-yourself methods. This comprehensive guide will walk you through various step-by-step DIY tips to unclog drains efficiently, using tools and materials you likely already have at home. By understanding the causes of clogs and mastering these techniques, you can save time and money while maintaining a functional plumbing system. Remember, safety first: always wear gloves and eye protection when working with chemicals or tools, and ensure proper ventilation in the area.
🔍 Understanding Drain Clogs: Common Causes and Types
Before diving into unclogging methods, it's essential to recognize what causes drains to block.
Common Causes
- Accumulation of debris, grease, hair, soap scum, food particles, or mineral deposits over time.
- In kitchens: grease buildup or food waste.
- In bathrooms: hair and soap residue.
- External factors: tree roots invading pipes or structural issues (may require professional attention).
Identifying Clogs
- Surface-level clog: might be resolved with a plunger.
- Deeper obstruction: may need a drain snake.
- Assess severity: slow draining vs. no draining.
🛠️ Essential Tools and Materials for DIY Drain Unclogging
To tackle drain clogs effectively, gather the right tools and materials beforehand.
Tools and Materials List
- Plunger: A standard cup plunger for sinks or a flange plunger for toilets.
- Drain snake or auger: A flexible tool to reach deep clogs.
- Chemical drain cleaners: Commercial products like Drano or Liquid-Plumr, but use with caution due to potential pipe damage and health risks.
- Natural alternatives: Baking soda, vinegar, hot water, and salt for eco-friendly methods.
- Bucket and towels: To catch water and prevent messes.
- Wrench or pliers: For removing drain covers or pipes if necessary.
- Gloves and safety goggles: To protect your hands and eyes during the process.
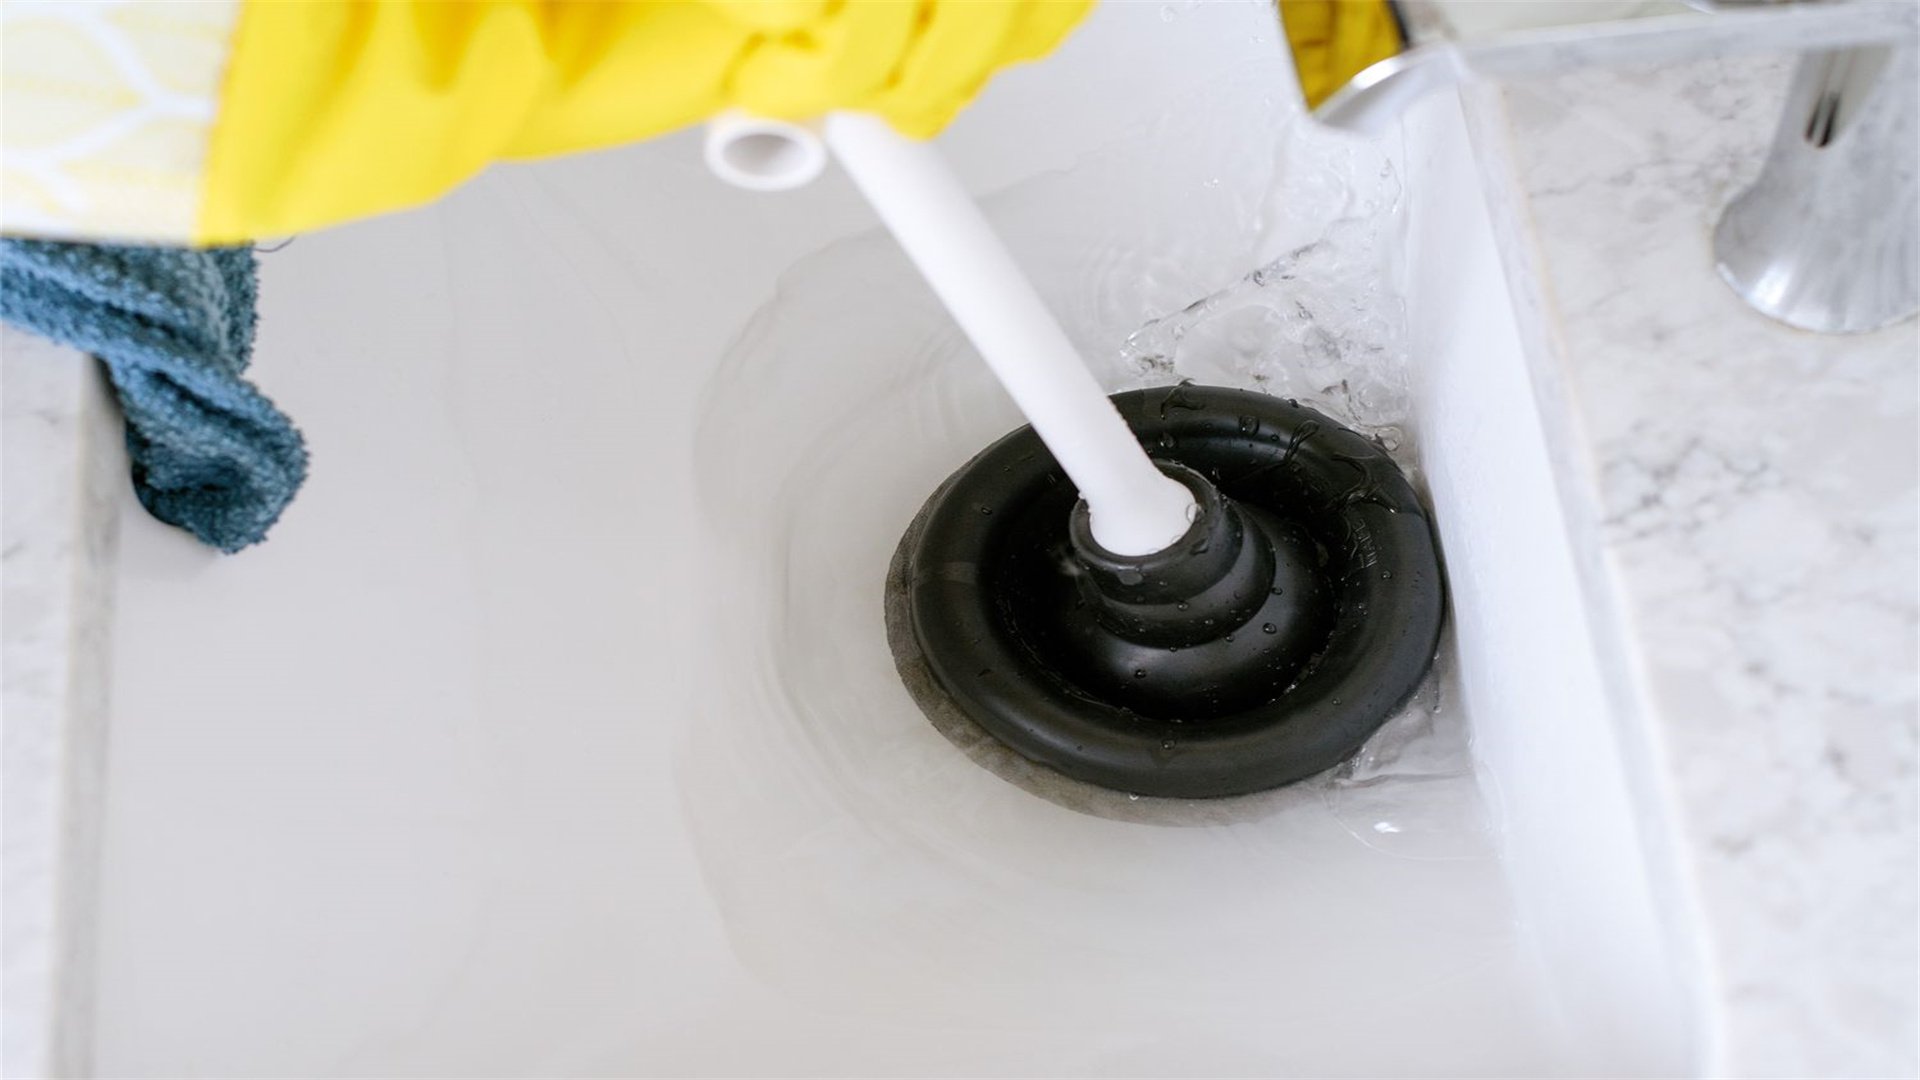
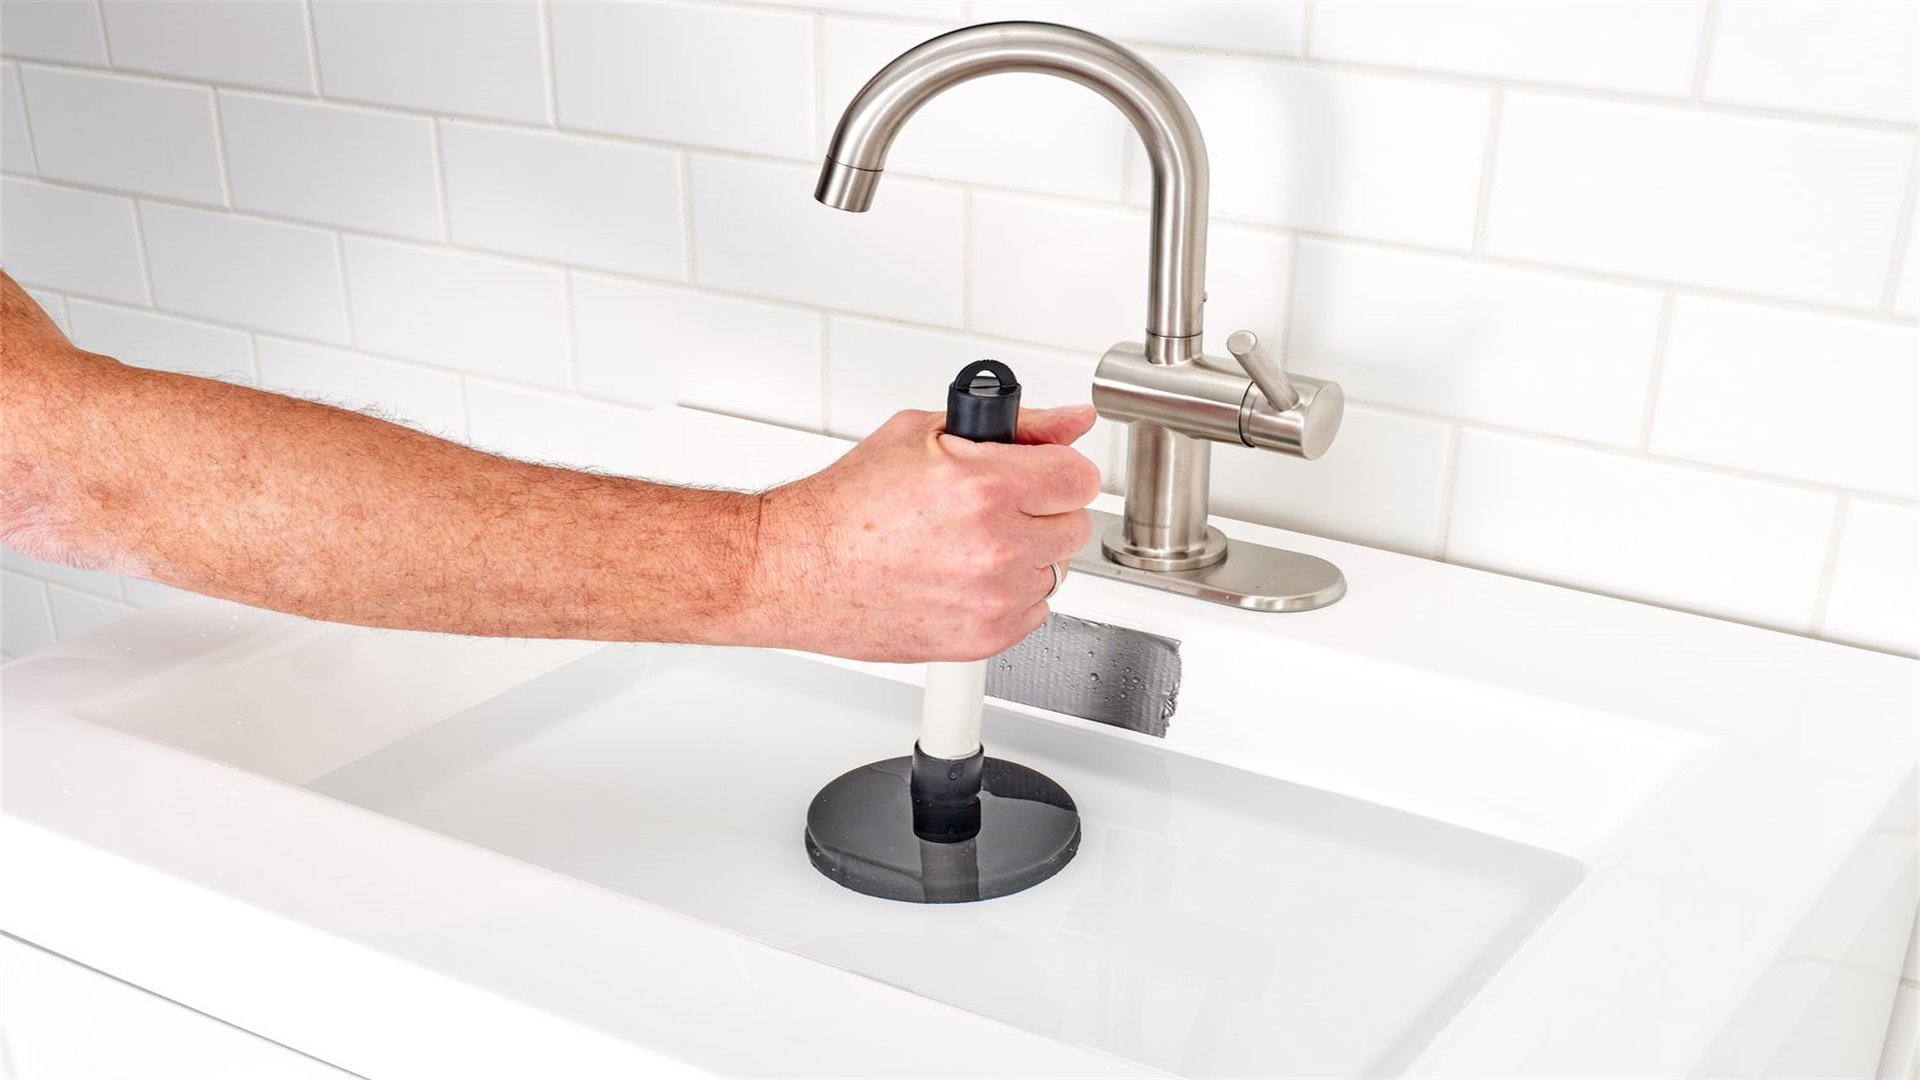
🎸 Step-by-Step Method 1: Using a Plunger for Quick Results
The plunger is a classic tool for dislodging clogs through suction and pressure. It's ideal for sinks, showers, and toilets with moderate blockages.
Steps
- Clear the area: Remove any standing water from the sink or tub using a cup or bucket, leaving just enough to cover the plunger's cup for a better seal.
- Create a seal: Place the plunger over the drain opening, ensuring it covers it completely. For sinks with overflow holes, plug them with a wet cloth to maximize suction.
- Apply forceful plunges: Push down firmly and pull up rapidly in a consistent motion. Aim for 10-20 plunges, maintaining the seal to build pressure that breaks up the clog.
- Test the drain: After plunging, remove the plunger and run hot water to see if the clog clears. If water drains slowly, repeat the process or try another method.
Tips for Success
- Use a plunger specifically designed for the fixture—for example, a flange plunger for toilets to fit the curved drain.
- Avoid using excessive force, which can damage pipes.
- Clean the plunger afterward with disinfectant.
⚗️ Step-by-Step Method 2: Chemical Drain Cleaners – Pros and Cons
Chemical drain cleaners offer a convenient solution but come with risks. They work by dissolving organic matter through reactive ingredients like sodium hydroxide or sulfuric acid.
How to Use Them Safely
- Read the label: Follow the manufacturer's instructions carefully, noting the recommended amount and safety precautions.
- Apply the cleaner: Pour the specified quantity directly into the drain, avoiding splashes. Use gloves and goggles, and ensure the room is well-ventilated.
- Wait and flush: Allow the chemical to work for the designated time, usually 15-30 minutes. Then, flush the drain with hot water to rinse away residues.
Advantages
- Chemicals can dissolve tough clogs quickly without physical effort.
Disadvantages
- They can corrode pipes over time, especially in older systems.
- Pose environmental and health hazards.
- Never mix different chemicals, as this can create toxic fumes.
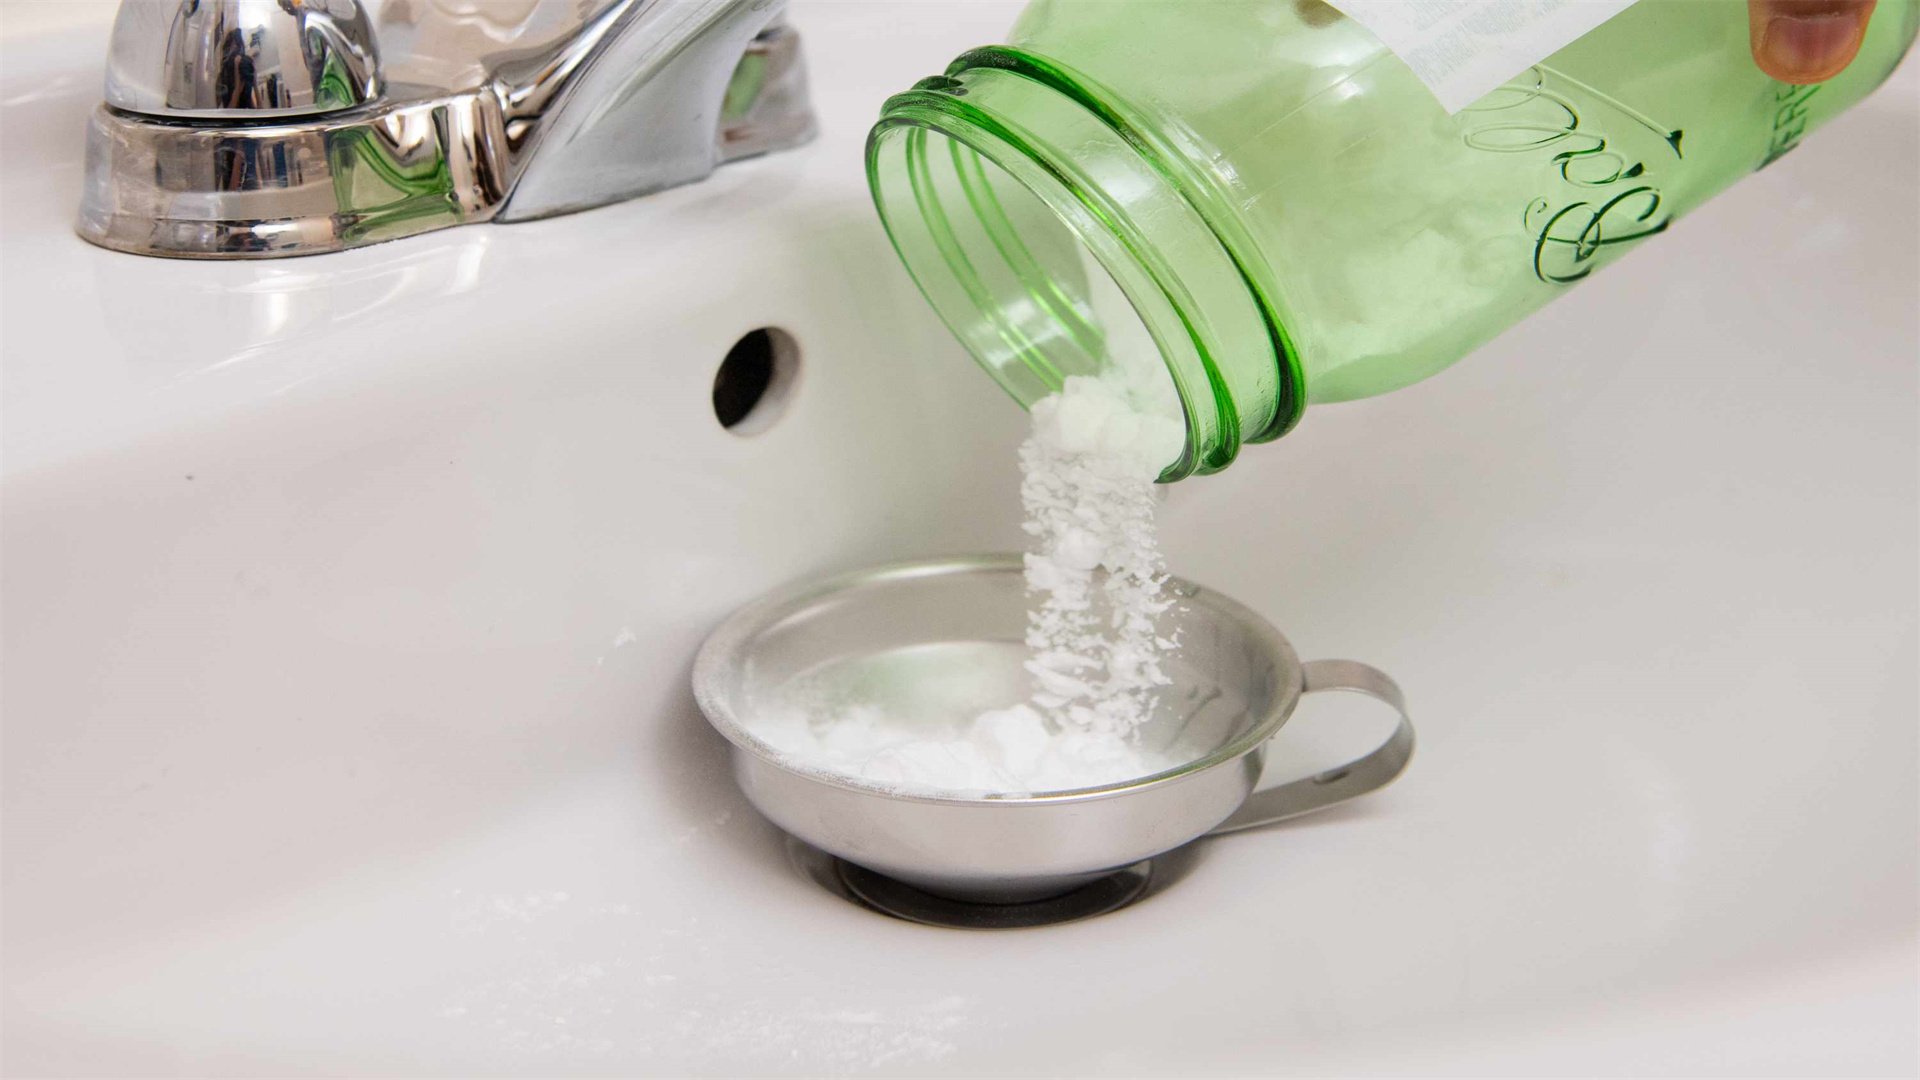
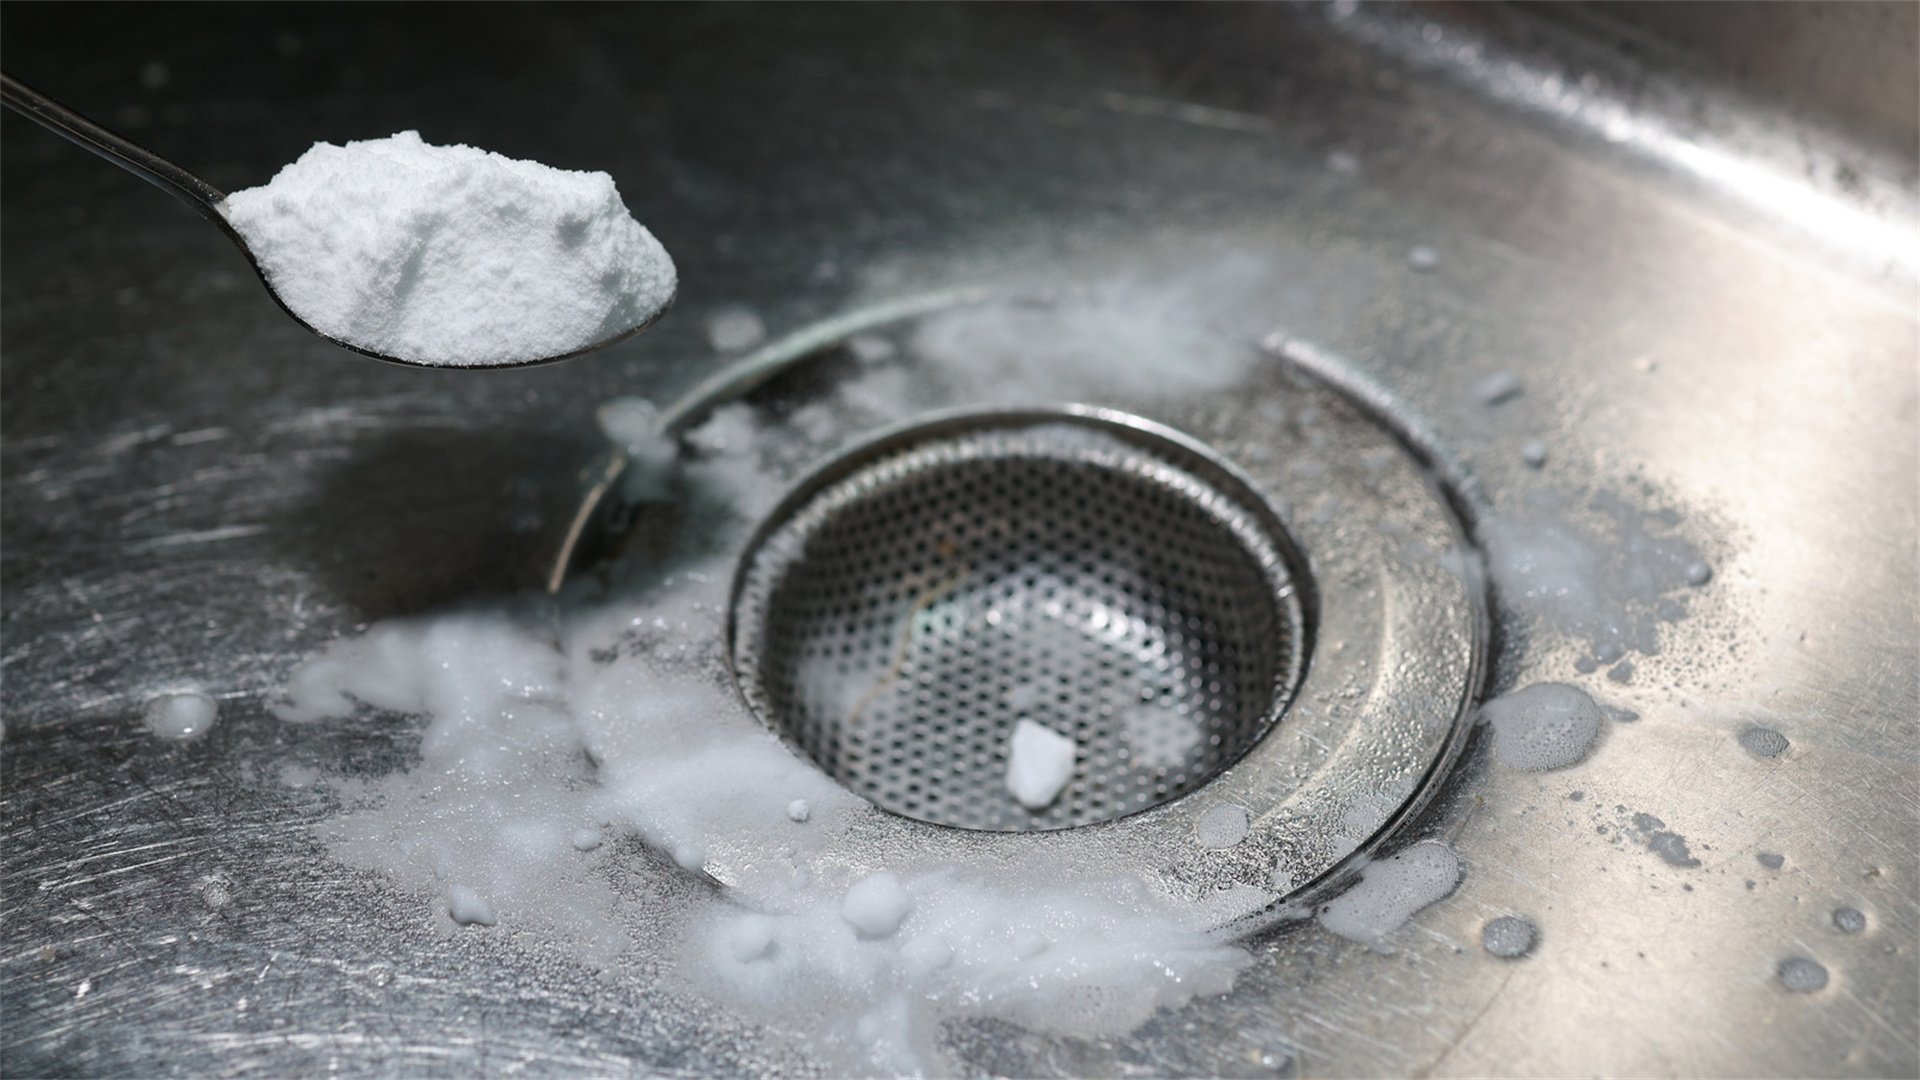
🌿 Step-by-Step Method 3: Natural Remedies with Baking Soda and Vinegar
For an eco-friendly and gentle approach, baking soda and vinegar create a fizzing reaction that can break down minor clogs. This method is safe for most pipes and effective for maintenance.
Steps
- Pour boiling water: Start by flushing the drain with a kettle of boiling water to loosen any grease or debris. Be cautious with PVC pipes, as extreme heat can damage them—use hot tap water instead.
- Add baking soda: Pour about 1/2 cup of baking soda directly into the drain. Use a funnel if needed to avoid spillage.
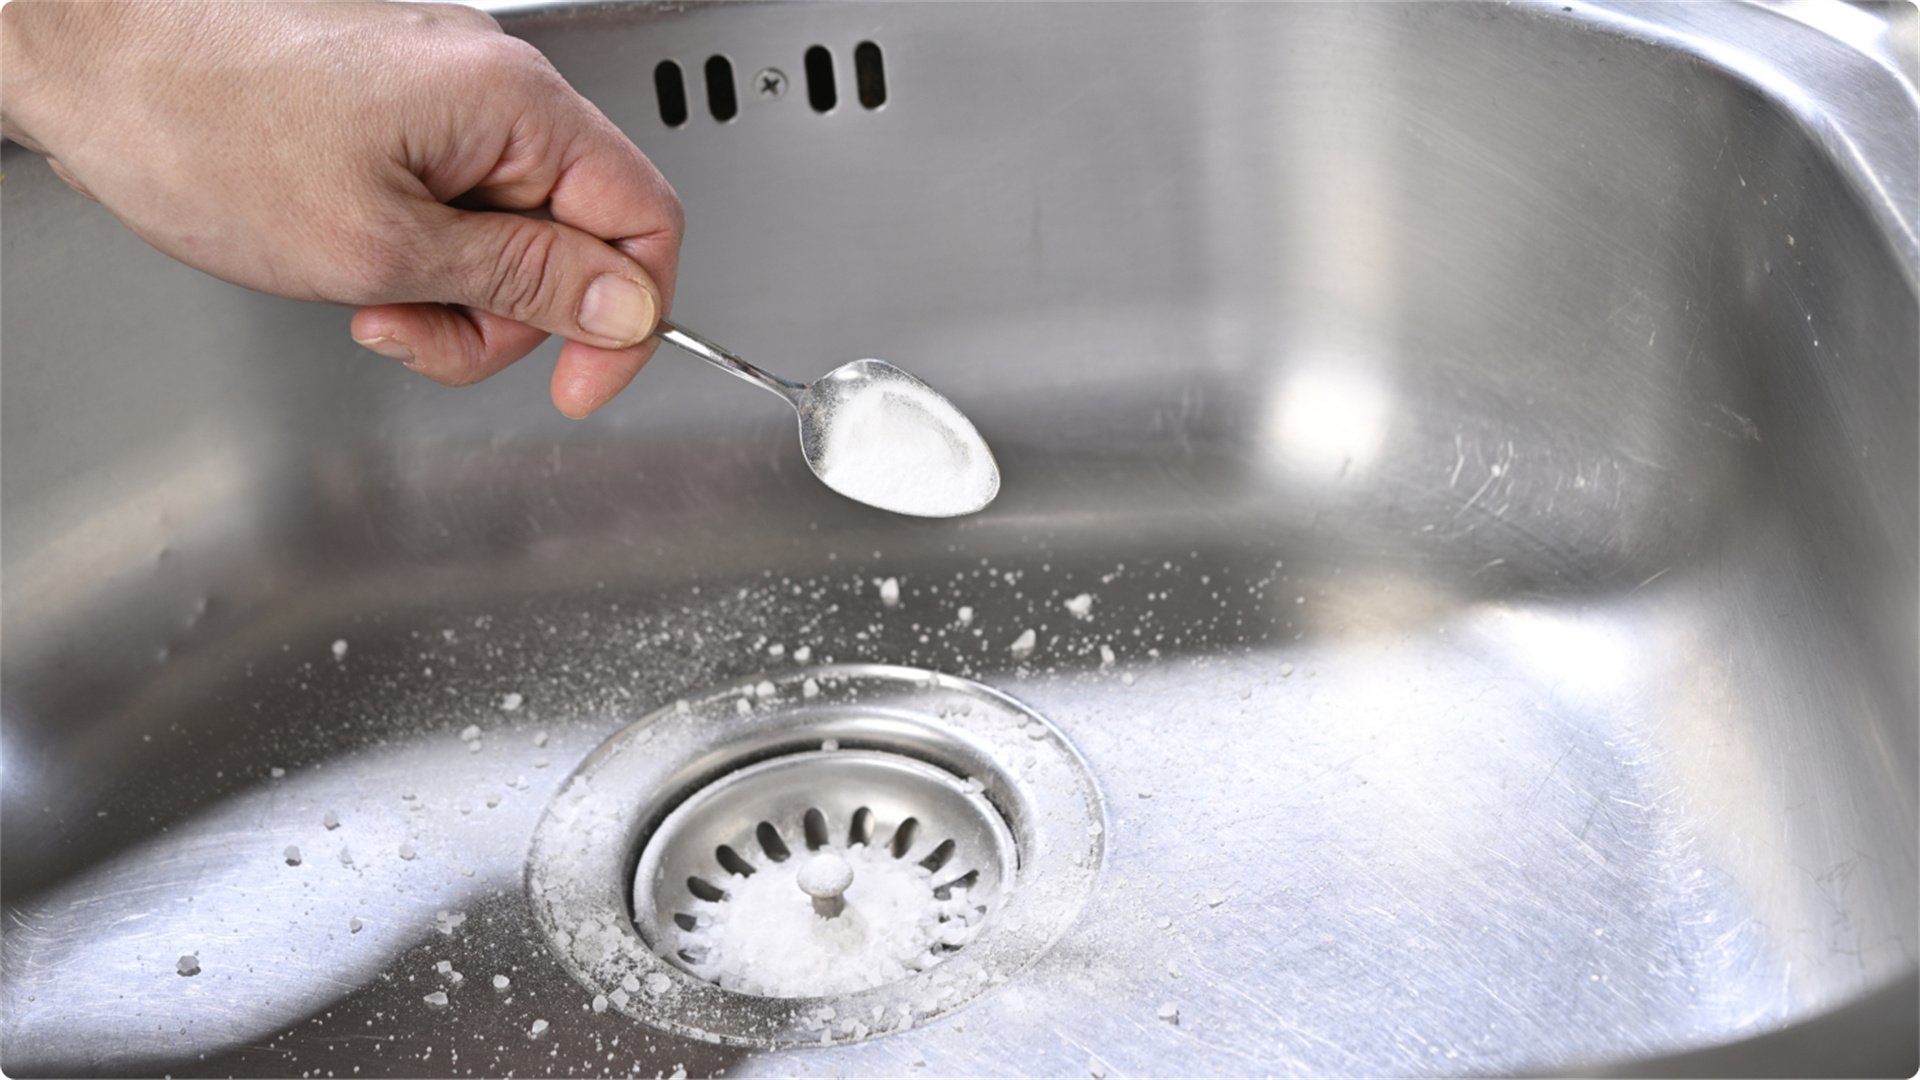
- Add vinegar: Follow with 1 cup of white vinegar. The mixture will bubble and fizz, helping to dislodge the clog.
- Let it sit: Cover the drain with a plug or cloth and wait 30 minutes to an hour for the reaction to work.
- Flush with hot water: Finally, pour another pot of boiling or hot water down the drain to clear the residue.
Additional Tips
- For tougher clogs, repeat the process or add salt for extra abrasion.
- This natural method is excellent for regular maintenance—perform it monthly to prevent buildup.
- It's cost-effective and non-toxic, making it suitable for households with children or pets.
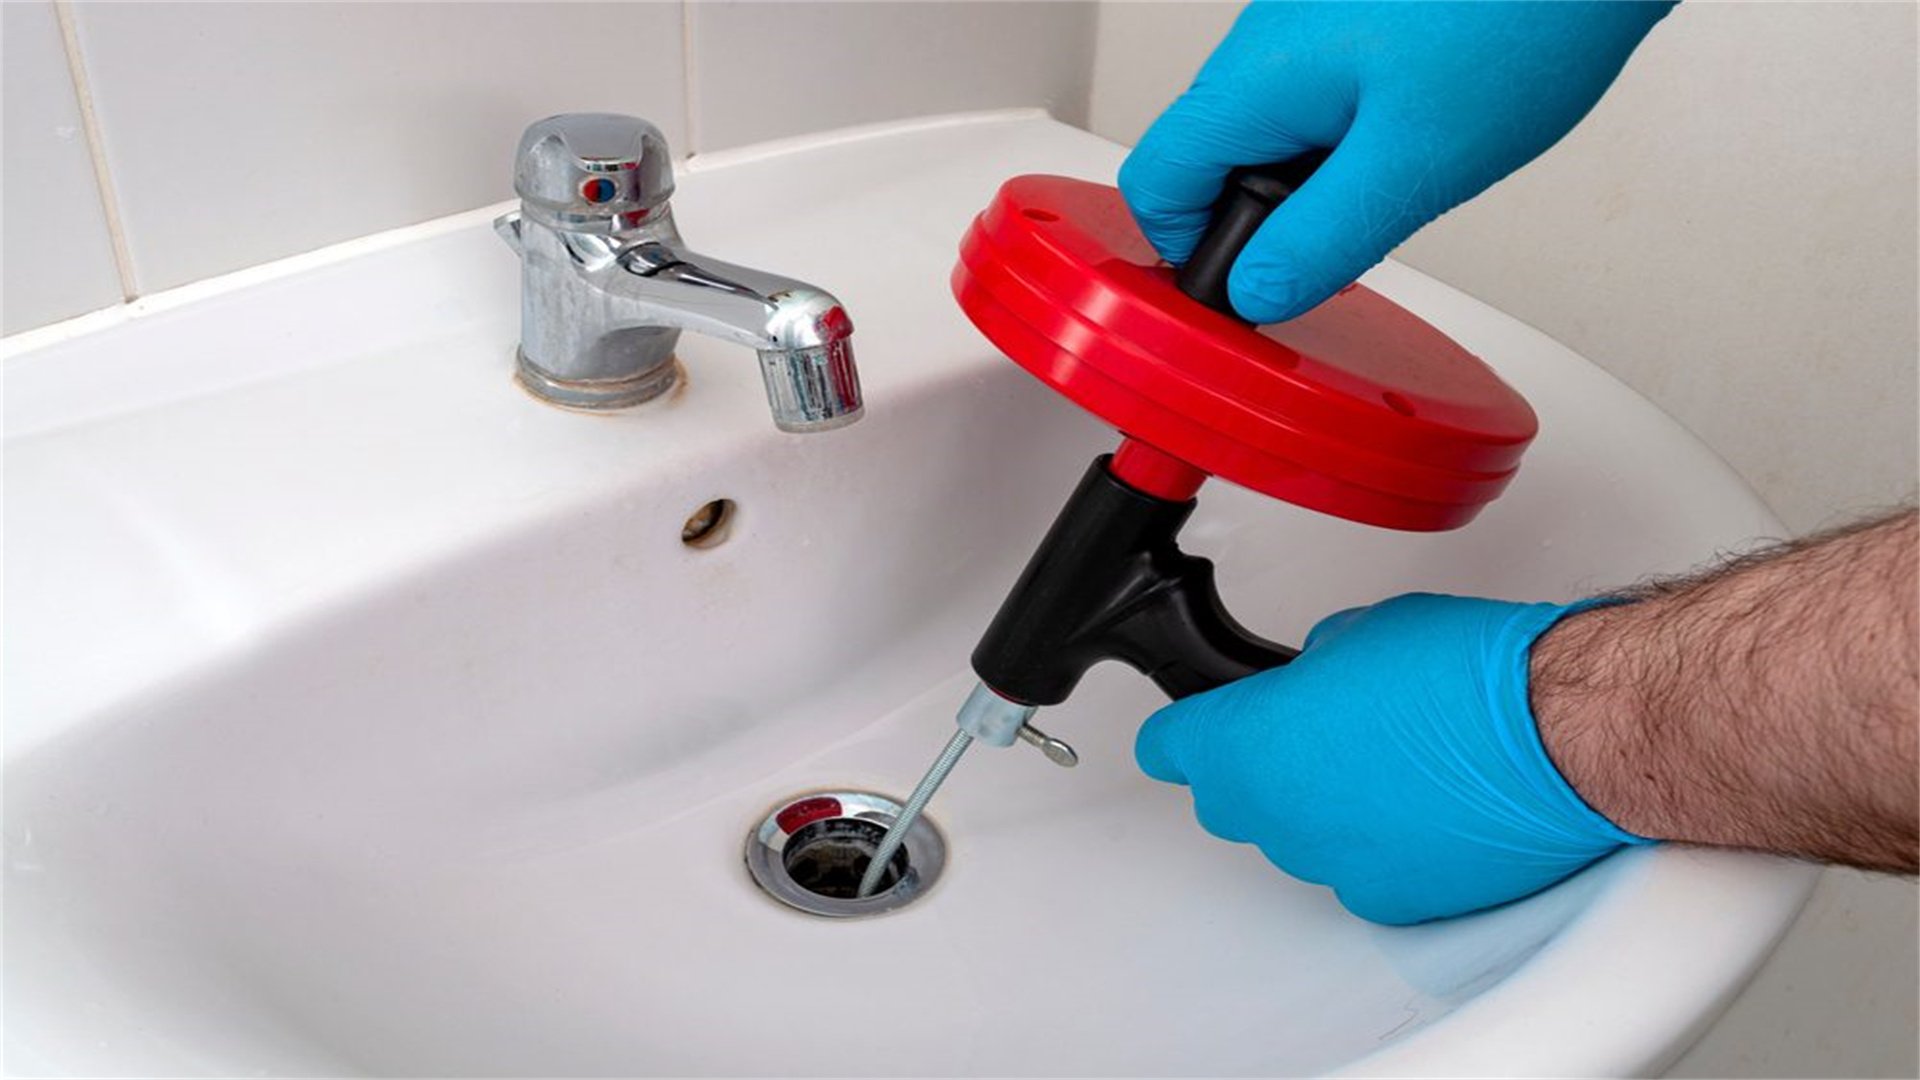
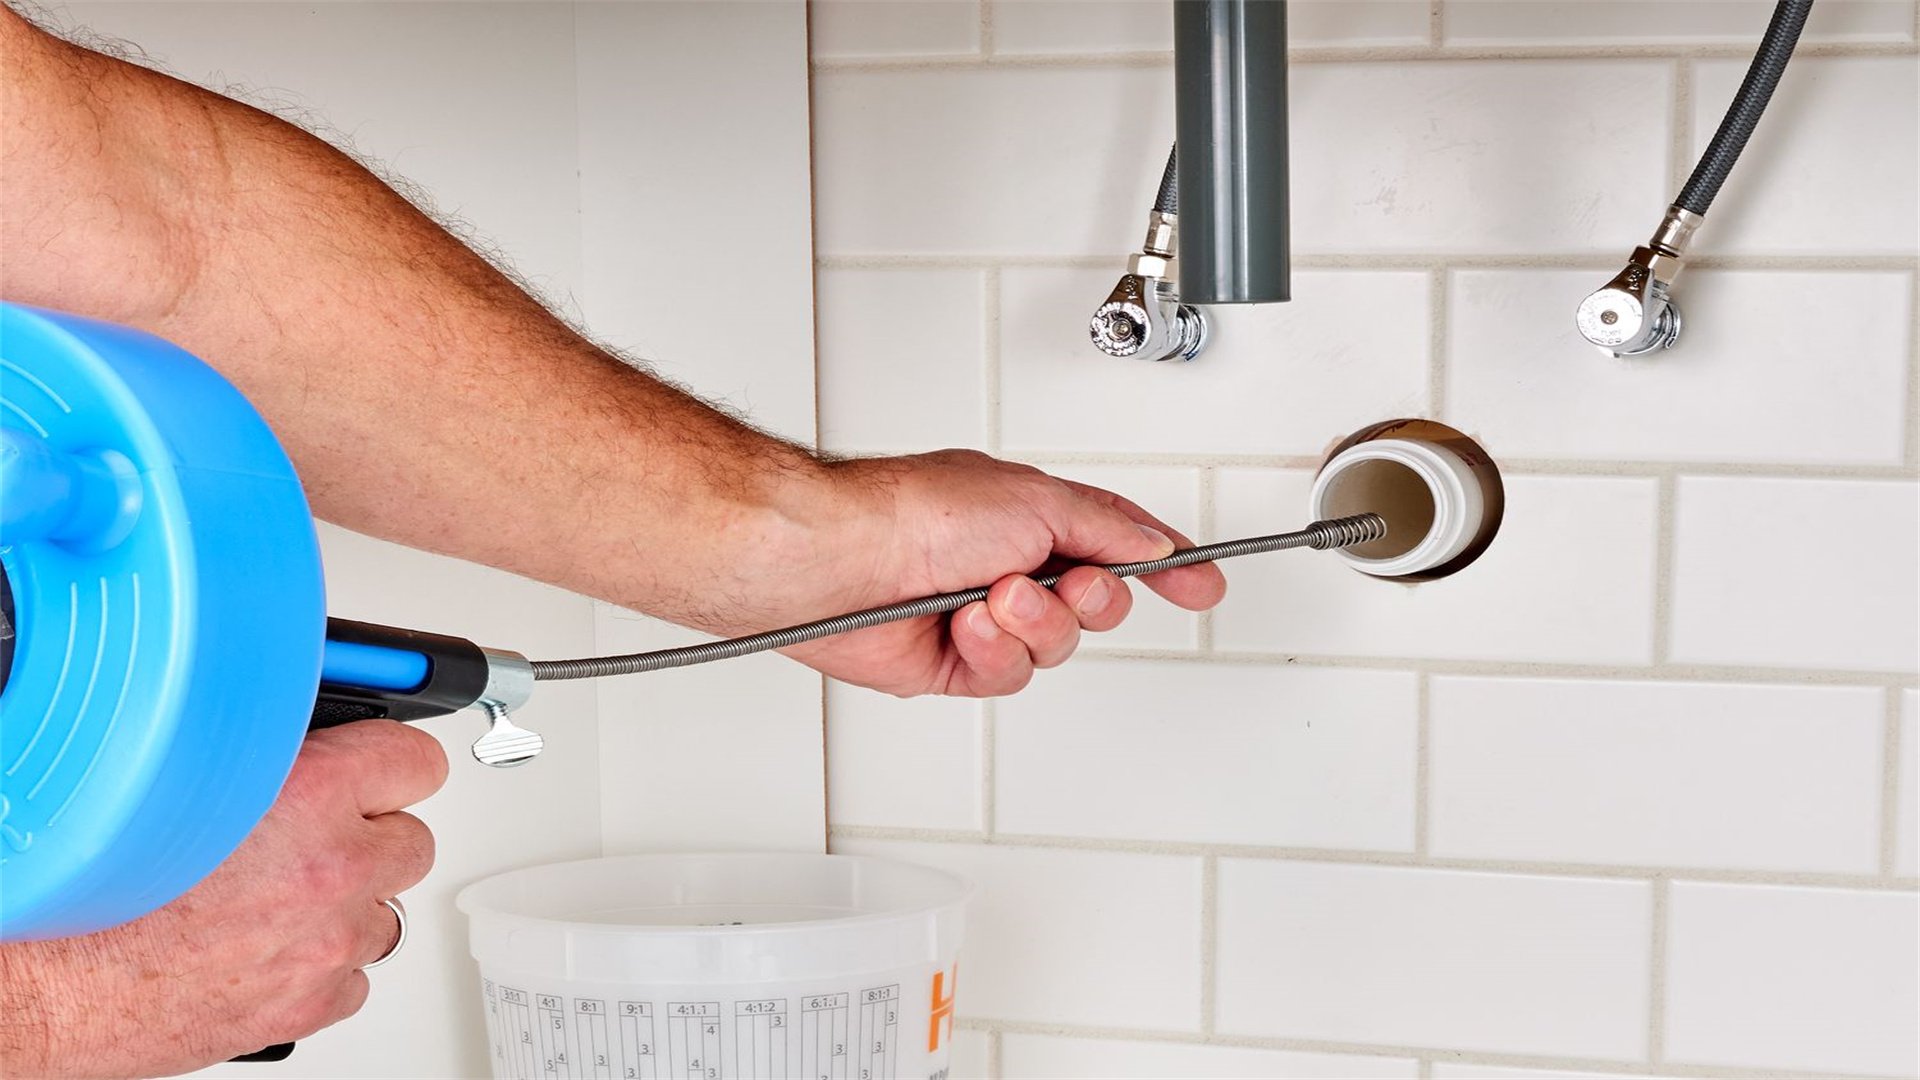
🐍 Step-by-Step Method 4: Using a Drain Snake or Auger
A drain snake, also known as an auger, is a flexible tool that physically removes clogs deep within pipes. It's ideal for stubborn blockages that plungers or chemicals can't handle.
Detailed Guide
- Prepare the area: Place towels around the drain to catch any water or debris. Remove the drain cover if possible, using a wrench or screwdriver.
- Insert the snake: Feed the snake's end into the drain opening, turning the handle clockwise as you push it forward. This helps the coil navigate bends in the pipe.
- Reach the clog: Continue inserting until you feel resistance, indicating you've hit the clog. Rotate the snake to break it up or hook onto it.
- Retrieve the snake: Slowly pull the snake out, bringing any debris with it. Dispose of the material in a trash bag.
- Clean and test: Rinse the snake with water and disinfect it. Then, run hot water down the drain to ensure it's clear.
Variations and Tips
- Variations include hand-crank snakes for sinks and motorized augers for larger pipes.
- Always wear gloves to protect against sharp edges.
- Avoid forcing the snake, which could damage pipes.
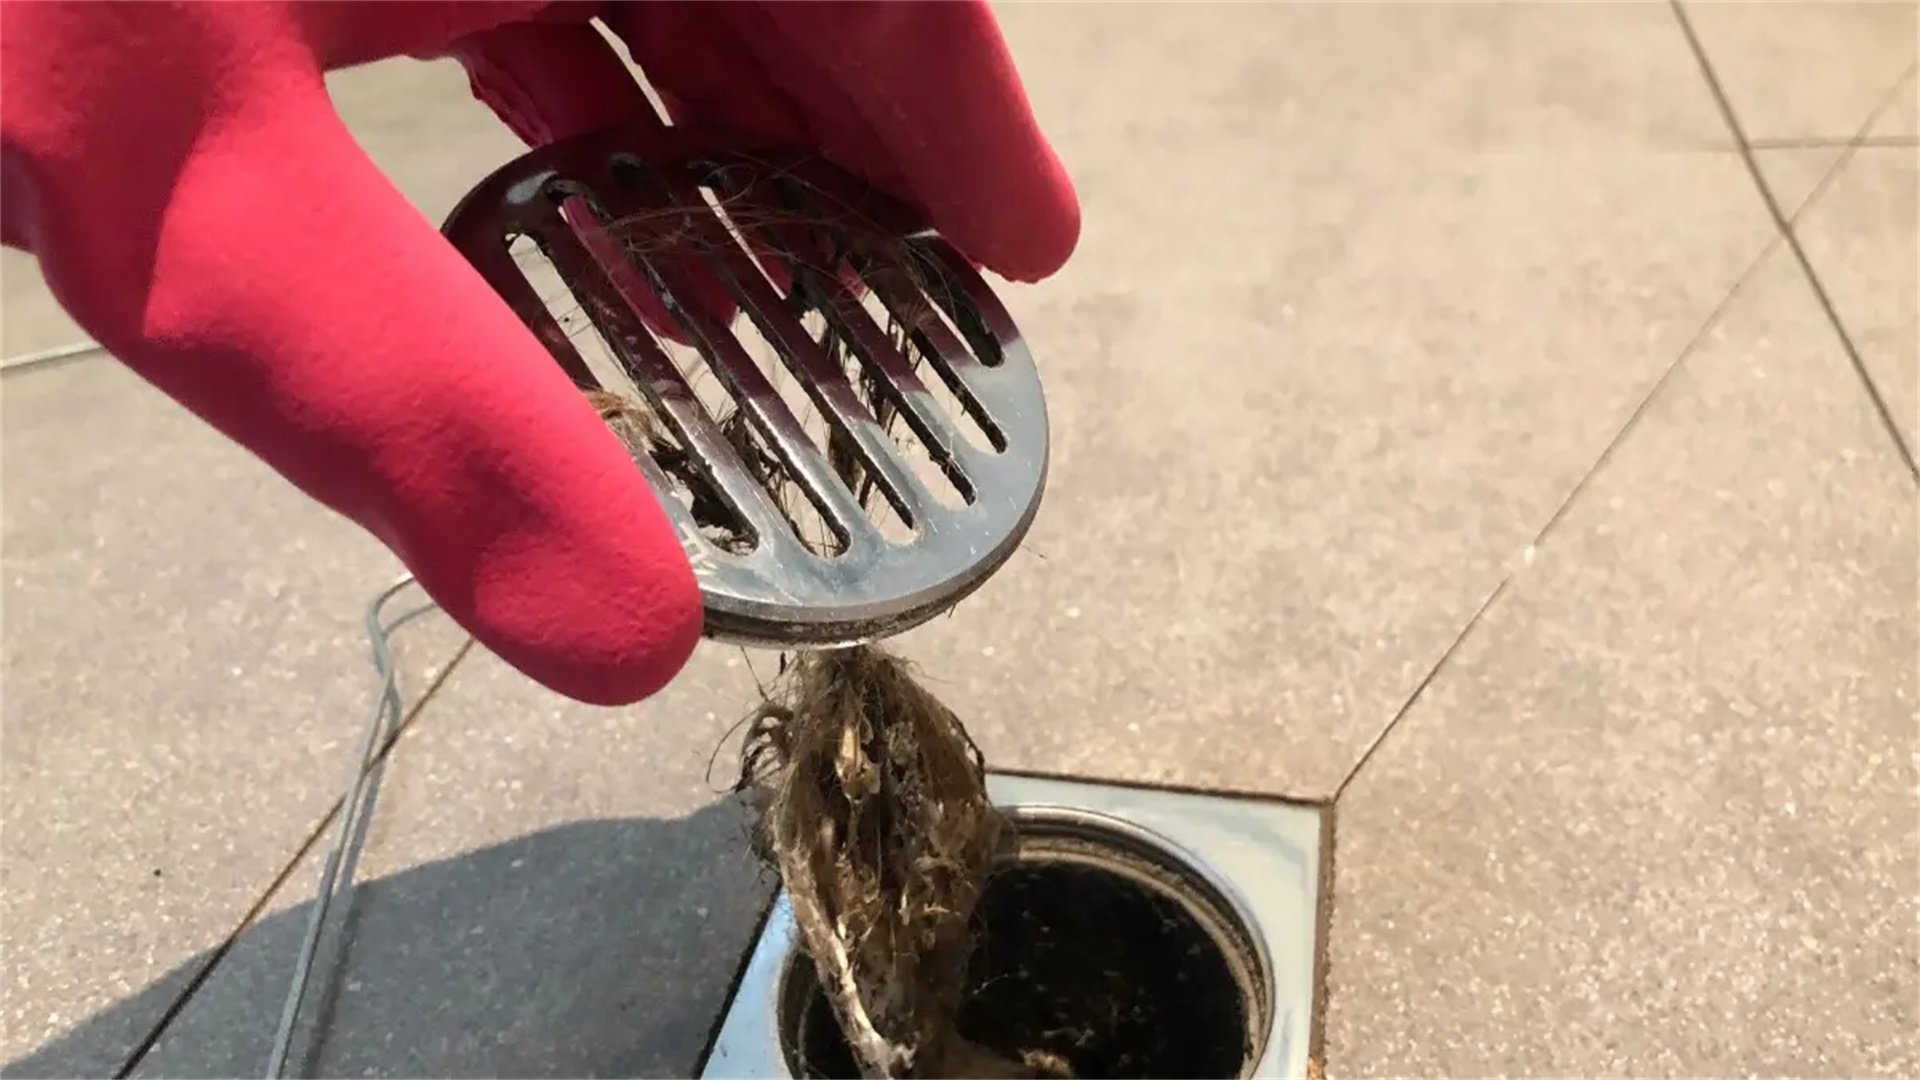
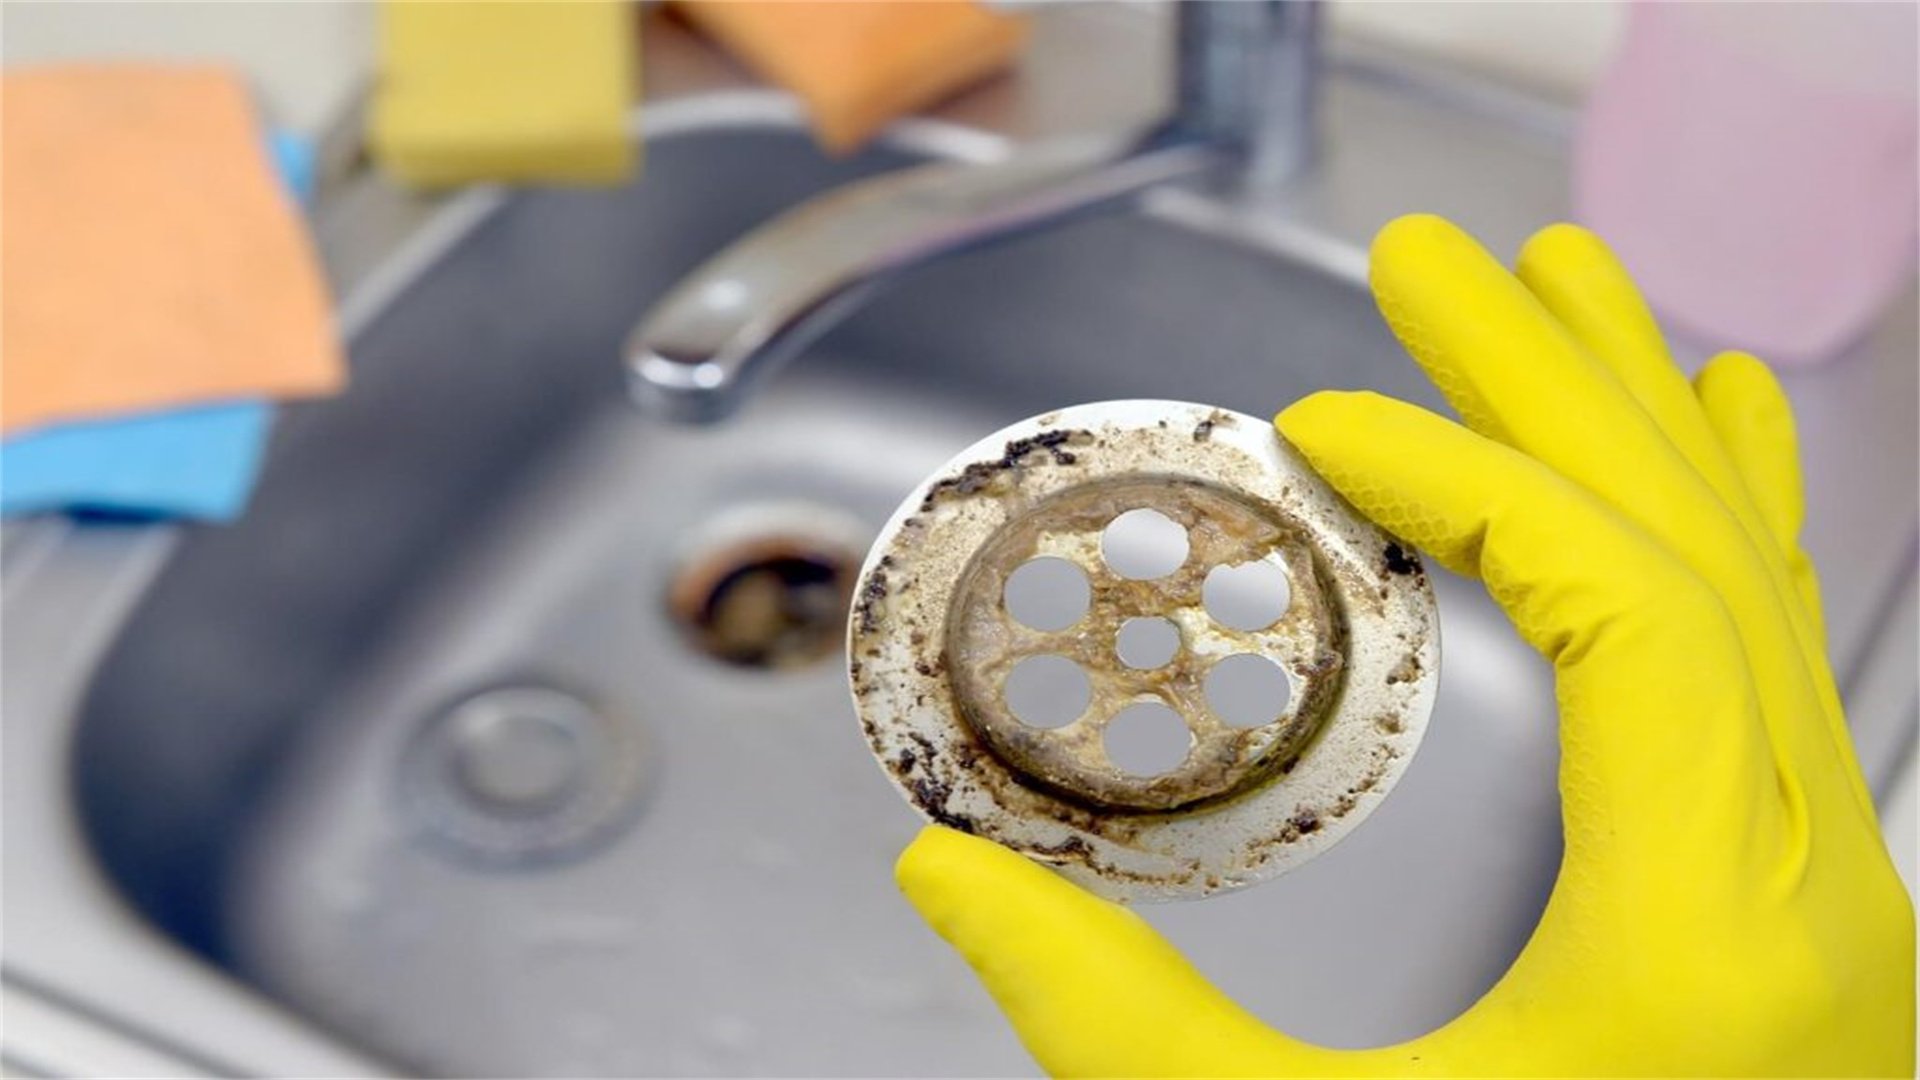
👐 Step-by-Step Method 5: Manual Removal and Cleaning
For clogs near the surface, manual removal can be quick and straightforward. This involves physically extracting debris from the drain opening.
Steps
- Remove the drain stopper: In sinks or tubs, unscrew or lift out the stopper. You may need pliers or a tool to detach it.
- Clean visible debris: Use a wire hook, bent coat hanger, or tweezers to pull out hair, soap, or other materials. Wear gloves for hygiene.
- Flush the drain: After clearing the debris, pour hot water down to rinse any remaining particles.
- Reassemble: Replace the stopper securely and test the drain by running water.
Best Practices
- This method is best for preventative maintenance and minor clogs.
- Regularly cleaning stoppers and overflow holes can prevent blockages from forming.
- For kitchen sinks, consider using a strainer to catch food particles, reducing the need for manual removal.
🚀 Step-by-Step Method 6: Advanced Techniques for Stubborn Clogs
If basic methods fail, try these advanced DIY techniques for persistent clogs:
Techniques
- Wet/dry vacuum: Use a wet/dry vacuum to suck out the clog. Set it to liquid mode, seal the hose over the drain, and create a tight seal with towels. Turn it on to extract debris—this works well for toilets or floor drains.
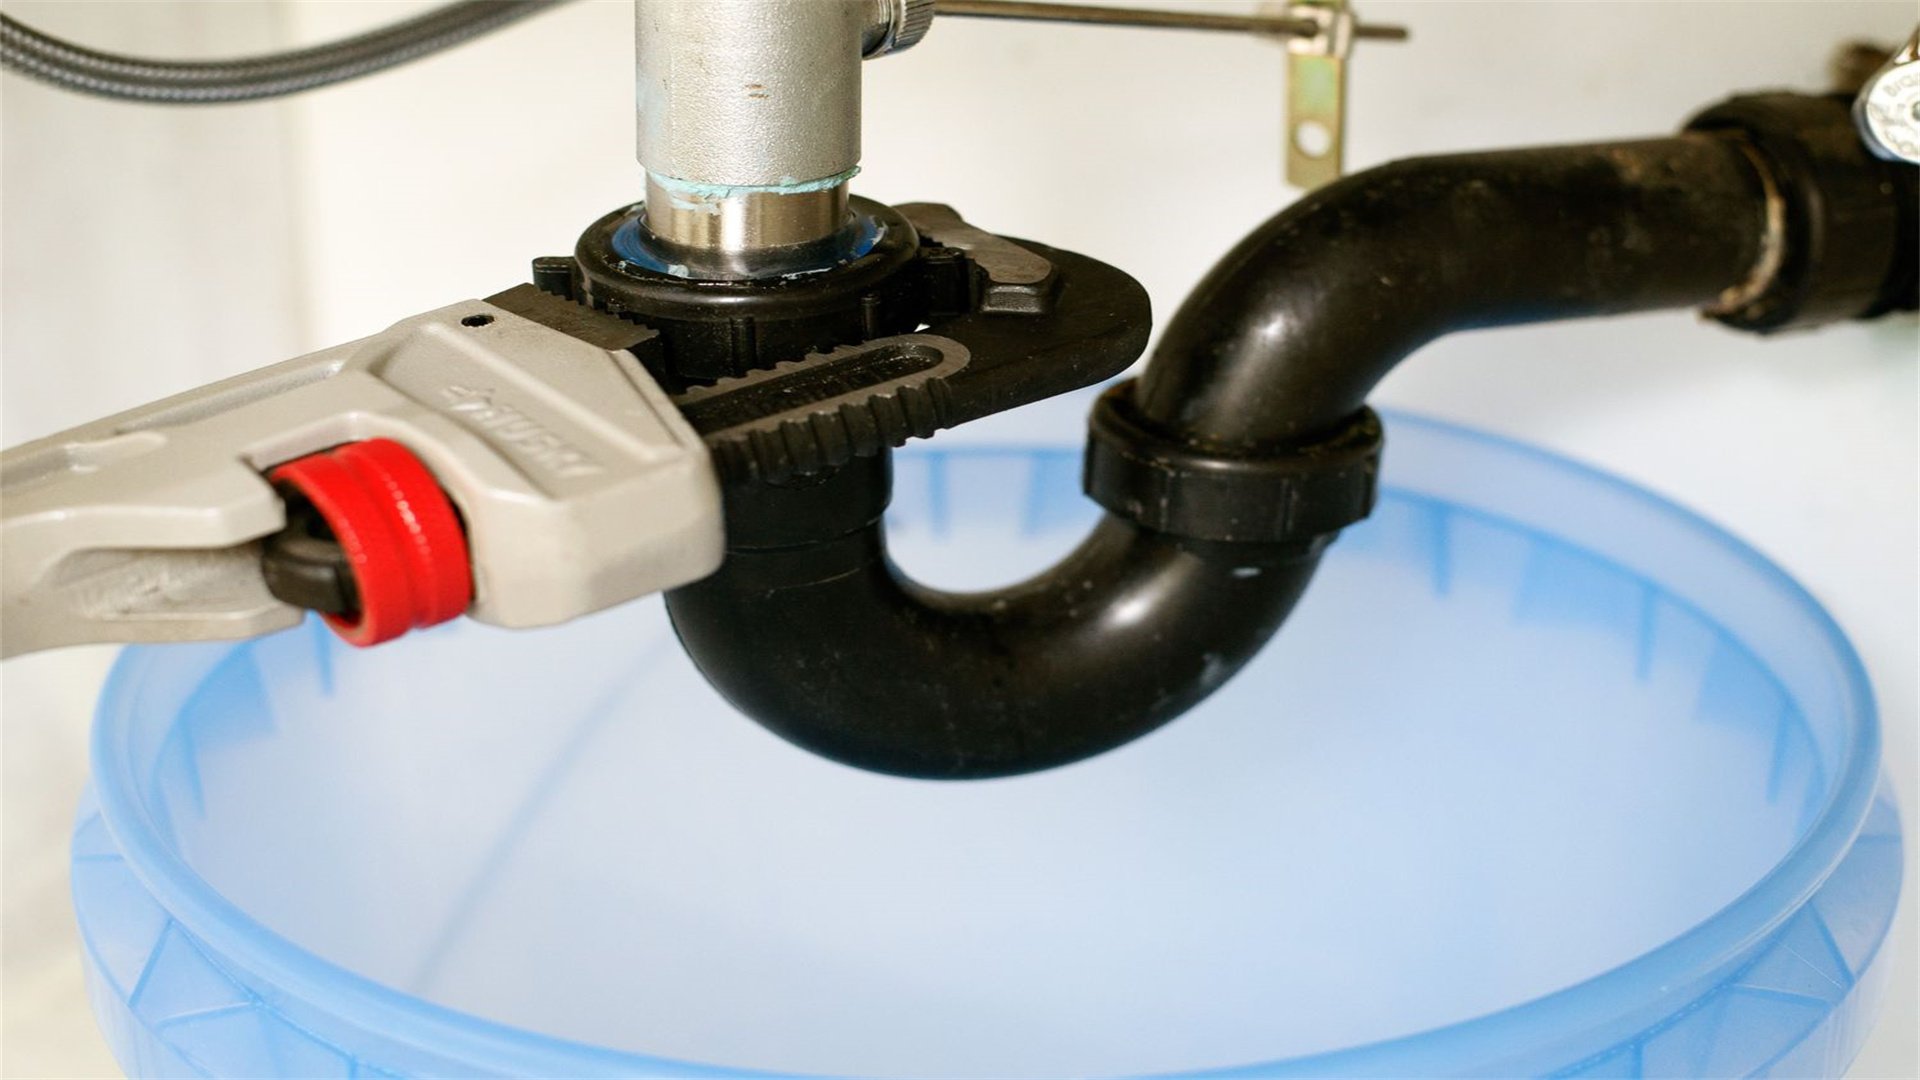
- Pipe removal: For under-sink clogs, place a bucket underneath and carefully disconnect the P-trap (the curved pipe). Clean it out with a brush and reassemble, ensuring all connections are tight to prevent leaks.
- Hot water and dish soap: Combine a few tablespoons of dish soap with boiling water. The soap can help dissolve grease, while the heat flushes it away. Pour the mixture down the drain and let it sit for 15 minutes before flushing with more hot water.
Precautions
- These methods require more effort but can resolve deep-seated clogs without professional help.
- Always turn off water supply valves if disassembling pipes, and have a plan for any spills.
- If the clog persists, it might be deeper in the main line, necessitating a plumber's inspection.
🛡️ Preventative Measures to Keep Drains Flowing Smoothly
Prevention is key to avoiding future clogs. Incorporate these habits into your routine:
Measures
- Use drain screens: Install strainers in sinks, showers, and tubs to catch hair, food, and other debris.
- Avoid pouring grease: Never dispose of cooking oil or grease down drains—collect it in a container and throw it in the trash.
- Flush with hot water: Weekly, pour boiling water down drains to melt grease buildup, but avoid this for PVC pipes.
- Regular cleaning: Monthly, use the baking soda and vinegar method to maintain clear pipes.
- Mind what goes down: Dispose of food scraps, coffee grounds, and hygiene products in the trash, not the toilet or sink.
📞 When to Call a Professional Plumber
While DIY methods are effective for many clogs, some situations require professional intervention.
Situations for Professional Help
- Multiple drains are clogged simultaneously, indicating a main line blockage.
- Water backs up into other fixtures, such as toilets gurgling when sinks drain.
- DIY attempts fail repeatedly, suggesting a deeper or more complex issue.
- You notice foul odors or slow drainage despite cleaning, which could signal pipe damage or root intrusion.
- The property has older pipes made of clay or cast iron that are prone to cracking.
🎯 Conclusion: Empowering Yourself with DIY Drain Unclogging
Unclogging drains quickly is a valuable skill that enhances home maintenance and saves money. By following these step-by-step DIY tips—from plunging and natural remedies to using drain snakes—you can tackle most blockages with confidence. Remember to prioritize safety, choose the right method for the clog type, and implement preventative measures to keep drains clear. While this guide provides comprehensive instructions, always assess your comfort level and seek professional help when needed. With practice, you'll become adept at managing plumbing issues, ensuring a smoothly running household. Keep this article as a reference for future drain emergencies, and share these tips with friends and family to spread DIY knowledge.
For further reading, explore online resources from reputable home improvement websites or consult plumbing manuals. Stay proactive with regular maintenance, and your drains will thank you with years of reliable service. Happy unclogging!