How to Repair Broken Locks Without a Locksmith
Locks are essential security features in our homes, vehicles, and personal belongings, but they can break due to wear and tear, misuse, or environmental factors. Calling a locksmith can be expensive and time-consuming, often costing between $50 to $200 or more per service. However, many lock issues can be repaired by yourself with the right knowledge, tools, and patience. This comprehensive guide will walk you through the process of repairing broken locks without professional help, covering various lock types, diagnostic techniques, step-by-step repair methods, and safety tips. By the end, you'll be equipped to handle common lock problems, save money, and enhance your DIY skills. Remember, while DIY repairs can be effective, always prioritize safety and consult a professional if you're unsure or dealing with high-security locks.
🔍 Understanding Lock Mechanisms and Common Failures

Lock Types and Components
- Pin Tumbler Locks: Widely used in doors; rely on pins aligning with a shear line.
- Wafer Tumbler Locks: Common in cars and cabinets; use flat wafers instead of pins.
- Lever Locks: Often found in older doors; employ levers that must be lifted to a specific height.
- Electronic Locks: Include keypad or smart locks; depend on batteries and circuits.
Common Lock Failures
- Stuck keys due to dirt or misalignment.
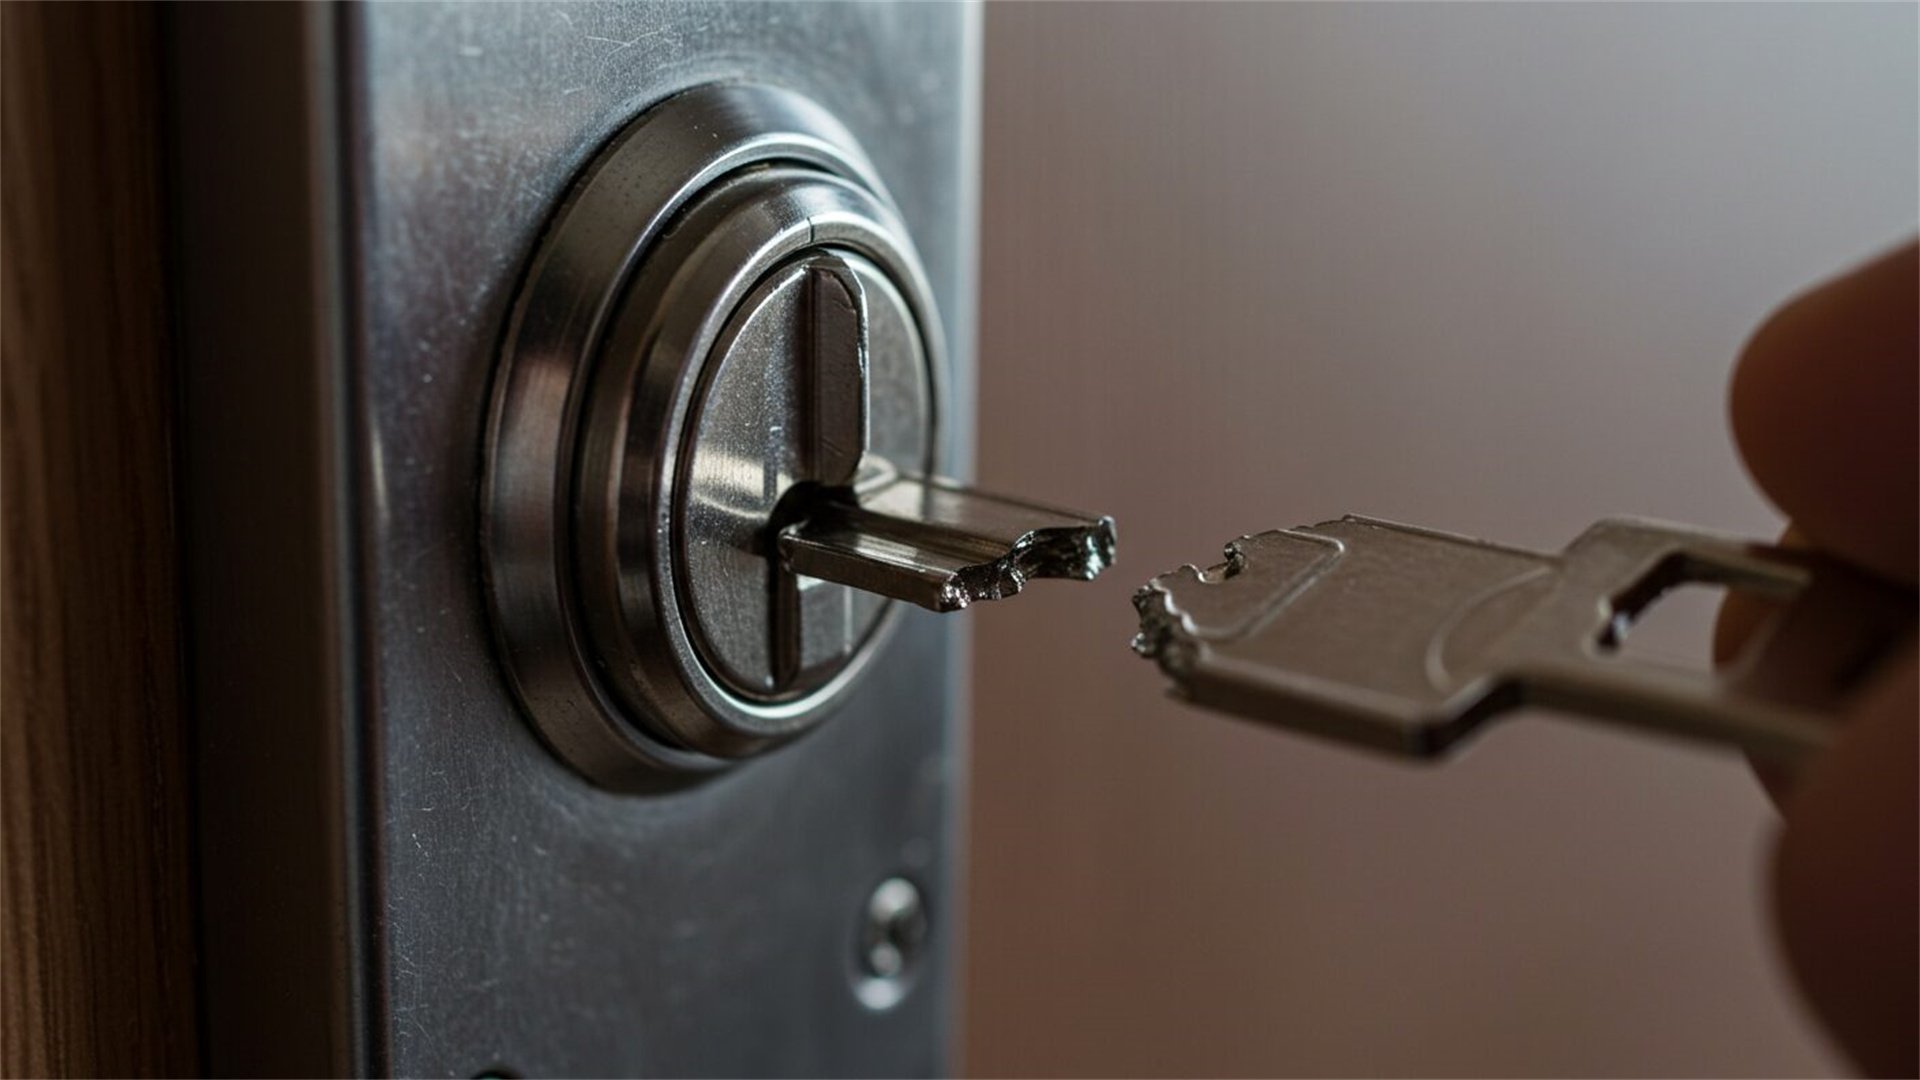
- Broken keys inside the lock from excessive force.
- Misaligned latches preventing proper locking.
- Worn-out pins or springs causing internal malfunctions.
- Corrosion from humidity or environmental exposure.
Environmental Impact on Locks
- Humidity: Can lead to rust and corrosion, especially in metal parts.
- Extreme Temperatures: May cause expansion or contraction, jamming mechanisms.
- Dirt Accumulation: Debris can block pins or springs, hindering movement.
🩺 Diagnosing the Specific Problem with Your Lock
Step-by-Step Diagnostic Process
- Visual Inspection: Look for cracks, rust, or obvious damage.
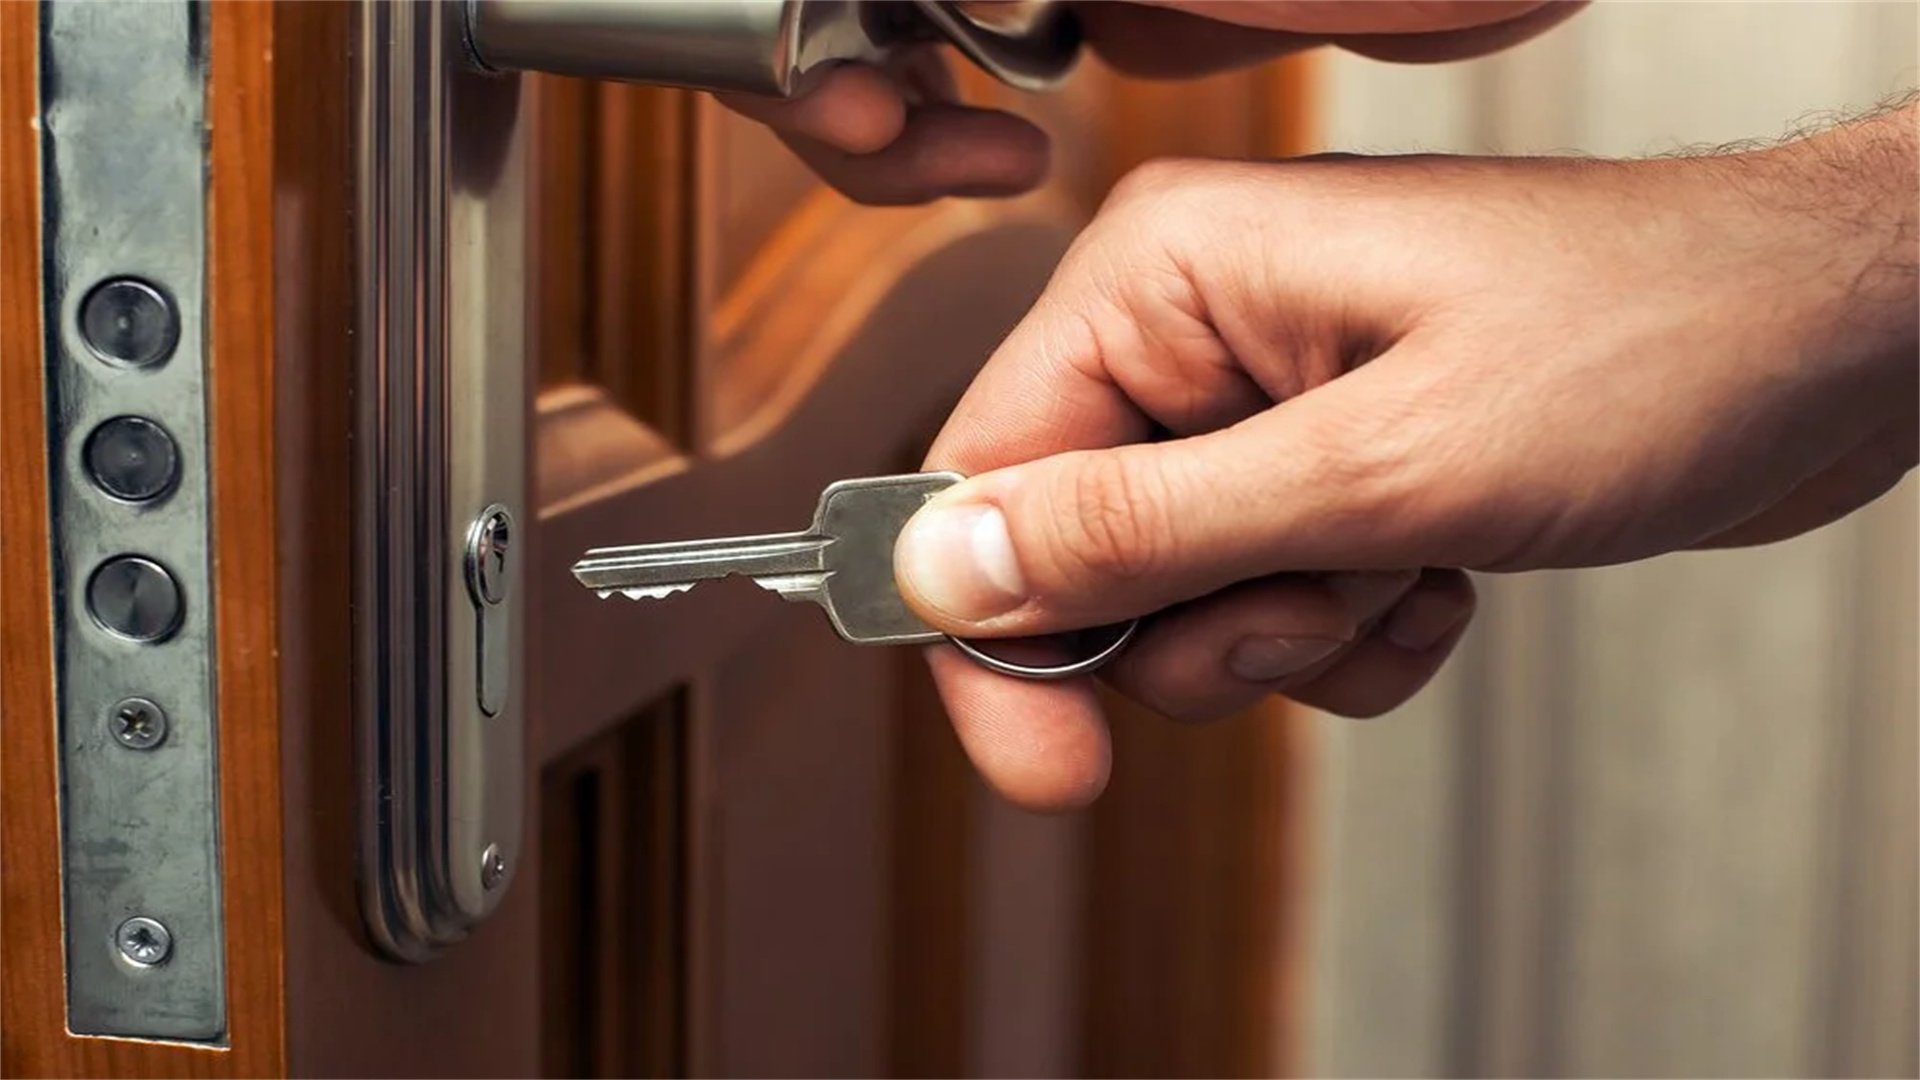
- Test with Spare Key: Rule out key issues by using a duplicate.
- Listen for Sounds: Unusual noises when turning indicate internal failures.
- Check Electronic Components: For electronic locks, test batteries and connections.
Troubleshooting Common Scenarios
- Door lock won't latch: Likely due to misalignment with strike plate.
- Car lock is frozen: Common in winter; use de-icer or gentle heat.
- Key turns but doesn't unlock: Internal mechanism may be disengaged or broken.
Diagnostic Tools
- Flashlights and mirrors for internal viewing.
- Lock picks for inspecting pin movements.
- Lubricants to test if stiffness is the issue.
🛠️ Essential Tools and Materials for DIY Lock Repair
Basic Tools
- Screwdrivers (flathead and Phillips) for disassembly.
- Pliers and tweezers for handling small parts.
- Lubricants like graphite powder or silicone spray.
- Hammer for gentle tapping adjustments.
Advanced Tools
- Lock pick sets and tension wrenches for internal manipulation.
- Key extractors for removing broken key fragments.
- Replacement parts such as pins, springs, or cylinders.
Safety and Cleaning Materials
- Safety gear: Gloves and goggles to prevent injuries.
- Cleaning supplies: Compressed air and brushes for debris removal.
- Temporary fixes: Adhesive putty for loose components.
🔧 Step-by-Step Repair Guides for Different Lock Types
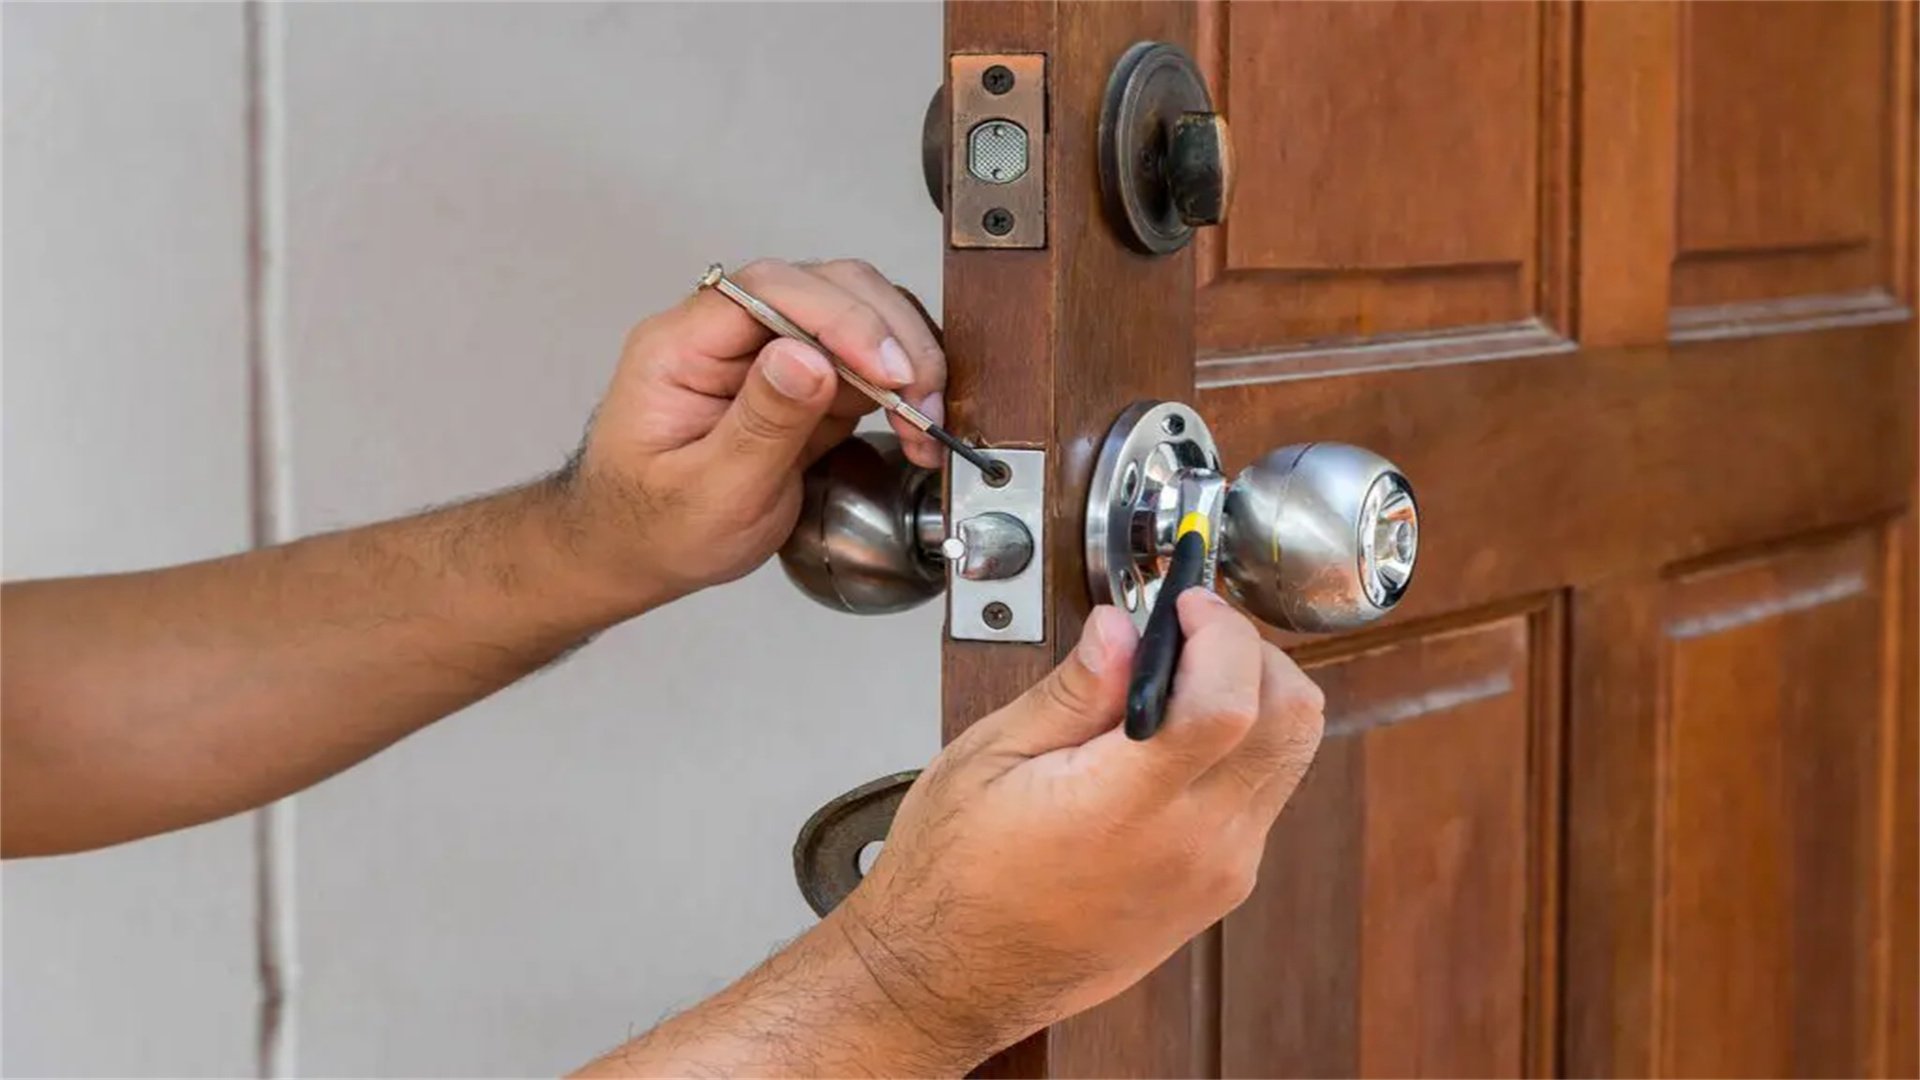
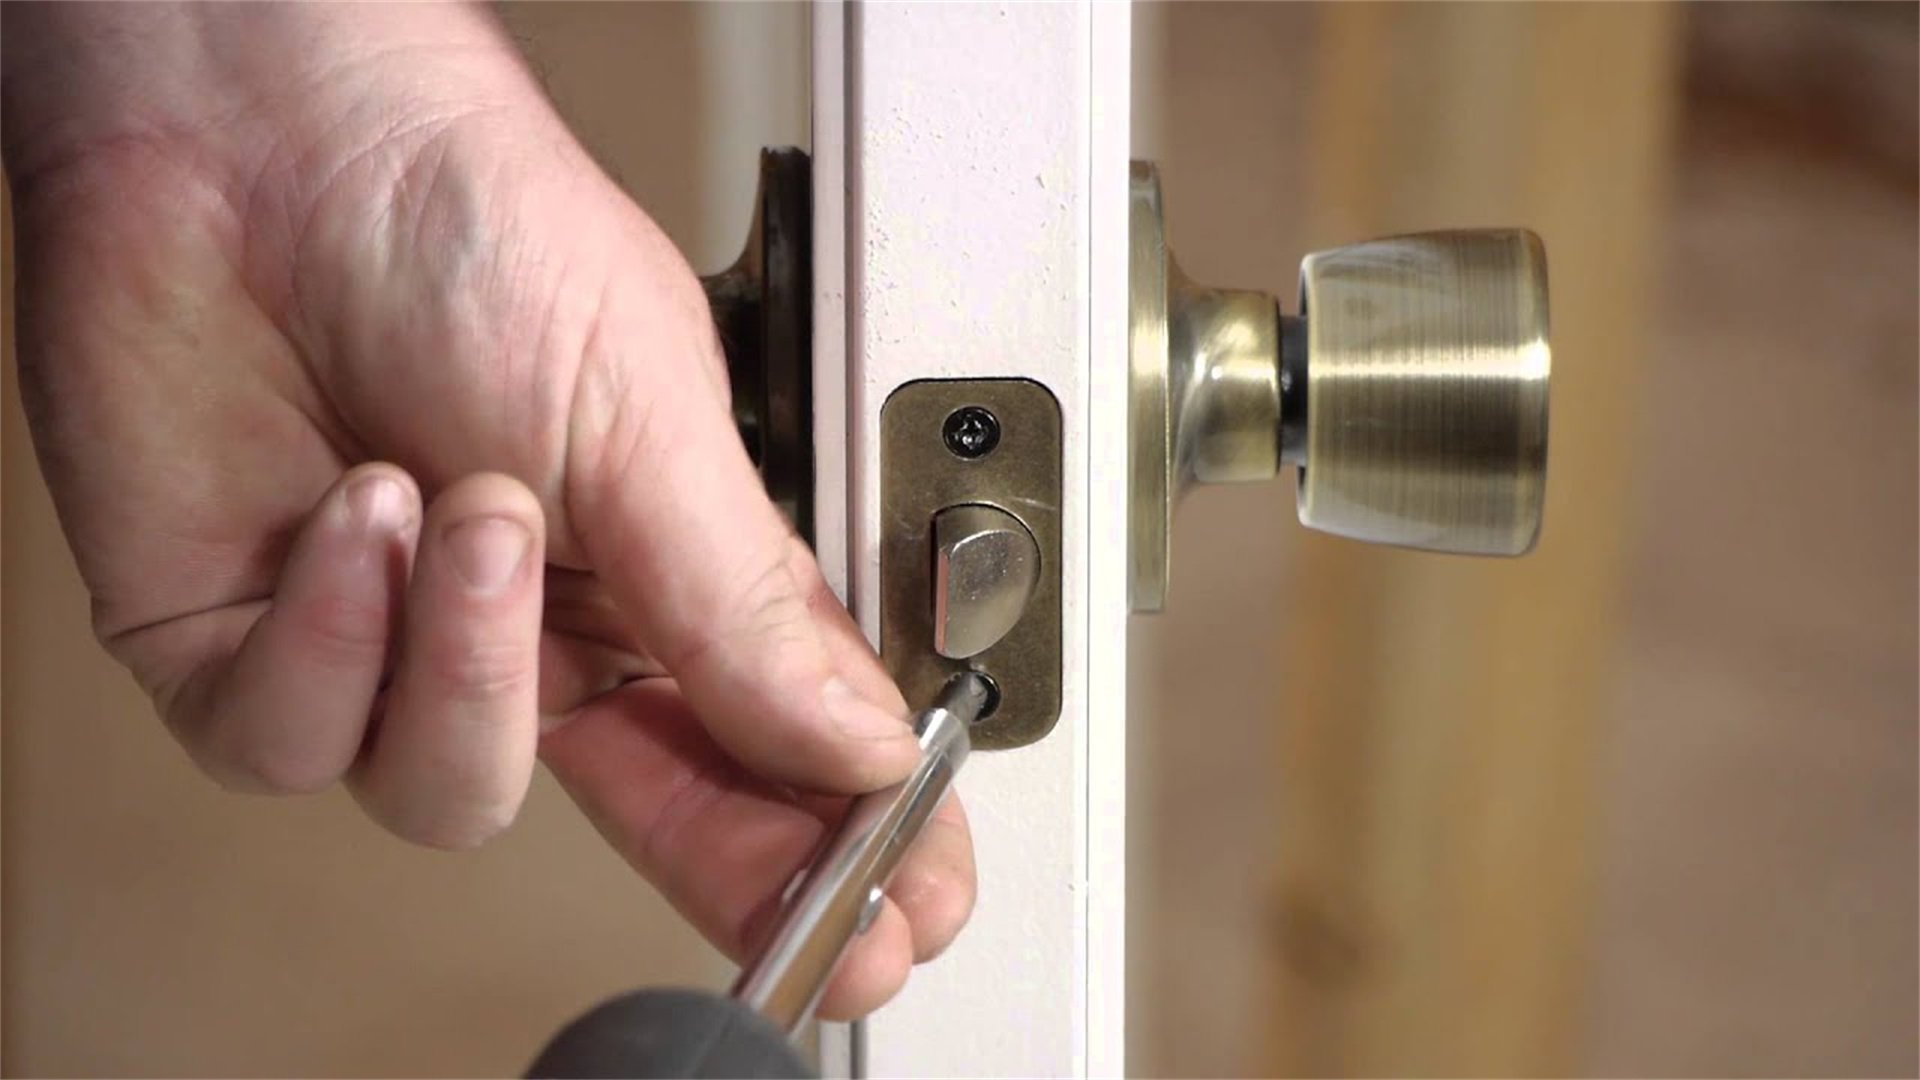
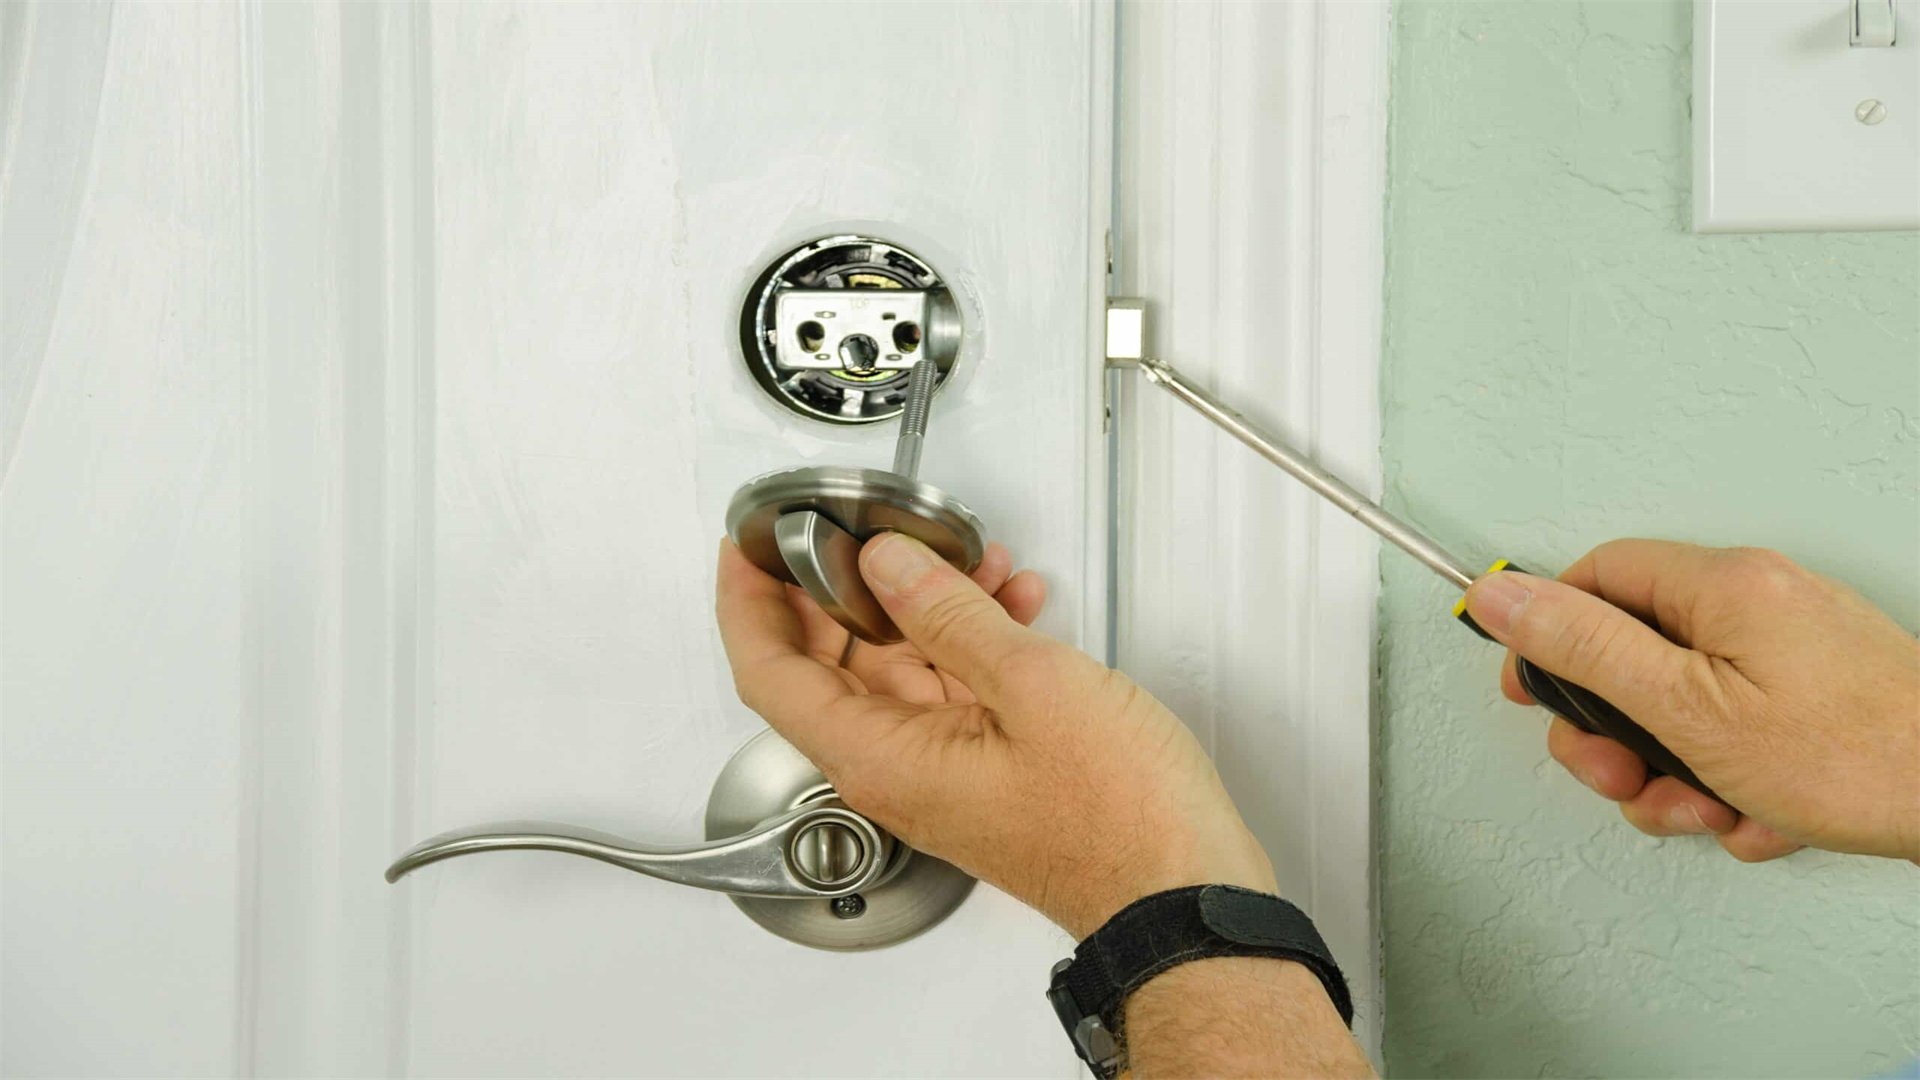
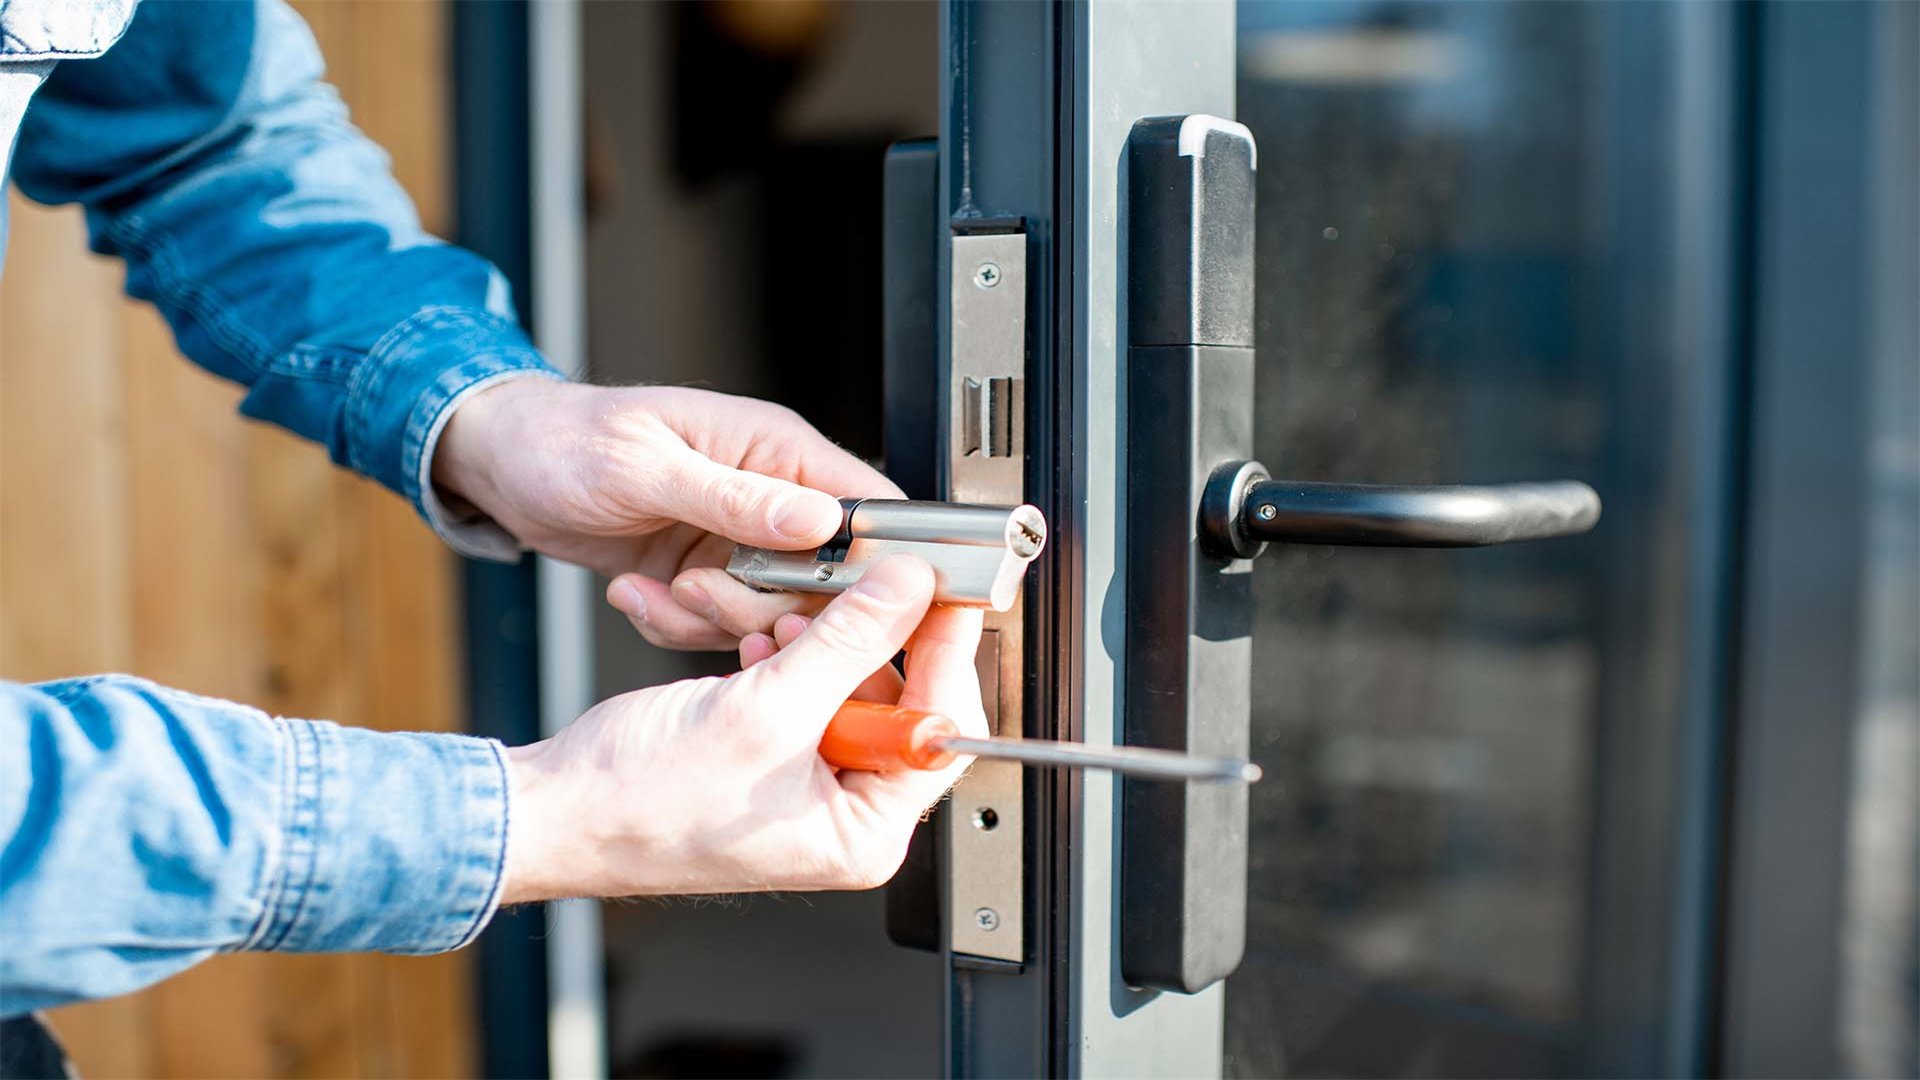
Repairing a Broken Door Lock (Pin Tumbler Type)
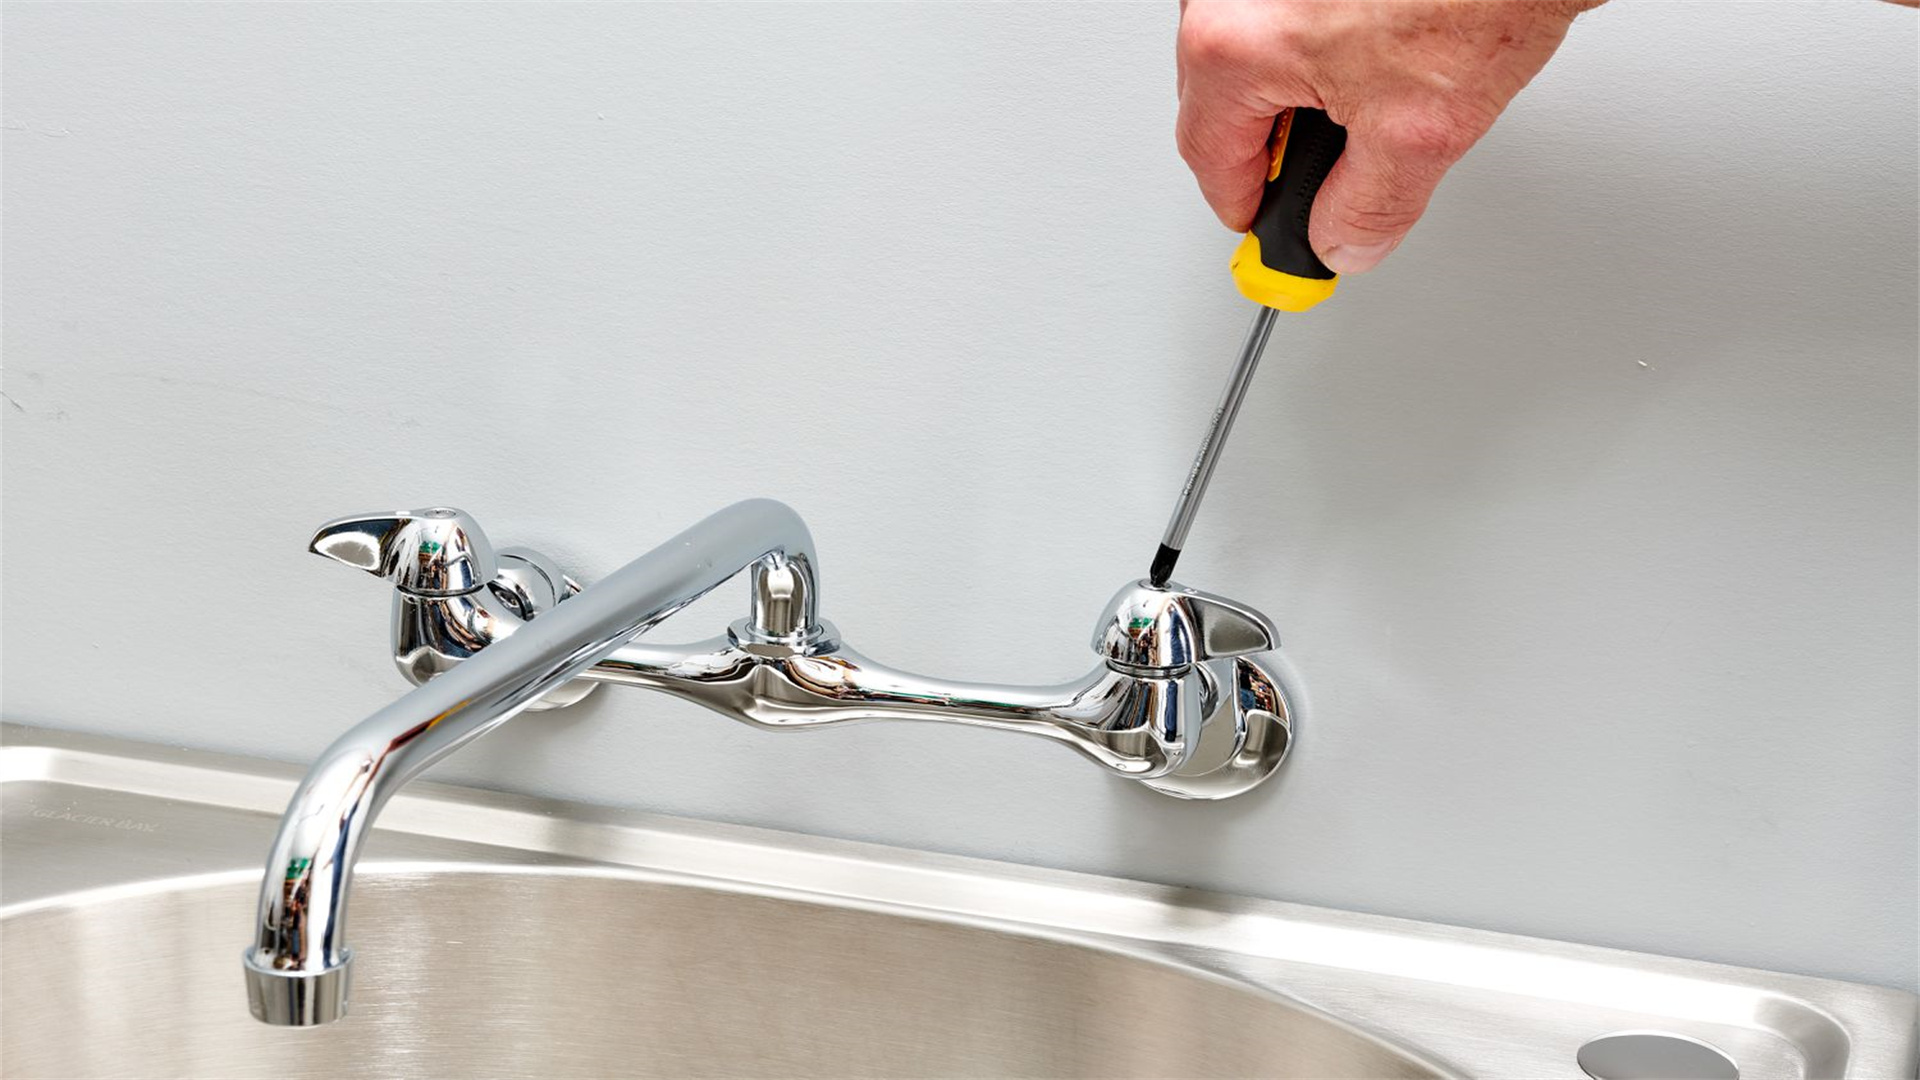
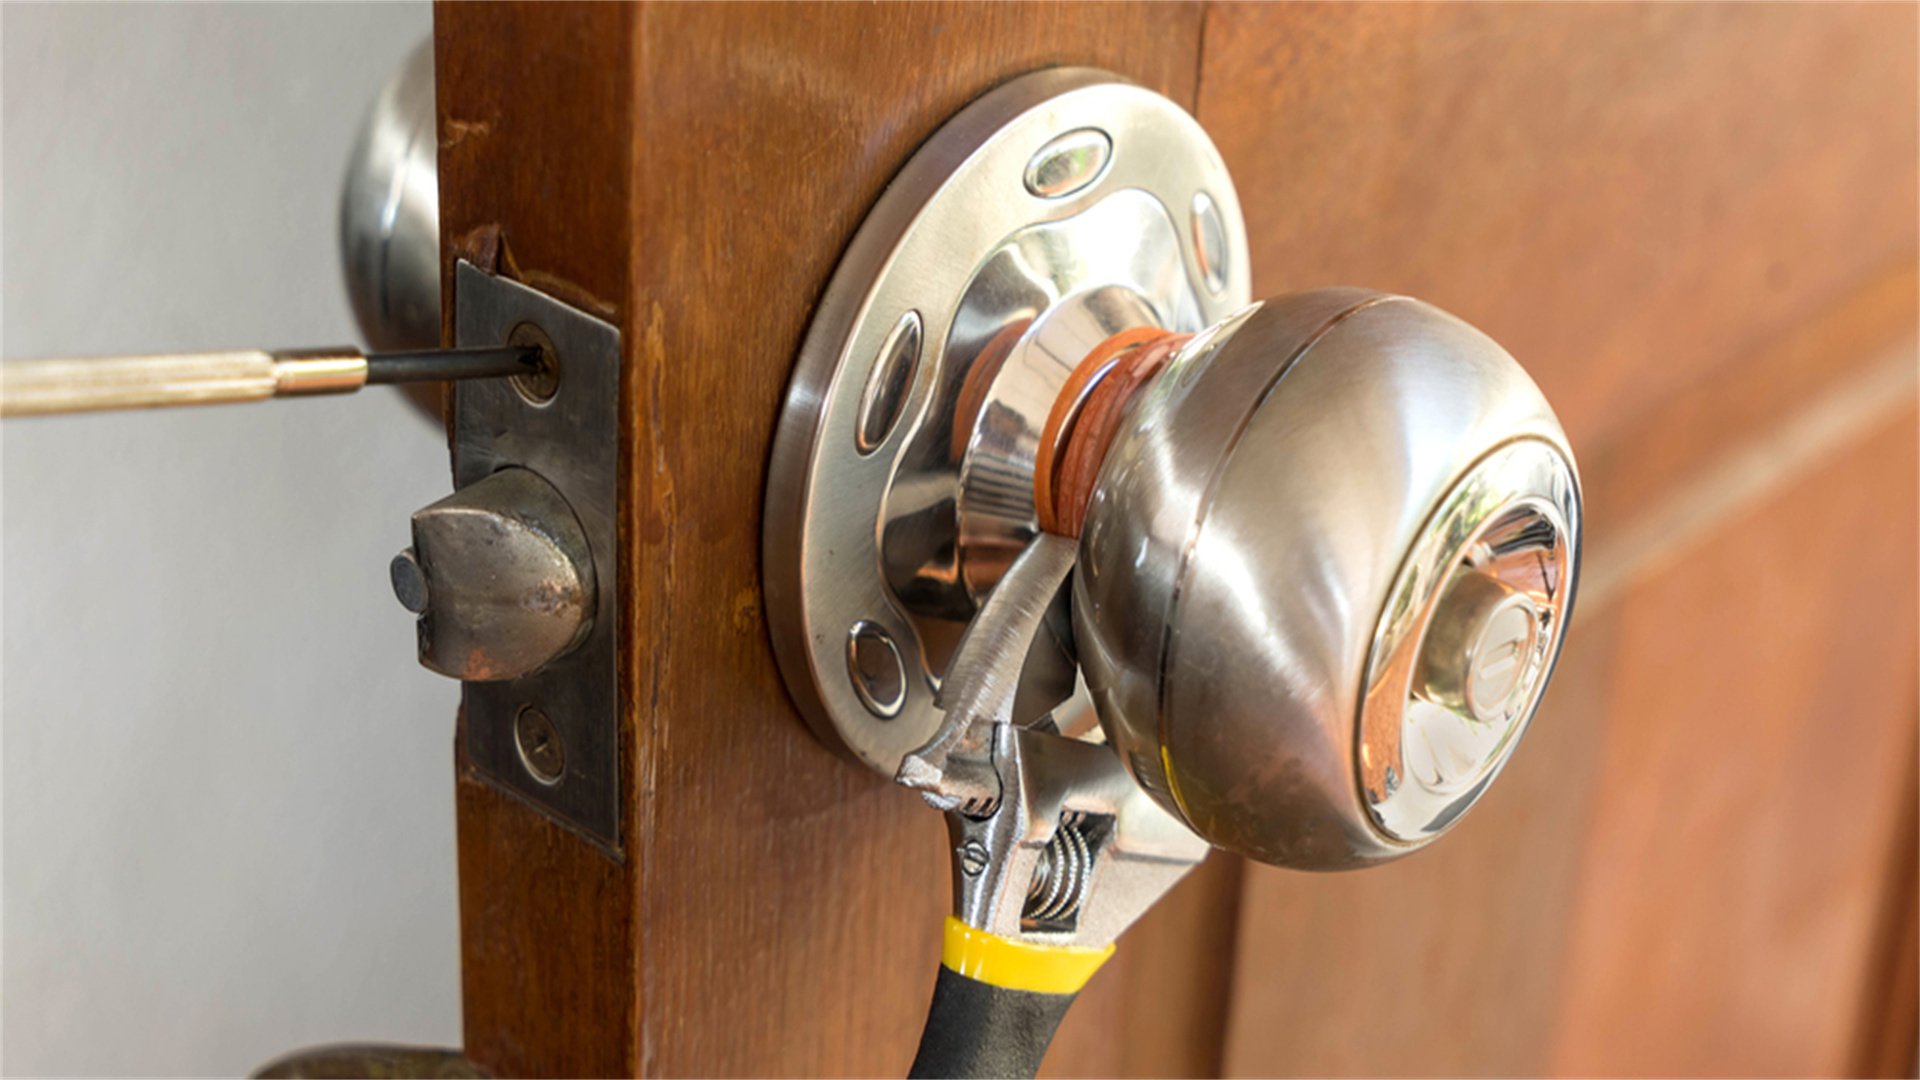
- Remove the lock: Unscrew faceplates and detach the knob or lever.
- Disassemble the cylinder: Inspect pins and springs for wear.
- Replace worn parts: Use a pin kit to install new pins in correct order.
- Clean and lubricate: Apply compressed air and graphite powder.
- Realign if needed: Adjust the strike plate by loosening screws.
- Reassemble and test: Ensure smooth operation before reinstalling.
Fixing a Padlock or Padlock-Style Lock
- For broken keys: Use extraction tools or a strong magnet.
- For stuck shackles: Apply penetrating oil and tap gently with a hammer.
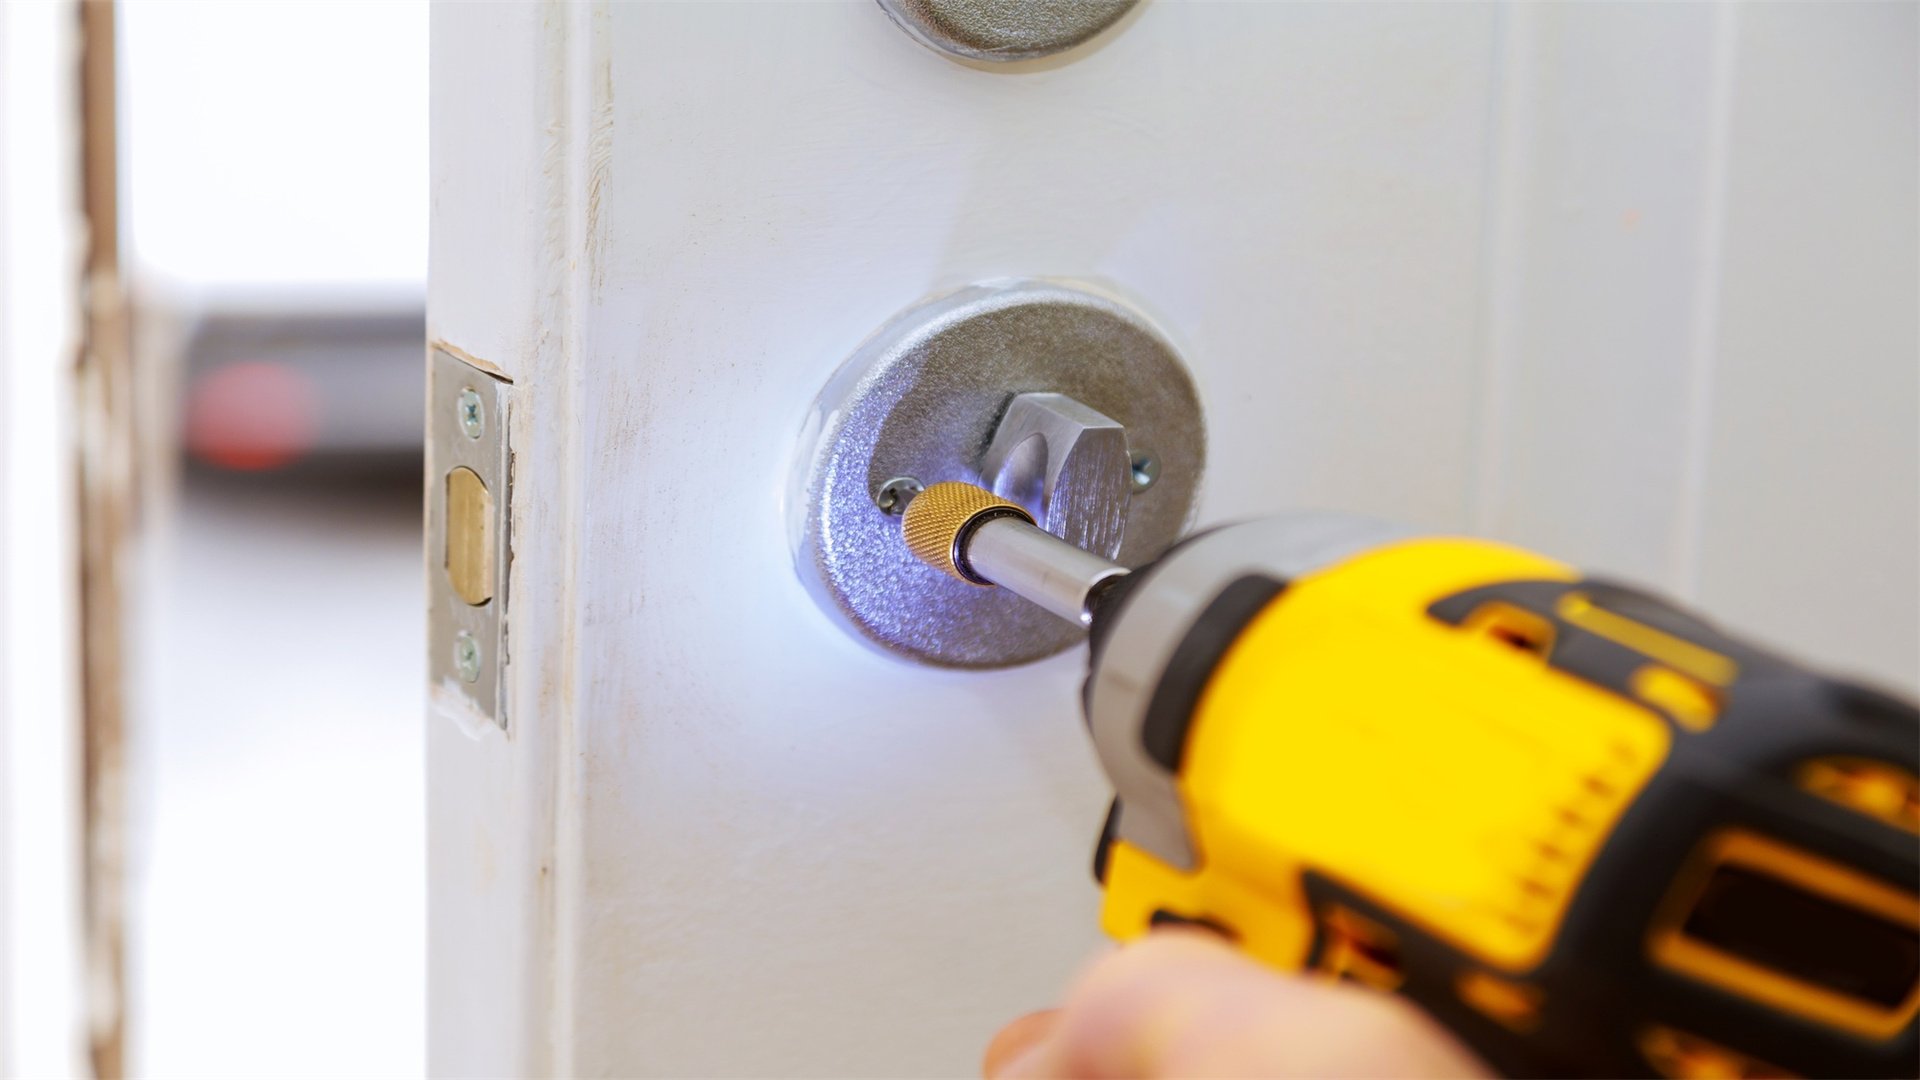
- Disassembly note: Some padlocks can be drilled, but this may void security.
Repairing Car Locks and Ignition Systems
- Frozen locks: Use a de-icer or heated key to thaw mechanisms.
- Worn tumblers: Replace with new parts after accessing door panels.
- Key fob issues: Replace batteries or resync with the vehicle.
- Ignition stuck: Jiggle the steering wheel while turning the key.
Mending Bicycle Locks and Other Specialty Locks
- Rust removal: Clean with vinegar and lubricate with bike-specific oil.
- Combination locks: Reset the code if forgotten or jammed.
- Sealed locks: Note that some may require replacement rather than repair.
⚠️ Common Mistakes to Avoid During Lock Repair
Lubrication Errors
- Avoid WD-40: It attracts dirt and gums up locks over time.
- Use dry lubricants: Graphite or silicone spray are better options.
- Don't over-lubricate: Excess can cause clogging.
Tool Misuse
- Don't force tools: Apply gentle pressure to prevent breaking components.
- Use correct tools: Improvised tools may damage locks further.
Diagnostic and Security Pitfalls
- Avoid misdiagnosis: Clean locks before assuming they're broken.
- Test step-by-step: Check after each repair stage.
- Secure during repair: Don't leave locks vulnerable to tampering.
🛡️ Preventive Maintenance to Extend Lock Lifespan
Routine Cleaning and Lubrication
- Clean every few months: Use a soft brush and compressed air.
- Lubricate semi-annually: Apply graphite or silicone spray sparingly.
Hardware Checks
- Inspect screws and alignment: Tighten loose parts on doors and windows.
- Weatherproofing: Use covers for outdoor locks to prevent corrosion.
Key Care and Upgrades
- Don't use bent keys: Duplicate keys before they wear out.
- Upgrade worn locks: Invest in quality locks from reputable brands.
📞 When to Call a Professional Locksmith Despite DIY Efforts
Red Flags for Professional Help
- High-security systems: Biometric or smart locks often need experts.
- Failed DIY repairs: If the lock still doesn't work after attempts.
- Legal or warranty concerns: DIY might void warranties or involve disputes.
Choosing a Locksmith
- Check credentials and reviews: Ensure they are reputable.
- Understand costs: Expect $50 to $200 or more per service.
🎓 Advanced Techniques: Rekeying and Lock Picking for Repair
Rekeying Locks
- Use a rekeying kit: Change pins to work with a new key.
- Follow precision steps: Ensure correct pin order and sizing.
Lock Picking Basics
- Tools needed: Picks and tension wrenches.
- Techniques: Raking or single-pin picking for non-destructive opening.
- Legal note: Only use on your own locks or in emergencies.
📚 Case Studies: Real-Life Examples of Successful DIY Lock Repairs
Case Study 1: Front Door Lock Repair
- Problem: Broken key inside the lock.
- Tools: Key extractor and lubricant.
- Steps: Extracted key, cleaned, and lubricated the cylinder.
- Outcome: Saved $150 and restored security.
Case Study 2: Bicycle Lock Restoration
- Problem: Rusted U-lock mechanism.
- Tools: Vinegar, brush, and bike oil.
- Steps: Soaked, scrubbed, and lubricated the lock.
- Outcome: Function restored with household items.
🔗 Resources and Further Learning for Lock Repair Enthusiasts

Online Resources
- Forums: Lock Picking 101 for community tips.
- YouTube Channels: Tutorial videos for visual guidance.
Books and Workshops
- Books on locksmithing basics for in-depth knowledge.
- Local workshops for hands-on learning.
Repairing broken locks without a locksmith is a feasible and rewarding DIY project that can save money and enhance your home maintenance skills. By understanding lock mechanisms, diagnosing issues accurately, using the right tools, and following detailed steps for various lock types, you can tackle most common problems. Remember to avoid common mistakes, perform preventive maintenance, and know when to call a professional. With practice, you'll become proficient in handling lock repairs, contributing to your household's security and self-reliance. Start with simple repairs, build your confidence, and soon you'll be able to address even complex lock issues with ease. Happy fixing!