How to Grow a Fruit Garden Even with Limited Space
In today's urbanized world, many gardening enthusiasts dream of cultivating their own fruit but are deterred by the perceived need for vast yards or sprawling farmland. However, limited space—whether a small balcony, patio, rooftop, or even a windowsill—does not have to be a barrier to enjoying homegrown fruits. With innovative techniques, careful planning, and smart plant choices, anyone can transform a compact area into a productive fruit garden. This comprehensive guide will walk you through everything from initial design to harvest, drawing inspiration from successful small-space gardens worldwide. By embracing methods like container gardening, vertical systems, and dwarf varieties, you can reap sweet rewards regardless of square footage. Let's dive into the art and science of maximizing your fruit-growing potential in confined spaces.
Growing fruit in limited spaces offers numerous benefits: it reduces food miles, provides fresh, organic produce, and enhances mental well-being through gardening therapy. However, it also presents challenges such as microclimate management, soil volume constraints, and pest control in dense settings. This article will address these issues head-on, offering practical, step-by-step solutions. We'll explore various approaches, each with its own advantages and drawbacks, and provide detailed implementation strategies. Whether you're a beginner or an experienced gardener, you'll find actionable tips to create a thriving fruit garden that fits your lifestyle and space limitations.
📐 Planning and Designing Your Small-Space Fruit Garden
Before planting a single seed, thorough planning is crucial for success in limited spaces. This phase involves assessing your available area, understanding environmental factors, and designing a layout that optimizes every inch. A well-thought-out plan prevents overcrowding, ensures proper sunlight, and facilitates easy maintenance. Start by sketching your space—be it a balcony, courtyard, or indoor corner—and note key elements like dimensions, sunlight exposure, wind patterns, and access to water sources. Consider your goals: Are you aiming for a continuous harvest, aesthetic appeal, or maximum yield? By tailoring your design to these factors, you can avoid common pitfalls and set the stage for a fruitful garden.
Advantages of Careful Planning
- Maximizes Productivity: Efficient use of space allows for higher yields per square foot.
- Reduces Waste: Prevents overplanting and ensures resources like water and fertilizer are used judiciously.
- Enhances Aesthetics: Creates an organized, visually pleasing garden that complements your living area.
- Simplifies Maintenance: Clear layouts make watering, pruning, and harvesting more manageable.
Disadvantages of Poor Planning
- Risk of Overcrowding: Plants may compete for light, water, and nutrients, leading to poor growth.
- Microclimate Issues: Inadequate airflow can increase disease susceptibility, while incorrect sun exposure stunts fruiting.
- Labor Intensive: Haphazard designs often require frequent adjustments and repairs.
How to Implement Effective Planning: Step-by-Step
- Assess Your Space: Measure the dimensions accurately. For outdoor areas, note sunlight hours—most fruits need at least 6-8 hours of direct sun. Use a compass to determine north-south orientation; south-facing spots in the Northern Hemisphere receive the most light. Indoors, evaluate window locations and consider supplemental lighting if needed.
- Analyze Environmental Factors: Test soil pH if planting in-ground (aim for 6.0-7.0 for most fruits). Check drainage by digging a hole and filling it with water; if it drains slowly, amend with compost or use raised beds. Monitor wind exposure, as strong gusts can damage plants; install windbreaks like trellises or screens if necessary.
- Design the Layout: Use graph paper or digital tools like Garden Planner to map your garden. Incorporate vertical elements (e.g., walls for espalier) and tiered planting (e.g., stacked pots) to save ground space. Group plants with similar water and light needs together. Leave pathways for access—at least 18 inches wide for walking and maintenance.
- Select Plants Based on Design: Choose fruit varieties that suit your layout. For example, in a sunny balcony corner, opt for compact blueberries in containers; for a shady wall, consider shade-tolerant currants. Factor in pollination requirements—some fruits need cross-pollinators, so plan to include multiple plants or self-fertile cultivars.
- Create a Timeline: Develop a seasonal calendar for planting, pruning, and harvesting. In temperate climates, plant bare-root trees in early spring, while in tropical areas, monsoon seasons are ideal for planting. Stagger plantings for continuous harvests, such as planting strawberries in succession every few weeks.
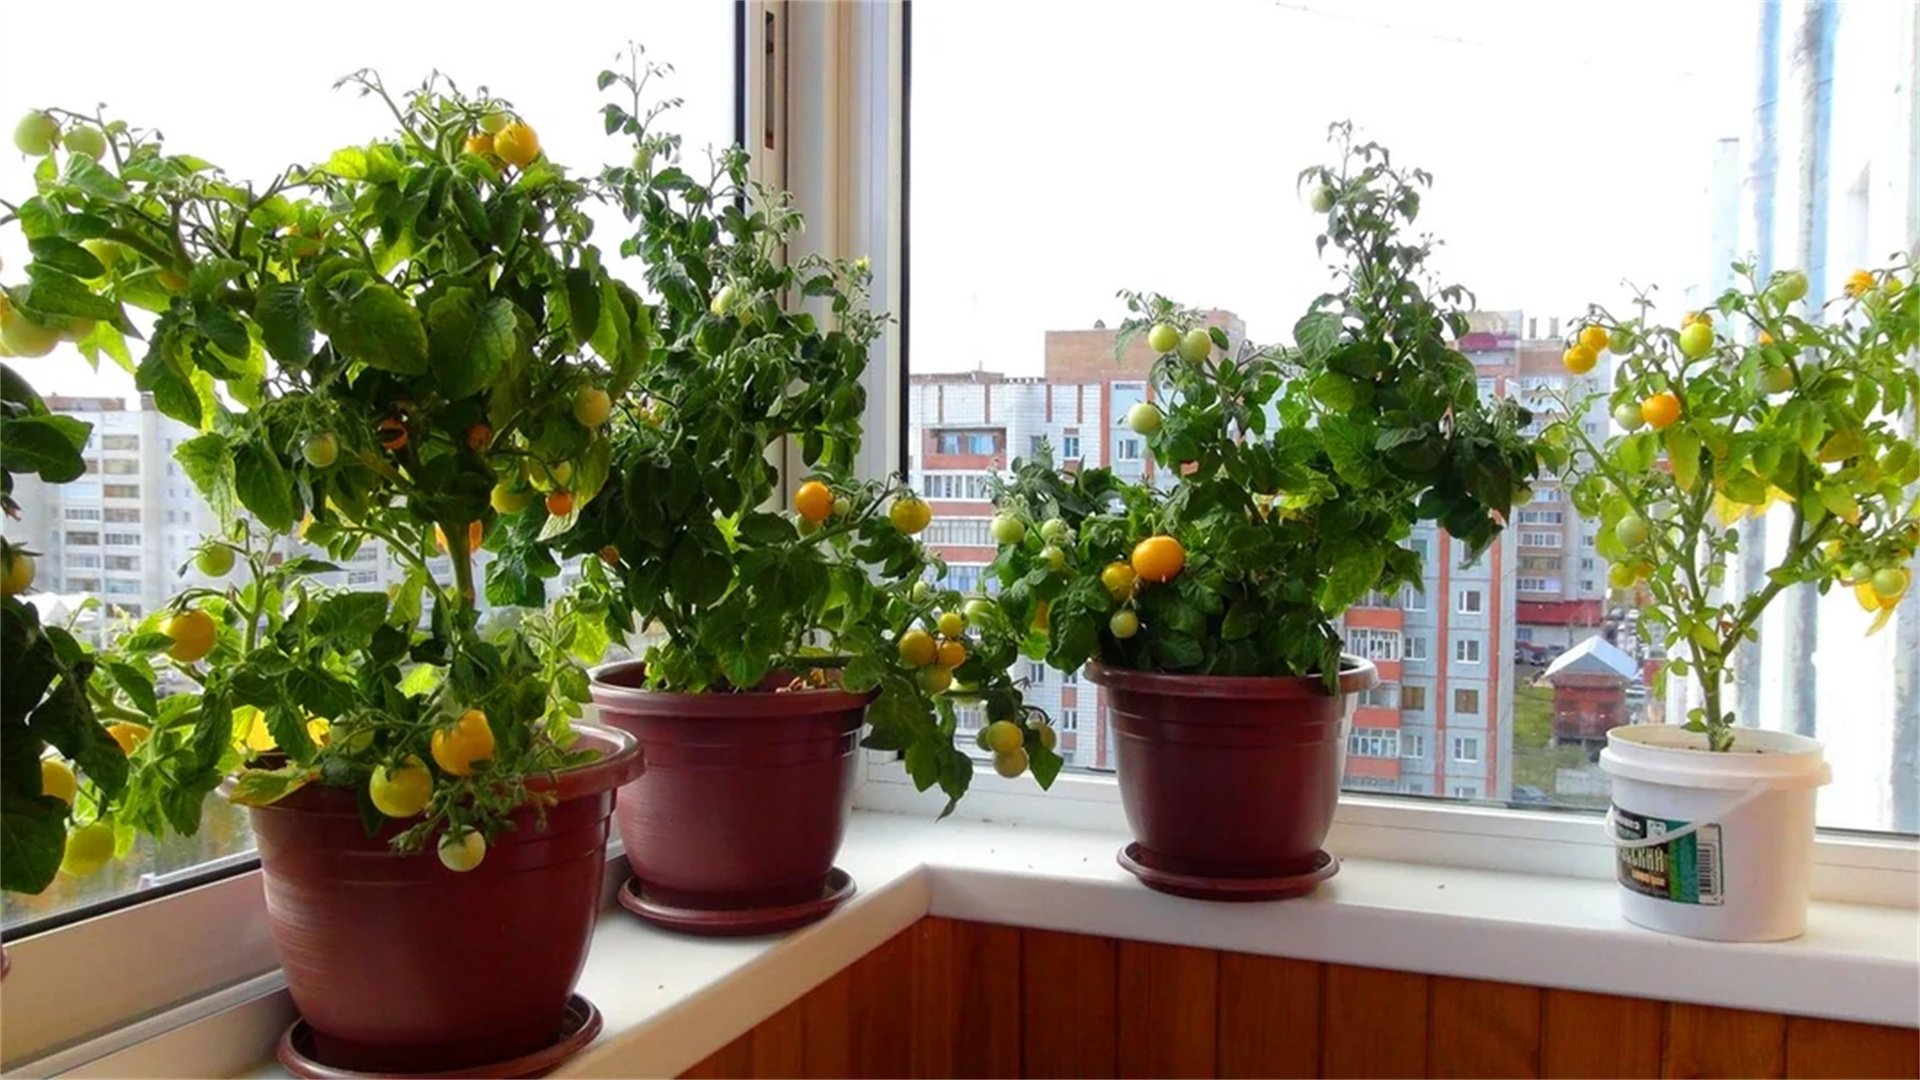
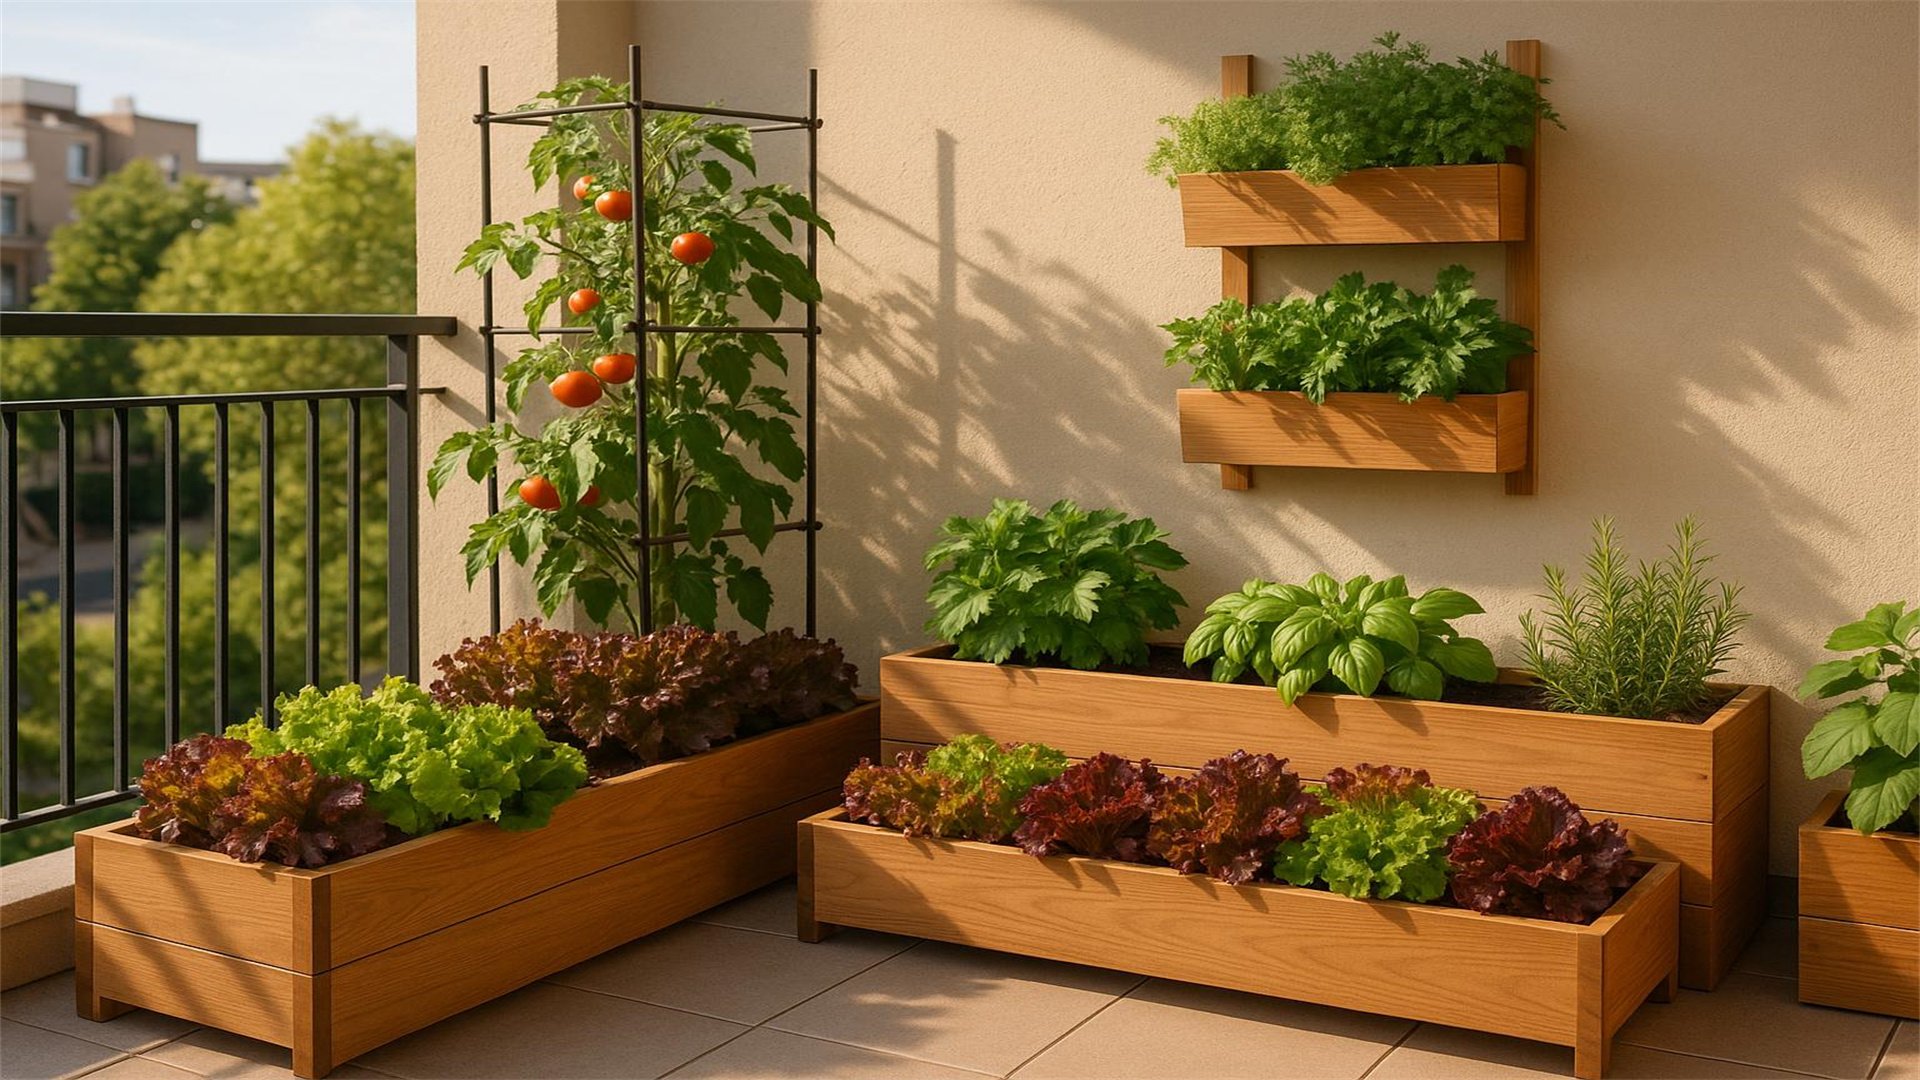
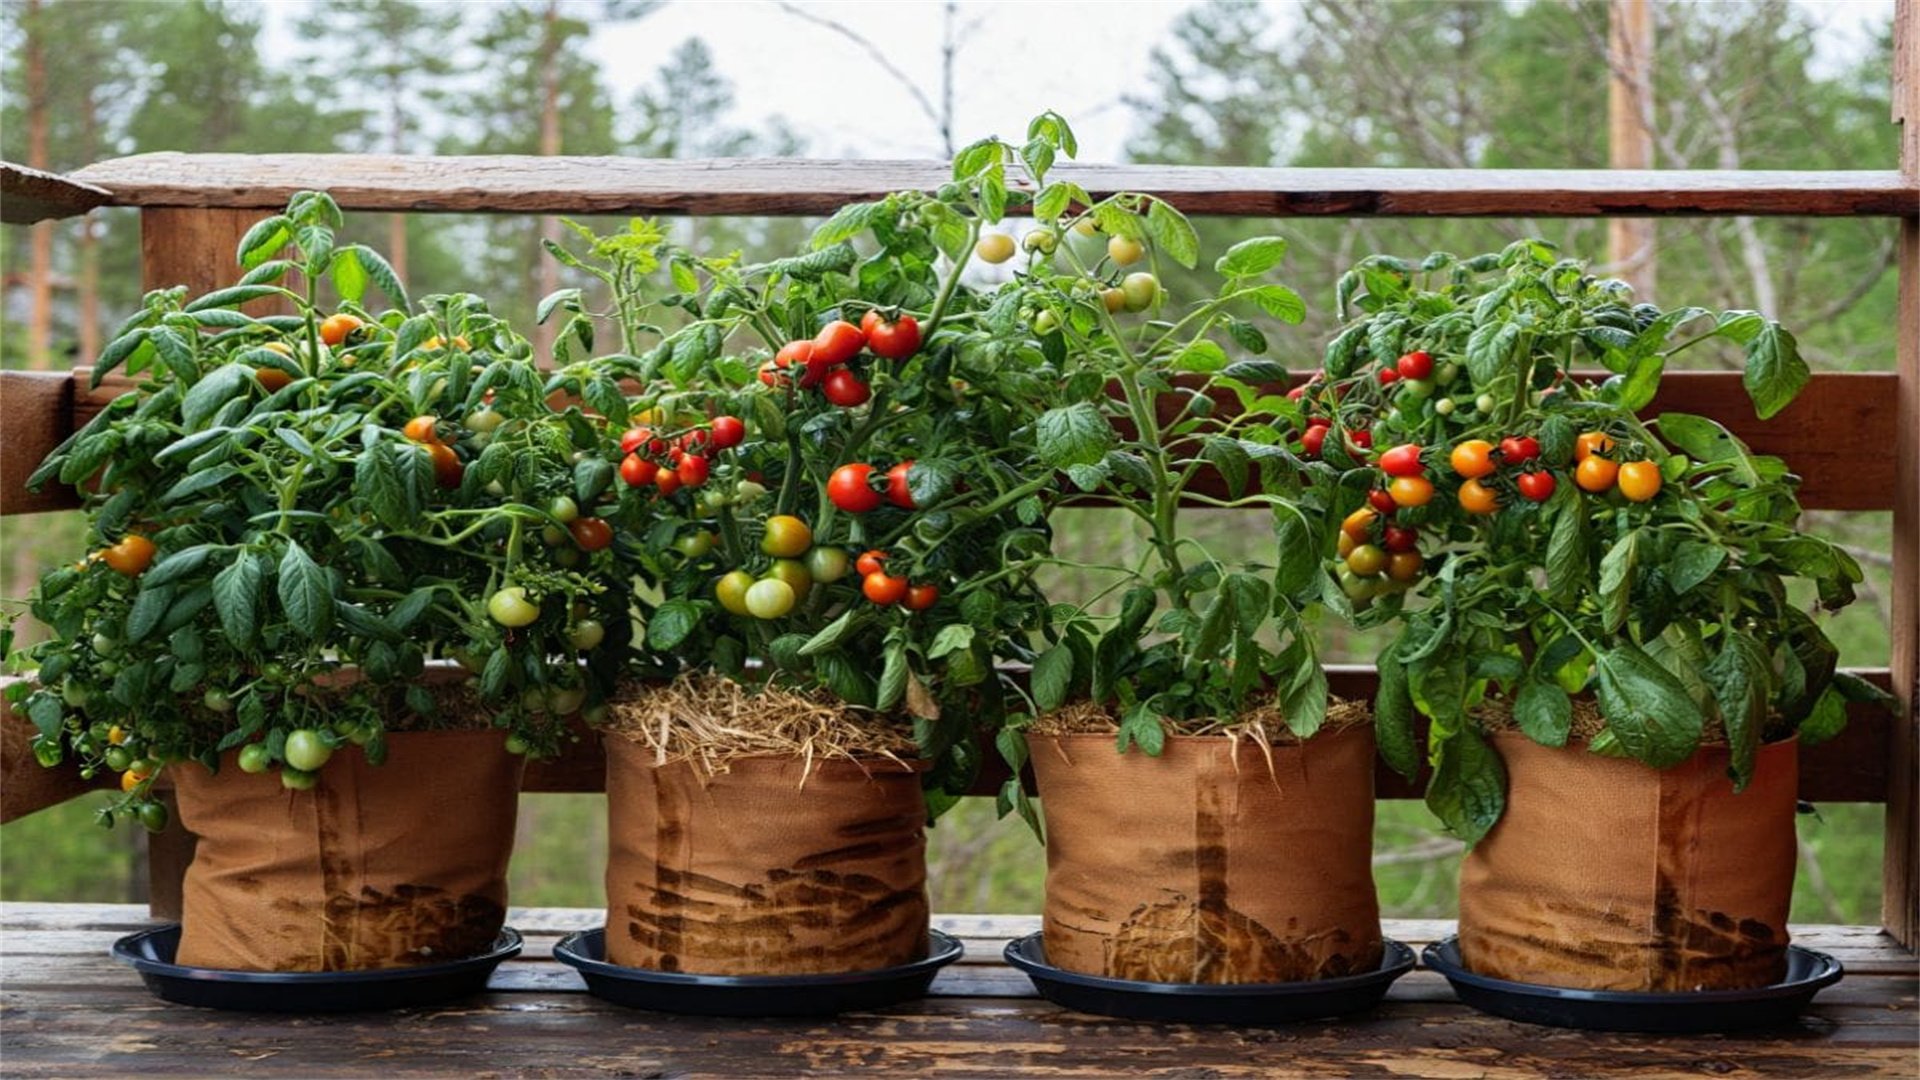
🥕 Container Gardening: The Foundation of Small-Space Fruit Cultivation
Container gardening is arguably the most versatile method for growing fruit in limited spaces. It allows you to cultivate plants in pots, boxes, or other vessels, making it ideal for balconies, patios, and even indoors. This approach provides control over soil quality, portability for optimizing sunlight, and flexibility to rearrange plants as needed. From dwarf citrus trees to trailing strawberries, countless fruit varieties thrive in containers with proper care. However, it requires attention to watering, feeding, and root management to prevent issues like dehydration or nutrient deficiency. In this section, we'll delve into the specifics of container fruit gardening, covering selection, setup, and maintenance.
Advantages of Container Gardening
- Space Flexibility: Pots can be placed on shelves, hung, or stacked, utilizing vertical and horizontal planes.
- Soil Control: You can tailor potting mixes to each fruit's needs, avoiding poor native soil.
- Mobility: Containers can be moved to capture sun, shelter from harsh weather, or bring indoors in winter.
- Pest and Disease Reduction: Elevated pots often have fewer soil-borne pests, and isolation helps contain issues.
Disadvantages of Container Gardening
- Frequent Watering: Containers dry out faster than ground soil, requiring daily checks in hot weather.
- Nutrient Leaching: Fertilizers wash out quickly, necessitating regular feeding schedules.
- Root Restriction: Limited root space can stunt growth if pots are too small, requiring repotting over time.
- Temperature Sensitivity: Pots heat up and cool rapidly, potentially stressing plants in extreme climates.
How to Implement Container Gardening: Step-by-Step
- Choose the Right Containers: Select pots with adequate drainage holes—at least 1/2 inch in diameter. Size matters: for small fruits like strawberries, use 8-12 inch deep pots; for dwarf trees like apples, opt for 20-25 gallon containers. Materials vary: plastic is lightweight and retains moisture, terracotta is porous and promotes airflow, while fabric pots prevent root circling. Ensure containers are food-safe and UV-resistant if placed outdoors.
- Prepare the Potting Mix: Avoid garden soil, which compacts in containers. Instead, use a high-quality potting mix blended for fruits—typically a combination of peat moss, perlite, compost, and slow-release fertilizer. For acid-loving fruits like blueberries, amend with pine bark or sulfur to lower pH to 4.5-5.5. Fill containers within 2 inches of the rim to allow for watering space.
- Planting Techniques: Place a layer of gravel or broken pottery at the bottom for improved drainage. Gently remove plants from nursery pots, teasing out roots if pot-bound. Position the plant at the same depth it was growing previously, and backfill with potting mix, firming gently. Water thoroughly after planting to settle the soil. For seeds, follow packet instructions for depth and spacing in containers.
- Watering and Fertilizing Regimen: Water when the top inch of soil feels dry—typically daily in summer. Use a watering can with a rose attachment to avoid disturbing soil. Apply water until it drains from the bottom, ensuring even moisture. Fertilize every 2-4 weeks during growing season with a balanced liquid fertilizer (e.g., 10-10-10) or organic options like fish emulsion. For heavy feeders like tomatoes (often grown as fruit in gardens), increase frequency.
- Ongoing Maintenance: Prune container fruits regularly to maintain shape and encourage fruiting—for example, pinch back strawberry runners. Monitor for pests like aphids; use insecticidal soap or neem oil sprays. Repot every 2-3 years by gently removing the plant, trimming roots, and refreshing soil. In winter, move cold-sensitive containers to a sheltered area or indoors near a sunny window.
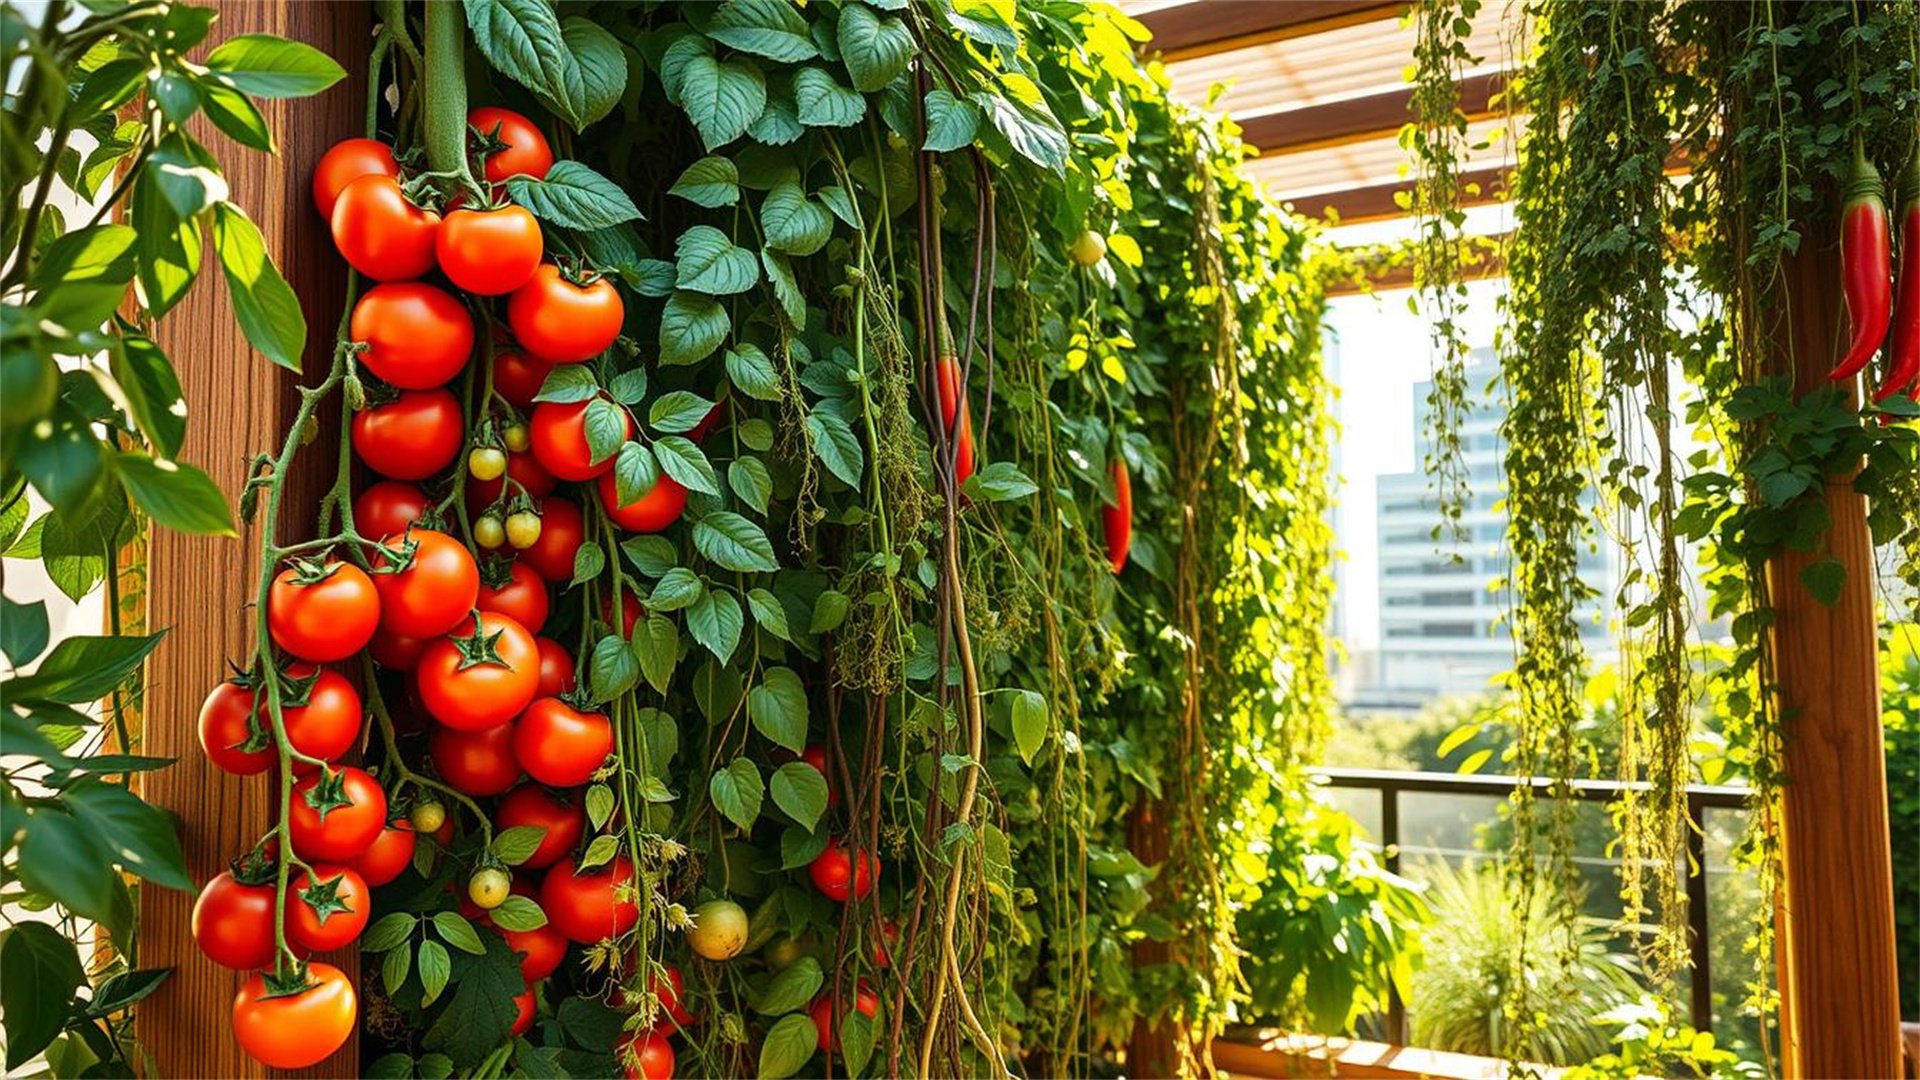
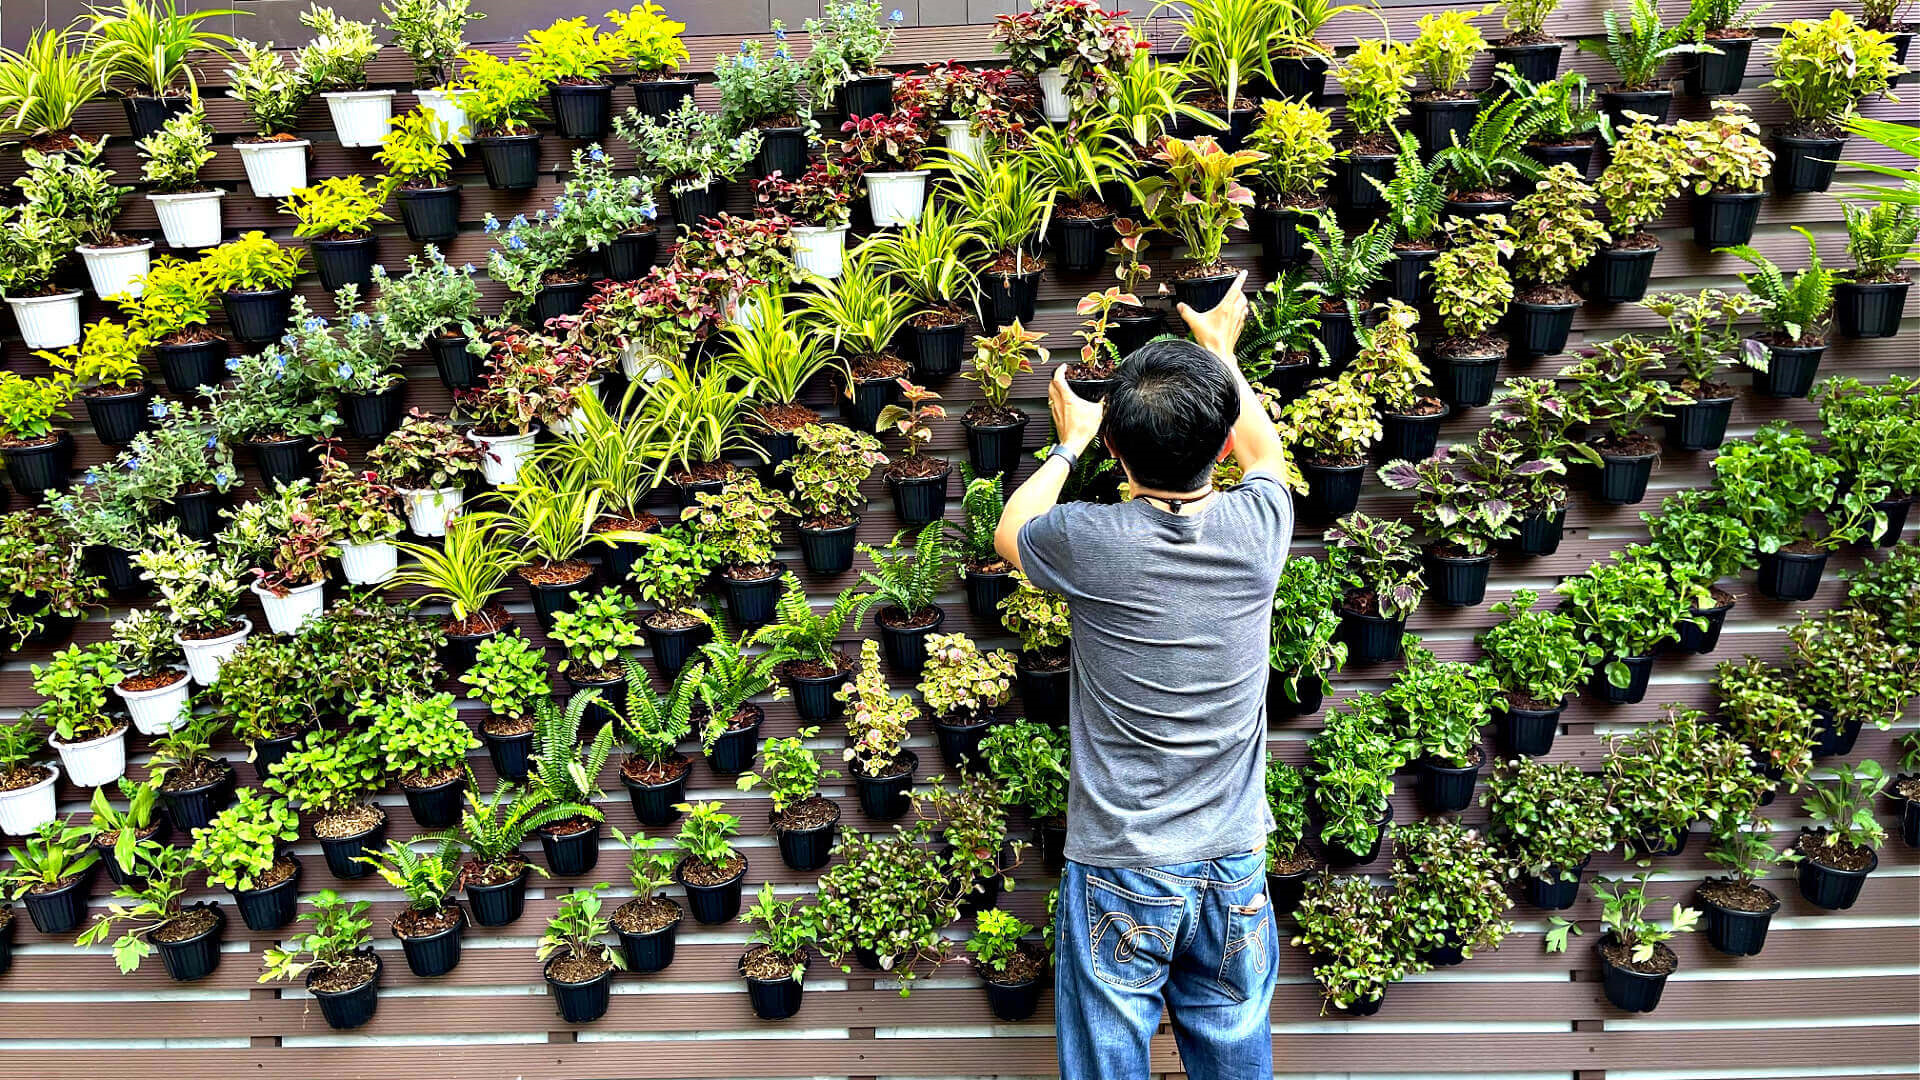
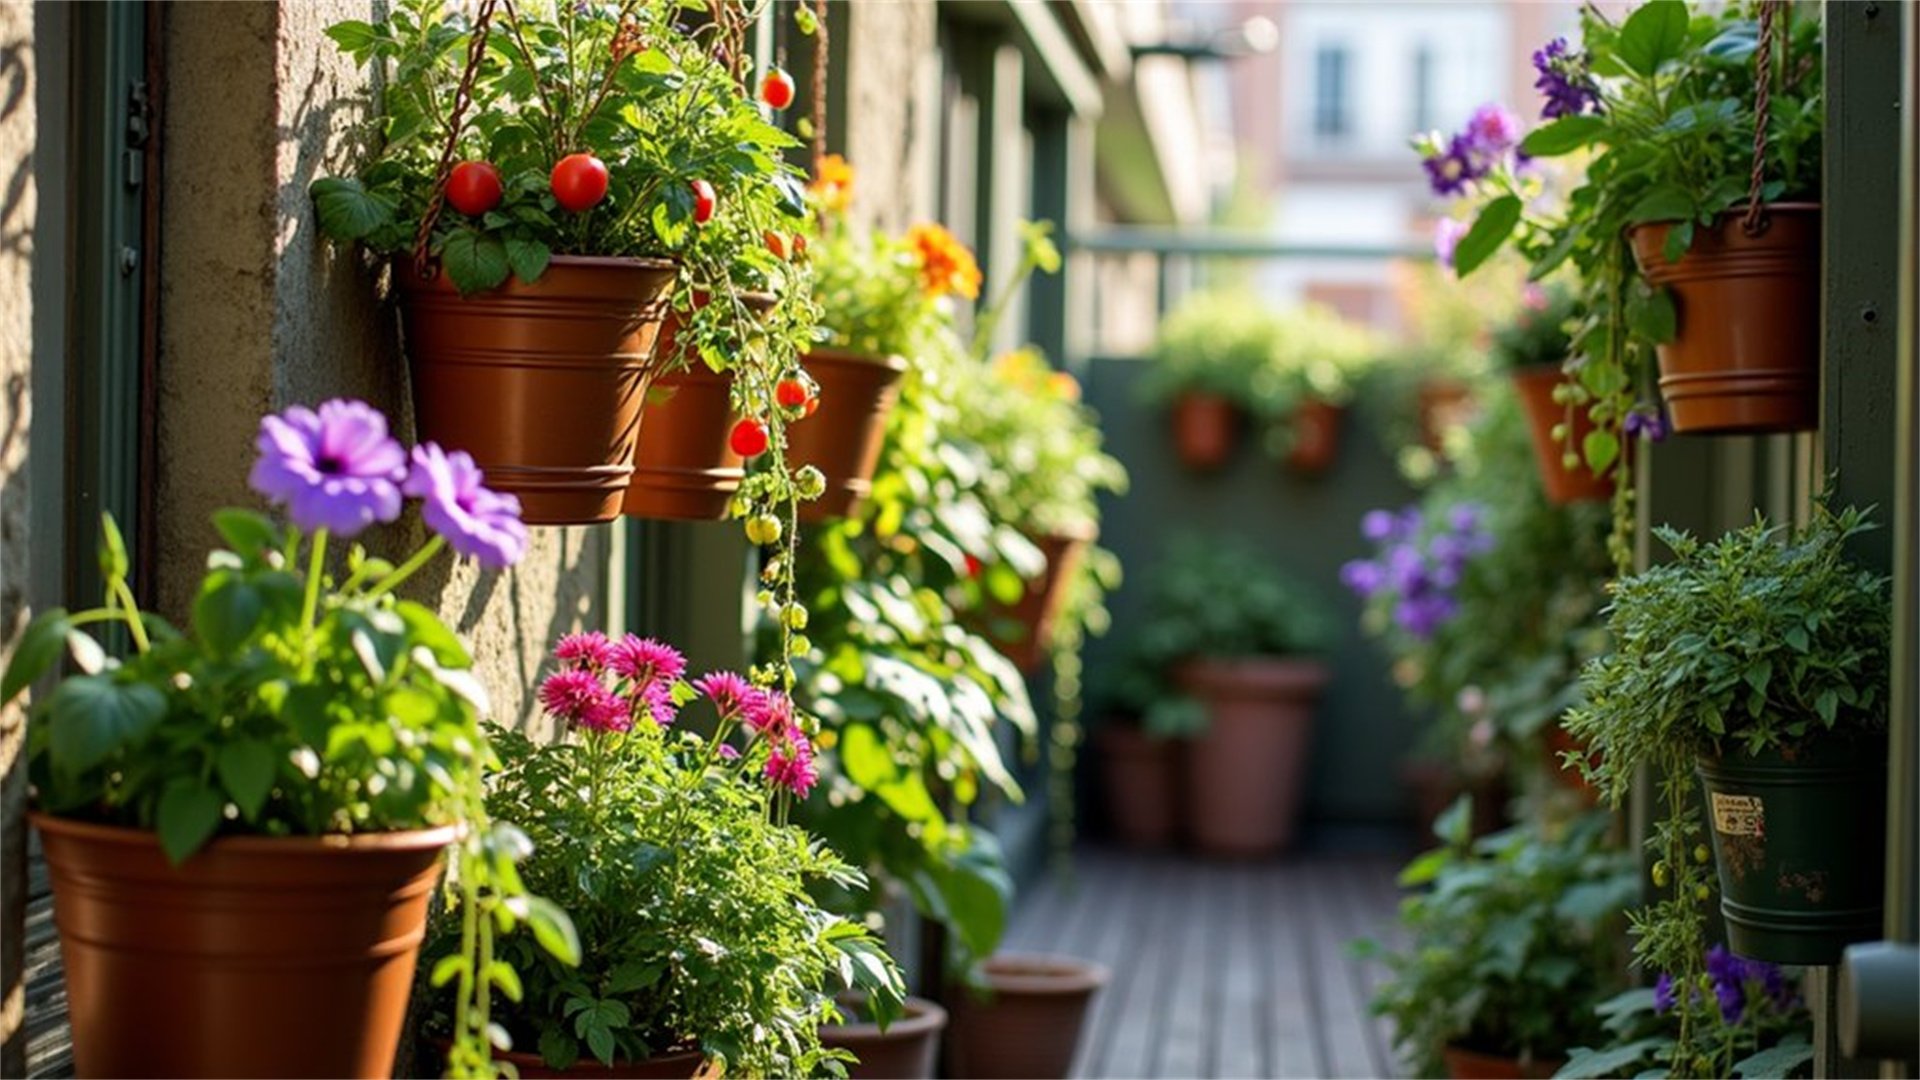
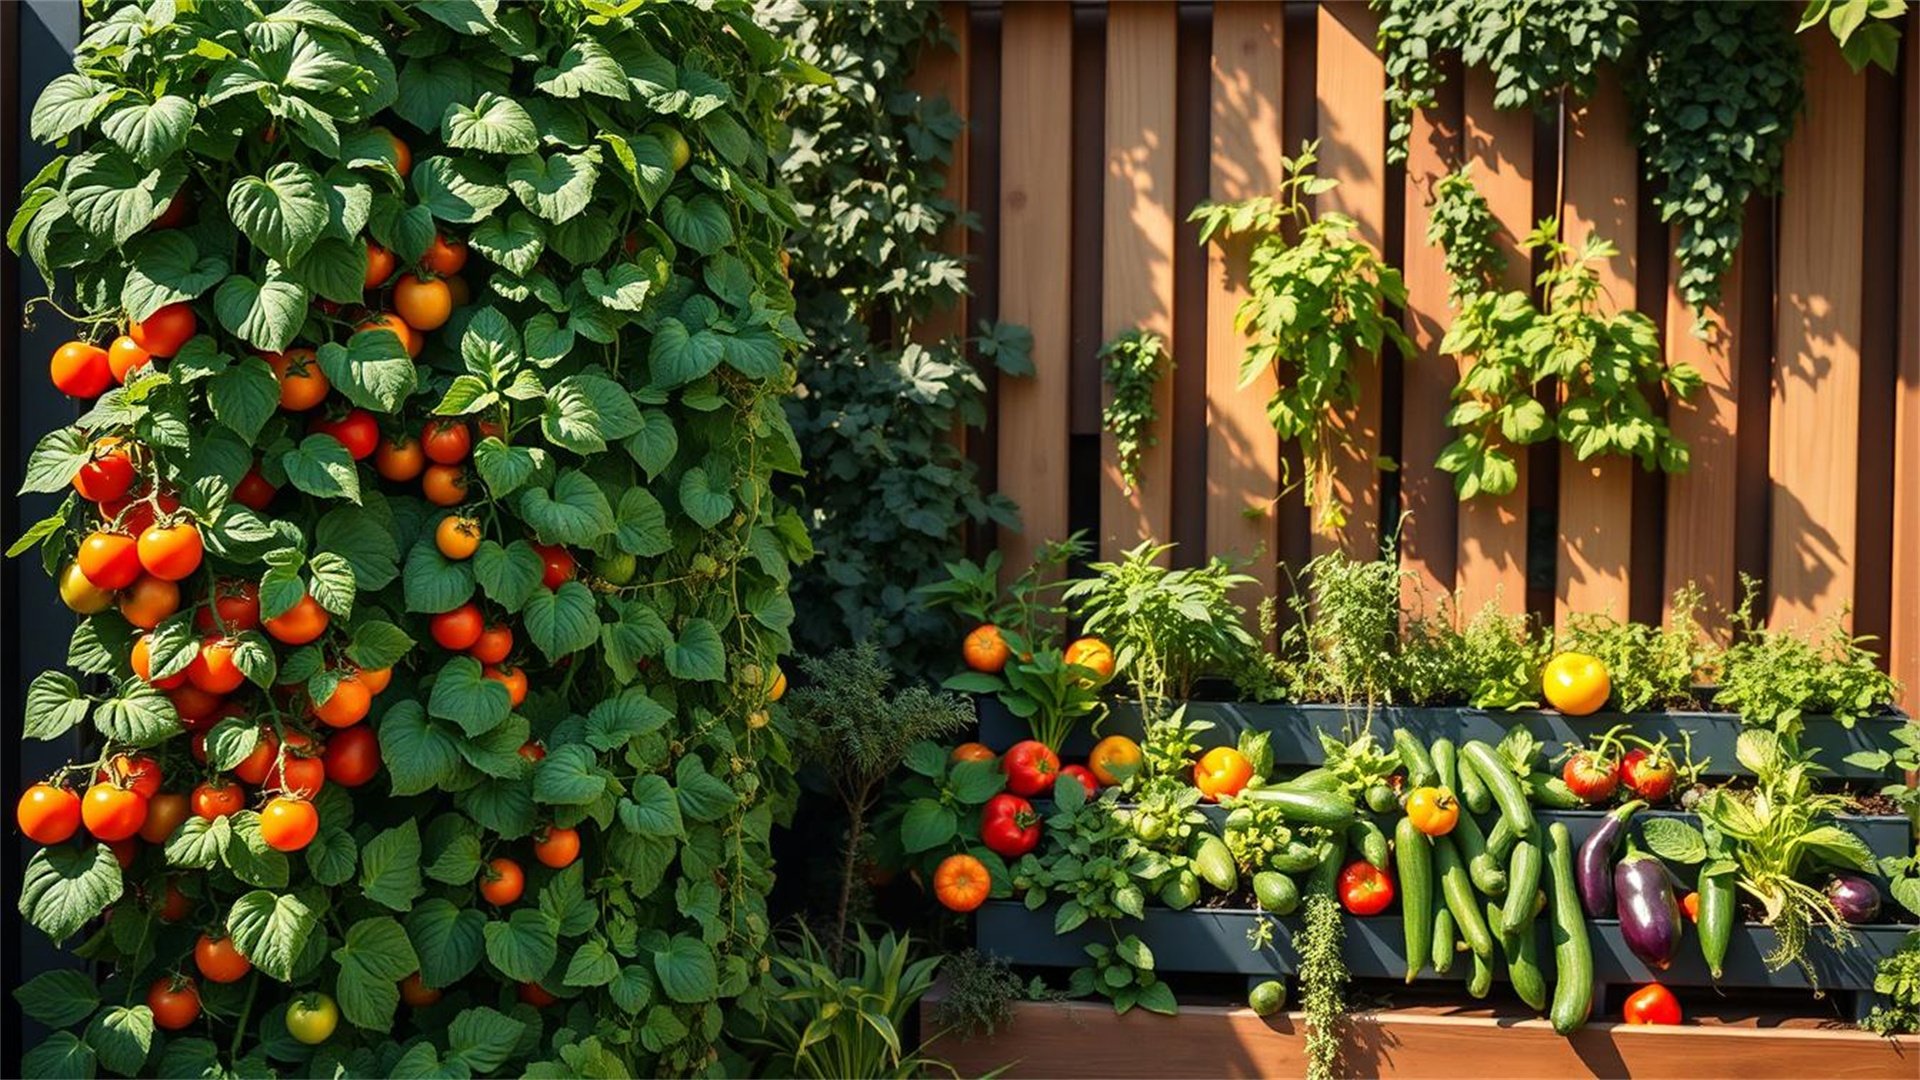
⬆️ Vertical Gardening: Maximizing Upward Space for Fruit Production
Vertical gardening is a game-changer for small spaces, enabling you to grow fruits on walls, fences, trellises, or towers. This method leverages vertical real estate, turning blank surfaces into lush, productive gardens. It's particularly effective for vining fruits like grapes, kiwis, and passionfruit, as well as compact bushes trained upward. Vertical systems improve air circulation, reduce pest access, and can even act as privacy screens or decorative features. However, they require sturdy supports, careful training, and may need more frequent watering due to exposure. In this section, we'll explore various vertical techniques and how to apply them to fruit cultivation.
Advantages of Vertical Gardening
- Space Efficiency: Frees up ground area for other uses, ideal for balconies or narrow yards.
- Enhanced Sun Exposure: Plants can be positioned to capture optimal sunlight throughout the day.
- Easier Harvesting: Fruits hang at accessible heights, reducing bending and straining.
- Aesthetic Appeal: Creates living walls that add greenery and visual interest to urban settings.
Disadvantages of Vertical Gardening
- Structural Requirements: Supports must be robust to hold plant weight, especially when laden with fruit.
- Watering Challenges: Elevated plants dry out faster, and irrigation systems may be needed for uniformity.
- Training Labor: Regular pruning and tying are essential to guide growth and prevent tangling.
- Wind Vulnerability: Tall structures can catch wind, potentially toppling or damaging plants.
How to Implement Vertical Gardening: Step-by-Step
- Select Vertical Structures: Choose based on your space and fruit type. Options include trellises (wooden or metal grids), wall-mounted planters (pocket systems or shelves), arbors (for climbing fruits like grapes), and towers (stacked pots or PVC pipes with planting holes). Ensure structures are securely anchored—for walls, use heavy-duty brackets and wall plugs; for freestanding units, add weight to bases.
- Choose Suitable Fruit Varieties: Focus on plants that naturally climb or can be trained. Examples: grapes (Vitis spp.), passionfruit (Passiflora edulis), kiwi (Actinidia arguta for smaller spaces), and berries like blackberries or raspberries. For non-vining fruits, use espalier techniques to train apple or pear trees flat against walls. Dwarf varieties are best for limited root space in vertical planters.
- Install Irrigation Systems: Drip irrigation is ideal for vertical gardens, delivering water directly to roots while conserving moisture. Set up a timer for automatic watering, especially in hot climates. For DIY systems, use soaker hoses or watering spikes attached to bottles. Ensure drainage holes in planters to prevent waterlogging.
- Planting and Training: Plant at the base of structures, spacing according to mature size—e.g., grapes 6-8 feet apart on a trellis. As plants grow, gently tie stems to supports using soft twine or plant clips, avoiding tight knots that restrict growth. Prune regularly to remove dead wood and direct energy to fruiting branches. For espalier, prune in summer to maintain shape along wires.
- Maintenance and Harvest: Monitor for pests like spider mites, which thrive in dry vertical setups; mist leaves occasionally to increase humidity. Fertilize with a slow-release granular fertilizer mixed into soil at planting, supplemented with liquid feeds during growth. Harvest fruits when ripe—vertical gardens often produce earlier due to better air flow. After harvest, prune back vigorously to prepare for next season.
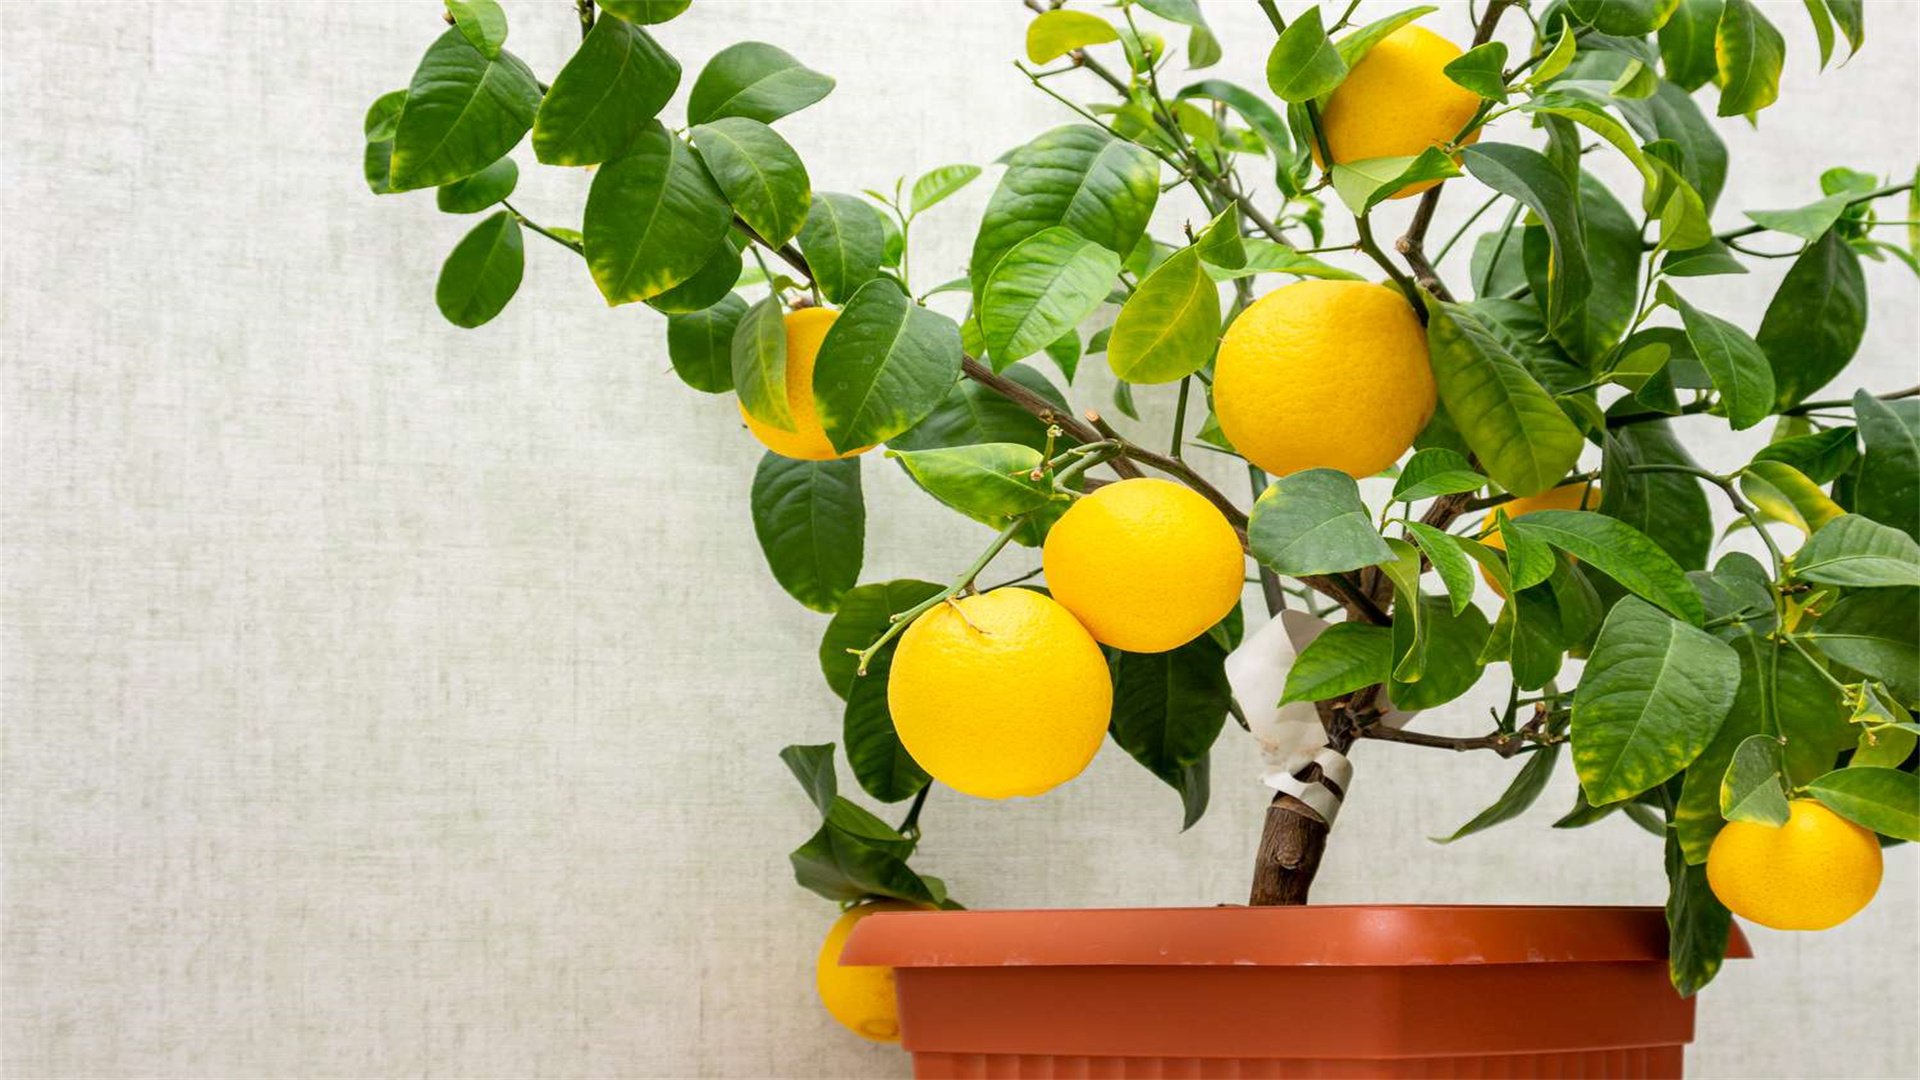
🌳 Selecting Dwarf and Compact Fruit Varieties for Small Spaces
Not all fruit trees and bushes are suited for limited areas; selecting dwarf, patio, or compact varieties is key to success. These plants are bred or grafted to stay small while still producing full-sized fruits, making them perfect for containers, small beds, or tight corners. They often mature faster than standard trees and require less pruning, but may have specific rootstock needs or lower yields. By choosing the right cultivars, you can enjoy a diversity of fruits—from apples to citrus—without overwhelming your space. This section will guide you through popular options, their care requirements, and how to integrate them into your garden.
Advantages of Dwarf and Compact Varieties
- Size Control: Typically grow 6-10 feet tall, fitting in pots or small garden plots.
- Earlier Fruiting: Many dwarf trees bear fruit within 1-3 years, compared to 5+ years for standards.
- Ease of Management: Shorter height simplifies pruning, pest control, and harvesting without ladders.
- Adaptability: Often grafted onto resilient rootstocks that tolerate various soils and conditions.
Disadvantages of Dwarf and Compact Varieties
- Lower Yield: Smaller size means fewer fruits per plant, though yield per square foot can be high with multiple plants.
- Rootstock Dependency: Grafted plants may have specific needs; if the rootstock fails, the tree can die.
- Lifespan: Some dwarf varieties have shorter lives than standard trees, lasting 10-20 years versus 50+.
- Cost: Often more expensive due to specialized breeding and grafting processes.
How to Implement Selection and Cultivation: Step-by-Step
- Research Suitable Varieties: Focus on fruits known for compact growth. Examples: dwarf apple trees (e.g., 'Columnar' types that grow upright), patio peaches (e.g., 'Bonanza'), compact blueberries (e.g., 'Tophat'), and bush cherries (e.g., 'Carmine Jewel'). Check pollination needs—some, like 'Stark' dwarf pears, are self-fertile, while others require partners. Consult local nurseries or extension services for zone-appropriate recommendations (e.g., citrus for warm climates, hardy figs for colder areas).
- Purchase Healthy Plants: Buy from reputable suppliers offering bare-root or container-grown plants. Look for signs of health: green leaves, firm stems, and no pests. For grafted trees, ensure the graft union (a bulge near the base) is clean and calloused. Avoid plants with root circling in pots, which can lead to girdling.
- Planting and Initial Care: Plant in early spring or fall, following spacing guidelines—dwarf trees often need 4-6 feet between them. Dig a hole twice as wide as the root ball but no deeper. For container planting, use pots at least 18 inches in diameter. Water deeply after planting and apply a 2-3 inch mulch layer (straw or wood chips) to retain moisture and suppress weeds.
- Pruning and Training: Prune annually to maintain shape and encourage fruiting. For dwarf trees, use open-center or central-leader pruning methods, removing crossing branches and dead wood. Compact bushes like raspberries may need thinning of canes. Summer pruning can control size; for example, pinch back new growth on blueberries to promote bushiness.
- Fertilizing and Protection: Apply a balanced fertilizer in early spring, following package rates—over-fertilizing can burn roots. Use organic options like compost tea for steady nutrition. Protect from frost by covering with cloths or moving pots indoors. Net plants if birds are a problem, and monitor for diseases like powdery mildew, treating with sulfur sprays if needed.
✂️ Grafting and Advanced Pruning Techniques for Space Efficiency
For gardeners with limited space, advanced techniques like grafting and strategic pruning can multiply your fruit output without expanding footprint. Grafting allows you to combine multiple fruit varieties onto a single rootstock, creating a "fruit salad" tree that yields apples, pears, or peaches from one plant. Pruning, when done correctly, controls plant size, improves light penetration, and boosts fruit quality. These methods require some skill and patience but offer incredible rewards in terms of variety and efficiency. This section will cover the basics of grafting and pruning tailored for small-space fruit gardens, with practical steps and tips.
Advantages of Grafting and Advanced Pruning
- Variety Maximization: Grafting lets you grow several fruits in the space of one tree, ideal for biodiversity.
- Size Control: Pruning keeps plants compact, preventing them from outgrowing confined areas.
- Improved Health: Regular pruning removes diseased wood and enhances air circulation, reducing pest issues.
- Extended Harvest: By grafting early, mid, and late-season varieties, you can stretch the fruiting period.
Disadvantages of Grafting and Advanced Pruning
- Skill Intensive: Requires learning proper techniques; mistakes can damage or kill plants.
- Time-Consuming: Grafting involves precise timing (often in dormant season), and pruning needs regular attention.
- Risk of Failure: Grafts may not take if not aligned properly, and over-pruning can reduce yields.
- Tool Investment: Need sharp, sterilized tools like pruning shears, grafting knives, and saws.
How to Implement Grafting and Pruning: Step-by-Step
- Learn Grafting Basics: Start with simple methods like whip-and-tongue grafting for similar-diameter branches. Collect scion wood (young shoots from desired fruit varieties) in late winter when dormant. Choose a healthy rootstock—dwarfing types like M9 for apples are popular. Make clean, angled cuts on both scion and rootstock, align the cambium layers (green tissue under bark), and secure with grafting tape or rubber bands. Seal with grafting wax to prevent drying.
- Practice Pruning Techniques: For small trees, use the "espalier" method to train branches horizontally along wires, saving space and increasing sun exposure. Prune in late winter for shape and summer for size control. Remove water sprouts (vertical shoots) and suckers (base growth). For bushes like currants, prune out old wood to encourage new fruiting canes. Always sterilize tools between cuts with rubbing alcohol to prevent disease spread.
- Combine Grafting and Pruning: On a multi-grafted tree, prune to balance growth among varieties—trim back vigorous branches to let weaker ones thrive. Monitor grafts for signs of success, such as new leaves; if a graft fails, cut it off and try again. Use pruning to direct energy into fruit production rather than excessive foliage.
- Maintain Grafted Plants: Water grafted trees consistently, as stress can cause graft rejection. Fertilize lightly in spring; excessive nitrogen promotes leafy growth over fruiting. Protect grafts from extreme temperatures with tree wrap or shade cloth. As the tree grows, adjust ties to avoid girdling.
- Troubleshoot Common Issues: If grafts don't take, ensure scion wood was fresh and cuts were precise. For pruning errors, like over-thinning, allow the plant to recover with minimal stress—avoid heavy fertilization. Consult online tutorials or local gardening clubs for hands-on guidance.
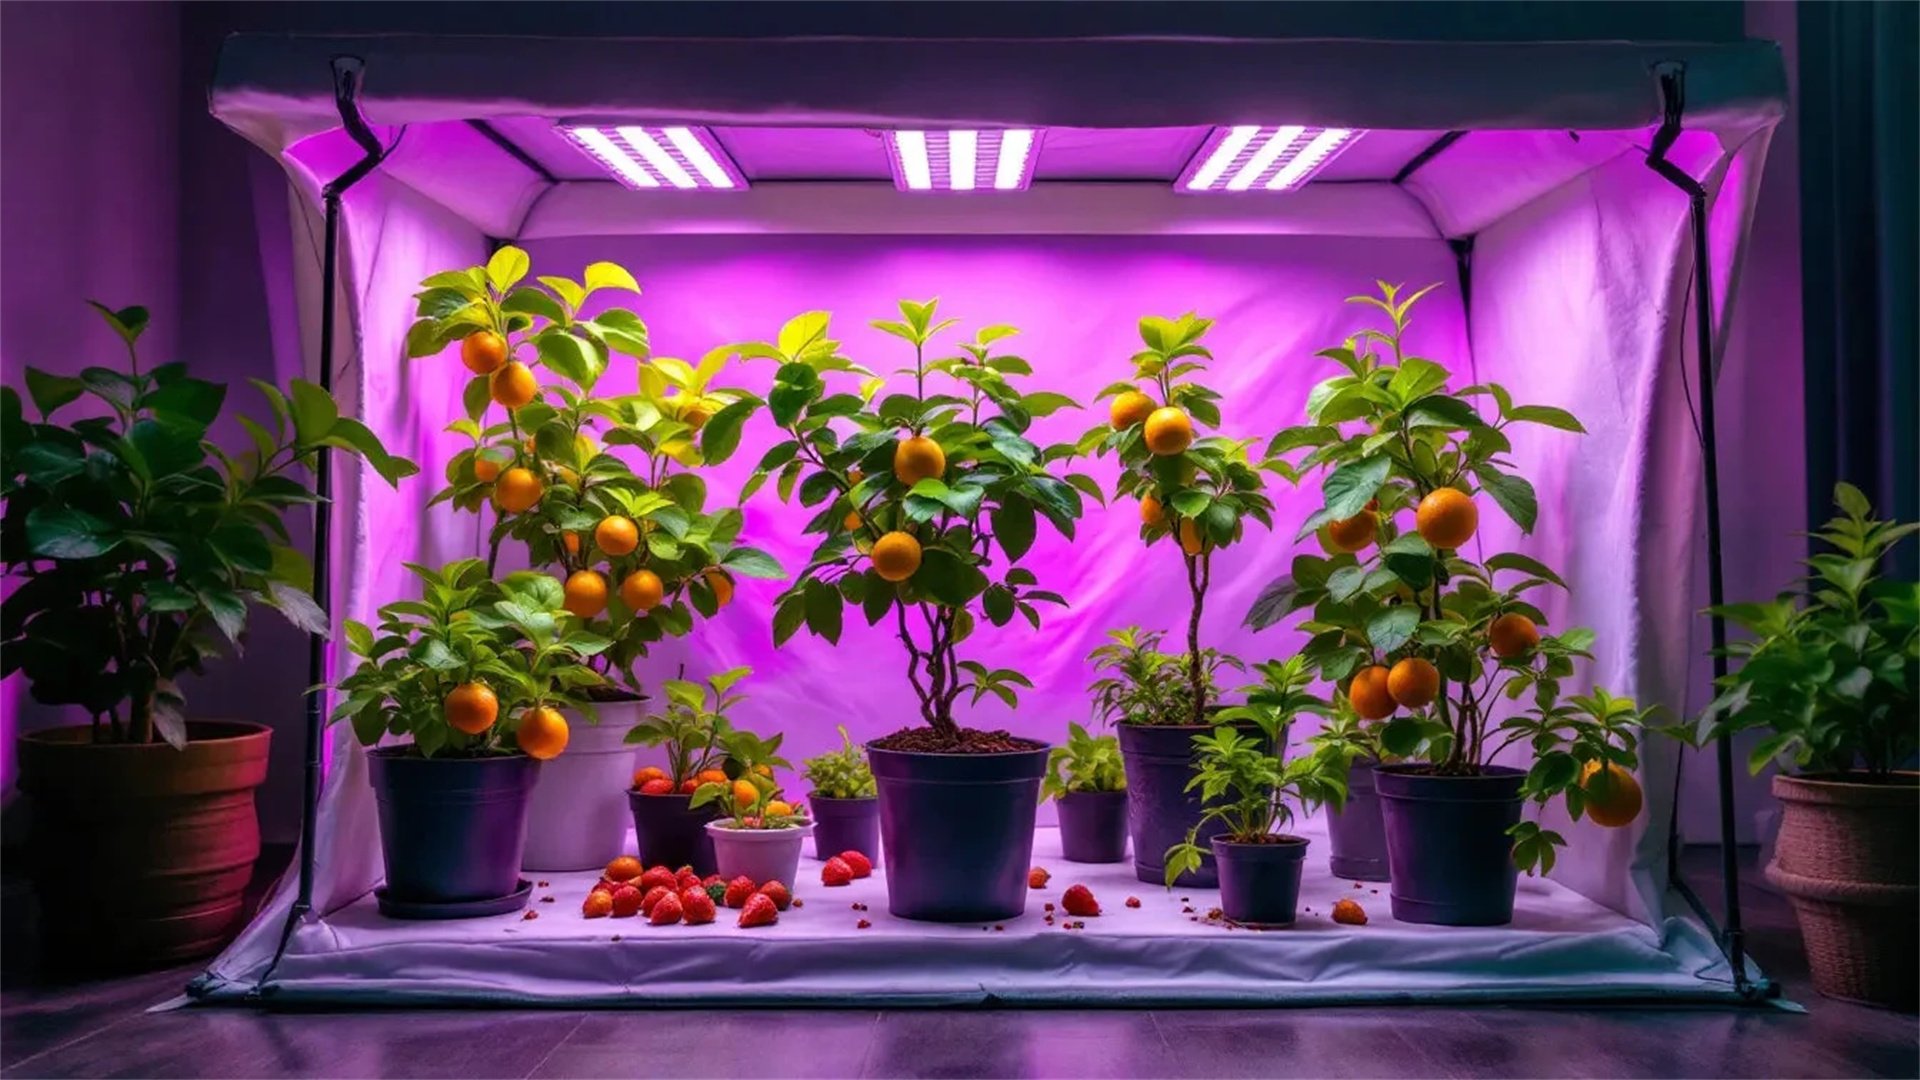
🏠 Indoor Fruit Gardening: Year-Round Harvests in Confined Interiors
When outdoor space is extremely limited or climates are harsh, indoor fruit gardening offers a viable alternative. With advancements in grow lights, hydroponics, and container design, you can cultivate fruits like strawberries, citrus, and figs inside your home. This method provides control over temperature, humidity, and light, enabling year-round production. However, it requires investment in equipment, careful monitoring of environmental factors, and may have higher energy costs. In this section, we'll explore how to set up an indoor fruit garden, from selecting plants to managing indoor-specific challenges.
Advantages of Indoor Fruit Gardening
- Climate Independence: Grow tropical fruits like lemons in cold regions, or extend seasons beyond local frost dates.
- Pest Reduction: Indoor settings minimize exposure to common garden pests and diseases.
- Aesthetic and Health Benefits: Plants purify air and add greenery, enhancing indoor ambiance.
- Continuous Harvest: With artificial lighting, you can manipulate light cycles to induce fruiting multiple times a year.
Disadvantages of Indoor Fruit Gardening
- High Initial Cost: Grow lights, fans, and hydroponic systems can be expensive to purchase and operate.
- Pollination Challenges: Lack of natural pollinators requires hand-pollination for many fruits.
- Space Constraints: Even indoors, room must be allocated for setups, which may compete with living areas.
- Environmental Control: Maintaining optimal humidity (40-60%) and temperature (65-75°F) can be tricky without equipment.
How to Implement Indoor Fruit Gardening: Step-by-Step
- Select Indoor-Suitable Fruits: Choose varieties that tolerate lower light and confined roots. Examples: dwarf Meyer lemon, calamondin orange, alpine strawberries (Fragaria vesca), and fig trees like 'Petite Negra'. Avoid large trees unless you have a greenhouse room. Start with easy plants like microgreens or herbs to gain confidence.
- Set Up Lighting Systems: Use full-spectrum LED grow lights, which are energy-efficient and emit minimal heat. Position lights 6-12 inches above plants, adjusting as they grow. Set timers for 12-16 hours of light per day for most fruits; some, like blueberries, need shorter days to trigger fruiting. Reflective surfaces (mylar or white paint) can maximize light distribution.
- Choose Growing Mediums: For containers, use a well-draining potting mix with added perlite. Consider hydroponic systems like deep water culture or drip systems for faster growth—these use nutrient solutions instead of soil. Ensure pots have drainage holes and saucers to catch excess water. For soil-less setups, monitor pH and EC (electrical conductivity) regularly.
- Manage Environment and Care: Maintain temperature between 65-75°F during day and slightly cooler at night. Use humidifiers or pebble trays to increase humidity if needed. Water when topsoil is dry, but avoid overwatering—indoor plants are prone to root rot. Fertilize with a balanced liquid fertilizer every 4-6 weeks, reducing in winter when growth slows.
- Pollinate and Maintain: Hand-pollinate flowers using a small brush or by gently shaking plants to mimic wind. Prune indoor fruits to control size and remove dead leaves. Monitor for indoor pests like spider mites; treat with insecticidal soap or neem oil. Rotate plants weekly to ensure even light exposure. Harvest fruits when ripe—indoor-grown fruits may be smaller but often have intense flavor.

🔧 Maintenance and Management: Ensuring Long-Term Success in Small-Space Fruit Gardens
Regardless of the methods employed, ongoing maintenance is critical for a thriving fruit garden in limited spaces. This includes watering, fertilizing, pest control, and seasonal tasks that adapt to your specific setup. Small-space gardens often require more intensive care due to confined conditions, but with a systematic approach, you can prevent problems and maximize yields. This section will cover essential maintenance practices, troubleshooting common issues, and tips for sustainable gardening that respects your space constraints.
Advantages of Proactive Maintenance
- Prevents Problems: Regular checks catch pests, diseases, or nutrient deficiencies early, reducing damage.
- Boosts Productivity: Proper care ensures plants direct energy into fruiting rather than survival.
- Extends Plant Life: Well-maintained fruits live longer, providing harvests for years.
- Enhances Garden Health: Balanced ecosystems in small spaces reduce the need for chemical interventions.
Disadvantages of Neglecting Maintenance
- Rapid Decline: In confined areas, issues like overwatering or pests can spread quickly, wiping out plants.
- Reduced Yields: Stress from poor care leads to fewer or lower-quality fruits.
- Increased Labor Later: Neglect often requires drastic measures like replanting or heavy pruning to recover.
- Resource Waste: Water, fertilizer, and time are wasted if plants fail due to lack of care.
How to Implement Effective Maintenance: Step-by-Step
- Develop a Watering Schedule: Base watering on plant needs and weather—check soil moisture daily in summer. Use self-watering containers or drip irrigation with timers for consistency. For container gardens, water until drainage occurs; for vertical setups, ensure all levels receive moisture. Reduce watering in winter when plants are dormant.
- Fertilize Strategically: Apply fertilizers according to growth stages: high nitrogen in spring for leaf development, high phosphorus during flowering, and balanced feeds during fruiting. Use organic options like compost, worm castings, or fish emulsion to build soil health. Avoid over-fertilizing, which can burn roots in small spaces.
- Integrated Pest Management (IPM): Monitor plants weekly for signs of pests (e.g., aphids, mites) or diseases (e.g., mildew, rot). Use physical controls like hand-picking or spraying with water. Introduce beneficial insects like ladybugs for aphid control. As a last resort, apply organic pesticides like neem oil, following label instructions. Rotate crops if possible to break pest cycles.
- Seasonal Tasks: In spring, prune dormant plants, apply mulch, and start fertilizing. Summer focuses on watering, training growth, and thinning fruits to improve size. Fall involves harvesting, cleaning up fallen leaves to prevent disease, and preparing plants for winter—move containers indoors or wrap trees. Winter is for planning, tool maintenance, and starting seeds indoors.
- Record-Keeping and Adjustment: Keep a garden journal noting planting dates, varieties, yields, and issues. Use this data to refine practices each year—for example, if a plant struggled, try a different location or variety. Stay flexible; small-space gardening often requires tweaks based on microclimates and plant responses.
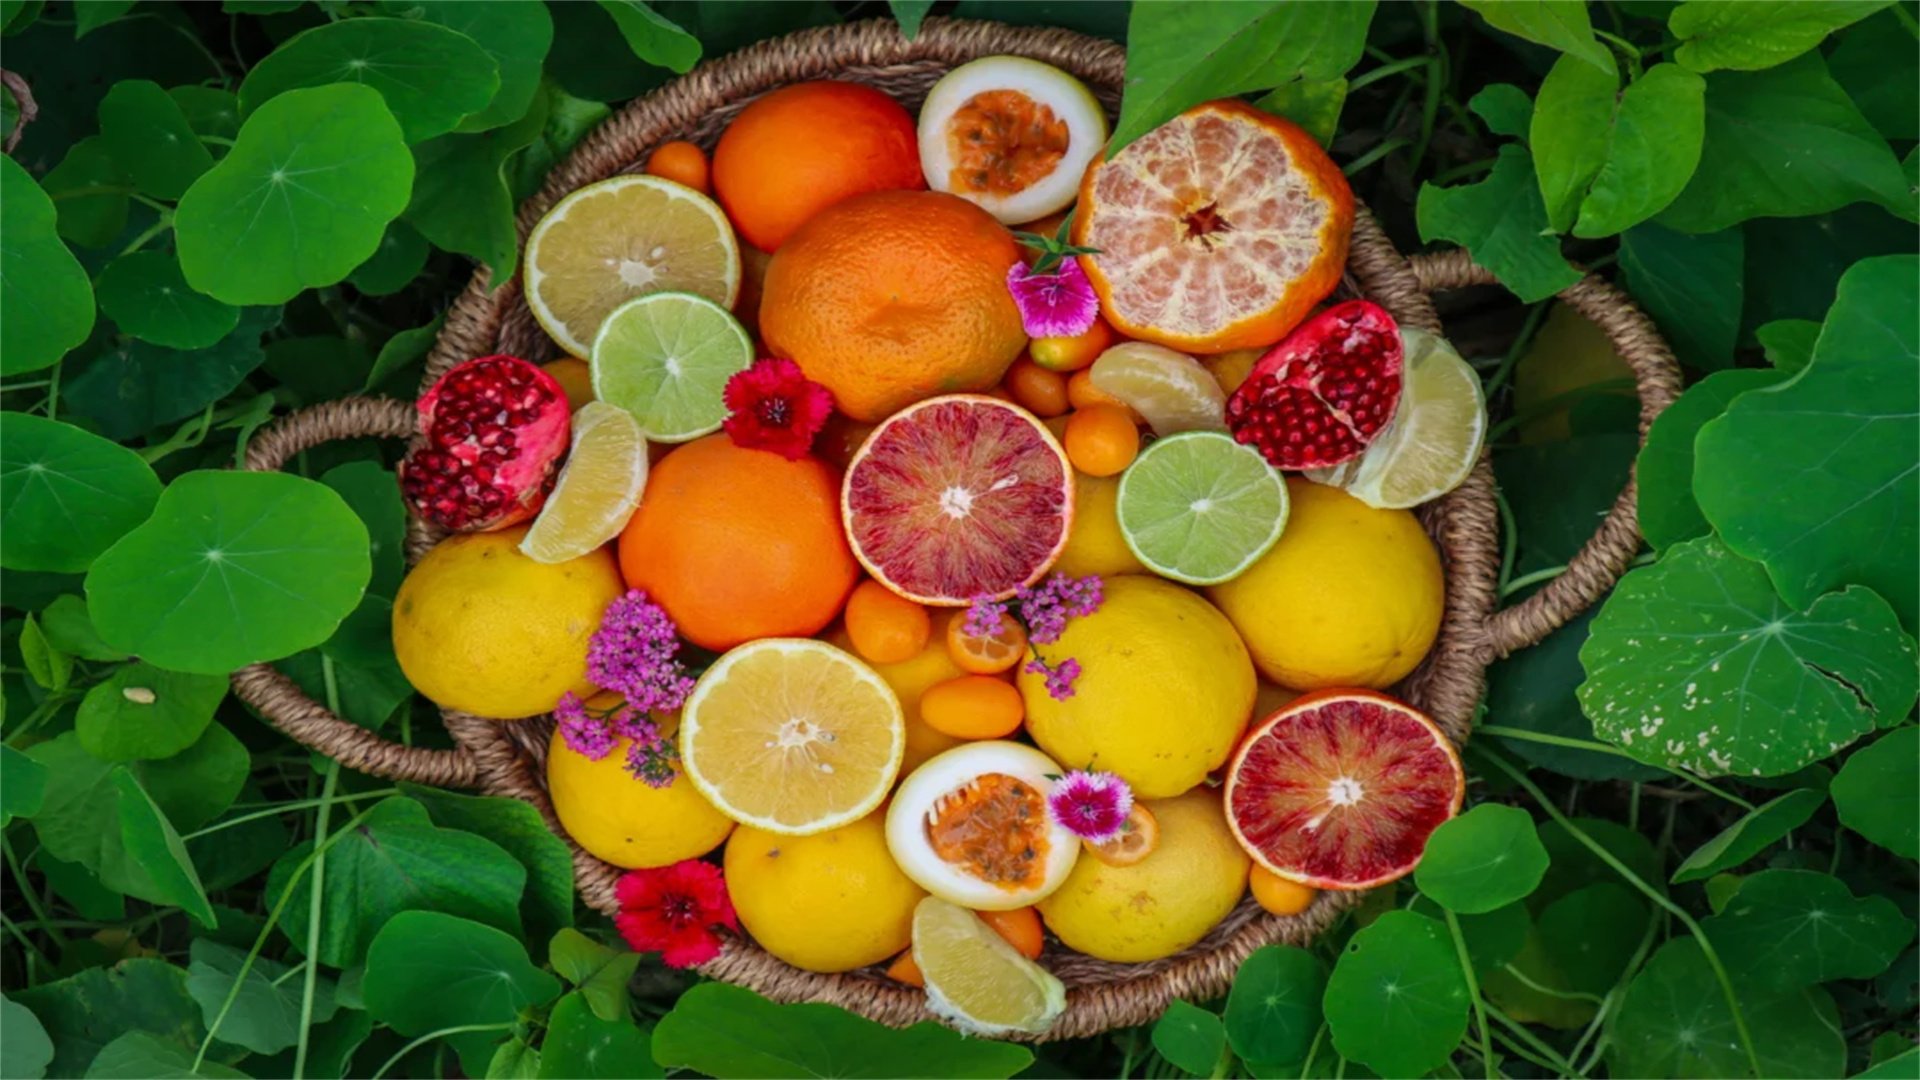
🎯 Conclusion: Embracing the Joys of Small-Space Fruit Gardening
Growing a fruit garden in limited space is not only feasible but immensely rewarding. By leveraging techniques like container gardening, vertical systems, dwarf varieties, grafting, and indoor cultivation, you can transform even the smallest nook into a productive oasis. This guide has provided detailed, actionable steps for each method, highlighting their advantages and disadvantages to help you make informed choices. Remember, success lies in careful planning, consistent maintenance, and a willingness to adapt—whether you're dealing with a sunny balcony, a shaded patio, or a cozy indoor corner.
Start small with a few easy plants like strawberries or herbs, and gradually expand as you gain confidence. Engage with local gardening communities or online forums for support and inspiration. The benefits extend beyond fresh fruit: you'll enjoy the therapeutic process of nurturing plants, reduce your environmental footprint, and perhaps even inspire others to try urban gardening. With patience and creativity, your limited space can yield an abundance of sweet, homegrown delights for years to come. Happy gardening!