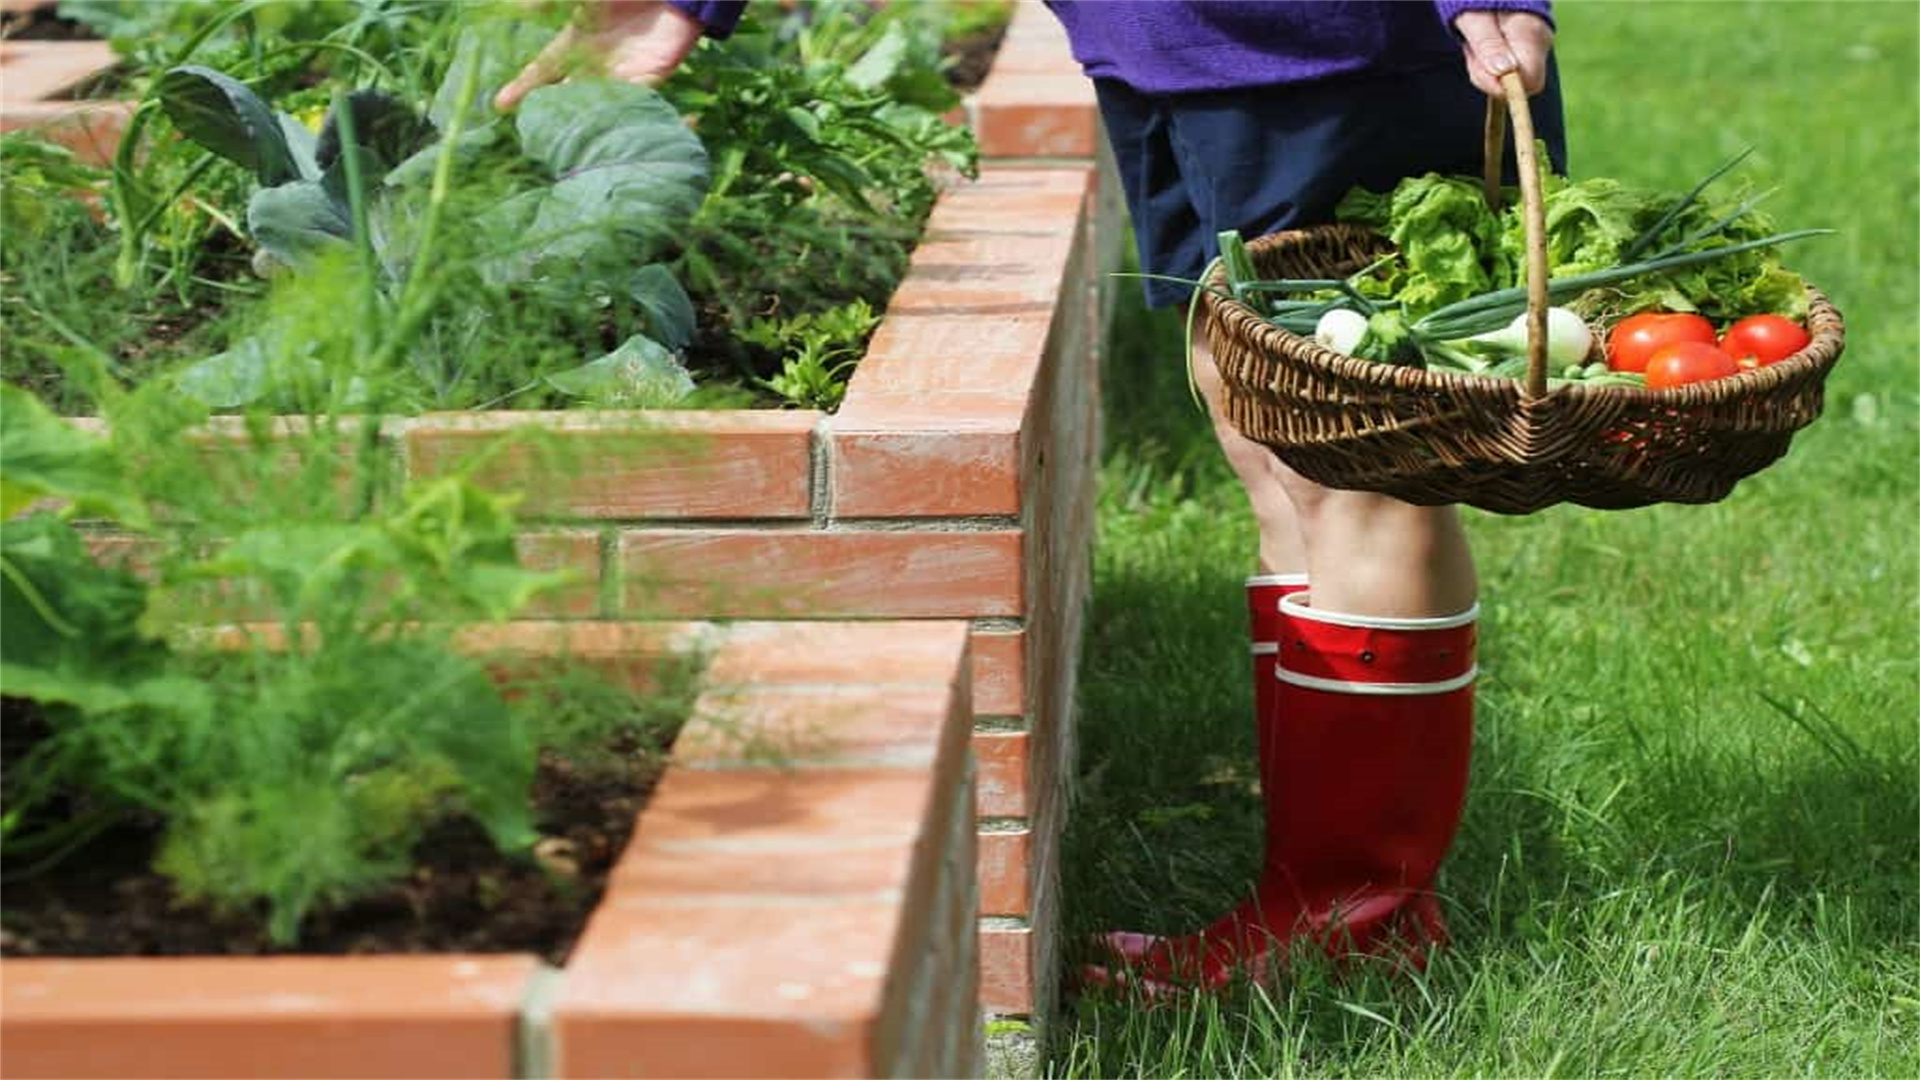
Grow Nutritious Greens in Winter: 8 Cold-Tolerant Vegetables for Your Garden
Winter gardening offers a unique opportunity to extend your growing season and enjoy fresh, nutrient-rich greens even when temperatures drop. Many vegetables thrive in cold weather, developing sweeter flavors and enhanced nutritional profiles. This guide delves into eight cold-tolerant vegetables perfect for winter gardens, providing detailed insights into their cultivation, benefits, and challenges. By selecting the right plants and following best practices, you can transform your garden into a vibrant source of winter produce. We will explore each vegetable in depth, covering advantages, disadvantages, and step-by-step growing methods to ensure a successful harvest. From kale to winter lettuce, these hardy options are ideal for gardeners in various climates, offering resilience against frost and snow. Embrace the joy of winter gardening and reap the rewards of homegrown greens throughout the chilly months.

1. Kale 🥬
Kale is a superstar among winter greens, known for its hardiness and exceptional nutrient density. This leafy vegetable belongs to the brassica family and can withstand temperatures as low as 20°F (-6°C), often becoming sweeter after a frost. Its curly or flat leaves are packed with vitamins A, C, and K, along with antioxidants and fiber, making it a popular choice for health-conscious gardeners. Kale's versatility in recipes, from salads to soups, adds to its appeal. In winter gardens, it serves as a reliable crop that continues to produce leaves even under snow cover, provided it is given proper care.
Advantages and Disadvantages
- Advantages:
- Kale is highly frost-tolerant, often improving in flavor after cold exposure.
- It is rich in essential nutrients, supporting immune health and digestion.
- The plant is relatively low-maintenance, requiring minimal space and thriving in containers or ground beds.
- It has a long harvesting period, allowing for continuous picking of outer leaves over weeks.
- Kale is also resistant to many common pests when grown in cool weather, reducing the need for chemical interventions.
- Disadvantages:
- Kale can be susceptible to aphid infestations in milder winter periods, which may require organic pest control methods.
- It may bolt prematurely if exposed to sudden warm spells, leading to bitter leaves.
- The plant requires consistent moisture, and drought stress can stunt growth.
- In very harsh winters without snow cover, kale might need additional protection like row covers to prevent frost damage.
- Some varieties have tough leaves that may not appeal to all palates without proper cooking.
How to Grow Kale
- Planting Time: For winter harvests, sow kale seeds directly in the garden in late summer or early fall, about 6-8 weeks before the first expected frost. In milder climates, you can plant in early winter for a spring harvest. Start seeds indoors if temperatures are too high, transplanting seedlings when they have 4-6 true leaves.
- Soil Requirements: Kale prefers well-drained, fertile soil with a pH between 6.0 and 7.5. Amend the soil with compost or aged manure before planting to boost nutrient content. Ensure good drainage to prevent root rot, especially in wet winter conditions. Raised beds can be beneficial for improving soil warmth and drainage.
- Spacing and Depth: Plant seeds about ½ inch deep and space them 12-18 inches apart in rows that are 18-24 inches apart. Thin seedlings to the recommended spacing to allow for proper air circulation and growth. For container gardening, use pots at least 12 inches deep with drainage holes.
- Watering and Mulching: Water kale consistently to keep the soil evenly moist, but avoid waterlogging. During winter, reduce watering frequency if rainfall is adequate. Apply a layer of mulch, such as straw or leaves, around the plants to retain moisture, suppress weeds, and insulate roots from temperature fluctuations.
- Fertilization: Feed kale with a balanced organic fertilizer at planting time and side-dress with compost every 4-6 weeks during the growing season. Avoid high-nitrogen fertilizers in late fall, as they can promote tender growth vulnerable to frost.
- Pest and Disease Management: Monitor for aphids, cabbage worms, and flea beetles; use insecticidal soap or neem oil if infestations occur. Practice crop rotation to prevent soil-borne diseases like clubroot. Remove any diseased leaves promptly to maintain plant health.
- Harvesting: Begin harvesting outer leaves when they are about the size of your hand, typically 50-70 days after planting. Use a sharp knife or scissors to cut leaves, leaving the central bud intact for continued growth. Kale can be harvested throughout winter, with leaves often becoming more tender after frost.
Kale is an excellent choice for winter gardens due to its resilience and nutritional benefits. By following these steps, you can ensure a bountiful harvest that lasts through the cold season. Experiment with varieties like 'Winterbor' or 'Red Russian' for added color and flavor diversity.
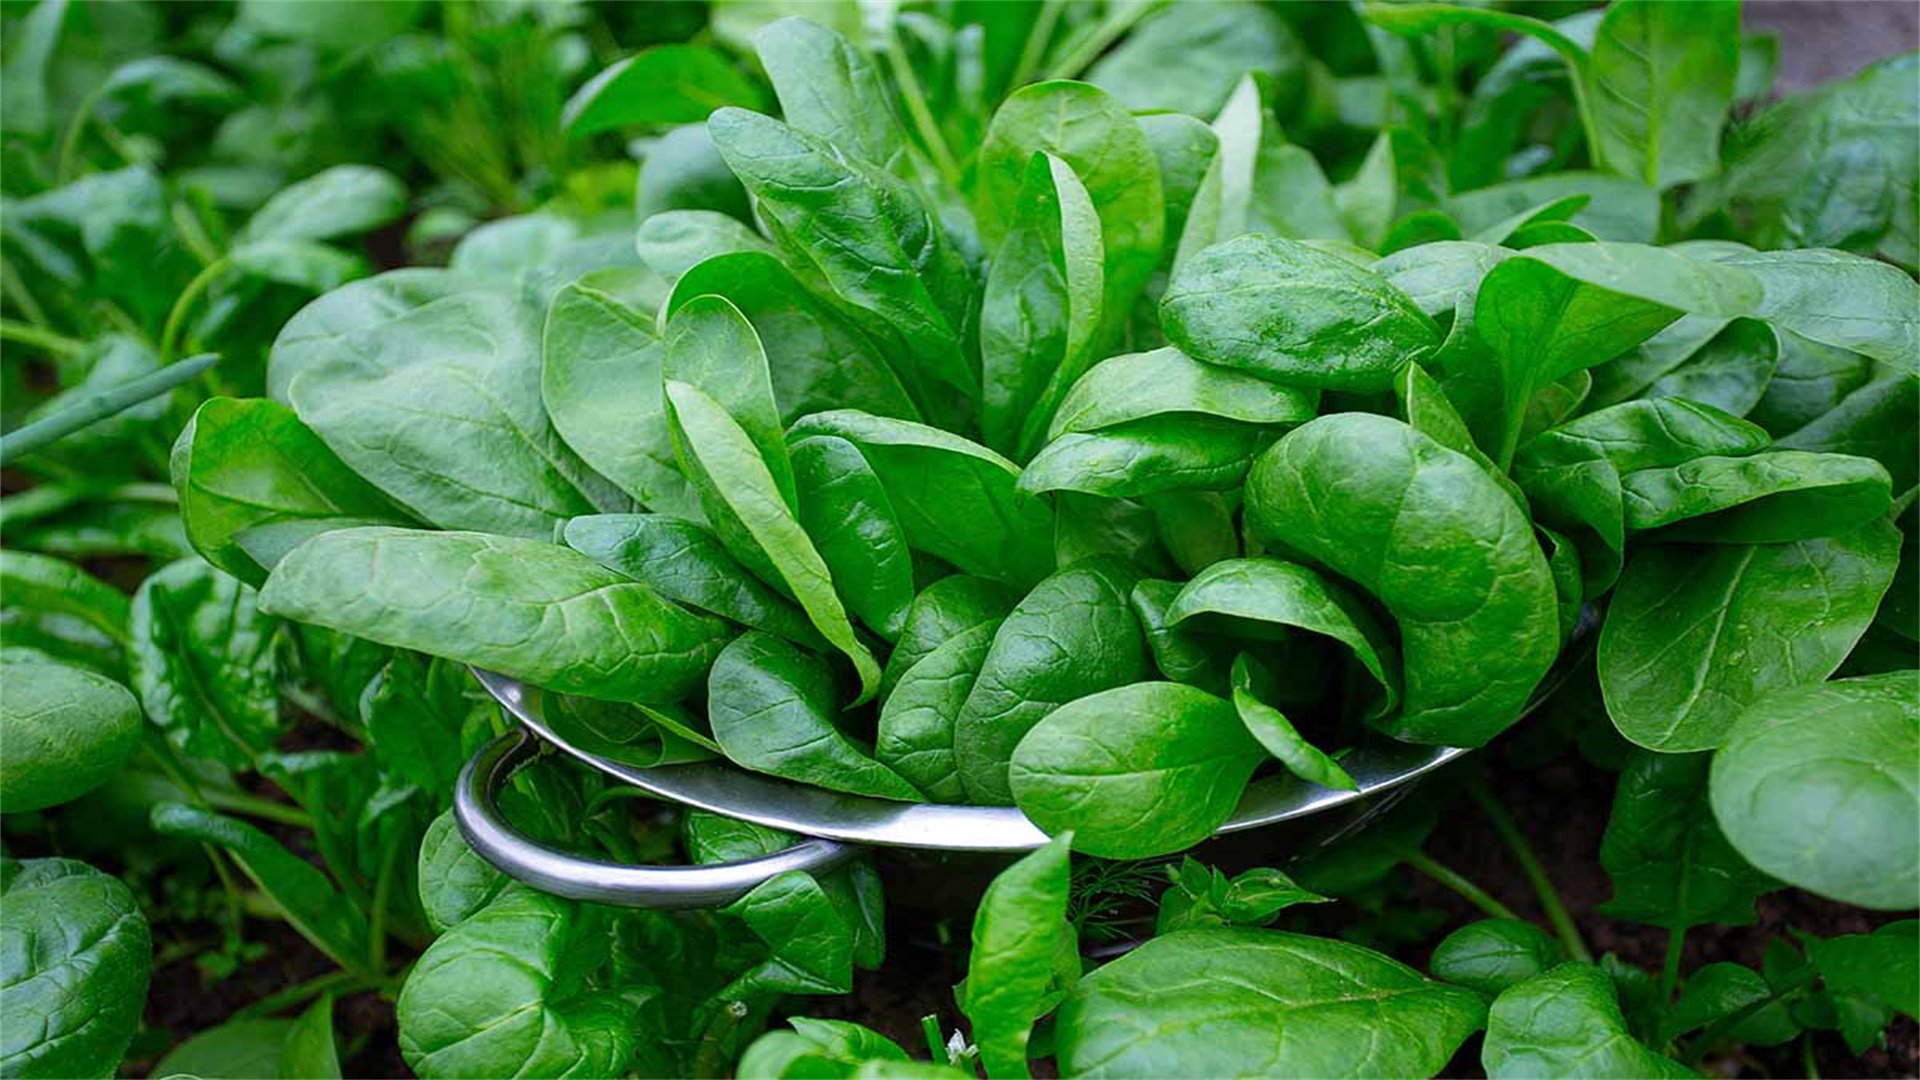
2. Spinach 🥬
Spinach is a fast-growing leafy green that excels in cool weather, with some varieties tolerating temperatures down to 15°F (-9°C). Its tender leaves are rich in iron, calcium, and vitamins, making it a nutritious addition to winter meals. Spinach can be grown in gardens or containers, offering flexibility for small spaces.
Advantages and Disadvantages
- Advantages:
- Spinach matures quickly, often ready for harvest in 40-50 days, providing a rapid return.
- It is highly cold-tolerant and can survive under snow, with leaves remaining edible.
- The plant requires minimal space and can be grown in succession for continuous yields.
- Spinach is versatile in cooking, suitable for salads, sautés, and smoothies.
- Disadvantages:
- Spinach is prone to bolting in warm weather, so timing is critical for winter planting.
- It may suffer from downy mildew or leaf miners in humid conditions.
- The leaves can become tough if overgrown, requiring regular harvesting.
- In very wet winters, spinach may rot if drainage is poor.
How to Grow Spinach
- Planting Time: Sow spinach seeds in late summer to early fall, about 4-6 weeks before the first frost. In mild climates, plant in winter for early spring harvest. Use cold-tolerant varieties like 'Bloomsdale' or 'Tyee' for best results.
- Soil Requirements: Plant in well-drained, nitrogen-rich soil with a pH of 6.5-7.5. Incorporate compost to improve fertility and structure. Avoid heavy clay soils that retain water.
- Spacing and Depth: Sow seeds ½ inch deep and 2-4 inches apart in rows spaced 12-18 inches apart. Thin seedlings to 4-6 inches apart to prevent crowding. For container growth, use shallow pots with good drainage.
- Watering and Mulching: Keep soil consistently moist but not soggy. Water deeply once a week, adjusting based on rainfall. Mulch with straw to conserve moisture and protect roots from cold.
- Fertilization: Apply a nitrogen-rich fertilizer at planting and again mid-season to promote leafy growth. Avoid over-fertilizing, which can lead to weak plants.
- Pest and Disease Management: Watch for aphids and leaf miners; use row covers as a preventive measure. Rotate crops to avoid soil diseases. Remove affected leaves promptly.
- Harvesting: Harvest outer leaves when they are 3-6 inches long, or cut the whole plant at the base. Spinach can be picked multiple times if the crown is left intact.
Spinach is a reliable winter green that offers quick harvests and high nutrition. With proper care, it can thrive even in frosty conditions, providing fresh greens for your table.

3. Collard Greens 🥬
Collard greens are a Southern favorite known for their robust, dark leaves and ability to withstand cold temperatures, often down to 10°F (-12°C). These nutrient-dense leaves are high in vitamins A, C, and K, and they develop a sweeter taste after frost. Collards are easy to grow and can be harvested throughout winter in many regions.
Advantages and Disadvantages
- Advantages:
- Collards are extremely cold-hardy and can survive harsh winters with minimal protection.
- They have a long growing season and can be harvested repeatedly.
- The plants are drought-tolerant once established and resistant to many pests.
- Collards are versatile in cooking, often used in stews and braised dishes.
- Disadvantages:
- Collards require ample space, as they can grow up to 3 feet tall and wide.
- They may be susceptible to cabbage loopers and aphids in warmer spells.
- The leaves can become tough if not harvested young, and plants may bolt in inconsistent temperatures.
How to Grow Collard Greens
- Planting Time: Plant seeds in mid to late summer for a winter harvest, or in early fall in mild climates. Transplants can be used for a head start.
- Soil Requirements: Choose well-drained, fertile soil with a pH of 6.0-7.5. Enrich with organic matter like compost before planting.
- Spacing and Depth: Sow seeds ¼ inch deep and space plants 18-24 inches apart in rows 30 inches apart. Thin seedlings to ensure adequate air flow.
- Watering and Mulching: Water deeply once a week, ensuring soil remains moist. Mulch heavily with leaves or straw to insulate roots and retain moisture.
- Fertilization: Apply a balanced fertilizer at planting and side-dress with compost every 6 weeks. Avoid high nitrogen late in the season.
- Pest and Disease Management: Monitor for caterpillars and aphids; use BT or neem oil if needed. Practice crop rotation to prevent diseases like black rot.
- Harvesting: Harvest lower leaves when they are 8-12 inches long, leaving the top growth intact. Plants can be cut back in spring for regrowth.
Collard greens are a sturdy addition to winter gardens, offering hearty leaves that improve with cold weather. With proper spacing and care, they can provide a steady supply of nutritious greens.
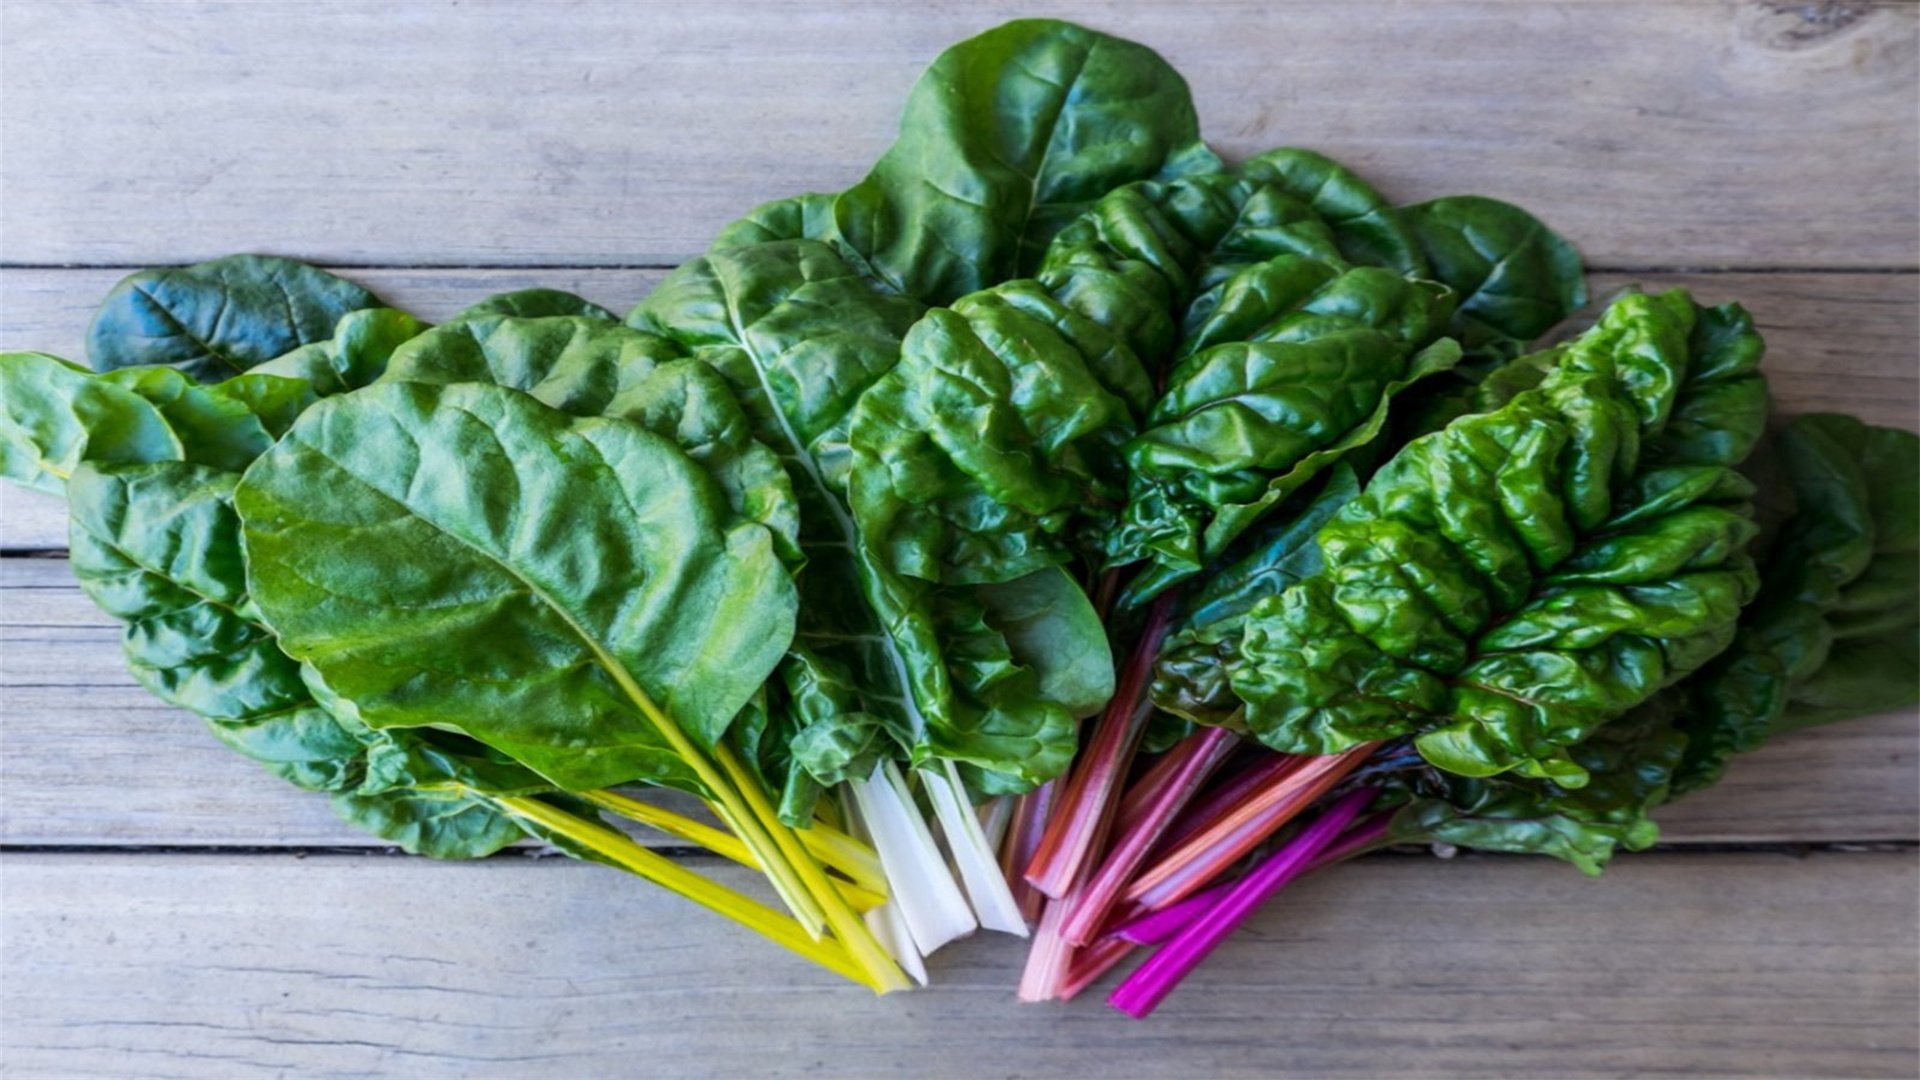
4. Swiss Chard 🌈
Swiss chard is a colorful and cold-tolerant vegetable that can survive temperatures down to 15°F (-9°C). Its vibrant stems and dark green leaves are rich in vitamins and minerals, adding visual appeal and nutrition to winter gardens. Chard is biennial but often grown as an annual, and it can produce leaves throughout winter in protected areas.
Advantages and Disadvantages
- Advantages:
- Swiss chard is highly decorative, with stems in colors like red, yellow, and white.
- It is cold-tolerant and can regrow after light frosts.
- The plant has a long harvesting period and is relatively pest-resistant.
- Chard is versatile in recipes, from salads to sautés.
- Disadvantages:
- Chard may bolt in warm weather or if stressed by drought.
- It can be prone to leaf miners in some regions.
- The leaves may become bitter if overgrown, requiring regular picking.
- In very cold winters, it may need row covers for protection.
How to Grow Swiss Chard
- Planting Time: Sow seeds in late summer or early fall for winter harvest. In mild climates, plant in winter for continuous growth. Use varieties like 'Bright Lights' or 'Fordhook Giant'.
- Soil Requirements: Plant in well-drained, fertile soil with a pH of 6.0-7.0. Add compost to improve nutrient content and drainage.
- Spacing and Depth: Sow seeds ½ inch deep and 2-4 inches apart, thinning to 6-12 inches apart in rows 18 inches apart. For containers, use deep pots.
- Watering and Mulching: Keep soil evenly moist, watering deeply during dry spells. Mulch with straw to conserve moisture and protect roots.
- Fertilization: Feed with a balanced fertilizer at planting and every 4-6 weeks. Avoid over-fertilizing, which can lead to weak stems.
- Pest and Disease Management: Watch for leaf miners and aphids; use row covers or organic sprays. Rotate crops to prevent soil diseases.
- Harvesting: Harvest outer leaves when they are 6-8 inches long, cutting at the base. The plant will continue producing new leaves from the center.
Swiss chard is a beautiful and productive winter green that adds color and flavor to gardens. By following these steps, you can enjoy its harvest throughout the cold season.
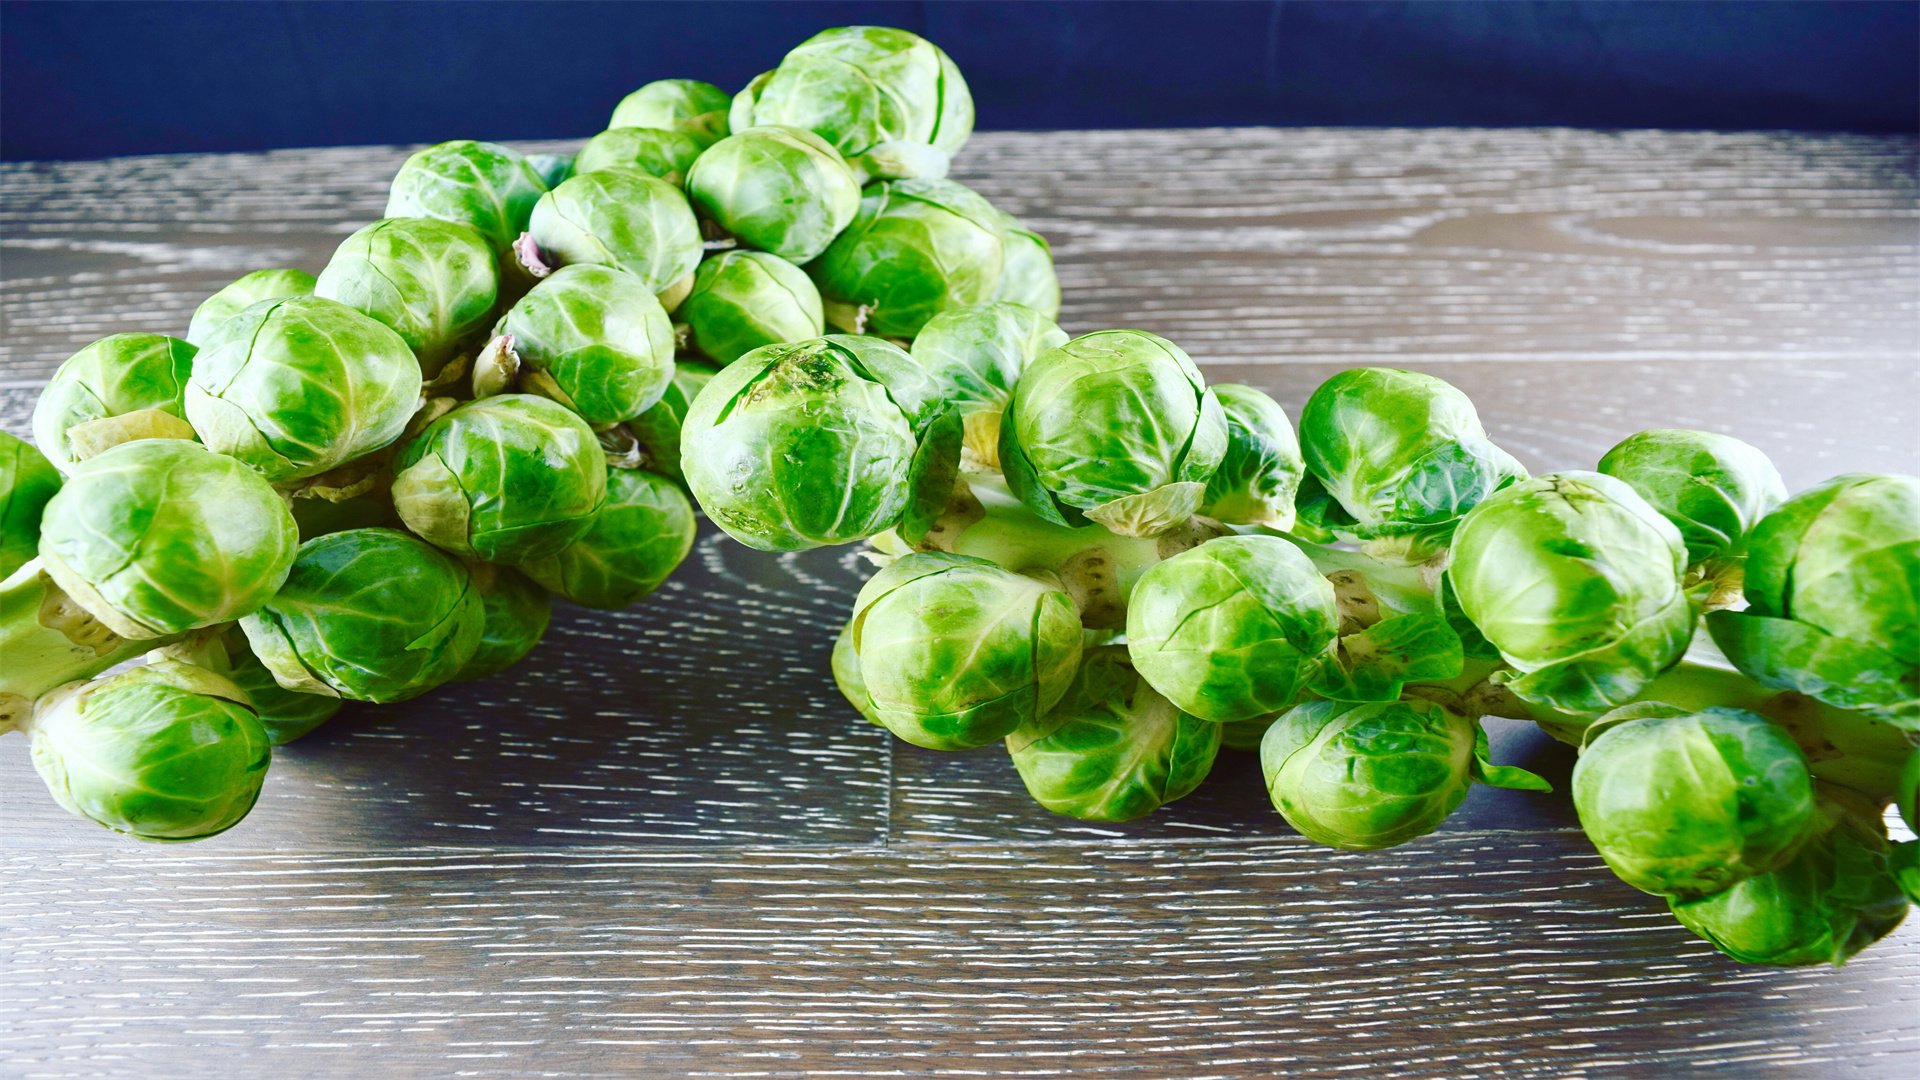
5. Brussels Sprouts 🥬
Brussels sprouts are a cold-loving brassica that thrives in winter, with sprouts maturing best after frost, which enhances their sweetness. These miniature cabbages grow on tall stalks and can tolerate temperatures down to 20°F (-6°C). They are rich in fiber, vitamins, and antioxidants, making them a nutritious winter crop.
Advantages and Disadvantages
- Advantages:
- Brussels sprouts become sweeter after frost, improving in flavor.
- They have a long growing season but provide a abundant harvest.
- The plants are space-efficient, growing vertically.
- They are relatively pest-resistant in cool weather.
- Disadvantages:
- Brussels sprouts require a long growing period, often 90-120 days to maturity.
- They are susceptible to aphids and cabbage worms.
- The plants need staking in windy areas to prevent toppling.
- Sprouts may not form well in warm winters.
How to Grow Brussels Sprouts
- Planting Time: Start seeds indoors in early summer for transplanting in late summer, ensuring sprouts mature in winter. In mild climates, direct sow in early fall.
- Soil Requirements: Use well-drained, fertile soil with a pH of 6.0-7.5. Amend with compost and ensure high nitrogen content for growth.
- Spacing and Depth: Plant seedlings 24-30 inches apart in rows 30 inches apart. Bury stems deeply to encourage strong root development.
- Watering and Mulching: Water consistently to keep soil moist, especially during sprout formation. Mulch heavily to retain moisture and regulate soil temperature.
- Fertilization: Apply a nitrogen-rich fertilizer at planting and again when sprouts begin to form. Avoid over-fertilizing late in the season.
- Pest and Disease Management: Monitor for pests like aphids; use insecticidal soap if needed. Rotate crops to prevent clubroot and other diseases.
- Harvesting: Harvest sprouts from the bottom of the stalk upward when they are 1-2 inches in diameter. Remove leaves below the sprouts to encourage growth. Plants can be harvested over several weeks.
Brussels sprouts are a rewarding winter crop that benefits from cold weather. With patience and care, you can enjoy a hearty harvest of sweet sprouts.
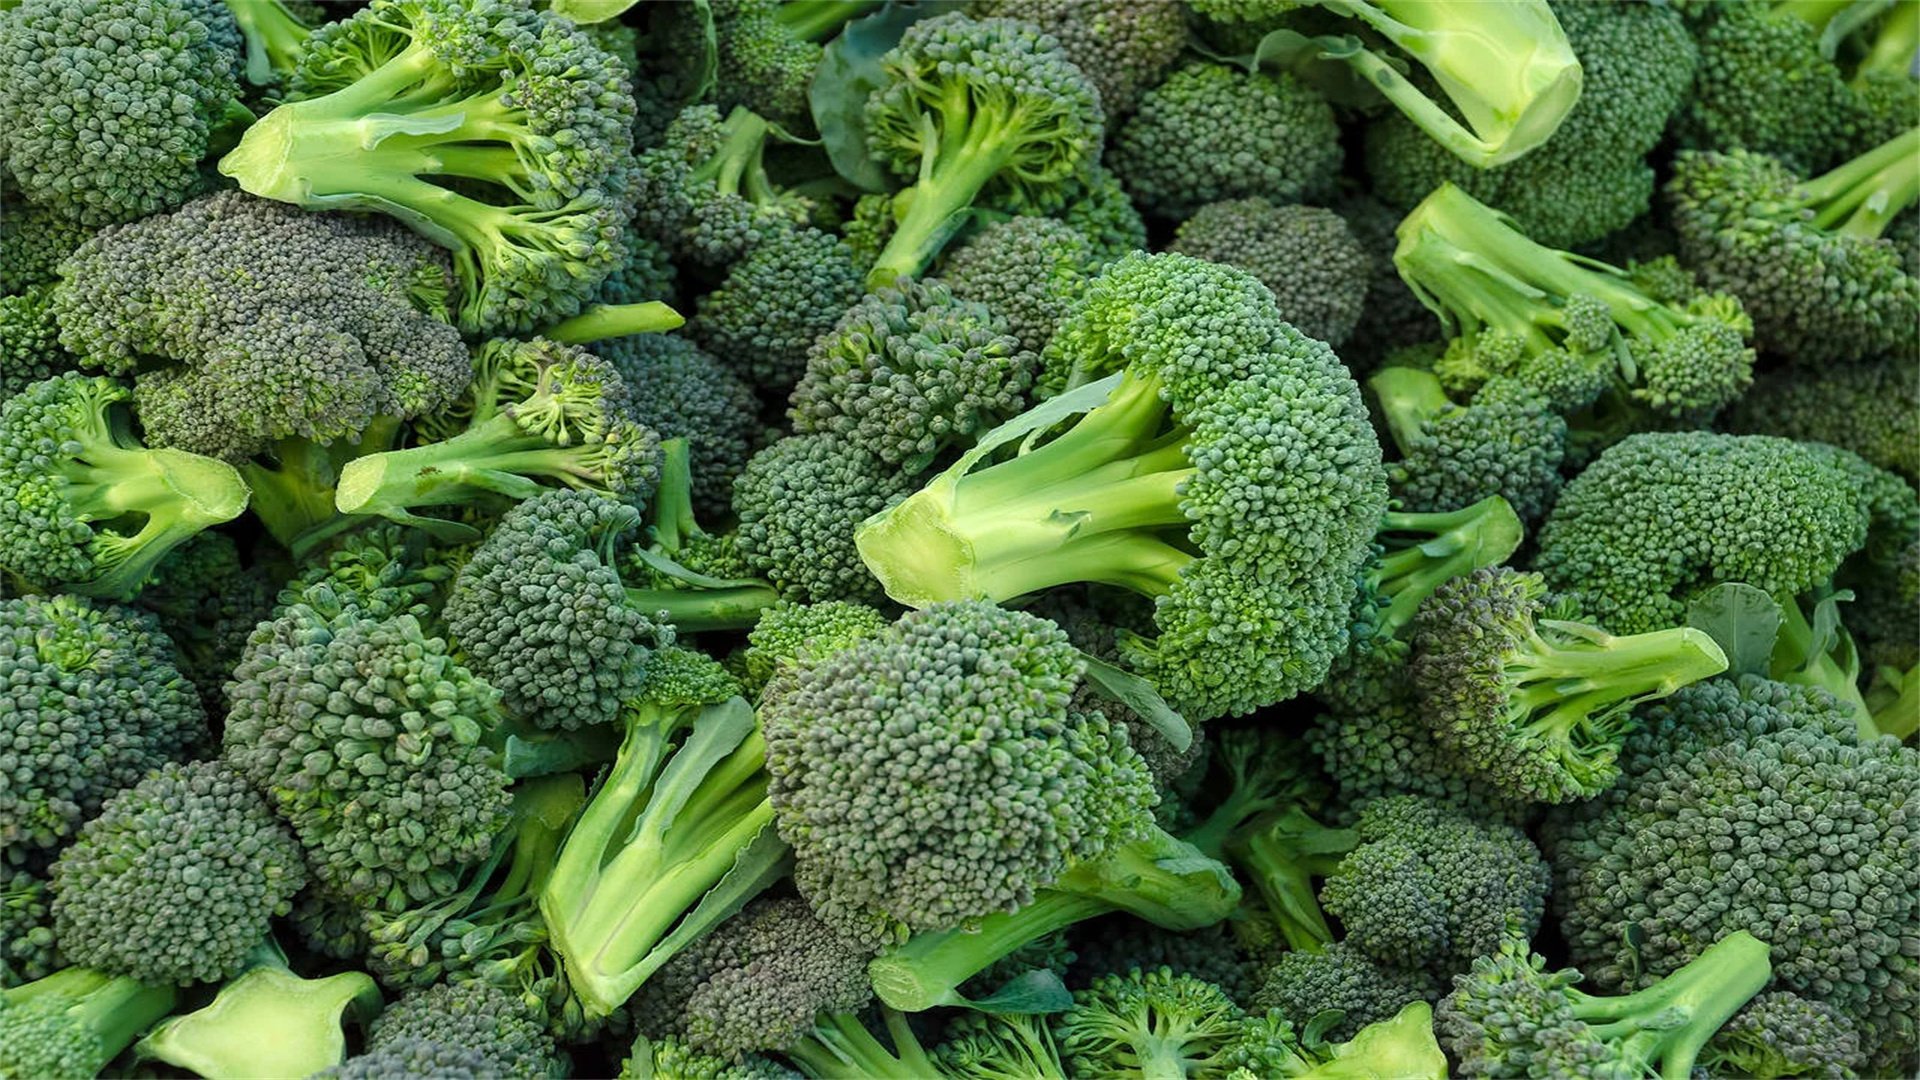
6. Broccoli 🥦
Broccoli is a cold-tolerant vegetable that produces edible flower heads, rich in vitamins C and K, and fiber. It can withstand temperatures down to 20°F (-6°C) and often yields better in cool weather. Broccoli is a versatile garden addition, with some varieties offering side shoots after the main head is harvested.
Advantages and Disadvantages
- Advantages:
- Broccoli is highly nutritious and develops sweeter flavors in cold weather.
- It has a relatively fast maturity, with some varieties ready in 60-80 days.
- The plant can produce secondary shoots for extended harvests.
- It is adaptable to various growing conditions.
- Disadvantages:
- Broccoli is prone to bolting in warm temperatures, requiring precise timing.
- It can be affected by cabbage worms and aphids.
- The plants need consistent moisture to prevent tough heads.
- In very cold winters, heads may freeze if unprotected.
How to Grow Broccoli
- Planting Time: Sow seeds in late summer for a winter harvest, or in early fall in mild climates. Use transplants for a quicker start, ensuring they are established before frost.
- Soil Requirements: Plant in well-drained, fertile soil with a pH of 6.0-7.0. Incorporate compost and ensure good drainage to prevent root rot.
- Spacing and Depth: Space plants 18-24 inches apart in rows 30 inches apart. Plant seedlings deeply to encourage sturdy growth.
- Watering and Mulching: Water deeply once a week, keeping soil consistently moist. Mulch with straw to retain moisture and protect roots from cold.
- Fertilization: Apply a balanced fertilizer at planting and side-dress with nitrogen when heads begin to form. Avoid over-fertilizing, which can lead to hollow stems.
- Pest and Disease Management: Use row covers to protect from pests like cabbage loopers. Rotate crops to avoid diseases like clubroot. Remove any diseased plants promptly.
- Harvesting: Harvest the central head when it is firm and tight, before flowers open. Cut the stem at an angle to encourage side shoot production. Side shoots can be harvested for weeks after.
Broccoli is a productive winter vegetable that offers multiple harvests. By managing pests and timing planting correctly, you can enjoy fresh broccoli throughout the season.
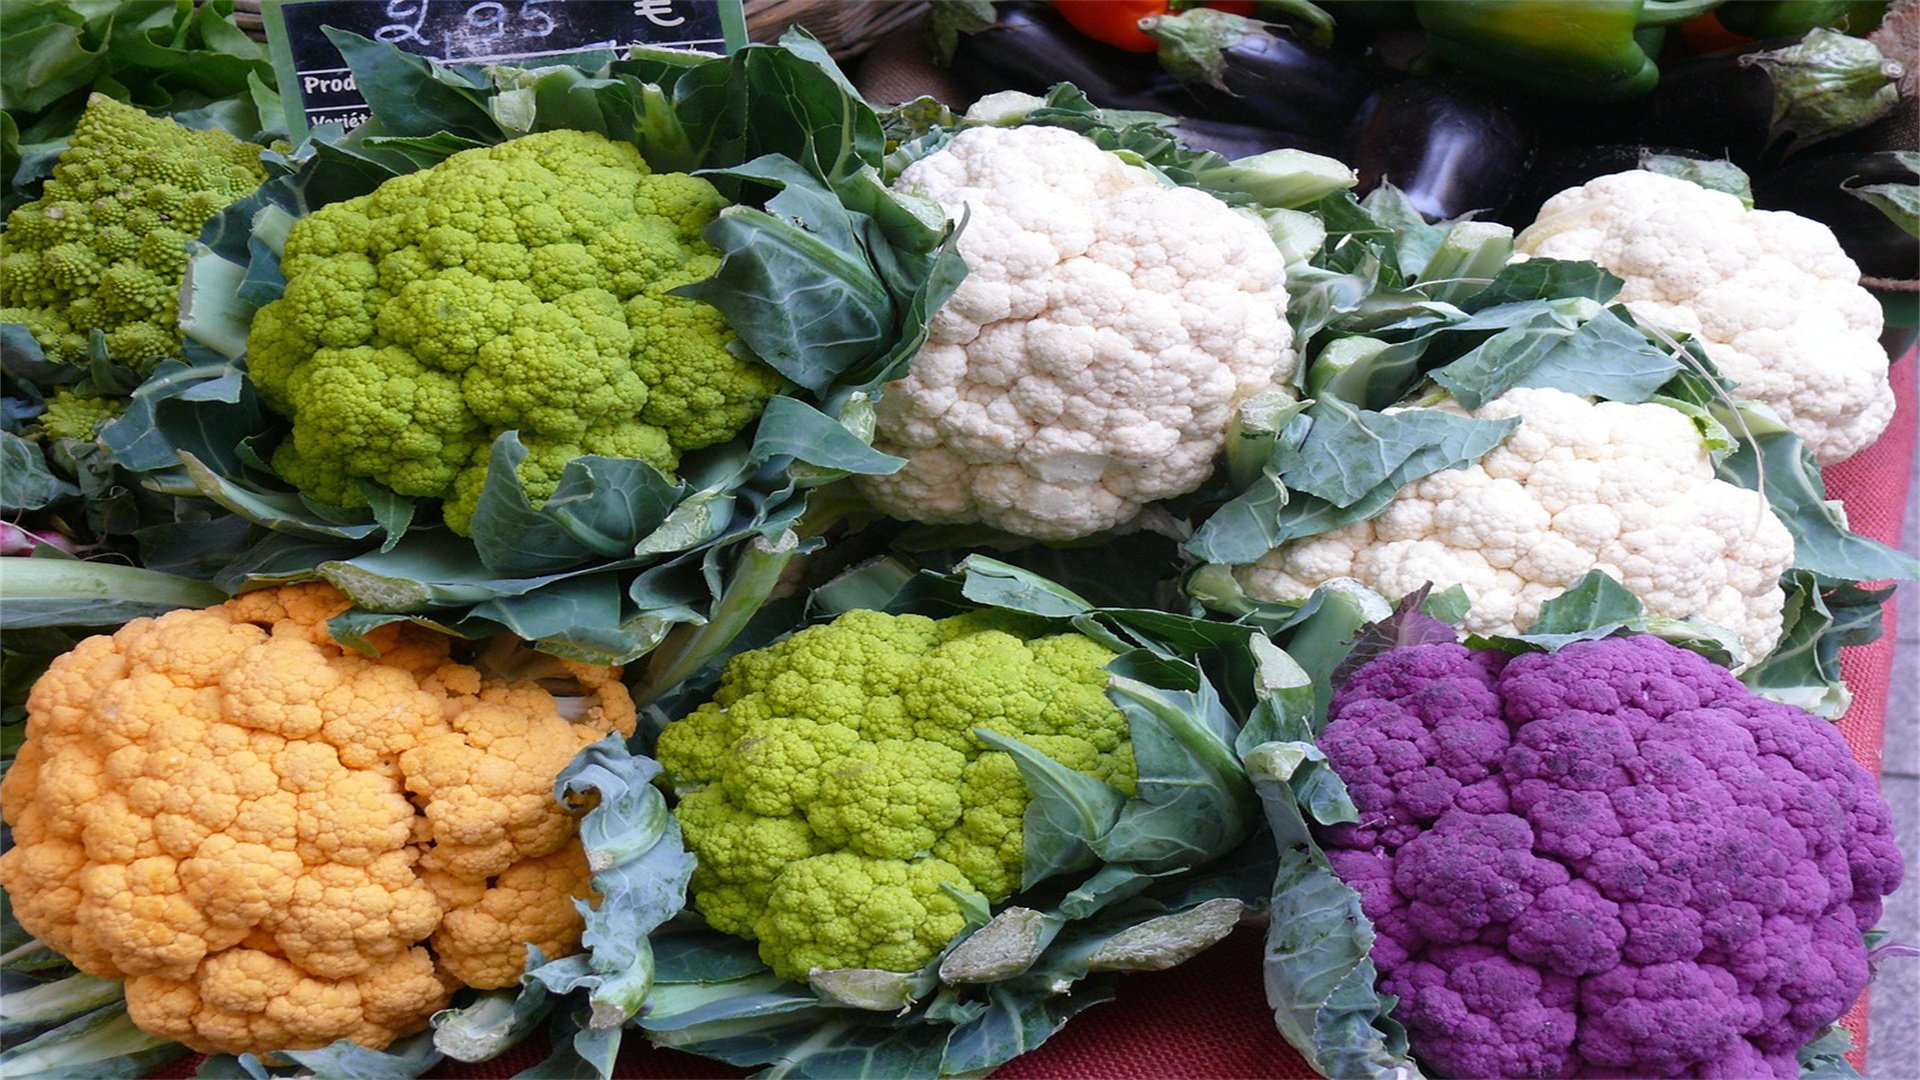
7. Cauliflower 🥬
Cauliflower is a challenging but rewarding winter crop that thrives in cool weather, with some varieties tolerating light frosts down to 25°F (-4°C). Its creamy white heads are rich in vitamins and antioxidants, though it requires careful cultivation to prevent discoloration and bolting.
Advantages and Disadvantages
- Advantages:
- Cauliflower develops sweet, tender heads in cold weather.
- It is a nutritious addition to diets, high in fiber and vitamins.
- The plant can be grown in succession for extended harvests.
- Some colorful varieties add visual interest to gardens.
- Disadvantages:
- Cauliflower is sensitive to temperature fluctuations and may bolt or form poor heads if stressed.
- It requires consistent watering and fertilization.
- The heads need blanching to remain white, which adds labor.
- It is susceptible to pests like cabbage worms and diseases like clubroot.
How to Grow Cauliflower
- Planting Time: Start seeds indoors in mid-summer for transplanting in early fall, ensuring heads mature in cool weather. In mild climates, direct sow in late summer.
- Soil Requirements: Use well-drained, fertile soil with a pH of 6.0-7.0. Amend with compost and ensure high nitrogen levels for head development.
- Spacing and Depth: Space plants 18-24 inches apart in rows 30 inches apart. Plant seedlings deeply to promote strong roots.
- Watering and Mulching: Water consistently to keep soil moist, especially during head formation. Mulch heavily to retain moisture and regulate soil temperature.
- Fertilization: Apply a nitrogen-rich fertilizer at planting and again when heads begin to form. Avoid over-fertilizing, which can cause hollow stems.
- Pest and Disease Management: Use row covers to protect from insects. Rotate crops to prevent soil-borne diseases. Blanch heads by tying leaves over them to prevent sunscald.
- Harvesting: Harvest heads when they are firm and compact, before they separate. Cut the stem below the head, and remove any side shoots for continued growth if desired.
Cauliflower requires attentive care but can be a delightful winter crop. By managing growing conditions, you can produce pristine heads for your kitchen.
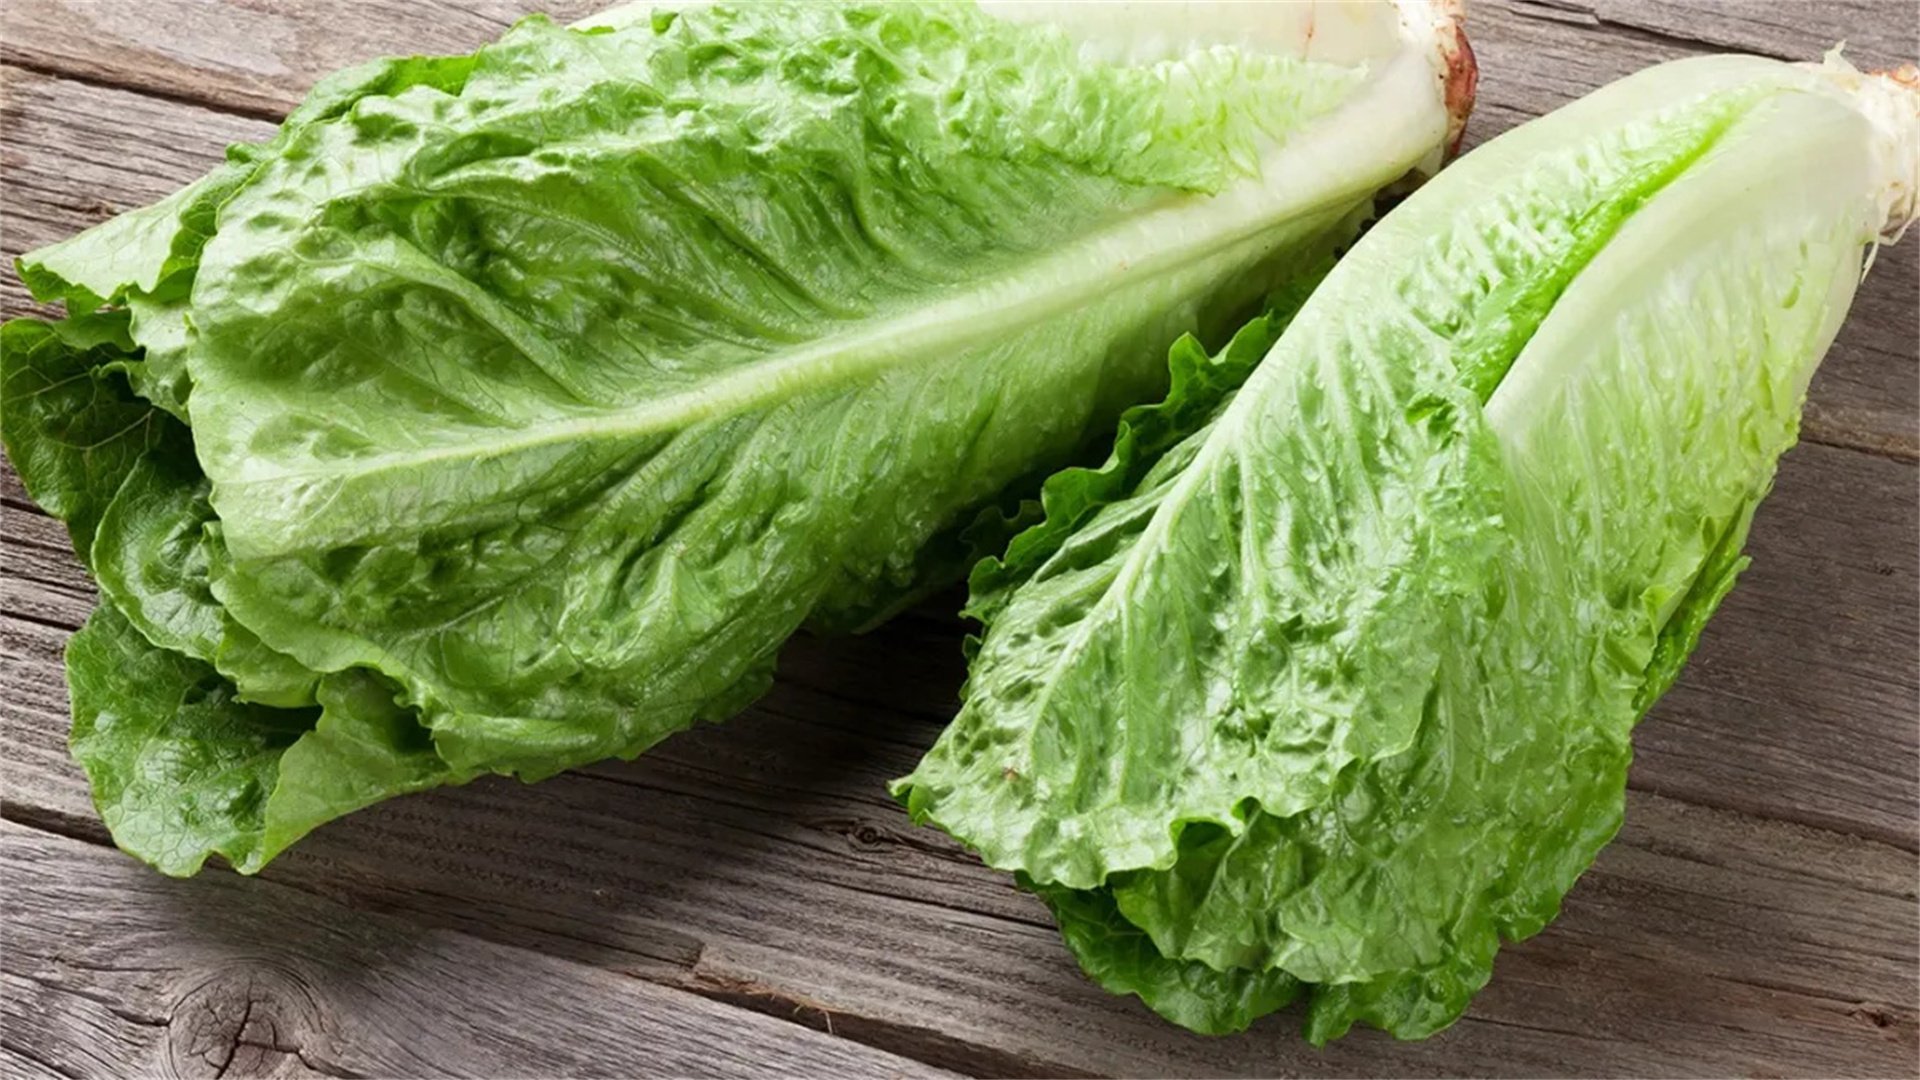
8. Winter Lettuce 🥬
Winter lettuce includes varieties like 'Winter Density' and 'Arctic King' that tolerate cold down to 20°F (-6°C). These leafy greens provide fresh salads throughout winter, with crisp leaves that sweeten after frost. Lettuce is quick-growing and can be grown in protected environments like cold frames.
Advantages and Disadvantages
- Advantages:
- Winter lettuce offers fast harvests, often within 50-60 days.
- It is cold-tolerant and can be grown in containers or small spaces.
- The leaves are tender and nutritious, perfect for fresh eating.
- Succession planting ensures continuous yields.
- Disadvantages:
- Lettuce is prone to bolting in warm spells or if day length increases.
- It may suffer from rot in wet winter conditions.
- The leaves can be damaged by heavy frost without protection.
- Pests like slugs can be problematic in damp weather.
How to Grow Winter Lettuce
- Planting Time: Sow seeds in late summer or early fall for winter harvest. In cold regions, use cold frames or hoop houses to extend the season. Plant every few weeks for succession.
- Soil Requirements: Plant in well-drained, fertile soil with a pH of 6.0-7.0. Add compost to improve texture and nutrients.
- Spacing and Depth: Sow seeds ¼ inch deep and thin seedlings to 6-12 inches apart, depending on variety. For loose-leaf types, closer spacing is acceptable.
- Watering and Mulching: Water lightly but consistently, avoiding waterlogged soil. Mulch with straw to insulate roots and reduce weed competition.
- Fertilization: Apply a balanced fertilizer at planting and side-dress with compost mid-season. Avoid high nitrogen, which can lead to weak growth.
- Pest and Disease Management: Protect from slugs with traps or barriers. Use row covers to prevent frost damage and insect pests. Rotate crops to avoid diseases like mildew.
- Harvesting: Harvest outer leaves as needed, or cut the whole head at the base. Lettuce can regrow if the crown is left intact, especially in mild winters.
Winter lettuce is a versatile green that brings freshness to cold-season meals. With proper protection and care, it can thrive even in chilly gardens.
Conclusion 🌱
Winter gardening with cold-tolerant vegetables is a rewarding endeavor that provides fresh, nutritious greens during the coldest months. By selecting hardy varieties like kale, spinach, collard greens, Swiss chard, Brussels sprouts, broccoli, cauliflower, and winter lettuce, you can create a productive garden that defies the season. Each vegetable offers unique benefits, from enhanced flavors after frost to high nutritional value, though they require careful timing, soil preparation, and pest management. Key strategies include using mulch for insulation, row covers for protection, and succession planting for continuous harvests. Embrace these techniques to extend your growing season and enjoy the health and satisfaction of homegrown produce. Whether you're a novice or experienced gardener, winter gardening can transform your outdoor space into a year-round source of abundance and joy. Start planning now to reap the benefits of a vibrant winter garden.