Easy Homemade Bread Recipes for Every Skill Level
Welcome to your ultimate culinary guide! As a home chef, mastering fundamental cooking techniques and diving into homemade bread baking can transform your kitchen adventures. This article combines 22 essential cooking techniques with easy bread recipes for all skill levels, ensuring you gain confidence and creativity. Drawing inspiration from popular international cooking websites, we'll explore each topic in detail, with recipe-style layouts that expand on ingredients. Let's embark on this flavorful journey to elevate your home cooking.
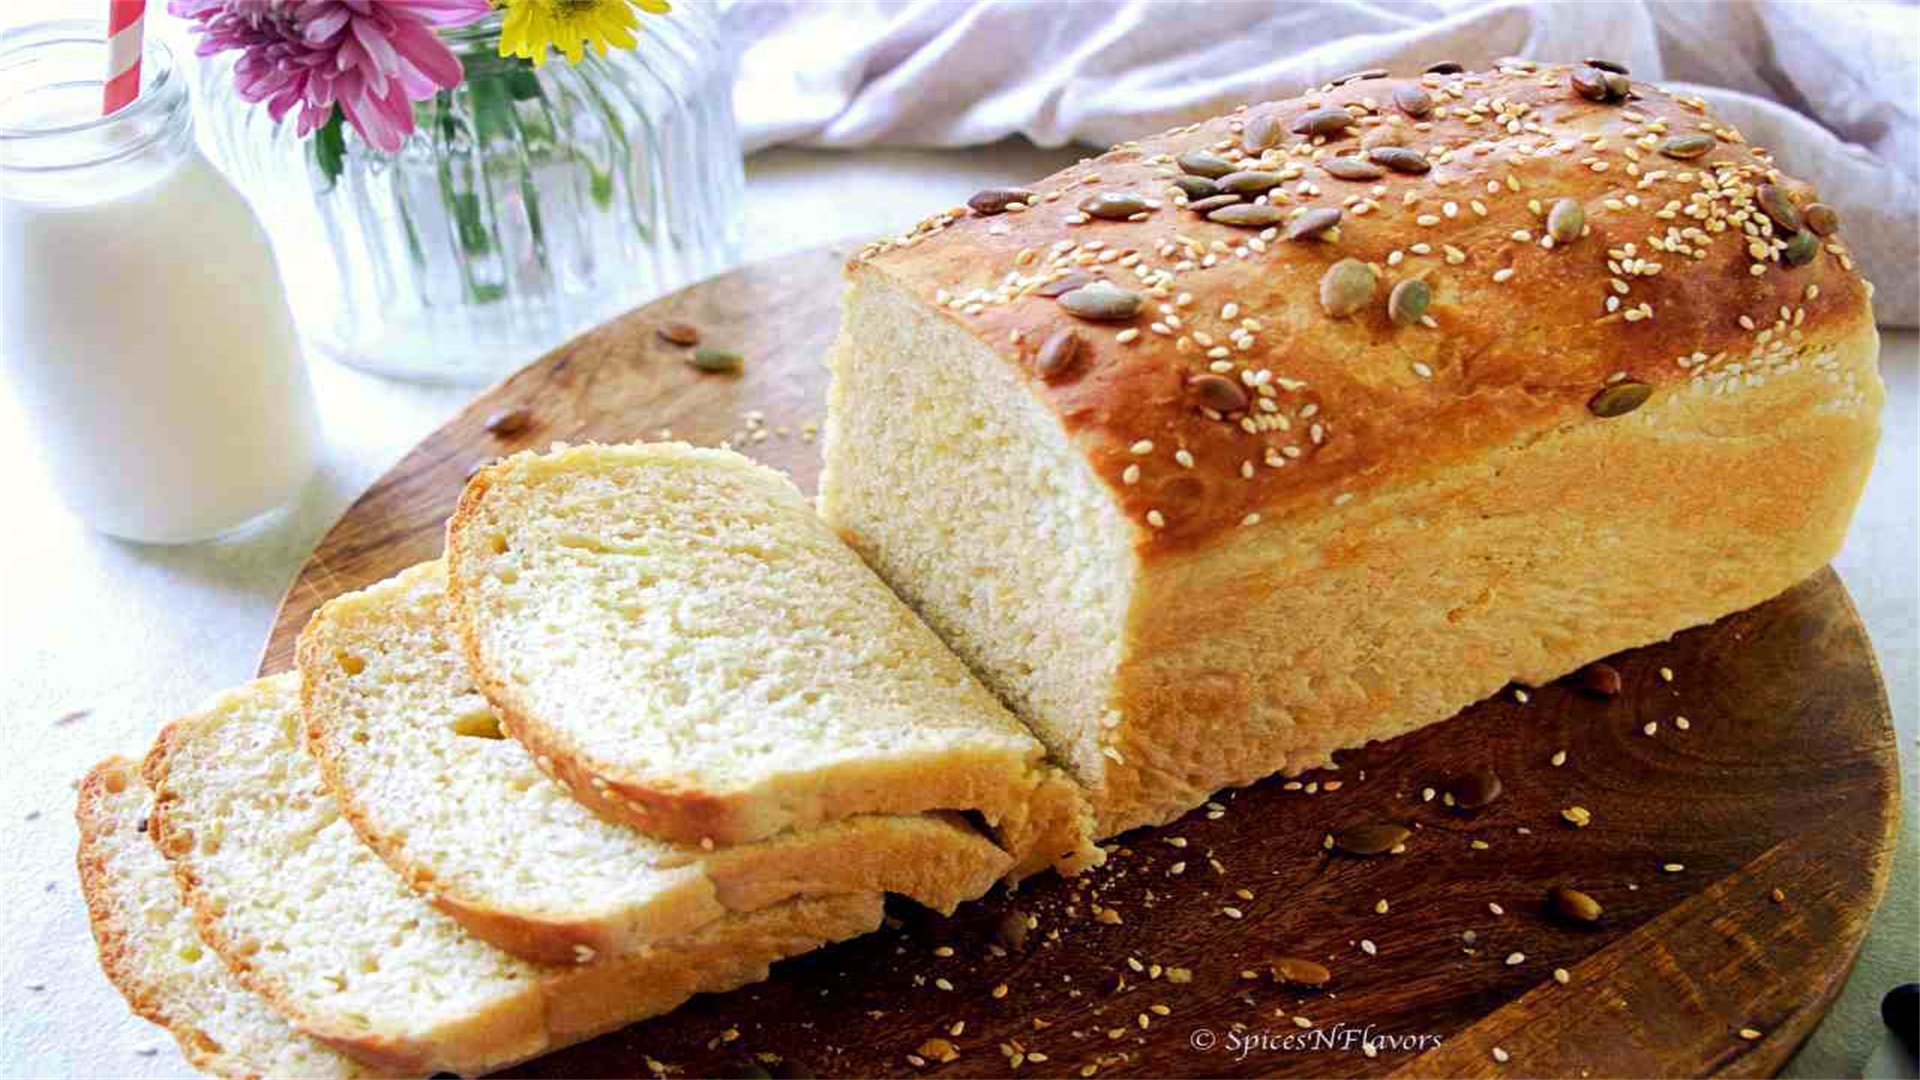
🍞Beginner Level: Simple No-Knead White Bread
This recipe requires minimal effort and yields a crusty loaf perfect for sandwiches. It introduces basic fermentation without complex techniques.
Ingredients:
- All-purpose flour: 500 grams – provides gluten for structure; use unbleached for better rise.
- Water: 360 ml, lukewarm (about 100°F/38°C) – activates yeast and hydrates flour.
- Instant yeast: 7 grams (1 packet) – leavening agent; no proofing needed.
- Salt: 10 grams – enhances flavor and controls yeast activity.
- Olive oil: 1 tablespoon – adds moisture and softens crumb.
Steps:
- In a large mixing bowl, combine flour, yeast, and salt. Whisk to distribute evenly.
- Add water and olive oil. Stir with a wooden spoon until a shaggy dough forms, about 2 minutes.
- Cover the bowl with plastic wrap and let rise at room temperature (70°F/21°C) for 12-18 hours. The dough will double and bubble.
- Preheat oven to 450°F (230°C). Place a Dutch oven with lid inside to heat for 30 minutes.
- Turn dough onto a floured surface, shape gently into a round loaf without kneading, and place on parchment paper.
- Carefully transfer dough with parchment into the hot Dutch oven, cover with lid, and bake for 30 minutes.
- Remove lid and bake for another 15 minutes until deep golden brown and internal temperature reaches 210°F (99°C).
- Cool on a wire rack for at least 1 hour before slicing to set crumb.
Tip: For variation, add 1 cup of chopped olives or rosemary during mixing. This bread keeps for 3 days wrapped in cloth.
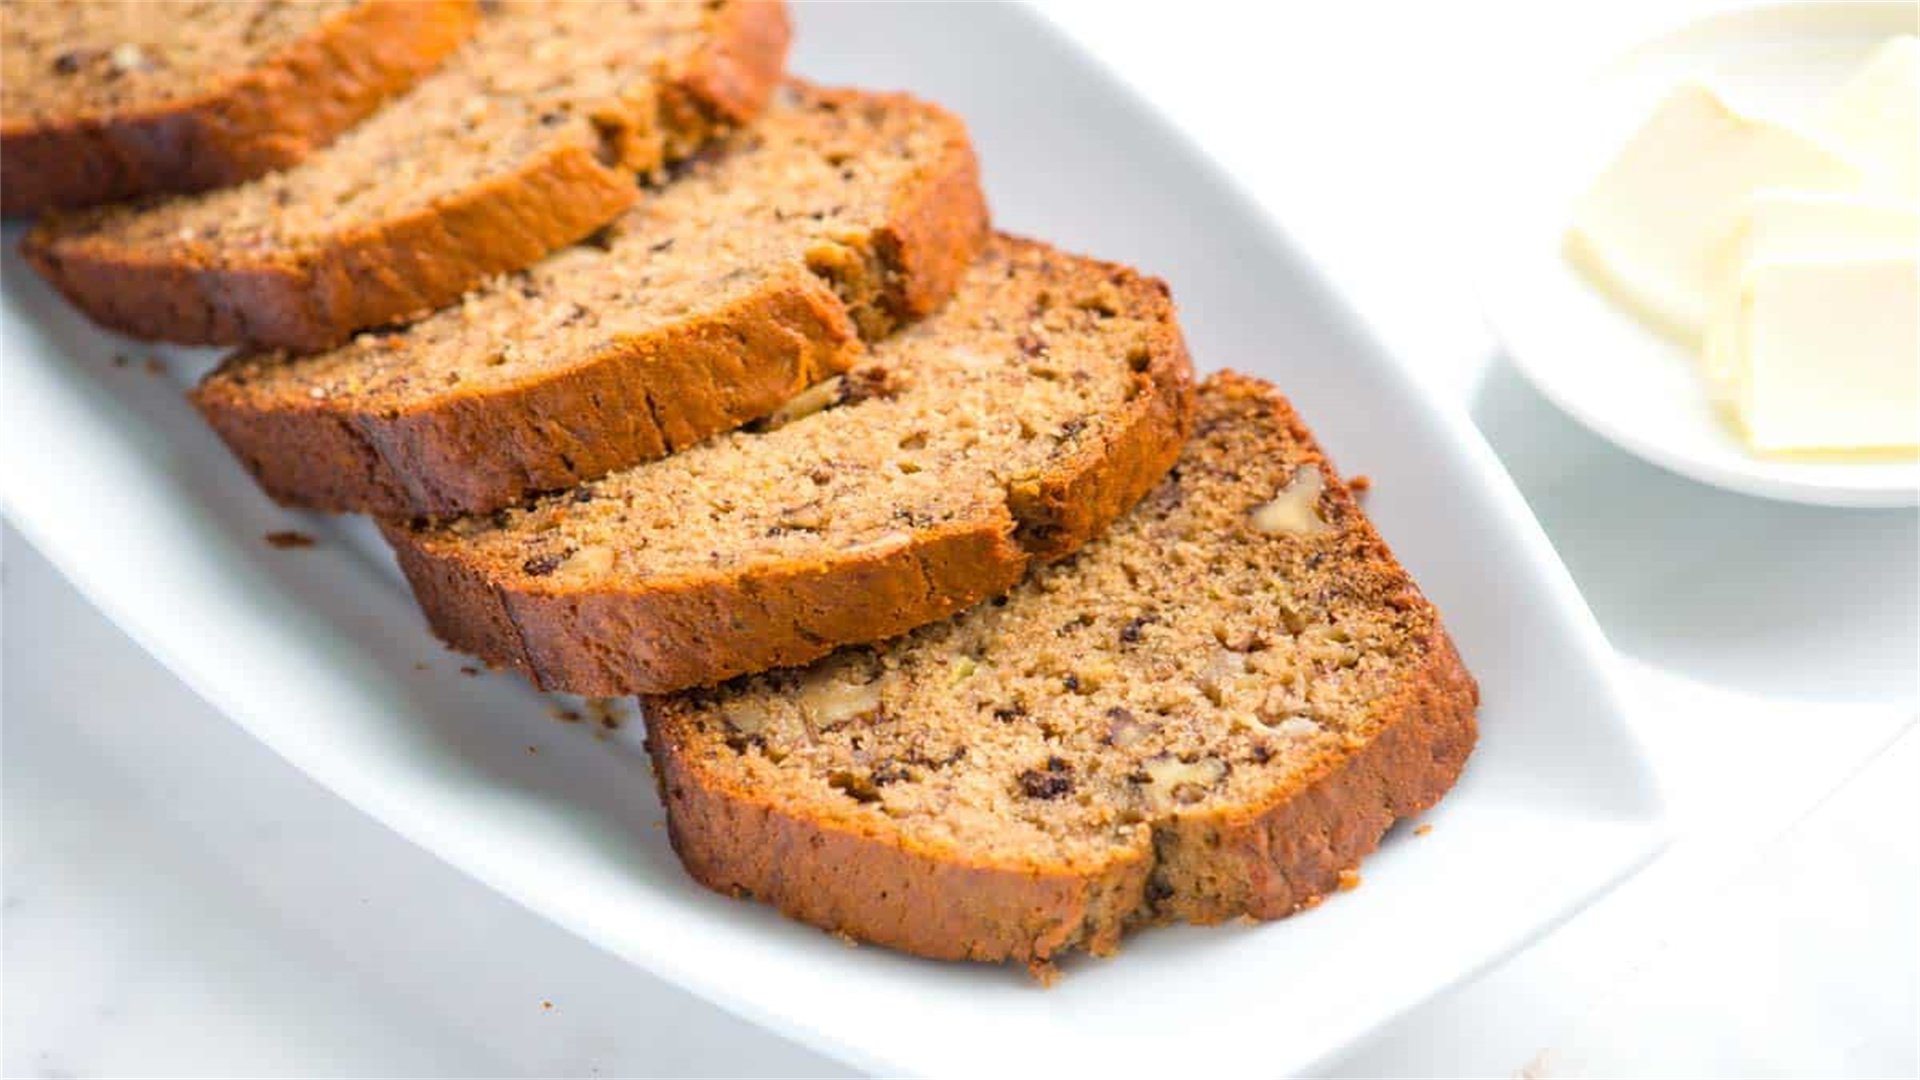
🥐Beginner Level: Quick Banana Bread
A forgiving quick bread that uses baking soda for rise, ideal for using overripe bananas. No yeast required!
Ingredients:
- Ripe bananas: 3 medium, mashed – provide sweetness and moisture; choose bananas with black spots.
- All-purpose flour: 240 grams – structure; can substitute half with whole wheat flour.
- Baking soda: 1 teaspoon – leavening agent; activates with acidic ingredients like bananas.
- Salt: ½ teaspoon – balances sweetness.
- Unsalted butter: 115 grams, melted – adds richness; can use vegetable oil for dairy-free.
- Granulated sugar: 150 grams – sweetness; brown sugar adds caramel notes.
- Eggs: 2 large – bind ingredients and add lift.
- Vanilla extract: 1 teaspoon – enhances flavor.
- Walnuts: ½ cup, chopped (optional) – for crunch and nutrition.
Steps:
- Preheat oven to 350°F (175°C). Grease a 9x5-inch loaf pan with butter or line with parchment paper.
- In a medium bowl, whisk together flour, baking soda, and salt. Set aside.
- In a large bowl, mix mashed bananas, melted butter, sugar, eggs, and vanilla until smooth.
- Gradually fold dry ingredients into wet ingredients using a spatula until just combined; avoid overmixing. Fold in walnuts if using.
- Pour batter into prepared pan and smooth top. Bake for 55-60 minutes, or until a toothpick inserted into center comes out clean.
- Cool in pan for 10 minutes, then transfer to wire rack to cool completely before slicing.
Tip: For extra moisture, add ½ cup of plain yogurt. Store wrapped in foil for up to 5 days or freeze slices.
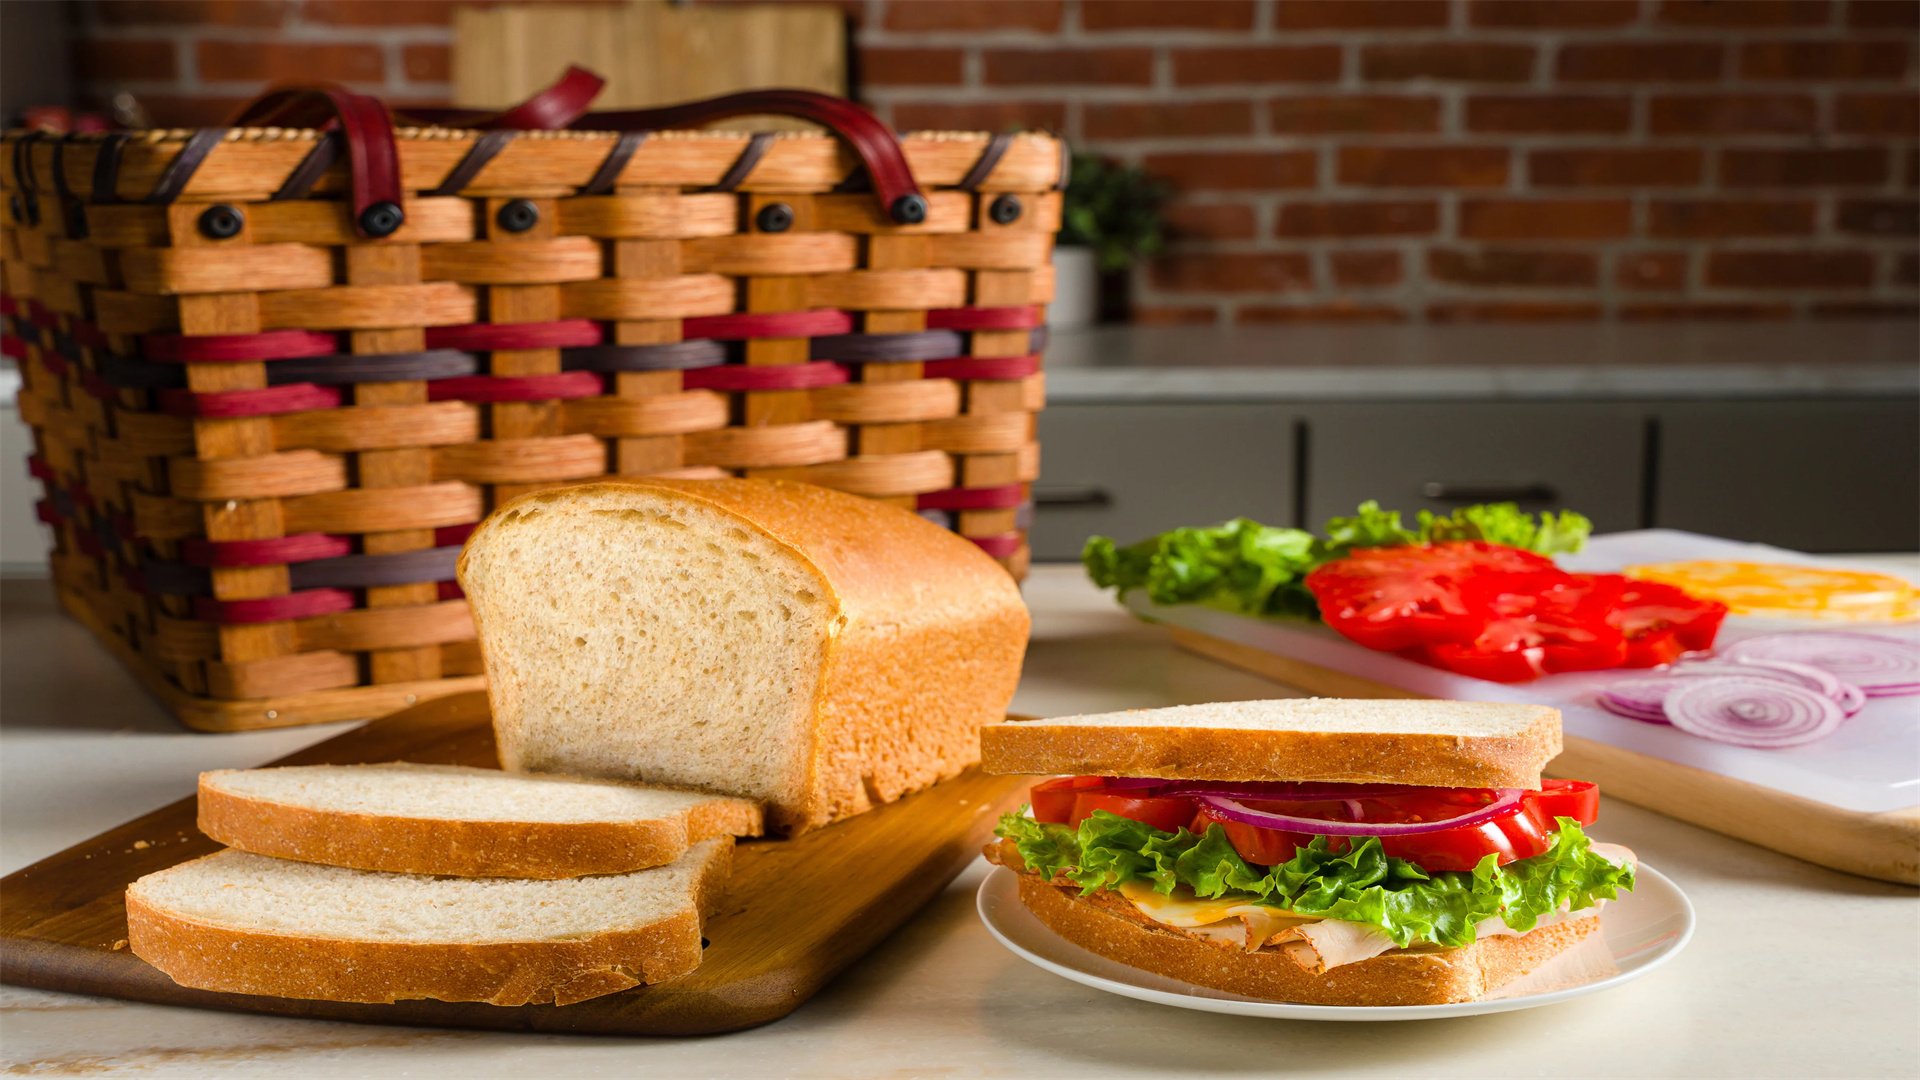
🥖Intermediate Level: Whole Wheat Sandwich Bread
This recipe introduces whole grains and kneading for a hearty, nutritious loaf. It requires more attention to dough development.
Ingredients:
- Whole wheat flour: 400 grams – adds fiber and nutty flavor; can be stone-ground.
- Bread flour: 100 grams – higher gluten content improves rise and texture.
- Water: 350 ml, warm (110°F/43°C) – hydration; adjust based on flour absorption.
- Active dry yeast: 7 grams – requires proofing; ensure water temperature is correct to activate.
- Honey: 2 tablespoons – feeds yeast and adds subtle sweetness.
- Salt: 10 grams – controls fermentation.
- Olive oil: 2 tablespoons – enriches dough and softens crust.
- Milk powder: 2 tablespoons (optional) – enhances browning and tenderness.
Steps:
- In a small bowl, dissolve yeast and honey in warm water. Let sit for 5-10 minutes until frothy.
- In a large mixing bowl, combine whole wheat flour, bread flour, salt, and milk powder. Whisk to blend.
- Add yeast mixture and olive oil to dry ingredients. Stir until a rough dough forms.
- Turn onto a floured surface and knead for 10-12 minutes until dough is smooth and passes the windowpane test.
- Place dough in a greased bowl, cover with damp cloth, and let rise in a warm place for 1-1.5 hours, until doubled.
- Punch down dough, shape into a loaf, and place in a greased 9x5-inch loaf pan. Cover and let rise for 45-60 minutes until cresting pan rim.
- Preheat oven to 375°F (190°C). Bake for 30-35 minutes until golden and internal temperature is 190°F (88°C).
- Remove from pan immediately and cool on rack. Brush top with butter for soft crust if desired.
Tip: For a softer loaf, replace 50ml water with milk. This bread slices well for sandwiches and toasts nicely.
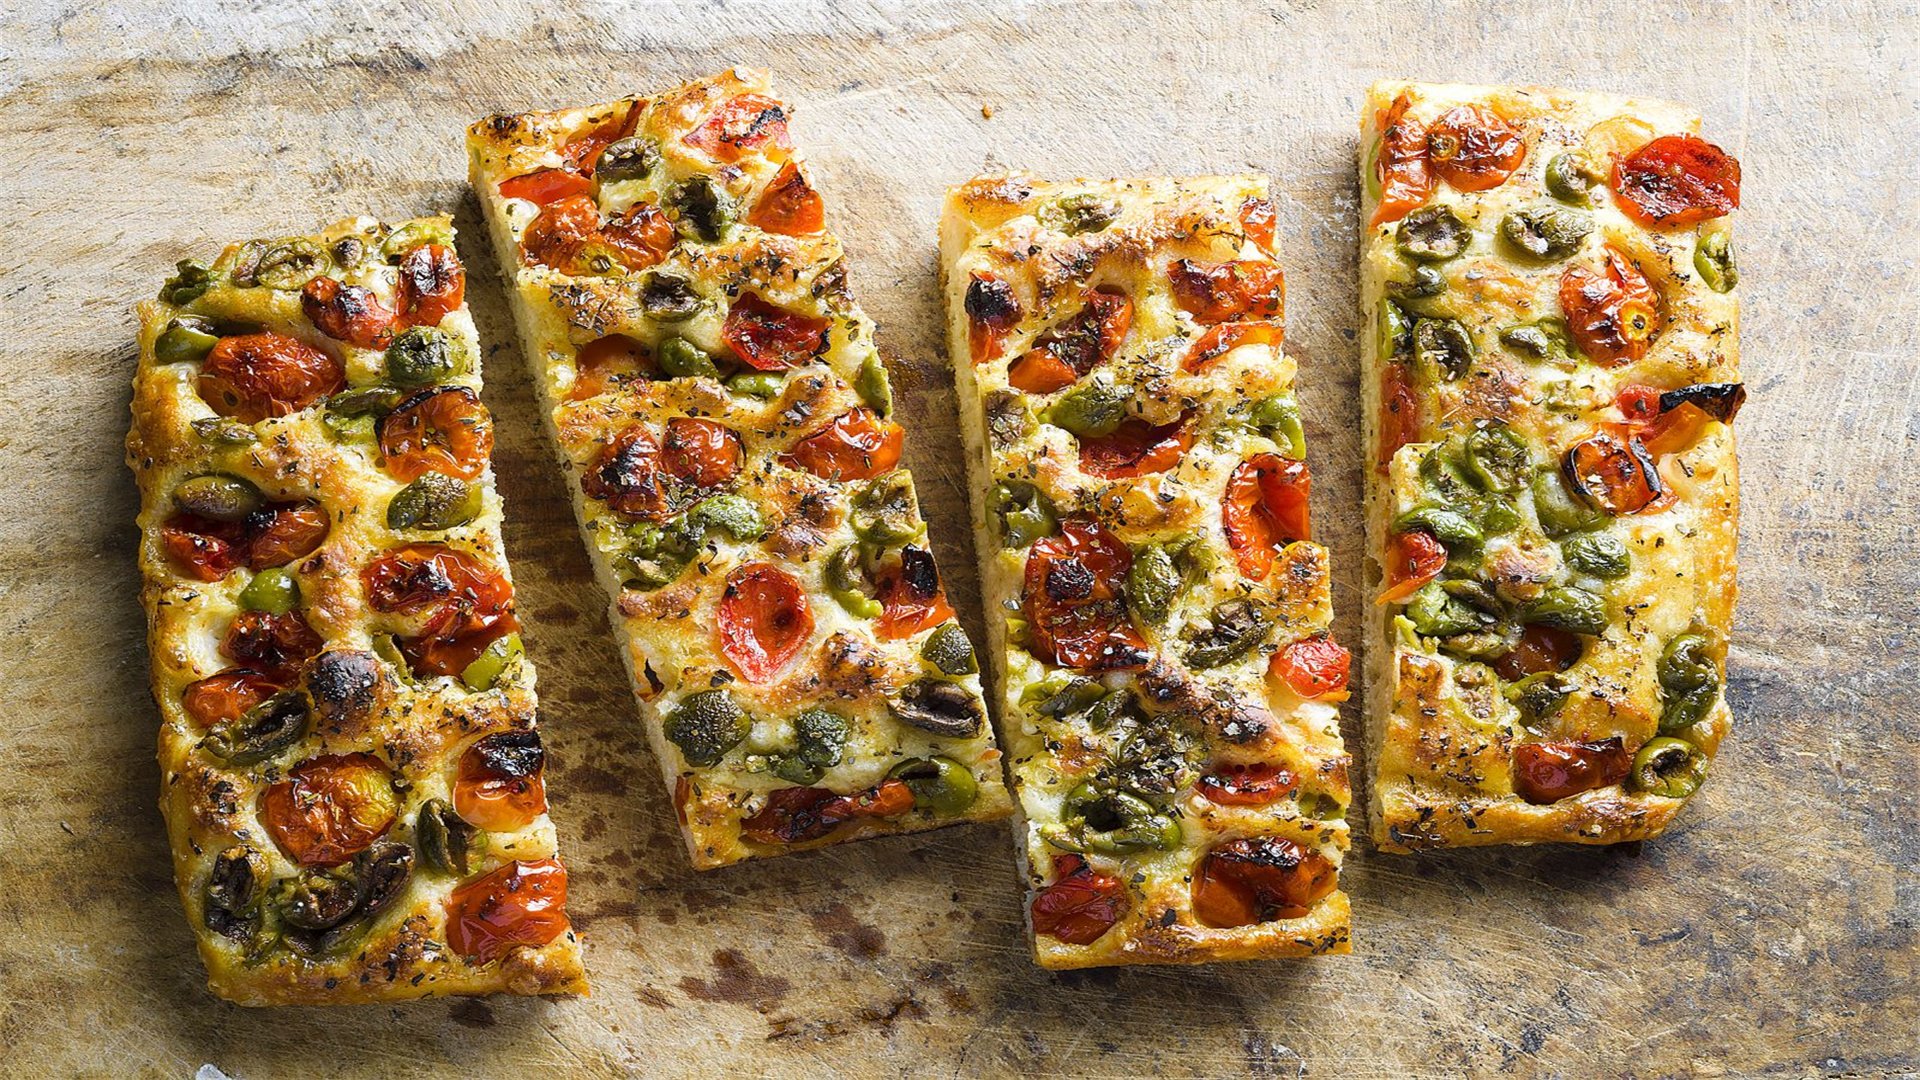
🥨Intermediate Level: Focaccia with Herbs and Olive Oil
A flatbread that highlights fermentation and topping techniques. It's versatile and great for sharing.
Ingredients:
- Bread flour: 500 grams – high gluten for chewy texture.
- Water: 400 ml, lukewarm – hydration; creates open crumb.
- Active dry yeast: 7 grams – proof in water with sugar.
- Salt: 10 grams – flavor; add after mixing to avoid inhibiting yeast.
- Olive oil: ¼ cup for dough, plus more for pan and topping – richness and crisp crust.
- Fresh rosemary: 2 tablespoons, chopped – aromatic herb; can use thyme or oregano.
- Coarse sea salt: for sprinkling – enhances finish.
- Garlic cloves: 3, thinly sliced (optional) – for added flavor.
Steps:
- In a bowl, dissolve yeast in water with a pinch of sugar. Wait 5 minutes until bubbly.
- In a stand mixer with dough hook, combine flour and salt. Add yeast mixture and ¼ cup olive oil.
- Mix on low for 2 minutes, then medium for 5-6 minutes until dough is sticky but elastic.
- Transfer to an oiled bowl, cover, and rise for 1-2 hours until doubled.
- Pour 2 tablespoons olive oil into a 9x13-inch baking pan. Place dough in pan, stretch to edges, and dimple with fingers.
- Drizzle with more olive oil, sprinkle rosemary, garlic, and sea salt. Let rise for 30 minutes.
- Preheat oven to 425°F (220°C). Bake for 20-25 minutes until golden and puffed.
- Cool slightly, then cut into squares. Serve warm with balsamic dip.
Tip: For a crispy bottom, preheat the pan before adding dough. Add toppings like cherry tomatoes or olives before baking.
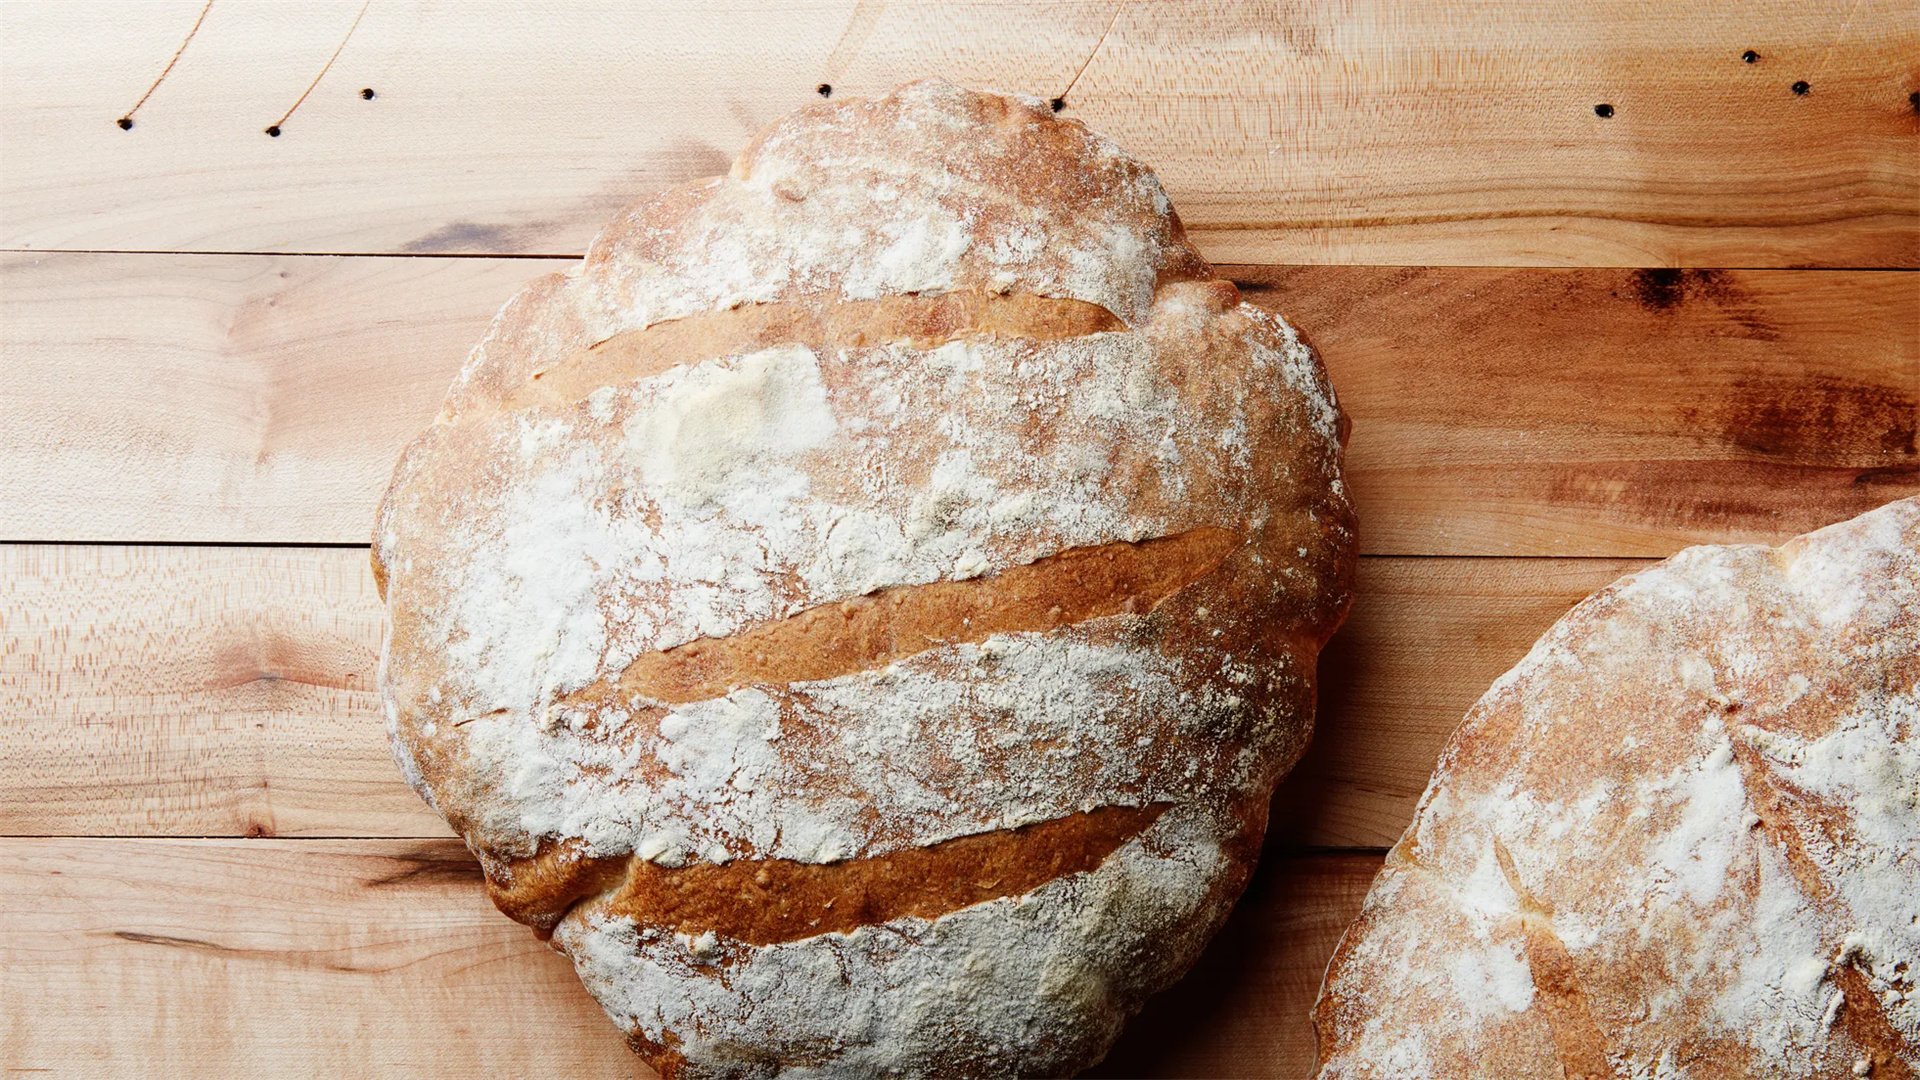
🥞Advanced Level: Sourdough Bread with Wild Yeast Starter
This recipe delves into natural fermentation, requiring a sourdough starter. It's a project for dedicated bakers, yielding tangy, artisanal loaves.
Ingredients:
- Sourdough starter: 200 grams, active and bubbly – wild yeast culture; maintain with equal parts flour and water feedings.
- Bread flour: 700 grams – strong flour for structure; can mix with 100 grams whole rye flour for complexity.
- Water: 500 ml, at room temperature – adjusts based on flour; aim for 75-80% hydration.
- Salt: 14 grams – controls fermentation and flavor.
- Rice flour: for dusting banneton – prevents sticking during proofing.
Steps:
- Feed starter 6-8 hours before use until it doubles in volume and passes float test in water.
- In a large bowl, mix starter and water until dissolved. Add flour and salt, and combine until no dry bits remain. Cover and autolyse for 30 minutes.
- Perform stretch and folds: every 30 minutes for 2-3 hours, wet hands, pull dough up, and fold over. This builds gluten without kneading.
- Let dough bulk ferment at room temperature for 4-6 hours, until increased by 50% and bubbly.
- Turn onto floured surface, pre-shape into round, and rest for 30 minutes. Then shape tightly, place seam-side up in a banneton dusted with rice flour.
- Cover and proof in refrigerator for 12-18 hours (cold retard) to develop flavor.
- Preheat oven to 500°F (260°C) with Dutch oven inside for 1 hour. Score dough with lame, transfer to Dutch oven, and bake covered for 20 minutes.
- Reduce heat to 450°F (230°C), uncover, and bake for 25-30 minutes until deep brown and internal temperature is 210°F (99°C).
- Cool completely on rack for 4+ hours before slicing to set crumb structure.
Tip: Maintain starter by discarding half and feeding daily with 100g flour and 100g water. Experiment with hydration levels for open crumb.
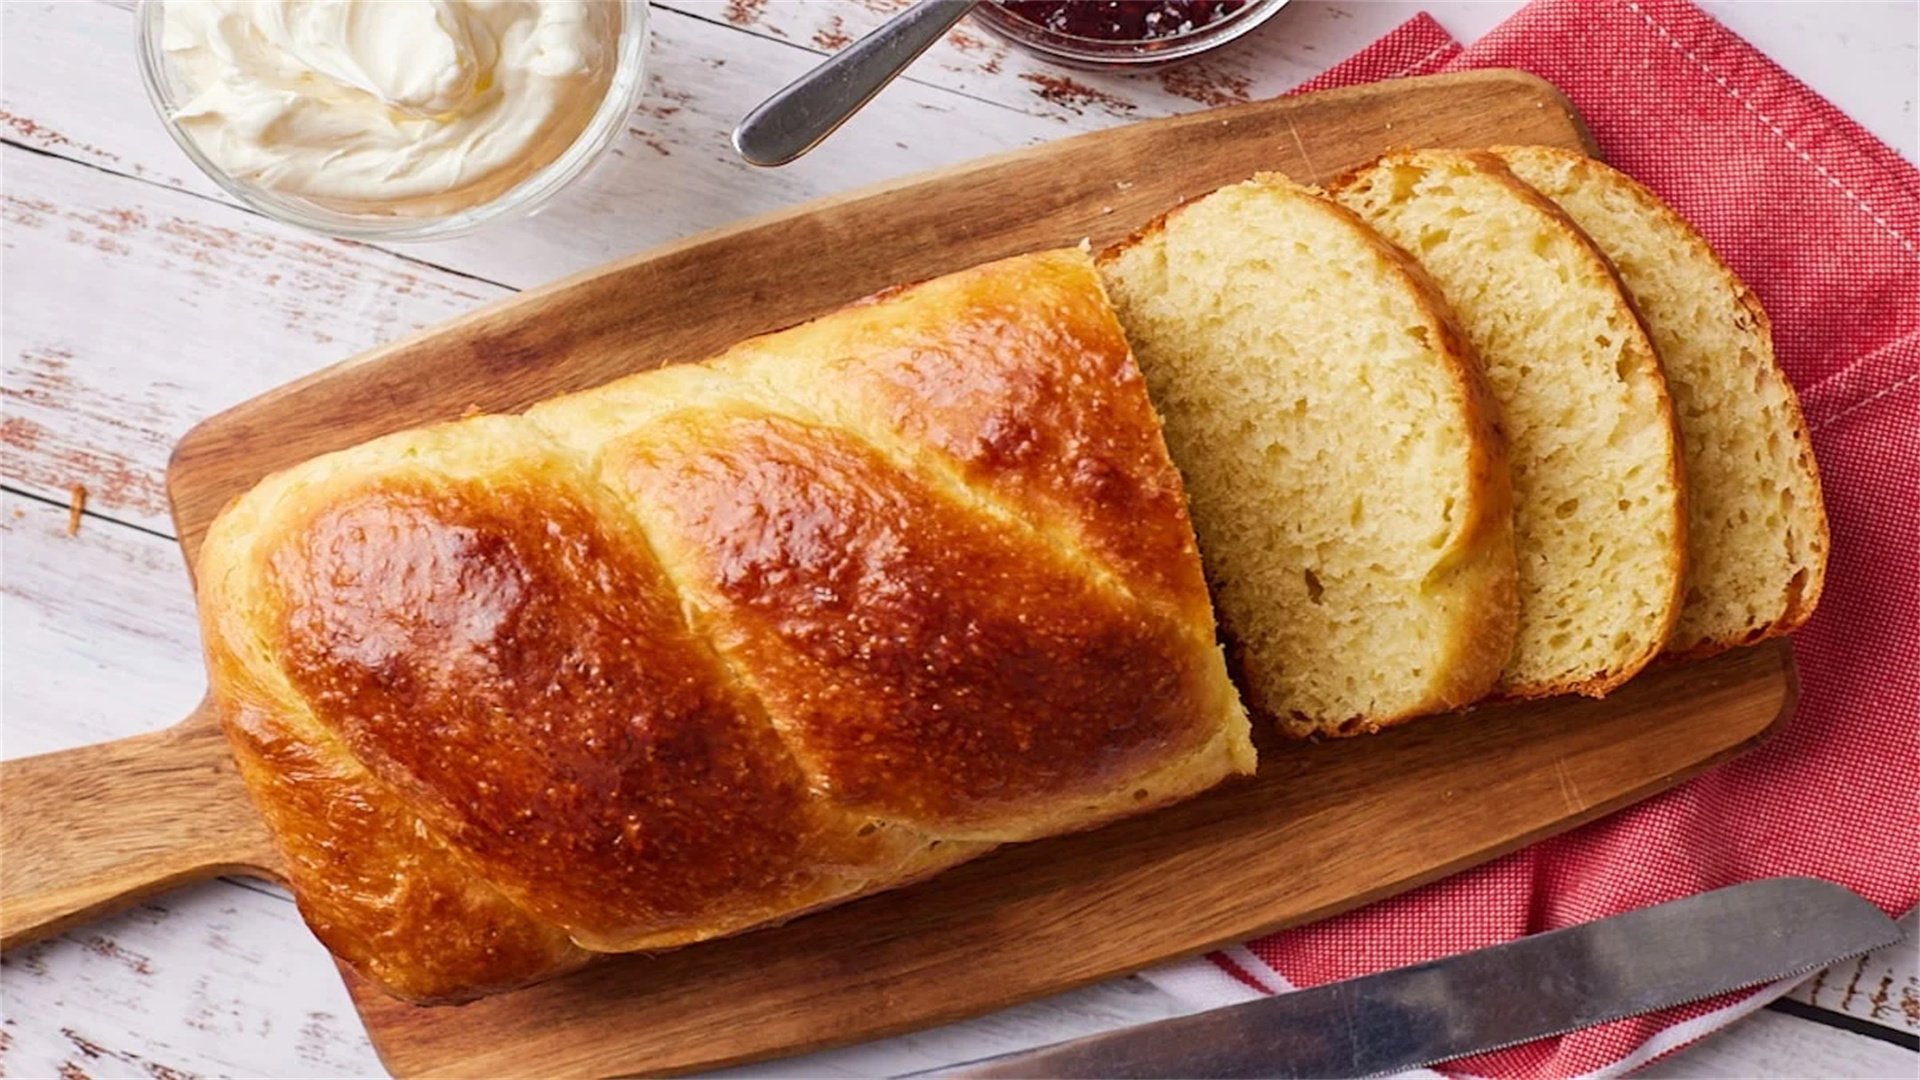
🧇Advanced Level: Brioche: Rich Enriched Dough
A buttery, tender bread that requires precise temperature control and kneading. It's perfect for pastries or luxurious toast.
Ingredients:
- Bread flour: 500 grams – high protein for structure amidst fat.
- Eggs: 4 large, at room temperature – enrich dough and add color.
- Unsalted butter: 250 grams, softened but cool – creates flaky layers; use European-style for higher fat.
- Milk: 120 ml, lukewarm – hydrates and tenderizes.
- Active dry yeast: 10 grams – proof in milk with sugar.
- Sugar: 50 grams – sweetness and food for yeast.
- Salt: 10 grams – balances richness.
- Egg wash: 1 egg beaten with 1 tbsp milk – for shiny crust.
Steps:
- In a bowl, dissolve yeast and a pinch of sugar in warm milk. Wait until frothy, about 10 minutes.
- In a stand mixer with dough hook, combine flour, sugar, and salt. Add yeast mixture and eggs. Mix on low until combined.
- Knead on medium for 5 minutes until dough pulls away from bowl. Gradually add softened butter in small pieces, waiting each addition to incorporate.
- Knead for 10-15 minutes until dough is very smooth, elastic, and passes windowpane test. It will be sticky but manageable.
- Place in a greased bowl, cover, and rise at room temperature for 1-2 hours until doubled. Then punch down and refrigerate for 4 hours or overnight to firm up butter.
- Divide dough into portions, shape into rolls or loaves, and place in pans. Cover and proof for 1-2 hours until puffy.
- Preheat oven to 375°F (190°C). Brush with egg wash. Bake for 20-25 minutes for rolls, 30-35 for loaves, until golden and internal temperature is 190°F (88°C).
- Cool on rack. Brioche is best eaten fresh or toasted with jam.
Tip: Keep ingredients cool to prevent butter from melting. Use for cinnamon rolls or burger buns. Store airtight for 3 days or freeze.
With these techniques and recipes, you're equipped to tackle kitchen challenges and enjoy homemade bread. Practice consistently, experiment with flavors, and remember: cooking is a journey of discovery. Happy cooking and baking!