DIY Wall Art Projects to Personalize Your Space
In today's world, personalizing your living space has become more than just a trend—it's a way to express your unique personality and create a home that truly reflects who you are. DIY wall art projects offer an affordable, creative, and rewarding approach to transforming blank walls into stunning focal points. Whether you're a seasoned crafter or a beginner looking to dip your toes into the world of do-it-yourself decor, there's a project out there for everyone. This comprehensive guide will walk you through a variety of DIY wall art ideas, each designed to help you customize your space without breaking the bank. By exploring these projects, you'll not only enhance your home's aesthetics but also gain the satisfaction of creating something with your own hands. From geometric murals to recycled material masterpieces, we'll cover everything you need to know to get started, including detailed steps, material lists, and the pros and cons of each method. So, roll up your sleeves, gather your supplies, and let's dive into the exciting world of DIY wall art that will make your space uniquely yours.
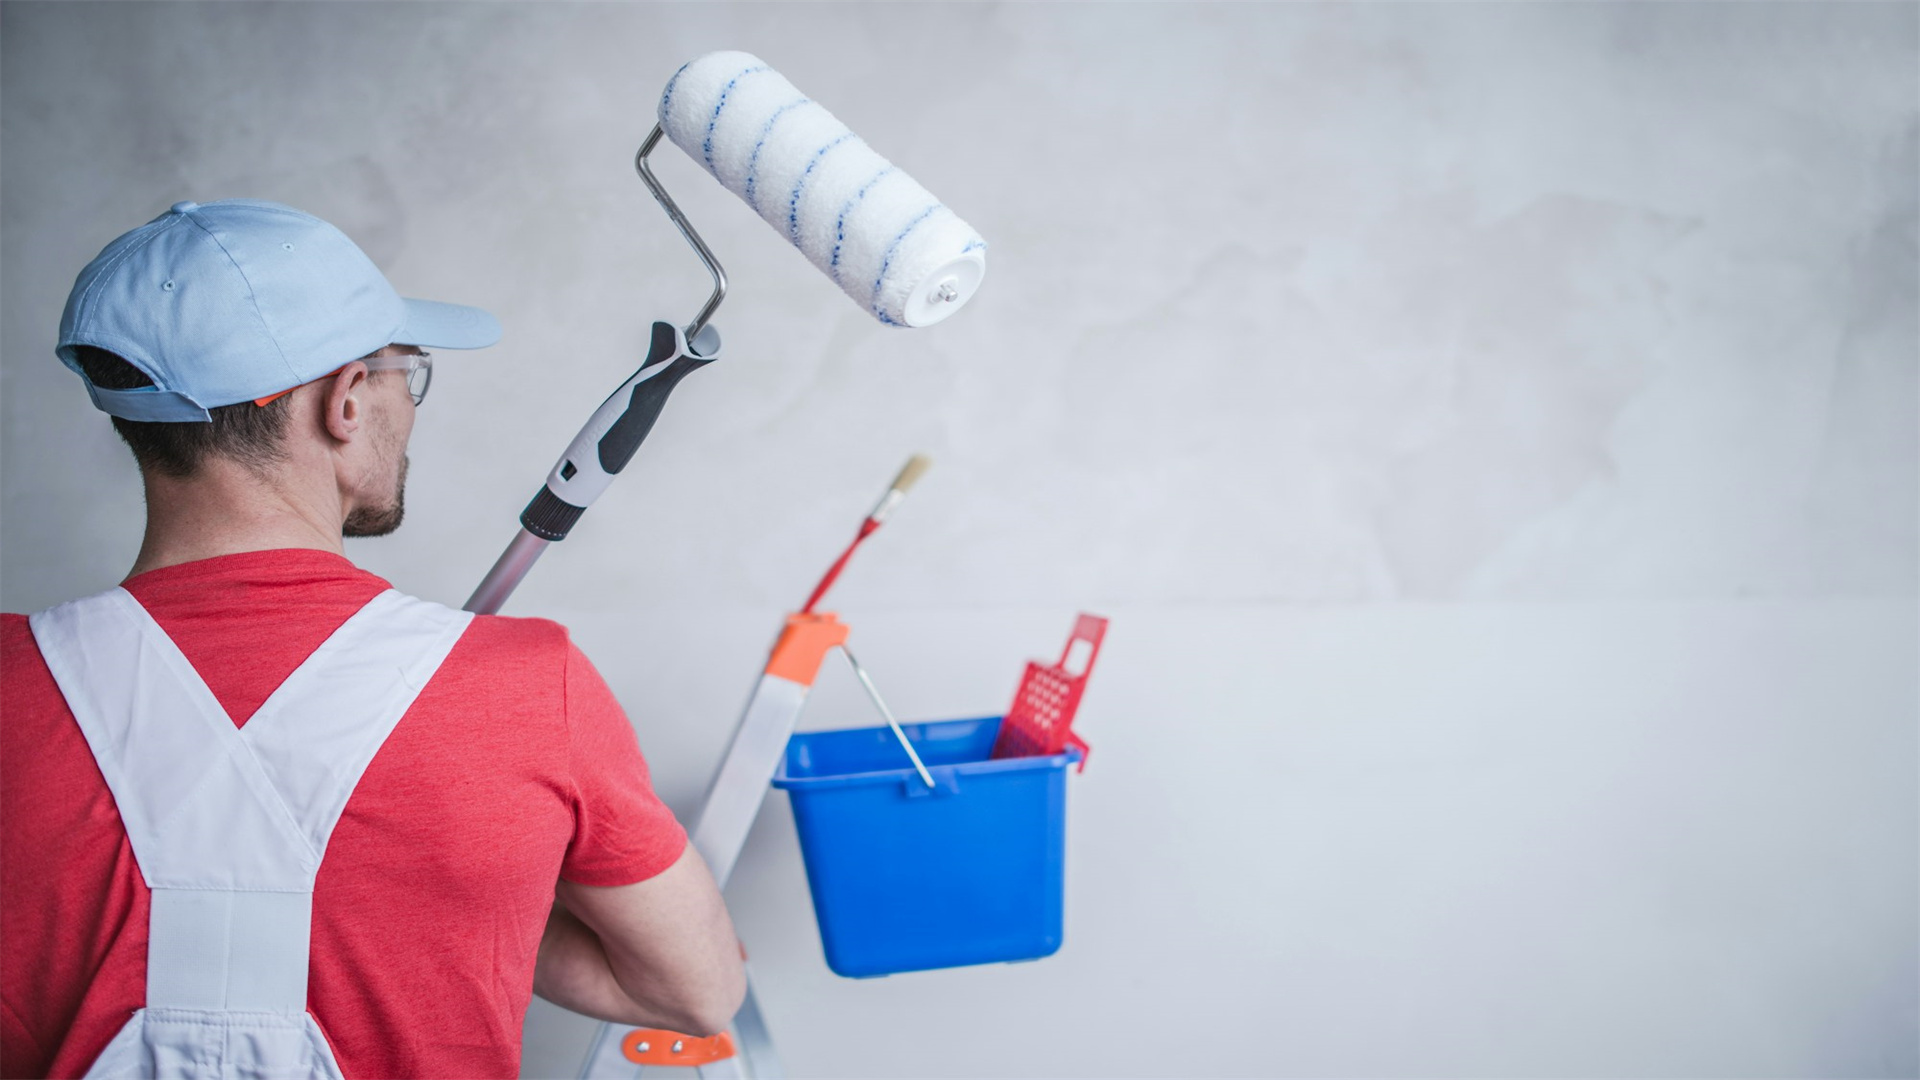
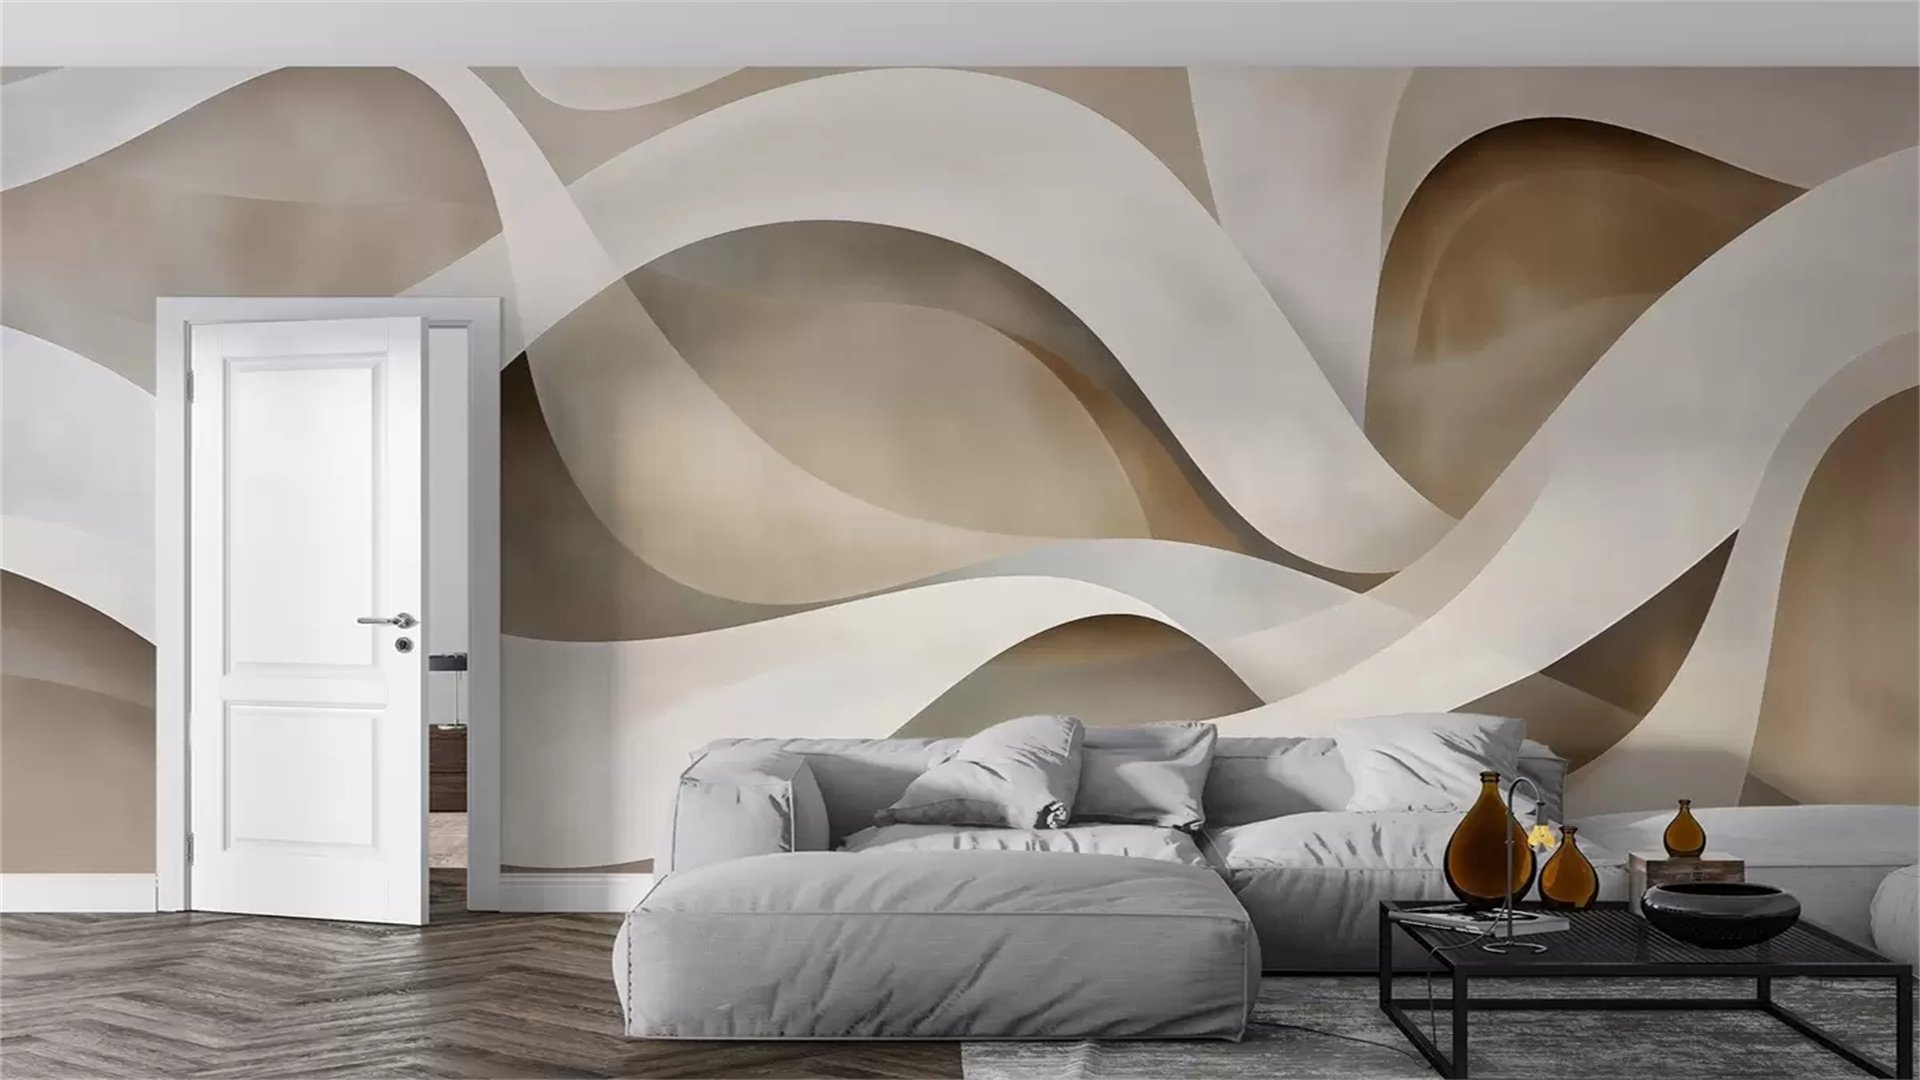
🔶 Geometric Wall Mural
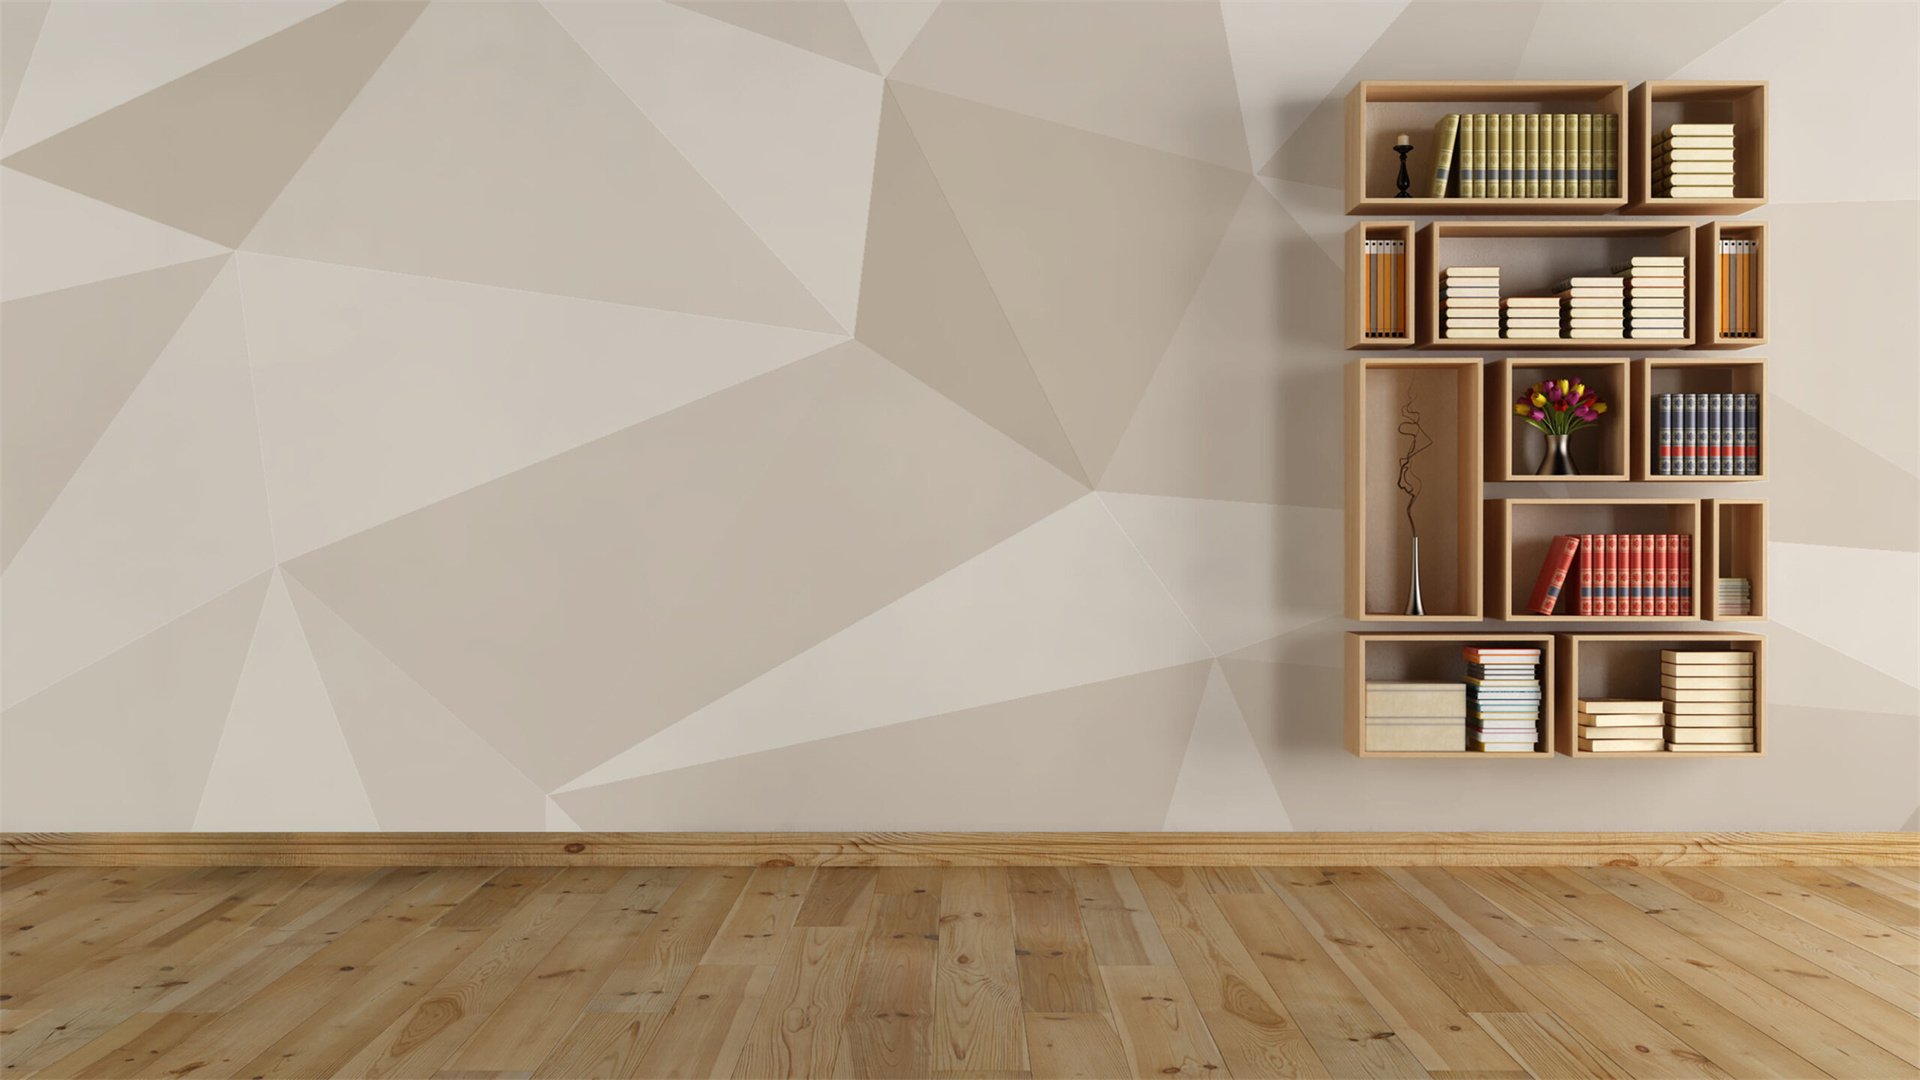
Geometric wall murals have gained immense popularity for their modern, eye-catching appeal. This project involves painting or applying geometric shapes and patterns directly onto your wall, creating a dynamic backdrop that can suit any room, from living areas to bedrooms. It's a versatile option that allows for endless customization in terms of colors, shapes, and scales. Before starting, consider the overall vibe you want—bold and dramatic or subtle and soothing. This project requires some precision and patience, but the results can be truly transformative, turning a plain wall into a work of art that sparks conversation and admiration.
Materials Needed
- Painter's tape (multiple widths for different line sizes)
- High-quality acrylic or latex paint in your chosen colors
- Paint rollers, brushes, and trays
- Drop cloths to protect floors and furniture
- A level and measuring tape for accurate lines
- Pencil and eraser for sketching designs
- Sandpaper to smooth the wall surface if needed
- Primer for better paint adhesion (optional but recommended)
Step-by-Step Instructions
- Plan Your Design: Start by sketching your geometric pattern on paper or using digital tools. Consider factors like wall size, shape repetition, and color schemes. For beginners, simple triangles, hexagons, or overlapping circles work well. Measure your wall and mark key points with a pencil to guide your tape placement.
- Prepare the Wall: Clean the wall thoroughly to remove dust and dirt. If necessary, apply a coat of primer to ensure even paint coverage. Allow it to dry completely. Use sandpaper to smooth any imperfections, as this will help the tape adhere better and prevent paint bleed.
- Apply Painter's Tape: Using a level and measuring tape, apply painter's tape along your marked lines to create the geometric shapes. Press down firmly on the edges of the tape to seal it and prevent paint from seeping underneath. For complex designs, work in sections to avoid confusion.
- Paint the Shapes: Apply your chosen paint colors within the taped-off areas. Use a small brush for edges and a roller for larger sections. Apply two thin coats for vibrant, opaque results, allowing drying time between coats. Be careful not to overload the brush or roller to minimize drips.
- Remove the Tape and Touch Up: Once the paint is dry to the touch (but not fully cured), gently peel off the painter's tape at a 45-degree angle to avoid tearing the paint. If any lines are uneven or there's bleed, use a small brush to touch up with the background color or a contrasting shade for precision.
- Add Finishing Touches: After the paint has fully dried (usually 24 hours), step back and assess your mural. You can add accents like metallic details or gloss finishes for extra dimension. Consider sealing the mural with a clear topcoat for durability, especially in high-traffic areas.
Advantages and Disadvantages
Advantages
- Geometric wall murals are highly customizable, allowing you to match any color palette or style.
- They can make small rooms appear larger or add depth to plain walls.
- This project is relatively low-cost compared to hiring a professional, and it offers a quick update without permanent changes.
- Additionally, the process can be therapeutic and rewarding, fostering creativity.
Disadvantages
- The main drawback is the time and precision required; uneven lines or paint bleed can ruin the effect.
- It may also be challenging for those with limited painting experience.
- The design is semi-permanent, so changing it involves repainting, which can be labor-intensive.
- Additionally, if not done carefully, the tape removal might damage the wall surface.
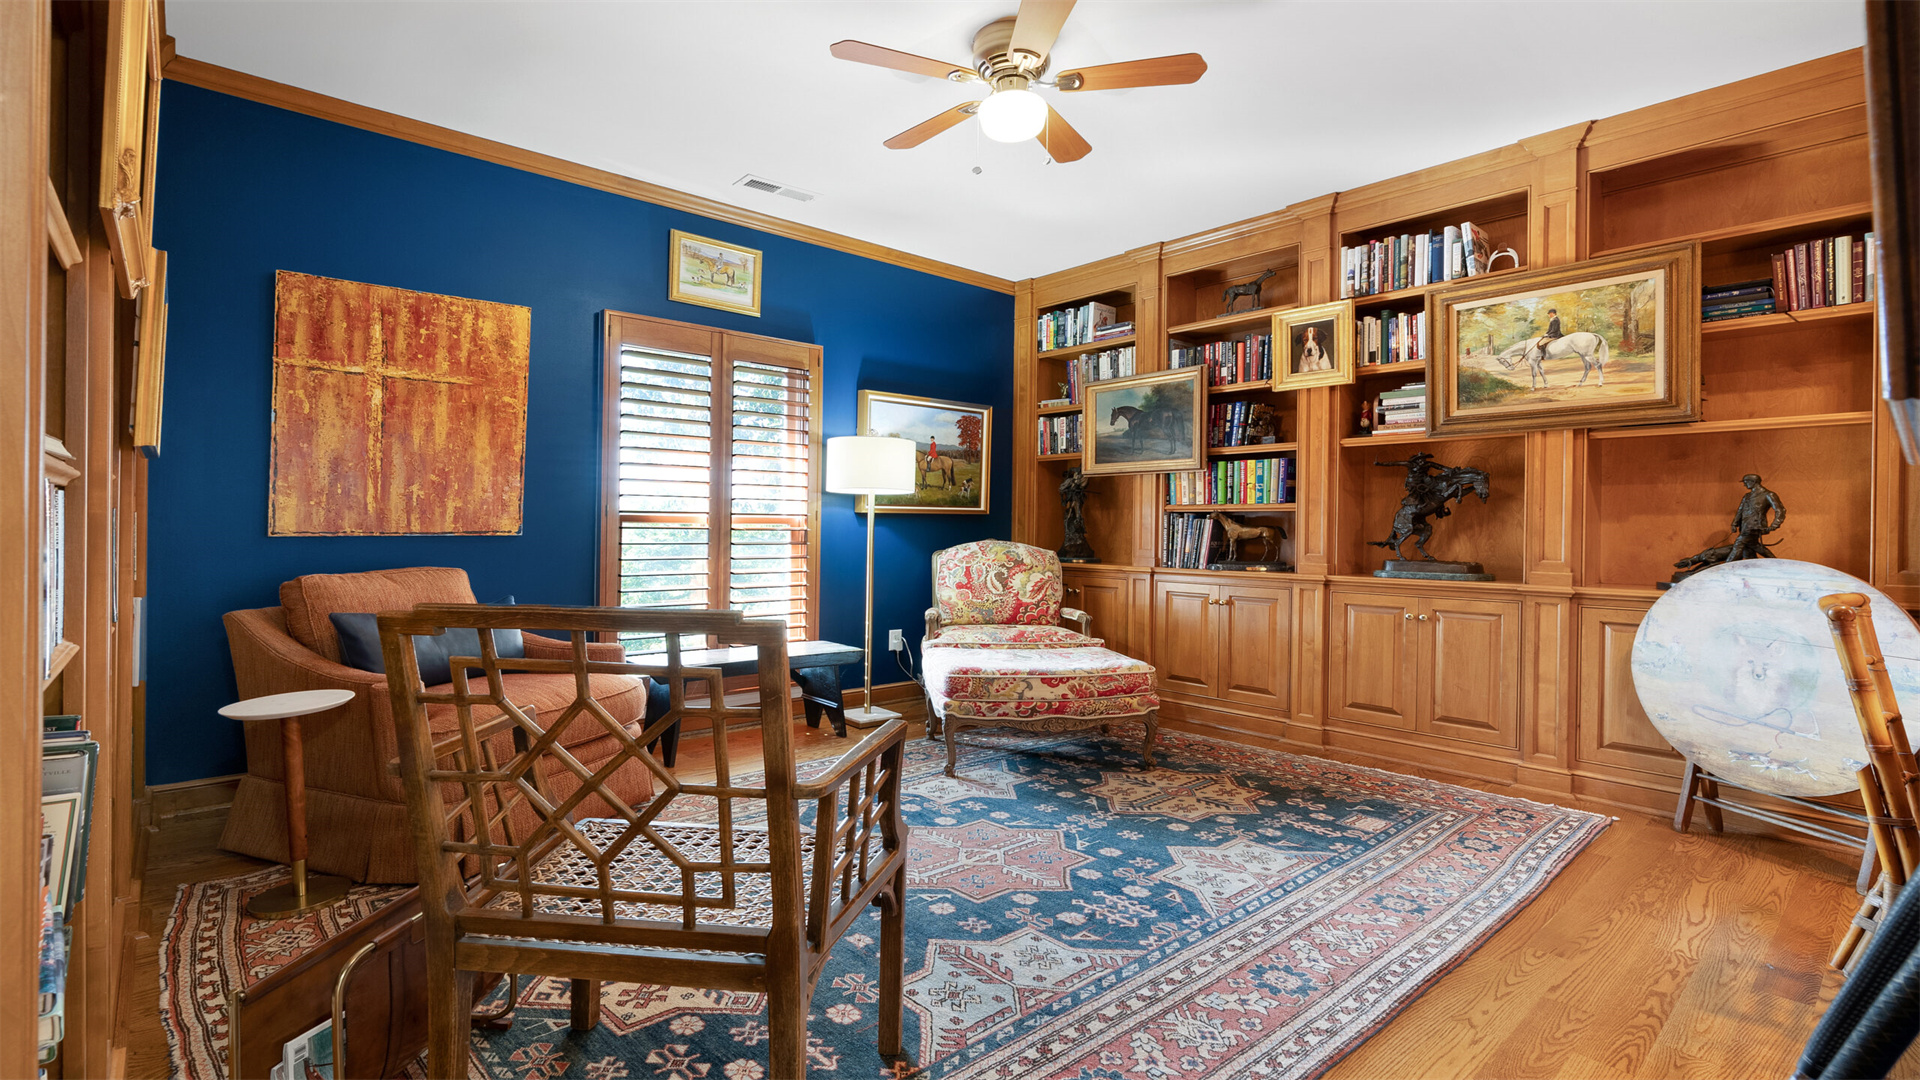
🖼️ Photo Gallery Wall
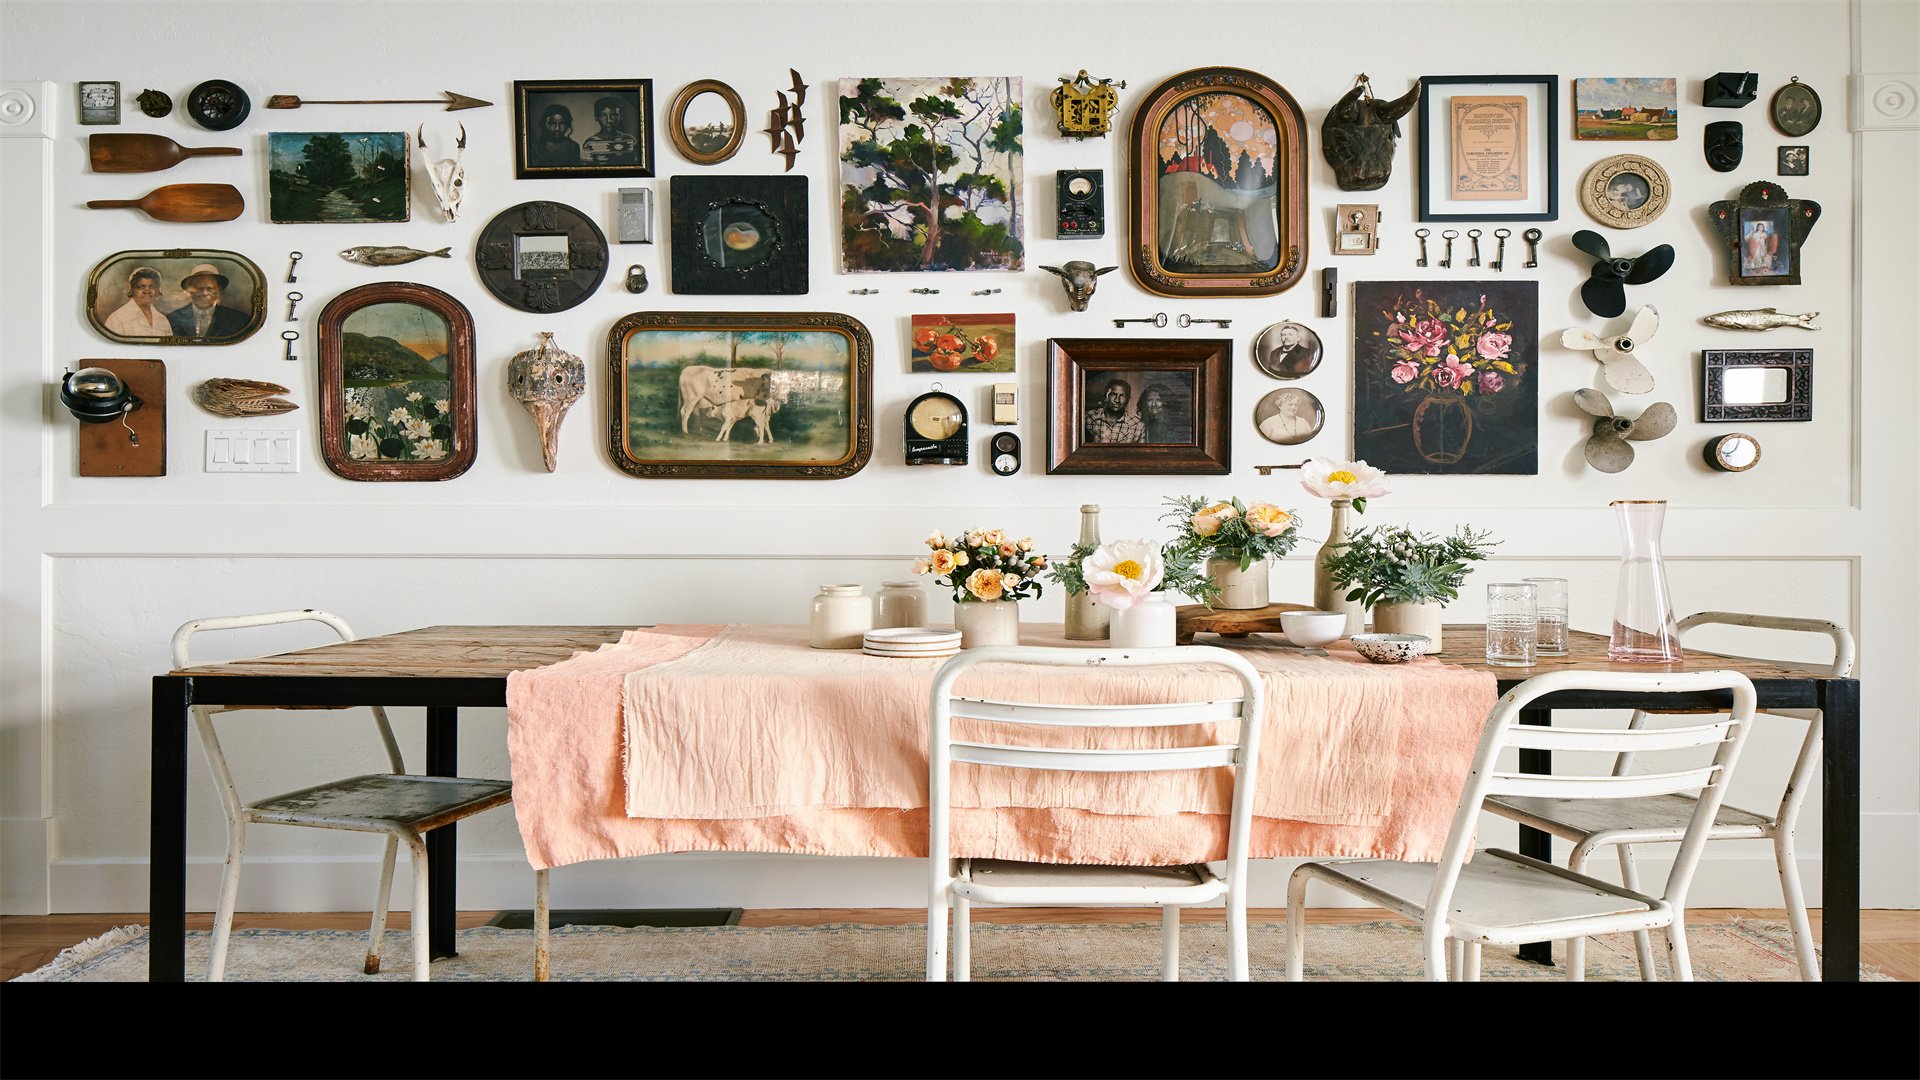
A photo gallery wall is a classic DIY project that personalizes your space with memories and art. It involves arranging a collection of framed photos, prints, or other artworks in a cohesive layout on your wall. This project is perfect for showcasing family moments, travel souvenirs, or favorite artworks, adding warmth and character to any room. The key is to balance size, shape, and color for a harmonious look. Whether you opt for a symmetrical grid or an eclectic mix, a gallery wall tells your story and can evolve over time as you add new pieces.
Materials Needed
- Assorted frames in various sizes, colors, and styles (wood, metal, etc.)
- Photos, prints, or artwork to display
- Wall hooks, nails, or picture hanging strips (like Command Strips)
- A hammer, level, and measuring tape
- Painter's tape or paper templates for planning the layout
- Pencil for marking wall positions
- Optional: mat boards, glass cleaners, and backing materials
Step-by-Step Instructions
- Choose Your Content: Select the photos or artworks you want to display. Consider a theme, such as black-and-white images, travel photos, or mixed media art. Print or purchase prints in sizes that fit your frames. If using original artwork, ensure it's properly mounted or framed.
- Plan the Layout: Lay out your frames on the floor or a large table to experiment with arrangements. Common layouts include grid patterns, salon-style clusters, or linear rows. Use painter's tape or paper cutouts to map the arrangement on the wall, ensuring even spacing (typically 2-3 inches between frames). Measure the wall area to center the gallery properly.
- Prepare the Frames: Insert your photos or artworks into the frames, cleaning the glass to avoid smudges. Add mat boards if desired for a polished look. Check that each frame has secure hanging hardware attached, such as wire or sawtooth hangers.
- Hang the Frames: Start with the central or largest frame as an anchor. Use a level and pencil to mark where the hook or nail should go. Install wall hooks or nails, then hang the frame. Repeat for each frame, working outward from the center and constantly checking alignment with a level. For rental-friendly options, use adhesive picture hanging strips that can be removed without damage.
- Adjust and Refine: Step back frequently to assess the balance and spacing. Make minor adjustments as needed—sometimes shifting a frame slightly can improve the overall flow. Ensure all frames are securely attached and straight.
- Add Lighting and Accents: Enhance your gallery wall with accent lighting, such as picture lights or track lighting, to highlight specific pieces. You can also incorporate three-dimensional elements like small shelves or decorative objects between frames for added interest.
Advantages and Disadvantages
Advantages
- A photo gallery wall is highly personal and flexible, allowing you to update it easily by swapping out photos or adding new frames.
- It can fill large wall spaces effectively and create a focal point in a room.
- This project is beginner-friendly and can be done with minimal tools.
- Additionally, it's cost-effective, especially if you use existing frames or thrift store finds.
Disadvantages
- The main challenge is achieving a balanced layout, which can be time-consuming and require multiple adjustments.
- Hanging frames securely may damage walls if not done carefully, and rental options might be limited.
- Over time, the gallery can look cluttered if not curated well, and dusting or cleaning multiple frames can be tedious.
🧵 Fabric and Yarn Wall Hangings
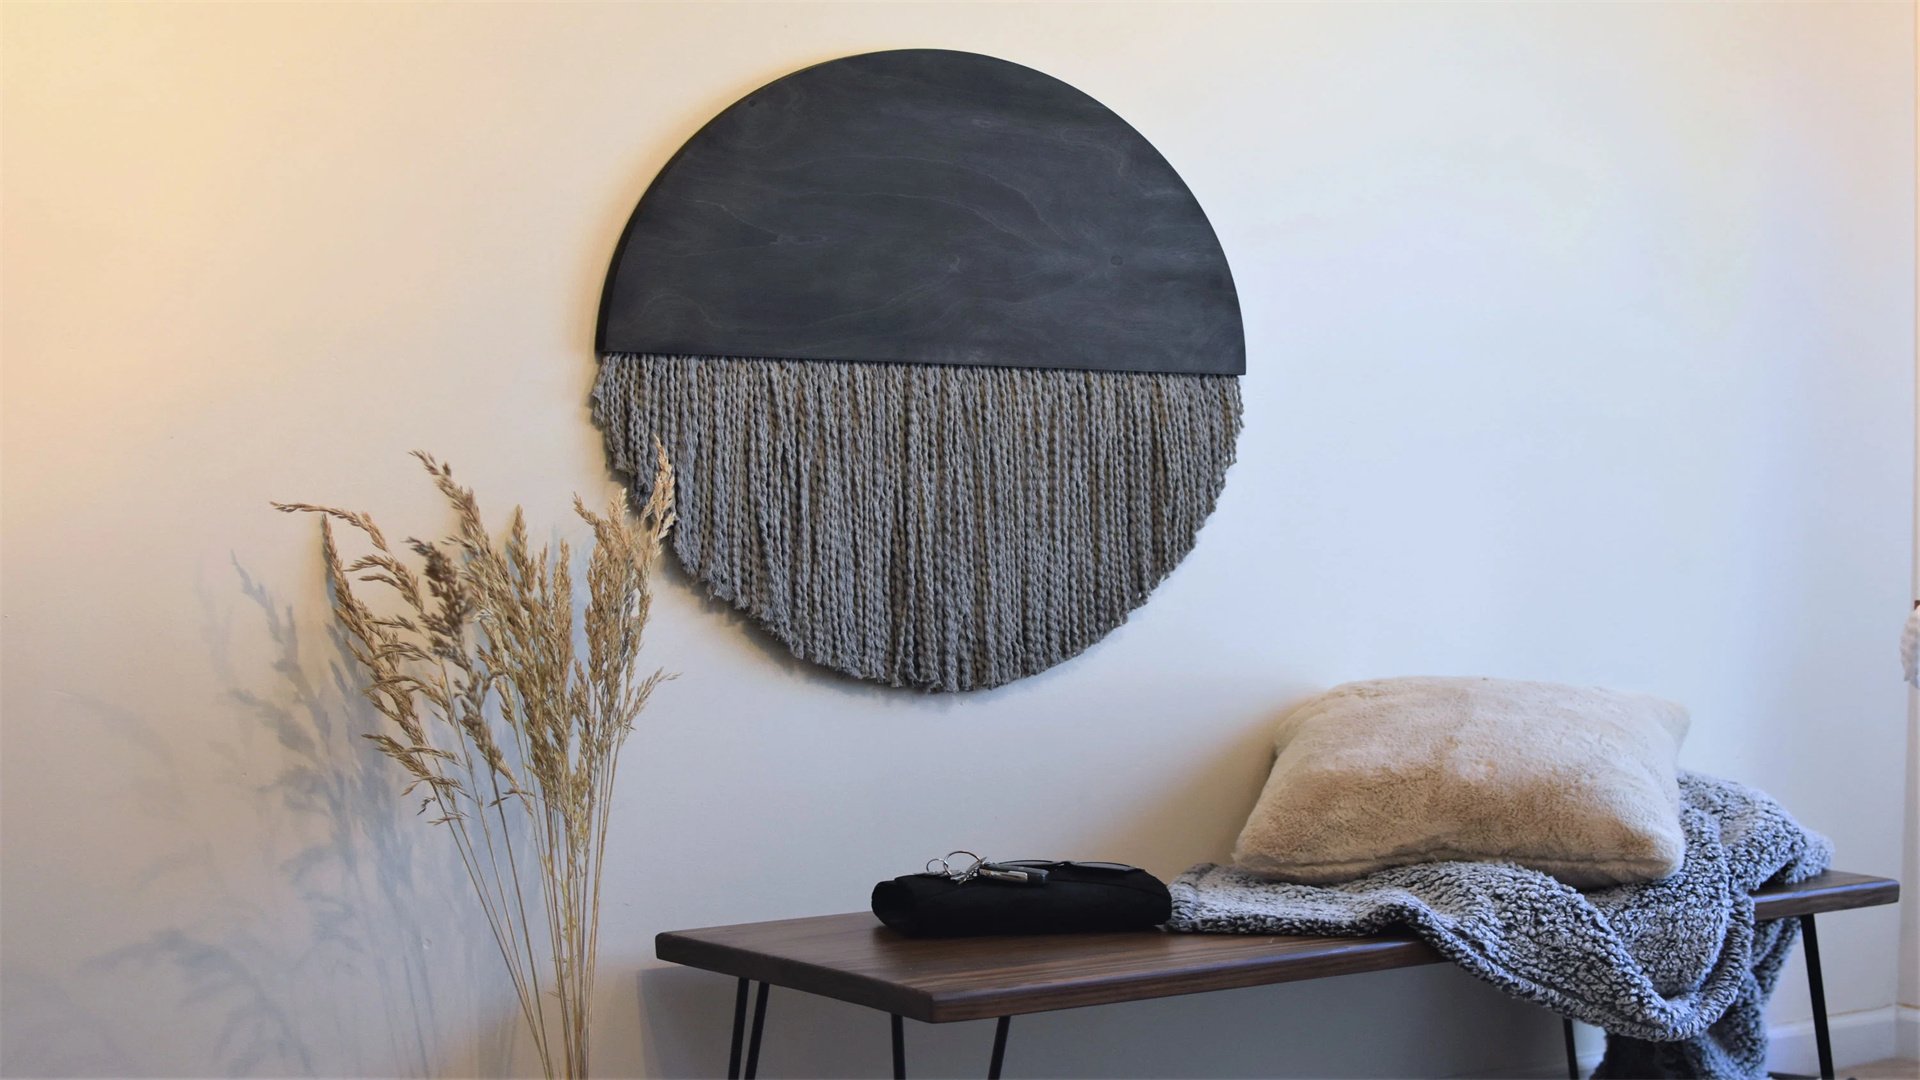
Fabric and yarn wall hangings, often inspired by macramé or weaving techniques, bring texture and bohemian flair to your space. This project involves creating art pieces using materials like cotton rope, wool yarn, or fabric scraps, which are knotted, woven, or draped into intricate designs. It's a tactile and meditative process that results in soft, organic wall decor perfect for bedrooms, living rooms, or entryways. Whether you opt for a simple tassel hanging or a complex woven tapestry, this DIY adds warmth and a handmade touch that complements various interior styles.
Materials Needed
- Cotton rope, jute, or macramé cord in various thicknesses
- Assorted yarns (wool, acrylic, or cotton) for color and texture
- A wooden dowel, branch, or metal rod for hanging
- Scissors and a tape measure
- Comb or brush for fraying edges (optional)
- Fabric glue or clear sealant to secure knots
- Optional: beads, feathers, or dyed fabrics for embellishments
Step-by-Step Instructions
- Design Your Hanging: Sketch your design on paper, considering patterns like chevrons, diamonds, or free-form shapes. Decide on the size—small pieces work as accents, while larger ones can cover significant wall areas. Choose a color palette that matches your room; natural tones create a calming effect, while bright colors add vibrancy.
- Prepare the Base: Cut your wooden dowel or branch to the desired width (e.g., 24 inches). Sand any rough edges. Attach a loop of rope or string to both ends for hanging on the wall. If using a rod, ensure it has pre-drilled holes or hooks.
- Knot or Weave the Design: For macramé, use basic knots like square knots, half-hitches, or lark's head knots to create patterns. Tie lengths of rope to the dowel, leaving tails for fringe. For weaving, set up a simple loom using cardboard or a frame, and weave yarns horizontally through vertical warp threads. Follow online tutorials for specific techniques, working row by row to build the design.
- Add Texture and Embellishments: Incorporate different materials by tying in yarn strands, fabric strips, or beads. Create tassels or pom-poms by wrapping yarn around cardboard and attaching them to the bottom. Use a comb to fray rope ends for a rustic look. Experiment with layering to add depth.
- Secure and Finish: Once your design is complete, trim any uneven ends and apply fabric glue to knots to prevent unraveling. Allow it to dry completely. If desired, lightly mist with water and stretch the hanging to shape it evenly.
- Hang and Style: Use a nail or hook to mount the dowel on the wall. Adjust the hanging so it lays flat. Style it alongside other decor, such as plants or shelves, to create a cohesive bohemian vibe. Regularly dust or vacuum gently to maintain its appearance.
Advantages and Disadvantages
Advantages
- Fabric and yarn wall hangings are highly customizable and allow for endless creative expression.
- They add soft texture and warmth to a room, making spaces feel cozier.
- This project is relatively inexpensive, as materials can be sourced from craft stores or even upcycled from old textiles.
- It's also portable and easy to store if you move. The process can be relaxing and therapeutic, similar to meditation.
Disadvantages
- The main downside is the time investment; complex designs can take hours or even days to complete.
- It requires some skill in knotting or weaving, which might have a learning curve for beginners.
- The finished piece can collect dust and may not be suitable for high-humidity areas like bathrooms.
- Additionally, if not secured well, knots can loosen over time, requiring maintenance.
♻️ Recycled Material Art
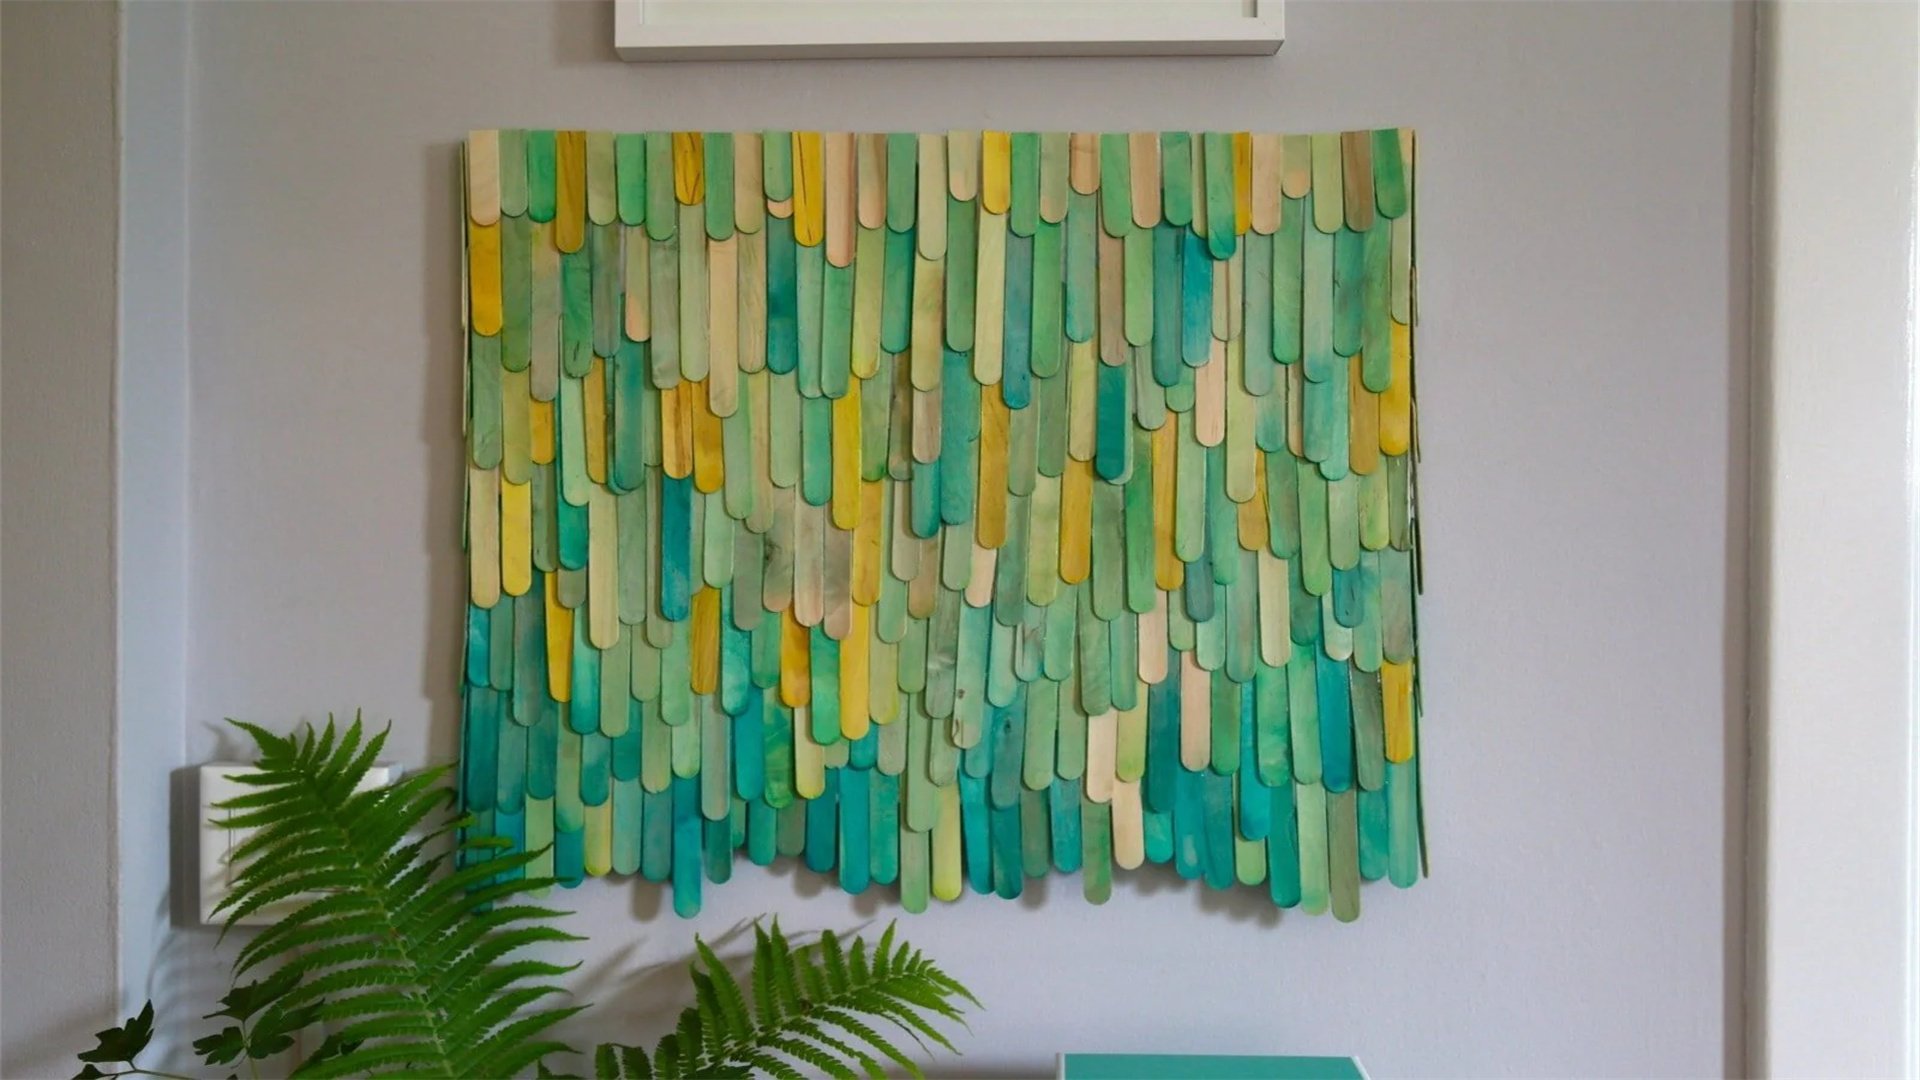
Recycled material art is an eco-friendly DIY project that transforms discarded items into stunning wall decor. By repurposing materials like bottle caps, wooden pallets, old magazines, or scrap metal, you can create unique pieces that reduce waste and add industrial or rustic charm to your space. This project encourages creativity and resourcefulness, often resulting in conversation-starting art that reflects your commitment to sustainability. Whether you assemble a mosaic from broken tiles or a sculpture from electronic parts, the possibilities are endless and can be tailored to any style, from modern to vintage.
Materials Needed
- Recycled materials (e.g., bottle caps, wine corks, cardboard, fabric scraps)
- Adhesive like strong glue, epoxy, or a hot glue gun
- A base surface such as a canvas, wood panel, or old frame
- Paint or sealant for finishing touches
- Tools like scissors, pliers, or a saw for cutting materials
- Protective gear like gloves and goggles if handling sharp items
- Optional: varnish or mod podge to seal and protect the artwork
Step-by-Step Instructions
- Collect and Prepare Materials: Gather clean, dry recycled items from your home or local recycling centers. Sort them by type, size, or color. For example, flatten bottle caps, cut cardboard into shapes, or sand wooden pieces. Ensure materials are free of debris to improve adhesion.
- Design Your Artwork: Plan your design on paper or directly on the base surface. Consider patterns like abstract arrangements, landscapes, or word art. For a bottle cap mural, sketch a grid; for a pallet wood sign, layout letters or images. Use pencil marks to guide placement.
- Attach Materials to the Base: Apply adhesive to the back of each recycled piece and press it onto the base, working in sections. For heavy items like metal scraps, use stronger adhesives or screws. Arrange materials tightly to avoid gaps, or leave spaces for a mosaic effect. Allow glue to dry according to manufacturer instructions.
- Add Paint and Details: Once the base is covered, you can paint over certain areas to unify the design or highlight details. For instance, spray paint a bottle cap art in metallic shades or stencil words onto pallet wood. Use brushes or sponges for textured effects.
- Seal and Protect: Apply a clear sealant or varnish to protect the artwork from dust, moisture, and fading. This is especially important for outdoor or high-traffic areas. Let it dry completely in a well-ventilated area.
- Mount on the Wall: Attach hanging hardware to the back of the base, such as D-rings or wire. Use appropriate wall anchors based on the weight of the piece. Hang it securely, ensuring it's level. For larger installations, consider creating multiple panels that fit together like a puzzle.
Advantages and Disadvantages
Advantages
- Recycled material art is cost-effective, as it utilizes free or low-cost materials, making it budget-friendly.
- It promotes environmental sustainability by reducing waste.
- The project fosters innovation and can be adapted to any skill level—simple collages for kids or intricate assemblages for experienced crafters.
- The resulting art is often one-of-a-kind, adding a personal and eclectic touch to your home.
Disadvantages
- The main challenge is sourcing and preparing materials, which can be time-consuming and messy.
- Some recycled items may be fragile or difficult to work with, requiring special tools or safety precautions.
- The artwork might not be as durable as store-bought pieces, especially if exposed to elements.
- Additionally, designs can look cluttered if not carefully planned, and adhesives may fail over time, necessitating repairs.
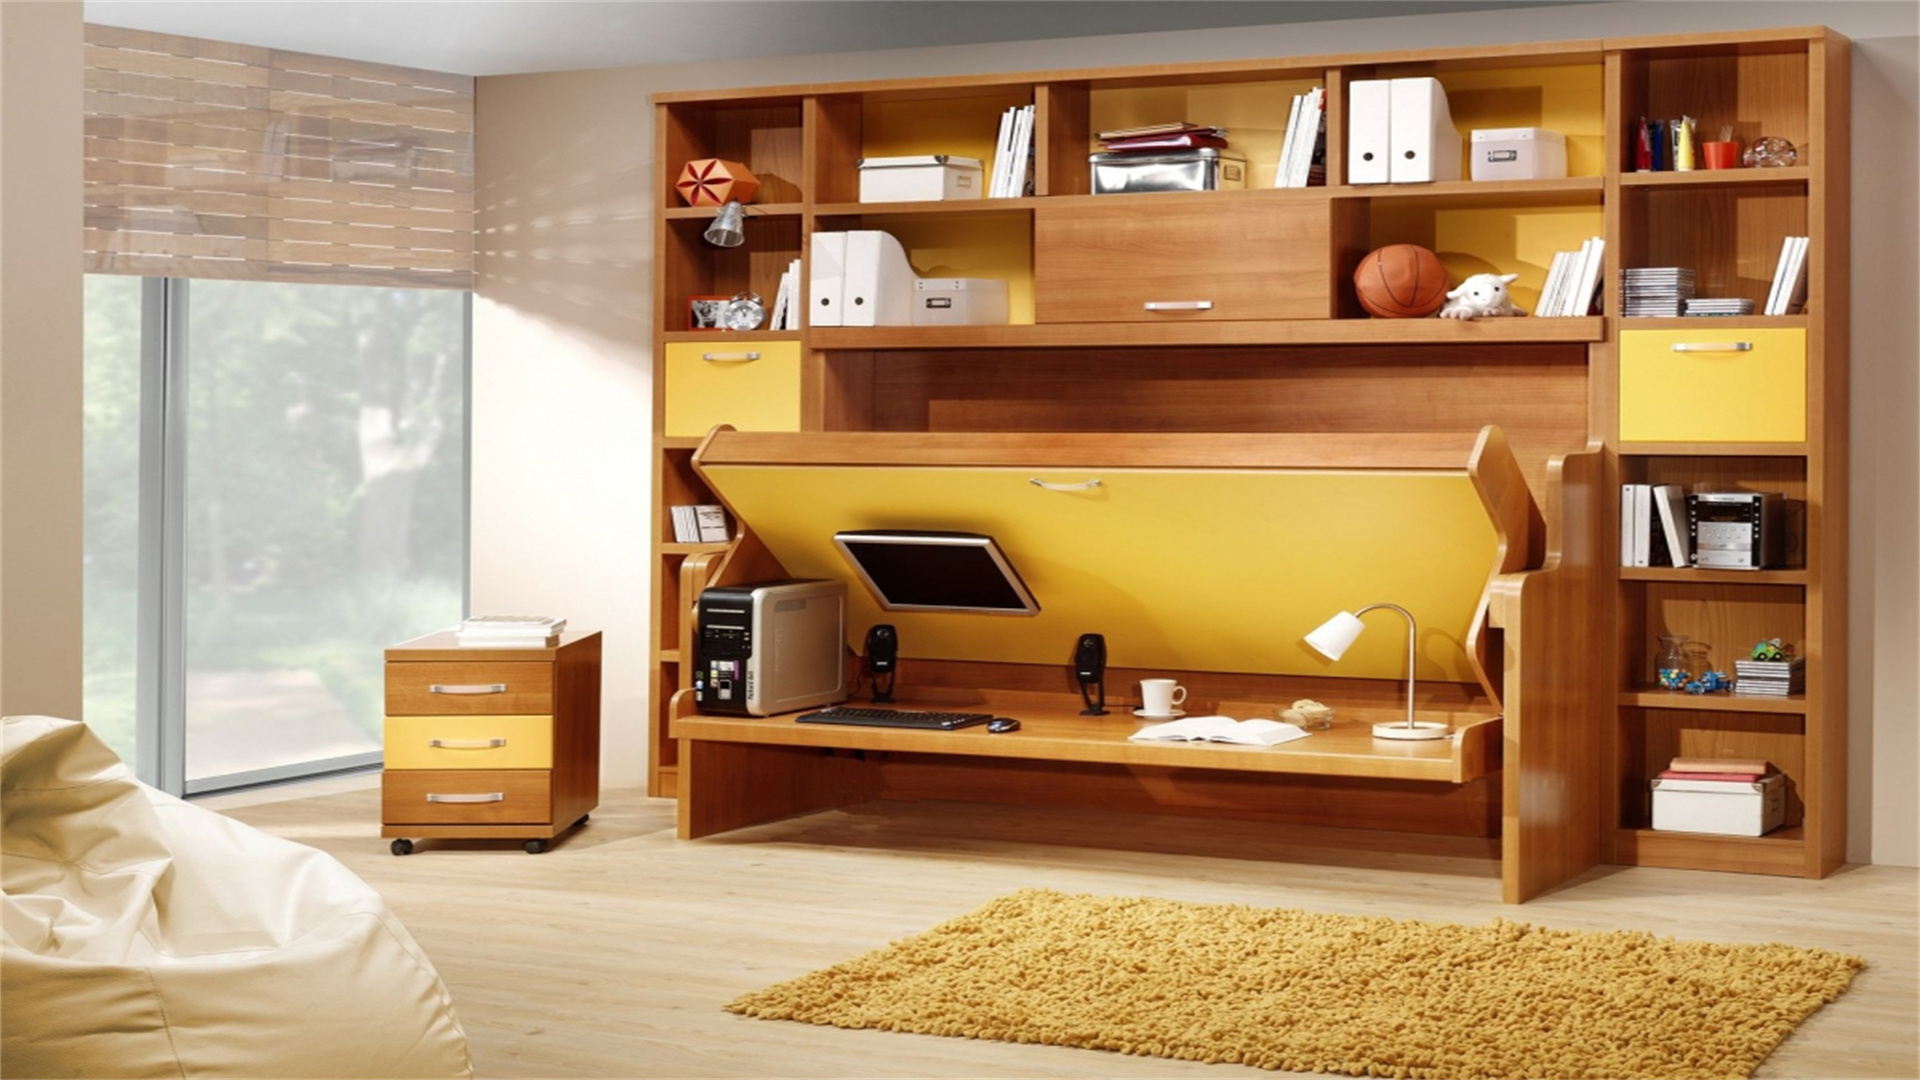
🔠 Typography and Quote Art
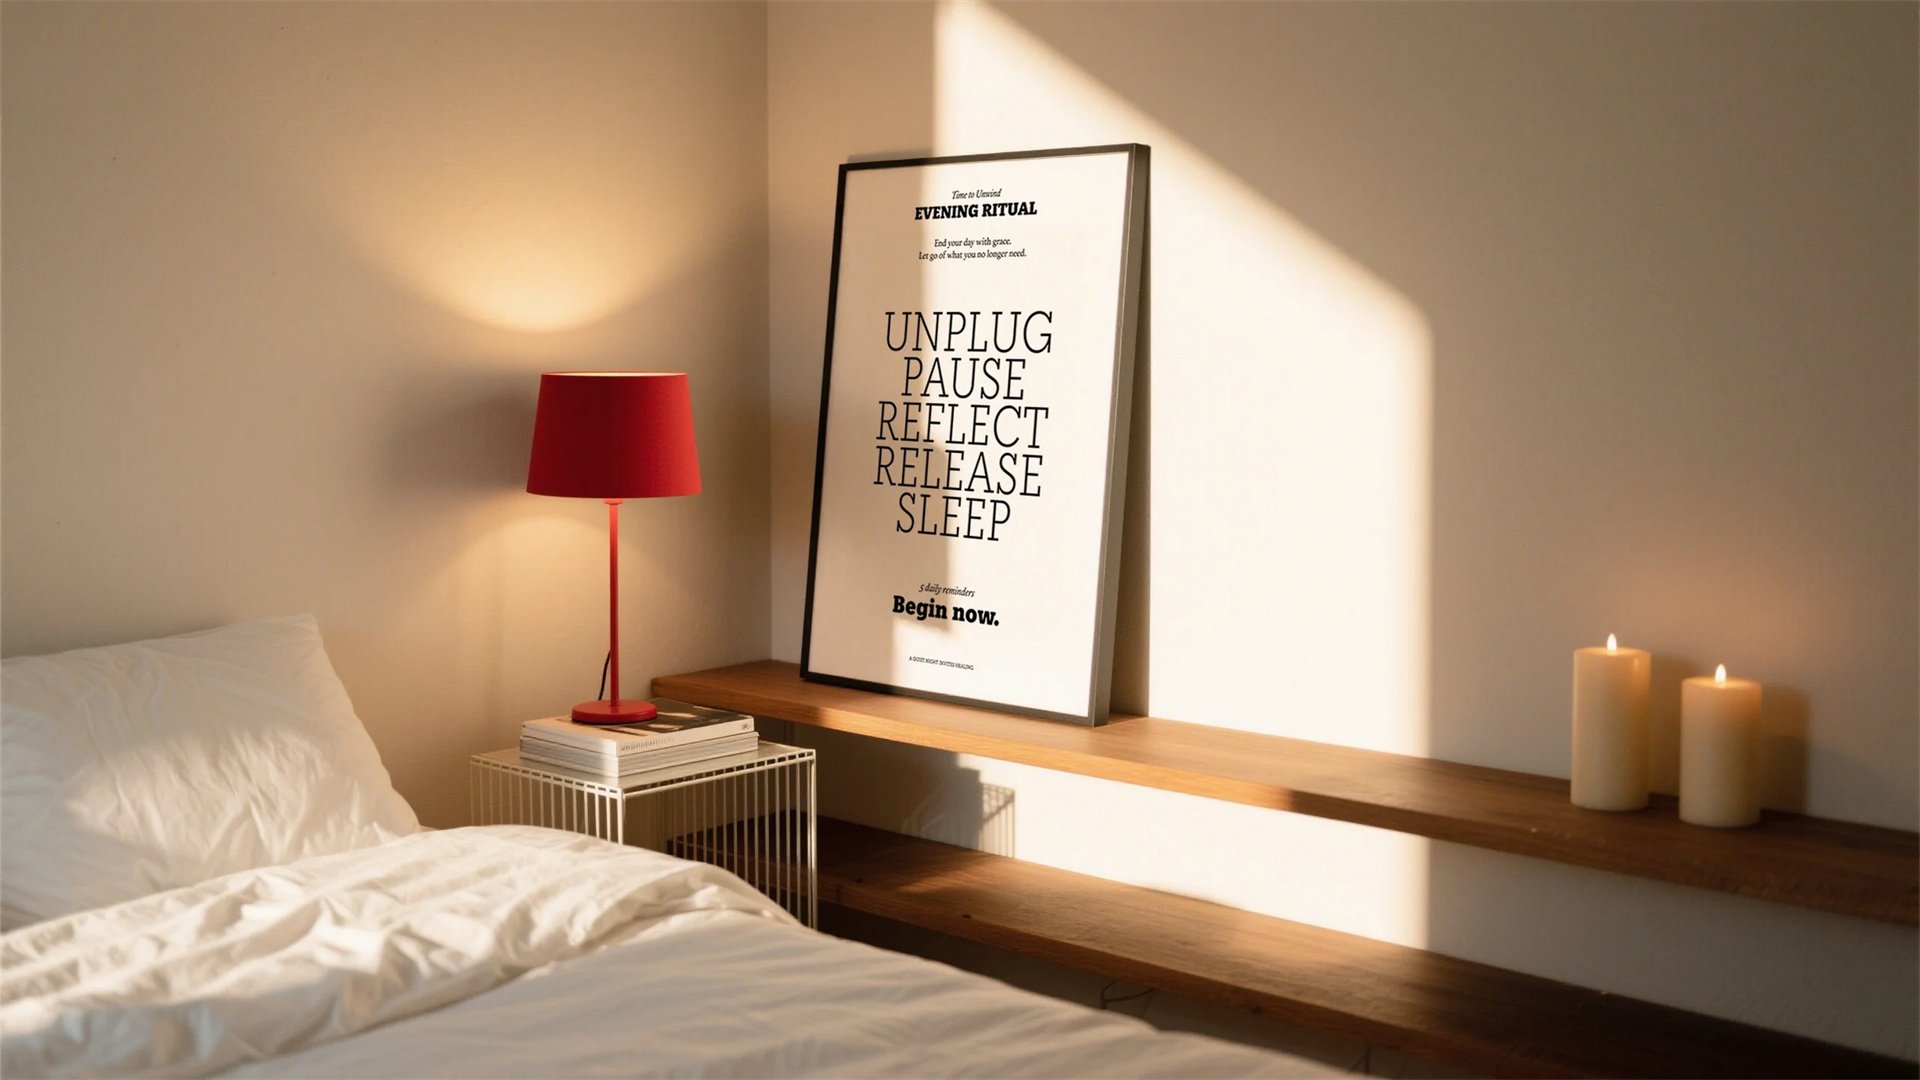
Typography and quote art involve creating wall decor featuring meaningful words, phrases, or letters, often in stylized fonts and layouts. This DIY project allows you to display inspirational messages, favorite lyrics, or personal mantras that resonate with you, turning them into visual statements. It's a versatile approach that can range from simple painted signs to intricate cut-out letters, fitting into modern, rustic, or minimalist interiors. By choosing fonts, colors, and backgrounds, you can craft pieces that motivate, entertain, or simply add aesthetic appeal to your walls.
Materials Needed
- Wood boards, canvas, or metal sheets as a base
- Vinyl lettering, stencils, or freehand painting supplies
- Acrylic paint in contrasting colors for letters and background
- Brushes, rollers, or spray paint for application
- Transfer paper or projector for accurate letter placement
- Sandpaper for distressing effects (optional)
- Clear coat or sealant for protection
- Optional: frame or decorative elements like glitter or washi tape
Step-by-Step Instructions
- Choose Your Quote and Design: Select a meaningful quote or word that fits your space. Consider length—short phrases work well for small walls, while longer ones can span larger areas. Browse fonts online or in design software to pick one that matches your style (e.g., script for elegance, block letters for boldness). Sketch the layout, including alignment (centered, justified, or random).
- Prepare the Base Surface: Sand your wood board or canvas to smooth any roughness. Apply a base coat of paint in your desired background color and let it dry completely. For a distressed look, lightly sand edges after painting. If using metal, clean it with alcohol to remove oils.
- Transfer the Lettering: For precise results, use transfer paper: print your quote in reverse, place transfer paper on the base, and trace over it with a pencil. Alternatively, use a projector to beam the design onto the surface and outline it. If confident, draw freehand with a pencil first. For vinyl, cut letters with a craft cutter or purchase pre-made ones.
- Paint or Apply the Letters: Fill in the outlined letters with paint using fine brushes or paint pens. Work slowly to avoid smudges, and use multiple thin coats for opacity. If using vinyl, peel and stick the letters onto the base, pressing firmly to avoid bubbles. Remove any transfer paper residue after painting.
- Add Embellishments and Effects: Enhance your art with effects like shadows, gradients, or metallic accents. Distress the edges with sandpaper for a vintage feel, or add glitter to specific letters for sparkle. You can also frame the piece with wood trim or washi tape borders.
- Seal and Hang: Once dry, apply a clear sealant to protect the paint from fading or chipping. Attach hanging hardware to the back. Choose a prominent wall spot, such as above a desk or in an entryway, and hang it at eye level for maximum impact. Pair with complementary decor like shelves or plants.
Advantages and Disadvantages
Advantages
- Typography art is highly personal and can uplift your mood with positive messages.
- It's customizable in terms of color, size, and style, making it easy to match any room decor.
- This project is accessible to beginners, especially with stencils or vinyl.
- It can be a quick update—some pieces can be completed in a few hours. Additionally, it's cost-effective compared to buying similar art from stores.
Disadvantages
- The main drawback is the need for precision; uneven lettering or paint bleed can ruin the look.
- Designing layouts can be tricky, especially with long quotes, requiring careful planning.
- Freehand painting requires artistic skill, and vinyl may not adhere well to textured surfaces.
- Over time, painted signs might fade if not sealed properly, and trends in quote art can date quickly.
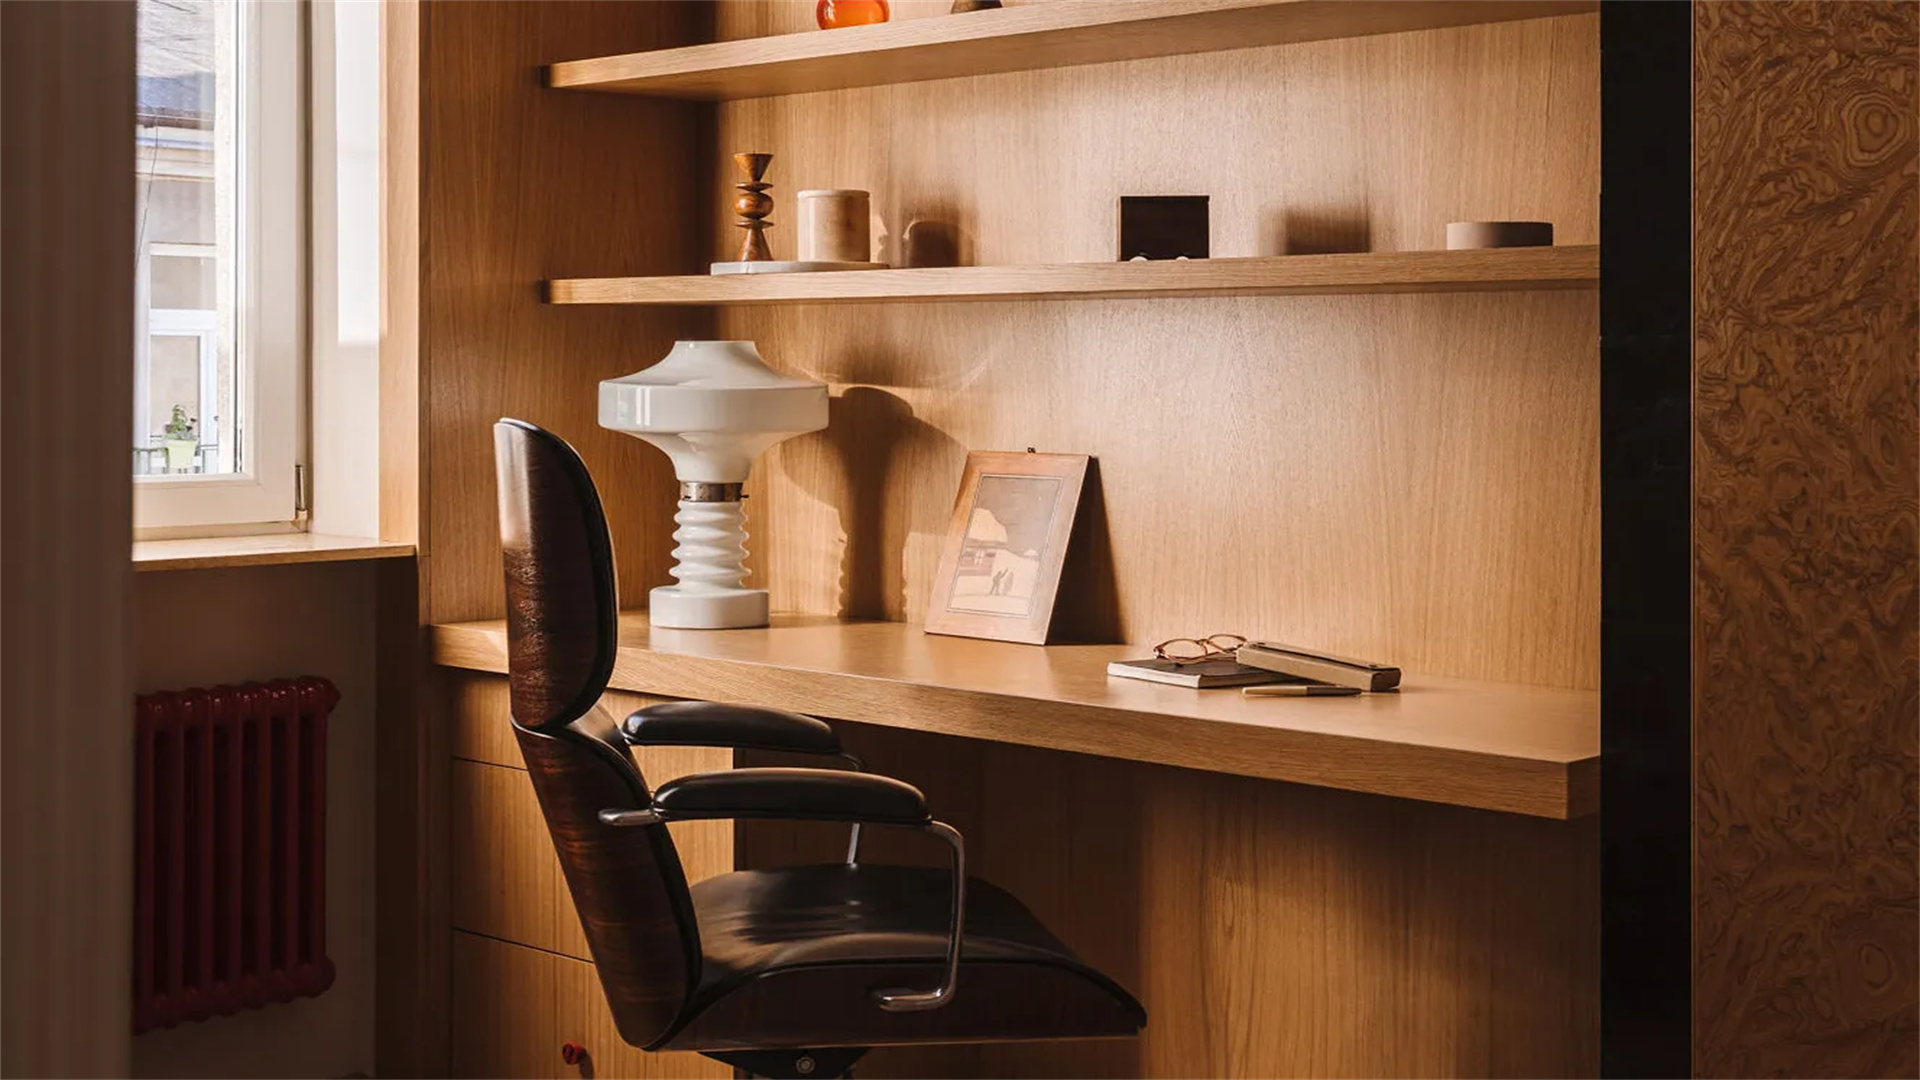
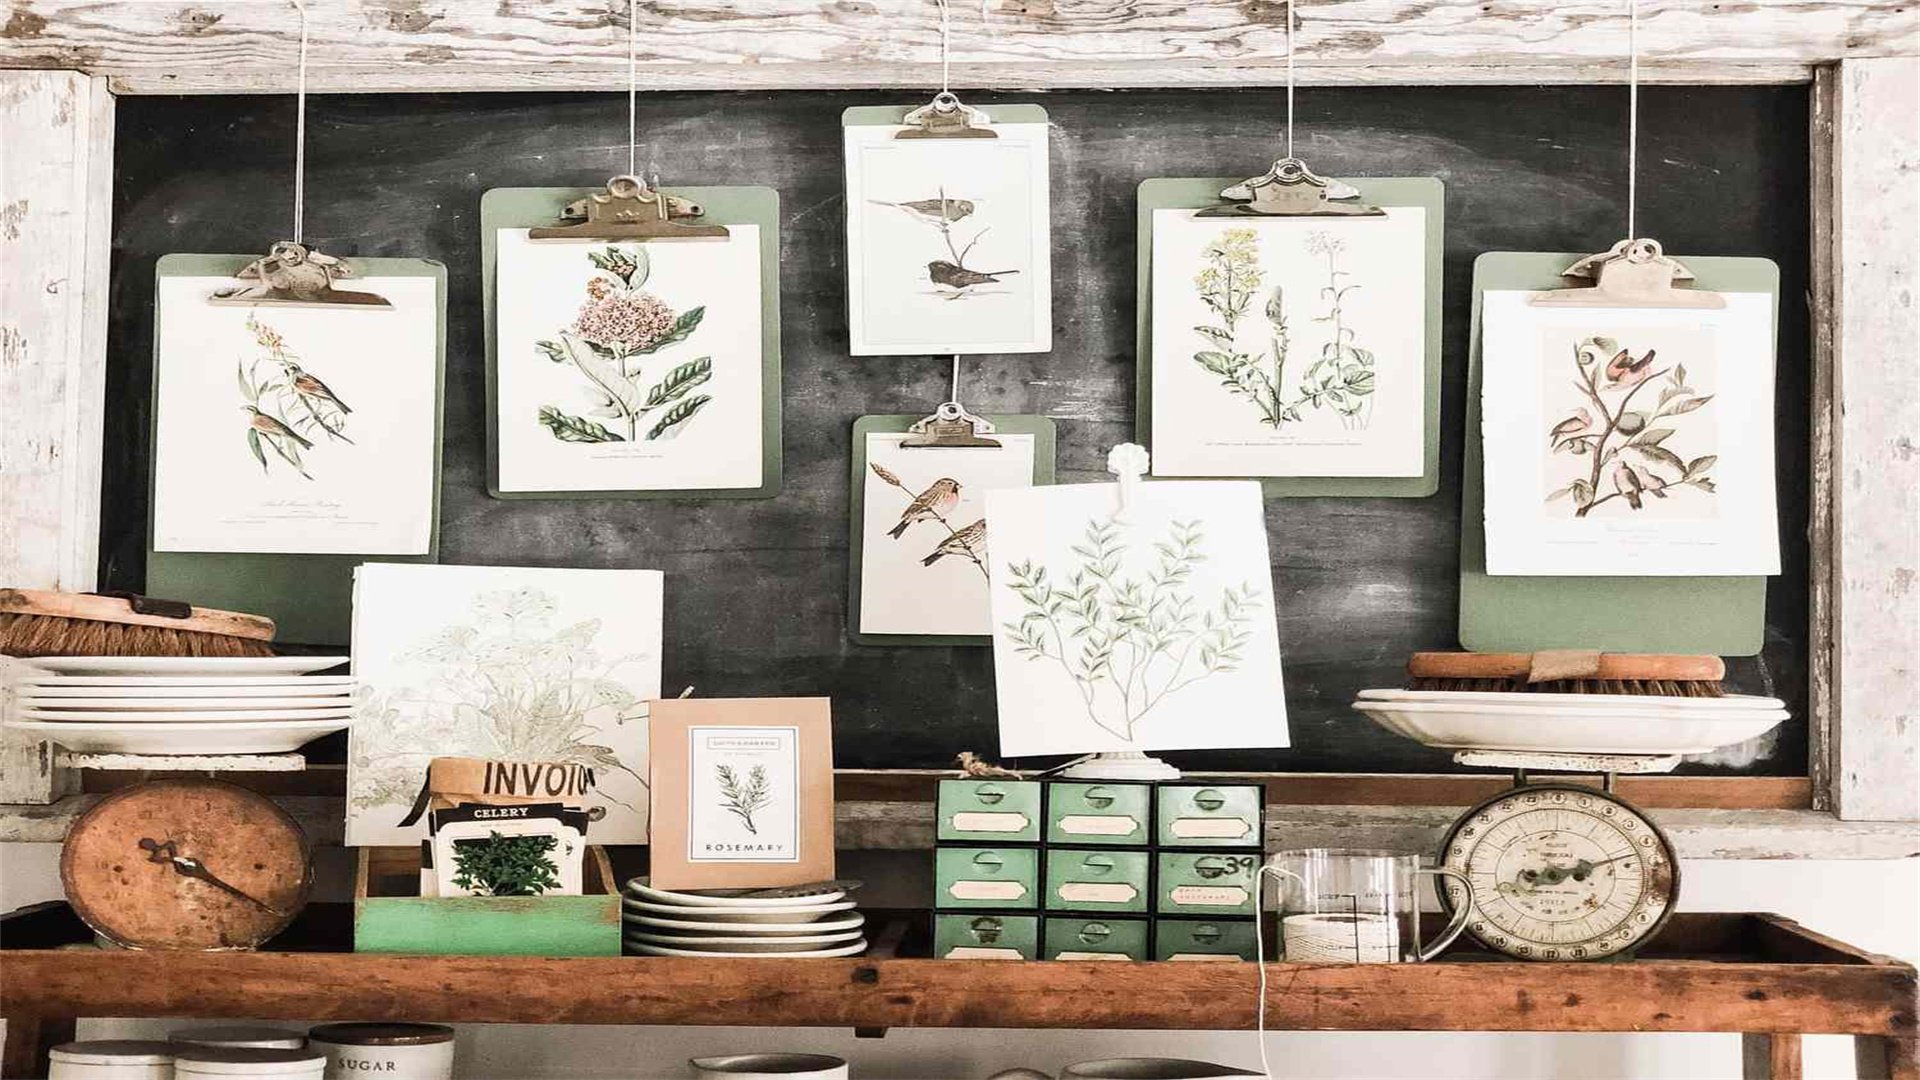
🌿 Nature-Inspired Wall Art
Nature-inspired wall art brings the outdoors inside, creating a serene and organic atmosphere in your home. This DIY project uses natural elements like leaves, branches, stones, or pressed flowers to craft decor that evokes calm and connection to the environment. From botanical prints to driftwood sculptures, these pieces can range from subtle accents to bold statements, perfect for spaces like living rooms, bathrooms, or meditation areas. By foraging materials from your backyard or local parks, you can create sustainable art that changes with the seasons and adds a touch of earthy beauty.
Materials Needed
- Natural materials: leaves, flowers, twigs, shells, or rocks
- Shadow boxes, frames, or wooden panels for display
- Adhesive like glue, mod podge, or epoxy resin
- Press and drying tools for flowers (e.g., books, flower press)
- Paint or stain for backdrops (optional)
- Protective sealant like varnish or glass for preservation
- Optional: magnifying glasses, string, or wire for hanging elements
Step-by-Step Instructions
- Forage and Prepare Natural Items: Collect clean, dry natural materials from your surroundings. For leaves and flowers, choose vibrant ones without blemishes. Press them between books or a flower press for 1-2 weeks to flatten and preserve. For branches or driftwood, sand them smooth and remove any dirt. Shells or stones can be washed and dried.
- Design Your Composition: Arrange your natural items on the base surface to create a pleasing composition. Consider themes like a seasonal wreath, a geometric pattern with twigs, or a random collage. Use a pencil to lightly mark positions. For shadow boxes, layer materials to add depth.
- Attach the Elements: Apply a thin layer of adhesive to the back of each item and place it on the base. For delicate flowers, use tweezers for precision. For heavier branches, secure with small nails or wire in addition to glue. Work from the background forward, allowing glue to dry between layers.
- Add Background and Color: If desired, paint the backdrop in a complementary color, such as soft greens or neutrals, to enhance the natural elements. You can also stain wooden bases for a rustic look. For resin art, mix epoxy and pour it over arranged items in a mold, creating a glossy, encapsulated effect.
- Seal and Protect: To preserve the art, especially for organic materials that may decay, apply a clear sealant like mod podge or spray varnish. For framed pieces, use UV-protective glass to prevent fading. Allow everything to dry thoroughly in a cool, dry place.
- Hang and Enjoy: Install hanging hardware on the back. Choose a wall that receives indirect light to prevent damage from sun exposure. Style with other nature-themed decor, such as potted plants or woven baskets, to create a cohesive, tranquil space. Periodically dust with a soft cloth to maintain its beauty.
Advantages and Disadvantages
Advantages
- Nature-inspired art is eco-friendly and often free, as materials can be sourced from nature.
- It promotes mindfulness and a connection to the environment, adding a calming vibe to rooms.
- The projects are versatile—from simple pressed flower frames to complex resin pieces—and can suit any skill level.
- They also make great gifts or seasonal decorations that can be updated easily.
Disadvantages
- Natural materials can be fragile and may deteriorate over time, even with sealing, requiring maintenance or replacement.
- Foraging requires caution to avoid toxic plants or protected species.
- Some projects, like resin art, involve chemicals and need proper ventilation.
- The aesthetic might not fit all decor styles, and pieces can look messy if not arranged carefully. Additionally, pressed flowers may lose color if exposed to light.
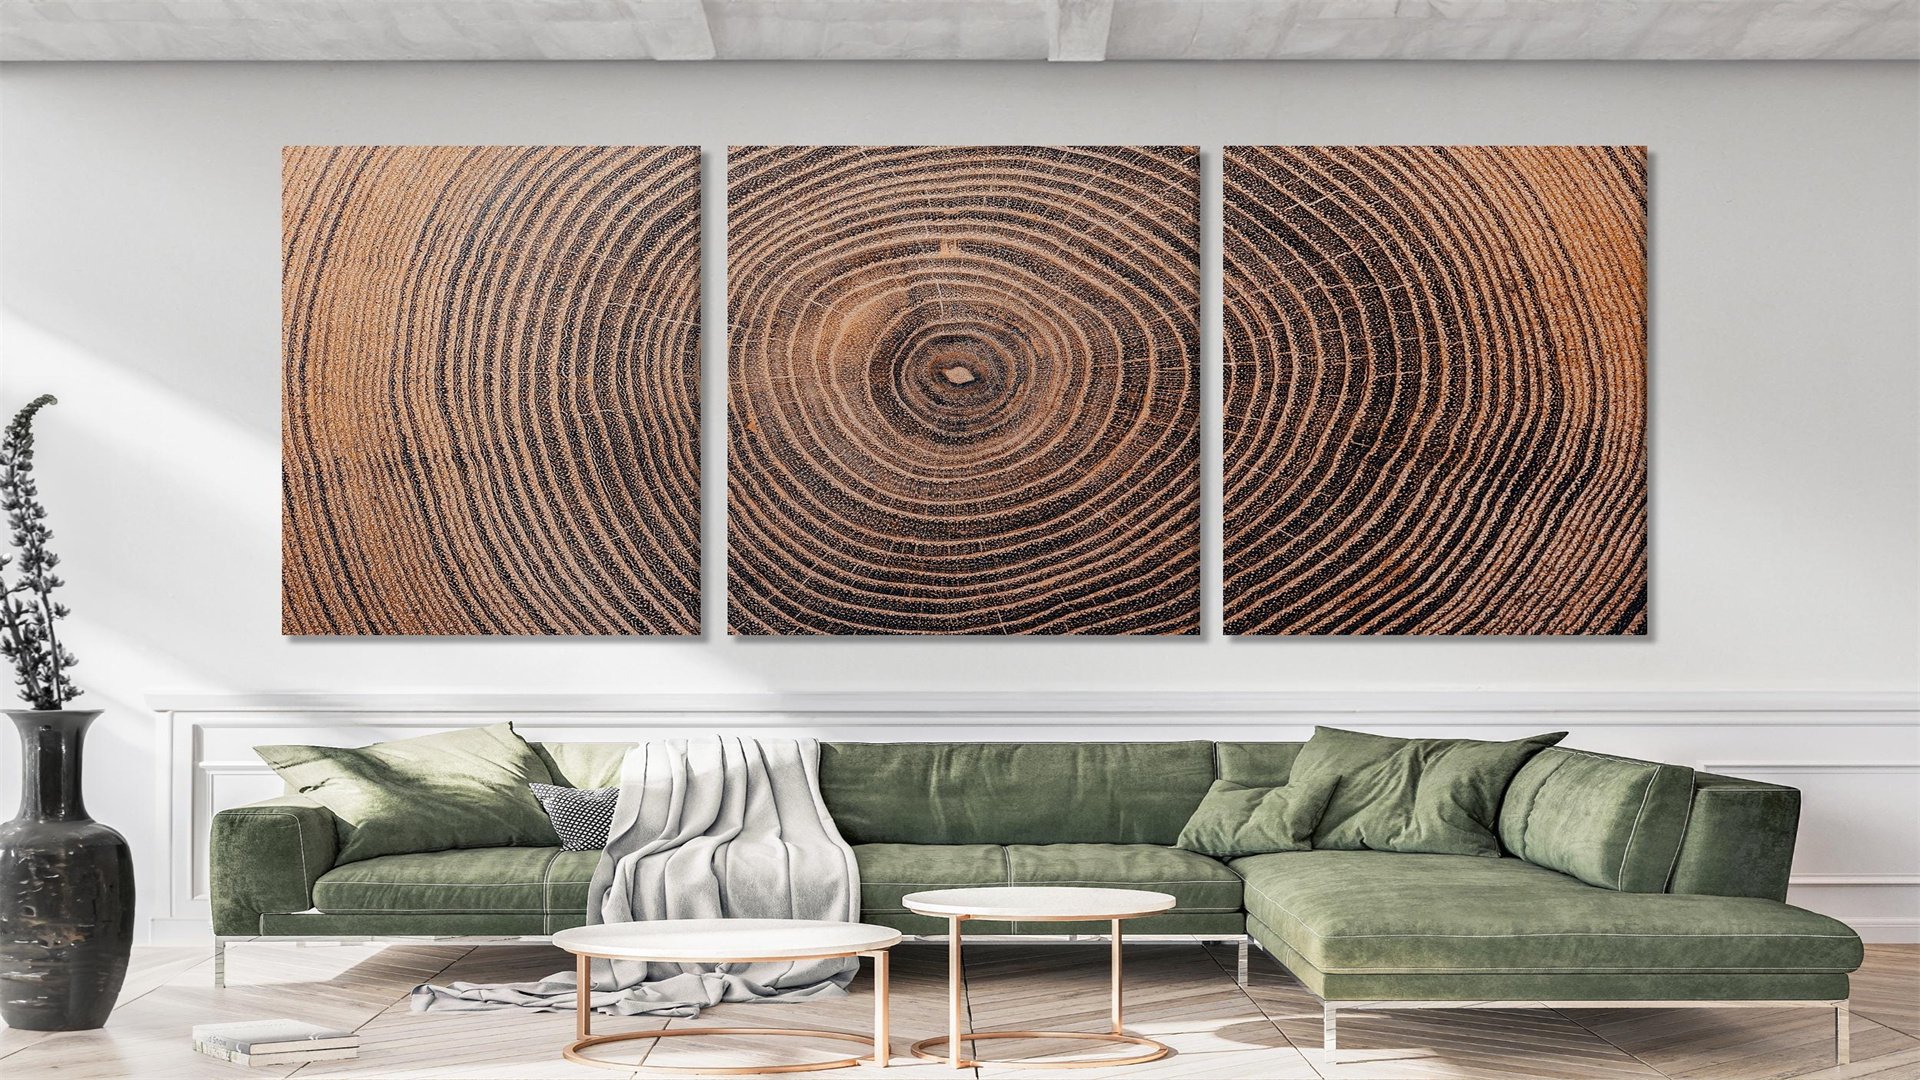
🖌️ Abstract Painting on Canvas
Abstract painting on canvas is a liberating DIY wall art project that allows you to express emotions and creativity without the constraints of realistic representation. By using colors, shapes, and textures, you can create unique pieces that add modern or eclectic flair to your space. This project is perfect for those who want to experiment with art therapy or add a bold statement to their walls. Whether you prefer minimalist monochromes or vibrant splatter effects, abstract art can be tailored to your taste and skill level, making it an accessible and rewarding endeavor for all.
Materials Needed
- Canvas panels or stretched canvases in various sizes
- Acrylic or oil paints in a range of colors
- Paintbrushes, palette knives, or unconventional tools like sponges or combs
- Palette or disposable plates for mixing paints
- Water container and rags for cleaning
- Primer or gesso to prepare the canvas
- Optional: texture pastes, glitter, or collage materials for mixed media
Step-by-Step Instructions
- Prepare Your Canvas: Apply a coat of gesso or primer to the canvas to create a smooth, even surface that helps paint adhere better. Let it dry completely. If desired, tint the gesso with a light color to set a base tone. Sketch a loose guideline with pencil if you want some structure, but abstract art often benefits from spontaneity.
- Choose Your Color Palette: Select colors that evoke the mood you want—calm blues and greens for serenity, or bright reds and yellows for energy. Consider complementary or analogous color schemes. Squeeze paints onto your palette and mix custom shades. Keep a color wheel handy for reference.
- Apply Paint with Techniques: Start by applying broad background strokes with a large brush or roller. Then, layer colors using techniques like dripping, splattering, or smudging. Use palette knives to create thick, textured impasto effects. Experiment with tools like credit cards for sharp lines or bubble wrap for patterns. Work quickly to keep the energy fluid, but step back occasionally to assess balance.
- Build Layers and Texture: Allow layers to dry slightly before adding more to prevent muddiness. Incorporate texture pastes or sand for tactile interest. For mixed media, glue on paper scraps, fabric, or found objects. The key is to build depth without overworking the piece—embrace "happy accidents" that add character.
- Refine and Balance: Once you're satisfied with the composition, refine edges or add highlights with fine brushes. Balance colors and shapes to guide the viewer's eye. Abstract art doesn't have to be perfect; trust your intuition. If you feel stuck, let it sit for a day and return with fresh perspective.
- Varnish and Display: After the painting is completely dry (which can take days for thick layers), apply a varnish to protect it from dust and UV rays. Choose gloss, matte, or satin finish based on your preference. Attach hanging hardware or simply lean the canvas on a shelf for a casual look. Group multiple abstract pieces for a gallery effect, or let one large painting stand alone as a focal point.
Advantages and Disadvantages
Advantages
- Abstract painting is highly expressive and therapeutic, reducing stress through creative flow.
- It requires no prior artistic training—anyone can start with basic supplies.
- The results are unique and can be customized to any color scheme or room style.
- It's a cost-effective way to create large-scale art compared to buying original paintings. Additionally, the process encourages experimentation and personal growth.
Disadvantages
- The main challenge is knowing when to stop; overworking can ruin the piece.
- Abstract art can be subjective, and not everyone may appreciate the style, potentially clashing with more traditional decor.
- Materials like oil paints can be messy and require proper ventilation.
- The drying time for layers can be long, delaying completion. Also, without careful planning, colors might not harmonize, resulting in a chaotic look.
🎯 Conclusion
DIY wall art projects offer an incredible opportunity to personalize your space while unleashing your creativity. From geometric murals and photo galleries to nature-inspired pieces and abstract paintings, each project we've explored provides a unique way to transform blank walls into reflections of your personality and style. By following the detailed steps, considering the advantages and disadvantages, and tailoring projects to your skill level, you can achieve professional-looking results without the high cost. Remember, the journey is as rewarding as the outcome—whether you're knotting macramé, recycling materials, or painting freely, you're not just decorating; you're crafting a home that tells your story. So, gather your materials, embrace the process, and start creating wall art that makes your space truly yours. With these ideas, you'll never look at a bare wall the same way again. Happy crafting!