8 DIY Steps to Create a Charming Hanging Garden Without Taking Floor Space
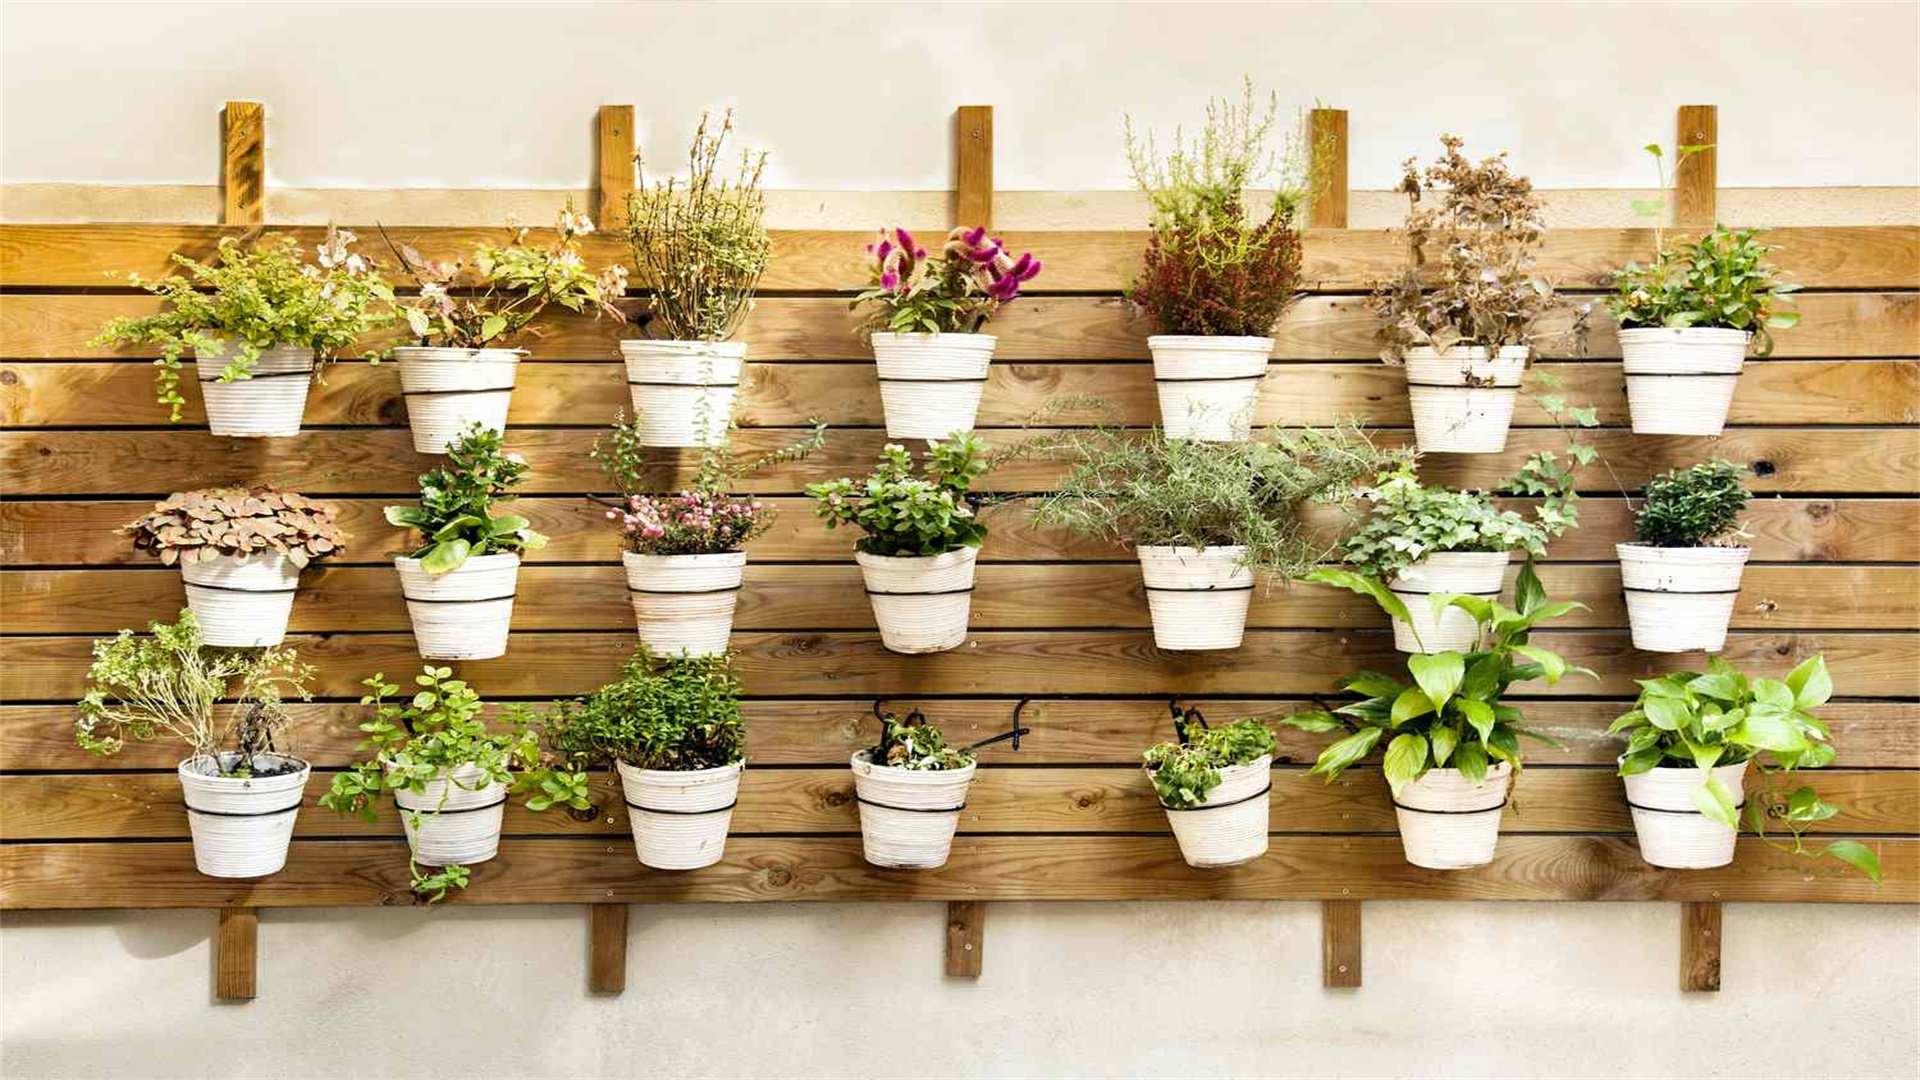
In today's urban living, space is a precious commodity, and the desire for greenery often clashes with limited square footage. A hanging garden offers a perfect solution: it brings nature indoors or to small balconies without consuming floor space. This DIY guide will walk you through eight detailed steps to create your own charming hanging garden, inspired by popular foreign websites such as Apartment Therapy and The Spruce. From planning to maintenance, we'll cover everything you need to know, ensuring a lush, vertical oasis that enhances your home's aesthetic and air quality. The structure follows a total-summary approach: an introduction, eight steps with sub-points, advantages, disadvantages, and implementation details, and a concluding summary. Let's dive in!

📝 Step 1: Planning and Designing Your Hanging Garden
Before picking up any tools, thorough planning is crucial for a successful hanging garden. This step sets the foundation for the entire project, helping you avoid common pitfalls and ensuring your garden thrives.
Advantages
- Planning saves time and resources by preventing mistakes.
- It allows you to visualize the final outcome and tailor the garden to your space and lifestyle.
Disadvantages
- It can be time-consuming.
- Over-planning might lead to procrastination if not balanced with action.
How to Implement
- Assess Your Space: Identify where you want to hang the garden—consider factors like light exposure (e.g., south-facing windows for sun-loving plants), ceiling strength (for weight support), and accessibility for watering. Measure dimensions to determine how many planters you can fit.
- Choose a Theme: Decide on a style, such as tropical, succulent-focused, or herb garden, to guide plant selection. Refer to foreign websites like Gardenista for inspiration on cohesive designs.
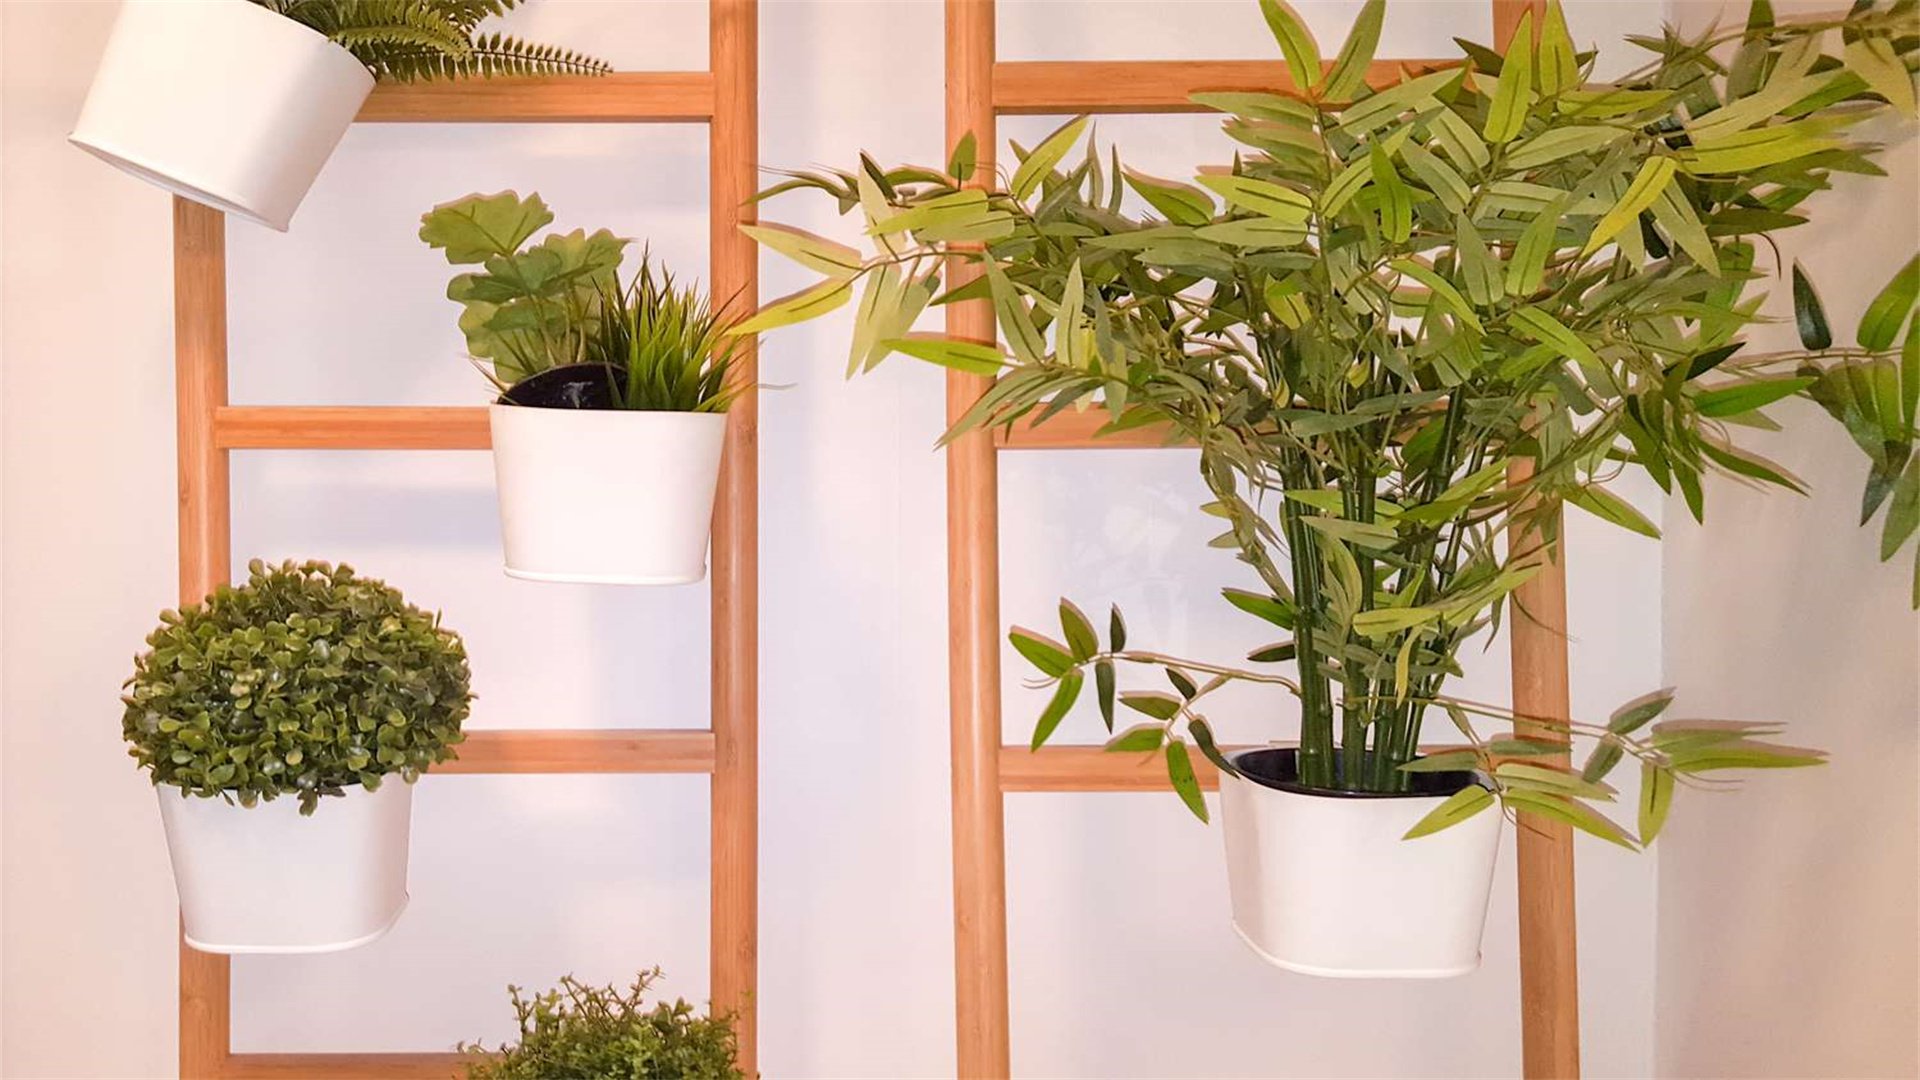
- Sketch a Layout: Draw a simple diagram showing placement of each hanging element. Use online tools or graph paper to experiment with arrangements, ensuring balance and visual appeal. For example, stagger heights to create depth and avoid monotony.
- Set a Budget: List estimated costs for materials, plants, and tools. DIY can be cost-effective, but unexpected expenses may arise, so allocate a contingency fund of 10-15%.
- Research Plants: Based on your theme and light conditions, select plants that thrive in hanging environments. Common choices include pothos, spider plants, ferns, and trailing succulents like string of pearls. Check resources like The Spruce for care tips.
Expand this section by discussing microclimates in your home, such as humidity near bathrooms, and how to incorporate them into the plan. Include a table comparing plant options with their light and water needs, but in HTML, use a simple list or paragraph descriptions. For instance, describe how ferns prefer indirect light and high moisture, while succulents need direct sun and infrequent watering. This detail adds depth and helps readers make informed choices.
🛠️ Step 2: Gathering Materials and Tools
With a plan in hand, the next step is to collect all necessary items. This ensures a smooth workflow and prevents interruptions during construction.
Advantages
- Having everything ready boosts efficiency and reduces trips to the store.
- It also allows you to compare quality and prices for better deals.
Disadvantages
- Initial cost outlay can be high.
- Sourcing eco-friendly materials might require extra effort.
How to Implement
- Materials List:
- Planters: Choose lightweight options like plastic, ceramic, or woven baskets. Consider self-watering pots to reduce maintenance. For a rustic look, repurpose tin cans or mason jars—drill drainage holes to prevent root rot.
- Hanging Hardware: Include sturdy hooks (ceiling hooks rated for at least 50 lbs), chains, ropes (like jute or nylon for durability), carabiners, and S-hooks for adjustable heights. For outdoor use, opt for weather-resistant materials like stainless steel.
- Growing Medium: Purchase potting mix suited to your plants—e.g., cactus soil for succulents, peat-based mix for ferns. Add perlite or vermiculite for improved drainage.
- Plants: Buy healthy seedlings or cuttings from nurseries. Alternatively, propagate from existing plants to save money.
- Decorative Elements: Gather paint, stickers, or beads for personalization, plus mulch or moss to cover soil surfaces.
- Tools List:
- Basic Tools: Drill with bits for making holes, scissors, measuring tape, level, pliers, and screwdriver.
- Safety Gear: Gloves, goggles, and a ladder for high installations.
- Optional Tools: Saw for cutting ropes, potting trowel, and watering can with a long spout for hard-to-reach plants.
- Sourcing Tips: Visit local hardware stores or online marketplaces like Amazon for bulk discounts. Check foreign websites like DIY Network for reviews on best products. Emphasize sustainability by using recycled materials—e.g., old t-shirts braided into ropes.
Elaborate on each material's pros and cons. For example, discuss how ceramic pots are aesthetic but heavy, requiring stronger support, while plastic is lightweight but less eco-friendly. Include a subsection on budget-friendly alternatives, such as using yogurt containers as planters, to cater to diverse readers.
⚙️ Step 3: Preparing the Hanging System
The hanging system is the backbone of your garden, ensuring safety and stability. This step involves installing supports and creating mechanisms to hold planters securely.
Advantages
- A well-prepared system prevents accidents and allows easy adjustment of plant heights.
- It also distributes weight evenly to avoid damage to ceilings.
Disadvantages
- Incorrect installation can lead to collapses.
- Drilling into ceilings might require permission in rental spaces.
How to Implement
- Install Ceiling Hooks:
- Locate ceiling joists using a stud finder for maximum strength. Mark spots with pencil.
- Drill pilot holes slightly smaller than the hook screws. Insert anchors if needed (for drywall), then screw in hooks tightly. Use a level to ensure they are straight.
- For renters, consider adhesive hooks or tension rods as non-invasive alternatives, but test weight capacity first.
- Create Hanging Lines:
- Cut ropes or chains to desired lengths, accounting for planter height and desired drop. Vary lengths (e.g., 12 inches to 36 inches) for a tiered effect.
- Attach carabiners to one end for easy planter swapping. For fixed systems, tie secure knots like bowline or use chain links.
- Add S-hooks between chains and planters for flexibility.
- Test the System: Hang a weight equivalent to a filled planter (e.g., a bag of soil) for 24 hours to check stability. Adjust as needed—this proactive measure prevents later disasters.
Include detailed instructions for different ceiling types (concrete, wood, plaster) with specific drill bits and techniques. Discuss how to calculate weight loads: for example, a medium planter with soil and water can weigh 10-15 lbs, so hooks should have a safety margin. Add a troubleshooting guide for common issues like swaying or uneven hanging, referencing foreign websites like Family Handyman for expert tips.
🌱 Step 4: Selecting and Preparing Plants
Choosing the right plants is key to a thriving hanging garden. This step focuses on plant compatibility, health, and preparation for transplanting.
Advantages
- Proper selection ensures low-maintenance growth and visual harmony.
- Preparing plants reduces transplant shock.
Disadvantages
- Some plants may be sensitive to handling.
- Sourcing specific varieties can be costly.
How to Implement
- Choose Plants for Hanging Conditions:
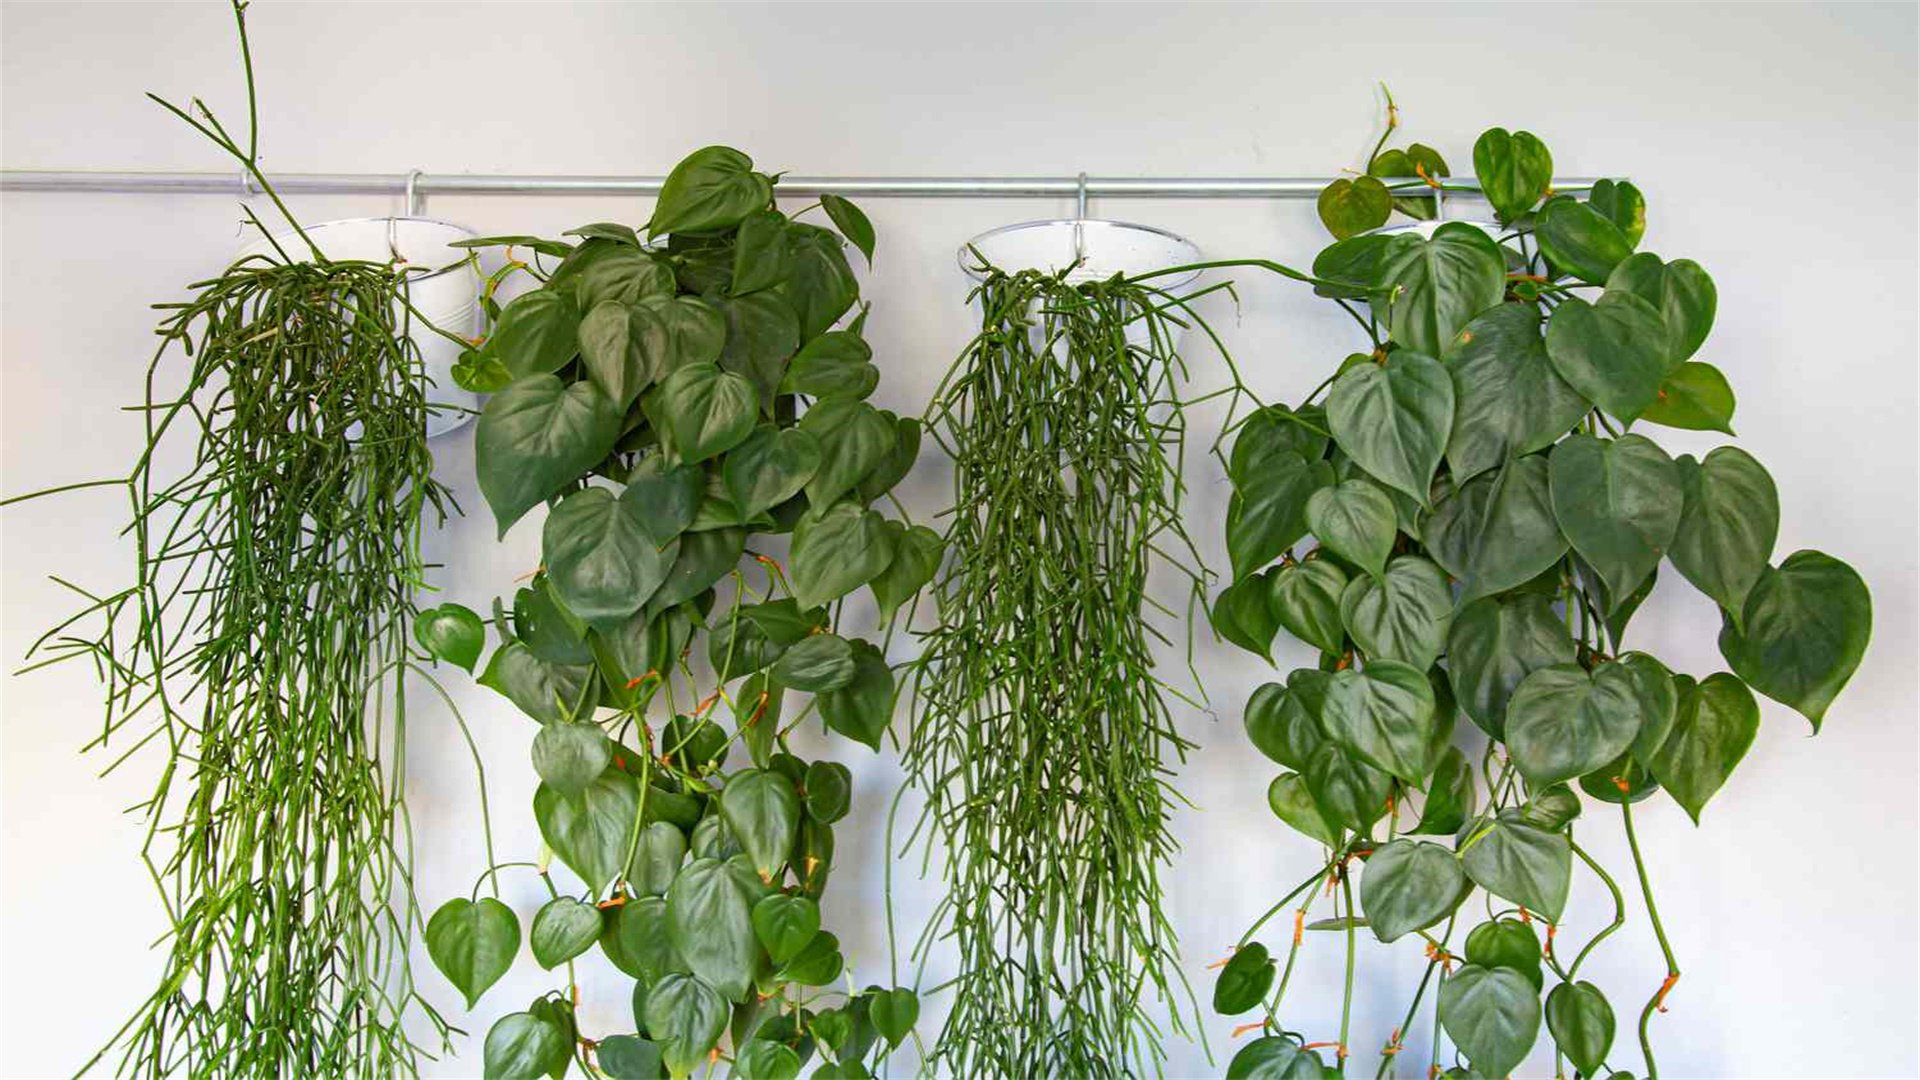
- Prioritize trailing or cascading plants like ivy, philodendron, or creeping jenny for dynamic displays. For compact spaces, select upright plants like herbs (e.g., thyme, basil) in smaller pots.
- Consider light requirements: match plants to your space's natural light. Use grow lights if needed—describe types (LED, fluorescent) and installation tips from foreign websites like Gardener's Supply Company.
- Group plants with similar water needs to simplify care. For instance, combine drought-tolerant succulents separately from moisture-loving ferns.
- Inspect and Prepare Plants:
- Buy plants free of pests or diseases. Check roots by gently removing from pots—healthy roots are white and firm.
- Water plants a day before transplanting to reduce stress. Prune dead leaves or roots to encourage growth.
- For propagation, take cuttings from healthy stems, dip in rooting hormone, and place in water until roots develop. This expands your garden at minimal cost.
- Acclimatize Plants: If moving plants from indoors to outdoors (or vice versa), do it gradually over a week to avoid shock. Start with a few hours of exposure daily.
Expand with a plant profile section: for each recommended plant, describe its care, growth rate, and aesthetic appeal. Include photos in descriptions (though HTML won't show images, use vivid text). For example, "Spider plants (Chlorophytum comosum) produce arching leaves and baby plantlets, perfect for hanging baskets; they thrive in indirect light and purify air." Add notes on pet safety, as some plants like lilies are toxic to animals.
🏺 Step 5: Assembling and Potting the Planters
This step involves putting planters together and potting plants securely. Attention to detail here ensures healthy root systems and attractive displays.
Advantages
- Proper potting prevents overwatering and root rot.
- Creative assembly adds personal flair.
Disadvantages
- Messy soil handling and potential for breakage if using fragile containers.
How to Implement
- Prepare Planters:
- Drill drainage holes in the bottom of each planter if not present. For decorative containers without holes, use a liner pot with holes inside.
- Clean planters with soapy water to remove debris, especially if recycled. Let dry completely.
- Add a layer of gravel or broken pottery shards at the bottom to improve drainage—about 1 inch deep.
- Potting Process:
- Fill planter one-third with potting mix, tailored to plant type. For succulents, mix in extra sand or perlite.
- Remove plant from its nursery pot by squeezing sides and gently tugging. Loosen roots if they're pot-bound.
- Place plant in the center, ensuring the root ball sits slightly below the rim. Add soil around, firming gently to eliminate air pockets.
- Leave a half-inch space at the top for watering. Tap the planter to settle soil.
- Add Finishing Touches: Top with mulch, pebbles, or moss to retain moisture and enhance look. Attach hanging hardware—e.g., tie ropes through planter holes or clip on S-hooks.
Discuss advanced techniques like layering plants in one planter (thriller, filler, spiller method) for lush effects. Provide step-by-step photos in text form: e.g., "For a mixed planter, place a tall plant like dracaena in the center, surround with colorful coleus, and let ivy trail over edges." Include tips on soil pH and fertilization—mention organic options like compost tea, referencing foreign websites like Rodale's Organic Life.
🏗️ Step 6: Installing and Hanging the Garden
Now it's time to bring everything together by mounting the planters in your planned layout. This step requires care to ensure balance and safety.
Advantages
- Installation transforms your space instantly.
- Adjustable hanging allows for easy rearrangements.
Disadvantages
- Risk of injury from ladder use or heavy lifting.
- Uneven weight distribution can strain supports.
How to Implement
- Hang Planters Individually:
- Start with the heaviest planter first, attaching it to the pre-installed hook via ropes or chains. Use a ladder and have a helper steady the planter.
- Adjust lengths to achieve desired heights—measure from ceiling to planter bottom for consistency. For a cascading look, hang planters at different levels.
- Secure knots with double wraps or use locking carabiners for safety. Check that each connection is tight.
- Create Group Arrangements:
- For multiple planters on one hook, use a multi-arm hanger or a wooden dowel suspended horizontally. Describe how to craft a DIY dowel: cut a wooden rod, drill holes at ends for ropes, and hang planters from it.
- Arrange planters in clusters of odd numbers (e.g., three or five) for visual appeal, following design principles from foreign websites like HGTV.
- Final Adjustments: Step back and assess the layout. Use a level to ensure planters hang straight. Rotate them for even light exposure. Test stability by gently pushing—if they swing excessively, shorten ropes or add weights at the bottom.
Include a safety checklist: wear gloves to avoid rope burns, ensure ladder is on stable ground, and keep children and pets away during installation. Discuss solutions for high ceilings, such as using a pulley system for easy lowering and raising. Add anecdotes from DIY enthusiasts on foreign forums like Reddit's r/DIY for real-world insights.
💧 Step 7: Maintenance and Care Routine
A hanging garden requires ongoing care to stay healthy and beautiful. This step covers daily, weekly, and seasonal maintenance tasks.
Advantages
- Regular care prolongs plant life and prevents issues.
- It becomes a therapeutic routine.
Disadvantages
- Time commitment, and neglecting care can lead to plant death or pest infestations.
How to Implement
- Watering Schedule:
- Water when top inch of soil feels dry—use a finger test or moisture meter. Hanging plants dry out faster, so check every 2-3 days in warm weather.
- Water thoroughly until it drains out the bottom, but avoid overwatering. Use a watering can with a long spout to reach high planters. For self-watering systems, refill reservoirs weekly.
- Adjust frequency by season: more in summer, less in winter. Collect rainwater for eco-friendly watering.
- Fertilizing:
- Feed plants every 4-6 weeks during growing season (spring to fall) with balanced liquid fertilizer diluted to half strength. For flowering plants, use high-phosphorus formula.
- Organic alternatives: compost tea or worm castings—explain how to make them from foreign websites like Epic Gardening.
- Pruning and Grooming:
- Trim dead leaves and stems to encourage new growth. Pinch back trailing plants to maintain shape.
- Rotate planters monthly for even light exposure, preventing lopsided growth.
- Pest and Disease Control:
- Inspect leaves regularly for signs like yellowing or webs. Common pests include aphids and spider mites—treat with insecticidal soap or neem oil.
- Ensure good air circulation to prevent fungal diseases. Remove affected parts promptly.
- Seasonal Care:
- In winter, reduce watering and move sensitive plants away from drafts. For outdoor gardens, bring plants inside if frost threatens.
- In spring, repot if roots outgrow containers, and refresh soil.
Expand with a maintenance calendar template, detailing tasks by month. Include troubleshooting charts: e.g., "If leaves wilt, check for over/underwatering; if pale, increase light." Reference foreign websites like The Old Farmer's Almanac for regional advice. Add tips on automating care with drip irrigation systems or smart plant sensors.
🎨 Step 8: Decorating and Personalizing Your Garden
The final step adds unique touches to make your hanging garden truly yours. Decoration enhances aesthetics and integrates the garden into your home decor.
Advantages
- Personalization boosts creativity and satisfaction.
- Decorative elements can hide practical components like hooks.
Disadvantages
- Over-decoration might distract from plants or add unnecessary weight.
How to Implement
- Add Decorative Accents:
- Paint planters in colors matching your room—use outdoor-safe paint for durability. Stencil patterns or use washi tape for easy updates.
- Attach charms, beads, or fairy lights to hanging ropes for a whimsical touch. For outdoor gardens, use solar-powered lights for evening ambiance.
- Incorporate natural elements like driftwood or shells as planter toppers.
- Create Themes:
- For a bohemian vibe, use macramé hangers and mixed textures. Learn basic macramé knots from foreign websites like WikiHow.
- For modern minimalism, choose monochromatic planters and geometric arrangements.
- For a functional herb garden, label planters with chalkboard paint and hang in the kitchen.
- Integrate with Home Decor:
- Position garden to frame views or create focal points. Hang above a reading nook or along a stairwell for vertical interest.
- Use mirrors behind planters to amplify light and create illusion of space—a tip from interior design blogs like Apartment Therapy.
- Share and Inspire: Take photos and share on social media; join online communities to exchange ideas. Consider adding a small bench or seating area nearby to enjoy the garden.
Discuss upcycling ideas: turn old bottles into terrariums or use ladders as multi-tiered hangers. Include a section on DIY decor projects, such as making painted rocks as markers. Emphasize balance—avoid cluttering, and let plants remain the stars. Reference foreign websites like Pinterest for visual inspiration, describing popular trends like "jungle core" or "airy balcony gardens."
Creating a charming hanging garden without taking floor space is an achievable DIY project that brings joy and greenery into any home. By following these eight steps—planning, gathering materials, preparing the hanging system, selecting plants, potting, installing, maintaining, and decorating—you can transform unused vertical areas into lush, living art. This total-summary guide, inspired by foreign website content, provides detailed, actionable advice to ensure success. Remember, the key is to start small, be patient with plant growth, and enjoy the process.A hanging garden not only saves space but also improves air quality, reduces stress, and adds personal flair to your living environment. So grab your tools, unleash your creativity, and watch your hanging garden bloom! For further reading, explore resources like The Spruce's hanging garden guides or YouTube tutorials for visual demonstrations. Happy gardening!