DIY Interior Partitions: Creating Cozy and Functional Spaces
In today's dynamic living environments, open-concept spaces have become a popular trend, offering a sense of freedom and fluidity. However, this openness can sometimes lead to a lack of privacy, defined areas, and cozy nooks. DIY interior partitions emerge as a creative and cost-effective solution to transform large, undivided rooms into functional, intimate zones without the need for permanent walls. Whether you're looking to carve out a home office in a living room, create a separate dining area in a studio apartment, or simply add visual interest, DIY partitions allow for customization that reflects your personal style. This comprehensive guide explores various methods, materials, and techniques to build partitions that enhance both comfort and utility. By embracing DIY projects, homeowners can achieve professional-looking results while saving money and infusing spaces with unique character. From simple, no-tools-required ideas to more advanced carpentry projects, we'll delve into step-by-step processes, weigh pros and cons, and provide practical tips to ensure success. Let's embark on a journey to redefine your space, making it cozier and more functional through innovative partitioning solutions.
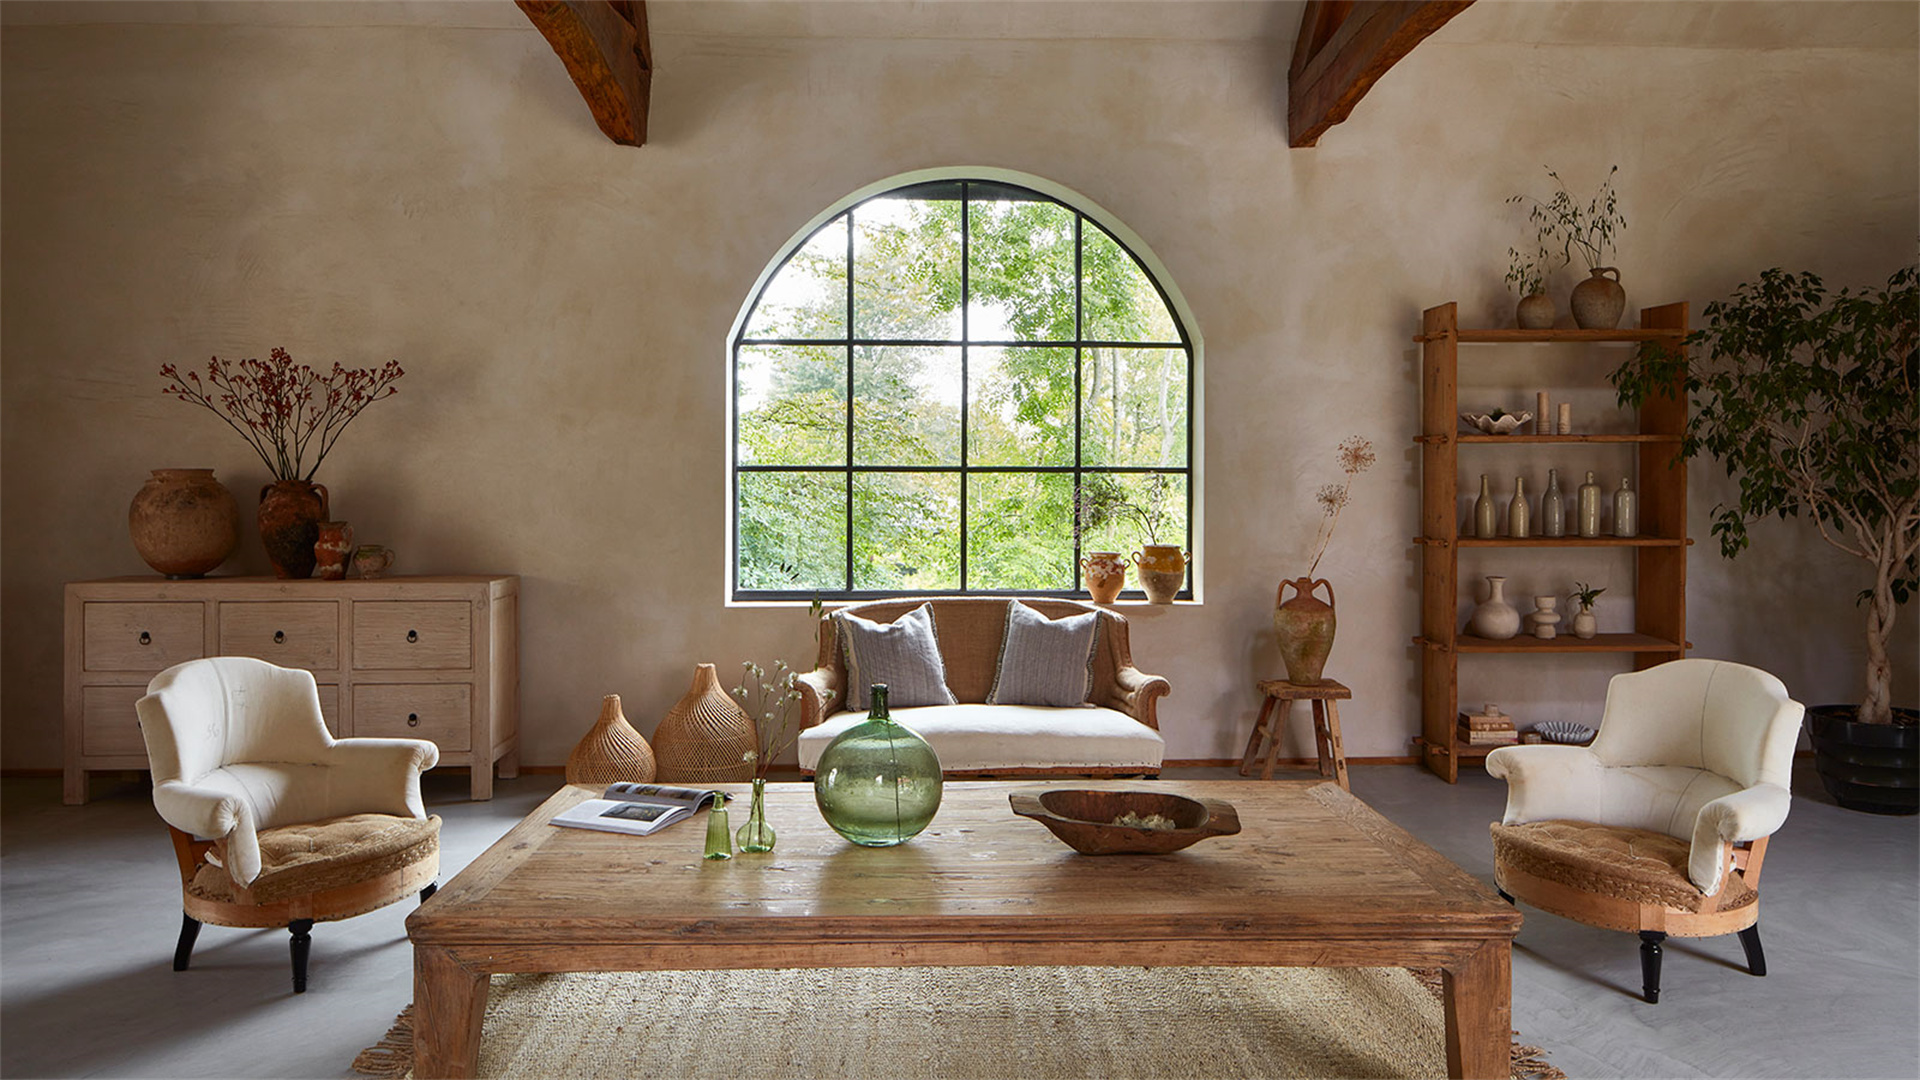
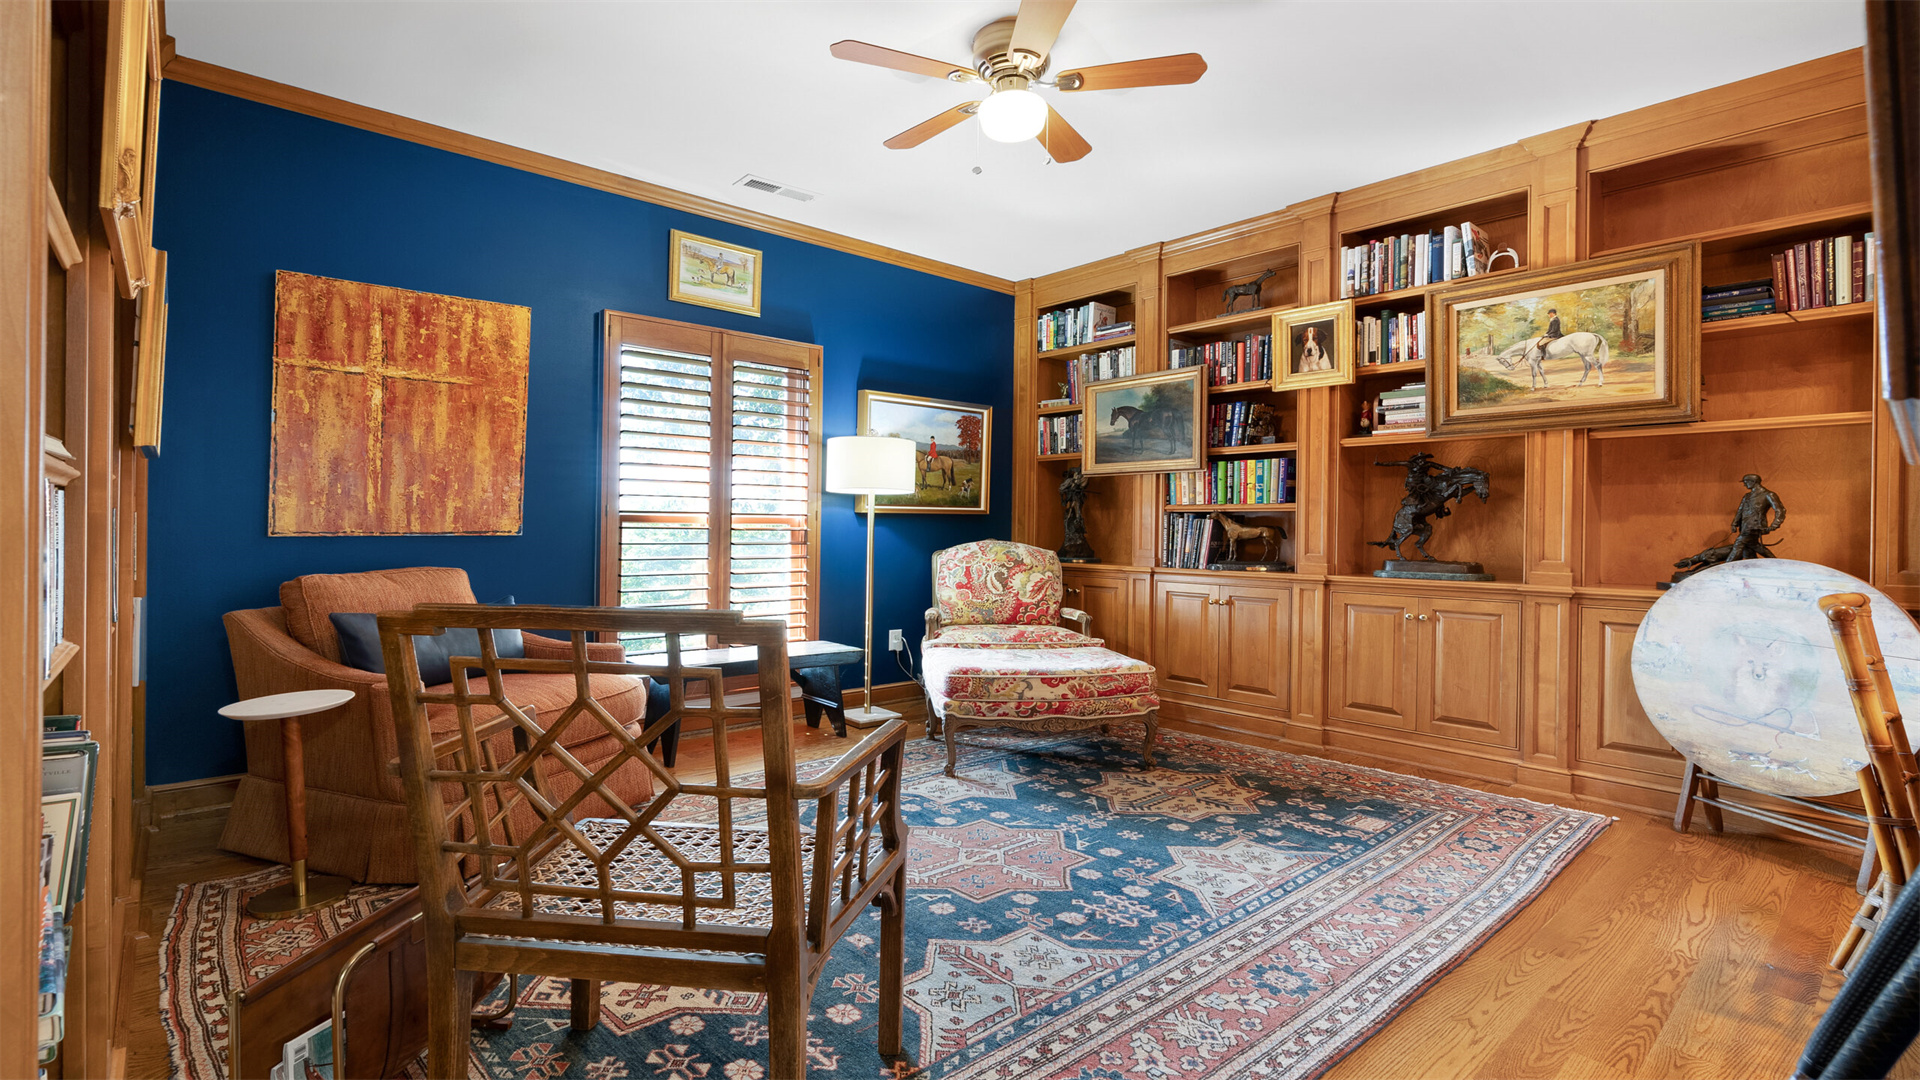
📚 Method 1: Bookcase Partitions
Bookcase partitions are a versatile and popular choice for dividing spaces while adding storage and display opportunities. They can range from freestanding units to built-in structures, offering both visual separation and accessibility. This method is ideal for living rooms, bedrooms, or open-plan areas where you want to maintain light flow and a sense of openness while defining zones.
Advantages and Disadvantages
Advantages:
- Provides ample storage for books, decor, or essentials
- Enhances aesthetic appeal with customizable shelves
- Allows light to pass through if designed with open backs
- Relatively easy to install with pre-made units
- Can be moved or reconfigured if freestanding
Disadvantages:
- May require significant space, especially for large bookcases
- Can feel bulky if not scaled properly
- Limited sound insulation compared to solid walls
- Pre-made bookcases might not fit exact dimensions, requiring customization
How to Implement
- Planning and Measurement: Assess the area where you want to place the partition. Measure the width, height, and depth needed. Consider traffic flow and how the partition will affect natural light. Sketch a layout, deciding whether to use a single large bookcase, multiple units in a row, or an L-shaped configuration.
- Material Selection: Choose materials based on budget and style. Options include ready-to-assemble (RTA) bookcases from stores like IKEA, which are affordable and easy to find; custom-built wooden bookcases for a tailored fit; or repurposed vintage pieces for a rustic touch. Ensure the material is sturdy enough to hold weight without tipping.
- Assembly and Installation: For RTA bookcases, follow manufacturer instructions to assemble. If building from scratch, cut plywood or MDF boards to size for shelves and sides, then join using screws, dowels, or brackets. Sand edges and apply paint or stain. For stability, anchor freestanding bookcases to the wall with brackets, especially if tall, to prevent tipping hazards. Arrange books and decor to balance visual weight and create an appealing display.
- Enhancements and Customization: Add backing to the bookcase with fabric, wallpaper, or mirrored panels for extra style. Incorporate lighting, such as LED strip lights on shelves, to highlight items and add ambiance. For a more permanent look, attach the bookcase to the floor or ceiling using cleats or molding.
- Safety and Maintenance: Regularly check anchors and stability. Dust shelves and items periodically. Avoid overloading shelves to prevent sagging or collapse. Consider adding a lip to shelves if items tend to slide off.
🏷️ Method 2: Curtain and Fabric Partitions

Curtain and fabric partitions offer a soft, flexible way to divide spaces, perfect for creating temporary or adjustable barriers. They are lightweight, affordable, and come in endless colors and patterns, allowing for quick style changes. This method suits bedrooms, studios, or areas where you need occasional privacy, like screening off a sleeping area or home office.
Advantages and Disadvantages
Advantages:
- Easy to install and remove
- Cost-effective with a wide range of fabric options
- Adds texture and warmth to a room
- Allows for full or partial closure
- Can be machine-washed for maintenance
Disadvantages:
- Provides minimal sound or light blocking unless using blackout or heavy fabrics
- May not offer structural support
- Can look casual or less polished if not hung properly
- Requires regular cleaning to avoid dust accumulation
How to Implement
- Choosing the Right Fabric: Select fabric based on function and aesthetics. For light filtering, use sheer materials like voile or linen; for privacy, opt for thicker fabrics like canvas or velvet. Consider patterns and colors that complement your decor. Measure the area to determine fabric yardage, accounting for fullness (typically 1.5 to 3 times the width of the track).
- Installation Hardware: Decide on a hanging system. Options include ceiling-mounted curtain tracks or rods, tension rods for between walls, or wire systems for a minimalist look. Ensure hardware is securely installed, using anchors for drywall or studs for weight support. For ceilings, locate joists to screw into for stability.
- Sewing or Preparing Curtains: If making custom curtains, cut fabric to desired length and width, adding hem allowances. Sew hems and a rod pocket or use clip rings for easy hanging. Alternatively, use ready-made curtains or bedsheets for a quick fix. Add weights to bottom hems if fabric is lightweight to prevent swaying.
- Hanging and Styling: Install the hardware at the desired height, typically ceiling-to-floor for a dramatic effect or at a lower level for partial division. Hang the curtains, ensuring they glide smoothly if using a track. Style by layering multiple panels for depth, or adding tiebacks to open sections when not in use. Incorporate valances or pelmets for a finished look.
- Maintenance and Adjustments: Vacuum or shake out curtains regularly to remove dust. Wash according to fabric care labels. Adjust tension rods or tracks as needed to maintain tightness. Consider adding a second layer for improved insulation or light control.
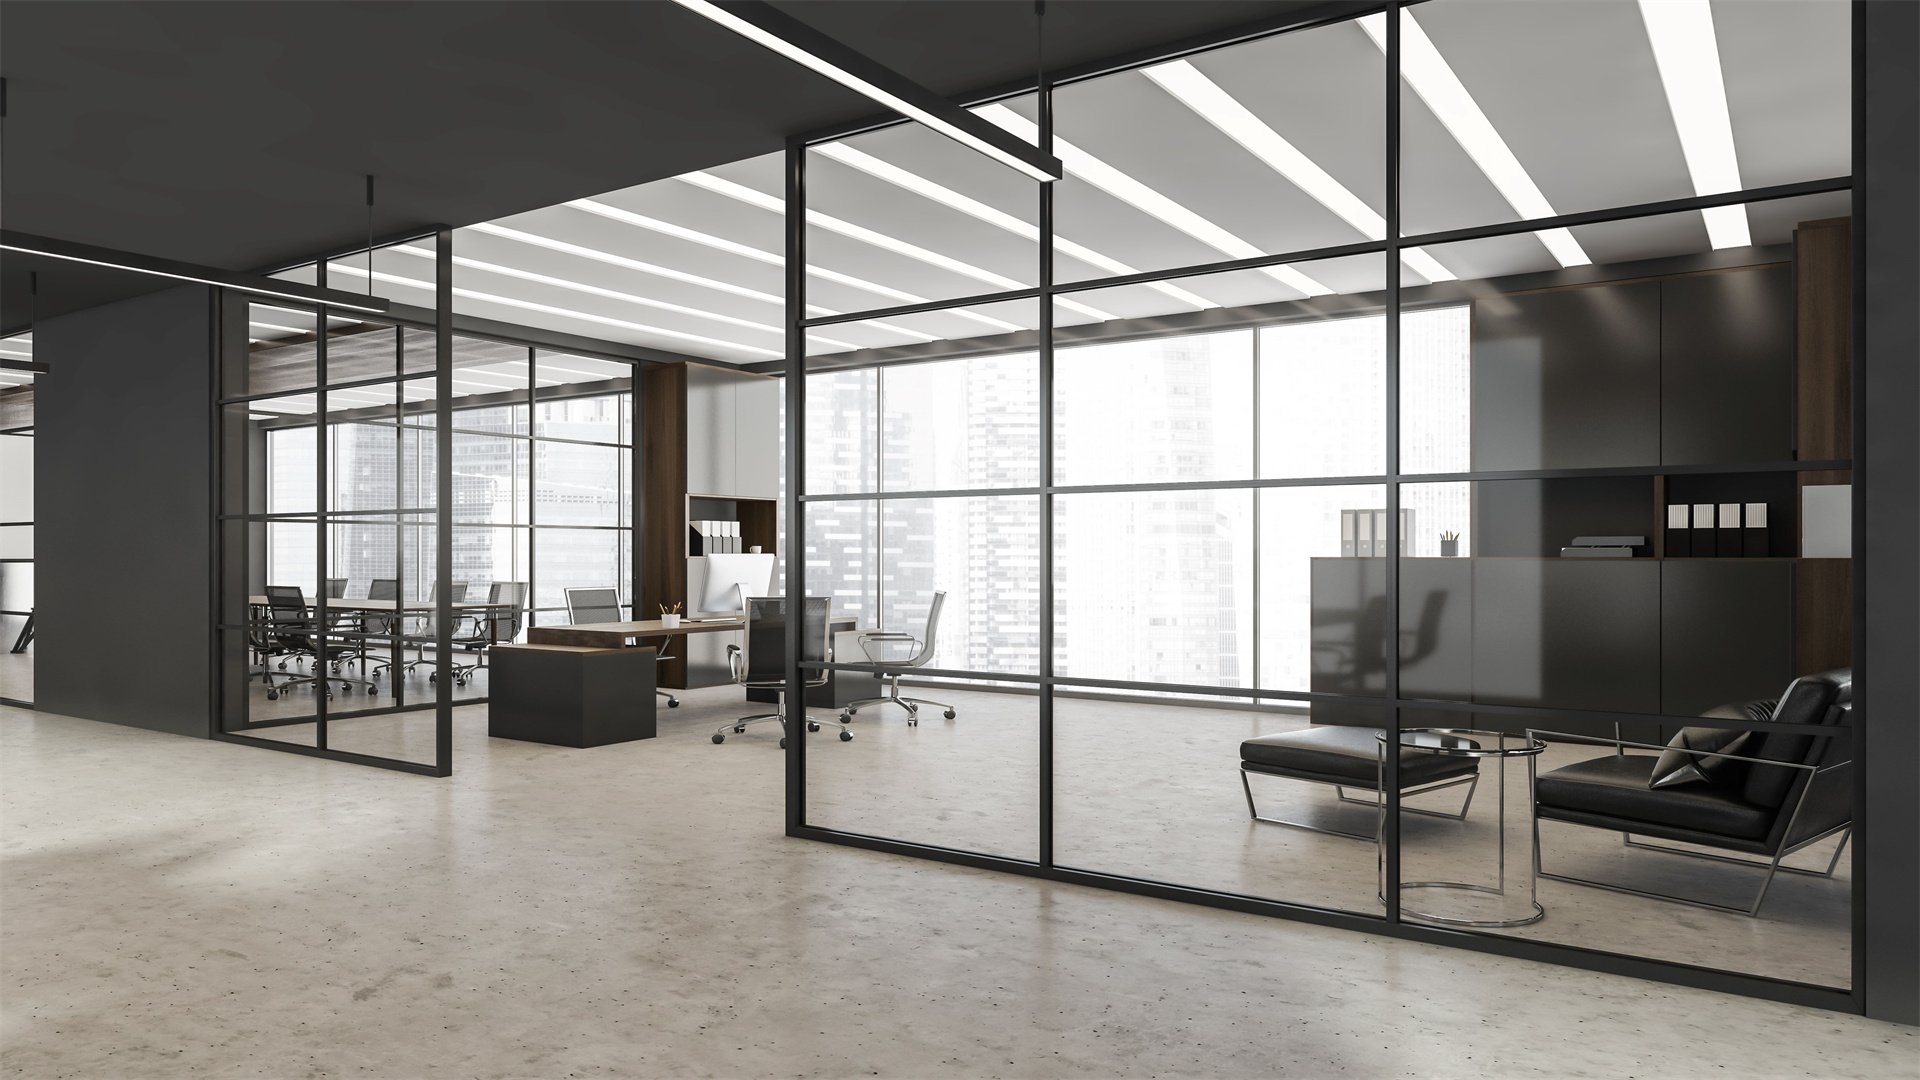
🚪 Method 3: Sliding Doors and Screens
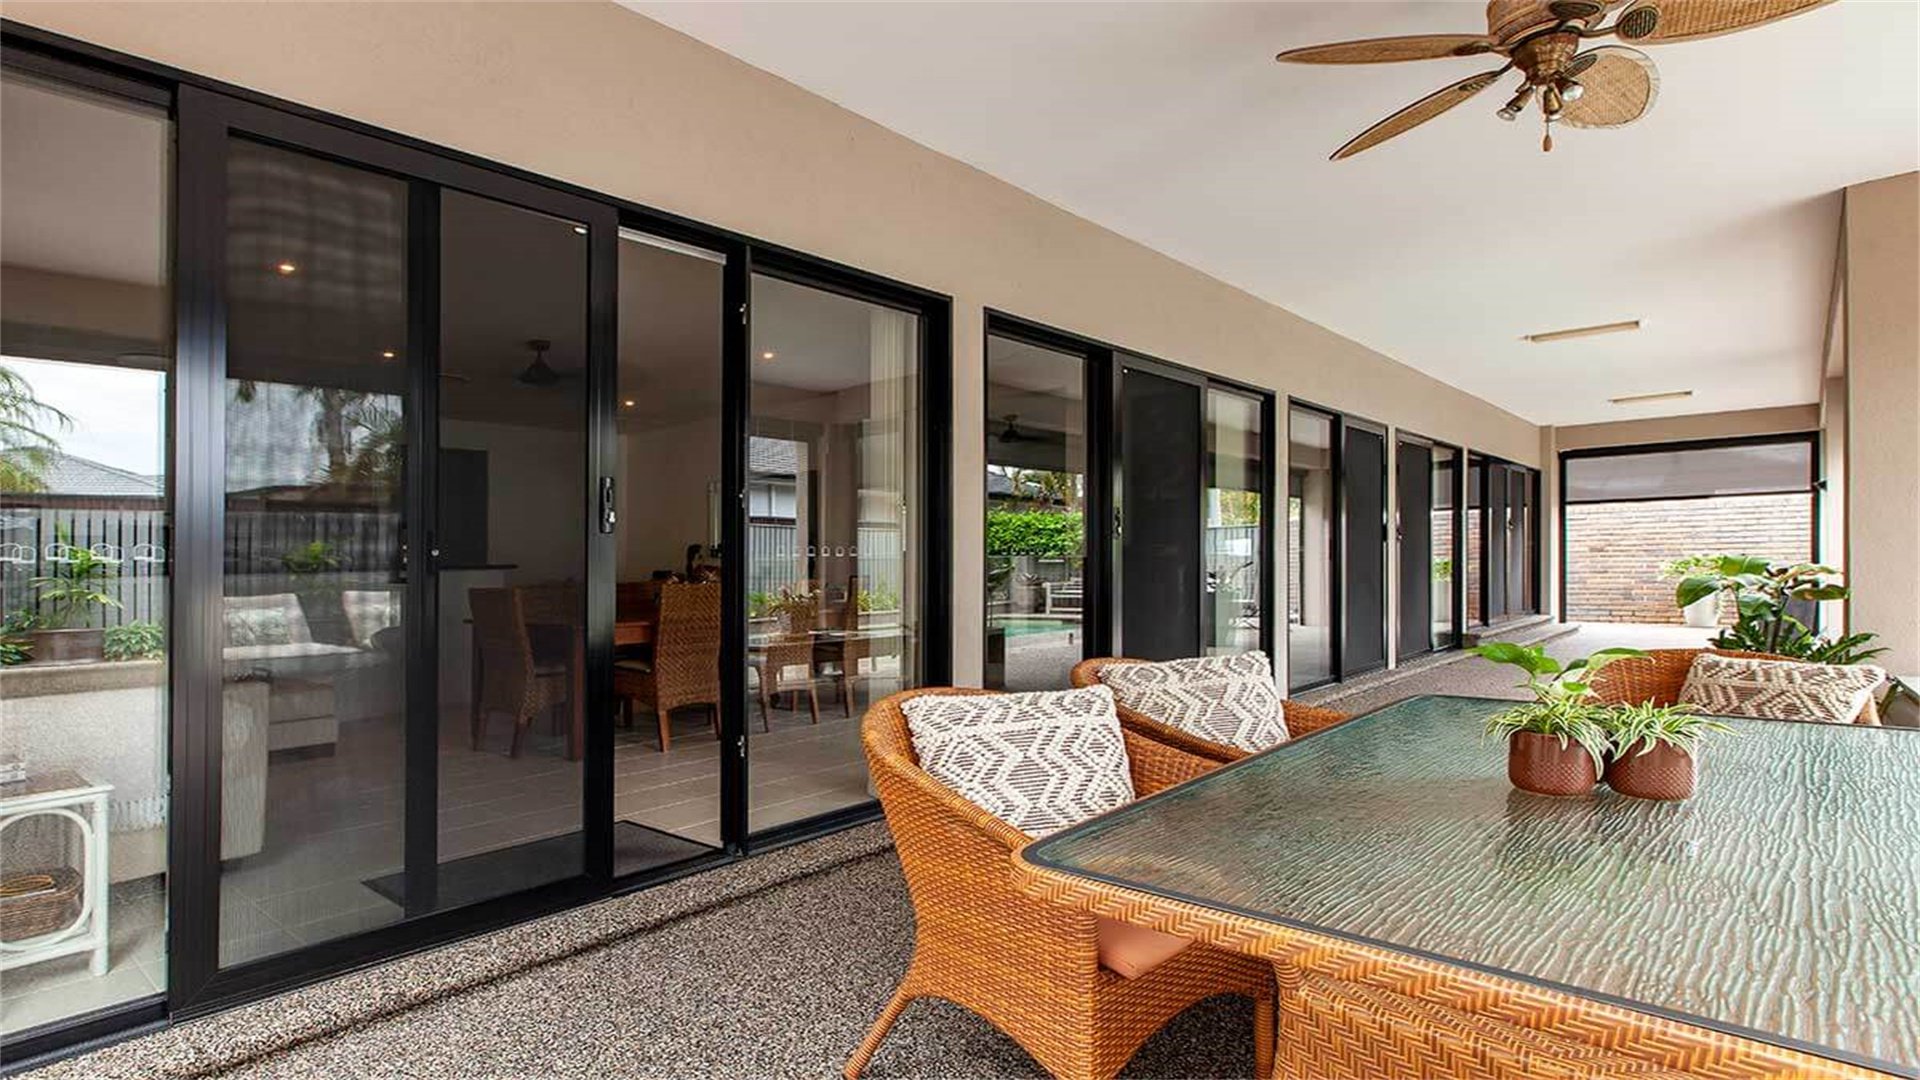
Sliding doors and screens are dynamic partitions that combine functionality with sleek design. They can be used to completely close off areas or left open to maintain flow, making them ideal for multi-purpose rooms, closets, or room dividers. DIY versions often involve repurposing old doors or building custom screens with decorative panels.
Advantages and Disadvantages
Advantages:
- Saves floor space compared to swinging doors
- Offers excellent privacy and sound reduction when closed
- Available in various styles from modern to traditional
- Can be customized with materials like wood, glass, or acrylic
- Provides a permanent yet movable solution
Disadvantages:
- Installation can be complex, requiring precise measurements and hardware
- May be more expensive than other methods
- Tracks need regular cleaning to ensure smooth operation
- Not easily portable once installed
How to Implement
- Design and Planning: Determine the size and location of the sliding partition. Measure the opening width and height to size the doors or screens. Decide on a style: barn doors, pocket doors, or freestanding screens. Sketch the design, including track placement and door overlap.
- Material and Hardware Selection: For doors, use solid wood, hollow-core doors, or plywood panels. For screens, lightweight materials like MDF, acrylic, or fabric stretched over frames work well. Purchase a sliding door kit, which includes tracks, rollers, and mounting hardware, ensuring it supports the door weight. Alternatively, build a frame from lumber for screens.
- Construction and Assembly: If building a screen, cut panels to size and join with hinges or brackets to create a folding screen. Add decorative elements like lattice, fabric inserts, or paint. For sliding doors, attach rollers to the top of the door according to kit instructions. Reinforce the door if needed to handle hardware.
- Installation Process: Mount the track to the ceiling or wall, ensuring it is level and secure. Hang the door or screen on the track, adjusting rollers for smooth movement. Install a floor guide to prevent swinging. Test the operation, making adjustments for alignment. For screens, simply place them in position or add felt pads to protect floors.
- Finishing and Upkeep: Sand and finish doors or screens with paint, stain, or sealant. Lubricate tracks periodically with silicone spray. Tighten any loose screws or hardware. Clean surfaces with appropriate cleaners to maintain appearance.
🌿 Method 4: Plant Partitions
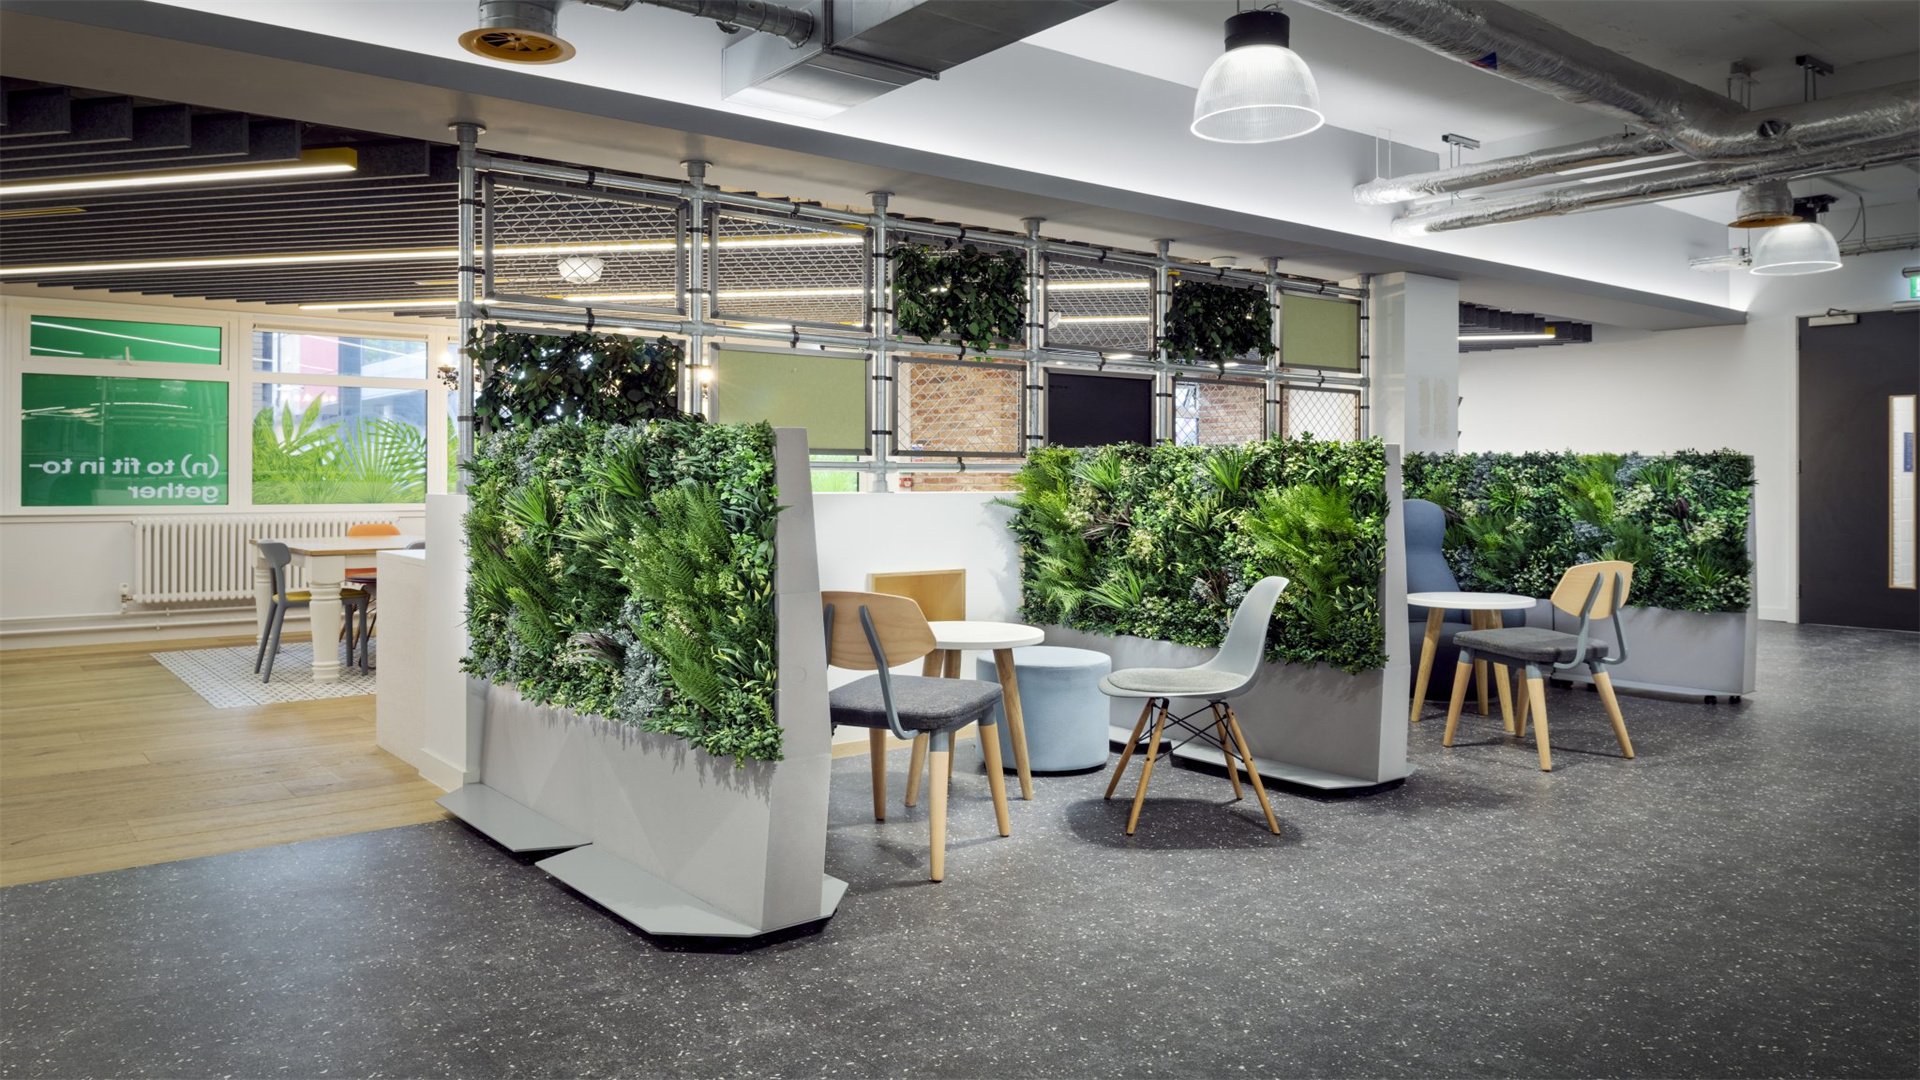
Plant partitions, or living walls, use greenery to divide spaces, bringing nature indoors and improving air quality. This method creates a serene, biophilic environment, perfect for separating a reading nook, home office, or dining area. It can involve potted plants on shelves, hanging planters, or structured trellises with climbing vines.
Advantages and Disadvantages
Advantages:
- Enhances indoor air quality and well-being
- Adds vibrant color and texture
- Flexible and easily changed
- Can be low-maintenance with suitable plants
- Creates a calming, organic feel
Disadvantages:
- Requires regular watering and care
- May attract pests if not managed
- Limited structural division
- Needs adequate light, which might restrict placement
- Can be messy with soil or leaf drop
How to Implement
- Selecting Plants: Choose plants based on light conditions and maintenance level. For low light, consider snake plants, pothos, or ZZ plants; for bright areas, use succulents, ferns, or philodendrons. Include a mix of heights and textures for visual interest. Ensure plants are non-toxic if you have pets or children.
- Designing the Layout: Plan the partition layout: a row of large floor plants, a shelf unit filled with pots, or a vertical garden on a trellis. Measure the space and decide on density—dense planting for more opacity, sparse for a light filter. Consider using tiered stands or macramé hangers to vary heights.
- Setting Up Support Structures: For shelves, install floating shelves or a ladder shelf against the wall. For trellises, build a wooden or metal frame and secure it to the wall or floor. Use plant stands or carts for mobility. Ensure structures are stable and can hold the weight of plants and soil.
- Planting and Arrangement: Pot plants in containers with drainage holes, using quality potting mix. Arrange pots on shelves or stands, grouping by size and type. For climbing plants, train vines onto the trellis with soft ties. Add decorative elements like pebbles or moss to cover soil.
- Maintenance and Care: Establish a watering schedule based on plant needs; consider self-watering pots for convenience. Fertilize periodically during growing seasons. Prune dead leaves and rotate plants for even growth. Monitor for pests and treat with natural remedies if needed. Wipe leaves to keep them dust-free.
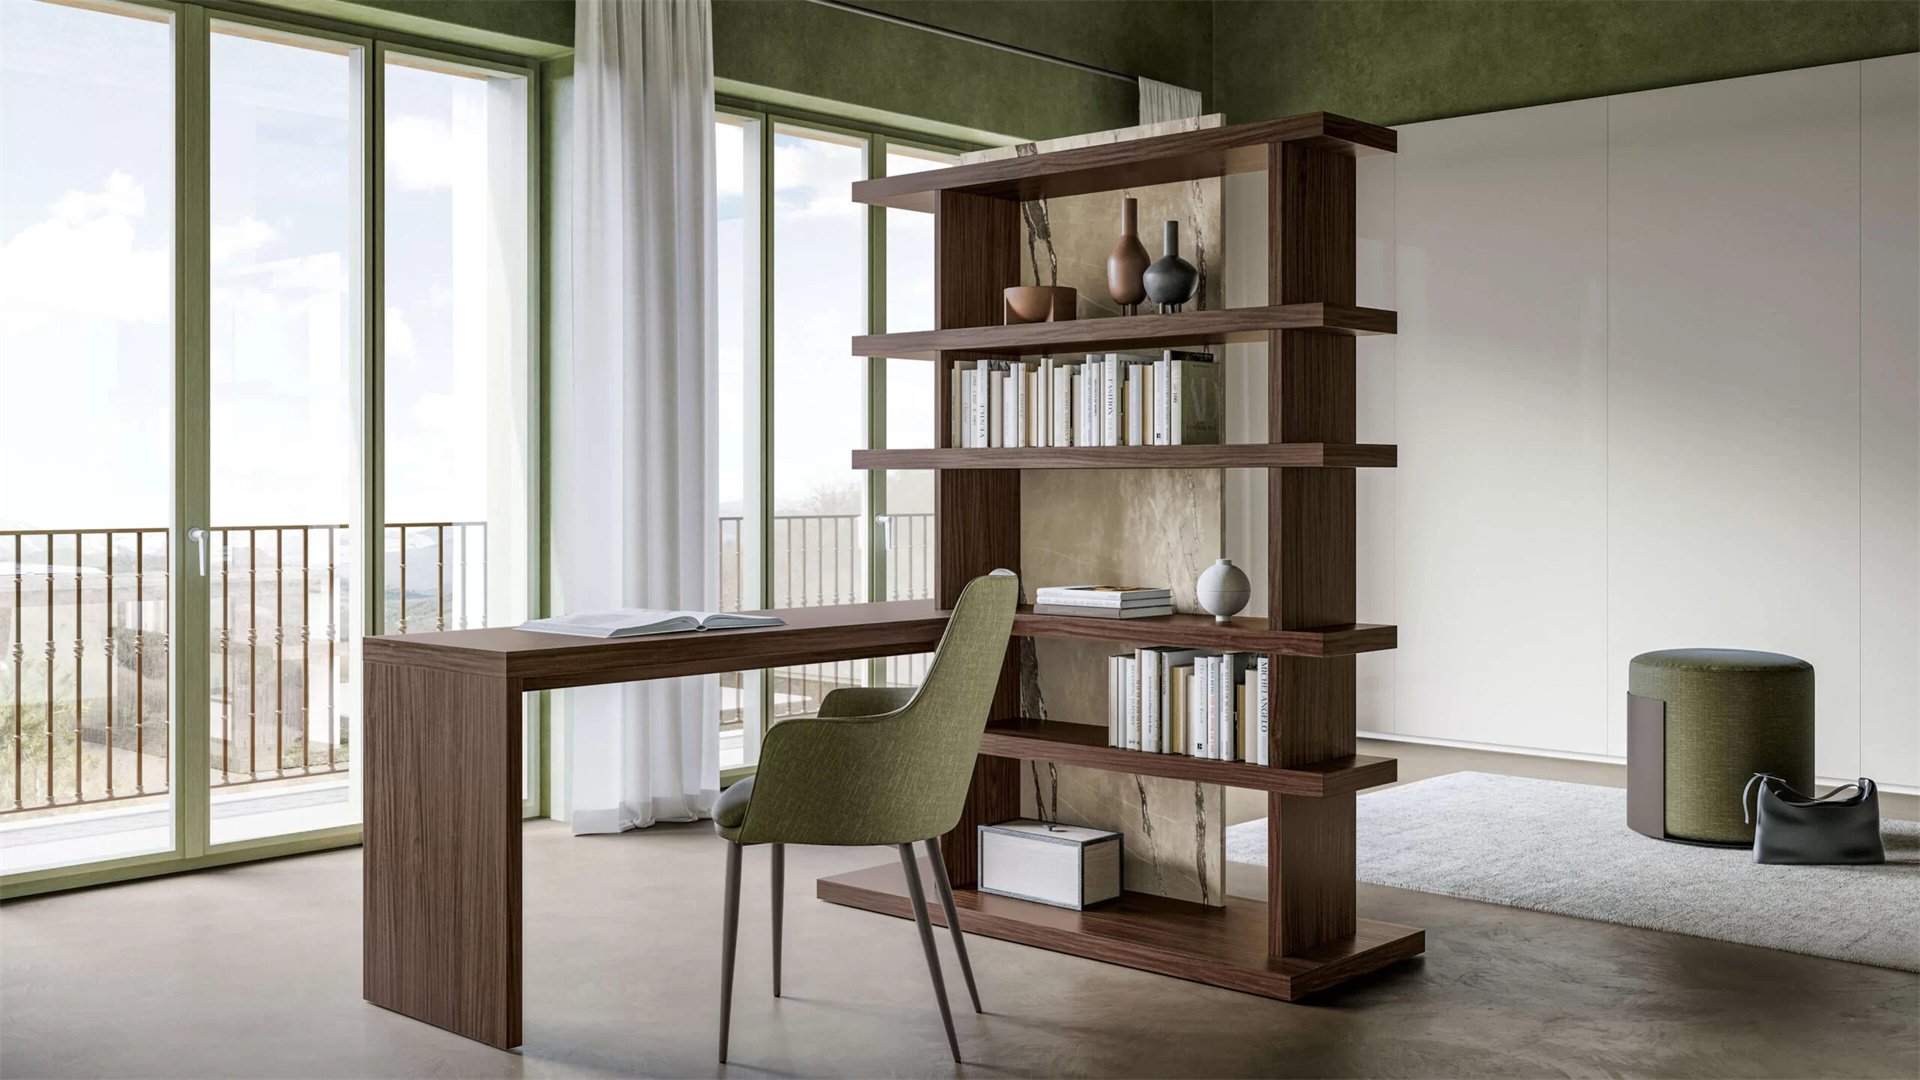
👜 Method 5: Custom Wooden Partitions

Custom wooden partitions involve building structures from scratch using lumber, plywood, or reclaimed wood. This method offers complete control over design, allowing for intricate patterns, integrated storage, or artistic features. It's suitable for creating permanent or semi-permanent divisions in living rooms, entryways, or open-plan kitchens.
Advantages and Disadvantages
Advantages:
- Highly customizable to fit exact dimensions and style
- Durable and long-lasting
- Can include built-in elements like desks or shelves
- Provides good sound and visual barrier
- Adds value and craftsmanship to a home
Disadvantages:
- Requires advanced DIY skills and tools
- Time-consuming and potentially expensive
- Heavy and difficult to move once built
- May need permits for structural changes
- Wood can warp or require finishing
How to Implement
- Design and Blueprinting: Create detailed plans, including dimensions, materials list, and joinery methods. Consider designs like slatted walls, geometric cut-outs, or hybrid partitions with open shelves. Use software or hand-drawn sketches to visualize. Check local building codes if attaching to walls or ceilings.
- Gathering Materials and Tools: Purchase lumber (e.g., 2x4s for framing, plywood for panels), screws, wood glue, and finishing supplies. Tools needed include a saw, drill, level, sander, and measuring tape. For intricate cuts, a jigsaw or circular saw is useful. Consider using reclaimed wood for a rustic look.
- Construction Steps: Build a frame from 2x4s, securing it to the floor, ceiling, or adjacent walls with anchors. Attach plywood or wood panels to the frame using screws or nails. For slatted designs, cut boards to uniform size and space them evenly, attaching to horizontal rails. Add cross-bracing for stability if the partition is tall.
- Finishing Touches: Sand all surfaces smooth, starting with coarse grit and moving to fine. Apply wood stain, paint, or sealant to protect and enhance the wood. Consider adding trim or molding for a polished edge. Install any integrated features, such as lighting fixtures or hooks.
- Installation and Safety: Enlist help to position the partition if it's heavy. Secure it firmly to prevent tipping. Check for sharp edges and sand them down. Regularly inspect for loose joints or wear, and refinish as needed to maintain appearance.
💡 Other Creative DIY Partition Ideas

Beyond the main methods, numerous creative approaches can inspire unique partitions. These often repurpose everyday items or incorporate artistic elements, making them ideal for renters or those seeking temporary solutions.
Ideas and Implementation Tips
- Rope or String Partitions: Use thick rope or string to create a macramé-style divider. Attach to a wooden rod or ceiling hooks, and weave patterns for texture. This adds a bohemian touch and allows light to filter through.
- Pallet Partitions: Disassemble wooden pallets and reassemble into a screen or wall. Sand and paint for a rustic look. Add wheels for mobility, or attach shelves for functionality.
- Acrylic or Glass Panels: Install clear or frosted acrylic sheets in a frame to divide spaces while maintaining light flow. This modern approach works well in small apartments, providing separation without visual weight.
- Storage Cube Partitions: Use modular storage cubes, like those from IKEA, to build a customizable divider. Arrange them in grids or stacks, and fill with bins or books. This is easy to reconfigure as needs change.
- Artistic Screens: Create a screen with painted canvases, woven baskets, or recycled doors. Attach panels with hinges, and decorate with personal art for a statement piece.
📝 General Tips for Successful DIY Partitions
- Assess Your Space: Before starting, evaluate room dimensions, lighting, and existing decor. Consider how the partition will impact traffic flow and functionality.
- Budget Wisely: Set a budget for materials and tools. Look for sales, repurpose items, or use affordable options like PVC pipes for frames.
- Prioritize Safety: Wear protective gear when cutting or drilling. Ensure partitions are stable, especially in homes with children or pets. Follow manufacturer instructions for hardware.
- Test with Temporary Mock-ups: Use cardboard or sheets to simulate the partition before building. This helps visualize size and placement adjustments.
- Incorporate Multifunctionality: Design partitions that serve multiple purposes, such as storage, seating, or display, to maximize space utility.
- Embrace Imperfections: DIY projects may have flaws; view them as character. Sand rough edges and adjust as needed for a professional finish.
✅ Conclusion
DIY interior partitions offer an empowering way to reshape your living environment, blending creativity with practicality to craft cozy and functional spaces. From bookcases that store memories to curtains that soften divides, each method provides unique benefits tailored to different needs and skill levels. By carefully planning, selecting appropriate materials, and following step-by-step implementations, anyone can transform open areas into intimate zones without major renovations. Remember, the key to success lies in balancing aesthetics with functionality, ensuring partitions enhance rather than hinder daily life. As you embark on these projects, enjoy the process of personalizing your home, making it a true reflection of your style and needs. Whether you opt for a lush plant wall or a sleek sliding door, these partitions will not only define spaces but also enrich your living experience, proving that with a little DIY spirit, any room can become a haven of comfort and efficiency.