DIY Hacks to Fix Squeaky Doors and Stiff Windows
Are you tired of that annoying squeak every time you open or close a door, or struggling with a stiff window that refuses to budge? These common household issues can be more than just a nuisance—they can indicate underlying problems that, if left unaddressed, may lead to more significant damage. The good news is that you don't need to call a professional for every little repair. With some basic tools, inexpensive materials, and a bit of elbow grease, you can tackle these problems yourself. This comprehensive guide will walk you through a variety of DIY hacks to fix squeaky doors and stiff windows, drawing inspiration from reliable sources like home improvement websites such as This Old House, Bob Vila, and Family Handyman. We'll break down each method step-by-step, ensuring clarity and avoiding vague advice. Whether you're a seasoned DIYer or a beginner, these tips will help you restore peace and functionality to your home.
Before diving into the fixes, it's essential to understand why doors squeak and windows become stiff. Doors typically squeak due to friction in the hinges, caused by lack of lubrication, loose screws, or misalignment. Stiff windows, on the other hand, often result from accumulated dirt, worn-out parts, or issues with the balance system. By identifying the root cause, you can apply the most effective solution. In this article, we'll cover multiple hacks for each problem, organized into distinct sections. Each hack will be explained in detail, including tools needed, safety precautions, and pro tips. Let's get started on silencing those squeaks and smoothing out those windows!
🚪 Part 1: Fixing Squeaky Doors
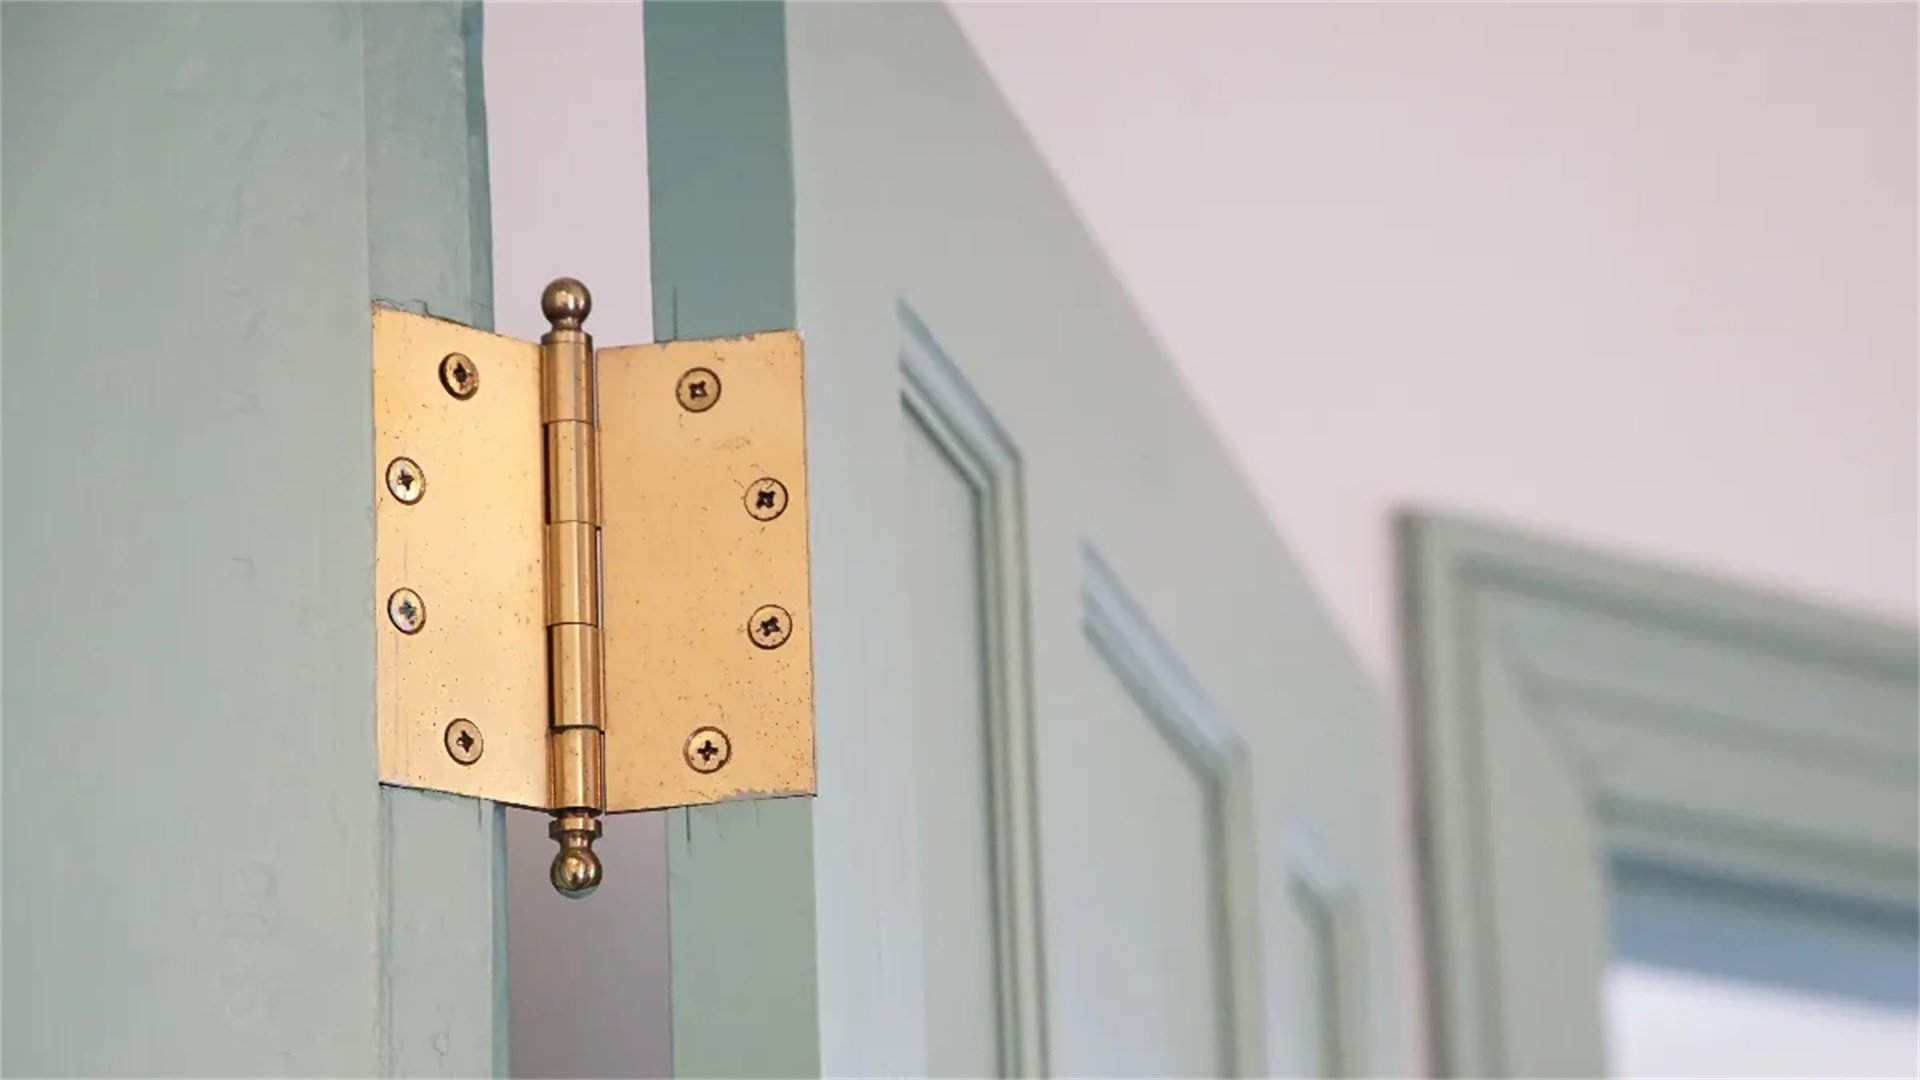
Squeaky doors are a common issue in many homes, often stemming from metal hinges rubbing against each other. Over time, dust, rust, or wear can exacerbate the noise. Below are several DIY hacks to address this, from simple lubrication to more involved adjustments.
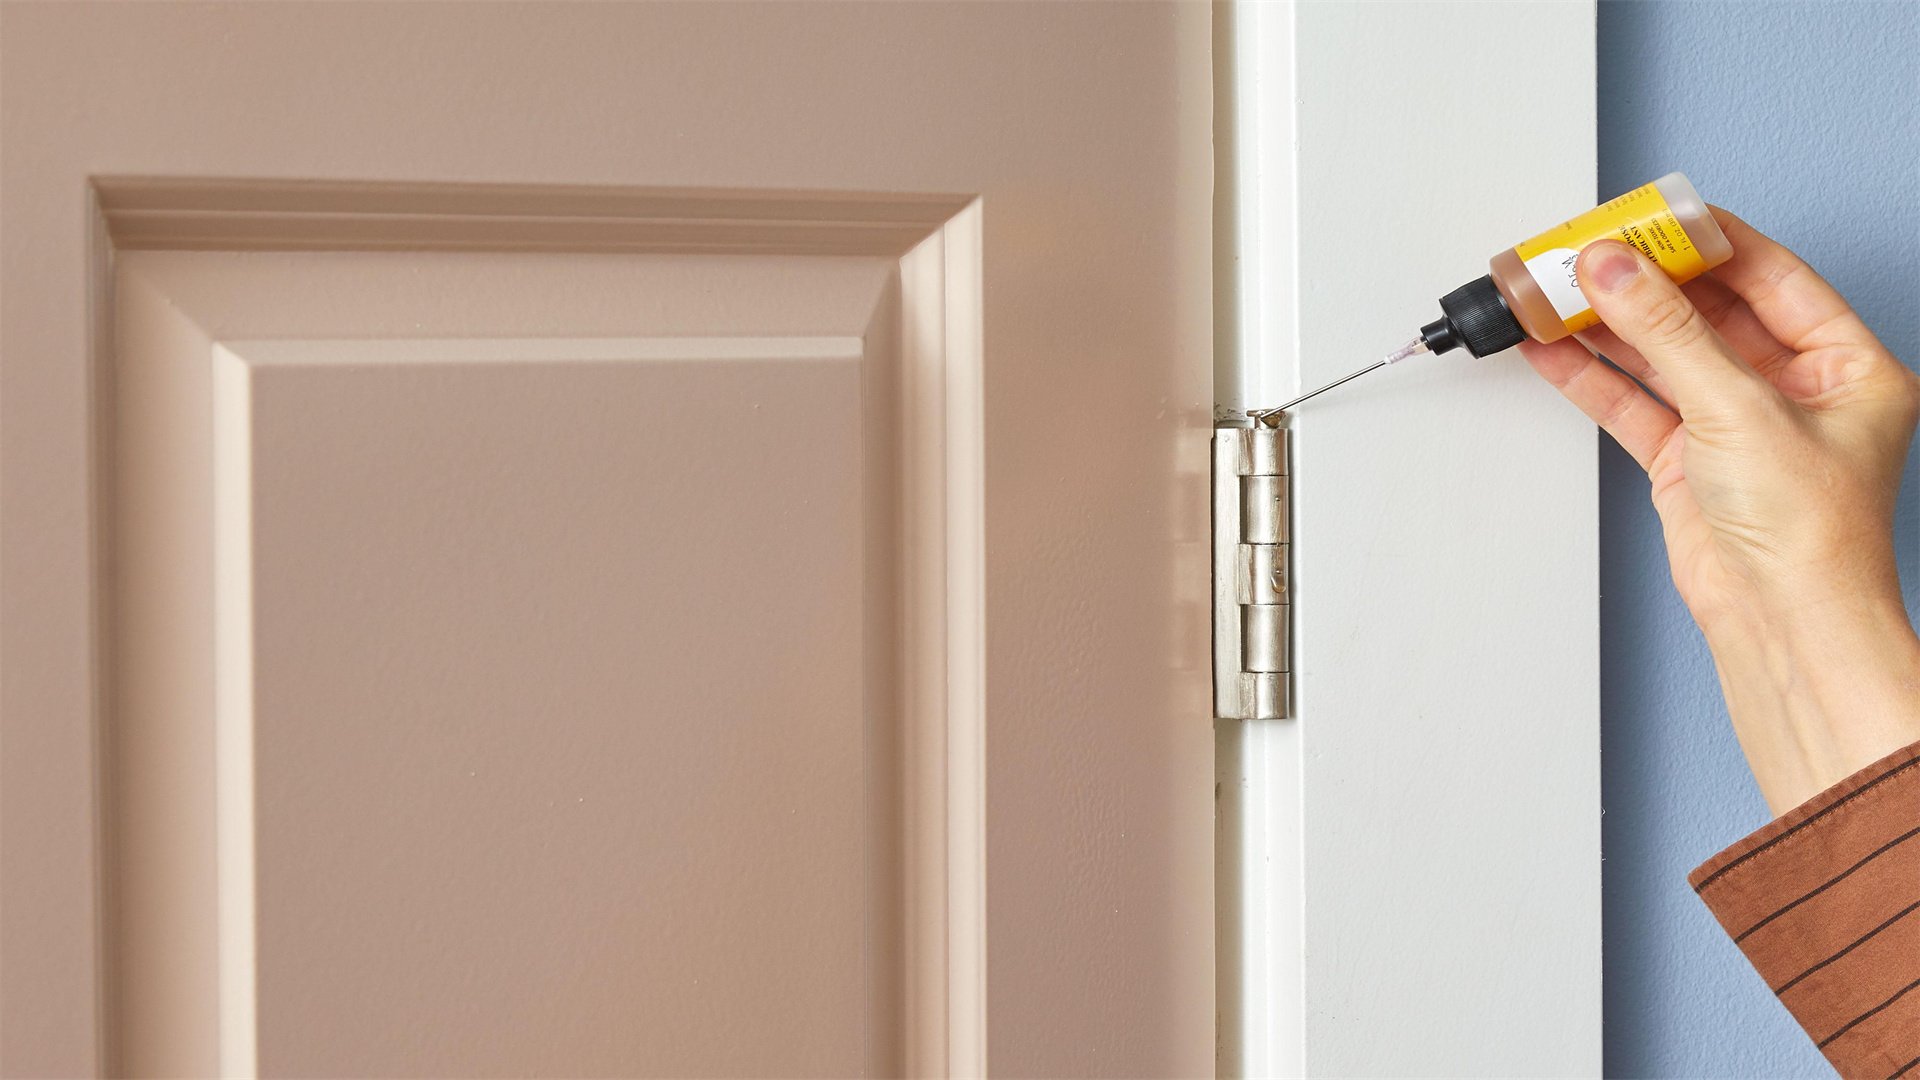
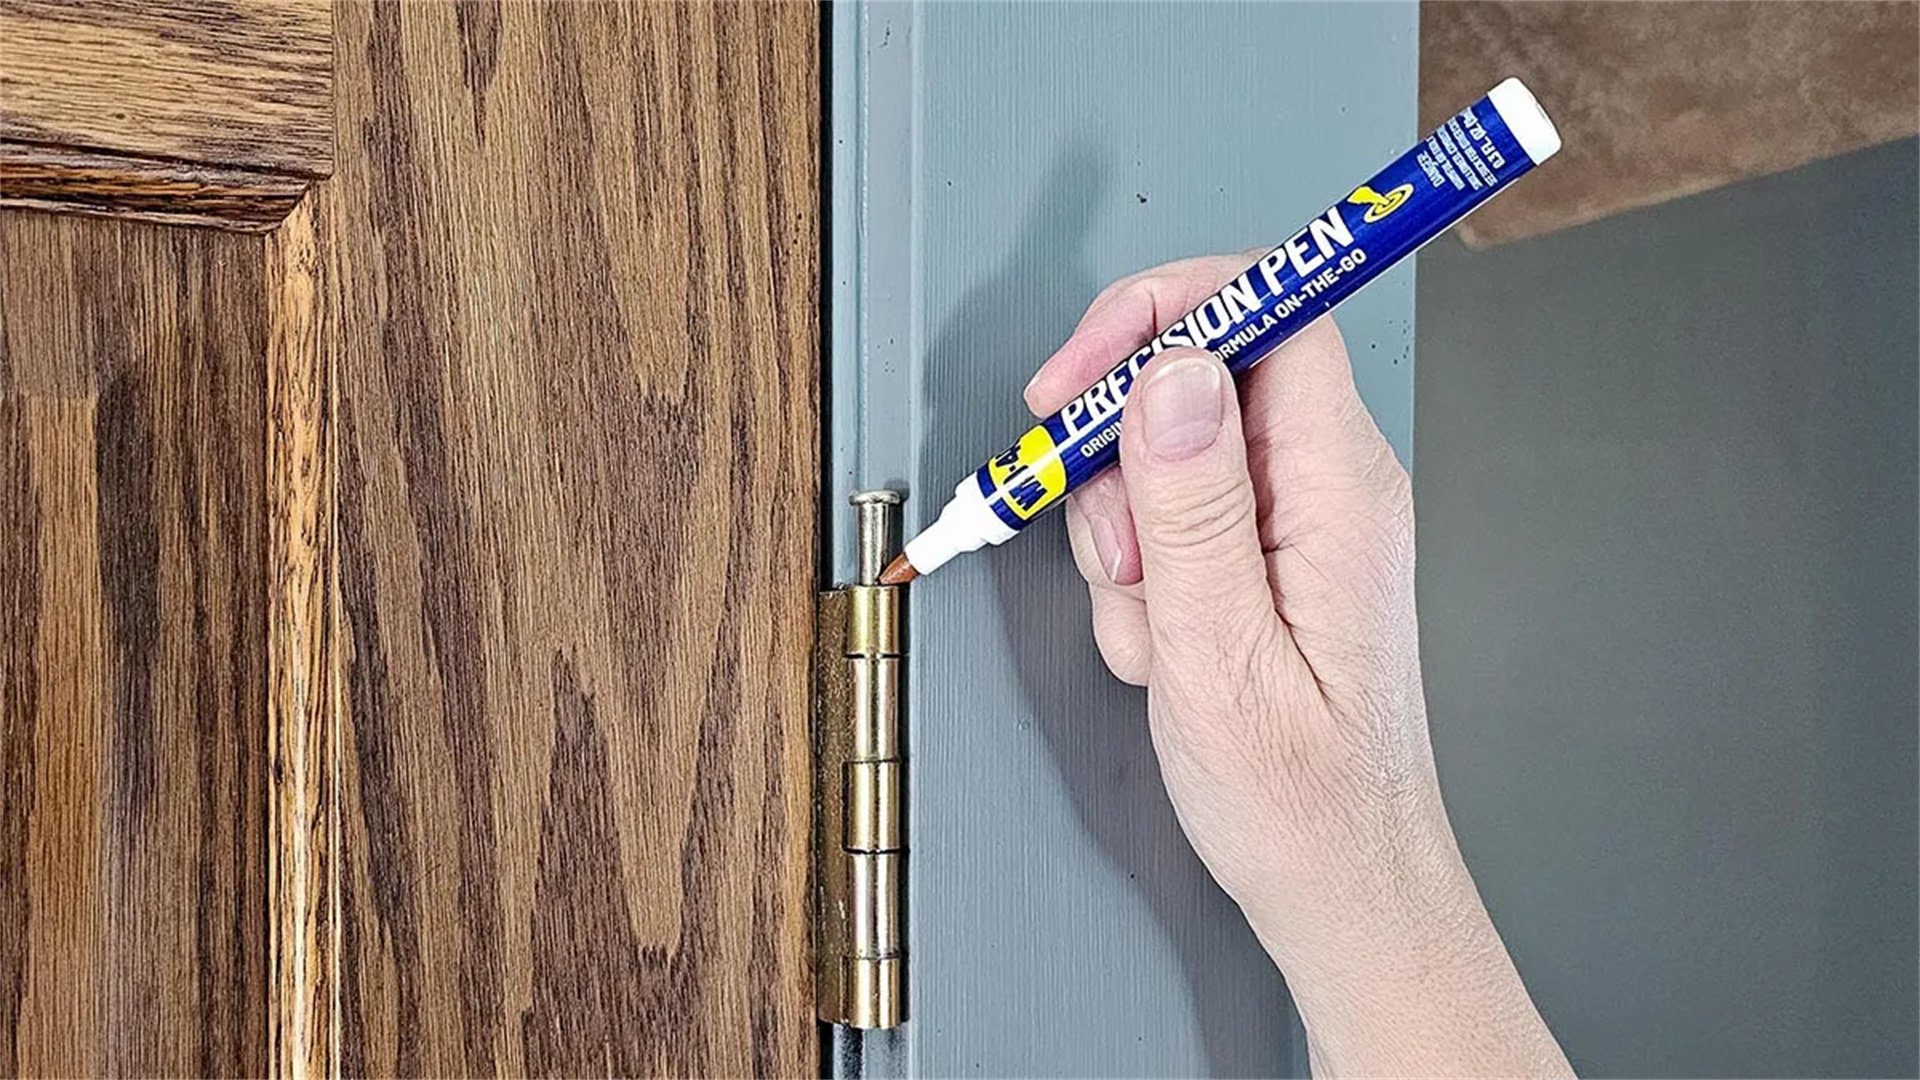
Hack 1: Lubricate the Hinges with Household Products
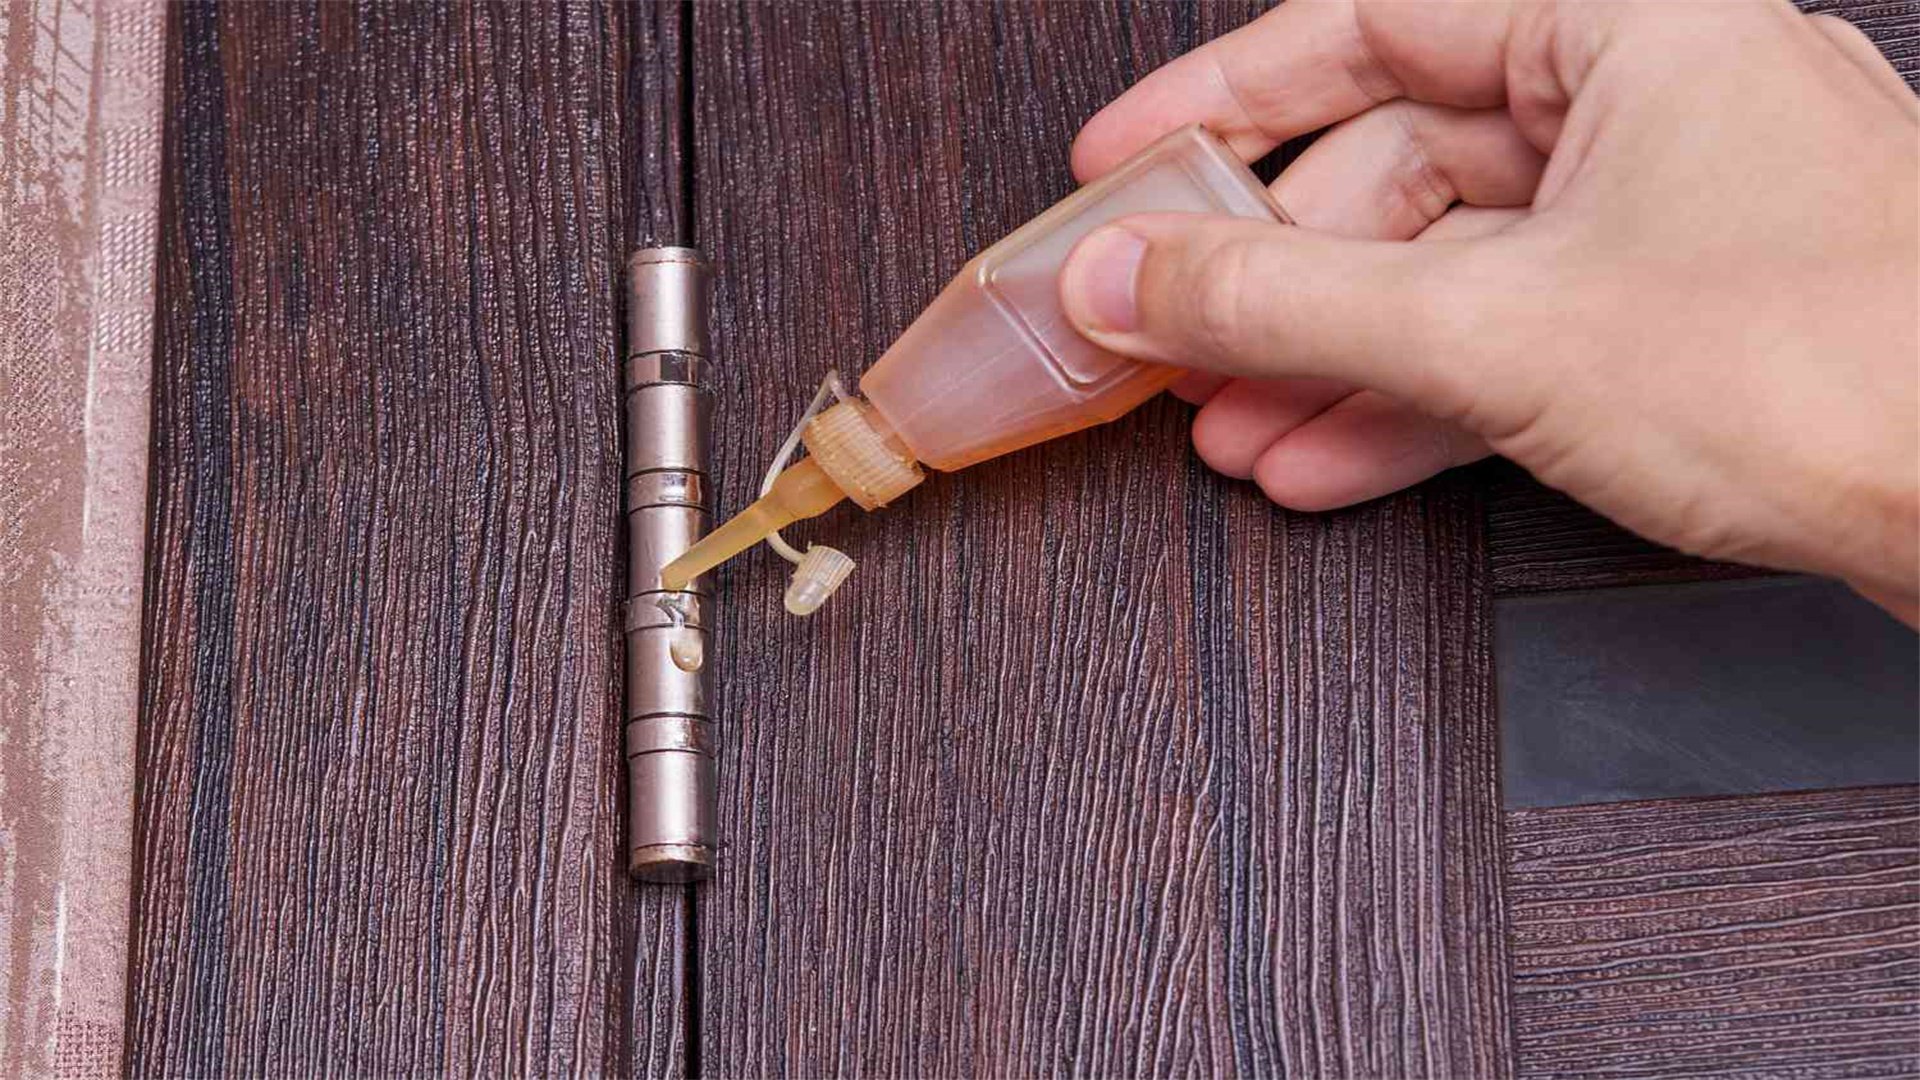
One of the easiest and most effective ways to stop a door from squeaking is to lubricate the hinges. This reduces friction between the moving parts. Here's how to do it thoroughly:
- Tools and Materials Needed:
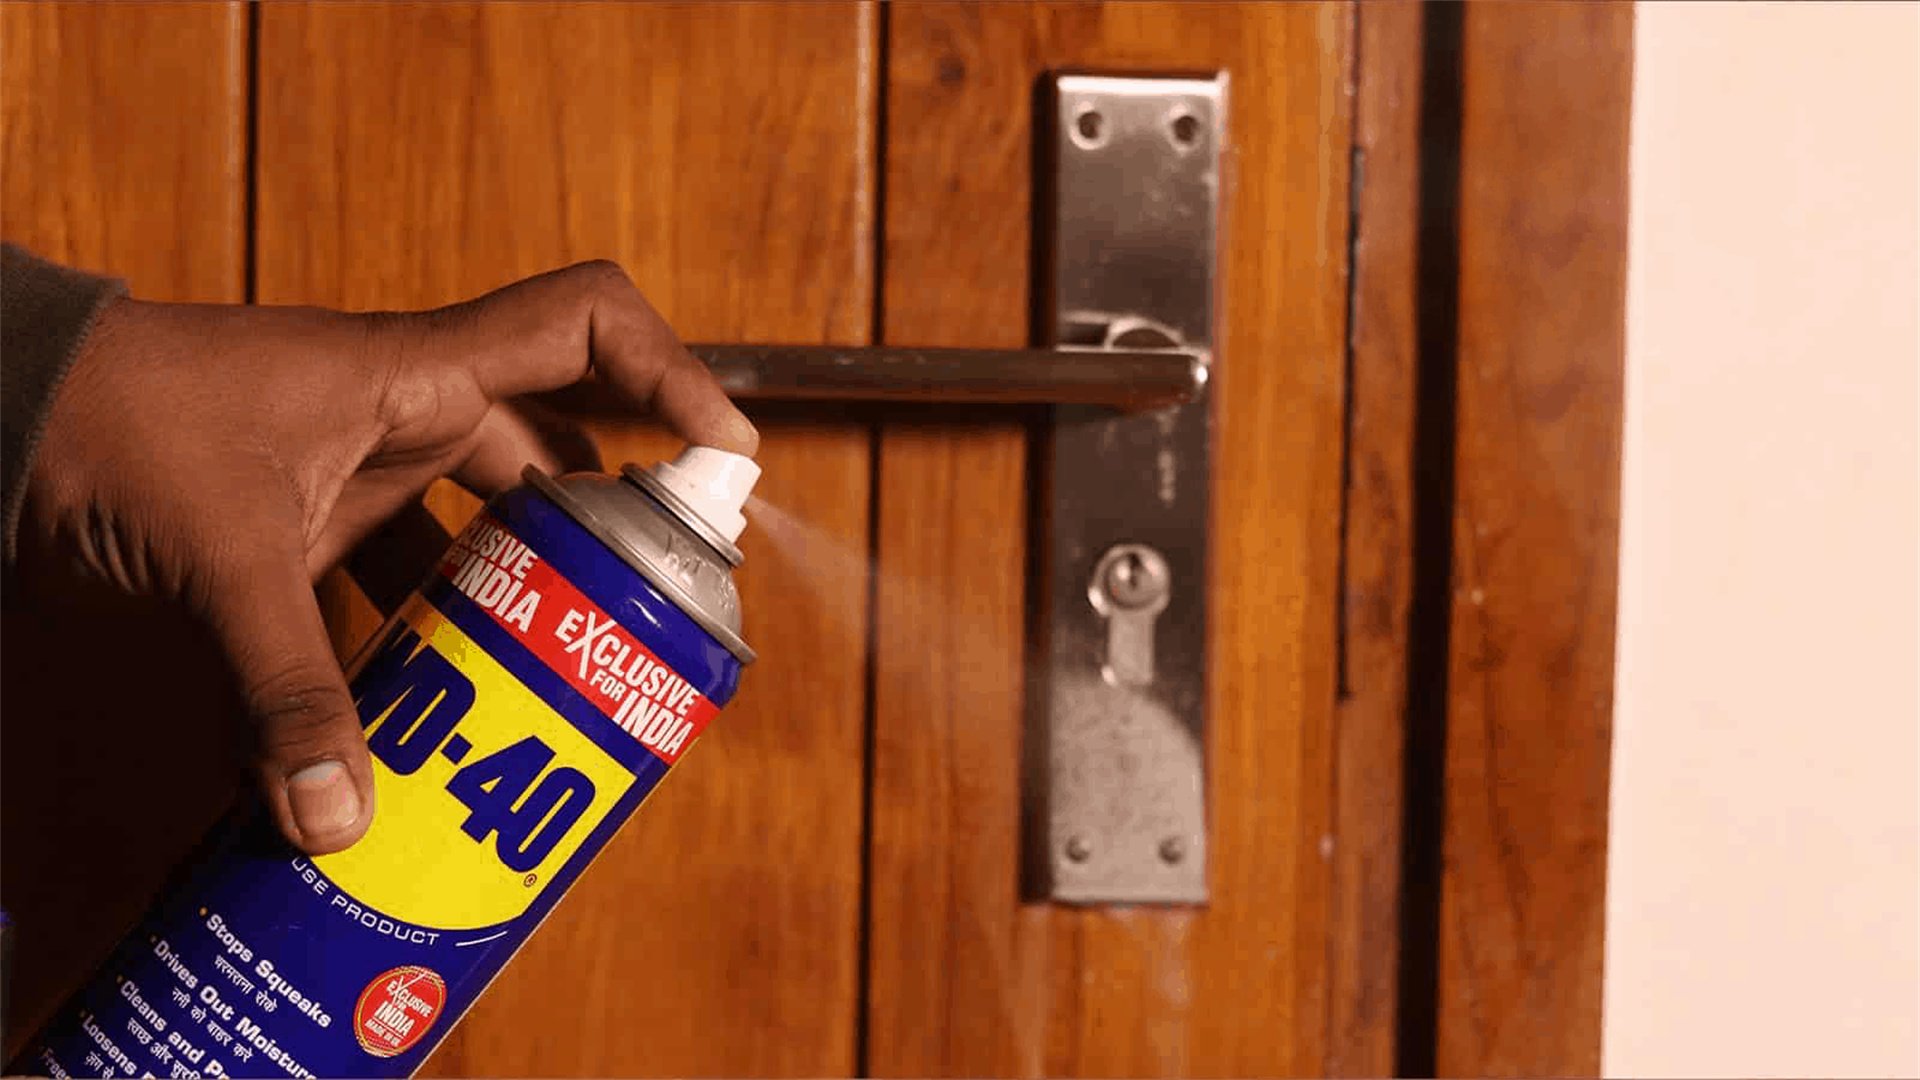
- A lubricant (such as WD-40, silicone spray, or even household items like cooking oil or petroleum jelly).
- A rag.
- A small brush or cotton swab.
- Step-by-Step Process:
- Open the door fully to expose the hinges. If possible, have someone hold the door steady or use a door stop to prevent movement.
- Apply the lubricant directly to the hinge pins and the joints where metal parts meet. For best results, focus on the top and bottom of each hinge. If using a spray, shake the can well and spray a small amount—avoid over-lubricating, as excess can attract dirt.
- Work the lubricant into the hinge by opening and closing the door several times. This helps distribute it evenly.
- Wipe away any excess lubricant with a rag to prevent drips and stains on the floor or door frame.
- Why This Works:
- Lubrication fills in microscopic gaps and coats metal surfaces, reducing metal-on-metal contact.
- Silicone-based lubricants are preferred for longevity, but in a pinch, vegetable oil can provide temporary relief.
- Pro Tip:
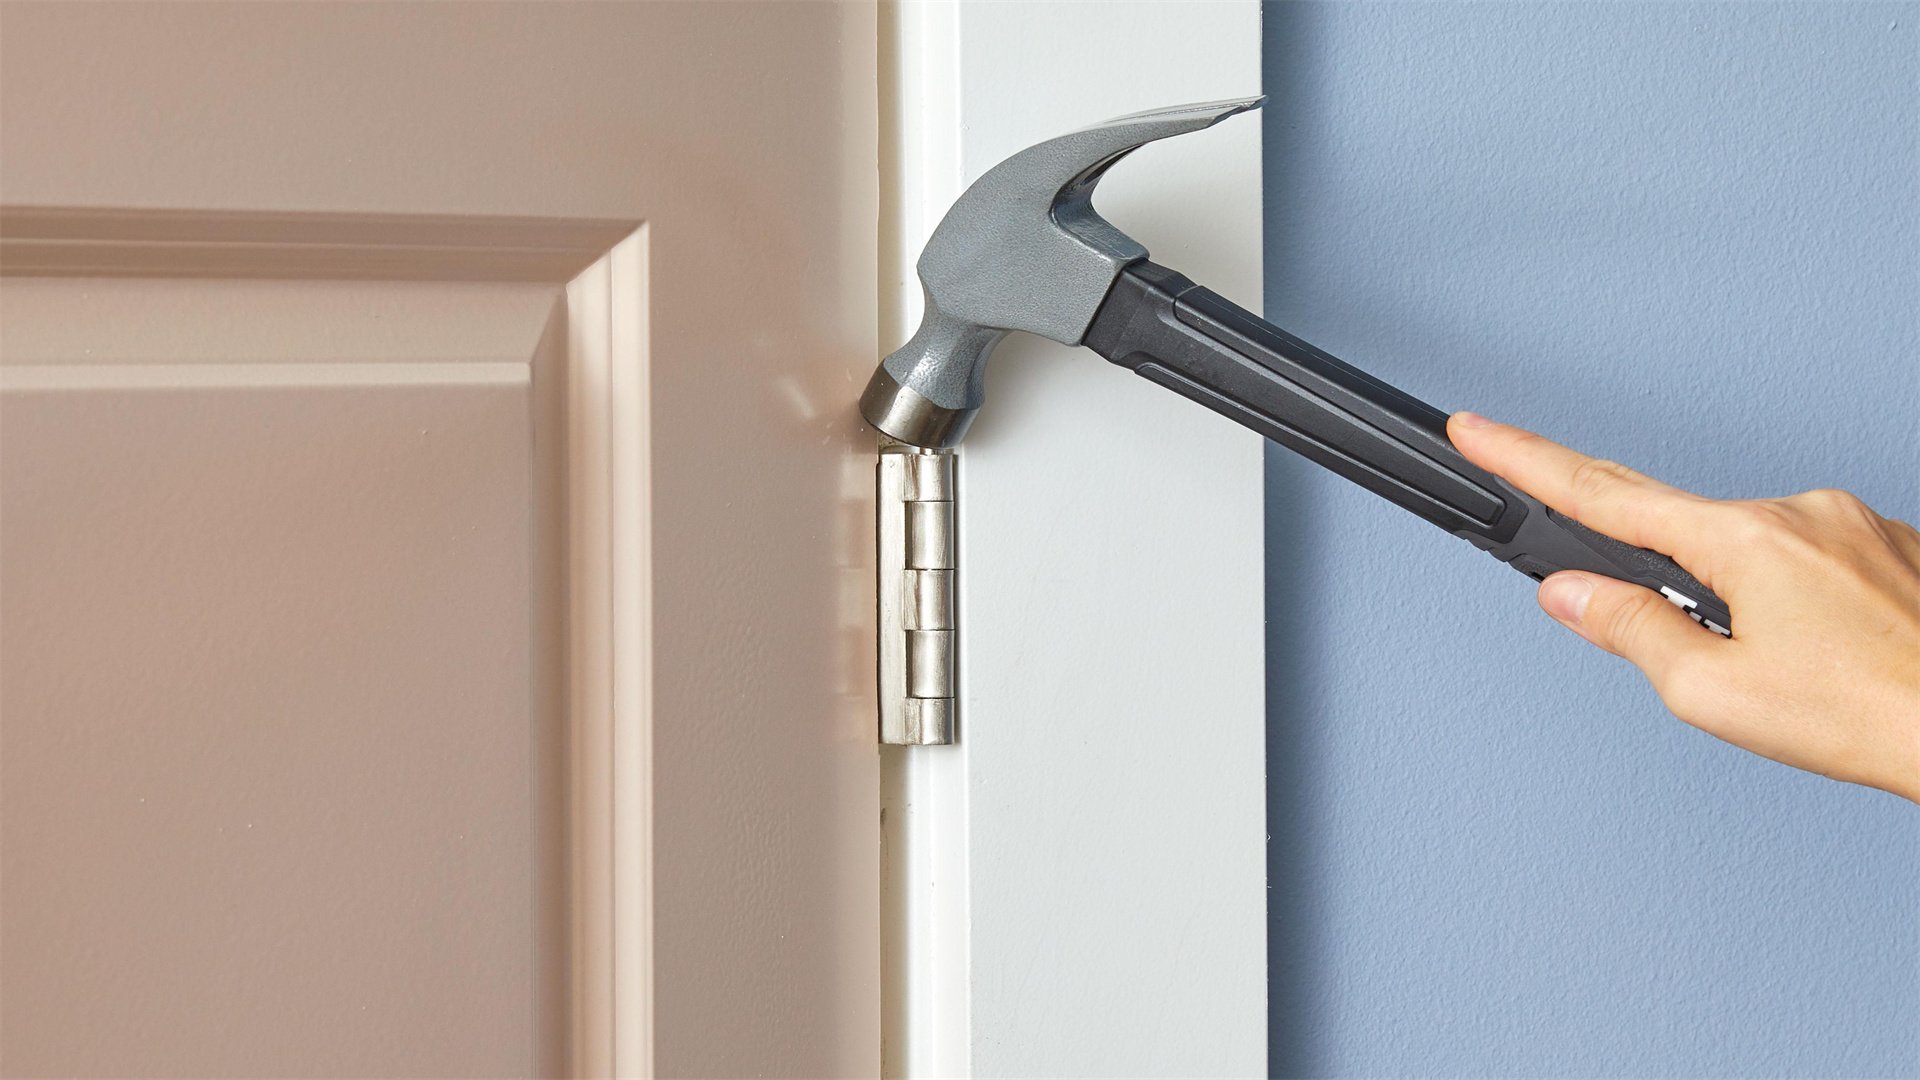
- For stubborn squeaks, consider removing the hinge pins. Tap them out gently with a hammer and nail punch, clean them with a wire brush to remove rust, apply lubricant, and reinsert. This ensures deep penetration.
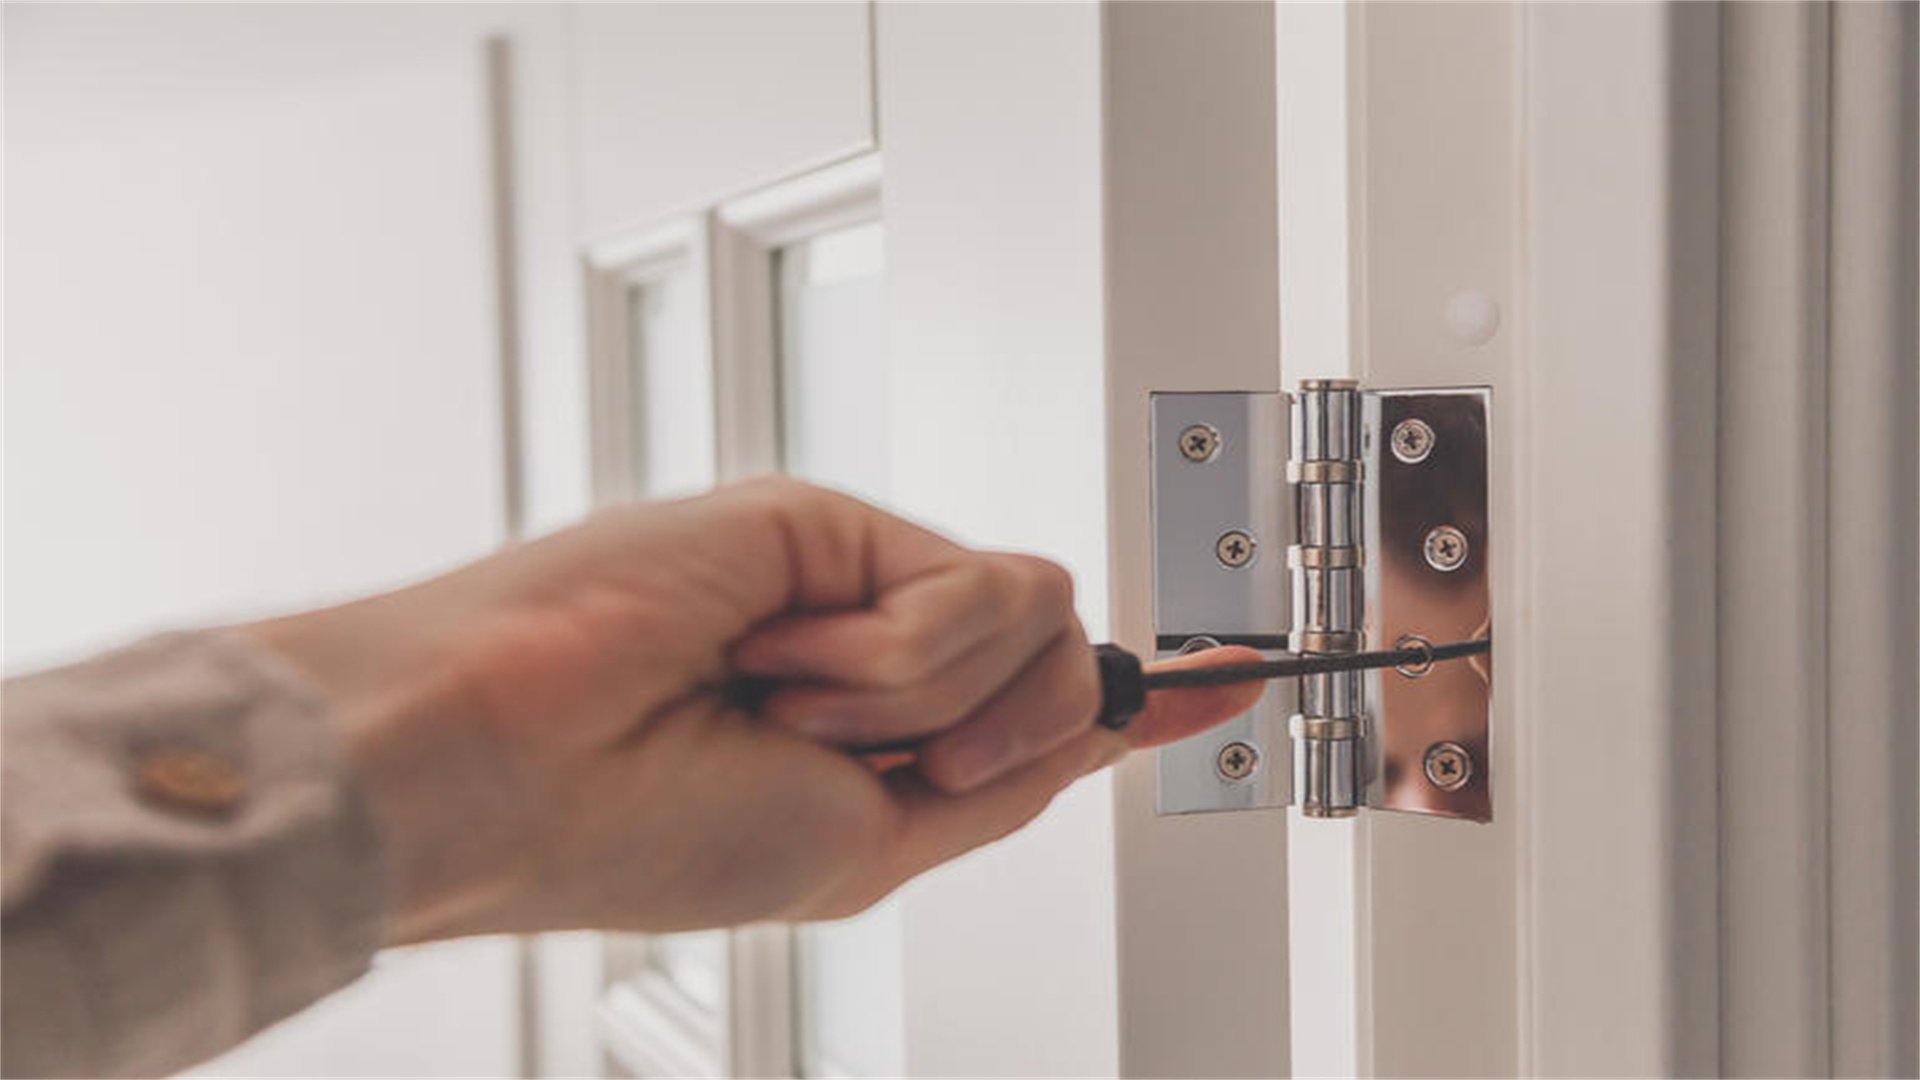
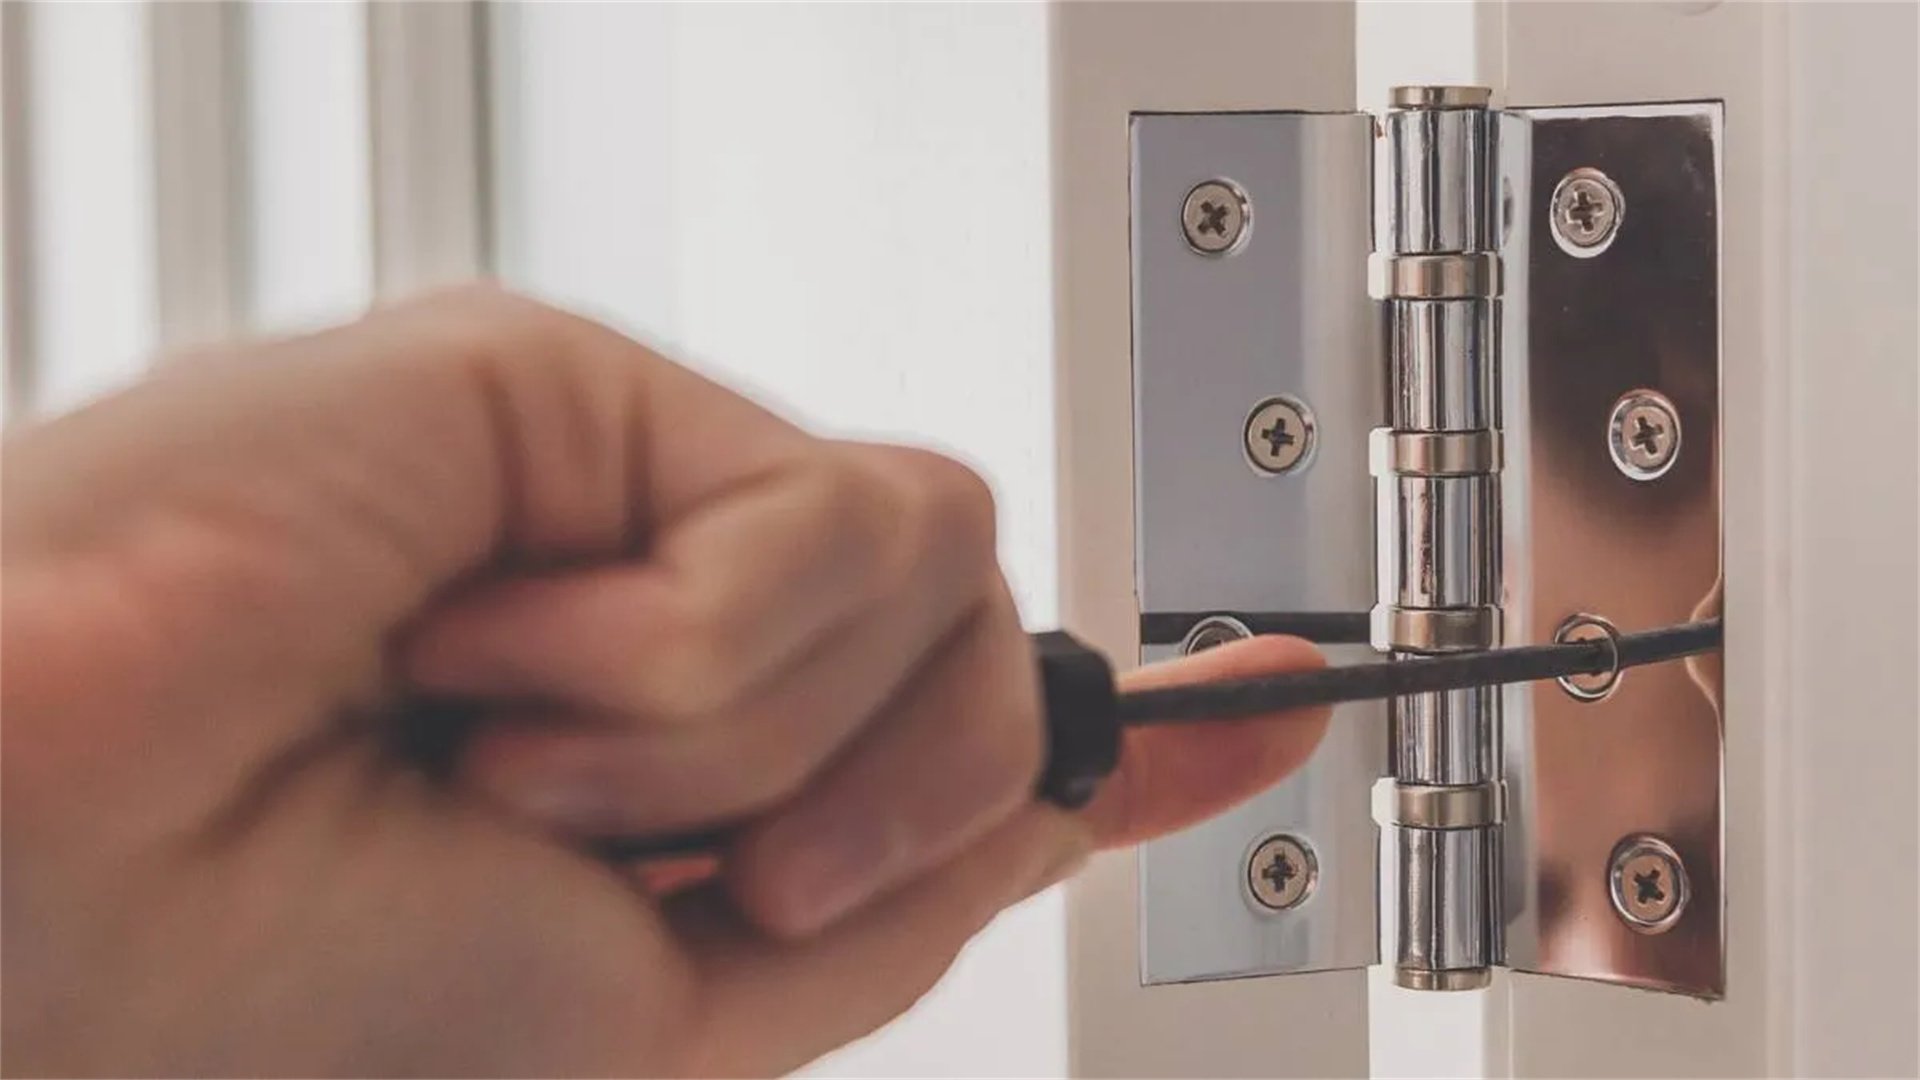
Hack 2: Tighten Loose Screws on Hinges and Door Frame
Loose screws can cause a door to sag or shift, leading to misalignment and squeaking. Tightening them is a straightforward fix that often resolves the issue.
- Tools and Materials Needed:
- A screwdriver (Phillips or flat-head, depending on your screws).
- A drill with a screwdriver bit (optional).
- Possibly longer screws for reinforcement.
- Step-by-Step Process:
- Inspect all screws on the door hinges—both on the door itself and the door frame. Look for any that are protruding or visibly loose.
- Use the screwdriver to tighten each screw firmly. Be careful not to overtighten, as this can strip the wood or damage the hinge.
- If screws are stripped and won't hold, remove them and fill the holes with wood filler or toothpicks dipped in wood glue. Let it dry, then reinsert the screws. Alternatively, replace them with longer screws (at least 2.5 inches) that bite into the wall stud for added stability.
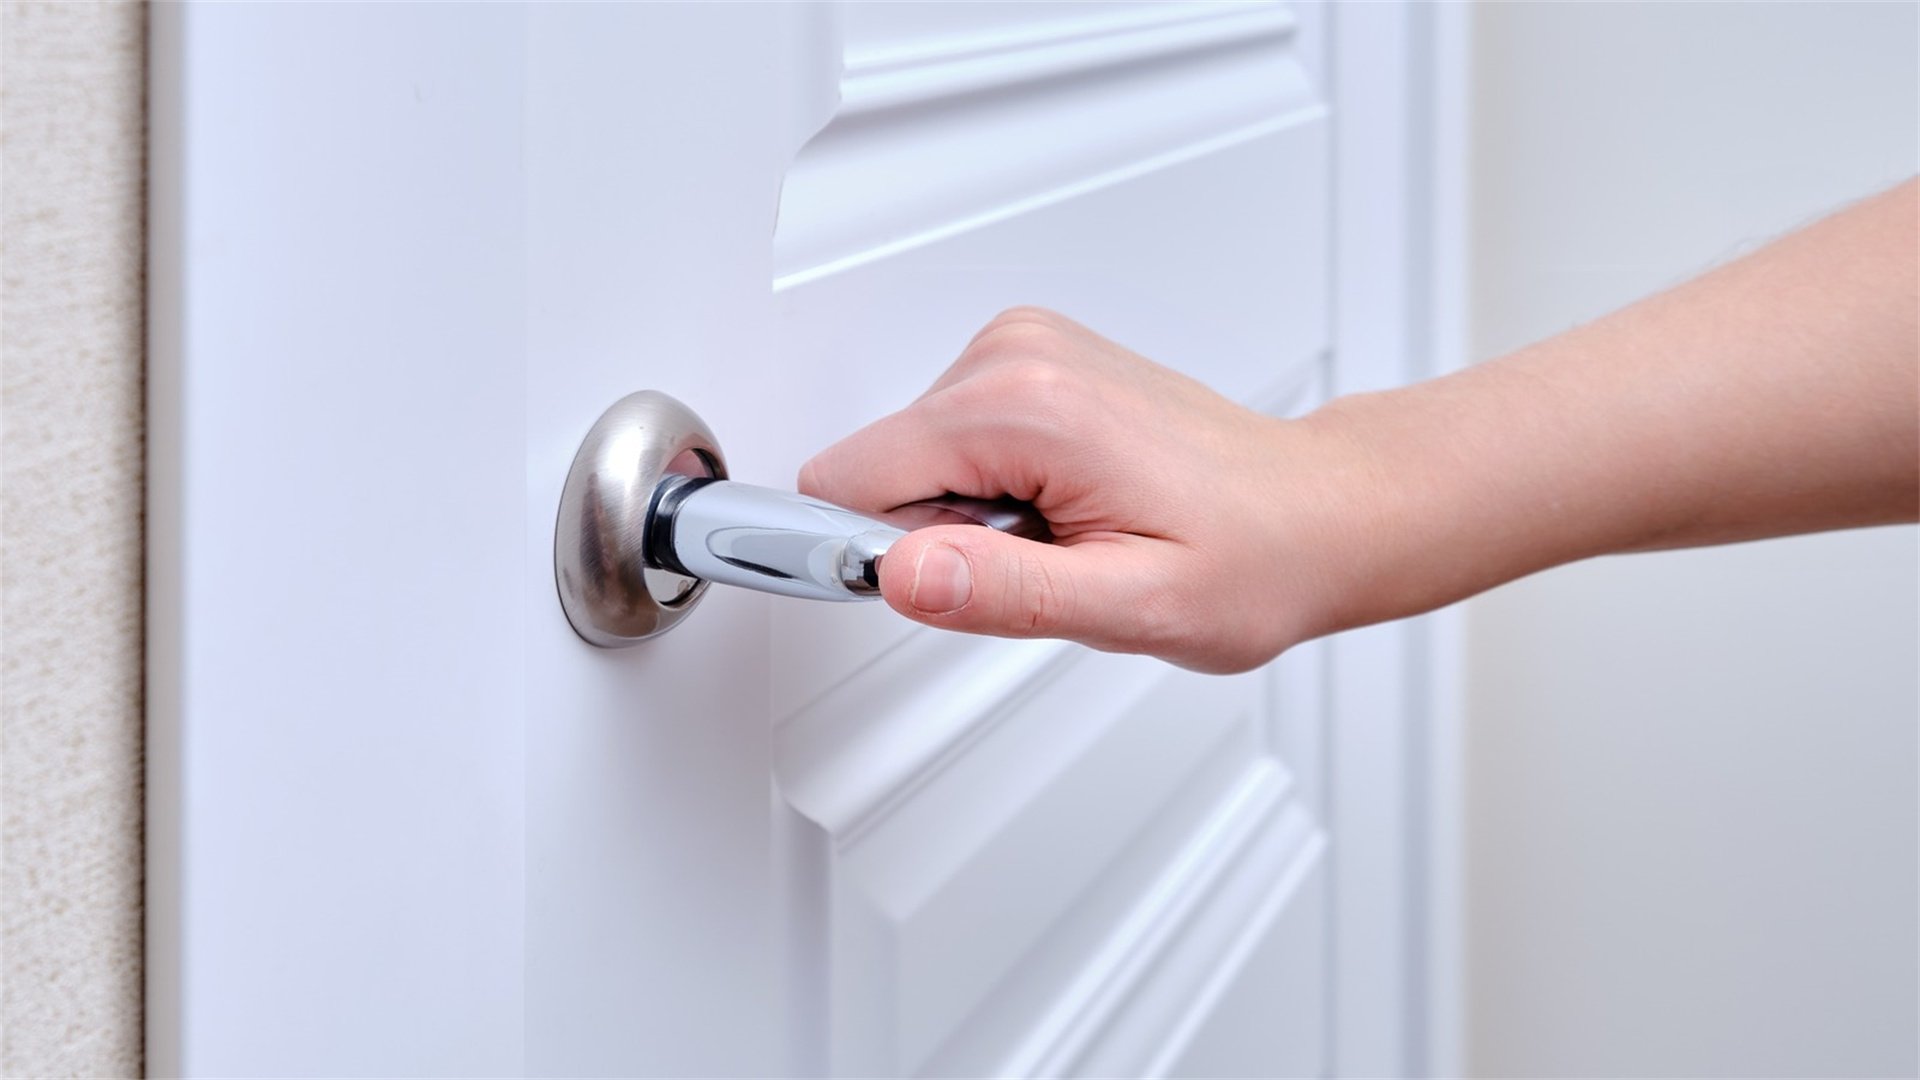
- After tightening, test the door by opening and closing it to see if the squeak persists.
- Why This Works:
- Tight screws ensure the door is properly aligned, reducing stress on hinges and eliminating movement that causes noise.
- Pro Tip:
- For heavy doors, consider using three hinges instead of two for better weight distribution. This can prevent future loosening and squeaks.
Hack 3: Adjust Door Alignment with Shims or Sanding
If lubrication and tightening don't work, the door might be misaligned, rubbing against the frame. This requires adjustment to restore smooth operation.
- Tools and Materials Needed:
- A level.
- Shims (thin wooden wedges).
- A hammer.
- Sandpaper or a planer.
- A pencil.
- Step-by-Step Process:
- Close the door and observe where it rubs against the frame. Mark these spots with a pencil.
- Check the door's alignment with a level. Place it vertically on the door edge to see if it's plumb. If not, the hinge side may need adjustment.
- To adjust hinges, loosen the screws on the misaligned hinge slightly, insert shims behind the hinge plate to shift the door's position, then retighten the screws. This can correct minor misalignments.
- For more severe rubbing, you may need to sand down the door edge. Use coarse-grit sandpaper wrapped around a block, and sand evenly along the marked area until the door clears the frame. Finish with fine-grit sandpaper for a smooth edge.
- Test the door after each adjustment to ensure it swings freely without squeaking.
- Why This Works:
- Proper alignment reduces friction points, allowing the door to move smoothly without binding or squeaking.
- Pro Tip:
- If sanding, always wear a mask to avoid inhaling dust, and consider applying a sealant or paint to the sanded area to protect the wood.
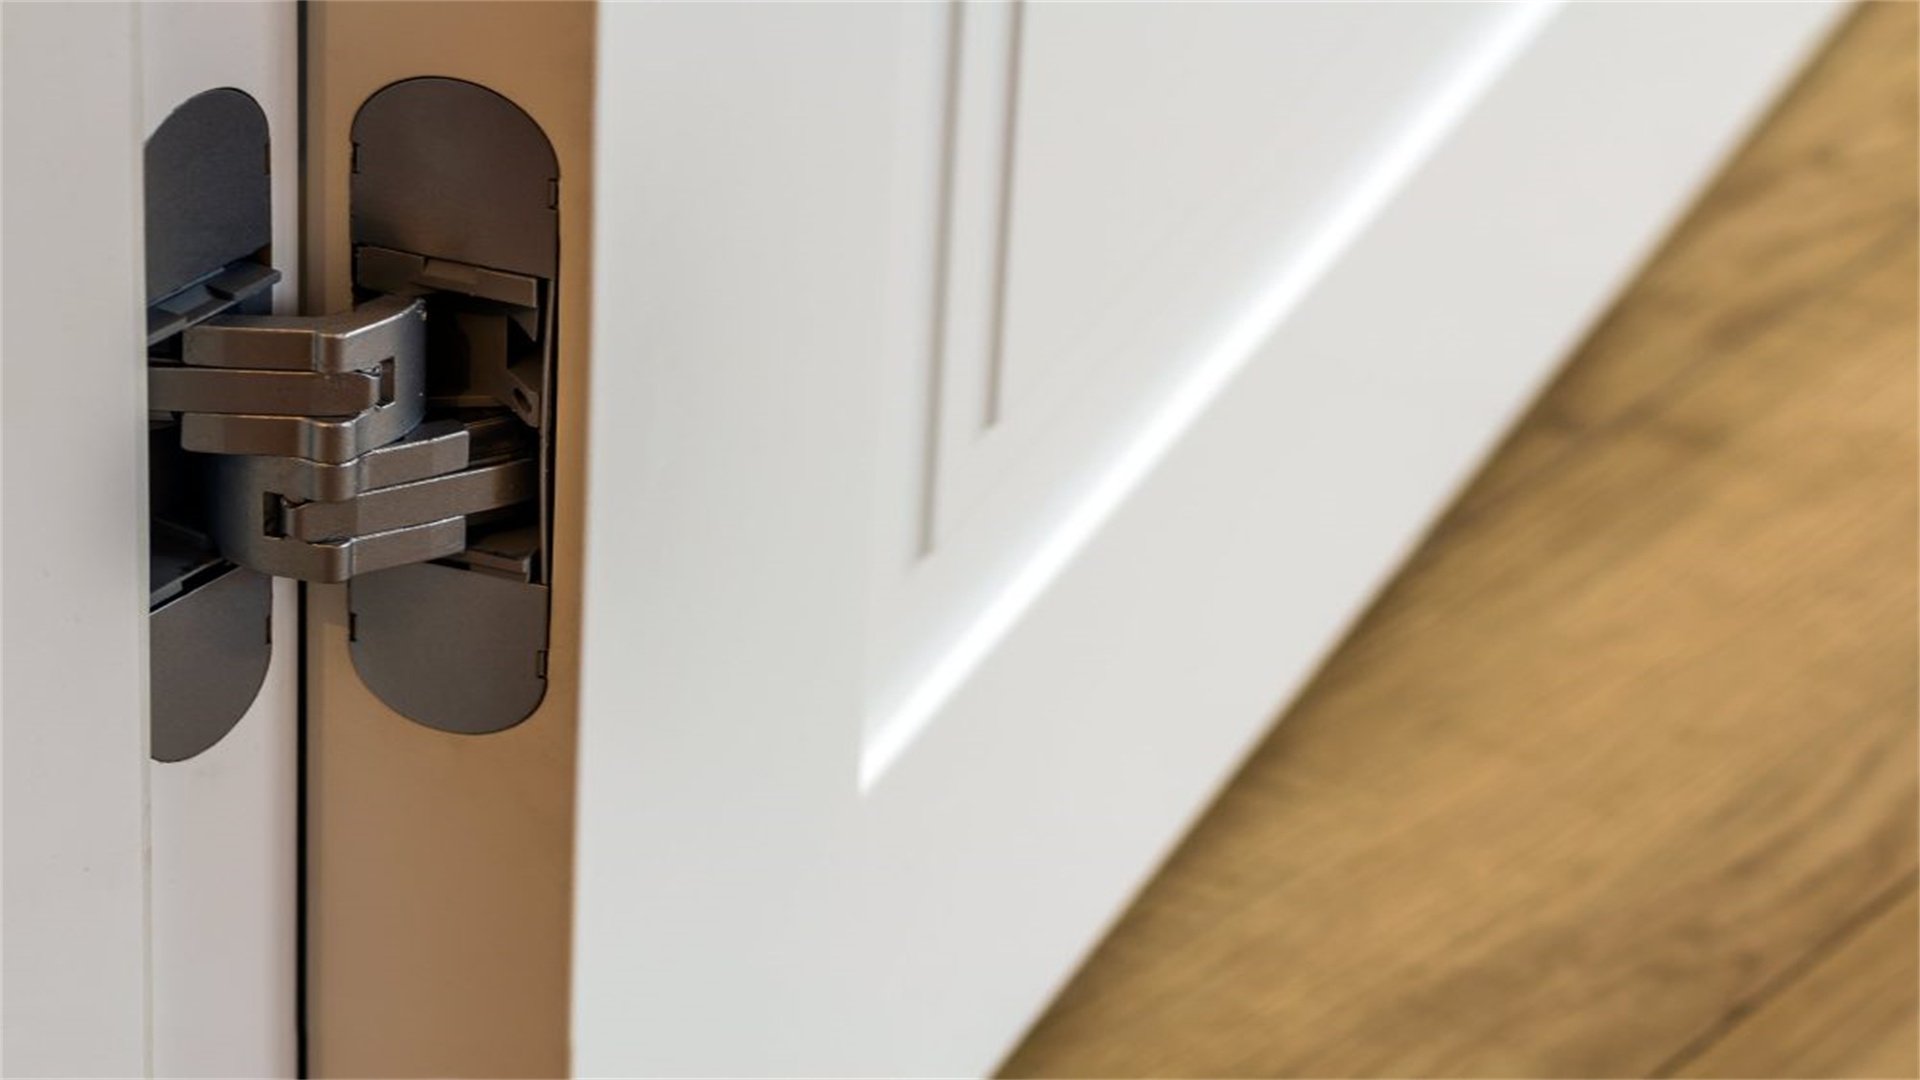
Hack 4: Replace Worn-Out Hinges
In older doors, hinges can wear out over time, losing their shape and causing noise. Replacing them is a more advanced but effective solution.
- Tools and Materials Needed:
- New hinges (matching the size and style of the old ones).
- A screwdriver.
- A drill.
- A chisel.
- A hammer.
- Step-by-Step Process:
- Remove the old hinges by unscrewing them from the door and frame. You may need to support the door with wedges or have an assistant hold it.
- Clean the hinge mortises (the recessed areas where hinges sit) with a chisel to remove any debris or old paint.
- Position the new hinges in the mortises. If they don't fit perfectly, use the chisel to adjust the depth or shape.
- Secure the hinges with screws, starting with the door side first. Ensure they are flush with the surface.
- Hang the door back on the frame, inserting the hinge pins. Test for smooth movement and adjust as needed.
- Why This Works:
- New hinges provide fresh, smooth surfaces that eliminate friction and wear-related squeaks.
- Pro Tip:
- Opt for ball-bearing hinges for heavy doors, as they offer superior durability and quieter operation compared to standard hinges.
Hack 5: Apply Graphite or Paraffin Wax as a Dry Lubricant
For environments where liquid lubricants might attract dust, dry lubricants like graphite powder or paraffin wax are excellent alternatives.
- Tools and Materials Needed:
- Graphite powder (available at hardware stores) or a paraffin wax candle.
- A small applicator brush.
- A rag.
- Step-by-Step Process:
- If using graphite, sprinkle a small amount onto the hinge pins and joints. Use the brush to work it into the crevices.
- For paraffin wax, rub the candle directly on the hinge surfaces, focusing on friction points. The wax will coat the metal thinly.
- Open and close the door several times to distribute the lubricant evenly.
- Wipe away any excess to prevent mess.
- Why This Works:
- Dry lubricants reduce friction without leaving a greasy residue, making them ideal for high-dust areas or doors in frequent use.
- Pro Tip:
- Graphite can be messy, so apply it carefully over newspaper to catch spills. It's also conductive, so avoid use near electrical components.
🧩 Part 2: Fixing Stiff Windows
Stiff windows can be frustrating, especially when they're stuck shut or hard to open. This often results from dirt buildup, worn parts, or imbalance in the window mechanism. Below are multiple hacks to restore easy operation, covering both sliding and double-hung windows.
Hack 1: Clean the Window Tracks and Channels
Dirt, debris, and old lubricant can accumulate in window tracks, causing resistance. A thorough cleaning is often the first step to freeing a stiff window.
- Tools and Materials Needed:
- A vacuum with a brush attachment.
- A stiff brush (like an old toothbrush).
- A putty knife.
- Mild detergent.
- Water.
- Rags.
- Step-by-Step Process:
- Open the window as much as possible. Use the vacuum to remove loose dirt and dust from the tracks.
- Mix a solution of warm water and mild detergent. Dip the stiff brush into it and scrub the tracks vigorously, paying attention to corners and edges.
- For stubborn grime, use the putty knife to gently scrape it away, being careful not to damage the track material.
- Rinse with clean water and dry thoroughly with rags. Ensure no moisture remains, as this can cause rust or mold.
- Once dry, test the window's movement. It should slide more easily.
- Why This Works:
- Removing debris reduces friction between the window sash and the track, allowing smooth gliding.
- Pro Tip:
- For aluminum tracks, avoid abrasive cleaners that can scratch the surface. Vinegar can be used for mineral deposits.

Hack 2: Lubricate the Tracks and Rollers
After cleaning, applying lubrication ensures long-term smooth operation. Choose the right lubricant based on your window type.
- Tools and Materials Needed:
- A silicone-based lubricant spray, paraffin wax, or dry lubricant like Teflon spray.
- A rag for wiping excess.
- Step-by-Step Process:
- Ensure the tracks are completely clean and dry before lubricating.
- If using spray lubricant, apply a thin layer along the entire track. For rollers or sliding mechanisms, spray directly onto the moving parts.
- Alternatively, rub a paraffin wax candle on the tracks for a dry lubricant option.
- Move the window back and forth several times to spread the lubricant evenly.
- Wipe away any excess to prevent dirt attraction.
- Why This Works:
- Lubrication minimizes metal-on-metal or metal-on-plastic friction, reducing the force needed to open and close the window.
- Pro Tip:
- Avoid petroleum-based lubricants like WD-40 for long-term use on windows, as they can gum up over time. Silicone or dry lubricants are more durable.
Hack 3: Adjust the Window Balance System (for Double-Hung Windows)
Double-hung windows use a balance system—often springs or weights—to counterbalance the sash. If this system fails, the window can become stiff or stuck.
- Tools and Materials Needed:
- A screwdriver.
- Pliers.
- Replacement balances (if needed).
- Safety gloves.
- Step-by-Step Process:
- Remove the window sash by locating the release mechanisms on the sides. This varies by model; consult the manufacturer's guide if available.
- Inspect the balance system. For spring-based balances, check if springs are broken or loose. For weight-and-pulley systems, ensure cords are intact and weights move freely.
- Adjust tension by tightening or loosening springs with pliers. If balances are damaged, replace them with new ones from a hardware store.
- Reinstall the sash and test the window. It should stay open at any position without slamming shut or sticking.
- Why This Works:
- A properly balanced window reduces the effort required to move it, eliminating stiffness caused by misalignment or wear.
- Pro Tip:
- When working with older weight systems, be cautious—weights can be heavy. Consider upgrading to modern spring balances for easier maintenance.

Hack 4: Repair or Replace Weatherstripping
Worn or compressed weatherstripping can create friction, making windows hard to open. Replacing it improves both operation and energy efficiency.
- Tools and Materials Needed:
- New weatherstripping (match the type to your window, such as V-strip or foam tape).
- A utility knife.
- A putty knife.
- Adhesive (if not self-adhesive).
- Step-by-Step Process:
- Remove the old weatherstripping by peeling it off or using the putty knife to pry it loose. Clean the area with soapy water and let it dry.
- Measure the channels where the weatherstripping will go and cut the new material to length.
- Apply the weatherstripping, pressing firmly to ensure adhesion. For non-adhesive types, use a strong glue recommended for windows.
- Test the window to ensure it closes smoothly without excessive force. Trim any excess material if needed.
- Why This Works:
- Fresh weatherstripping provides a snug but not tight seal, reducing drag while still insulating against drafts.
- Pro Tip:
- Choose silicone or rubber weatherstripping for durability. Avoid over-compressing it, as this can cause stiffness.
Hack 5: Realign the Window Sash
If a window sash is warped or misaligned, it can bind in the frame. Realigning it may require adjustments to the frame or sash.
- Tools and Materials Needed:
- A level.
- A hammer.
- Shims.
- A planer or sandpaper.
- Clamps.
- Step-by-Step Process:
- Remove the sash as described in Hack 3. Inspect it for warping by placing it on a flat surface.
- Check the window frame with a level. If it's out of square, you may need to adjust the frame by tapping shims behind the jambs with a hammer.
- For a warped sash, use a planer to shave down high spots on the edges. Sand smoothly afterward.
- Reinstall the sash and test for smooth movement. Make minor adjustments until it slides freely.
- Why This Works:
- Proper alignment ensures even contact between the sash and frame, preventing binding points that cause stiffness.
- Pro Tip:
- In humid climates, wood windows can swell. Allow them to dry out or use a dehumidifier before attempting realignment.
Hack 6: Address Paint Buildup or Corrosion
Over time, paint can build up on window edges or tracks, or metal parts can corrode, leading to stiffness. Removing these obstructions is key.
- Tools and Materials Needed:
- A paint scraper.
- Sandpaper.
- A wire brush.
- A corrosion remover (like vinegar or commercial products).
- Protective gear.
- Step-by-Step Process:
- For paint buildup, carefully scrape off excess paint from the sash and frame with the scraper. Follow up with sandpaper to smooth the surfaces.
- For corrosion on metal tracks or hardware, apply a corrosion remover and let it sit according to instructions. Scrub with a wire brush to remove rust.
- After cleaning, apply a protective coating like paint or a rust inhibitor to prevent future corrosion.
- Lubricate the area as described in Hack 2 to ensure smooth operation.
- Why This Works:
- Removing physical barriers reduces friction, while treating corrosion restores metal surfaces to their original function.
- Pro Tip:
- When scraping paint, work gently to avoid damaging the wood or glass. Consider repainting with a high-quality enamel for durability.
Fixing squeaky doors and stiff windows doesn't have to be a daunting task. By systematically addressing the root causes—whether it's lack of lubrication, loose hardware, misalignment, or wear and tear—you can restore functionality and quiet to your home with simple DIY hacks. This guide has provided detailed, step-by-step methods for each issue, drawing from proven techniques used by professionals and home improvement enthusiasts. Remember to always prioritize safety: wear protective gear, use the right tools, and consult experts if you're unsure about more complex repairs. Regular maintenance, such as cleaning and lubricating moving parts annually, can prevent these problems from recurring. With these tips, you'll not only save money on repair bills but also gain the satisfaction of tackling household challenges yourself. So grab your tools, and say goodbye to those annoying squeaks and stiff windows for good!
For further reading, explore online resources like DIY forums and video tutorials that demonstrate these hacks in action. Happy fixing!