DIY Guide: 7 Everyday Household Fixes with Simple Tools!
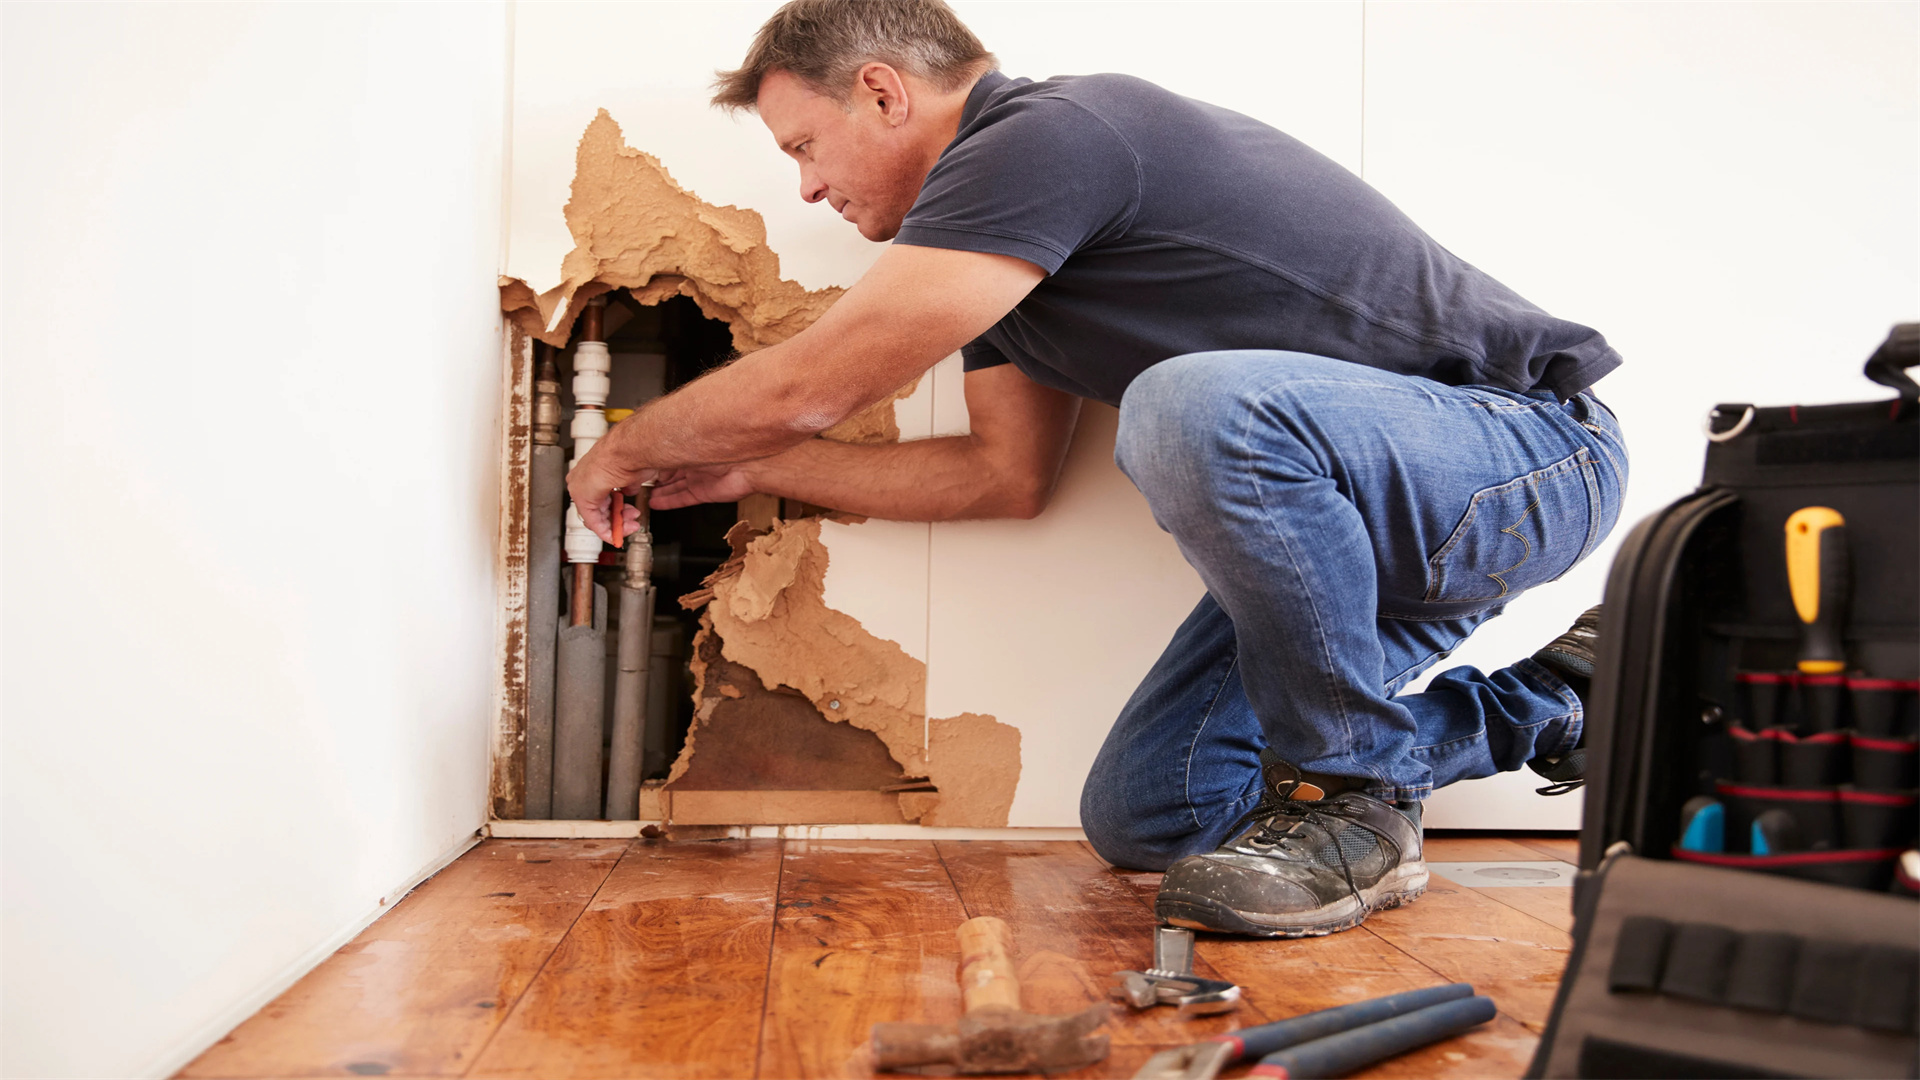
Let's face it—hiring a professional for every minor household problem can really drain your finances. The great part is, many of these common issues aren't as daunting as they appear. Armed with a few basic tools, a dash of patience, and some hard work, you can tackle them on your own and savor the sense of accomplishment that comes with it.
Here are 7 typical household repairs that almost anyone can do by themselves. No high-tech power tools needed. No need to hire a contractor.

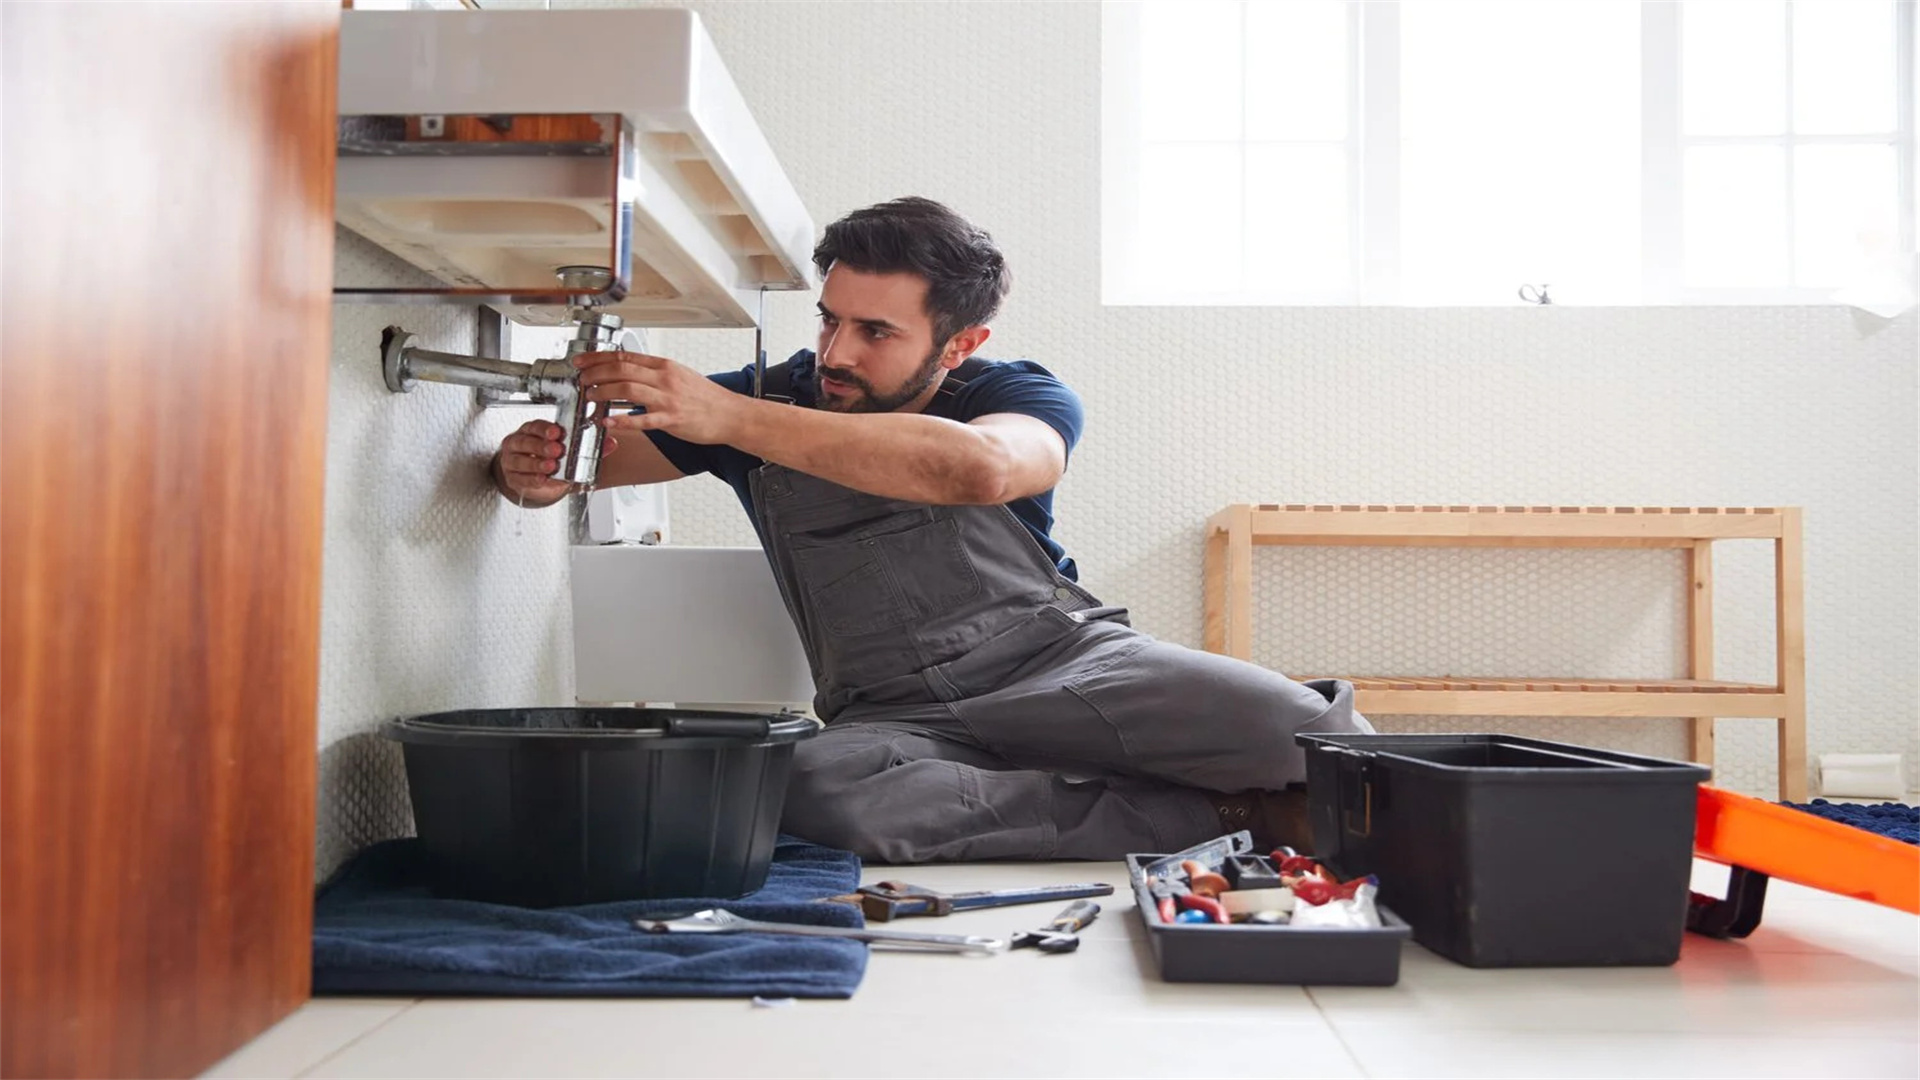
1. Mend a Dripping Faucet
What you'll need: An adjustable wrench, a flathead screwdriver, and a replacement washer or cartridge.
The constant drip-drip-drip of a leaky faucet is more than just a nuisance; it wastes water and drives up your water bill. Usually, the issue lies with a worn-out washer or cartridge inside the handle.
How to fix it:
First, turn off the water supply beneath the sink.
Use the screwdriver to take off the faucet handle.
With the wrench, unscrew the valve stem.
Swap out the old washer or cartridge with a new one (if you're not sure about the type, bring the old part to the hardware store).
Put everything back together and turn the water back on.
And there you have it—no more annoying drips!
2. Fill in a Small Drywall Hole
What you'll need: Spackling paste, a putty knife, sandpaper, and paint.
Small holes in drywall, whether from a doorknob, a picture frame, or an accidental bump, are simple to repair.
Steps:
Clean the area around the hole.
Apply spackle with the putty knife, pressing it into the hole and smoothing it out.
Let it dry completely (refer to the product instructions; usually takes a few hours).
Sand it until it's smooth and then touch it up with paint that matches your wall.
For larger holes (between 2 - 6 inches), you might need a mesh patch or a small drywall panel, but it's still manageable with basic tools.
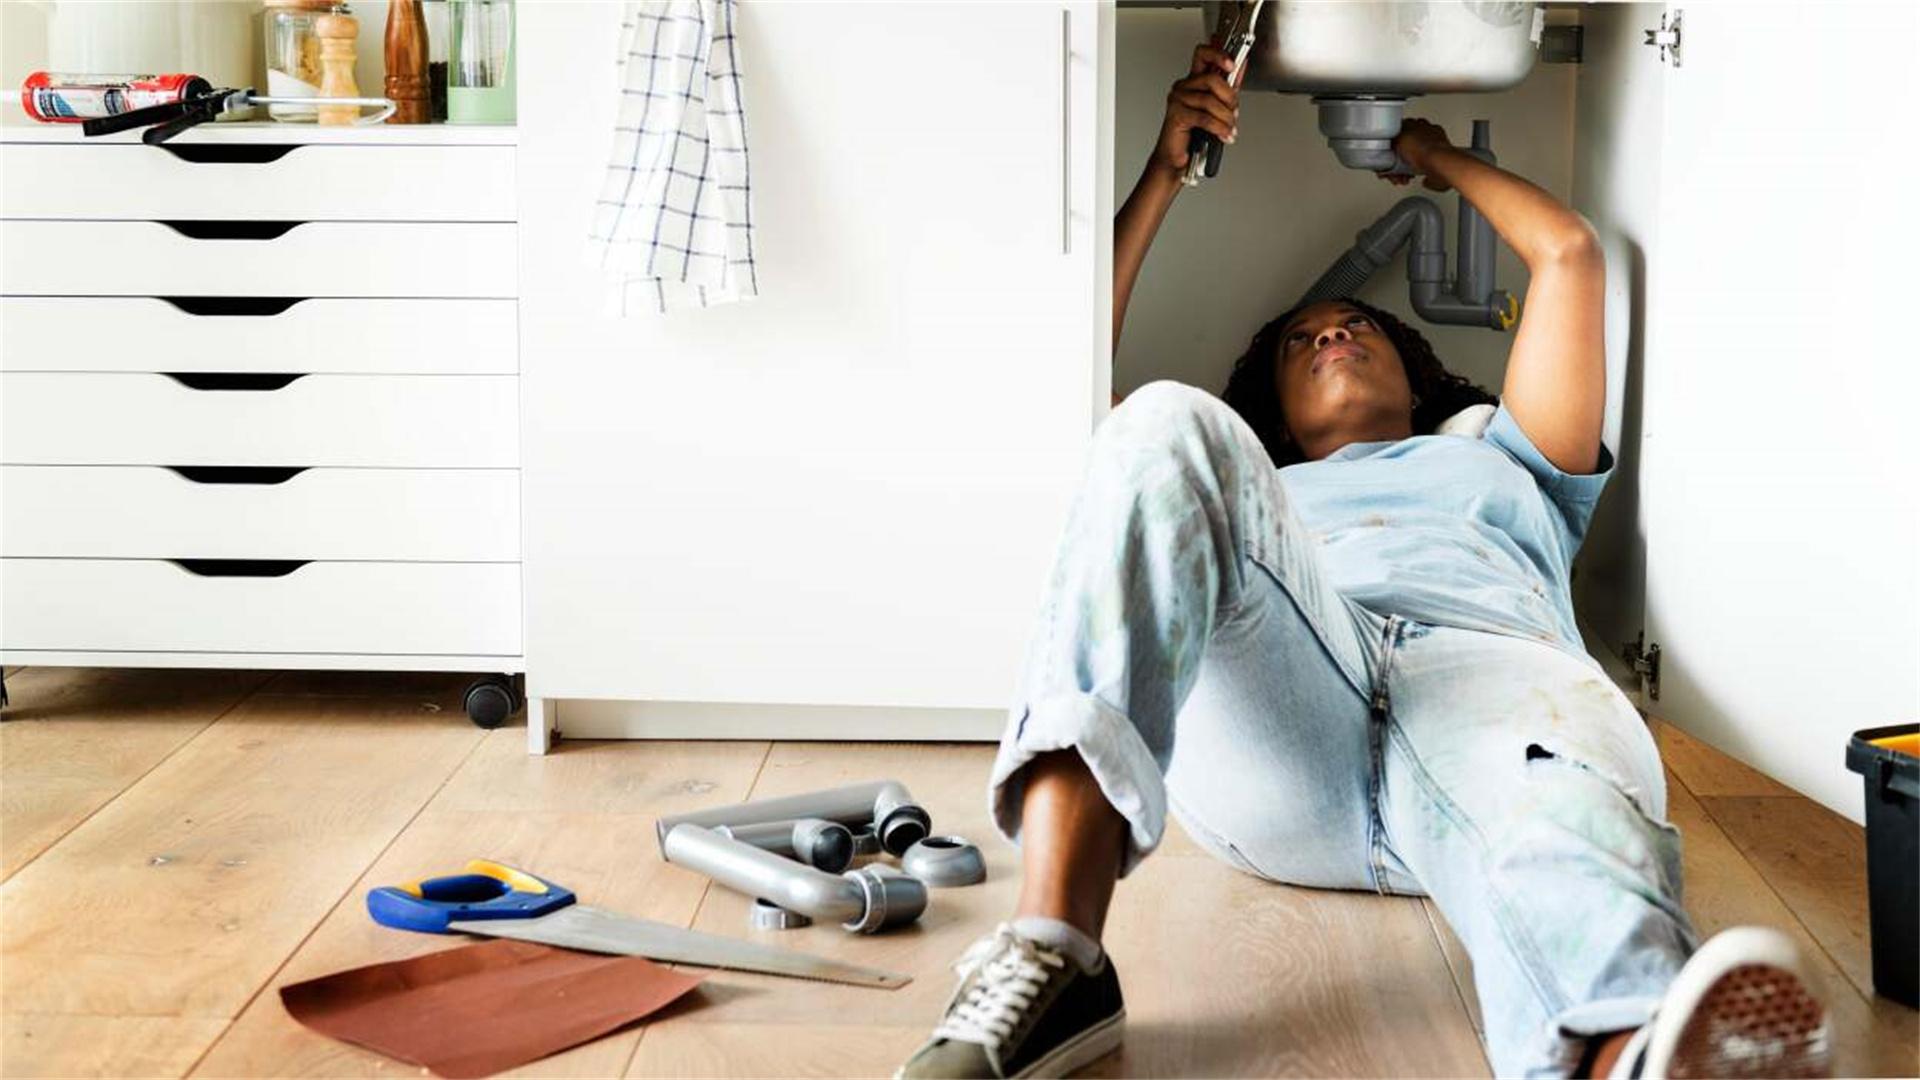
3. Clear a Slow or Blocked Drain
What you'll need: A plunger, a wire hanger or a drain snake, baking soda, and vinegar.
If your bathroom or kitchen sink is draining slowly, it's likely due to a clog made up of hair, gunk, or food debris.
Here's what to do:
Begin with a plunger. Seal the drain and give it several strong pumps.
If it's still clogged, straighten a wire hanger and fish around inside the drain.
For a natural solution, pour ½ cup of baking soda followed by ½ cup of vinegar down the drain. Let it bubble for 10 minutes, then flush with hot water.
For tougher clogs, a cheap plastic drain snake (available for about $5 at hardware stores) can be very effective.
4. Quiet a Squeaky Door
What you'll need: WD-40 or petroleum jelly, a rag, and a screwdriver.
A squeaky door might not seem like a big deal, but over time, it can become extremely irritating for you and your guests.
Fix it in 5 minutes:
Open the door and carefully remove the hinge pins using a screwdriver or by gently tapping them upward.
Wipe the pins clean with a rag.
Apply WD-40, silicone spray, or even petroleum jelly to the pins.
Reinsert the pins and move the door back and forth to distribute the lubricant.
Now you can enjoy the silence.

5. Swap Out a Worn Toilet Flapper
What you'll need: A new flapper (costing between
5−
10), rubber gloves, and an adjustable wrench (optional).
If your toilet keeps running or sounds like it's constantly refilling, the likely culprit is a deteriorated flapper.
Steps:
Turn off the water supply to the toilet (the valve is usually behind the tank).
Flush the toilet to empty the tank.
Unclip the old rubber flapper and attach the new one—most are designed to fit universally.
Turn the water back on and test it.
This simple fix can save a significant amount of water and prevent higher water bills. Plus, it takes less than 15 minutes.
6. Re-Caulk a Bathtub or Sink
What you'll need: A utility knife or a caulk remover tool, bathroom caulk (mold-resistant), a caulking gun, and painter’s tape.
Old caulk not only looks unappealing but also allows moisture to seep behind the walls, leading to mold and water damage.
To re-caulk:
Use a utility knife or remover tool to completely strip out the old caulk.
Clean and dry the area thoroughly.
Apply painter’s tape above and below the seam to create clean lines.
Load your caulking gun and run a smooth bead of caulk along the joint.
Use a damp finger or a caulking tool to smooth it out.
Let it cure for at least 24 hours.
Your bathroom will look much fresher, and you'll prevent long-term damage.
7. Tighten Loose Cabinet Handles and Hinges
What you'll need: A Phillips screwdriver, toothpicks (optional), and wood glue (optional).
Loose cabinet knobs or door hinges can be more than just an annoyance; they can eventually fall off or strip the screw holes.
For a quick fix:
Tighten any loose screws with a screwdriver.
If a screw won't hold, the hole might be stripped. Dip a couple of wooden toothpicks in wood glue and insert them into the hole. Snap them off flush with the surface and reinsert the screw.
This gives the screw something to grip onto again and keeps your cabinets sturdy.
Final Advice for DIY Success
Start small: Don't jump into complex plumbing or electrical projects right away.
Use YouTube: There are excellent step-by-step video tutorials for almost every repair mentioned above.
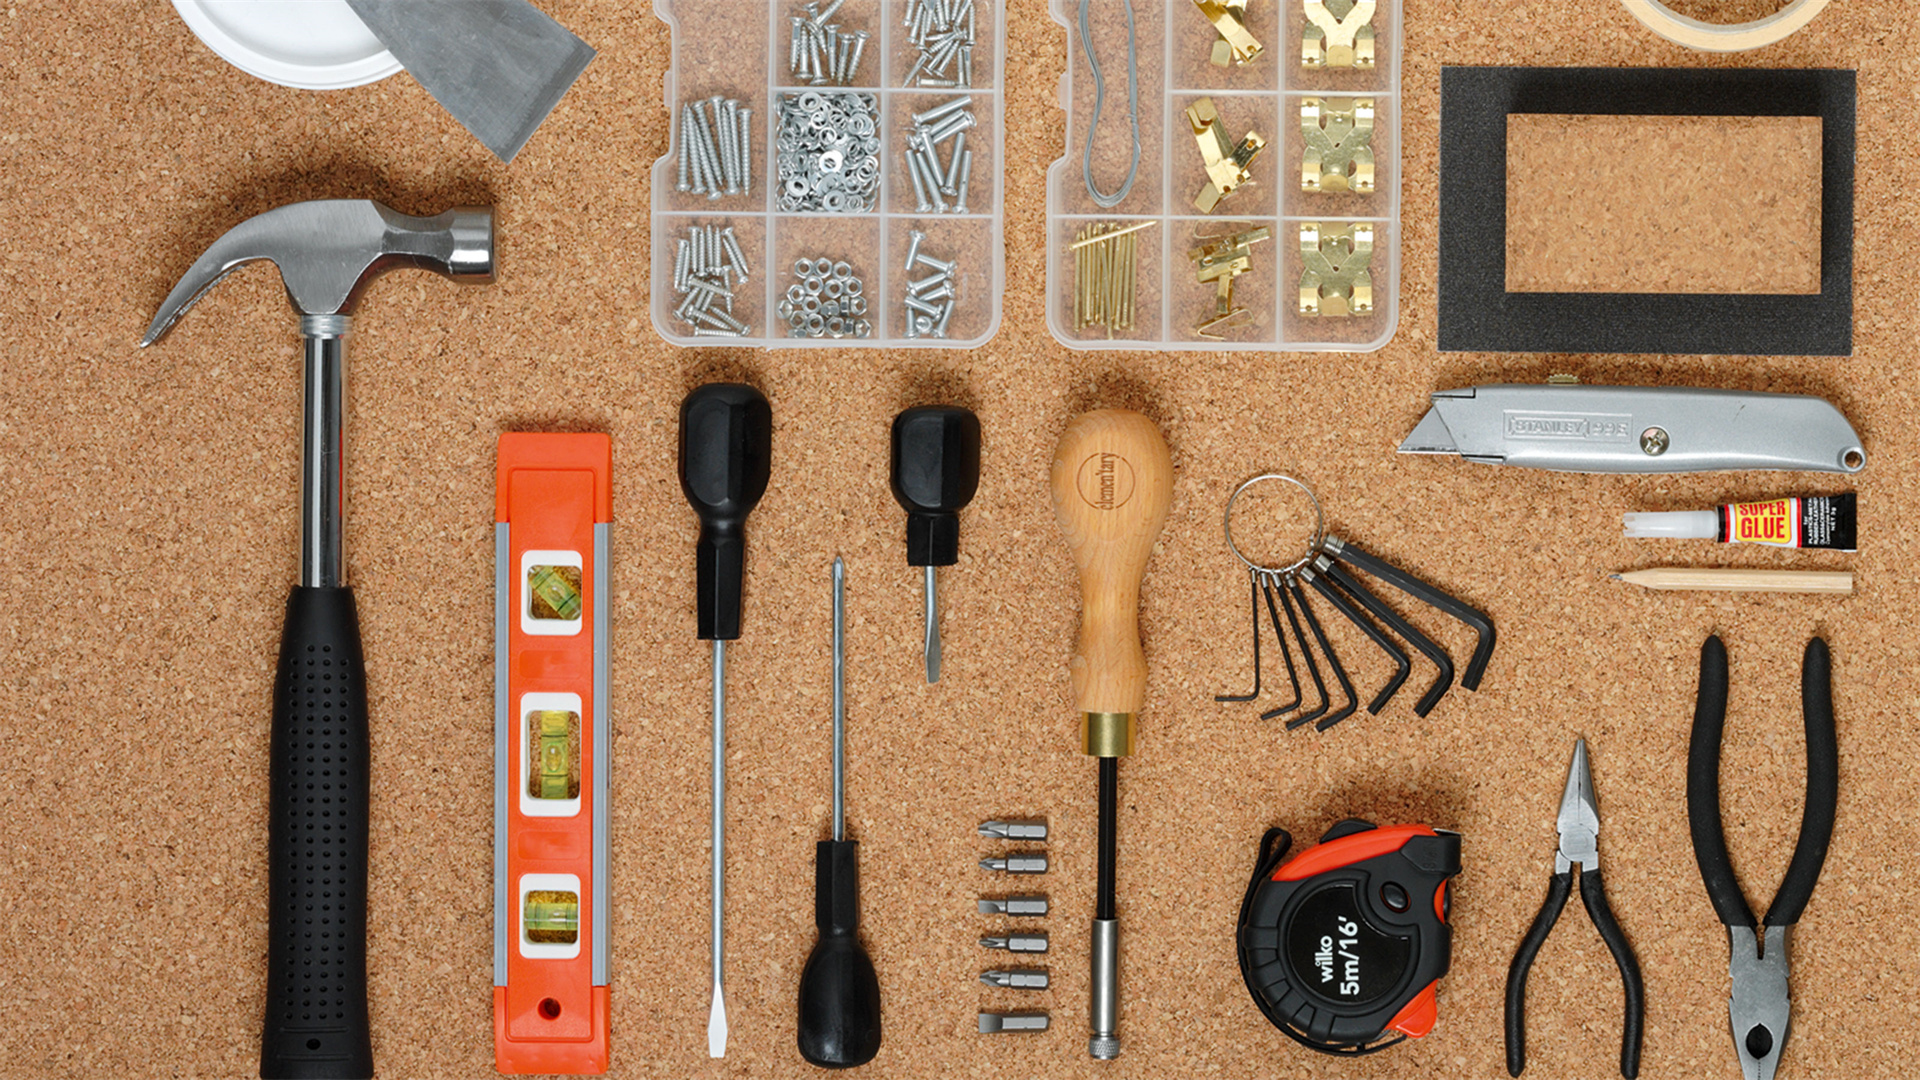
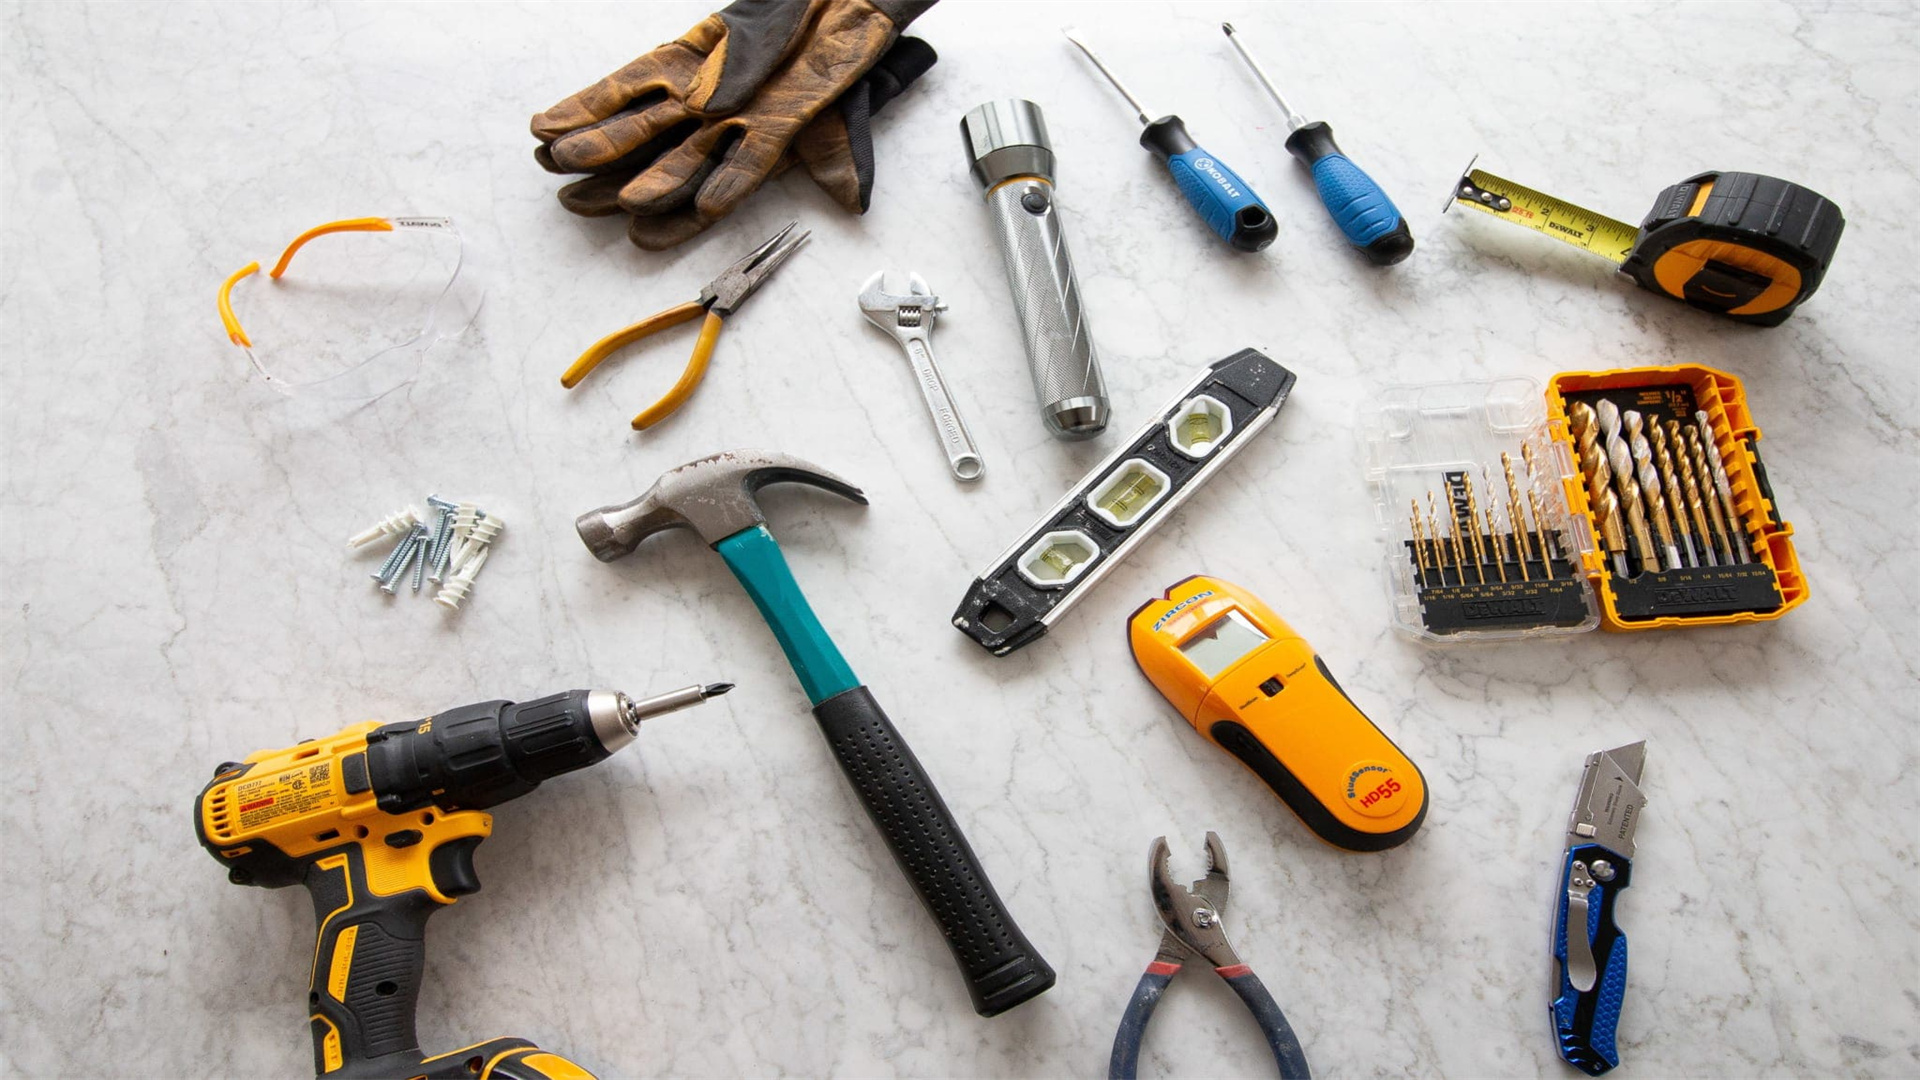
Keep a toolkit: A basic home toolkit should include a hammer, screwdrivers, pliers, an adjustable wrench, a utility knife, a level, and a tape measure.
Most importantly, don't be afraid to try: These repairs don't require a professional—just a bit of confidence and a willingness to learn. Plus, every successful DIY fix enhances your skills and saves you money.
Conclusion
The next time something goes wrong around the house, instead of reaching for the phone to call a professional, grab your toolkit. You'll be amazed at how much you can fix with your own hands and how great it feels afterward.
Take on these DIY projects, and you might just become the go-to handyman (or handywoman) in your own home.