DIY Garden Trellises to Support Climbing Plants
Climbing plants, such as tomatoes, peas, roses, and ivy, bring vertical beauty and functionality to any garden. They maximize space, provide shade, and can even improve air circulation. However, without proper support, these plants may become tangled or fail to thrive. That's where DIY garden trellises come in—they offer a cost-effective, customizable solution to nurture your climbers. In this comprehensive guide, we'll explore various DIY trellis methods, from simple designs using recycled materials to more elaborate structures. Each section will detail the advantages and disadvantages, along with step-by-step instructions to help you build a trellis that suits your garden's needs. Whether you're a beginner or an experienced gardener, this article will equip you with the knowledge to create sturdy, attractive supports that enhance your outdoor space.
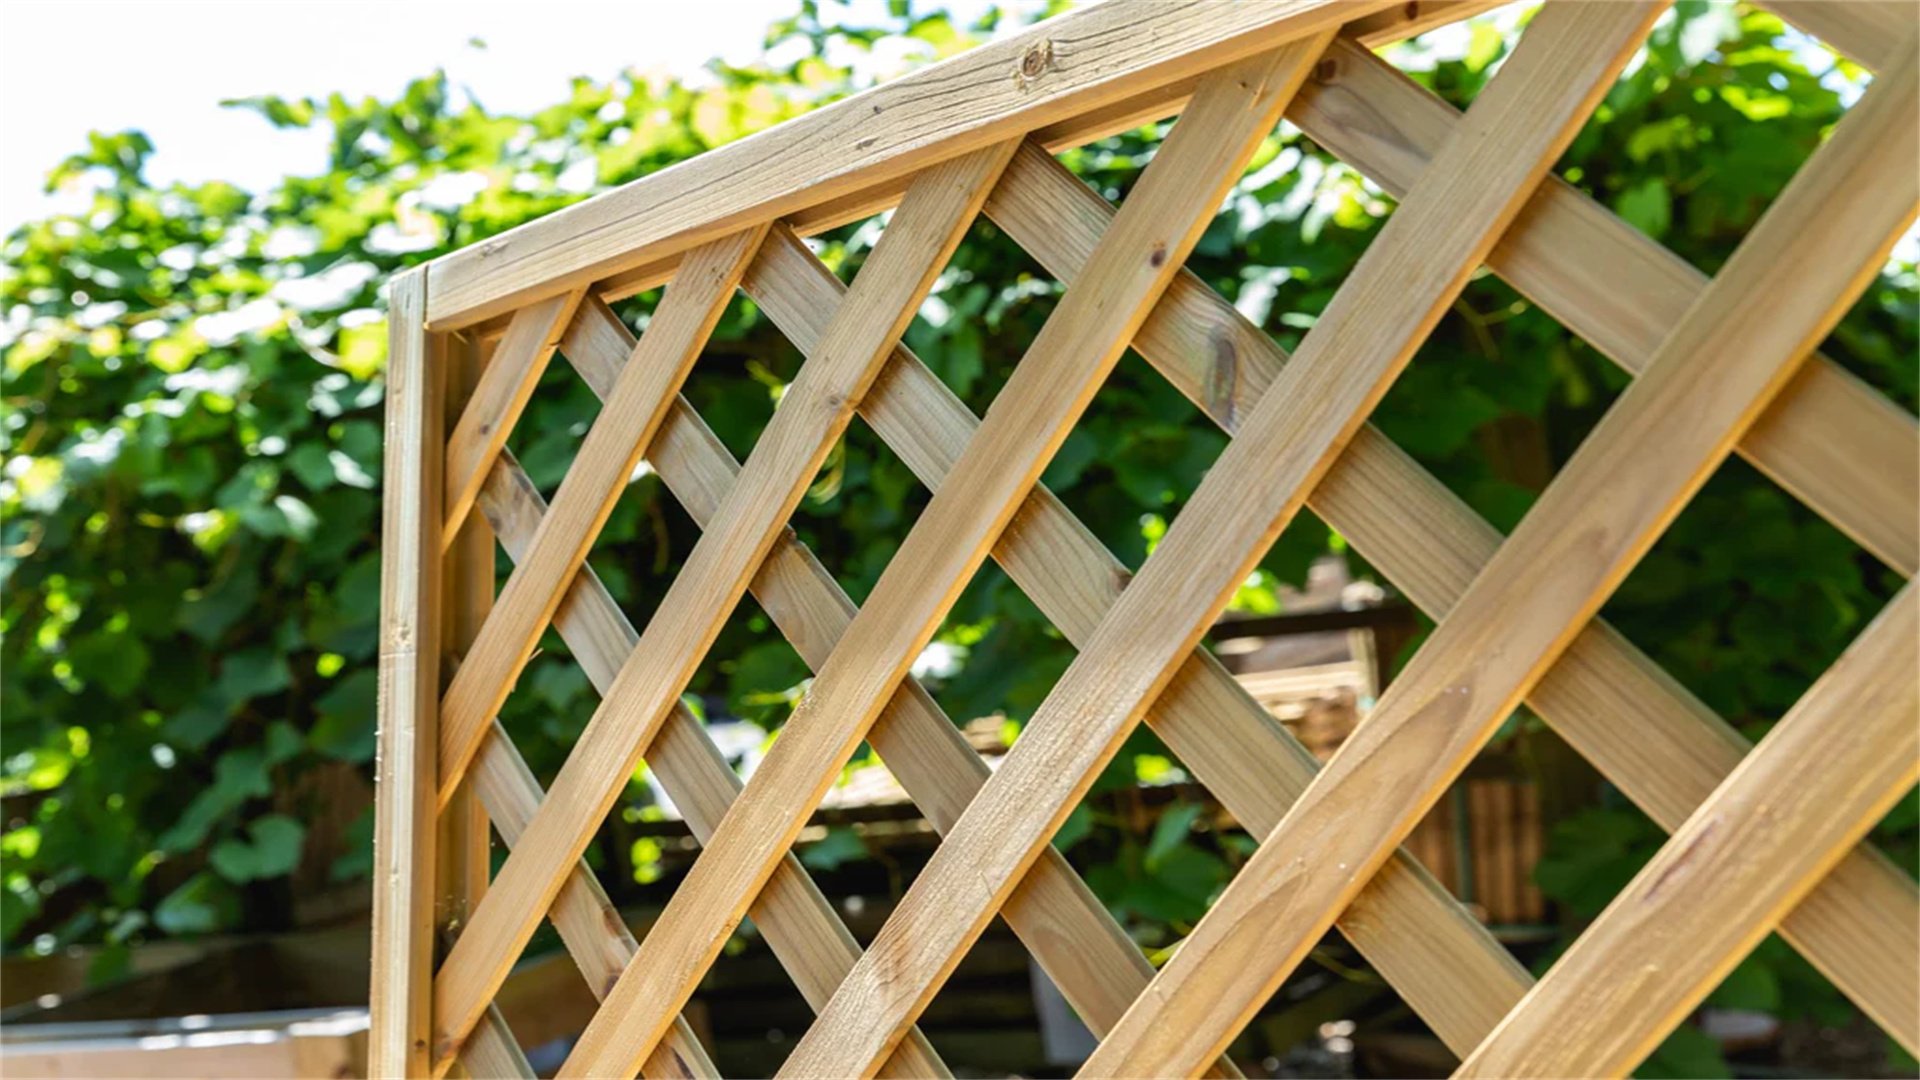
Method 1: Wooden Lattice Trellis 🏗️
Wooden lattice trellises are a timeless choice for gardens, offering a natural aesthetic that blends seamlessly with plants. They are ideal for supporting lightweight to medium-weight climbers like clematis or beans. You can easily customize the size and design to fit specific areas, such as against walls or as freestanding structures. Building a wooden lattice involves basic carpentry skills and common tools, making it accessible for most DIY enthusiasts. In this section, we'll dive into the pros and cons, materials needed, and a detailed construction process to ensure your trellis is both functional and durable.
Advantages and Disadvantages
Advantages:
- Wood is readily available at hardware stores and can be sourced sustainably from recycled pallets or lumber.
- It's easy to cut, drill, and assemble with basic tools like saws and hammers.
- Wooden trellises can be painted or stained to match garden decor, and they provide excellent grip for climbing plants due to their rough texture.
- Additionally, wood offers good insulation, protecting plants from extreme temperatures.
Disadvantages:
- Wood is susceptible to rot, mold, and insect damage if not treated properly.
- It requires regular maintenance, such as sealing or repainting, to prolong its lifespan.
- In wet climates, wood may warp or decay faster, and heavier plants might stress the structure if not reinforced adequately.
- Cost can also be a factor if using high-quality hardwoods.
How to Build a Wooden Lattice Trellis
- Gather materials: You'll need pressure-treated wood strips (e.g., 1x2 inches for frames, 1x1 inches for lattice), outdoor-grade screws (stainless steel or galvanized), wood glue, a saw (hand saw or circular saw), a drill with bits, a measuring tape, a level, sandpaper, and protective gear like gloves and goggles. Optional items include paint or stain for finishing.
- Design and measure: Decide on the trellis dimensions based on your garden space and plant needs. For example, a 4-foot by 6-foot trellis is common for wall-mounted designs. Sketch a plan, noting the frame size and lattice pattern (e.g., square or diagonal grids). Measure and mark the wood pieces accordingly, ensuring accuracy for a stable structure.
- Cut the wood: Using a saw, cut the wood strips to the required lengths. For the frame, cut two vertical pieces and two horizontal pieces to form a rectangle. For the lattice, cut multiple strips to create the grid—typically, these are shorter pieces that fit within the frame. Sand all edges smooth to prevent splinters and ensure a neat finish.
- Assemble the frame: Lay out the frame pieces on a flat surface. Apply wood glue to the joints for extra strength, then drill pilot holes to avoid splitting. Secure the corners with screws, using a level to check that the frame is square. Allow the glue to dry completely before proceeding.
- Attach the lattice strips: Arrange the lattice strips in your chosen pattern over the frame. For a basic grid, place horizontal strips first, spacing them evenly (e.g., 6 inches apart), and secure with screws. Then, add vertical strips, crossing over the horizontals, and screw them in place. For diagonal designs, cut strips at angles and overlap them to form a diamond pattern. Ensure all strips are firmly attached to prevent wobbling.
- Finish and install: Sand the entire trellis lightly to smooth any rough spots. Apply a coat of outdoor paint or stain to protect the wood from moisture and UV rays. Let it dry thoroughly. To install, position the trellis against a wall or in the ground. For wall mounting, use brackets or screws anchored into studs. For ground installation, dig holes for the frame legs, set them in concrete for stability, or use stakes driven into the soil. Test the stability by gently shaking the trellis before training plants onto it.
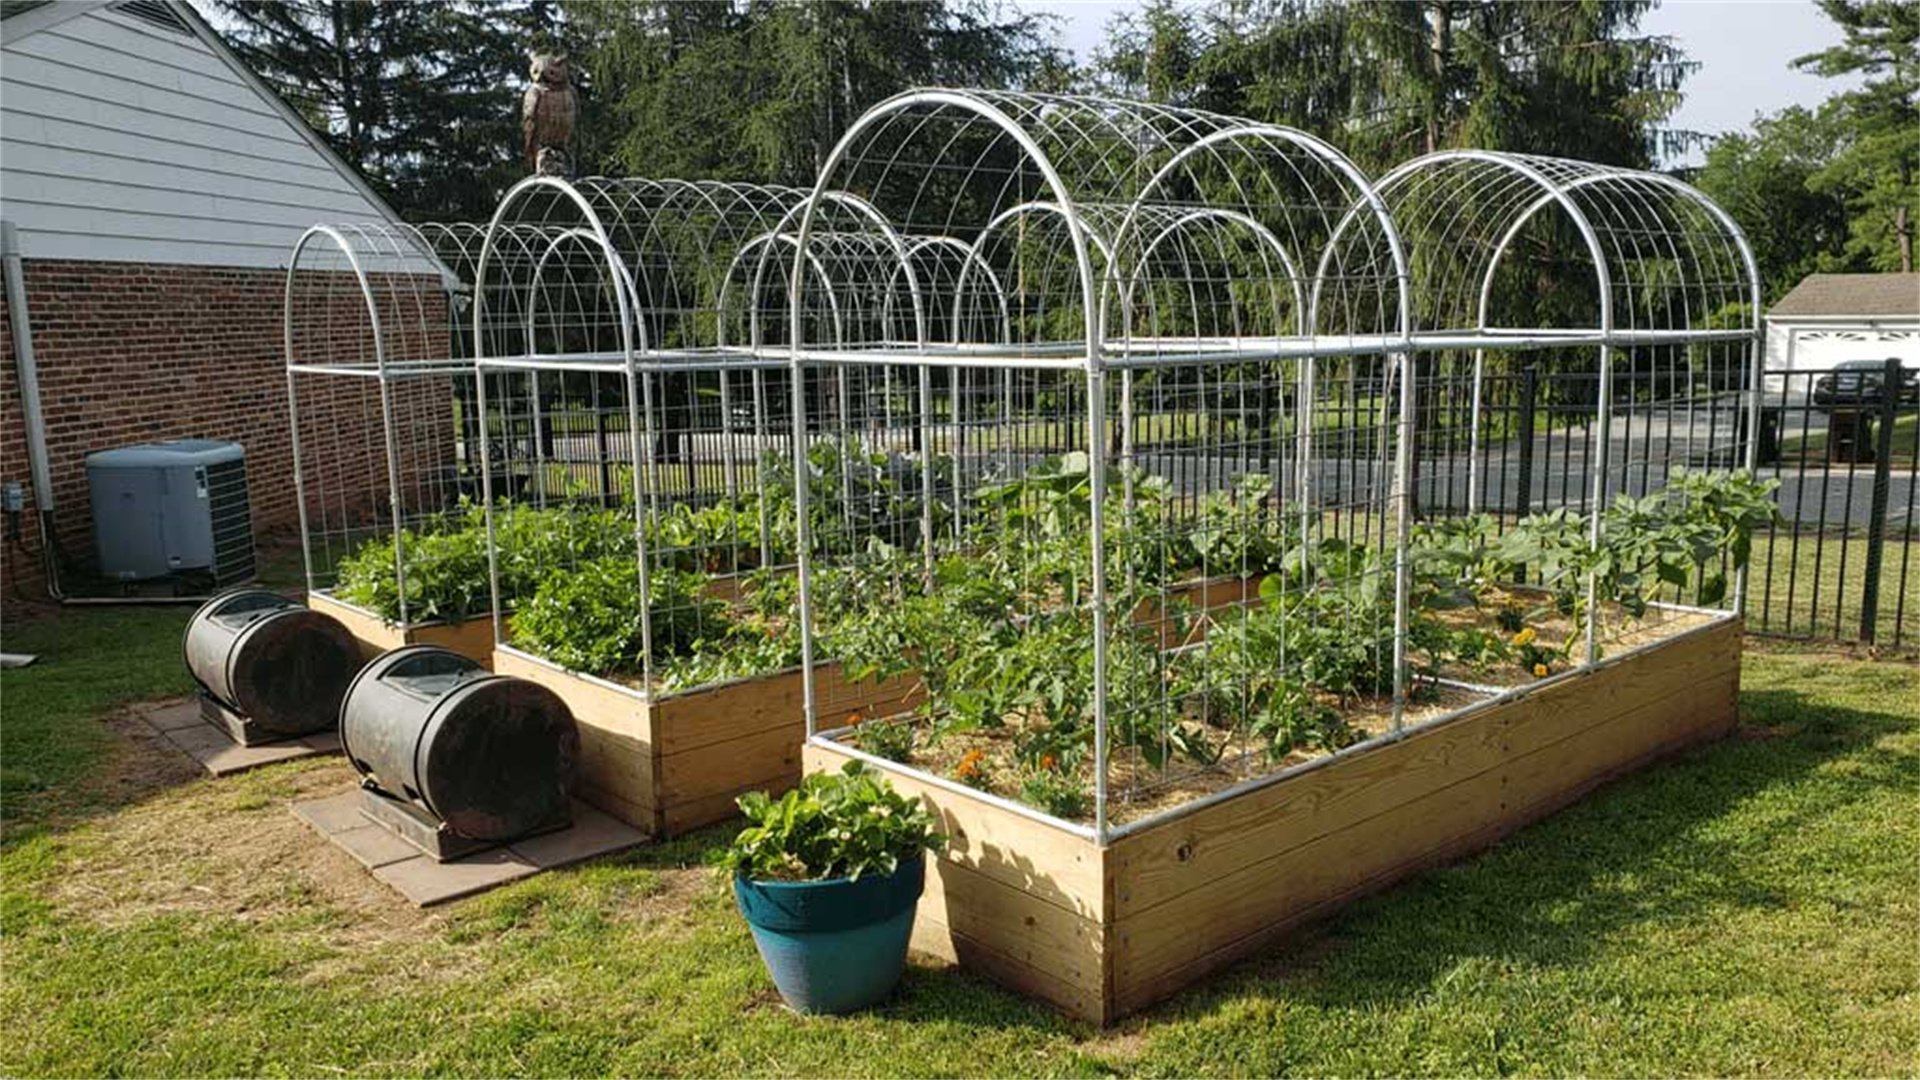
Method 2: Metal Wire and Rebar Trellis 🔩
Metal trellises offer a sleek, industrial look that can withstand harsh weather conditions. They are perfect for heavy climbers like grapes or wisteria, providing robust support without occupying much visual space. This method often uses materials like rebar (reinforcing bar) or galvanized wire, which are durable and long-lasting. While metalworking might seem daunting, simple designs can be crafted with minimal tools. In this section, we'll cover the benefits and drawbacks of metal trellises, along with a practical guide to constructing one using rebar and wire mesh.
Advantages and Disadvantages
Advantages:
- Metal is extremely durable and can last for decades with minimal maintenance.
- It resists rot, insects, and weathering better than wood.
- Metal trellises are often lighter in appearance, allowing more light to reach plants, and they can be shaped into intricate designs like arches or obelisks.
- Materials like rebar are inexpensive and readily available at construction suppliers.
Disadvantages:
- Metal can rust if not coated with rust-resistant paint, especially in humid areas.
- It conducts heat, which might scorch plants in hot climates.
- Cutting and bending metal requires specialized tools like angle grinders or metal saws, posing safety risks if not handled carefully.
- Sharp edges can also be hazardous during construction and installation.
How to Build a Metal Wire and Rebar Trellis
- Gather materials: You'll need rebar rods (e.g., 1/2-inch diameter, cut to desired lengths), galvanized wire mesh (with large gaps for plant growth), wire cutters, pliers, a metal file, a hammer, a drill with metal bits, and safety equipment like gloves and eye protection. Optional items include rust-proof spray paint and concrete for setting posts.
- Design and measure: Plan the trellis shape—common options include a flat panel or a freestarching arch. For a panel trellis, decide on dimensions (e.g., 3 feet wide by 5 feet tall). Measure and mark the rebar for the frame: two vertical posts and two horizontal crossbars. Cut the rebar to size using a metal saw or angle grinder, and file any sharp ends smooth.
- Assemble the frame: Lay the rebar pieces on a flat surface. For a panel, position the vertical posts parallel, then place the horizontal crossbars at the top and bottom. Use wire or metal brackets to secure the joints: wrap galvanized wire tightly around the intersections and twist with pliers to lock them in place. Alternatively, drill holes and bolt the pieces together for added strength.
- Attach the wire mesh: Cut the wire mesh to fit within the rebar frame using wire cutters. Overlap the mesh edges slightly to avoid gaps. Secure the mesh to the frame by wrapping wire through the mesh holes and around the rebar at regular intervals (e.g., every 6 inches). Ensure the mesh is taut to prevent sagging under plant weight.
- Finish and install: To prevent rust, spray the entire trellis with a rust-resistant paint, covering all surfaces evenly. Allow it to dry. For installation, dig holes for the vertical posts, about 1-2 feet deep depending on soil stability. Set the posts in the holes, fill with concrete or tightly packed soil, and use a level to ensure they are plumb. Let the concrete cure for 24 hours before attaching plants. For lighter designs, you can lean the trellis against a wall and secure it with brackets.
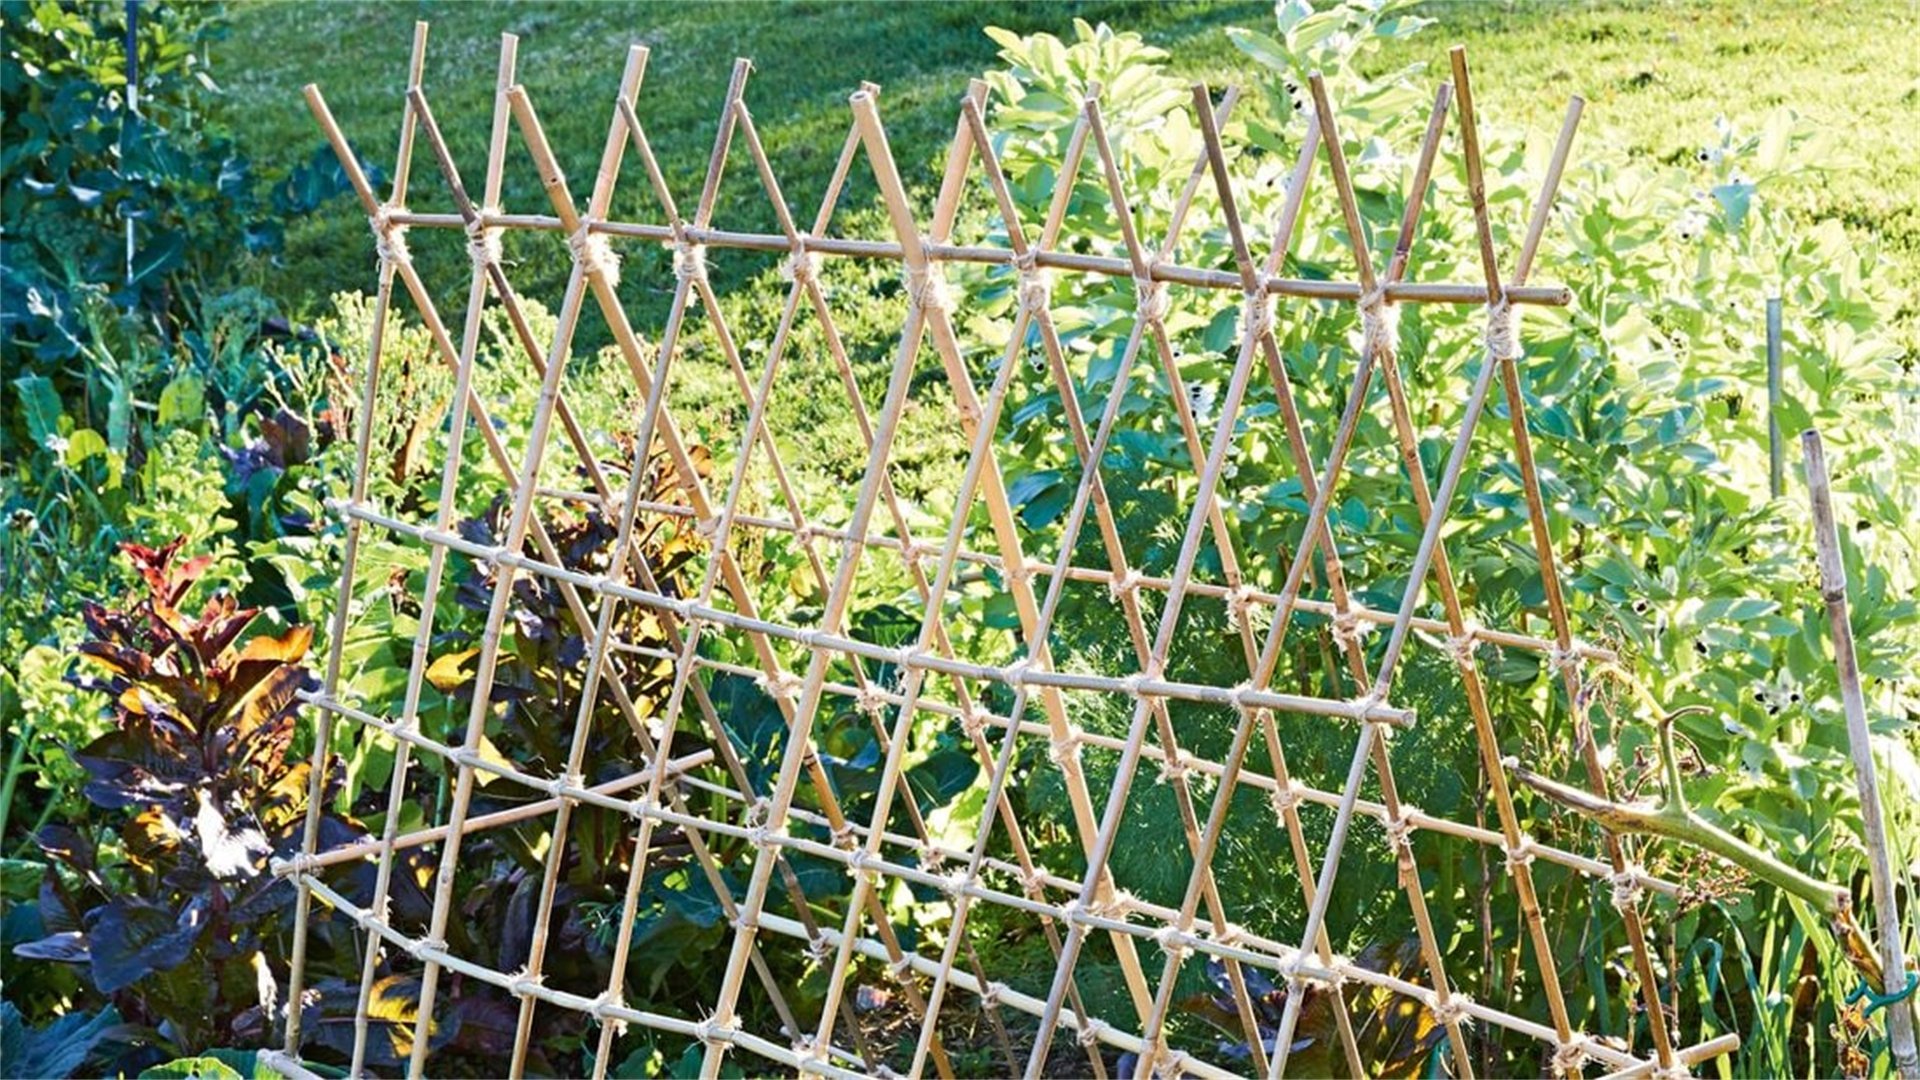
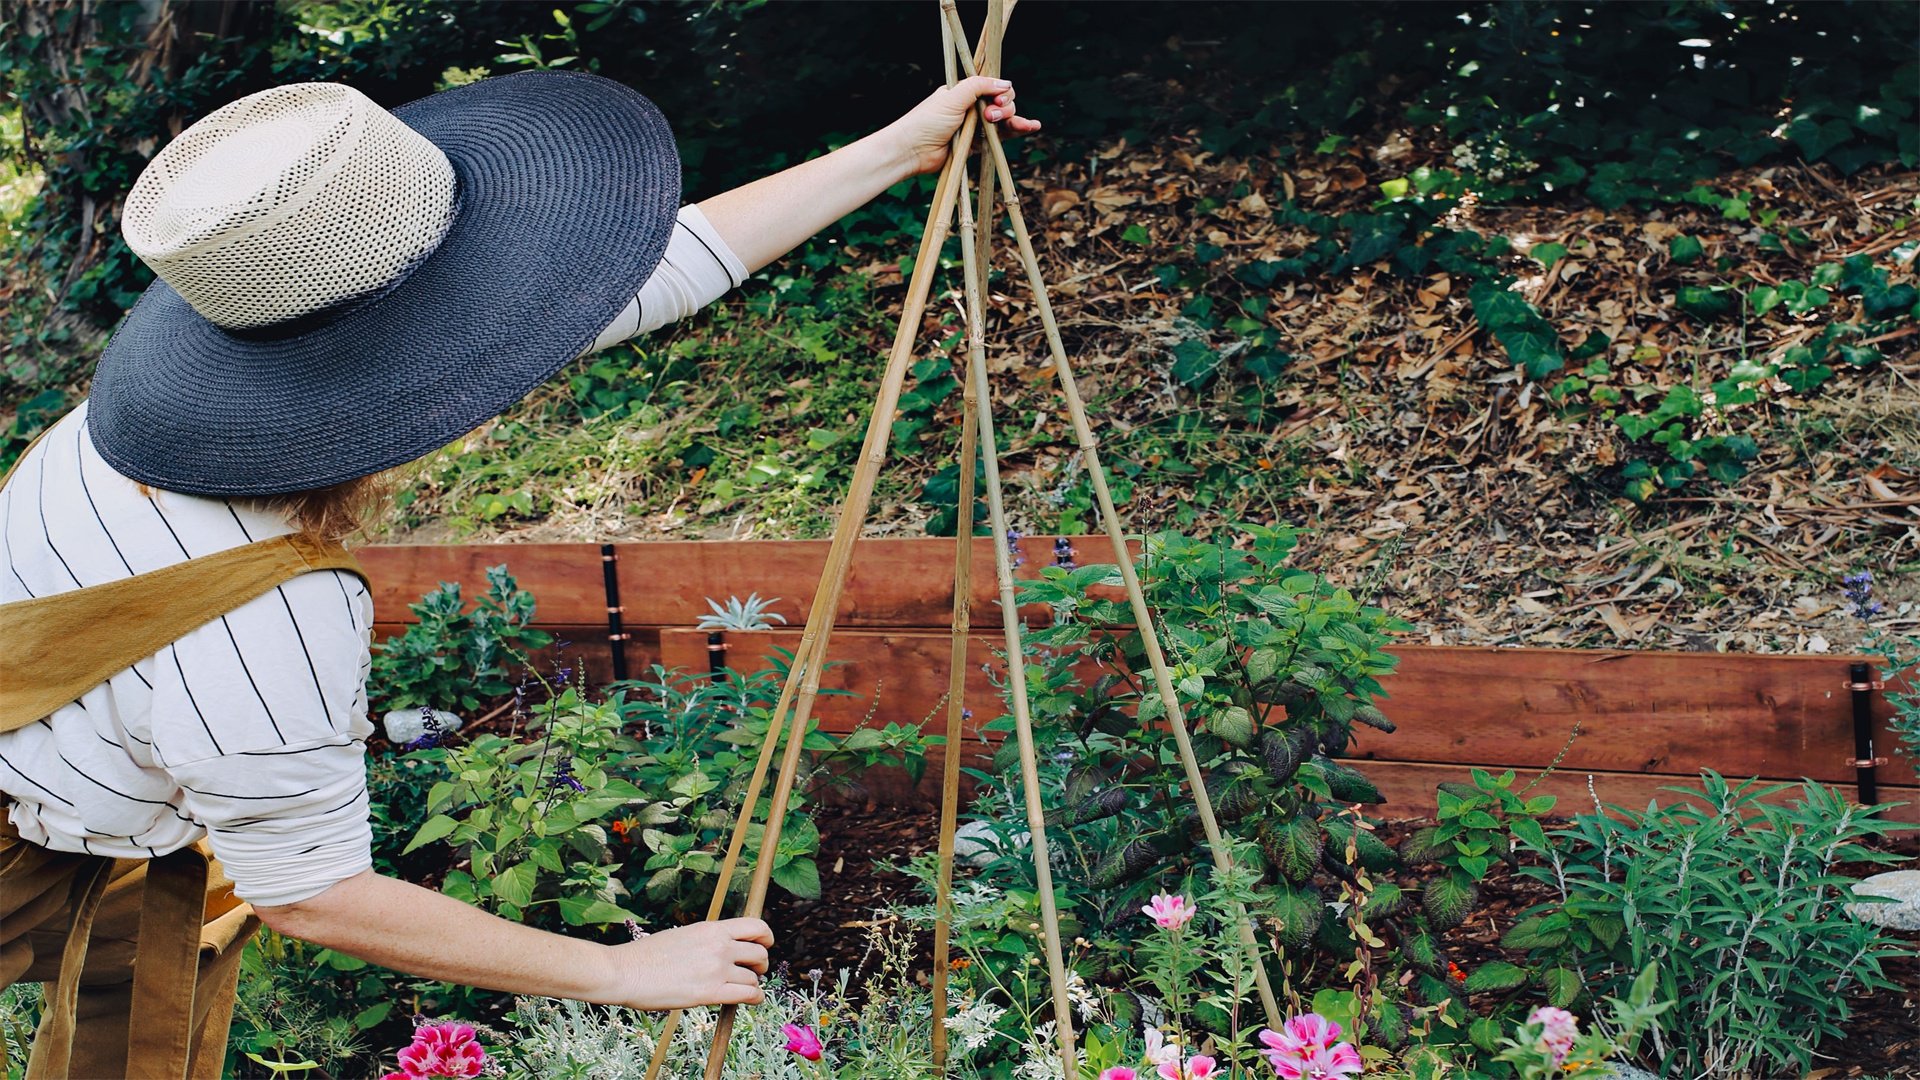
Method 3: Bamboo and Twine Trellis 🎋
Bamboo trellises bring an eco-friendly, rustic charm to gardens, often using renewable materials that are lightweight yet strong. They are excellent for lightweight climbers like peas or cucumbers, and their natural look complements organic garden styles. Bamboo poles can be harvested sustainably or purchased from garden centers, and twine or jute rope adds a traditional touch. This method requires no power tools, making it a quiet and meditative project. Here, we'll explore the advantages and disadvantages of bamboo trellises, followed by a step-by-step guide to building a simple A-frame design.
Advantages and Disadvantages
Advantages:
- Bamboo is a fast-growing, renewable resource that is biodegradable and environmentally friendly.
- It's lightweight, easy to cut with a handsaw, and naturally resistant to pests and moisture.
- Bamboo trellises are flexible, allowing for creative shapes like teepees or arches, and they blend well with garden foliage.
- Cost is typically low, especially if using harvested bamboo.
Disadvantages:
- Bamboo can degrade over time when exposed to constant moisture or soil contact, lasting 2-5 years on average.
- It may not support very heavy plants without reinforcement.
- The poles can splinter if not handled carefully, and tying secure knots with twine requires practice.
- In windy areas, bamboo trellises might need anchoring to prevent tipping.
How to Build a Bamboo and Twine Trellis
- Gather materials: You'll need bamboo poles (various lengths, e.g., 6-8 feet long), natural twine or jute rope, a handsaw, a measuring tape, scissors, and a mallet. Optional items include wood stakes for stability and a drill for making holes in bamboo.
- Design and measure: Decide on the trellis type—an A-frame is popular for vegetable gardens. For an A-frame, you'll need two long poles for the sides and several shorter poles for crossbars. Measure and cut the bamboo to size: two poles at 6 feet for the sides, and 4-6 poles at 3 feet for crossbars. Remove any leaves or branches from the poles.
- Assemble the A-frame: Lay the two long poles on the ground, crossing them at the top to form an "A" shape. The crossing point should be about 1 foot from the top. Tie them together securely with twine using a square knot or lashing technique. Spread the bottom ends apart to create a stable base, typically 3-4 feet wide.
- Add crossbars: Place the shorter bamboo poles horizontally between the two sides to create rungs for climbing plants. Space them evenly, starting near the bottom and working upward. At each intersection, tie the crossbar to the side poles with twine, wrapping multiple times for strength. Ensure all knots are tight to prevent slipping.
- Finish and install: Check the structure for stability by gently shaking it. To install, position the A-frame over a garden bed where plants are already growing or will be planted. Push the bottom ends of the side poles into the soil, about 6 inches deep, using a mallet if needed. For extra security, drive wood stakes into the ground next to the poles and tie them together. Train young plants onto the trellis by loosely tying stems to the crossbars with twine.
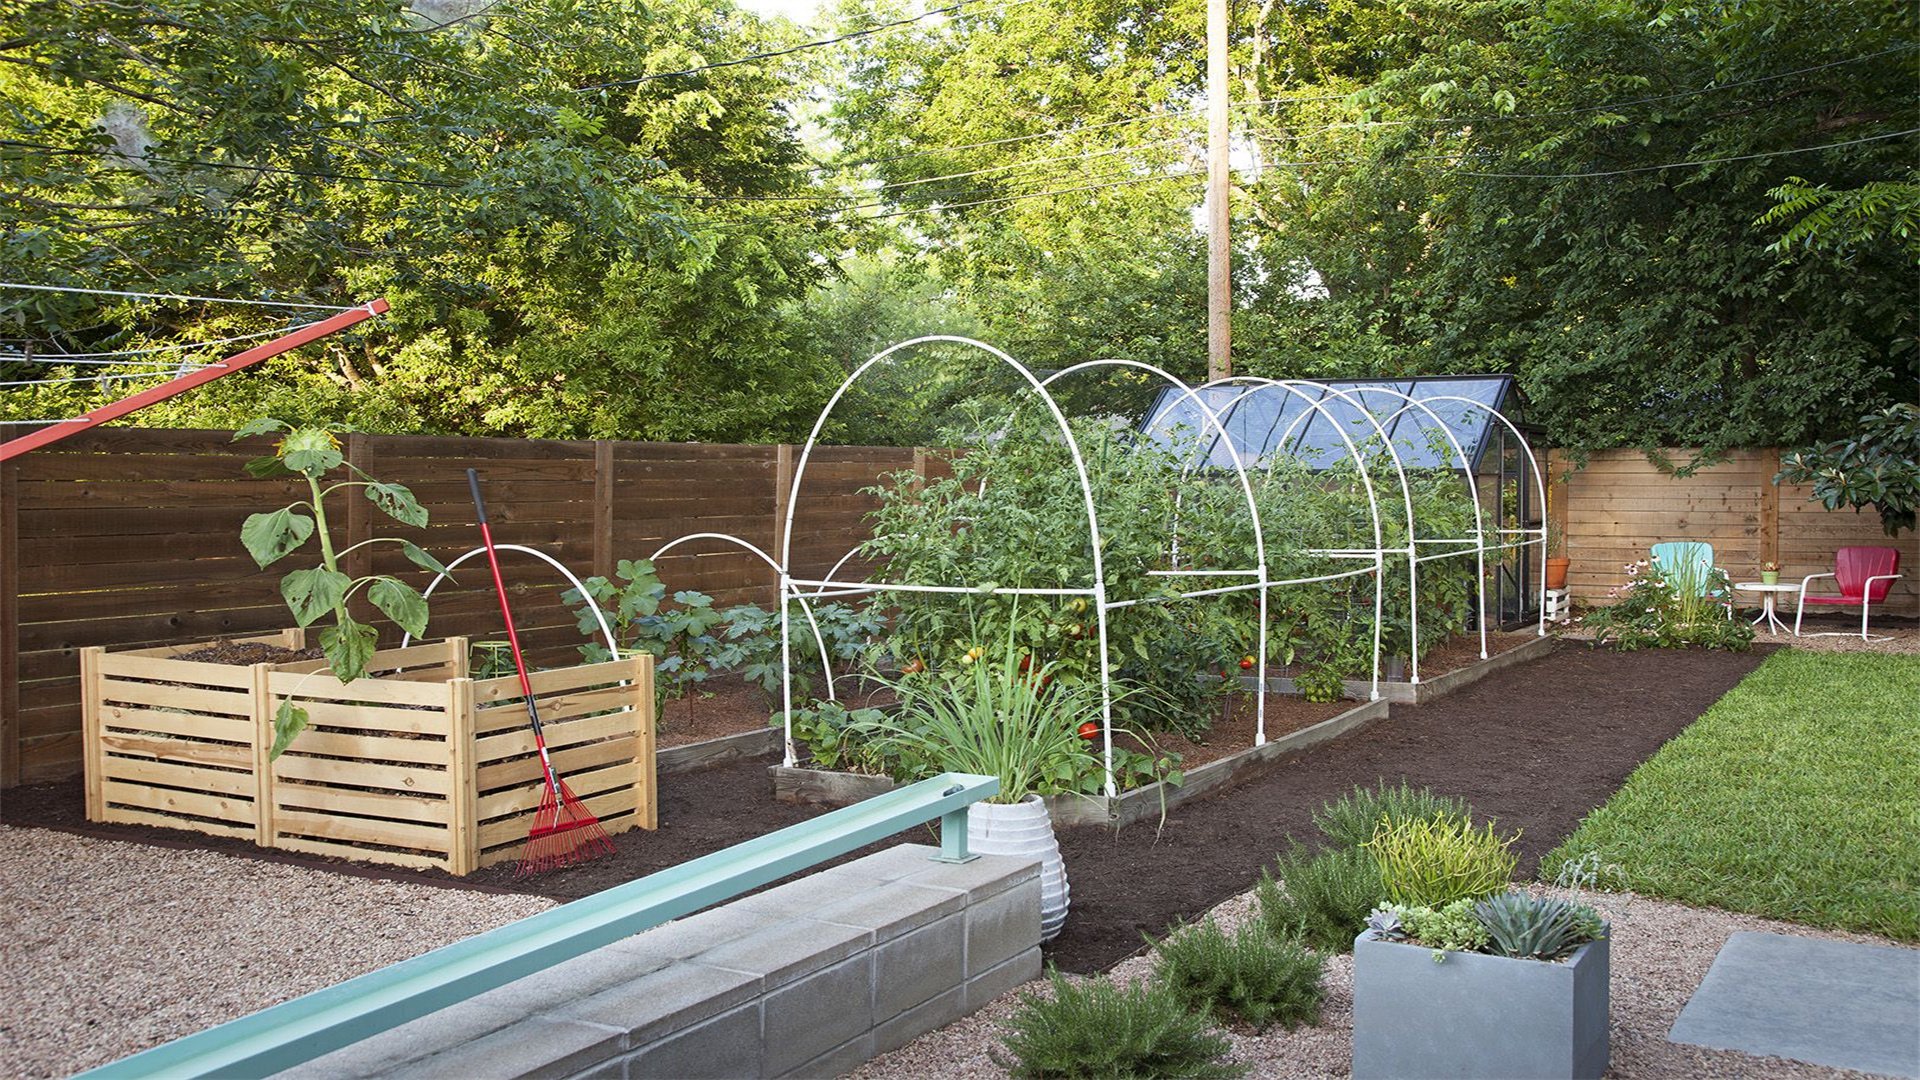
Method 4: PVC Pipe Trellis 🛠️
PVC pipe trellises are a modern, versatile option that is lightweight, waterproof, and easy to assemble. They are ideal for gardeners seeking a low-maintenance solution that can be customized into various shapes, such as grids, arches, or even decorative panels. PVC is inexpensive and available at most hardware stores, and it can be painted to match garden aesthetics. While not as natural-looking as wood or bamboo, PVC offers durability and resistance to rot and insects. In this section, we'll discuss the pros and cons of PVC trellises, along with a detailed guide to building a modular grid design.
Advantages and Disadvantages
Advantages:
- PVC is highly durable, resistant to moisture, UV rays (if treated), and corrosion, making it suitable for all climates.
- It's lightweight and easy to cut with a PVC cutter or handsaw, and assembly requires only PVC glue or connectors, no drilling.
- PVC trellises can be disassembled and reused, offering flexibility for seasonal changes.
- They are also easy to clean with soap and water.
Disadvantages:
- PVC can become brittle in extreme cold, potentially cracking under pressure.
- It has a plastic appearance that may not appeal to those preferring natural materials.
- Over time, UV exposure can cause fading or degradation if not UV-resistant.
- The production of PVC involves chemicals that are not environmentally friendly, though recycled options exist.
How to Build a PVC Pipe Trellis
- Gather materials: You'll need PVC pipes (e.g., 1-inch diameter, cut into lengths), PVC connectors (such as elbows, tees, and crosses), PVC cutter or saw, PVC cement, measuring tape, a marker, and safety glasses. Optional items include spray paint for outdoor use and zip ties for additional securing.
- Design and measure: Plan a grid trellis, for instance, 4 feet wide by 6 feet tall. Sketch the layout, noting where pipes will connect. Measure and mark the PVC pipes: for the frame, cut two vertical pipes at 6 feet, two horizontal pipes at 4 feet, and multiple cross pipes at shorter lengths (e.g., 2 feet) for the grid. Cut all pieces using a PVC cutter, ensuring clean edges.
- Assemble the frame: Dry-fit the pieces first to check fit. For the outer frame, connect the vertical and horizontal pipes using elbow connectors at the corners. Apply PVC cement to the connector interiors and pipe ends, then press together firmly, holding for a few seconds to bond. Allow the cement to set as per manufacturer instructions.
- Add the grid: Inside the frame, attach cross pipes to create a grid pattern. Use tee connectors at intersections: for example, place a tee on a vertical pipe, insert a cross pipe, and repeat horizontally. Secure all connections with PVC cement. For a simpler design, you can drill small holes in the pipes and use zip ties to hold cross pipes in place without connectors.
- Finish and install: Once assembled, let the trellis cure for 24 hours to ensure strong bonds. If desired, spray paint with outdoor-rated paint to add color or blend with surroundings. To install, position the trellis against a wall or as a freestanding unit. For wall mounting, use PVC brackets or screw through pre-drilled holes in the frame. For ground installation, attach PVC pipes as legs, bury them in soil, or use stakes. Test stability before adding plants.

Method 5: Recycled Material Trellis (Using Old Ladders or Pallets) ♻️
Recycled material trellises are a creative and sustainable way to repurpose items like old ladders, wooden pallets, or even bicycle wheels. They add unique character to gardens while reducing waste. These trellises can be quick to assemble, often requiring minimal modification, and they are perfect for gardeners on a budget. In this section, we'll focus on using an old wooden ladder as a trellis, highlighting its advantages and disadvantages, along with a straightforward implementation guide.
Advantages and Disadvantages
Advantages:
- Using recycled materials is eco-friendly, reducing landfill waste and saving money.
- Old ladders or pallets often have a vintage look that adds charm to garden spaces.
- They are usually pre-assembled, so construction time is minimal—mostly involving cleaning and minor adjustments.
- These trellises can be easily moved or repurposed again.
Disadvantages:
- Recycled materials may be weathered or weak, requiring inspection for rot or damage.
- They might not be as sturdy as purpose-built trellises, especially for heavy plants.
- Sizes and shapes are fixed, limiting customization.
- There's also a risk of chemical residues from old paint or treatments, so caution is needed when handling.
How to Build a Recycled Ladder Trellis
- Gather materials: You'll need an old wooden ladder (ensure it's intact and safe), sandpaper, a brush, outdoor paint or sealant (if desired), screws or brackets, a drill, and a level. Optional items include additional wood strips for reinforcement and gardening twine.
- Inspect and prepare: Check the ladder for stability: tighten any loose rungs, replace broken parts, and sand rough areas to prevent splinters. Clean off dirt or old paint using a brush or mild detergent. Let it dry completely. If the ladder has chemical treatments, consider wearing gloves and applying a sealant to contain residues.
- Modify if needed: For a taller trellis, you can lean two ladders together in an A-frame. To add climbing surfaces, attach horizontal wood strips between the ladder sides using screws, creating extra rungs. If the ladder is too wide, you can cut it down to size with a saw, but ensure structural integrity.
- Finish and install: Apply a coat of outdoor paint or sealant to protect the wood and enhance appearance. Allow it to dry. To install, position the ladder over a plant bed or against a wall. For leaning, spread the legs securely on the ground and push them slightly into the soil. For wall mounting, attach brackets to the ladder back and screw into wall studs. Use a level to ensure it's straight. Train plants onto the rungs by gently tying stems with twine.
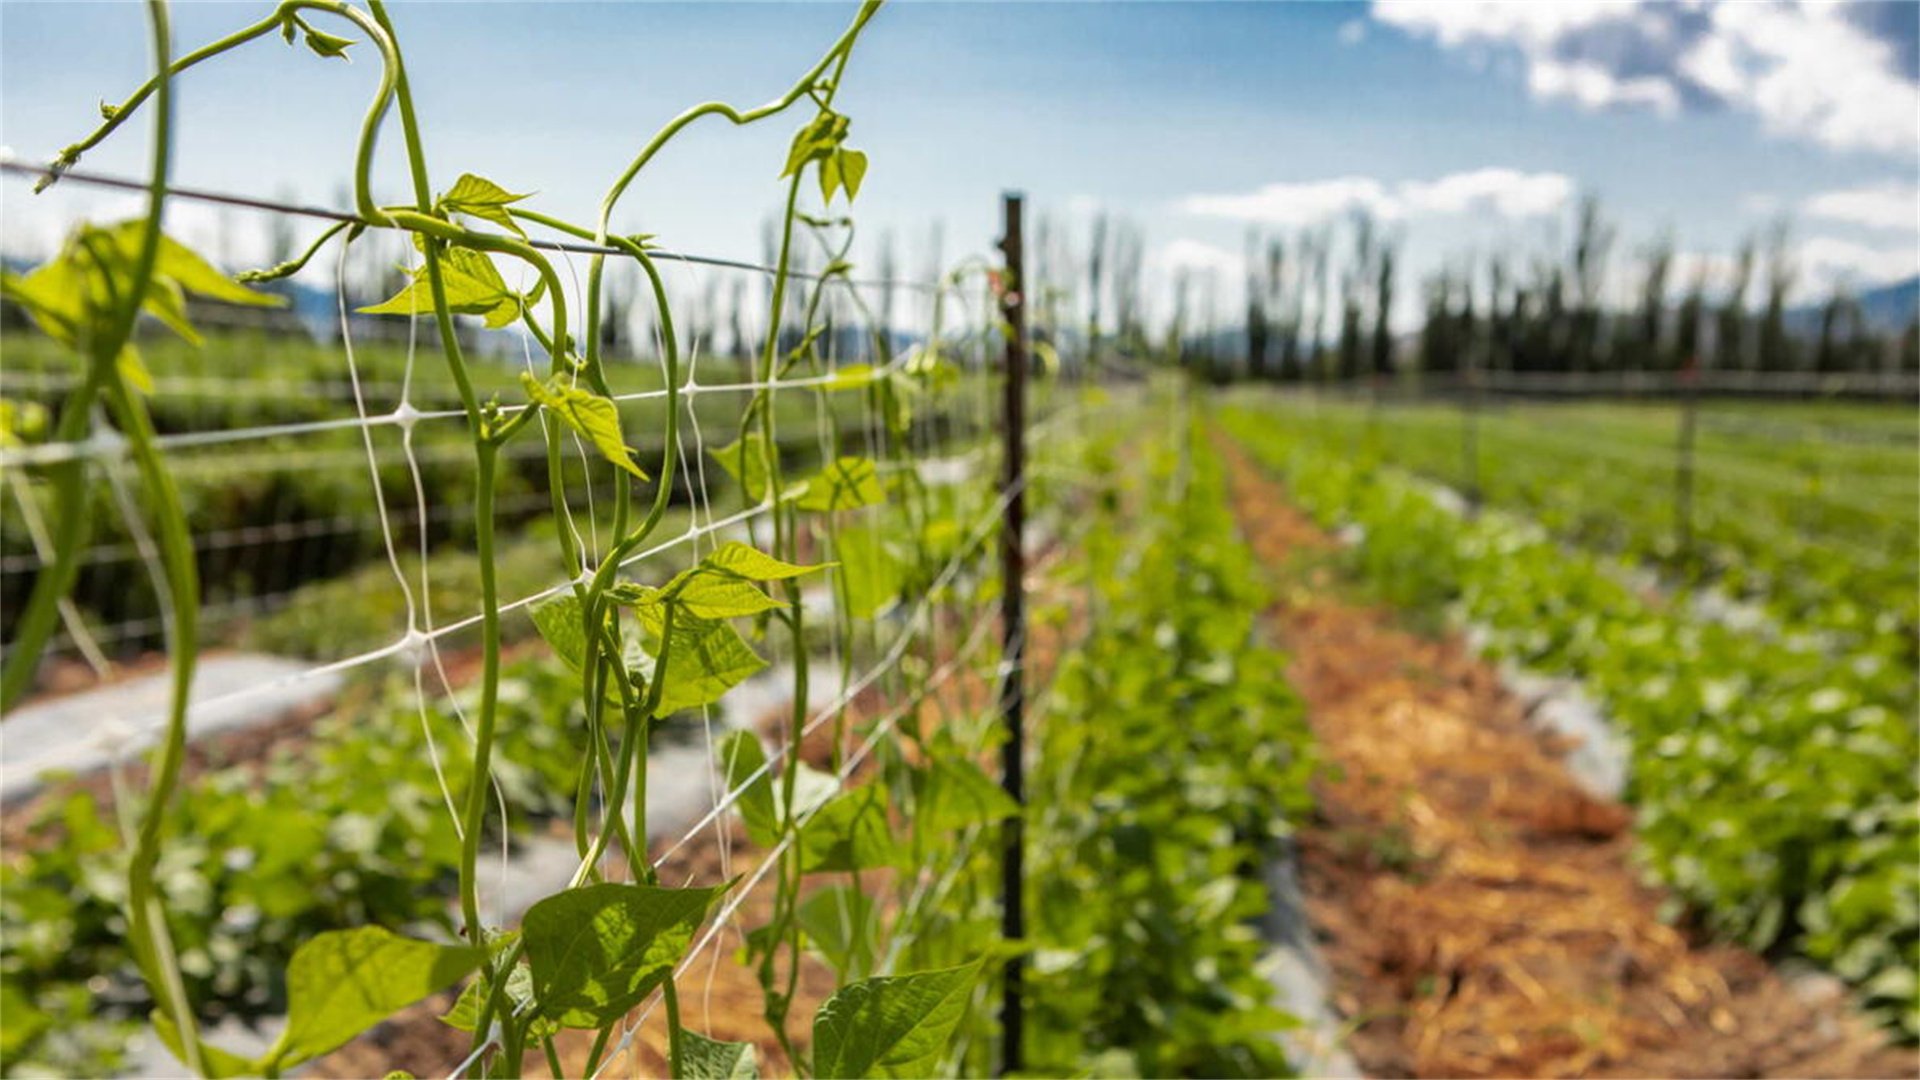
Method 6: String or Net Trellis for Vertical Gardening 🧵
String or net trellises are minimalist and flexible, perfect for small spaces or container gardens. They involve stretching strings or mesh between supports to create a vertical growing surface. This method is often used for peas, beans, or vining flowers, and it can be installed quickly with minimal materials. String trellises allow for easy adjustment and removal at the end of the season. In this section, we'll cover the benefits and drawbacks of string trellises, along with a guide to setting up a simple net system between posts.
Advantages and Disadvantages
Advantages:
- String or net trellises are inexpensive, using basic materials like twine, nylon netting, or fishing line.
- They are lightweight and almost invisible, letting plants take center stage.
- Installation is fast, often requiring only ties and supports.
- These trellises can be tailored to any shape or size, and they are easy to store when not in use.
Disadvantages:
- They may not support very heavy plants without sagging or breaking.
- Strings can degrade in sun and rain, needing replacement annually.
- Wind can cause tangling or damage, and the thin lines might be hard for plants to grip without assistance.
- Netting can also trap birds or small animals if not installed carefully.
How to Build a String or Net Trellis
- Gather materials: You'll need sturdy posts (wood or metal), strong twine or garden netting, a hammer or mallet, scissors, and staples or hooks. Optional items include turnbuckles for tensioning and plant clips.
- Set up supports: Install two posts at either end of the planting area, driving them into the ground about 1-2 feet deep for stability. Ensure they are tall enough for your plants (e.g., 5-6 feet). For longer spans, add intermediate posts. Use a level to make sure they are vertical.
- Attach the top line: Tie a horizontal line of twine or wire between the tops of the posts, pulling it taut. Secure with knots or staples. This will serve as the anchor for the vertical strings or net.
- Add vertical strings or net: For string trellises, cut lengths of twine and tie one end to the top line, letting them hang down to the ground. Space strings 6-12 inches apart. Tie the bottom ends to stakes in the soil or to a bottom line stretched between posts. For net trellises, unroll garden netting and attach it to the posts and top line using staples or ties, ensuring it's tight to prevent sagging.
- Finish and train plants: Check all connections for security. To help plants climb, gently weave young stems through the strings or net openings. As plants grow, you may need to add horizontal ties for extra support. Monitor the trellis regularly, tightening lines if they loosen and replacing frayed strings as needed.
Conclusion 📝
DIY garden trellises are a rewarding project that enhances both the beauty and productivity of your climbing plants. From wooden lattice to recycled ladders, each method offers unique benefits tailored to different gardens and skill levels. By building your own trellis, you can customize sizes, materials, and designs to fit specific needs while saving money and reducing environmental impact. Remember to consider factors like plant weight, weather conditions, and maintenance when choosing a method. With the step-by-step guides provided, you're equipped to create sturdy supports that will help your climbers thrive for seasons to come. Start small, experiment with designs, and enjoy the process of adding vertical interest to your outdoor space. Happy gardening!