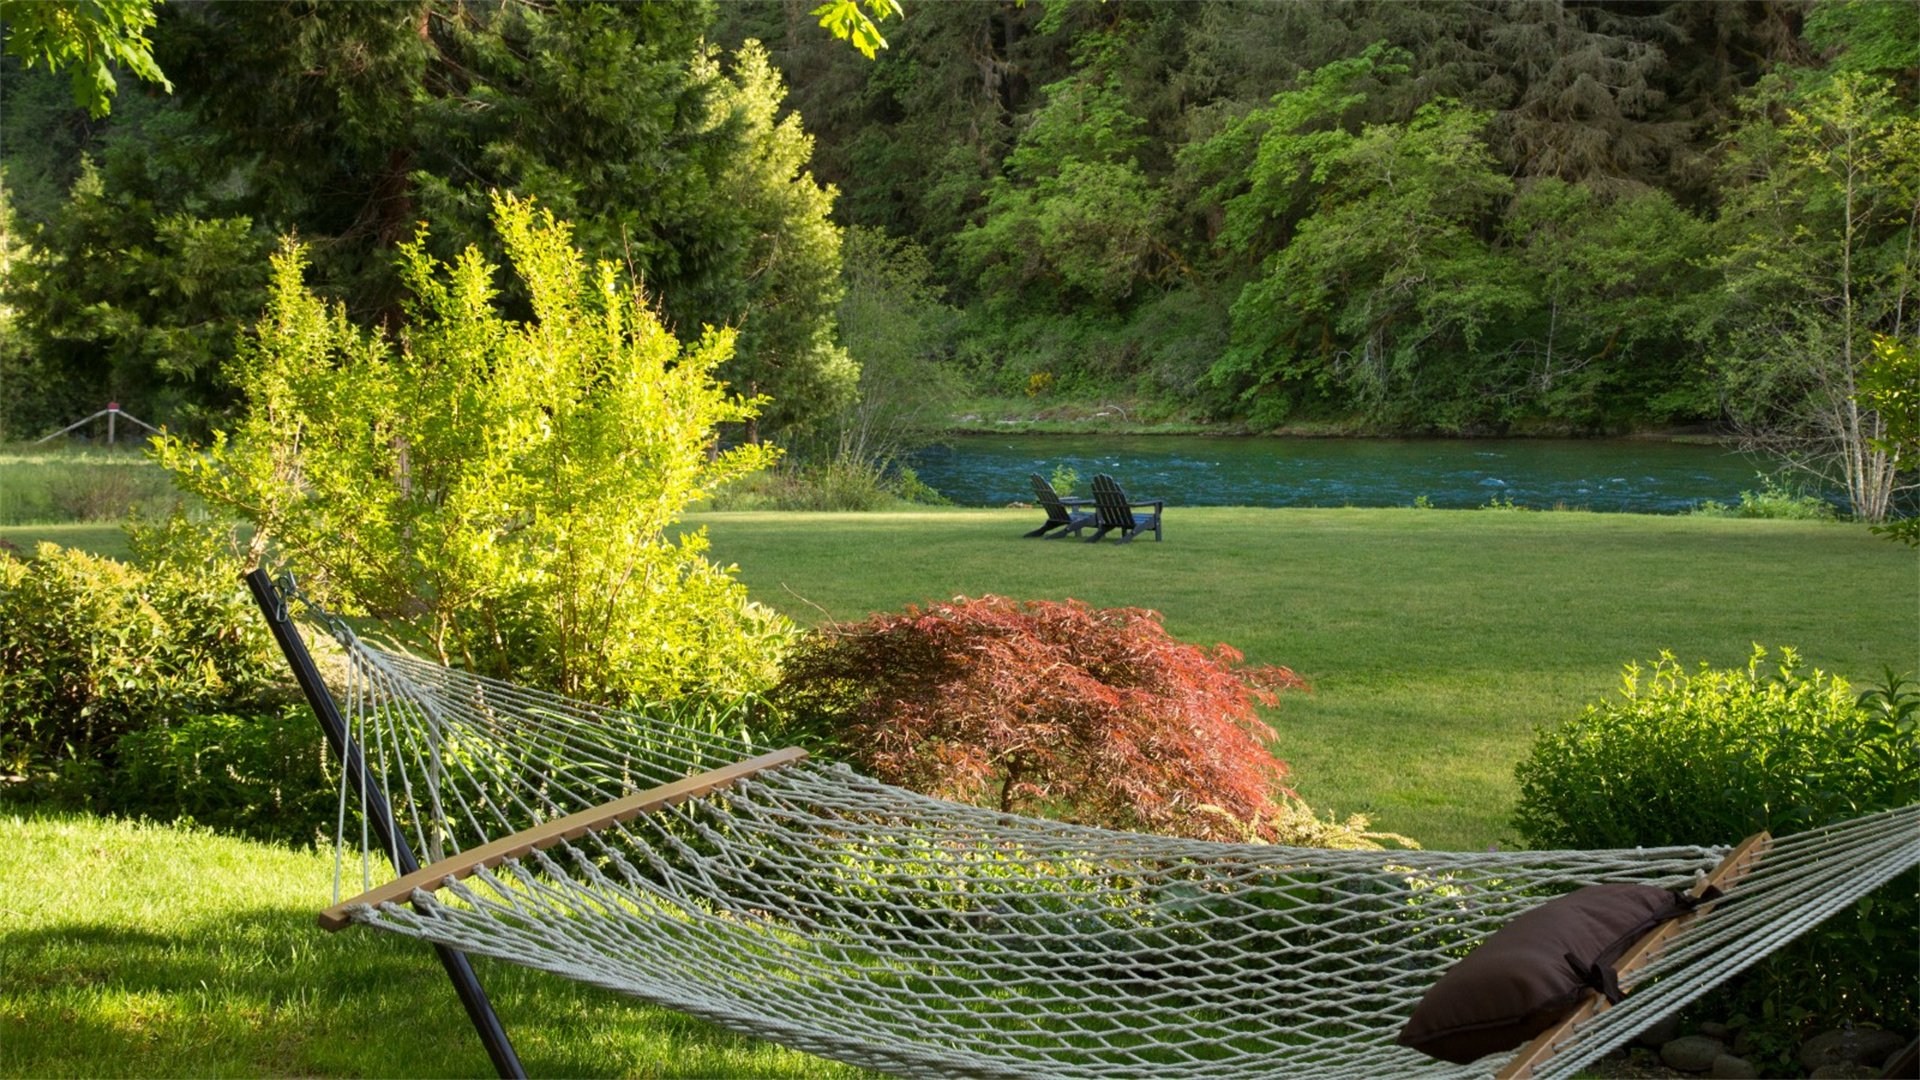
DIY Garden Swing or Hammock for Relaxation
In today's fast-paced world, finding moments of tranquility is essential for mental and physical well-being. One of the most delightful ways to unwind in your own backyard is by creating a DIY garden swing or hammock. This project not only adds a charming element to your outdoor space but also provides a personal retreat for relaxation. Whether you prefer the gentle sway of a swing or the cozy cradle of a hammock, building your own can be a rewarding endeavor. This comprehensive guide will walk you through everything from choosing the right project to step-by-step instructions, safety tips, and customization ideas. By the end, you'll be equipped to craft a perfect relaxation spot that reflects your style and needs.
Building a DIY garden swing or hammock involves careful planning, selection of materials, and attention to detail. It's a project that combines creativity with practicality, allowing you to tailor the design to your garden's aesthetics and your comfort preferences. Many people turn to online resources for inspiration, and this article draws from popular DIY websites and forums to provide tried-and-tested methods. We'll explore the advantages and disadvantages of swings versus hammocks, detailed construction techniques, and maintenance tips to ensure longevity. So, grab your tools and let's dive into creating your own oasis of calm.
🌳 Part 1: Choosing Your Project: Swing vs. Hammock – A Comparative Analysis
Before starting your DIY journey, it's crucial to decide whether a garden swing or a hammock better suits your needs. Both offer unique relaxation experiences, but they differ in installation, space requirements, and comfort. This section breaks down the pros and cons of each to help you make an informed choice.
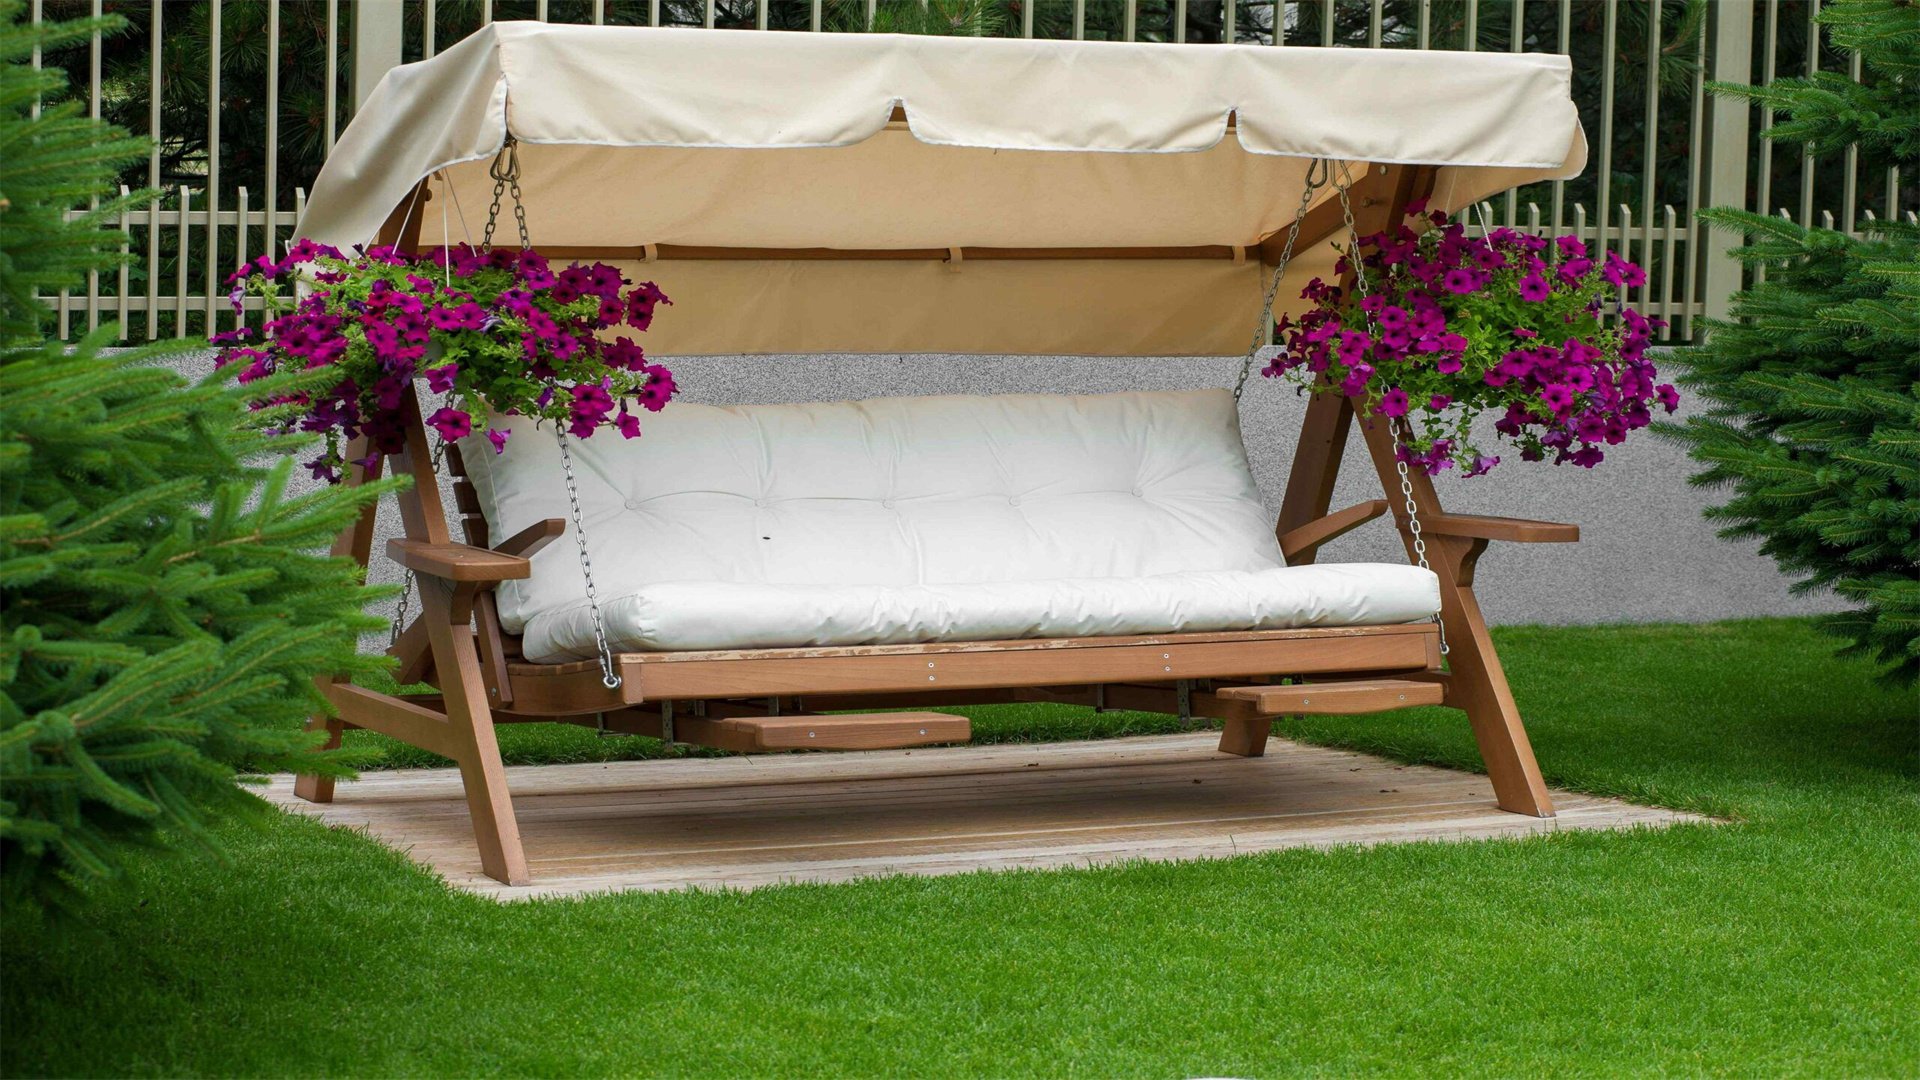
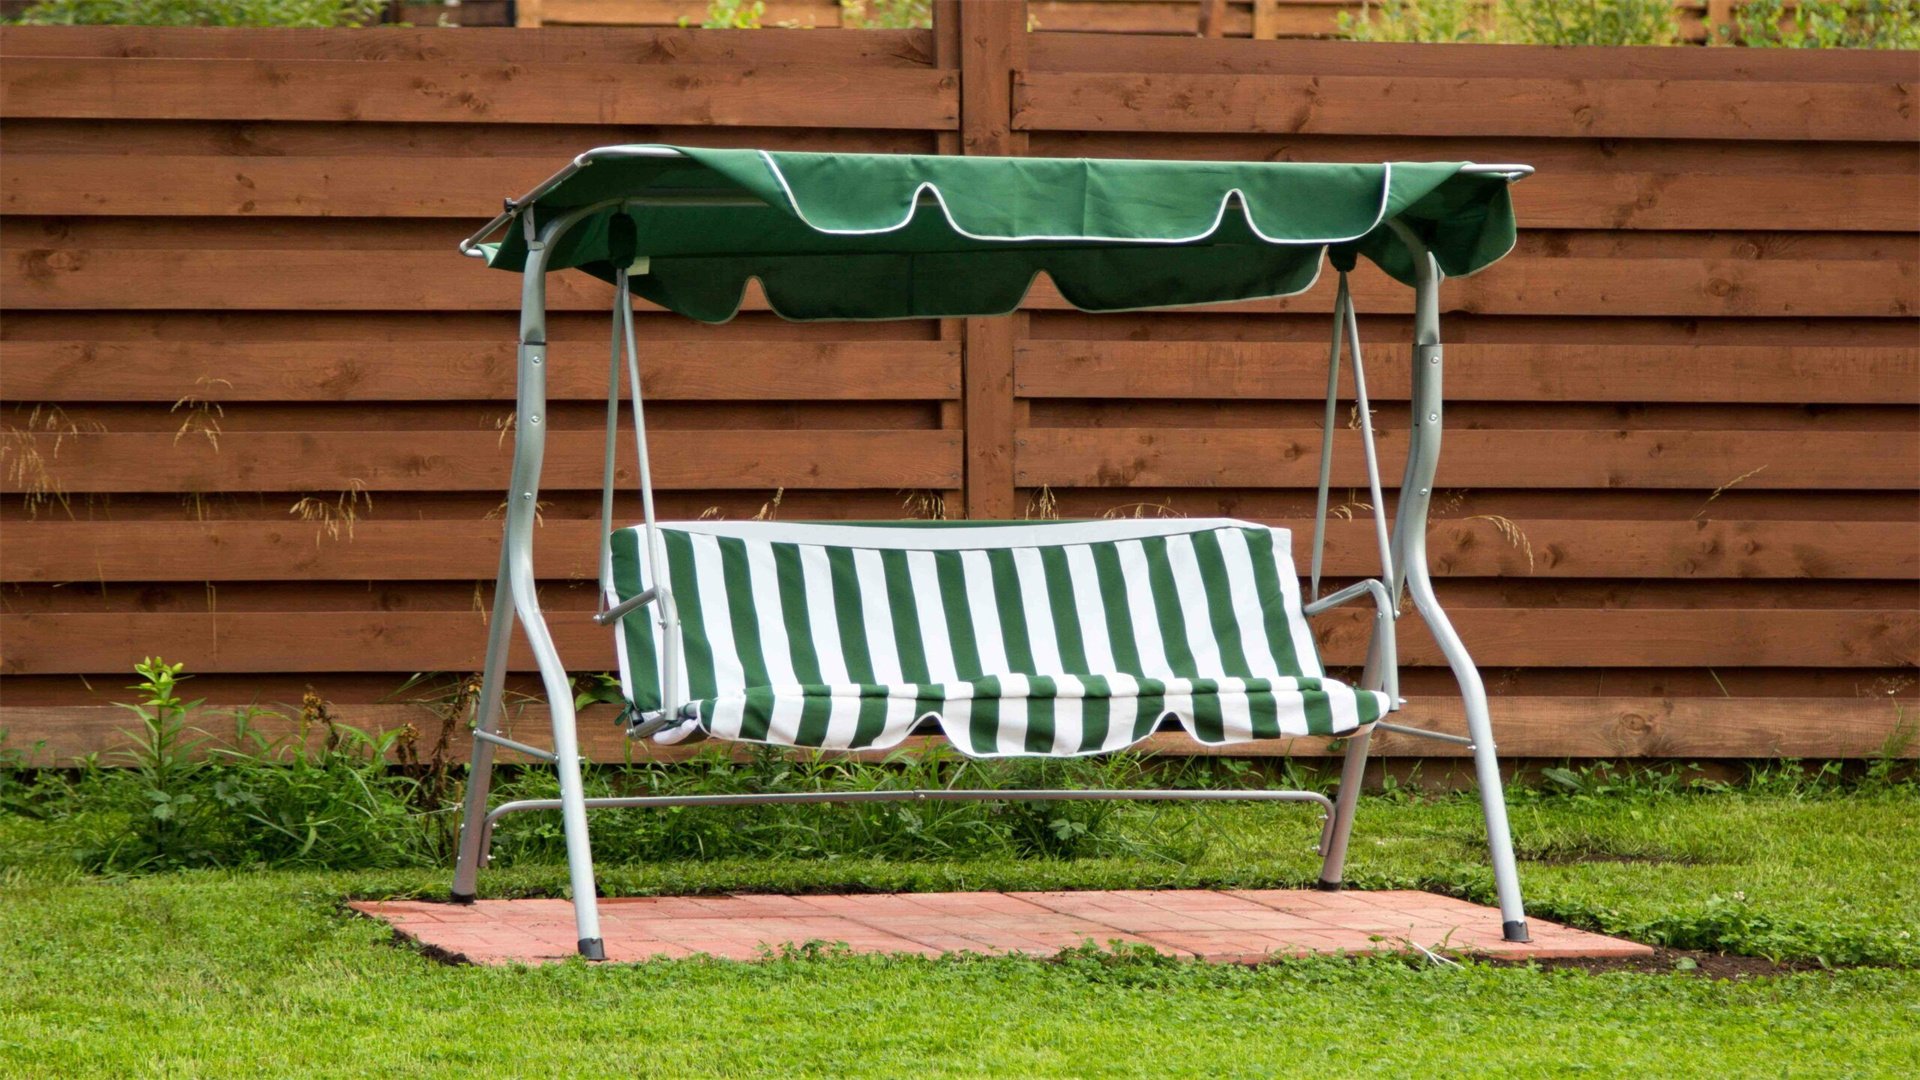
Swing: Advantages and Disadvantages
A garden swing typically consists of a seat suspended from a frame or tree branch, allowing for rhythmic motion. Here are the key points to consider:
Advantages:
-
- Social Interaction: Swings often accommodate multiple people, making them ideal for family gatherings or romantic evenings. For example, a bench-style swing can seat two or three, fostering conversation and connection.
- Versatility in Design: You can customize swings with various materials like wood, metal, or recycled items. Designs range from classic porch swings to modern hanging chairs, offering flexibility in aesthetics.
- Stability and Safety: When properly installed with a sturdy frame, swings provide a secure seating option. They are less prone to tipping compared to some hammocks, especially if built with wide bases or anchored to solid structures.
- Year-Round Use: With added cushions or covers, swings can be used in different seasons. In colder climates, you can easily remove and store accessories, while the swing itself remains outdoors.
Disadvantages:
-
- Space Requirements: Swings need ample room for installation, including clearance for swinging motion. A freestanding frame may require a flat, open area of at least 10 feet by 10 feet, which might not suit small gardens.
- Complexity of Construction: Building a swing from scratch can be more involved, especially if crafting a frame. It often requires advanced woodworking or metalworking skills, along with tools like saws, drills, and levels.
- Potential for Wear and Tear: The moving parts, such as chains or ropes, may degrade over time due to weather exposure. Regular maintenance is needed to prevent accidents, such as checking for rust or fraying.
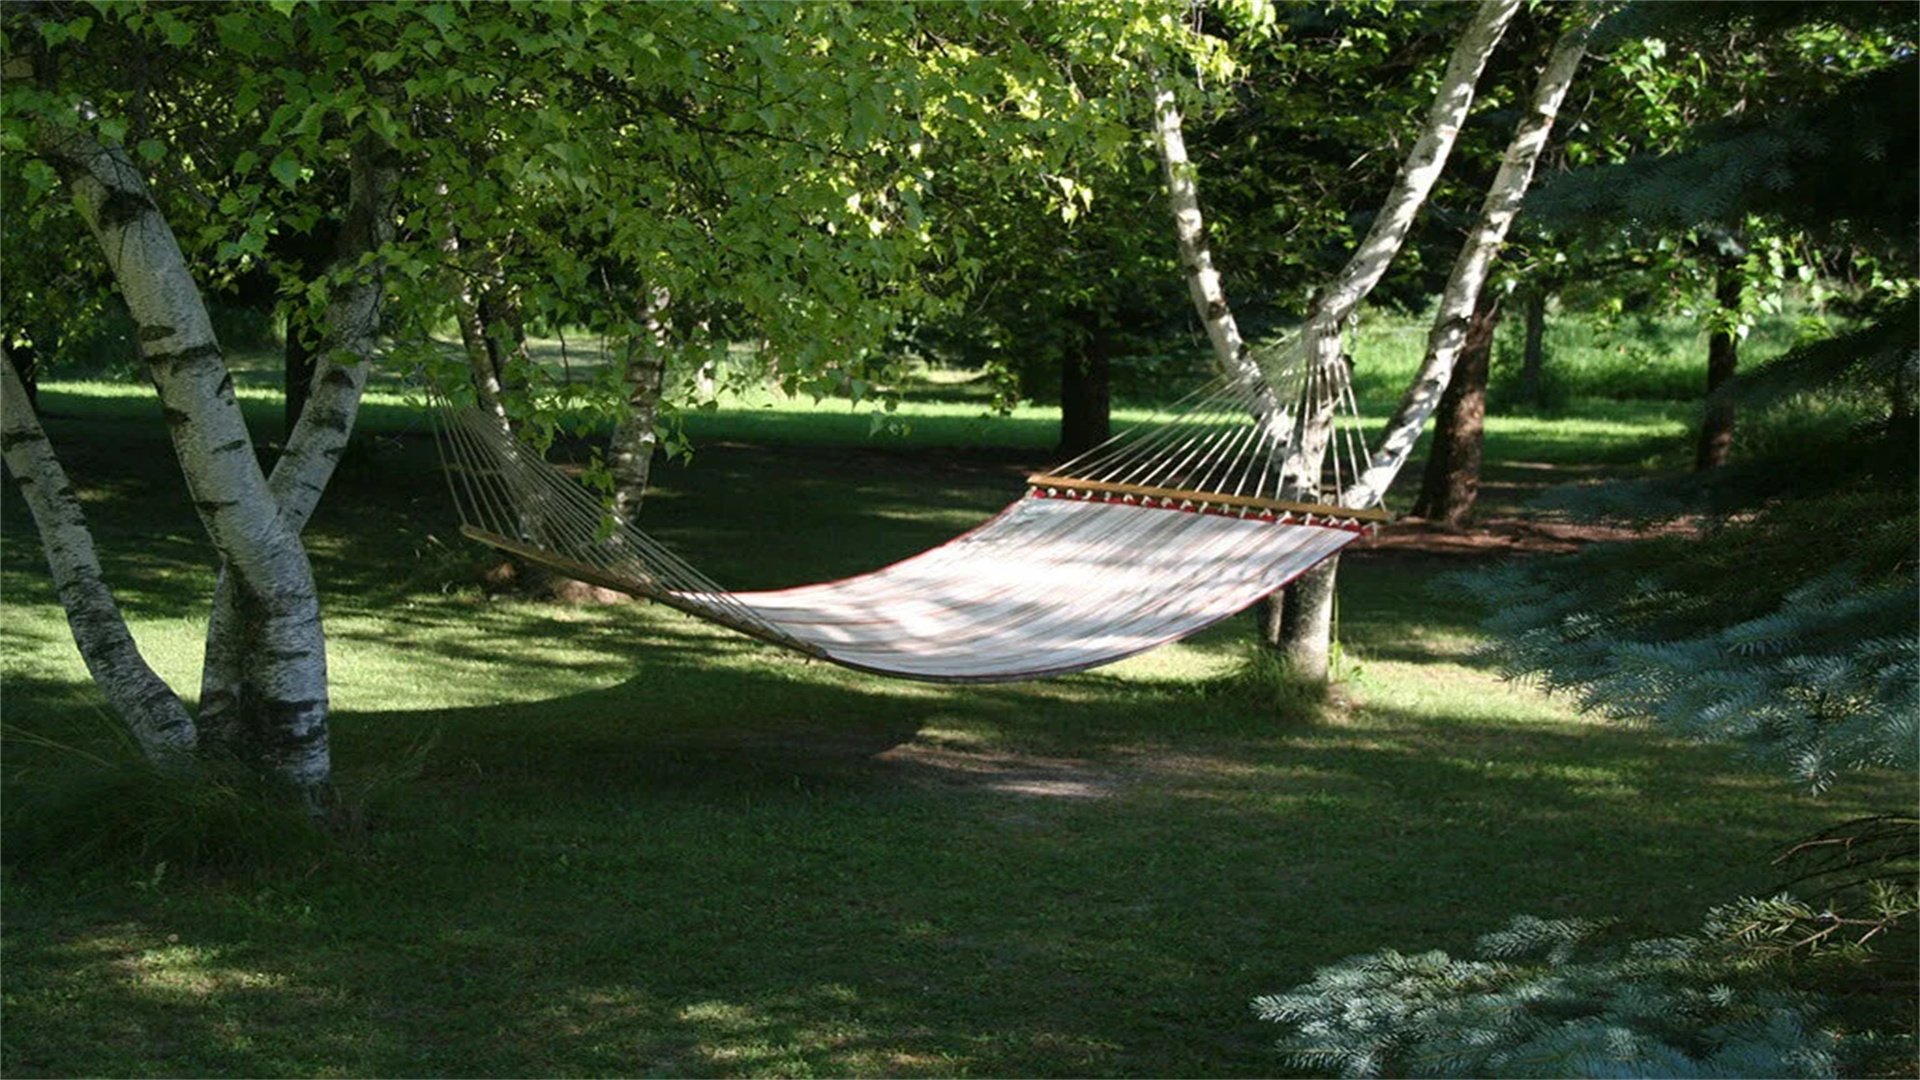
Hammock: Advantages and Disadvantages
A hammock is a fabric or net slung between two points, offering a laid-back lounging experience. Here’s a detailed look:
Advantages:
-
- Portability and Easy Setup: Hammocks are lightweight and can be easily hung between trees, posts, or stands. Many DIY hammocks use simple materials like canvas or parachute fabric, requiring minimal tools for assembly.
- Space Efficiency: They take up less ground space since they're elevated, making them perfect for compact gardens or balconies. You can even pack them for camping trips, adding versatility.
- Ultimate Relaxation: The gentle rocking motion of a hammock is known to reduce stress and promote sleep. Its ergonomic design cradles the body, distributing weight evenly and reducing pressure points.
- Cost-Effectiveness: Building a basic hammock can be inexpensive, using affordable fabrics and ropes. Compared to swings, the material costs are often lower, especially for simple designs.
Disadvantages:
-
- Limited Seating Capacity: Most hammocks are designed for one or two people at most, and they can feel cramped if shared. This limits social use compared to swings.
- Installation Challenges: Finding suitable anchor points, like strong trees or posts, is crucial. In gardens without trees, you may need to build a stand, which adds complexity and cost.
- Safety Concerns: If not hung properly, hammocks can collapse or tip, leading to injuries. The fabric may also sag over time, requiring adjustments or reinforcements.
- Weather Vulnerability: Fabric hammocks are susceptible to mold, mildew, and sun damage if left outdoors unprotected. They often need to be taken down during rain or stored in harsh weather.
By weighing these factors, you can select the project that aligns with your garden layout, budget, and relaxation goals. If you have a spacious yard and enjoy socializing, a swing might be ideal. For a minimalist, portable option, a hammock could be perfect. Some enthusiasts even choose to build both for variety!
🔨 Part 2: Essential Materials and Tools for DIY Garden Swings and Hammocks
Once you've chosen your project, gathering the right materials and tools is the next step. This section provides comprehensive lists, tailored to both swings and hammocks, to ensure you have everything needed for a successful build. We'll cover common items and specific recommendations based on popular DIY guides from sites like Instructables and DIY Network.
Materials for a DIY Garden Swing
For a basic wooden bench swing, you'll need the following materials. Adjust quantities based on your design, such as size or style.
-
- Wood: Use durable, weather-resistant lumber like cedar, redwood, or pressure-treated pine. For a standard swing, purchase:
- 2x4 boards for the frame (approximately 8 feet long, 4 pieces)
- 2x6 boards for the seat slats (6 pieces, each 4 feet long)
- 1x4 boards for the backrest (4 pieces, each 4 feet long)
- Plywood for armrests (optional, ½-inch thick, 2 square feet)
- Hardware:
- Heavy-duty screws (3-inch deck screws for framing, 2-inch for slats)
- Eye bolts (4 pieces, ½-inch diameter with washers and nuts) for hanging
- Chain or rope (such as polyester rope or galvanized chain, 20 feet total) for suspension
- Carabiners or S-hooks (4 pieces) for easy attachment
- Wood glue and waterproof sealant for protection
- Comfort Add-ons:
- Outdoor cushions or foam padding
- Waterproof fabric for upholstery (if making custom cushions)
- Stain or paint for finishing touches
- Wood: Use durable, weather-resistant lumber like cedar, redwood, or pressure-treated pine. For a standard swing, purchase:
Materials for a DIY Garden Hammock
For a simple fabric hammock, materials are often lighter and more flexible. Here’s a typical list:
-
- Fabric: Choose sturdy, breathable material like canvas, sunbrella fabric, or parachute nylon. You'll need:
- A piece of fabric 6 feet wide by 10 feet long for a single hammock
- Reinforced webbing or nylon straps for edges (10 feet total)
- Suspension System:
- Polyester rope (½-inch diameter, 30 feet) for hanging
- Wooden dowels or spreader bars (2 pieces, 1-inch diameter, 4 feet long) to keep the hammock open
- Metal rings or grommets (4 pieces) for attachment points
- Tree straps or adjustable straps (if hanging between trees)
- Hardware and Tools:
- Sewing machine or heavy-duty needle and thread for fabric assembly
- Scissors, measuring tape, and chalk for marking
- Drill and bits (if using wooden spreader bars)
- Sandpaper for smoothing edges
- Fabric: Choose sturdy, breathable material like canvas, sunbrella fabric, or parachute nylon. You'll need:
Tool Checklist for Both Projects
Regardless of your choice, these tools are essential for construction:
-
- Measuring and Marking Tools: Tape measure, carpenter's square, pencil – to ensure accurate cuts and alignments.
- Cutting Tools: Circular saw or handsaw for wood; fabric scissors for hammock material – for shaping components.
- Drilling and Fastening Tools: Power drill with various bits, screwdrivers, wrench set – for assembling parts and installing hardware.
- Safety Gear: Safety glasses, gloves, ear protection – to prevent injuries during construction.
- Finishing Tools: Sandpaper (various grits), paintbrushes, sealant applicator – for smoothing surfaces and applying protective coatings.
Having these materials and tools on hand will streamline your DIY process. Always opt for high-quality, weather-resistant items to enhance durability, especially for outdoor use. Refer to manufacturer instructions for specific material handling, such as treating wood or sewing fabric seams.
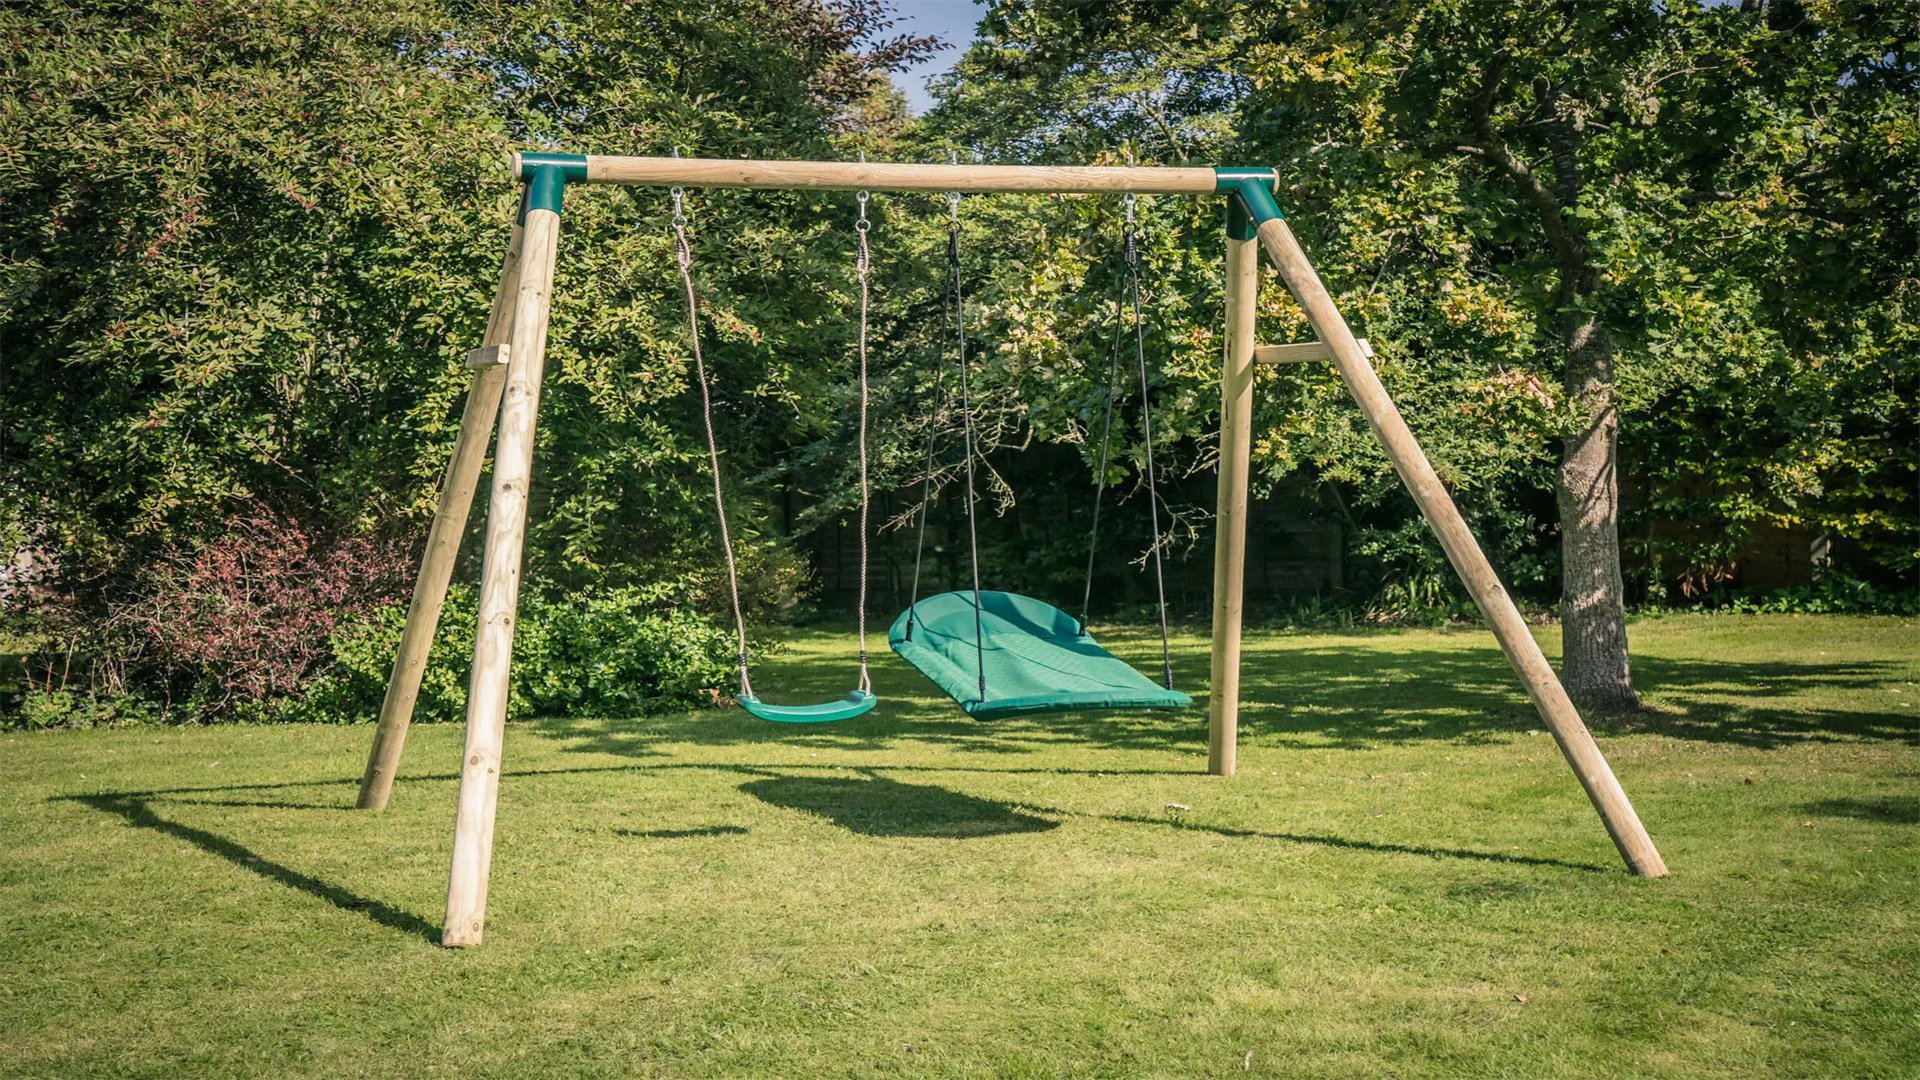
⚙️ Part 3: Step-by-Step Guide to Building a DIY Garden Swing

This section provides a detailed, point-by-point tutorial for constructing a classic wooden garden swing. We'll assume a bench-style swing with a backrest, suitable for hanging from a sturdy tree branch or freestanding frame. Follow these steps carefully, and adapt them based on your design preferences.
Step 1: Design and Planning
-
- Determine Location: Choose a spot in your garden with enough space for swinging (at least 3 feet clearance on all sides). Ensure the hanging point, like a tree limb or frame, can support at least 500 pounds.
- Calculate Materials: Based on your sketch, list all wood pieces and hardware needed. Use the material list from Part 2 as a reference.
- Check Local Regulations: If building a freestanding frame, verify if permits are required for permanent structures in your area.
Step 2: Cutting and Preparing Wood
-
- Cut Frame Pieces: From 2x4 boards, cut:
- 2 pieces at 48 inches for the side rails
- 2 pieces at 24 inches for the front and back aprons
- 4 pieces at 20 inches for the legs (if adding a frame base)
- Cut Seat and Backrest Slats: From 2x6 boards, cut 6 pieces at 48 inches for the seat. From 1x4 boards, cut 4 pieces at 48 inches for the backrest.
- Sand All Edges: Use sandpaper to smooth rough edges and prevent splinters. Start with coarse grit (80) and finish with fine grit (220).
- Cut Frame Pieces: From 2x4 boards, cut:
Step 3: Assembling the Swing Frame
-
- Build the Rectangular Frame: Attach the side rails (48 inches) to the front and back aprons (24 inches) using 3-inch deck screws. Pre-drill holes to avoid splitting wood. Ensure corners are square with a carpenter's square.
- Add Leg Supports (Optional): If making a freestanding swing, attach the leg pieces to the frame corners using screws and wood glue. Reinforce with metal brackets for stability.
- Install Seat Slats: Place the 2x6 slats evenly across the frame, leaving about ½-inch gaps for drainage. Secure each slat with 2-inch screws from underneath.
Step 4: Adding the Backrest
-
- Attach Backrest Supports: Cut two 2x4 pieces at 36 inches for vertical supports. Secure them to the back of the seat frame at an angle (about 100 degrees for reclining). Use screws and glue for a strong bond.
- Mount Backrest Slats: Place the 1x4 slats vertically on the supports, spacing them evenly. Screw them in from the back, ensuring they are level.
- Reinforce Joints: Add corner braces or additional screws at connection points to handle swinging motion stress.
Step 5: Installing Hanging Hardware
-
- Attach Eye Bolts: Drill pilot holes at the four corners of the seat frame (near the aprons). Insert ½-inch eye bolts with washers and nuts, tightening securely.
- Prepare Suspension System: Cut chain or rope into four equal lengths (about 5 feet each, depending on desired height). Attach one end to each eye bolt using carabiners or S-hooks.
- Hang the Swing: If using a tree branch, wrap the chains or ropes around it and secure with knots or additional hardware. For a freestanding frame, attach the chains to crossbeams using similar methods. Ensure the swing is level and hangs about 18 inches above the ground for comfortable seating.
Step 6: Finishing Touches
-
- Apply Sealant or Stain: Use a waterproof wood sealant or outdoor stain to protect against moisture and UV rays. Apply multiple coats as per product instructions, allowing drying time between coats.
- Add Cushions: Place outdoor cushions on the seat and backrest for extra comfort. You can make custom ones by sewing waterproof fabric around foam padding.
- Test for Safety: Gently sit on the swing and rock back and forth to check stability. Inspect all hardware for tightness and make adjustments if needed.
With these steps, your DIY garden swing is ready for relaxation. Remember to perform regular checks, especially after extreme weather, to maintain safety.
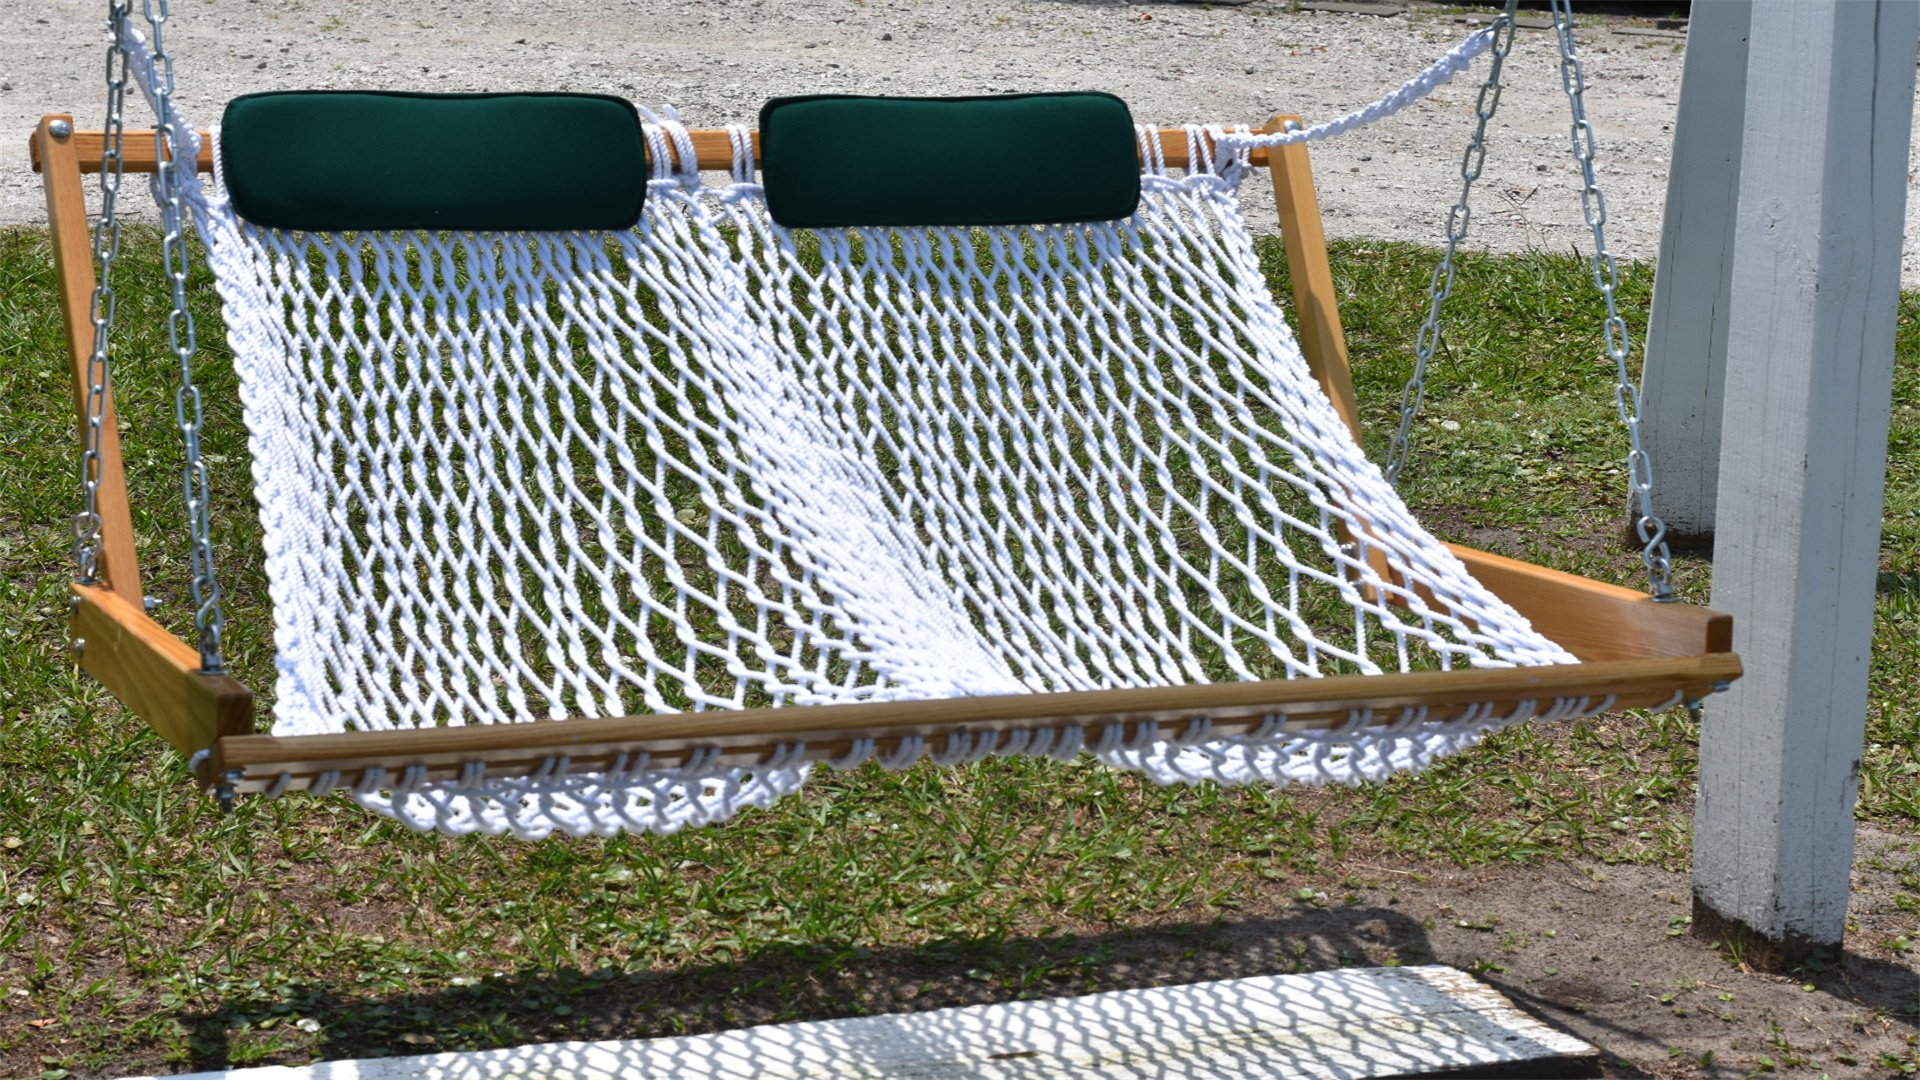
⚙️ Part 4: Step-by-Step Guide to Building a DIY Garden Hammock
For those opting for a hammock, this section outlines a detailed process to create a comfortable, hanging hammock using fabric and basic tools. We'll focus on a gathered-end hammock without spreader bars, which is simple to make and offers a classic lounging experience. Adapt the instructions based on your design, such as adding spreader bars for a flatter lay.
Step 1: Design and Material Preparation
-
- Choose Fabric: Select a durable fabric like canvas, which is strong and breathable. For a single hammock, a piece 6 feet wide by 10 feet long is ideal. Wash and dry the fabric preemptively to prevent shrinkage.
- Determine Hanging Points: Identify two sturdy anchor points in your garden, such as trees or posts, spaced about 12-15 feet apart. Ensure they can support your weight (at least 300 pounds each).
- Gather Tools: Have your sewing machine, scissors, measuring tape, and rope ready. If sewing by hand, use heavy-duty thread and a sturdy needle.
Step 2: Cutting and Hemming the Fabric
-
- Cut to Size: Lay the fabric flat and trim it to 6 feet by 10 feet using fabric scissors. Use a straight edge and chalk to mark cutting lines for accuracy.
- Hem the Edges: Fold over each edge by ½ inch twice (creating a double fold) and sew along the perimeter. This reinforces the fabric and gives a clean finish. Use a zigzag stitch or straight stitch on a sewing machine for durability.
- Create Channels for Ropes: At the two short ends (10-foot sides), fold over about 2 inches of fabric to form a channel. Sew along the fold, leaving a tunnel through which you'll thread the rope. Reinforce these seams with extra stitching, as they bear most of the weight.
Step 3: Adding Reinforcements and Attachment Points
-
- Insert Webbing or Straps: Cut two pieces of reinforced webbing, each about 1 foot long. Slide them into the channels at each end, centering them. Sew across the channel to secure the webbing in place, distributing stress evenly.
- Install Grommets or Rings (Optional): For easier hanging, attach metal grommets or rings at the ends of the channels. Use a grommet kit to punch holes and set them, following manufacturer instructions. This provides a direct point for rope attachment.
- Reinforce Stitching: Go over all seams, especially at the channels, with a second row of stitching. This prevents unraveling under tension.
Step 4: Assembling the Suspension System
-
- Cut and Prepare Ropes: Use polyester rope, cutting two pieces each about 15 feet long. This allows extra length for tying knots and adjusting height. Singe the rope ends lightly with a lighter to prevent fraying.
- Thread Ropes Through Channels: Feed one rope through the channel at each end of the hammock. If using grommets, tie the rope directly to them. Ensure the rope is centered and extends evenly from both sides.
- Tie Secure Knots: At each end, tie a bowline knot or a double fisherman's knot to create a loop. These knots are strong and reliable for bearing weight. Leave enough rope to adjust the hanging height later.
Step 5: Hanging the Hammock
-
- Attach to Anchor Points: Wrap the rope loops around trees or posts at about 6 feet high. Use tree straps to protect bark and prevent damage. If using posts, ensure they are firmly planted in the ground or cemented.
- Adjust Height and Sag: The hammock should hang with a slight sag (about 30 degrees from horizontal) for comfort. Adjust the knots or use carabiners to raise or lower each end. Aim for the center to be about 18 inches off the ground when unoccupied.
- Test for Stability: Gently sit in the hammock, distributing your weight evenly. Rock gently to check for any slipping or tearing. Make sure all knots are tight and the fabric is taut but not overstretched.
Step 6: Customization and Maintenance
-
- Add Accessories: Consider sewing pockets to the sides for holding books or drinks. You can also attach a weatherproof canopy for shade using additional fabric and poles.
- Apply Fabric Protectant: Spray the hammock with a UV-resistant and water-repellent spray to guard against sun and rain. Reapply every few months based on usage.
- Regular Inspections: Check ropes, seams, and anchor points weekly for signs of wear. Store the hammock indoors during harsh weather to extend its life.
With these steps, your DIY garden hammock is ready for lazy afternoons. It's a simple yet effective project that brings instant relaxation to your outdoor space.
⚠️ Part 5: Safety Considerations for DIY Garden Swings and Hammocks
Safety is paramount when building and using outdoor relaxation structures. This section covers essential precautions to prevent accidents and ensure long-term enjoyment. We'll discuss common risks and how to mitigate them, drawing from safety guidelines on DIY platforms and consumer reports.
General Safety Tips for Both Swings and Hammocks
-
- Weight Capacity: Always design and build to support at least twice the intended weight. For example, if you weigh 200 pounds, ensure the swing or hammock can hold 400 pounds. Use load-rated hardware and materials.
- Regular Inspections: Before each use, check for:
- Cracks or splits in wood or fabric
- Loose screws, bolts, or knots
- Signs of rust on metal parts
- Fraying ropes or chains
- Proper Installation: Ensure anchor points are solid. For tree branches, use straps to avoid damage and test stability by pulling firmly. For freestanding frames, set them on level ground and consider anchoring to concrete for wind resistance.
- Supervision of Children: Never leave children unattended on swings or hammocks. Install safety features like harnesses or nets if needed, and teach proper usage, such as sitting calmly and not jumping off.
Specific Safety Measures for Swings
-
- Frame Stability: If building a freestanding swing frame, use cross-bracing and heavy-duty materials. A-frame designs are popular for their stability. Bury the legs in concrete or use ground anchors if in windy areas.
- Suspension System Checks: Inspect chains or ropes monthly for wear. Lubricate metal parts to prevent squeaking and corrosion. Replace any component that shows significant deterioration.
- Clearance Space: Maintain at least 6 feet of clearance in front and behind the swing to avoid collisions with walls, trees, or other objects. Consider soft landing surfaces like grass or mulch beneath.
Specific Safety Measures for Hammocks
-
- Anchor Point Strength: Choose trees with diameters of at least 12 inches and healthy roots. Avoid dead or weak branches. For posts, use pressure-treated wood or metal set at least 3 feet deep in concrete.
- Fall Prevention: Hang the hammock at a safe height—low enough to easily get in and out, but high enough to avoid dragging on the ground. Use non-slip knots and backup straps for added security.
- Weather Protection: Remove the hammock during storms or heavy rain to prevent mold growth and fabric weakening. Store in a dry place when not in use for extended periods.
By adhering to these safety guidelines, you can enjoy your DIY creation with peace of mind. Remember, a well-built swing or hammock not only enhances relaxation but also ensures a safe environment for all users.
🎨 Part 6: Decorating and Personalizing Your DIY Swing or Hammock
Once the basic structure is complete, adding personal touches can transform your swing or hammock into a true garden sanctuary. This section explores creative ideas for decoration, inspired by trends on home decor websites like Pinterest and Houzz. We'll cover color schemes, accessories, and integration with garden landscaping.
Decorating a Garden Swing
A swing offers a broad canvas for customization. Here are some methods to enhance its appeal:
-
- Paint and Stain Options:
- Use outdoor-grade paint in calming colors like sky blue or sage green to blend with nature. For a rustic look, apply a weathered stain with a brush or sponge technique.
- Add patterns or stencils, such as floral designs or geometric shapes, to the wood slats. This can be done with waterproof acrylic paints.
- Cushion and Upholstery Ideas:
- Sew custom cushions using fade-resistant fabrics. Consider patterns like stripes or botanicals to match your garden theme.
- Add throw pillows with removable covers for easy washing. Use materials like Sunbrella that withstand sun and rain.
- Accessorizing the Space:
- Hang string lights or lanterns above the swing for evening ambiance. Solar-powered options are eco-friendly and easy to install.
- Place a small side table nearby for drinks or books. You can build one from matching wood scraps for a cohesive look.
- Grow climbing plants like ivy or jasmine around the swing frame to create a natural canopy. Use trellises to guide growth.
- Paint and Stain Options:
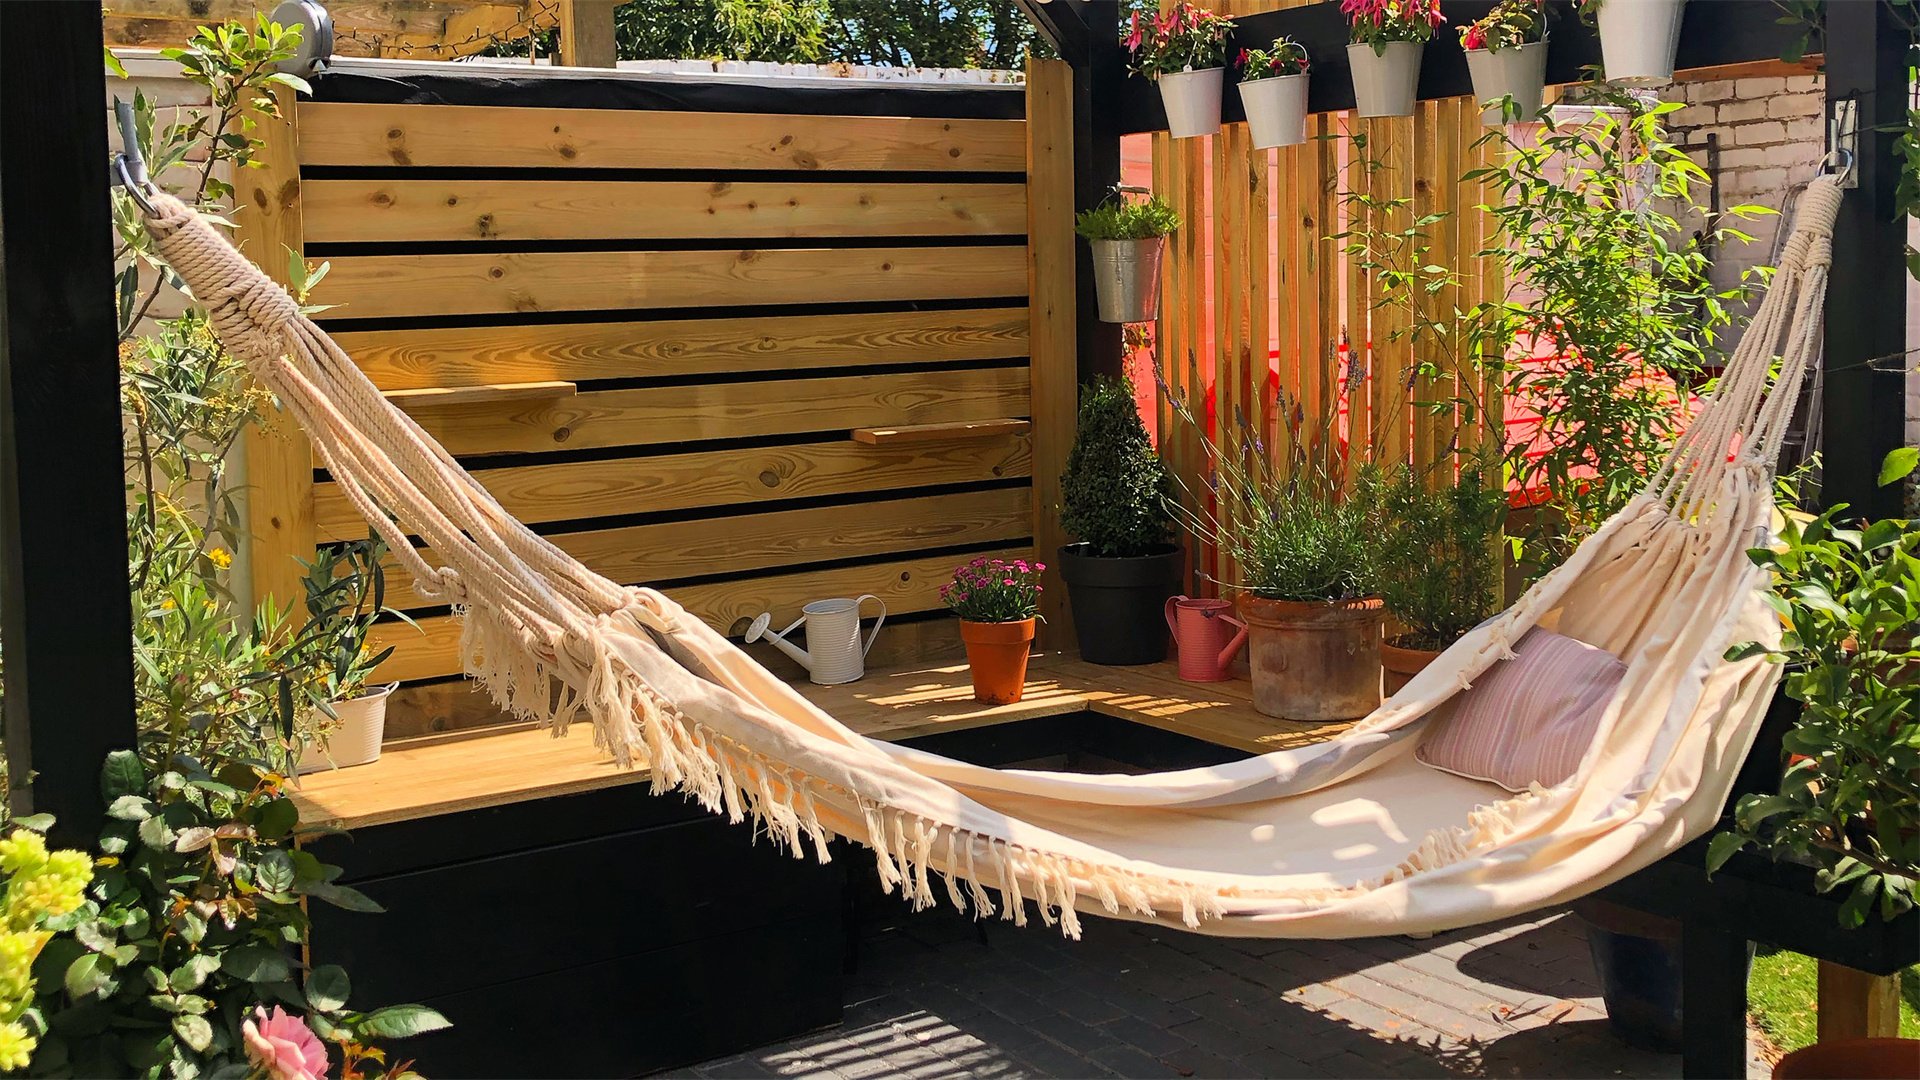
Personalizing a Garden Hammock
Hammocks lend themselves to minimalist or bohemian styles. Try these personalization tips:
-
- Fabric Choices and Dyes:
- Select fabric in vibrant colors or prints, such as tropical motifs or tie-dye patterns. You can dye plain canvas with outdoor fabric dyes for a unique touch.
- Add fringe or tassels to the edges for a playful look. Sew them on securely to prevent unraveling.
- Comfort Enhancements:
- Lay a soft blanket or quilt over the hammock for extra coziness. Choose lightweight materials for warm weather.
- Attach a removable pillow or neck roll for head support. Use waterproof stuffing to avoid moisture retention.
- Surrounding Decor:
- Create a "hammock zone" with outdoor rugs, potted plants, and a small stool for stepping in and out. This defines the space and adds comfort.
- Install a shade umbrella or pergola above to protect from sun. Adjustable models allow you to control light levels.
- Hang wind chimes or bird feeders nearby to enhance the sensory experience with sounds of nature.
- Fabric Choices and Dyes:
These decorating ideas not only boost visual appeal but also increase functionality. By tailoring your swing or hammock to your tastes, you create a personalized retreat that encourages relaxation and enjoyment.
🔧 Part 7: Maintenance and Long-Term Care for Your DIY Creations

To ensure your garden swing or hammock lasts for years, regular maintenance is key. This section provides a detailed care routine, based on advice from woodworking and outdoor living experts. We'll cover seasonal tasks, cleaning methods, and repair tips for common issues.
Maintenance for Wooden Swings
Wood is susceptible to weather damage, so proactive care is essential:
-
- Cleaning Routine:
- Monthly: Wipe down the swing with a damp cloth to remove dirt and debris. Use a mild soap solution for stubborn stains, but avoid harsh chemicals that can strip sealant.
- Seasonally: Inspect for mold or mildew, especially in humid climates. Scrub with a mixture of water and vinegar, then rinse thoroughly.
- Protective Measures:
- Reapply wood sealant or stain annually. Choose a dry, mild day for application, and follow product instructions for best results.
- Tighten all screws and bolts every six months, as swinging motion can loosen them over time. Replace any corroded hardware with stainless steel or galvanized versions.
- Repair Common Problems:
- If wood cracks, fill with exterior wood filler, sand smooth, and reseal. For major splits, replace the affected board entirely.
- If the swing becomes wobbly, reinforce joints with metal brackets or additional screws. Check the hanging points for wear and replace ropes or chains if frayed.
- Cleaning Routine:
Maintenance for Fabric Hammocks
Fabric requires attention to prevent degradation from elements:
-
- Cleaning Routine:
- After each use: Shake out the hammock to remove leaves or insects. This prevents accumulation that can stain or weaken fabric.
- Monthly: Hand wash with cold water and mild detergent. Avoid machine washing, as it can stress seams. Hang to dry completely before storing or rehanging.
- Protective Measures:
- Apply a fabric protectant spray every three months to repel water and UV rays. Test on a small area first to ensure colorfastness.
- Store the hammock indoors during winter or prolonged rain. Use a breathable bag to prevent moisture buildup.
- Repair Common Problems:
- For small tears, patch with outdoor fabric adhesive or sew a reinforcement patch on both sides. Use matching fabric for a seamless look.
- If ropes weaken, replace them entirely rather than splicing, as knots can reduce strength. Opt for UV-resistant ropes for longevity.
- Cleaning Routine:
General Long-Term Care Tips
Both swings and hammocks benefit from these practices:
-
- Seasonal Storage: In regions with harsh winters, disassemble and store components in a dry shed or garage. Label parts for easy reassembly in spring.
- Pest Control: Check for insects like spiders or ants that may nest in crevices. Use natural repellents like peppermint oil around the area.
- Documentation: Keep a maintenance log noting dates of inspections, repairs, and product applications. This helps track wear and plan ahead.
By following these maintenance steps, you can extend the life of your DIY project and continue enjoying relaxation in your garden for seasons to come. Regular care not only preserves functionality but also ensures safety and aesthetic appeal.
🌿 Conclusion: Embrace Relaxation with Your DIY Garden Swing or Hammock
Building a DIY garden swing or hammock is more than just a weekend project—it's an investment in your well-being and outdoor living space. Throughout this guide, we've explored the intricacies of choosing between a swing and a hammock, gathering materials, following step-by-step construction, prioritizing safety, personalizing designs, and maintaining your creation. By tailoring the project to your garden and preferences, you create a unique spot for unwinding after a long day or hosting leisurely gatherings.
Remember, the journey of DIY is as rewarding as the result. Whether you opt for the social charm of a swing or the solitary comfort of a hammock, the process fosters creativity and practical skills. Draw inspiration from online resources, but don't hesitate to innovate with your own ideas. As you relax in your handmade oasis, take pride in knowing you built a sanctuary that enhances your connection with nature and promotes peace.
So, gather your tools, embrace the DIY spirit, and start crafting your garden retreat today. With careful planning and attention to detail, you'll soon be swaying gently in the breeze, enjoying the fruits of your labor. Happy building and relaxing!