House
DIY Gallery Walls: Display Your Favorite Photos and Art
🛠️ Method 1: Planning and Designing Your Gallery Wall
Advantages and Disadvantages
Advantages:
- Planning helps prevent mistakes such as uneven spacing or cluttered looks.
- It allows you to experiment with different arrangements without damaging walls.
- By defining a theme, you create a cohesive story that ties the display together, making it more impactful.
Disadvantages:
- Planning can be time-consuming, and overthinking may lead to delays.
- Some people might find it restrictive, preferring a more spontaneous approach.
How to Implement
- Assess Your Space: Measure the wall area where you plan to install the gallery. Consider factors like lighting, furniture placement, and room function. For example, in a living room, aim for eye-level placement to maximize visibility. Use a tape measure to note dimensions and mark potential boundaries with painter's tape.
- Choose a Theme: Decide on a unifying theme for your gallery. This could be based on color schemes (e.g., black-and-white photos), subject matter (e.g., family vacations), or art styles (e.g., modern abstracts). A theme adds depth and prevents the display from looking random. Refer to inspiration from sites like Pinterest or Houzz to refine your idea.
- Create a Mock-up: Lay out your frames and artwork on the floor or use digital tools like Photoshop or free apps to design the arrangement. Cut paper templates to the size of each frame and tape them to the wall to test layouts. This step allows you to adjust spacing and composition before making any holes.
🖼️ Method 2: Selecting Photos and Artwork
Advantages and Disadvantages
Advantages:
- Thoughtful selection results in a personalized and meaningful display.
- Mixing different media, such as photographs, paintings, and prints, adds visual interest.
- High-quality pieces can become conversation starters and enhance the room's aesthetic.
Disadvantages:
- Selecting too many items can lead to clutter, while too few may leave the wall looking sparse.
- Cost can be a factor if you opt for professional framing or original art.
- Balancing styles and sizes requires careful consideration to avoid a disjointed look.
How to Implement
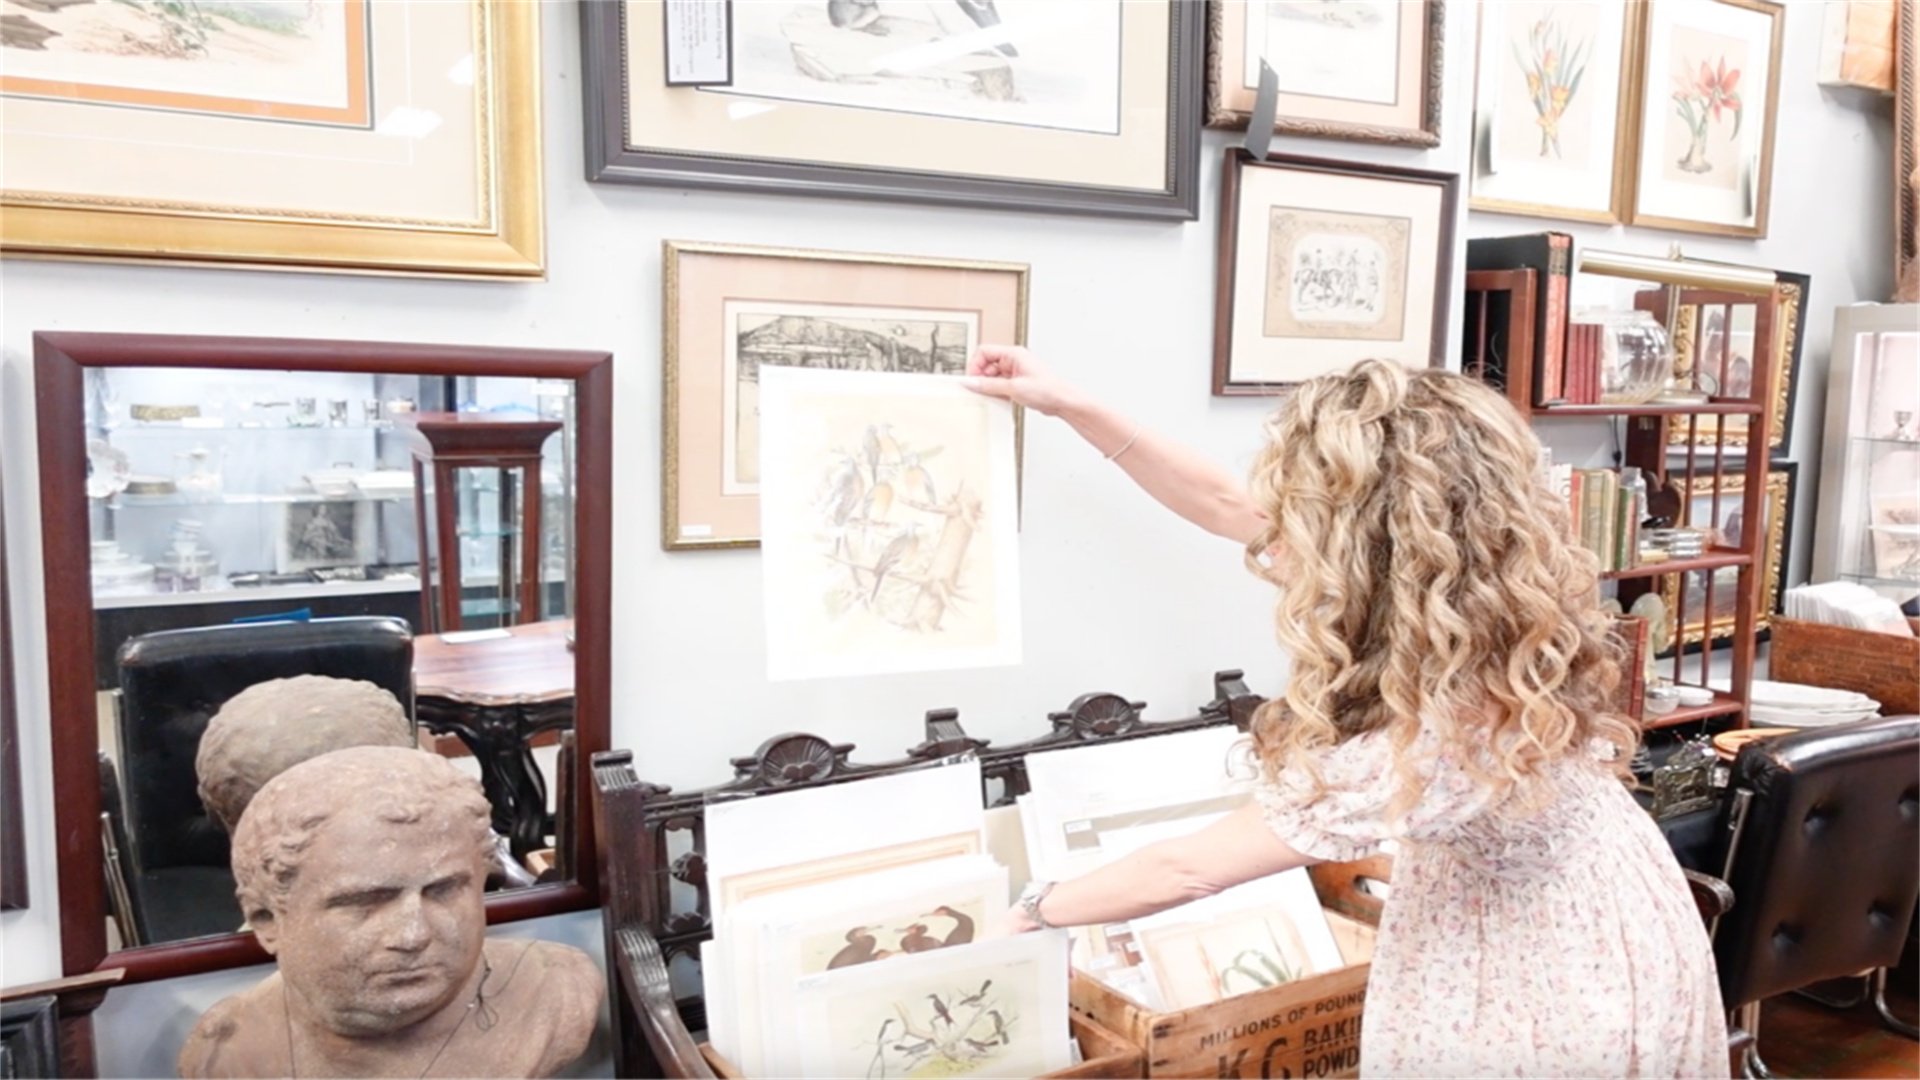
- Curate Your Collection: Gather potential pieces, including family photos, travel snapshots, posters, and handmade art. Aim for a mix of sizes and orientations (portrait and landscape). Edit ruthlessly—choose items that evoke emotions or fit your theme. For a cohesive feel, consider using a consistent filter or editing style for photos.
- Consider Framing Options: Frames play a key role in unifying the display. You can use matching frames for a clean, modern look or mix materials like wood, metal, and acrylic for an eclectic vibe. Ensure frames are appropriately sized for each piece, and use matting to enhance smaller artworks. DIY framing kits can save money, as seen on websites like DIYNetwork.
- Incorporate Variety: Beyond traditional frames, include other elements like mirrors, clocks, or wall sculptures to add depth. For example, a small shelf can hold three-dimensional objects, breaking up the flatness. This approach, popular on decor blogs, creates a dynamic and engaging gallery.
📏 Method 3: Layout and Arrangement Techniques
Advantages and Disadvantages
Advantages:
- A well-planned layout ensures visual harmony and draws attention to key pieces.
- Symmetrical arrangements feel orderly and formal, while asymmetrical ones offer a casual, creative vibe.
- Experimenting with layouts can help you find the perfect fit for your space.
Disadvantages:
- Some layouts, like grid patterns, require precise measurements and can be tricky to align.
- Organic clusters may look messy if not balanced properly.
- It's easy to overcomplicate the process, leading to frustration.
How to Implement
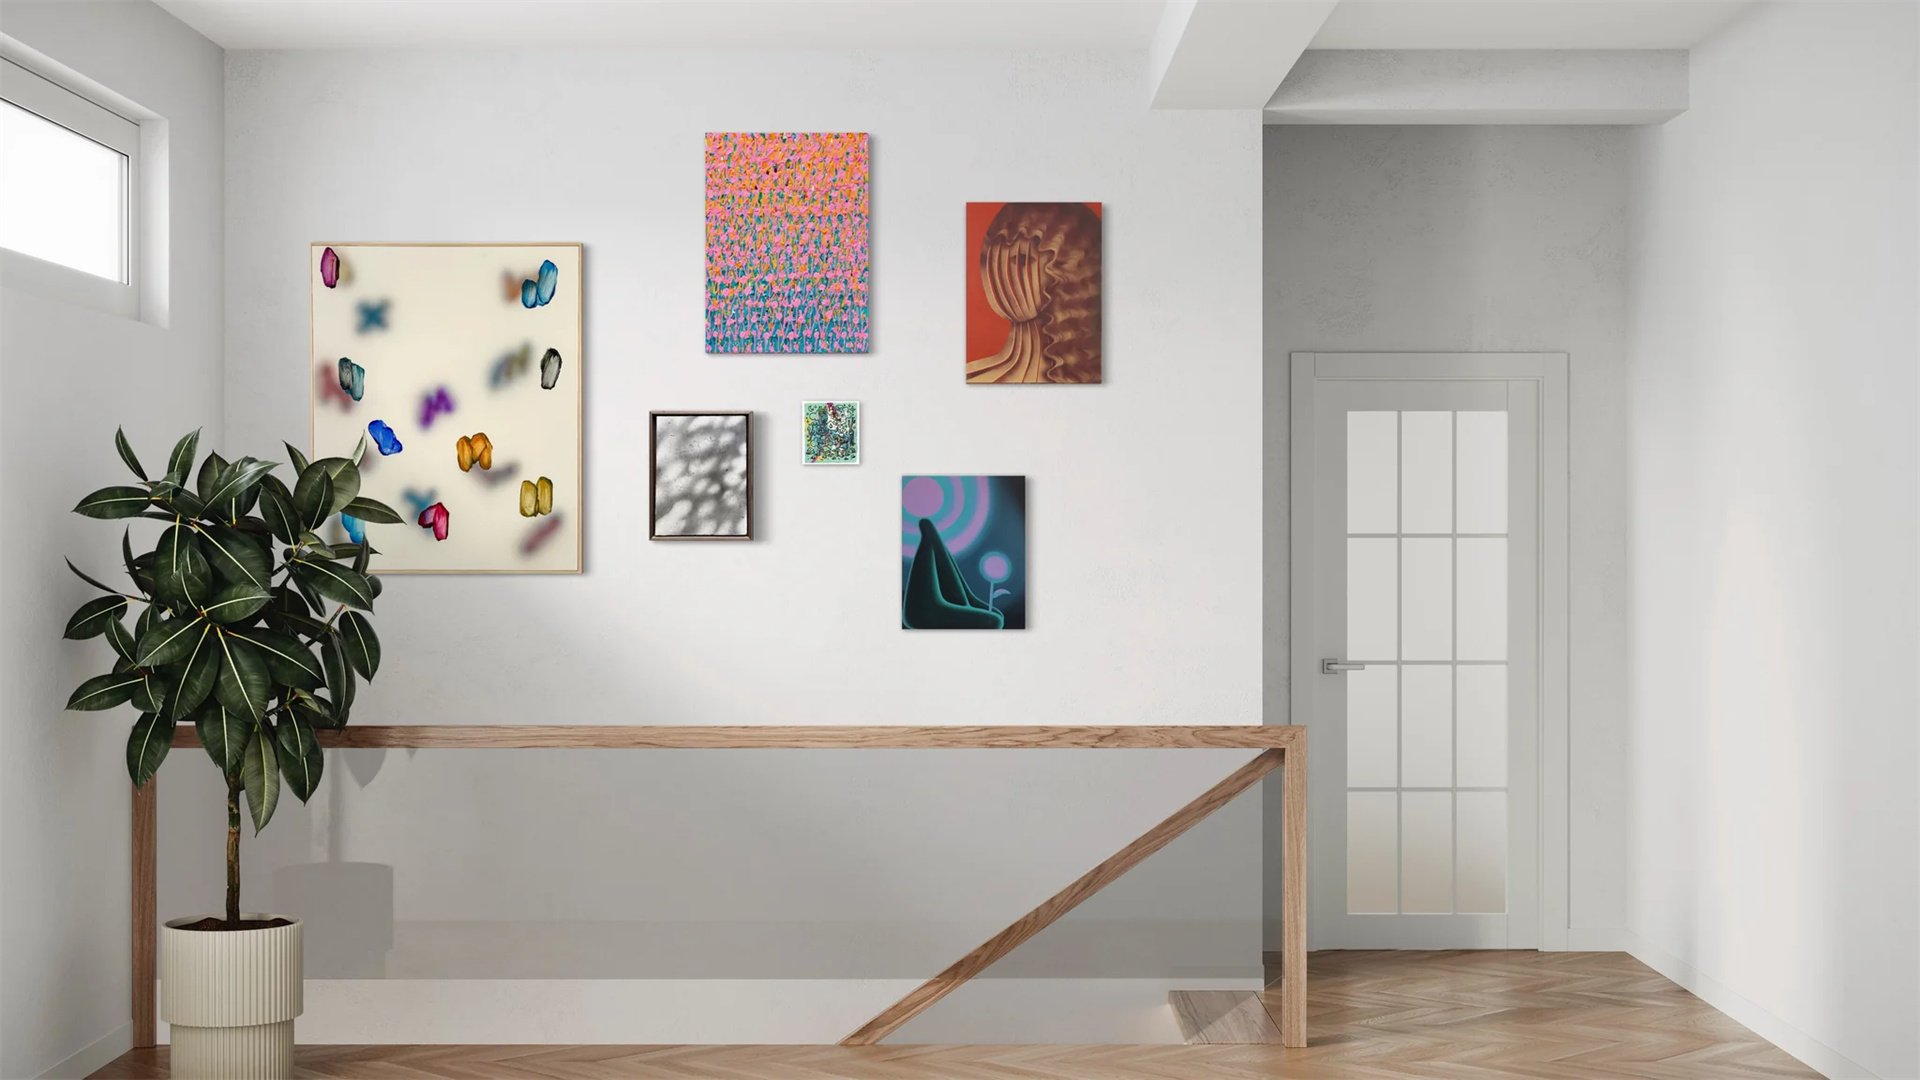
- Choose a Layout Style: Common styles include grid (even rows and columns), salon (a large centerpiece with surrounding items), and random (eclectic mix). For beginners, a symmetrical grid is easier to execute. Study examples from interior design websites to identify styles that resonate with you.
- Establish a Focal Point: Select a central item, such as a large painting or a significant photo, to anchor the display. Arrange other pieces around it, maintaining consistent spacing (typically 2-3 inches between frames). Use a level and measuring tape to ensure accuracy.
- Test and Adjust: After creating a mock-up, step back and assess the arrangement from different angles. Look for balance in color, size, and visual weight. Make adjustments as needed—for instance, if one side feels heavy, add a lighter piece opposite. This iterative process is key to a polished result.
🔨 Method 4: Installation and Hanging Process
Advantages and Disadvantages
Advantages:
- Proper installation ensures durability and safety, preventing frames from falling.
- Using the right tools makes the job quicker and more accurate.
- A well-hung gallery looks professional and enhances the room's appeal.
Disadvantages:
- Installation can be physically demanding, especially for large or heavy pieces.
- Mistakes like drilling into studs or uneven hanging may require repairs.
How to Implement
- Gather Tools and Materials: Essential items include a hammer, nails, picture hooks, a drill (for drywall or heavy items), a level, a pencil, and a measuring tape. For larger galleries, consider using a laser level for precision. Adhesive strips can be an alternative for renters or lightweight frames, as recommended on DIY forums.
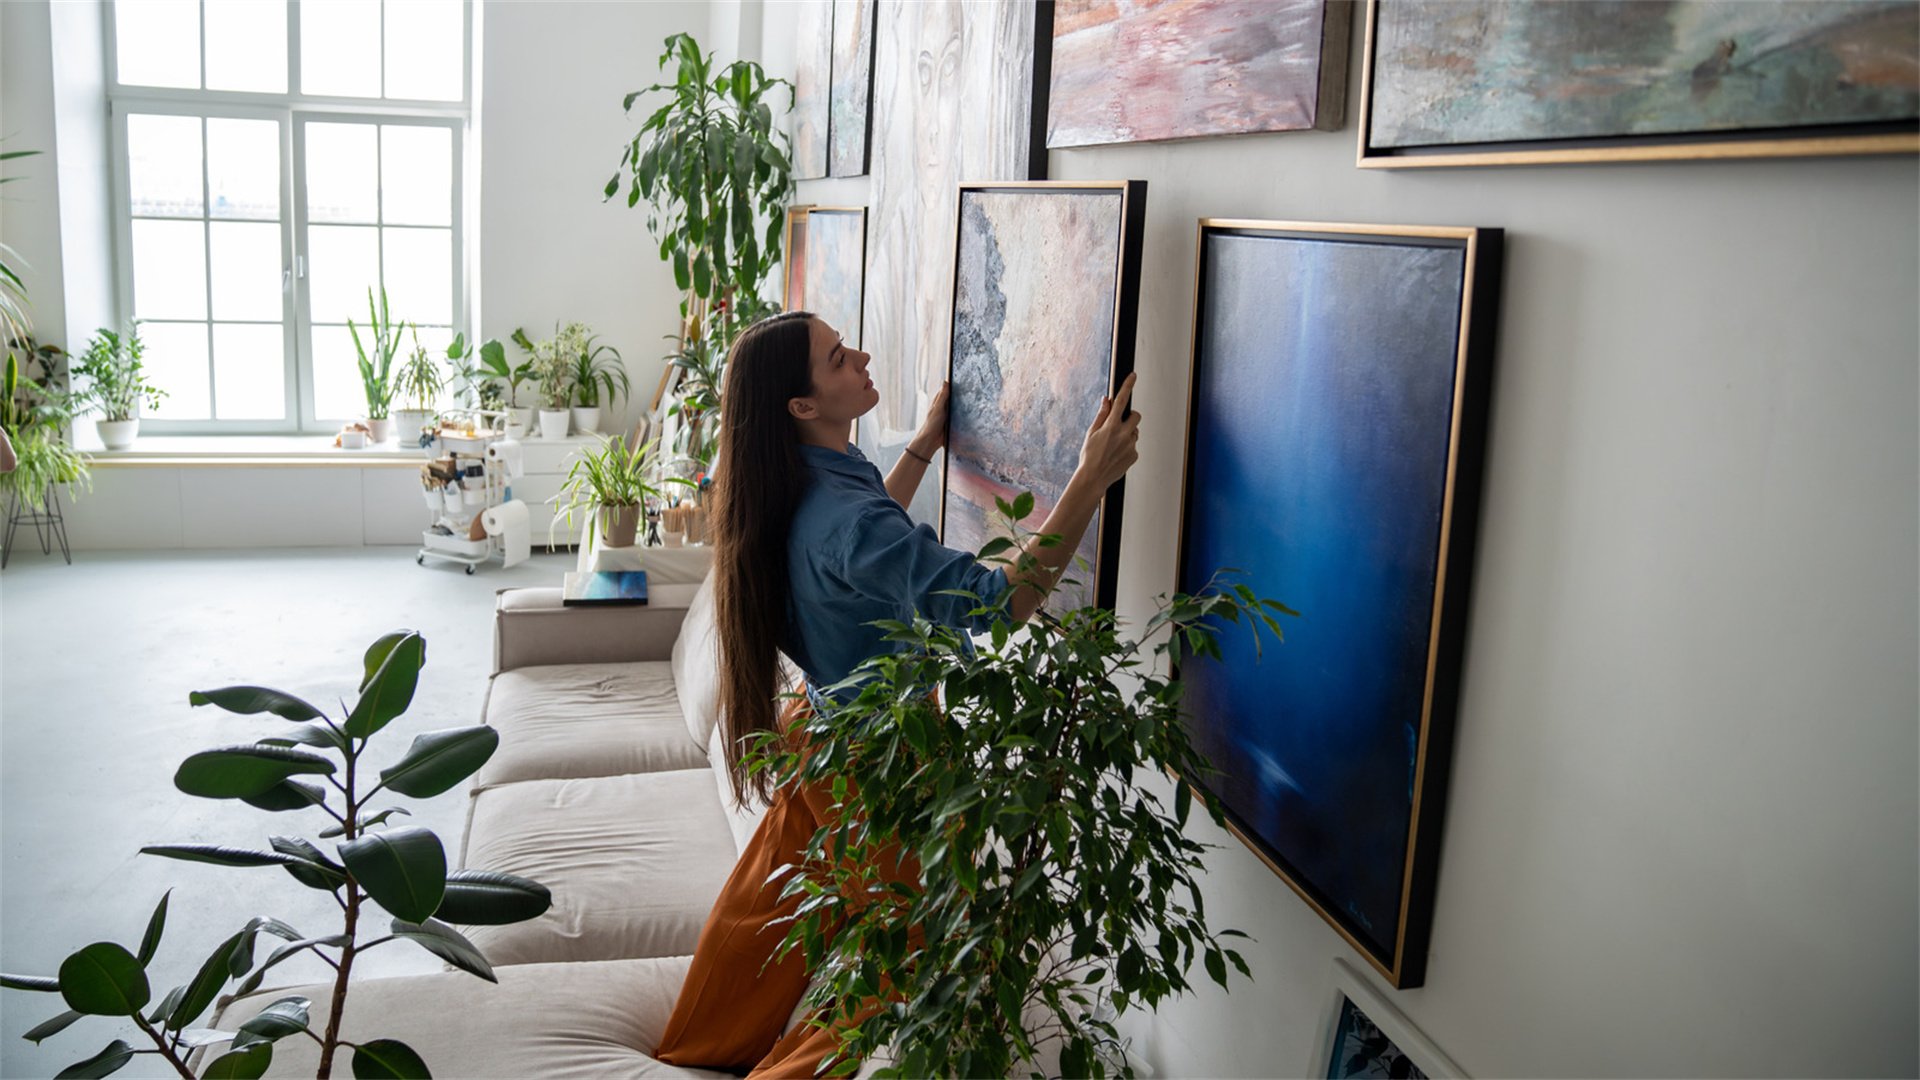
- Mark and Hang: Start with the central piece or the largest frame. Use your mock-up templates to mark hanging points on the wall. Drill holes or insert nails, ensuring they're level. Hang each frame one by one, double-checking alignment as you go. For clusters, work outward from the center to maintain balance.
- Secure and Protect: For heavy artwork, use wall anchors or toggle bolts to support weight. Add bumpers to the back of frames to prevent wall damage and keep them straight. After hanging, clean the frames and glass to remove fingerprints, ensuring a pristine display.
✨ Method 5: Decorating and Maintaining Your Gallery Wall
Advantages and Disadvantages
Advantages:
- Decorating with complementary elements, like lighting or plants, enhances the gallery's impact.
- Regular maintenance ensures it remains dust-free and updated.
- This flexibility allows you to swap out pieces seasonally or as your tastes change.
Disadvantages:
- Over-decorating can distract from the gallery itself.
- Maintenance requires ongoing effort, such as cleaning and occasional re-hanging.
How to Implement
- Add Accent Lighting: Install picture lights or track lighting to highlight your gallery, especially in dim rooms. This draws attention to key pieces and creates a cozy ambiance. LED strips are a modern, energy-efficient option highlighted on home improvement sites.
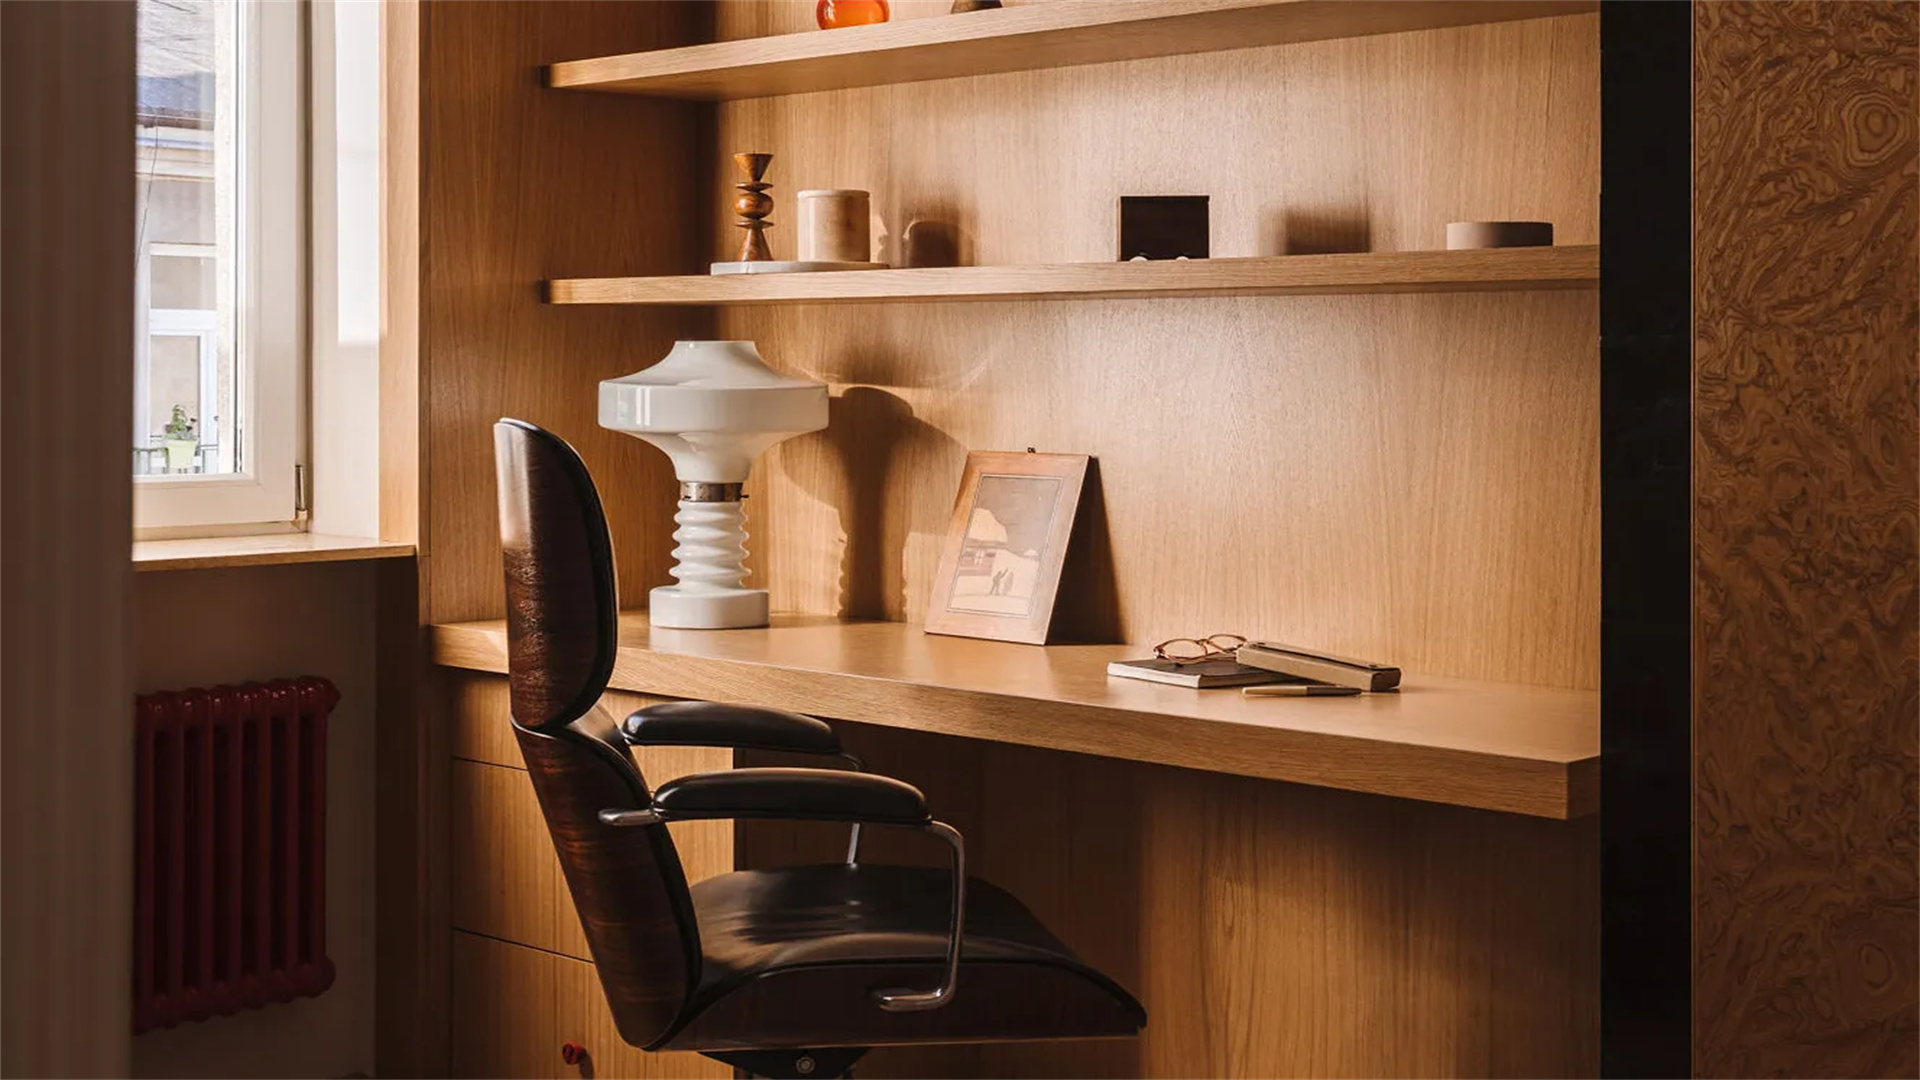
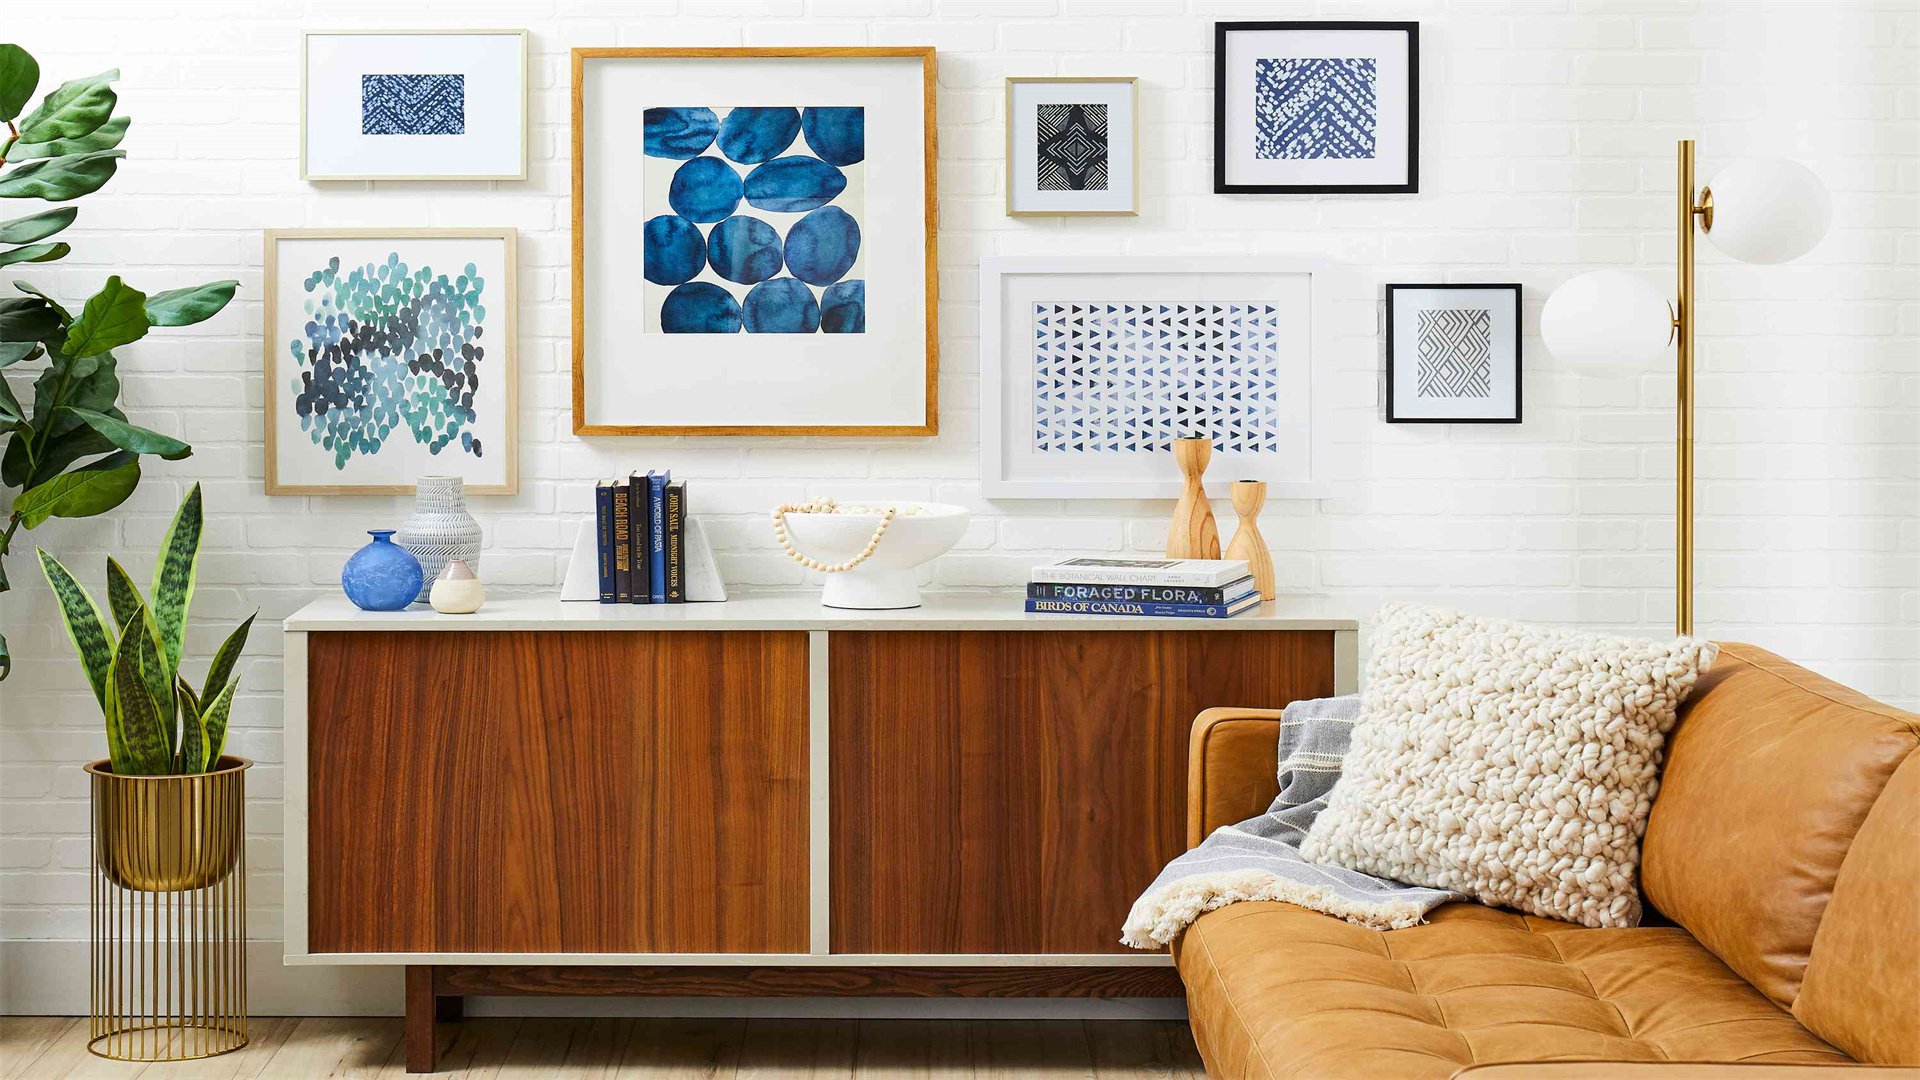
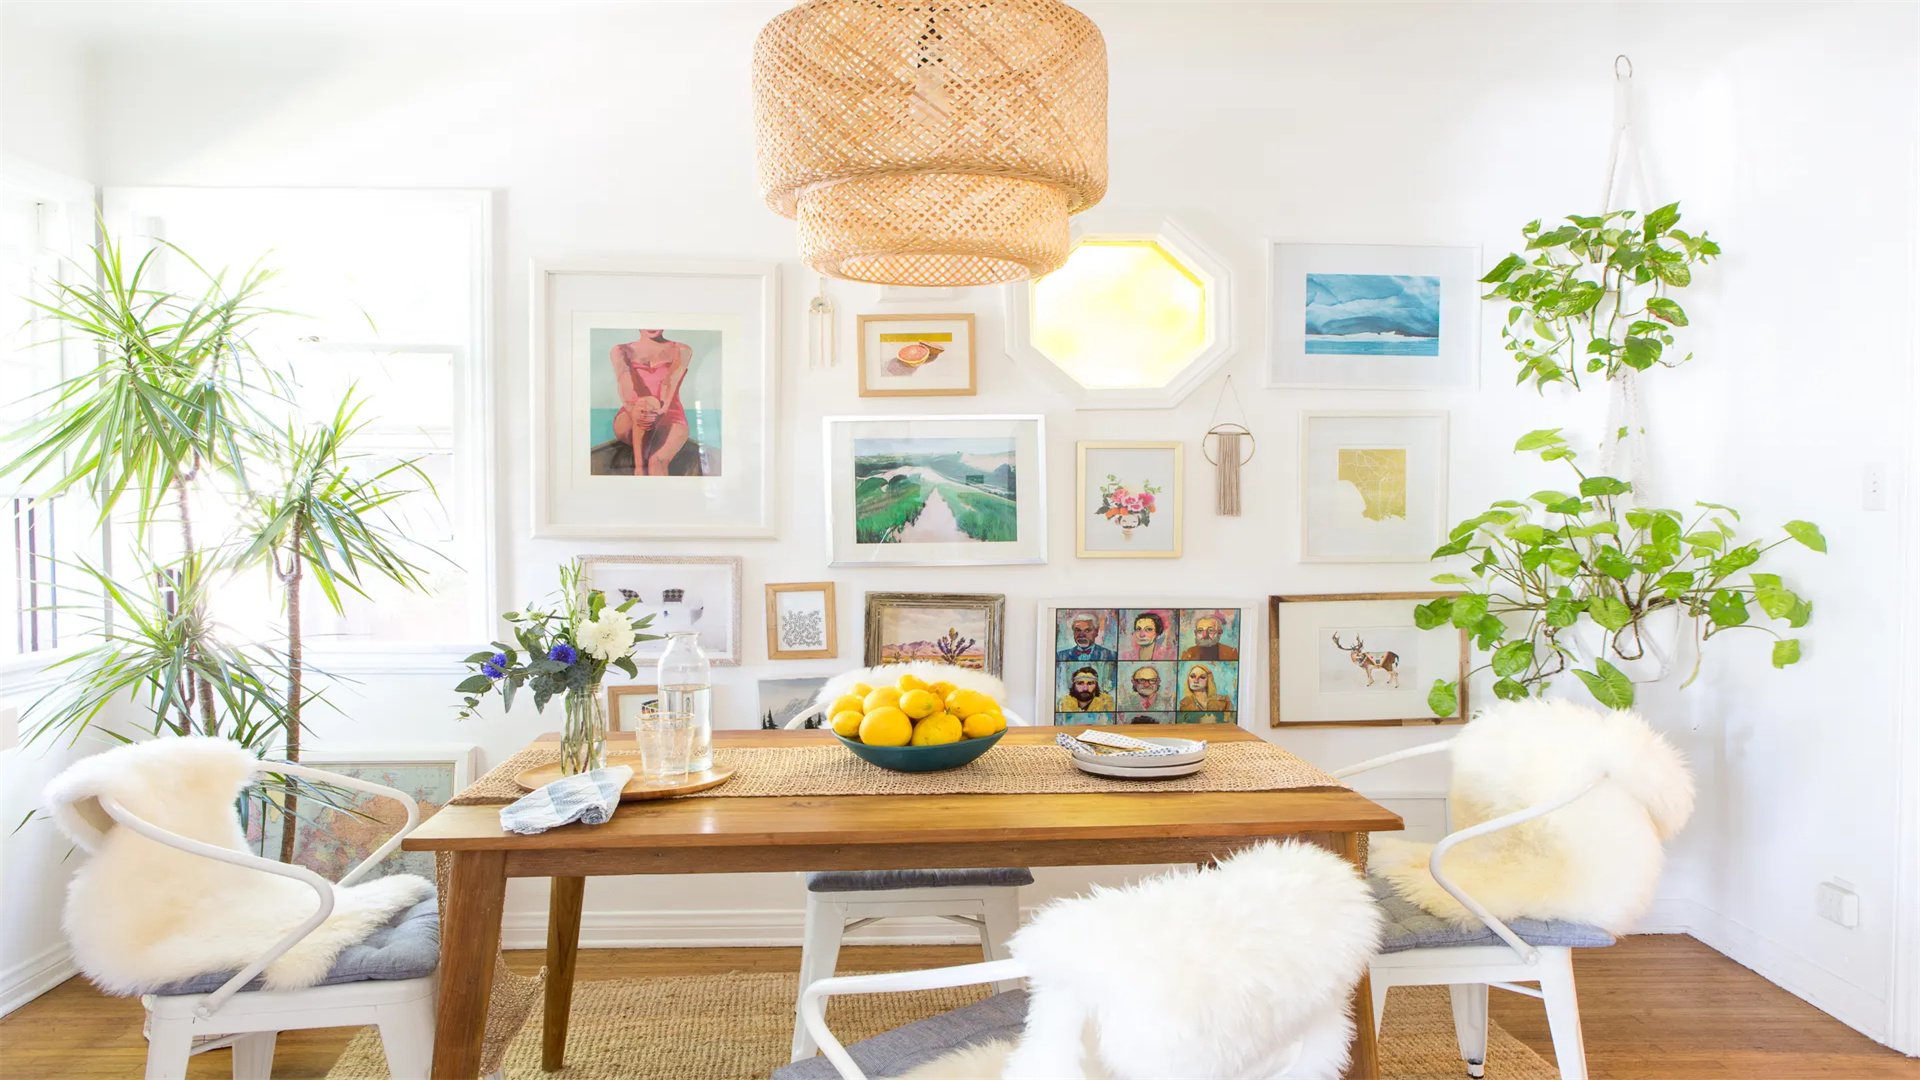
- Incorporate Surrounding Decor: Place furniture, such as a console table or sofa, below or near the gallery to frame it. Add plants or decorative objects on shelves to create layers. Ensure these elements don't overcrowd the space—aim for a balanced composition that complements the wall.
- Maintain and Update: Dust frames regularly with a soft cloth. Check for loose nails or hooks every few months. To keep the display dynamic, rotate artworks periodically—for example, switch photos seasonally or add new travel mementos. This practice, common on lifestyle blogs, keeps the gallery relevant and engaging.
🧰 Method 6: Tools and Materials for DIY Gallery Walls

Advantages and Disadvantages
Advantages:
- Proper tools increase efficiency and accuracy, reducing the risk of errors.
- Quality materials, like acid-free matting, protect your art from damage.
- Investing in good supplies ensures a long-lasting and professional-looking gallery.
Disadvantages:
- Costs can add up, especially for high-end frames or specialized tools.
- Beginners might feel overwhelmed by the variety of options.
How to Implement
- Essential Tools: List must-haves: measuring tape, level, hammer, nails, picture hooks, drill, pencil, and painter's tape. For larger projects, consider a stud finder, laser level, and adhesive hanging systems. These tools are often featured in DIY kit reviews online.
- Frame and Matting Materials: Choose frames based on your style—wood for warmth, metal for modernity. Use acid-free mats to prevent yellowing of photos. For a custom look, cut your own mats with a mat cutter or order pre-cut sizes from craft stores.
- Optional Gadgets: Enhance your process with digital tools like augmented reality apps to visualize layouts on your wall. 3D hanging systems allow easy rearranging without new holes. These innovations, discussed on tech-savvy DIY sites, can simplify complex projects.
💡 Method 7: Inspiration and Trends for Gallery Walls
Advantages and Disadvantages
Advantages:
- Following trends can give your gallery a modern edge.
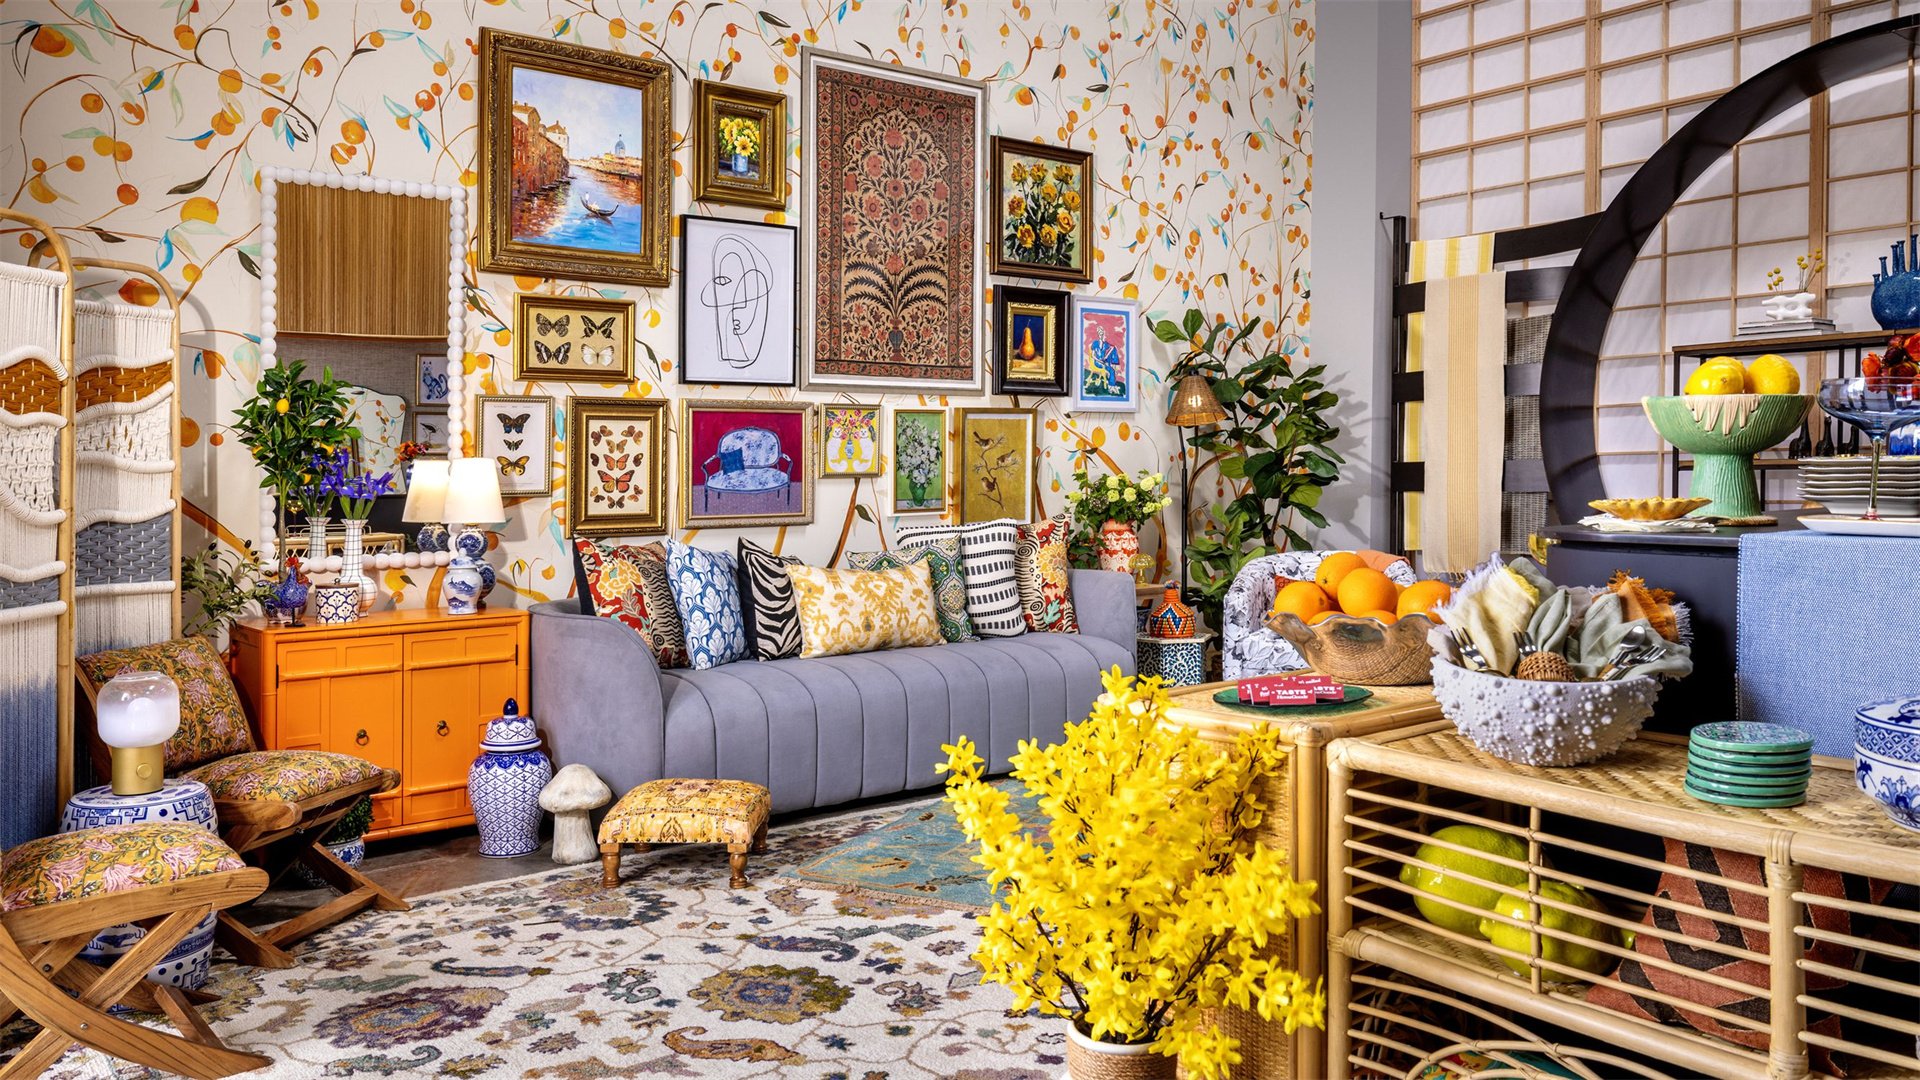
- Inspiration from diverse sources, like Scandinavian minimalism or bohemian eclecticism, broadens your design options.
- It helps you avoid outdated looks and keeps your space fresh.
Disadvantages:
- Trends change quickly, so a heavily trend-based gallery may soon feel dated.
- It's easy to copy others without adding personal touches.
How to Implement
- Research Current Trends: Browse websites like Architectural Digest or Elle Decor for popular styles, such as mixed-media galleries or vintage photo walls. Note color palettes—earthy tones and monochrome schemes are currently in vogue. Save images to a digital mood board for reference.
- Incorporate Personal Touches: While drawing inspiration, infuse your personality. For example, if you love travel, include maps or souvenirs alongside photos. Handmade art or children's drawings add a heartfelt element. This blend of trend and individuality is praised on creative blogs.
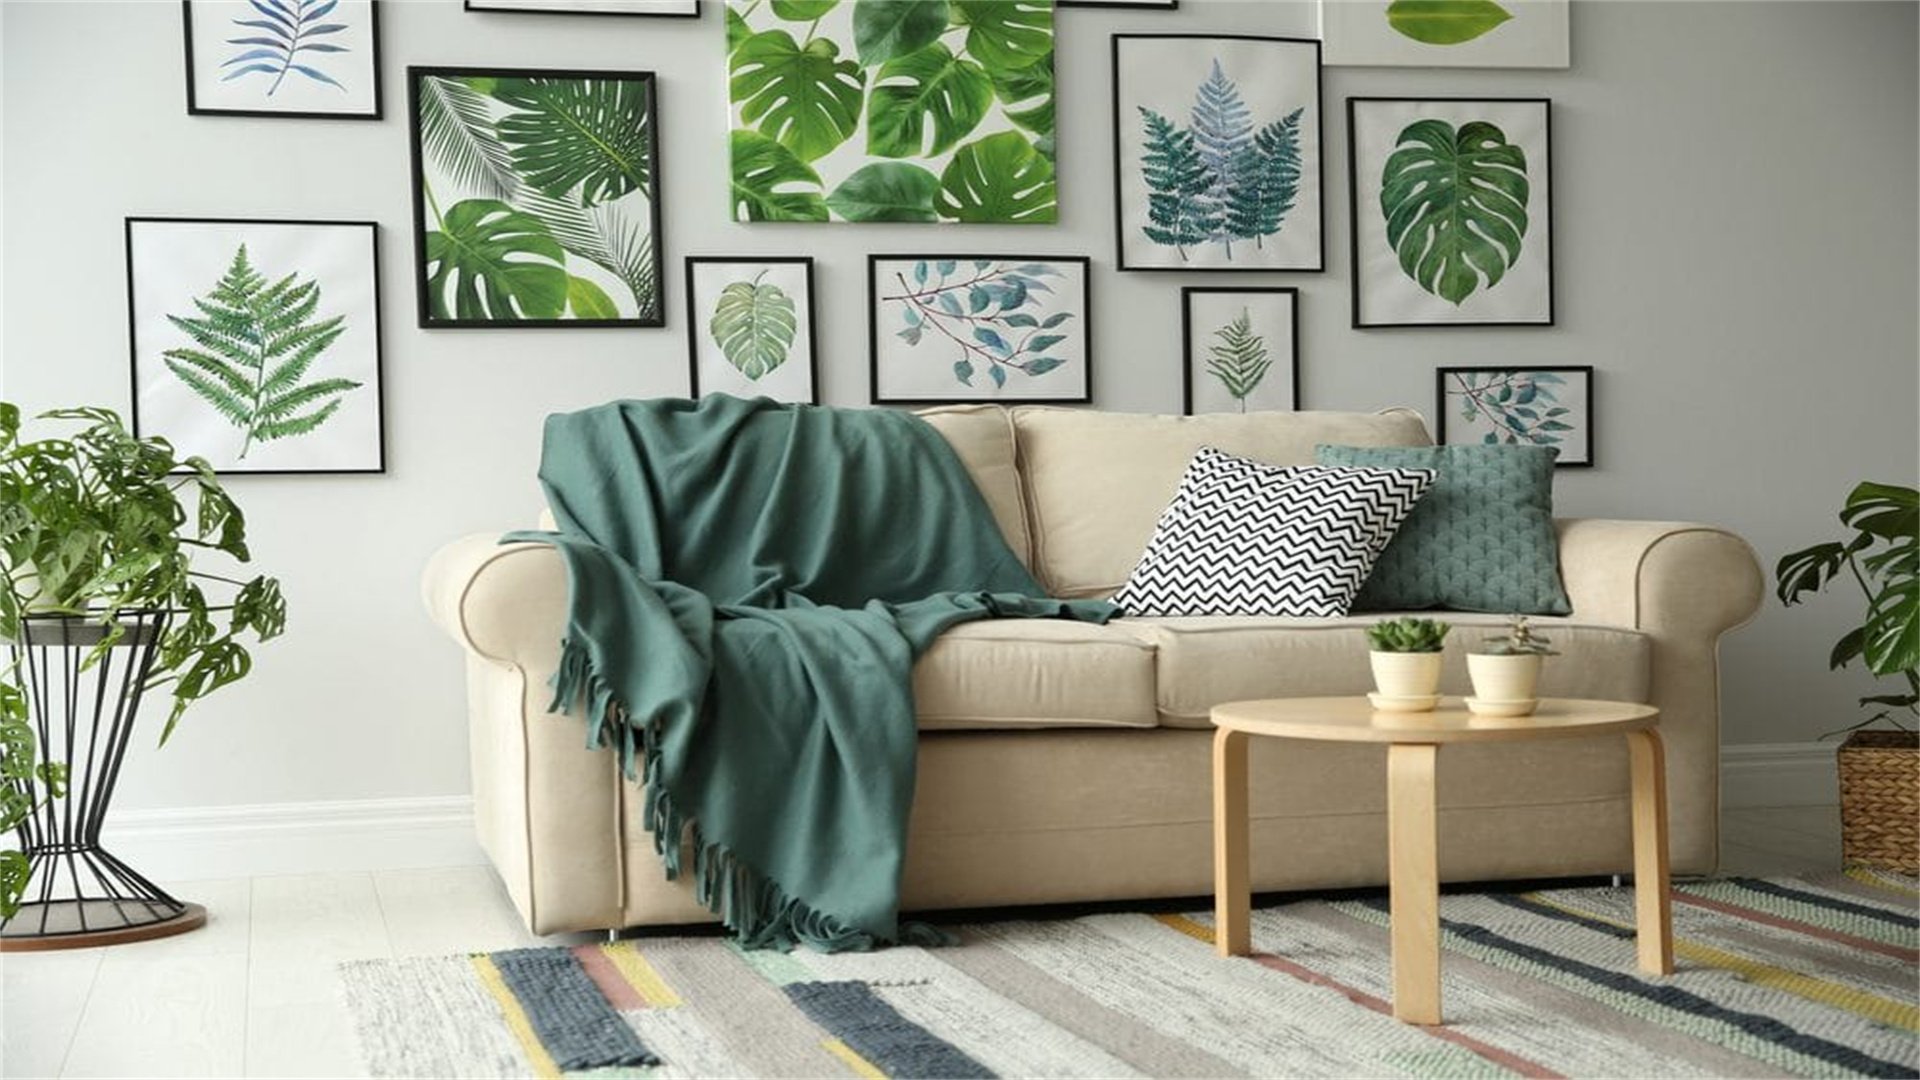
- Experiment with Themes: Try thematic galleries, like a "wall of fame" with achievement certificates or a botanical print collection. Use unconventional items like plates or textiles for texture. These ideas, seen on international design platforms, can make your gallery stand out.
⚠️ Method 8: Common Mistakes and How to Avoid Them
Advantages and Disadvantages
Advantages:
- Learning from common mistakes saves time, money, and frustration.
- Proactive measures, like using templates, prevent issues like uneven spacing.
- This knowledge boosts confidence, especially for first-timers.
Disadvantages:
- Focusing too much on mistakes can lead to anxiety or overcorrection.
How to Implement
- Avoid Uneven Spacing: A common error is inconsistent gaps between frames. To prevent this, use a spacer tool or cut a cardboard guide to maintain uniform distance. Measure twice before hanging, and adjust as needed during the mock-up phase.
- Prevent Wall Damage: Drilling without checking for studs or wires can cause damage. Use a stud finder and avoid electrical areas. For renters, opt for removable adhesive hooks or picture rails. This tip is frequently shared on rental-friendly DIY sites.
- Balance Visual Weight: Avoid clustering heavy, dark frames on one side. Distribute them evenly or pair them with lighter pieces. Step back frequently to assess balance, and don't be afraid to rearrange. Practice makes perfect, as noted in expert tutorials.
🏠 Method 9: Customizing for Different Room Types
Advantages and Disadvantages
Advantages:
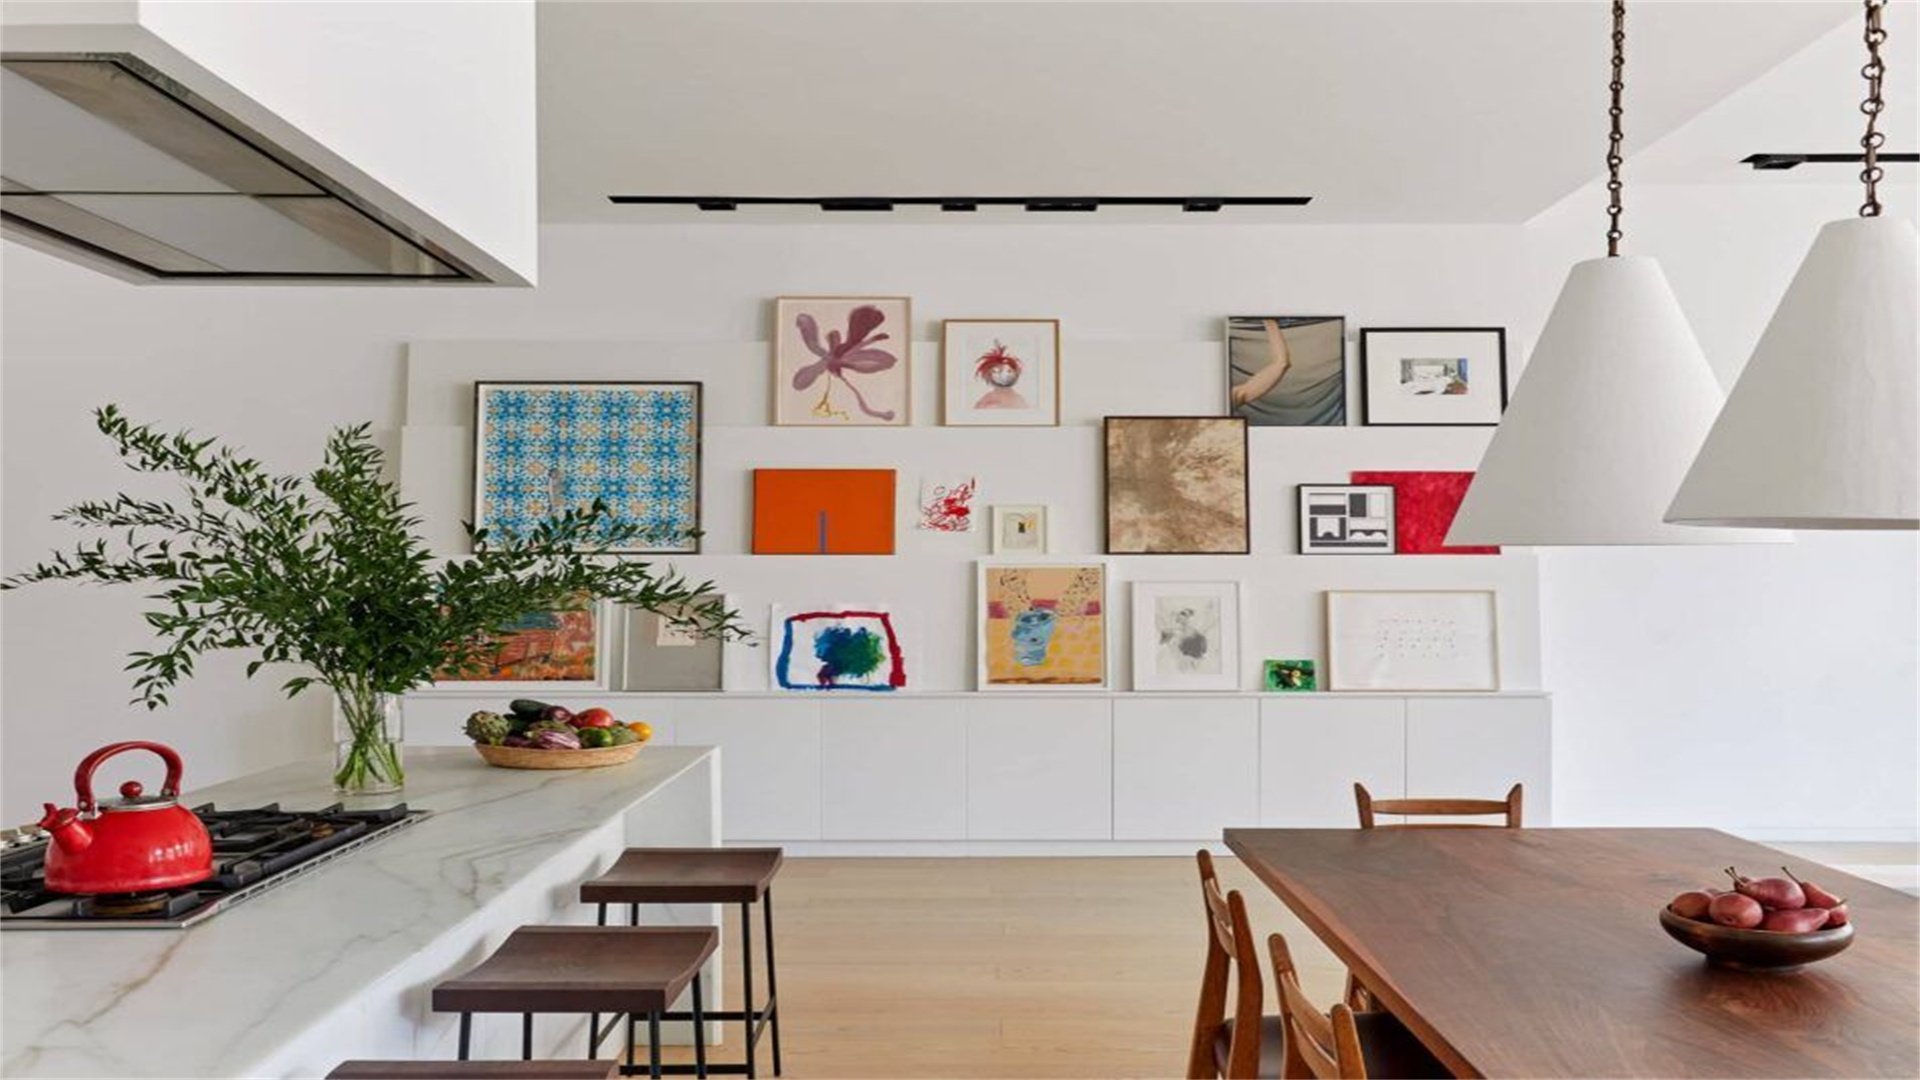
- Customization ensures the gallery complements the room's purpose—e.g., calming art in bedrooms or vibrant pieces in kitchens.
- It maximizes impact by considering traffic flow and lighting.
- This personalized approach enhances overall home decor.
Disadvantages:
- Each room may require different strategies, increasing complexity.
- Factors like humidity in bathrooms can damage art.
How to Implement
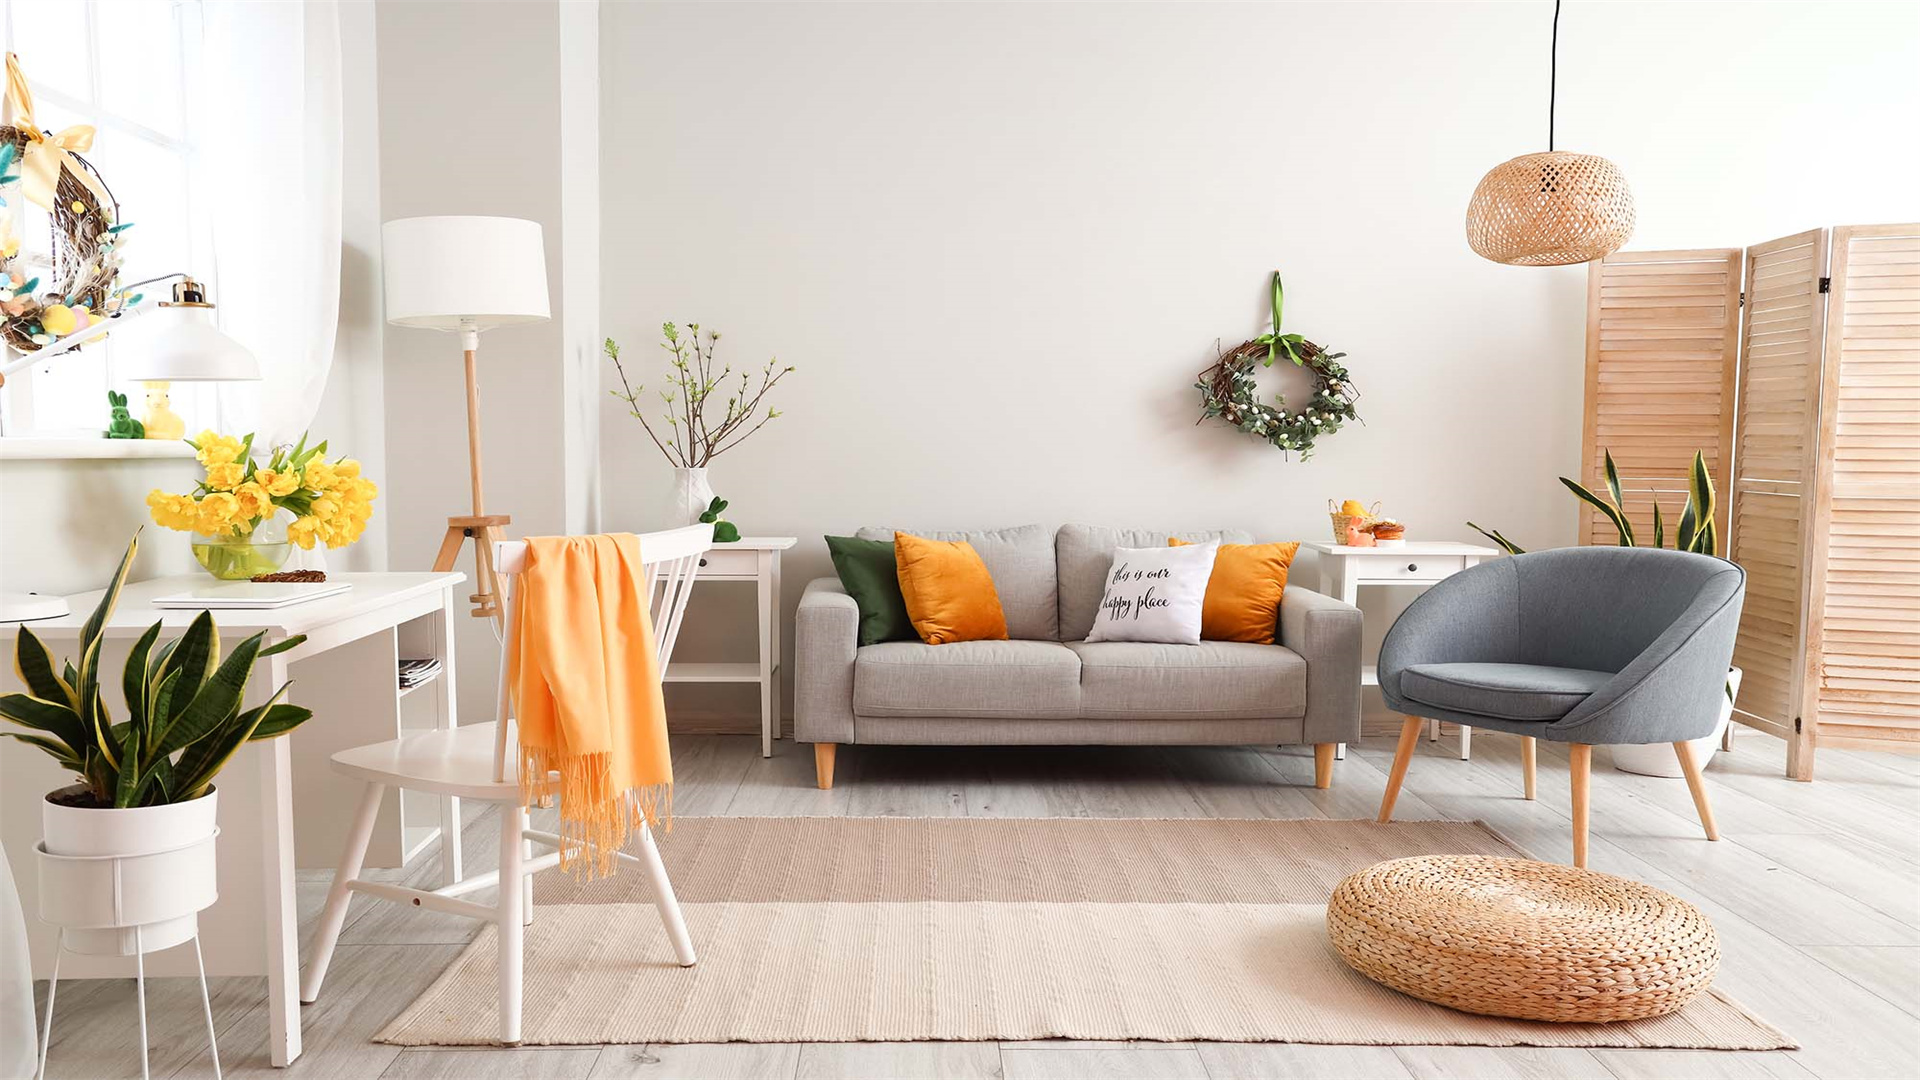
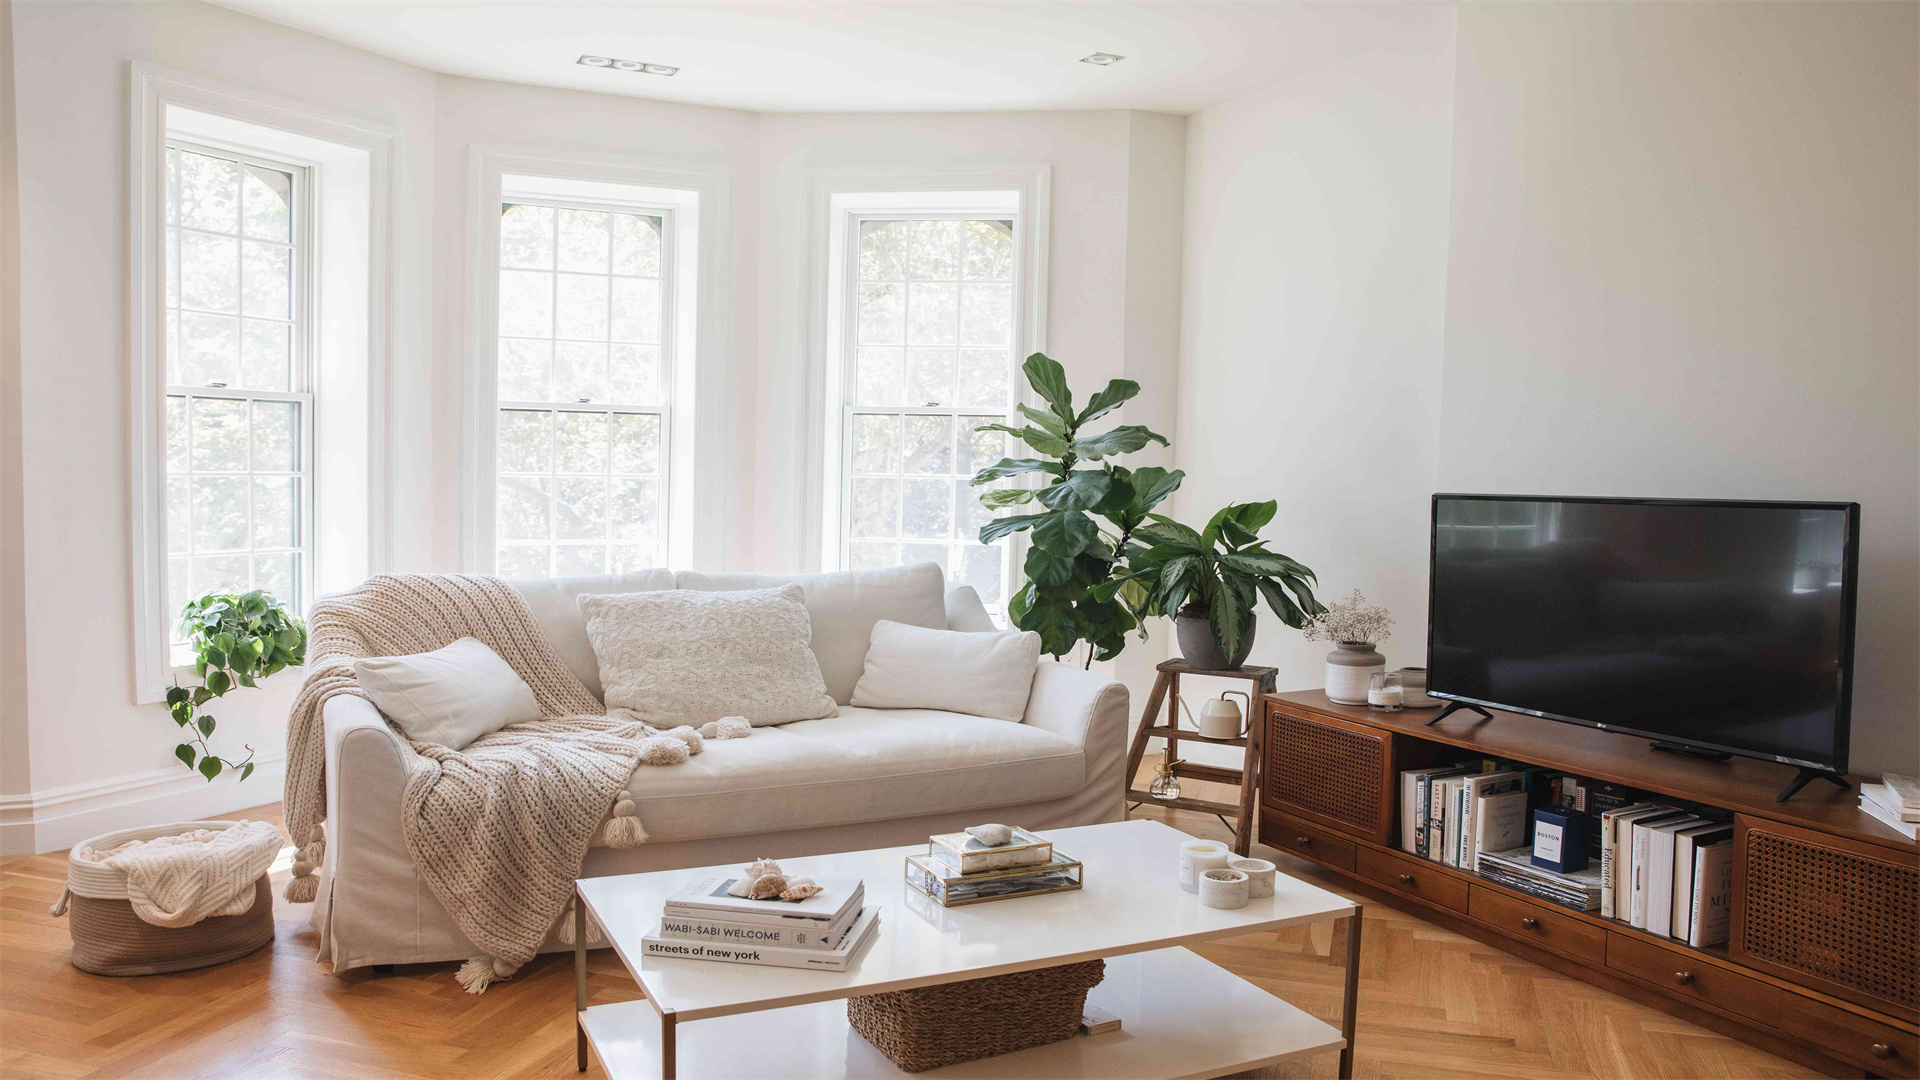
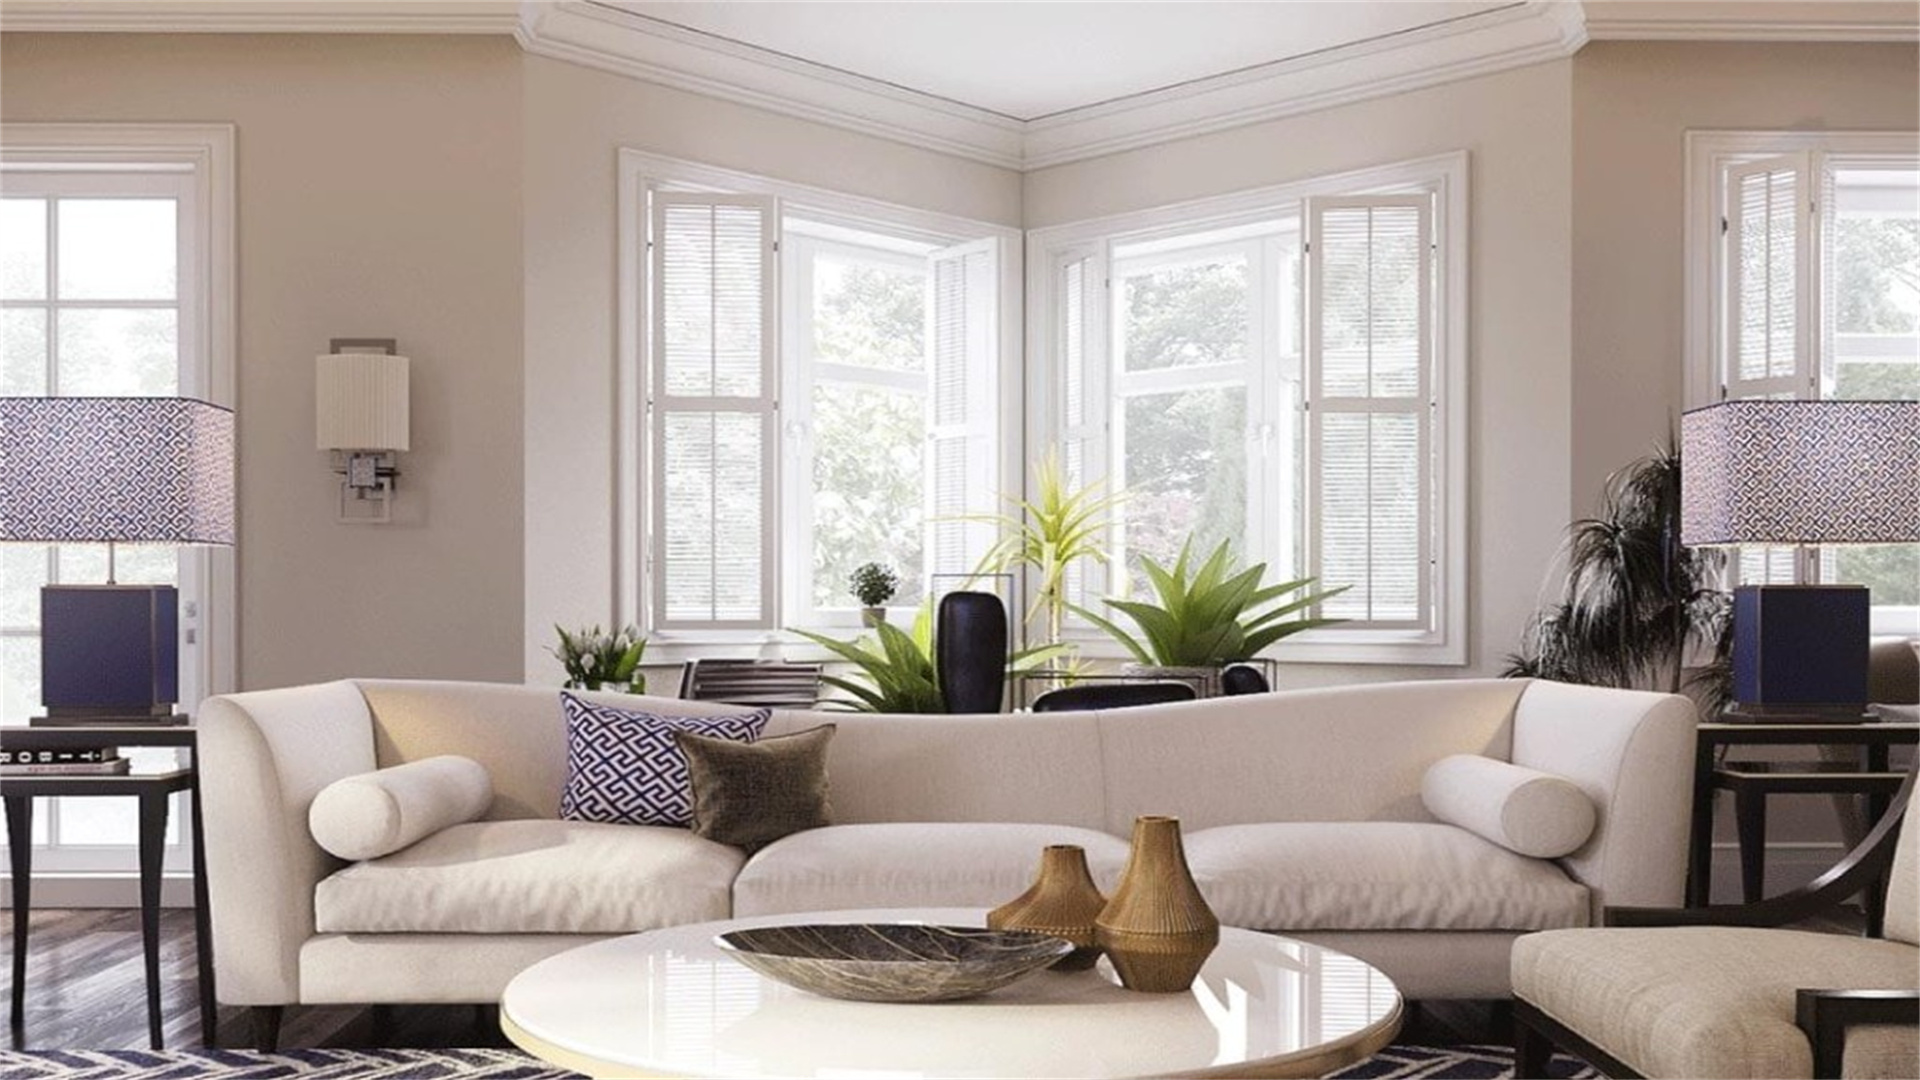
- Living Room Galleries: Focus on large, statement pieces that reflect your style. Arrange at eye level above sofas or fireplaces. Use lighting to create a cozy gathering spot. Incorporate family photos for a personal touch, as recommended on home staging websites.
- Bedroom Galleries: Opt for serene themes, like nature photos or abstract art, to promote relaxation. Place smaller clusters above headboards or on adjacent walls. Avoid overly bright colors that might disrupt sleep. This approach aligns with wellness-focused decor trends.
- Hallway and Stairway Galleries: Utilize long, narrow spaces for linear arrangements or ascending clusters along stairs. Mix frame sizes to guide the eye. Ensure pieces are secure in high-traffic areas. These ideas are popular in space-saving guides online.
💰 Method 10: Budget-Friendly DIY Gallery Wall Ideas
Advantages and Disadvantages
Advantages:
- Budget-friendly approaches make gallery walls accessible to everyone.
- Upcycling old frames or printing photos at home saves money.
- It encourages creativity and resourcefulness.
Disadvantages:
- Cheap materials may lack durability or quality.
- It can take more time to source affordable items.
How to Implement
- Source Inexpensive Frames: Shop at thrift stores, garage sales, or dollar stores for frames. Paint or refinish them to match your theme. Use online marketplaces for bulk deals. This tactic is highlighted in frugal living blogs.
- Create Your Own Art: Instead of buying art, make it yourself. Try painting, collage, or digital prints from free resources. Involve family members for personalized pieces. This adds unique value without significant cost.
- Use Alternative Display Methods: Skip traditional framing—use clipboards, string lights with clips, or floating shelves for a casual look. Repurpose old windows or doors as statement backdrops. These innovative ideas, shared on Pinterest, offer affordable versatility.
Advertisement