DIY Composting Tips for a Sustainable Garden
Composting is a cornerstone of sustainable gardening, transforming kitchen scraps and yard waste into nutrient-rich soil amendments. By engaging in DIY composting, gardeners can reduce landfill waste, improve soil health, and foster a more eco-friendly lifestyle. This article provides a comprehensive guide to various DIY composting methods, each with its own advantages, disadvantages, and step-by-step implementation tips. Whether you're a beginner or an experienced gardener, these insights will help you create a thriving compost system tailored to your garden's needs.
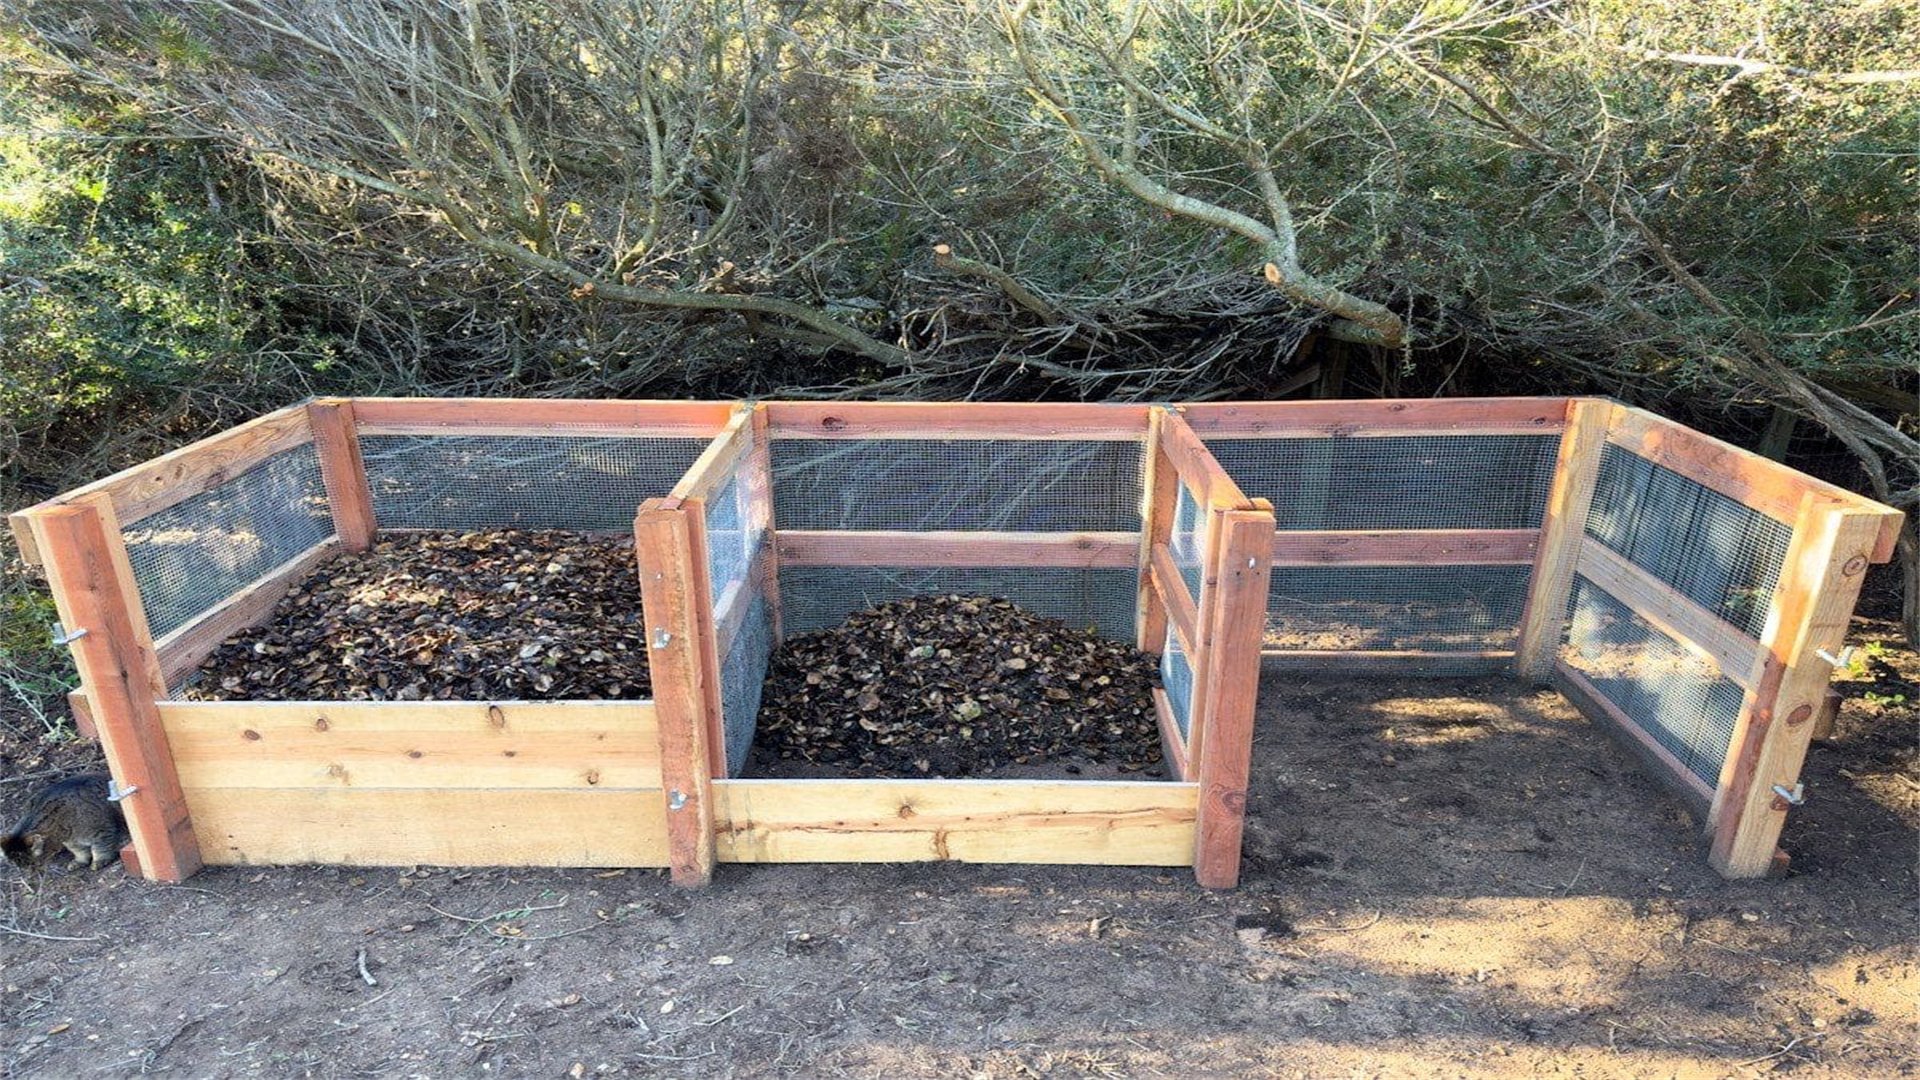
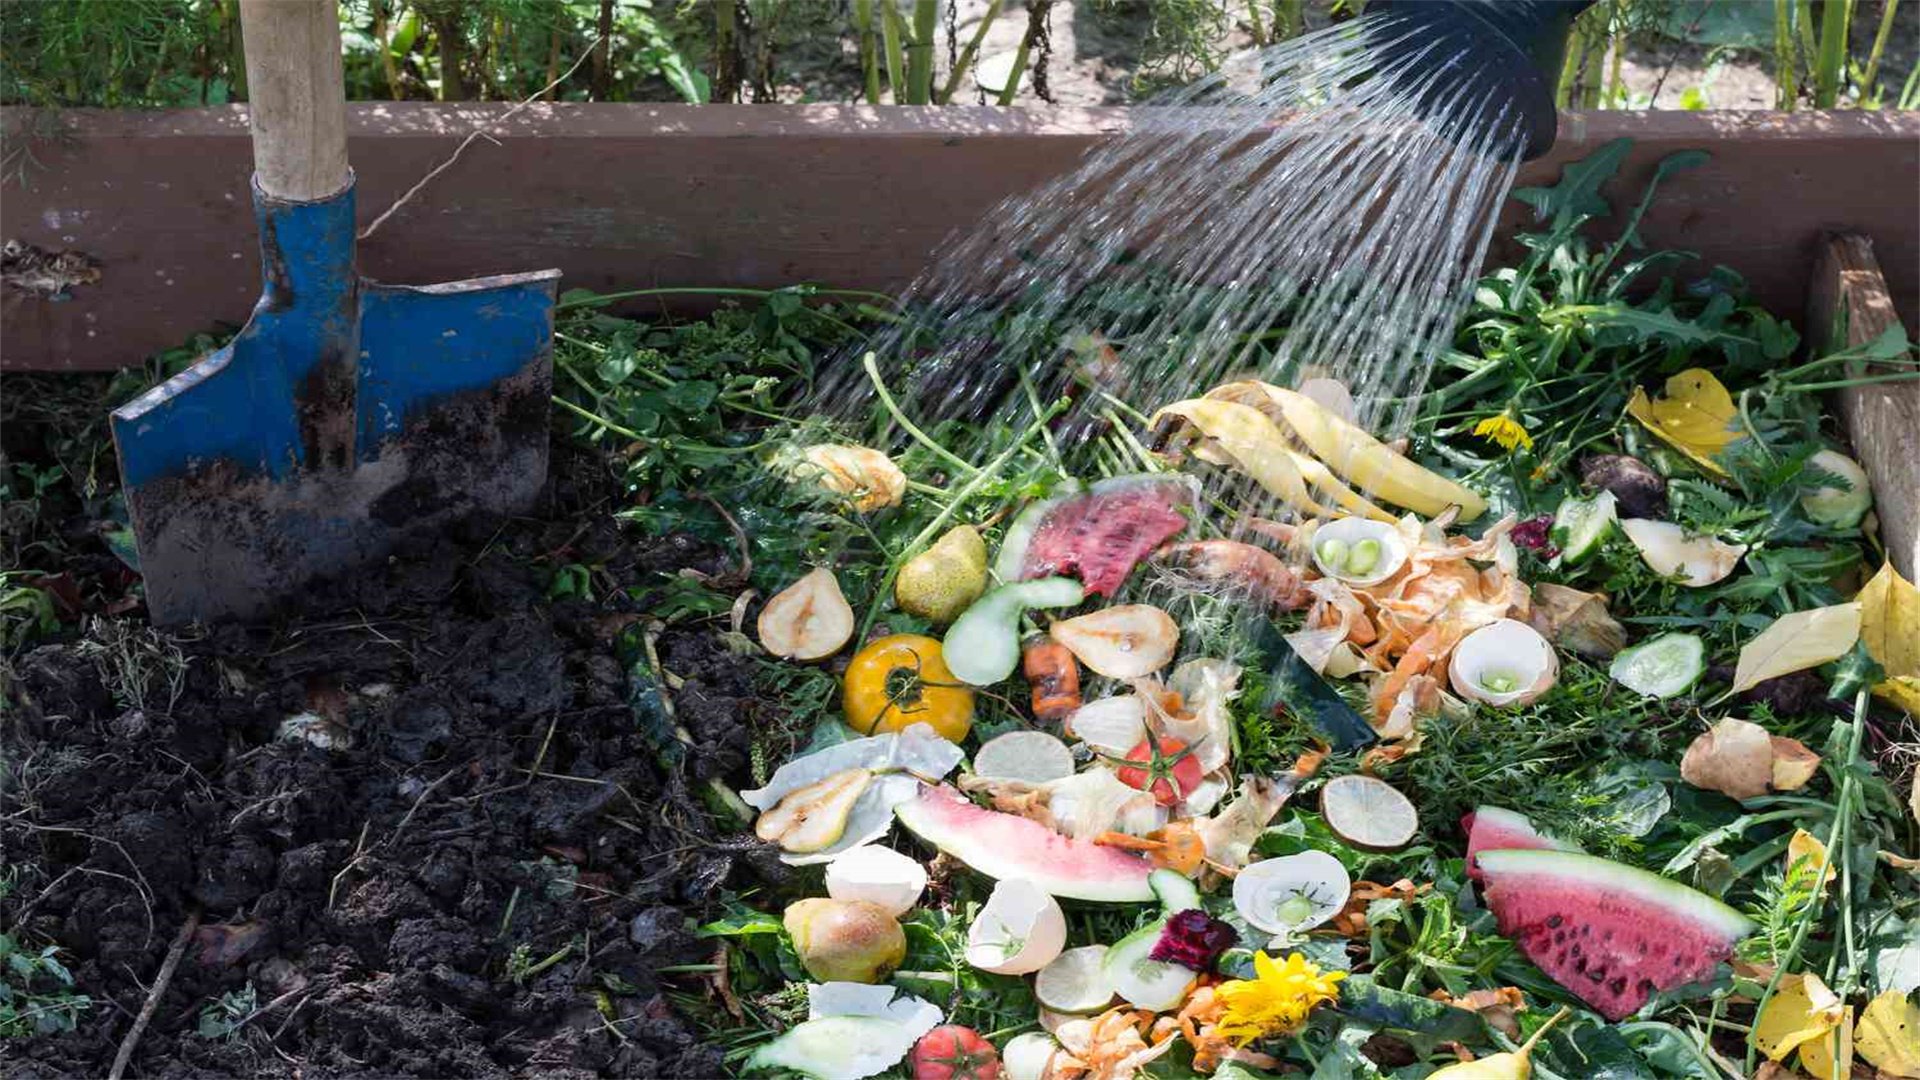
📦 Traditional Compost Bin
The traditional compost bin is a popular choice for home gardeners, offering a controlled environment for aerobic decomposition. It involves layering organic materials to encourage microbial activity, resulting in dark, crumbly compost over several months.
Advantages and Disadvantages
Advantages:
- Cost-effective, as bins can be built from recycled materials like pallets or plastic containers.
- Produces high-quality compost that enhances soil structure and fertility.
- Reduces odor and pest issues when managed properly.
- Suitable for larger gardens with ample space.
Disadvantages:
- Requires regular maintenance, such as turning the pile to aerate it, which can be labor-intensive.
- May take 3 to 6 months to yield usable compost, depending on conditions.
- In cooler climates, decomposition slows down.
- If not balanced correctly, it can attract pests or emit unpleasant smells.
How to Implement
- Choose a Location: Select a dry, shady spot in your garden with good drainage. Avoid areas near structures or water sources to prevent contamination.
- Build or Acquire a Bin: Construct a bin using wooden pallets, wire mesh, or a plastic container with holes for aeration. Ensure it's at least 3 feet wide and 3 feet high to retain heat effectively.
- Layer Materials: Start with a coarse layer of twigs or straw for drainage. Alternate between green materials (e.g., vegetable scraps, grass clippings) and brown materials (e.g., leaves, cardboard) to maintain a carbon-to-nitrogen ratio of 25-30:1.
- Maintain the Pile: Keep the compost moist like a wrung-out sponge. Turn the pile every 1-2 weeks with a pitchfork to introduce oxygen, which speeds up decomposition. Monitor temperature; aim for 130-160°F to kill pathogens and weed seeds.
- Harvest Compost: After several months, when the material is dark and earthy-smelling, sift out any large chunks and use the finished compost as a top dressing or soil amendment for your garden beds.
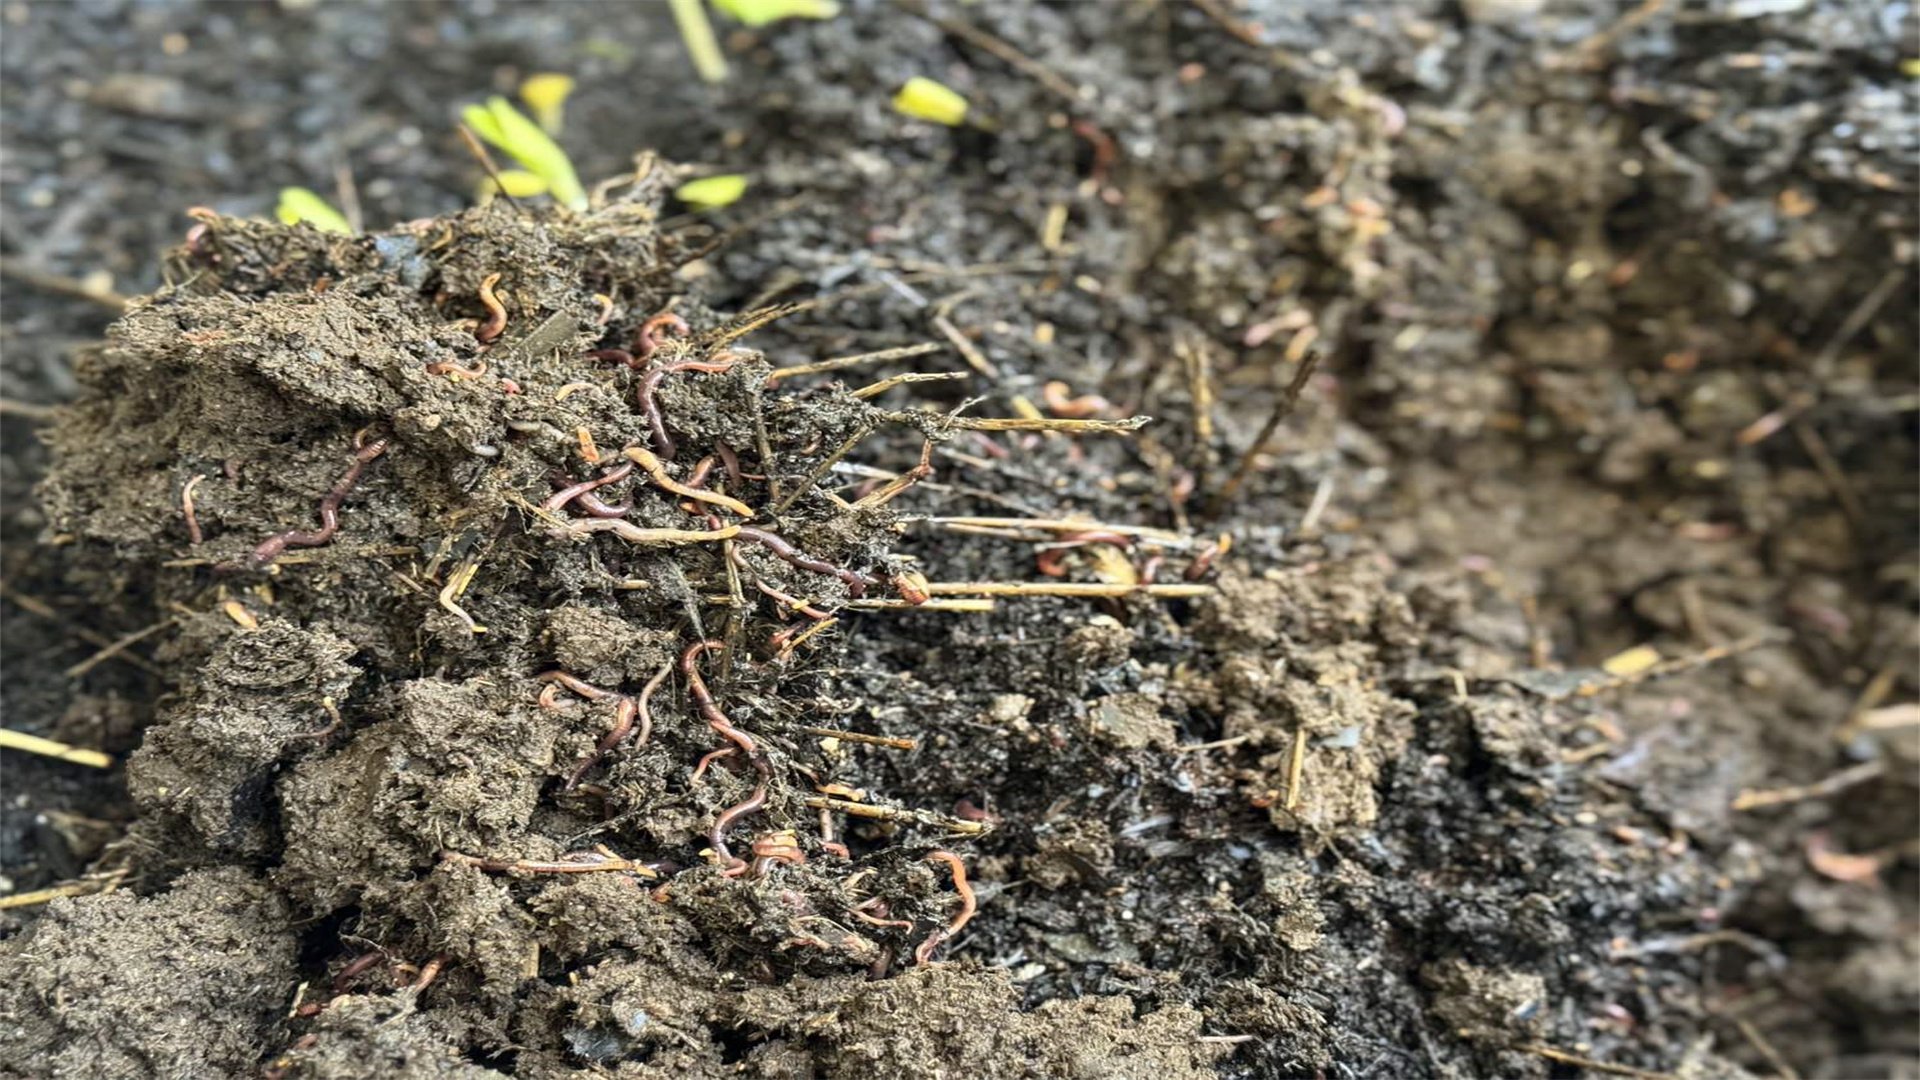
🐛 Vermicomposting (Worm Composting)
Vermicomposting utilizes red wigglers or other composting worms to break down organic waste into nutrient-dense castings. This method is ideal for indoor or small-space gardening, as it's compact and efficient.
Advantages and Disadvantages
Advantages:
- Fast, producing compost in 2-3 months.
- Generates worm castings, a superior fertilizer rich in microbes and enzymes.
- Operates year-round indoors, making it suitable for apartments or cold climates.
- Minimizes odor when managed correctly.
- Educates users about ecosystem dynamics.
Disadvantages:
- Requires careful temperature control (55-77°F) to keep worms healthy.
- Overfeeding or improper bedding can lead to odors and fruit flies.
- Worms need specific conditions, such as moisture and pH balance.
- Initial setup costs for bins and worms may be higher than other methods.
How to Implement
- Select a Container: Use a plastic or wooden bin with a lid, drilled with small holes for ventilation. A size of 10-20 gallons is suitable for a household of 2-4 people.
- Prepare Bedding: Shred newspaper, cardboard, or coconut coir and moisten it until damp. Fill the bin halfway with bedding, providing a comfortable environment for worms.
- Introduce Worms: Add 1 pound of red wigglers (Eisenia fetida) per square foot of surface area. Place them on the bedding and allow them to burrow before adding food scraps.
- Feed the Worms: Bury kitchen scraps like fruit peels, coffee grounds, and vegetable trimmings under the bedding. Avoid meat, dairy, and oily foods to prevent odors. Feed in small amounts, starting with once a week, and adjust based on consumption.
- Maintain the System: Keep the bin in a dark, temperature-stable area. Fluff bedding periodically to prevent compaction. Harvest castings after 2-3 months by moving finished compost to one side and adding fresh bedding to the other, encouraging worms to migrate.
- Use the Compost: Collect worm castings and use them as a potent fertilizer for potted plants or garden soil, either mixed in or as a tea by steeping in water.

🍚 Bokashi Composting (Anaerobic Fermentation)
Bokashi composting is an anaerobic process that ferments organic waste using inoculated bran, breaking down materials quickly without turning. It's excellent for handling meat and dairy, which are typically avoided in other methods.
Advantages and Disadvantages
Advantages:
- Rapid, taking 2-4 weeks to ferment waste.
- Accepts all food scraps, including cooked items and animal products.
- Produces a pre-compost that enriches soil and suppresses pathogens.
- Odor-free when sealed properly.
- Can be done indoors in small spaces.
Disadvantages:
- Requires purchasing specialized bran or making it with effective microorganisms (EM).
- The fermented waste needs to be buried in soil or added to a compost pile to complete decomposition, adding an extra step.
- If not drained regularly, leachate can accumulate and smell.
How to Implement
- Obtain a Bokashi Bin: Use an airtight container with a spigot at the bottom for draining liquids. Commercial bins are available, or you can repurpose a bucket with a tight lid and drill a hole for drainage.
- Add Bokashi Bran: Sprinkle a layer of Bokashi bran at the bottom of the bin. This bran contains microbes that initiate fermentation.
- Layer Waste and Bran: Add food scraps in small layers, pressing them down to remove air pockets. After each layer, sprinkle more Bokashi bran to cover the waste completely. Continue until the bin is full.
- Drain Leachate: Every few days, open the spigot to drain the liquid (Bokashi tea), which can be diluted and used as a fertilizer. Ensure the bin remains sealed between additions to maintain anaerobic conditions.
- Ferment and Bury: Once full, seal the bin and let it ferment for 2-4 weeks in a warm place. After fermentation, bury the contents in a garden trench or add to a compost pile to finish breaking down into soil.
- Utilize the Output: The fermented material will enrich soil with nutrients and beneficial microbes, improving plant growth and soil structure over time.
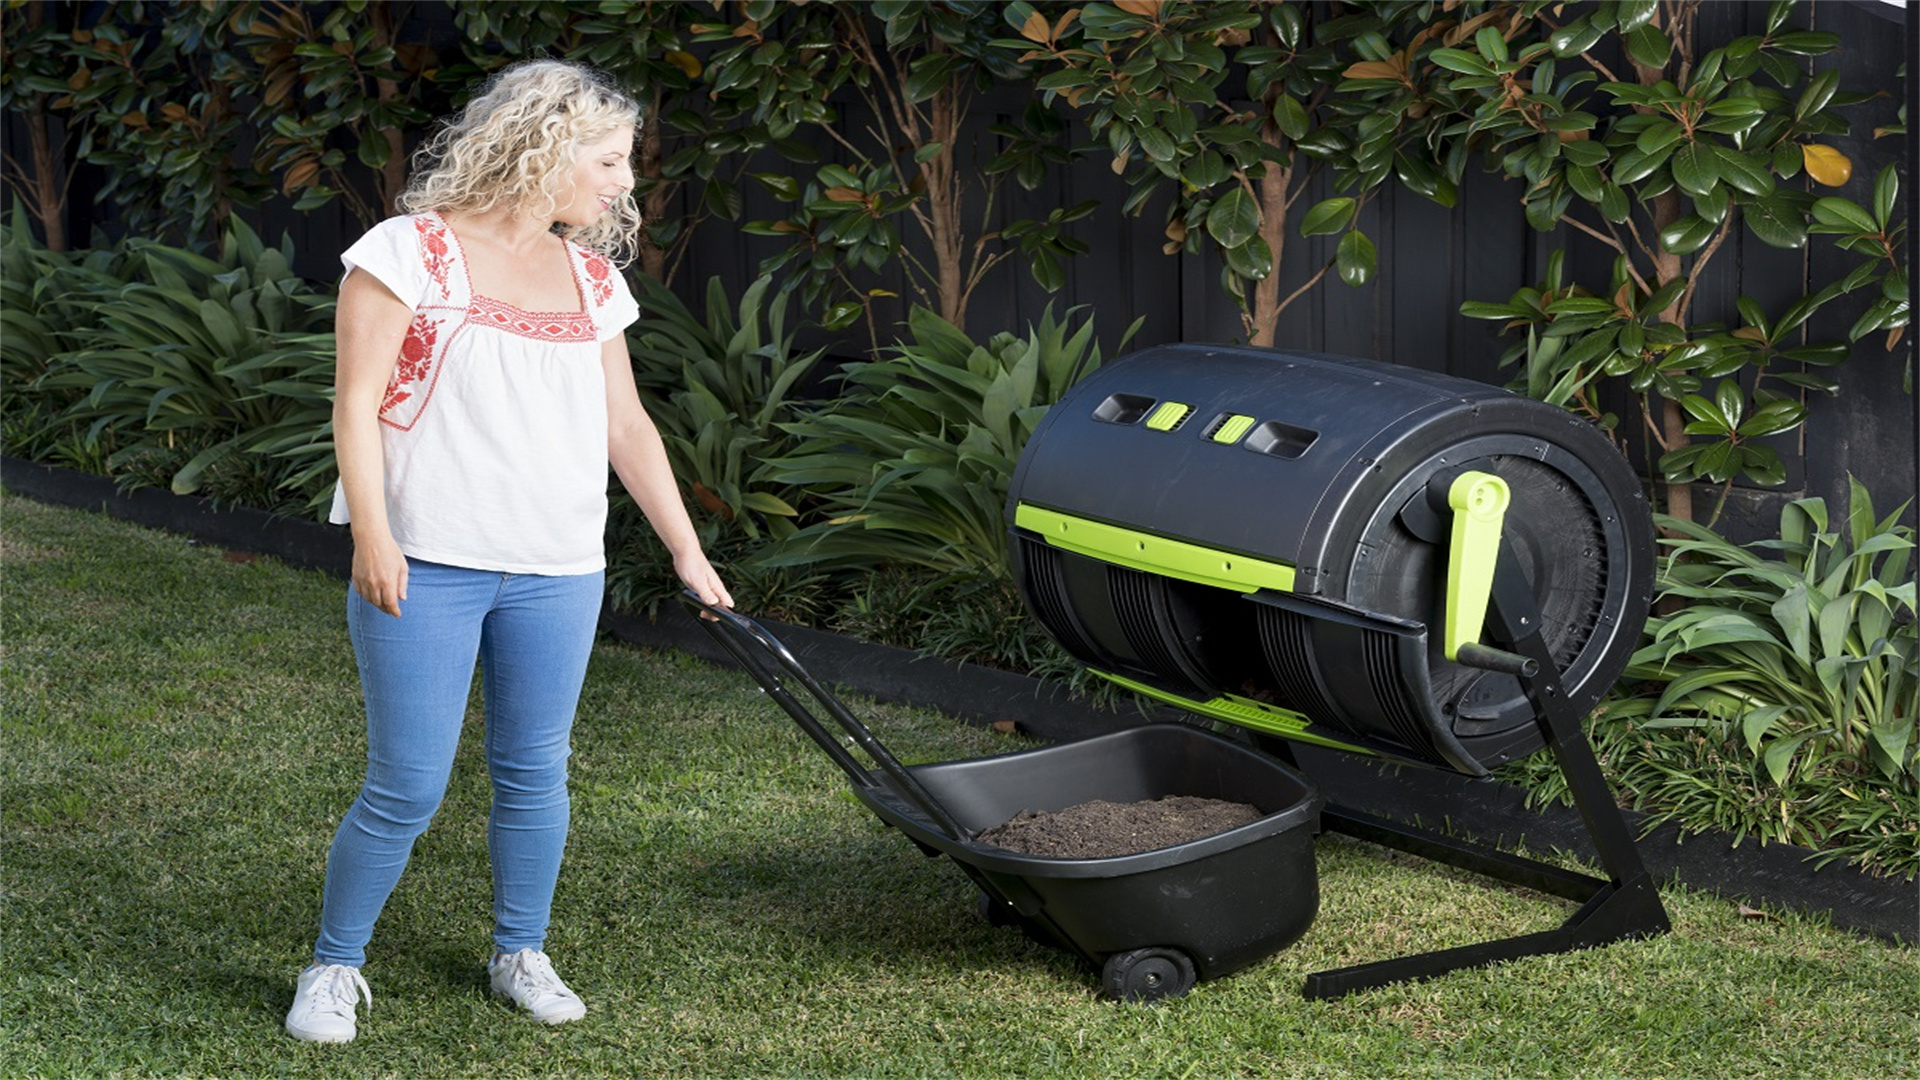
🌀 Compost Tumbler
A compost tumbler is a rotating drum that simplifies aerobic composting by making turning effortless. It's ideal for gardeners seeking a low-maintenance, enclosed system that accelerates decomposition.
Advantages and Disadvantages
Advantages:
- Easy to turn, reducing physical labor.
- Produces compost in 4-8 weeks due to efficient aeration and heat retention.
- Enclosed design minimizes pests and odors.
- Suitable for small yards or patios.
- Many models have dual chambers for continuous composting.
Disadvantages:
- Can be expensive to purchase or build.
- Limited capacity, requiring frequent harvesting.
- If overfilled, they may not mix properly.
- Moisture control can be tricky, often leading to dry or soggy compost if not monitored.
How to Implement
- Select or Build a Tumbler: Choose a commercial tumbler with a sturdy frame and easy-rotate mechanism, or DIY one from a plastic barrel mounted on a stand. Ensure it has ventilation holes and a secure lid.
- Load Materials: Fill the tumbler with a mix of green and brown materials, similar to traditional composting. Chop larger items to speed up decomposition. Aim for a balanced ratio to avoid nitrogen or carbon imbalances.
- Maintain Moisture and Aeration: Check moisture levels weekly; add water if too dry or browns if too wet. Turn the tumbler 5-10 times every 2-3 days to aerate the contents and distribute heat evenly.
- Monitor Temperature: Use a compost thermometer to ensure the interior reaches 130-160°F. If temperature drops, add more greens or turn more frequently to reactivate microbial activity.
- Harvest and Use: After several weeks, when compost is dark and crumbly, empty the tumbler and sift out any unfinished bits. Use the compost to amend garden soil, boost potted plants, or as a mulch layer.
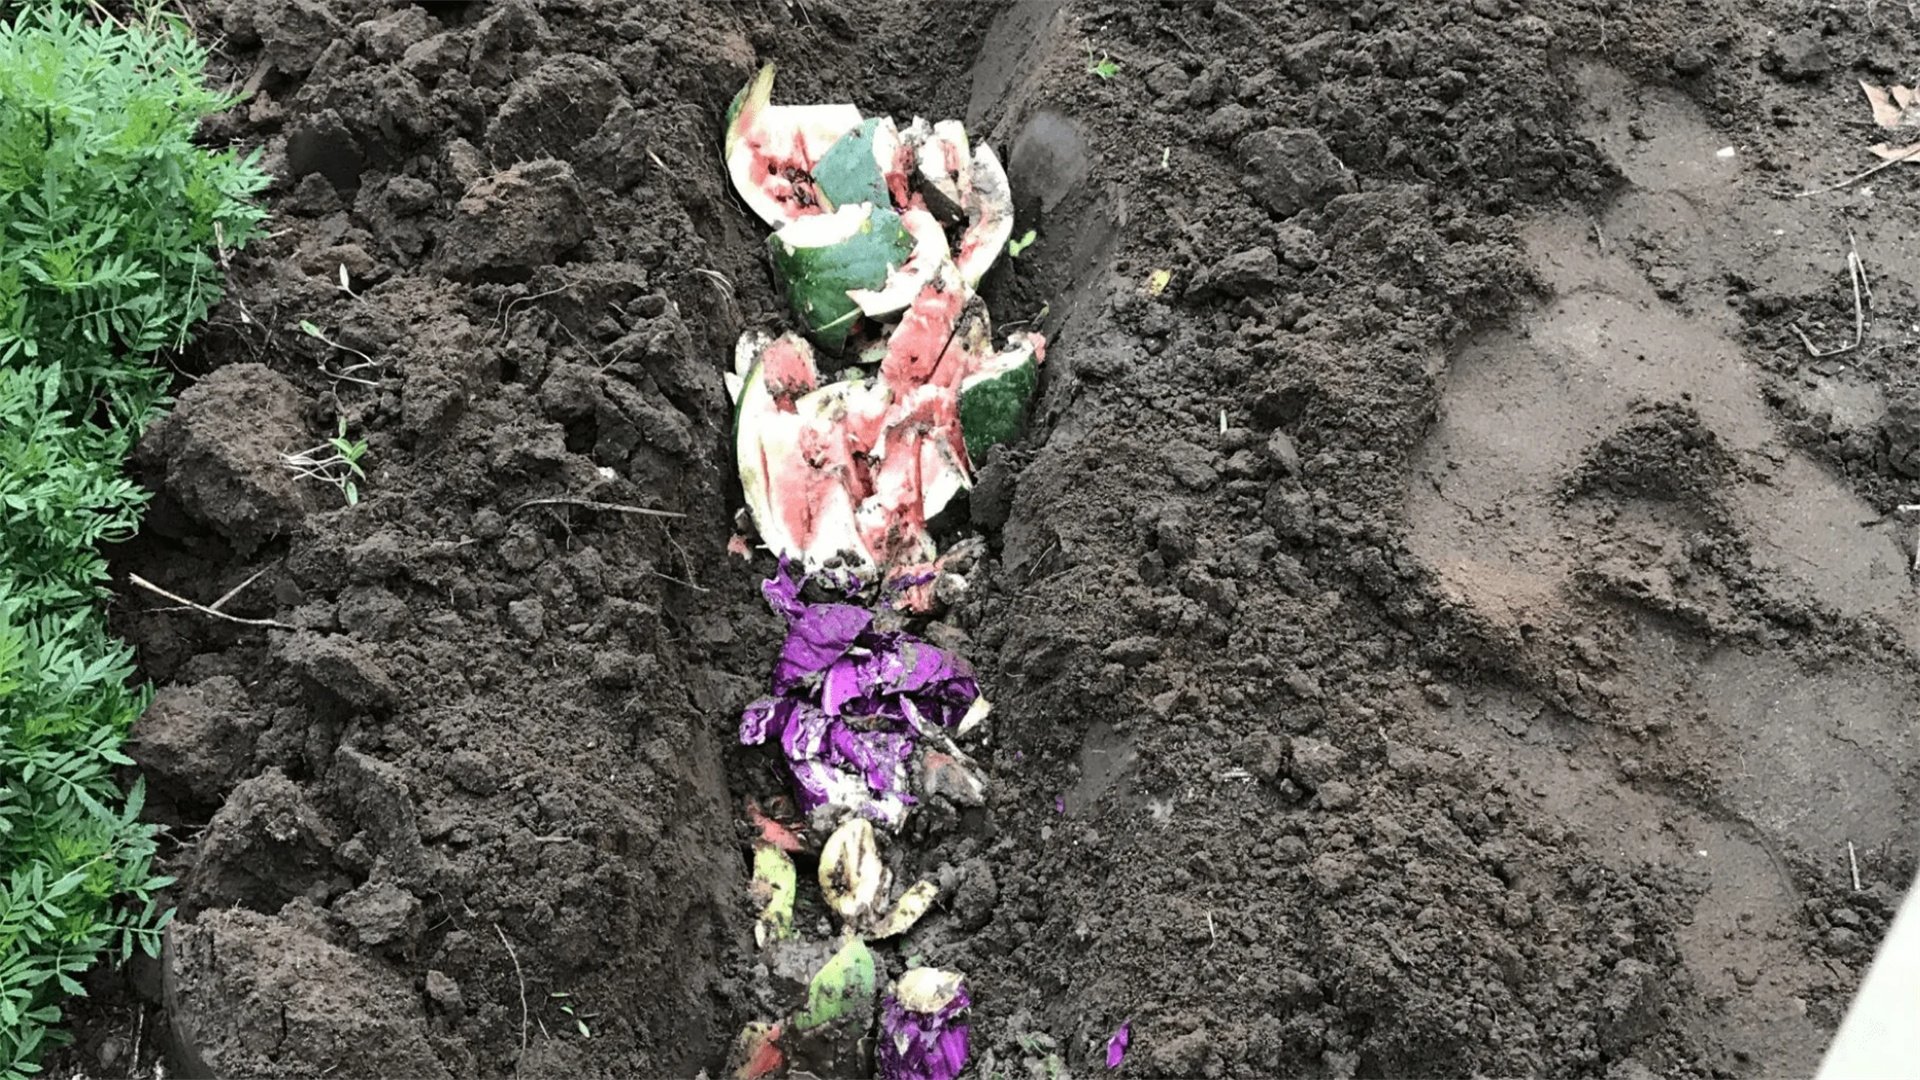
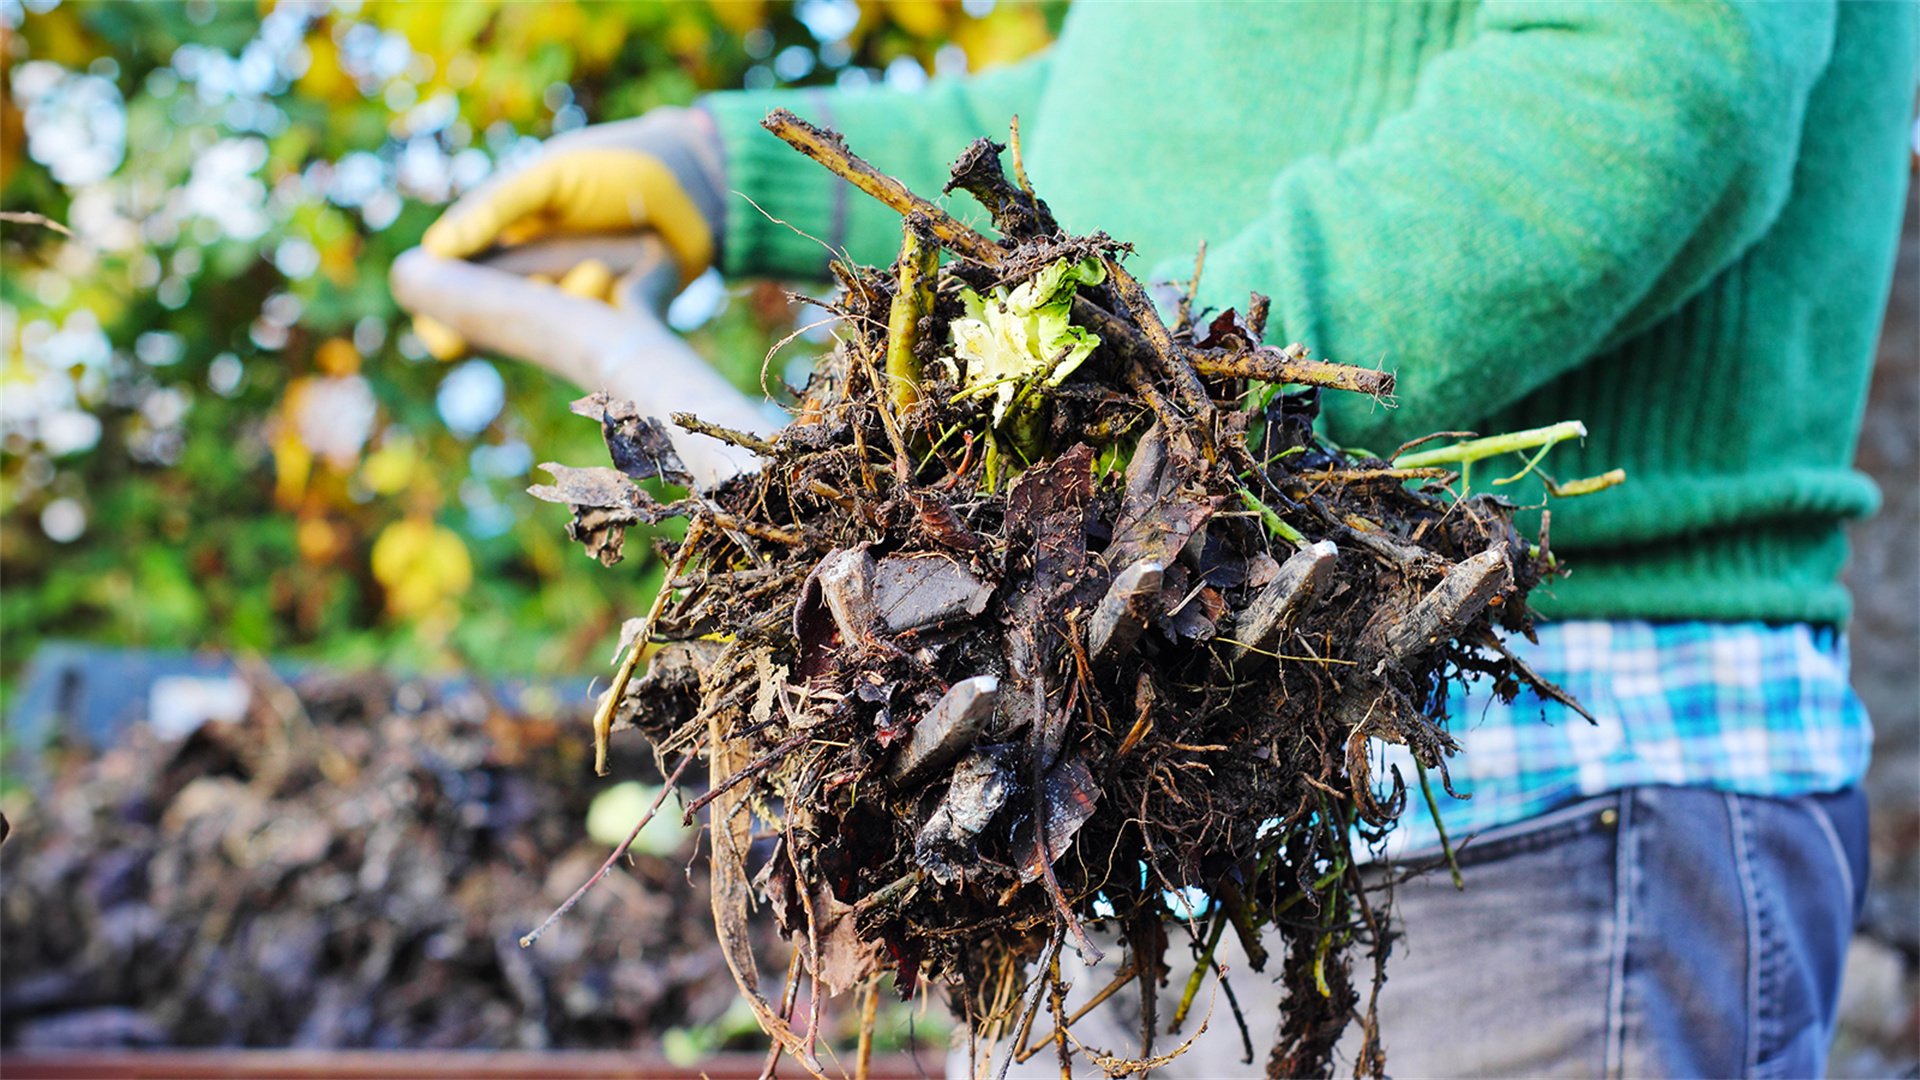
⛏️ Trench Composting
Trench composting involves burying organic waste directly in garden beds, where it decomposes in situ. This method enriches soil slowly and is perfect for no-dig gardens or preparing new planting areas.
Advantages and Disadvantages
Advantages:
- Requires no bins or turning, making it low-effort.
- Improves soil structure and fertility directly where plants grow, reducing transplant shock.
- Discreet, with no visible pile, and works well in small spaces.
- Minimizes pest attraction by burying waste deeply.
Disadvantages:
- Decomposition is slow, taking 6-12 months, so it's not suitable for immediate nutrient needs.
- Can disturb plant roots if done in active beds.
- May attract burrowing animals if not covered properly.
- The process is less controlled, making it harder to monitor progress.
How to Implement
- Choose a Site: Select a garden bed or future planting area. Avoid spots with established perennials or shallow roots. Rotate trenches annually to distribute benefits evenly.
- Dig a Trench: Excavate a trench 12-18 inches deep and wide enough to hold your kitchen scraps. Length can vary based on available waste; a 3-foot trench is a good start for small gardens.
- Layer and Bury Waste: Place food scraps and yard waste in the trench, mixing with soil to speed decomposition. Avoid meat and dairy to prevent odors. Cover with 6-8 inches of soil to deter pests and promote anaerobic breakdown.
- Mark and Water: Label the trench location to avoid digging it up prematurely. Water the area lightly to maintain moisture, which aids microbial activity.
- Plant Over the Trench: After burying, you can immediately plant above with heavy feeders like squash or tomatoes, or wait a season for the compost to integrate. As waste decomposes, it releases nutrients gradually to plant roots.
- Repeat Annually: For continuous improvement, dig new trenches in different garden sections each year, building soil fertility over time.
⚠️ Common Challenges and Solutions in DIY Composting
Even with the best methods, composters may face issues like odors, pests, or slow decomposition. Here are practical tips to overcome these hurdles and maintain a healthy system.
Problem: Foul Odors
Often caused by anaerobic conditions or excess nitrogen.
- Turn the pile more frequently to aerate.
- Add browns like dry leaves to balance greens.
- Ensure proper drainage in bins.
Problem: Pest Infestations
Flies, rodents, or ants may be attracted to food scraps.
- Bury kitchen waste under brown layers.
- Use sealed bins.
- Avoid adding meat or oily items.
- For tumblers, check for gaps and secure lids tightly.
Problem: Slow Decomposition
This can result from cold weather, poor aeration, or imbalanced materials.
- Insulate piles with straw or cardboard in winter.
- Chop materials smaller.
- Maintain a carbon-to-nitrogen ratio near 30:1.
- Adding finished compost as an inoculant can boost microbial activity.
Problem: Too Wet or Dry Compost
Soggy compost smells and slows down; dry compost halts decomposition.
- For wetness, add browns and turn more.
- For dryness, sprinkle water and cover with a tarp to retain moisture.
Problem: Weed Seeds or Pathogens
If compost doesn't heat sufficiently, weeds and diseases may persist.
- Ensure piles reach 130-160°F by turning regularly and adding nitrogen-rich materials.
- Avoid composting diseased plants or invasive weeds.
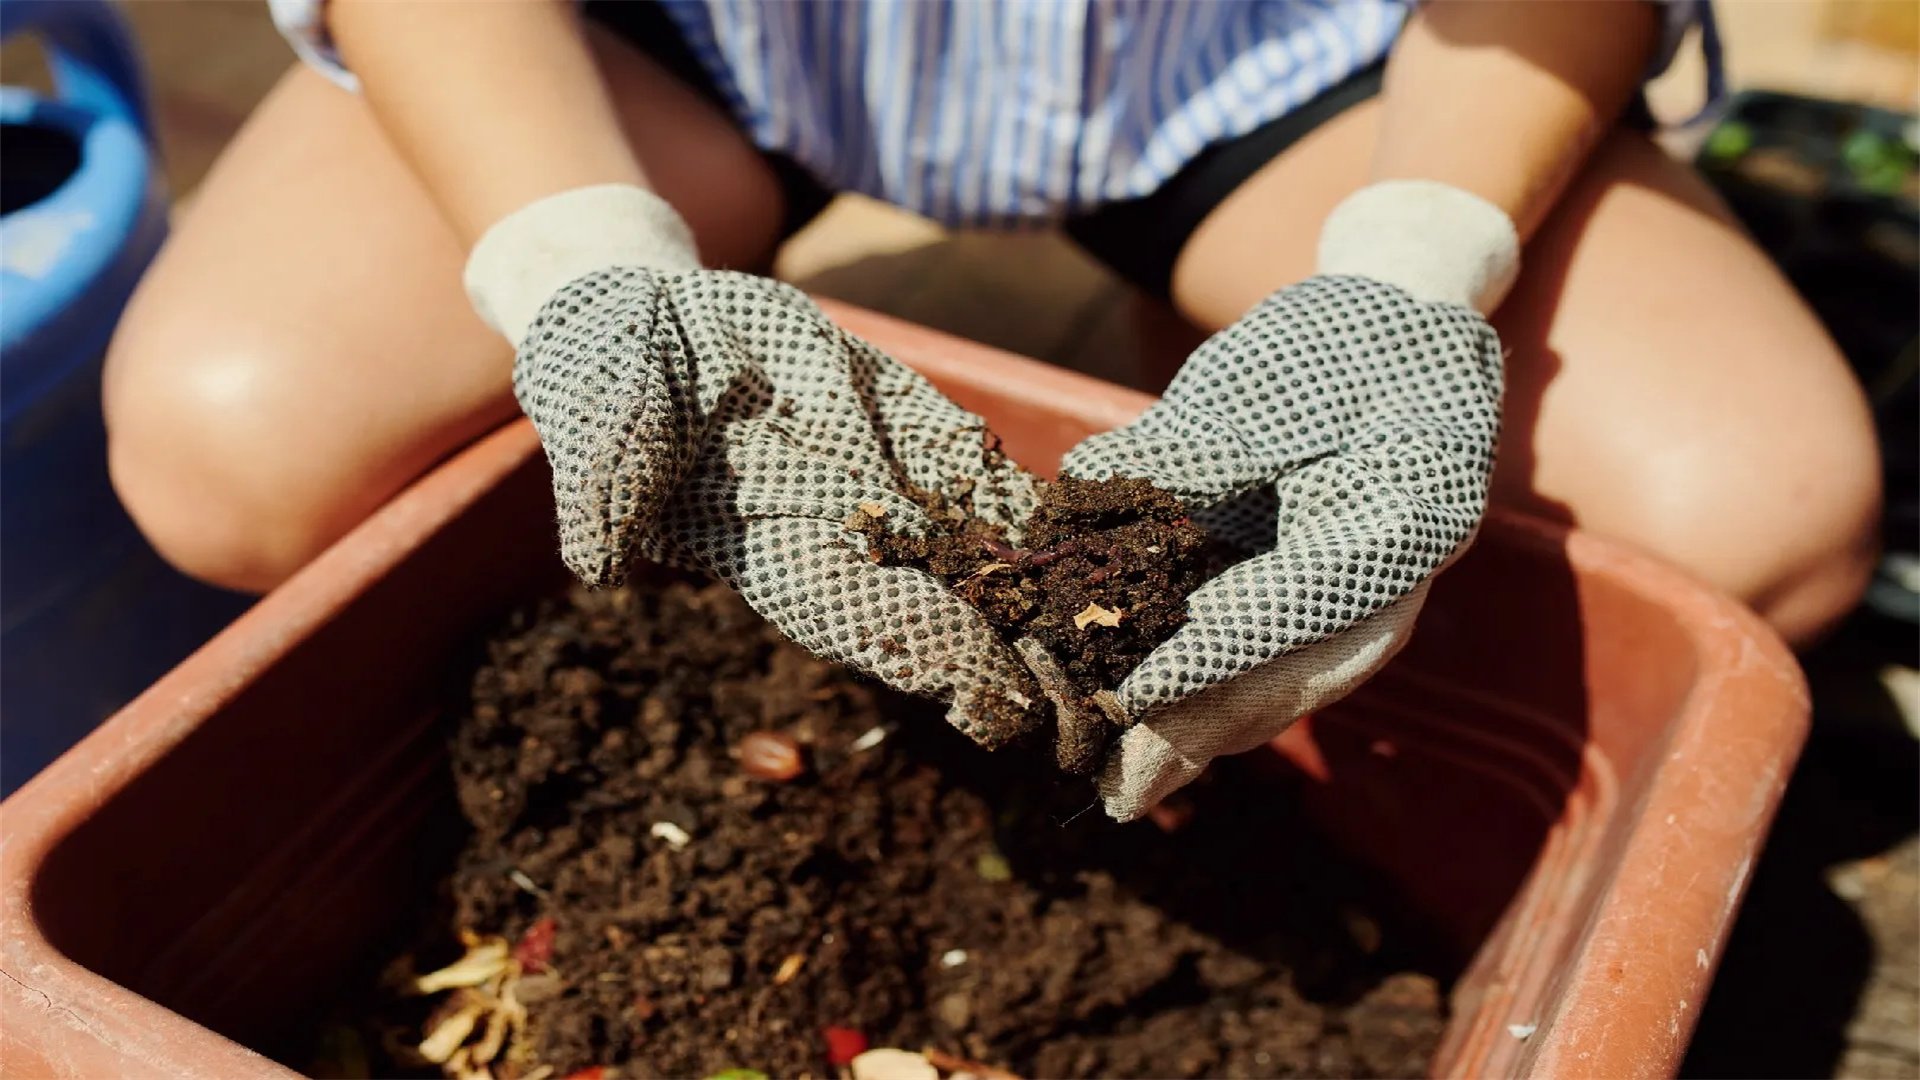
🌱 Integrating Compost into Your Sustainable Garden
Once you've produced compost, applying it effectively maximizes garden health. Use it as a soil amendment, mulch, or in compost tea to boost plant growth and soil biodiversity.
Soil Amendment
- Mix finished compost into garden beds at a ratio of 1-3 inches per square foot before planting.
- This improves drainage, water retention, and nutrient availability, fostering robust root systems.
Mulching
- Spread a 2-inch layer of compost around plants to suppress weeds, regulate soil temperature, and reduce water evaporation.
- Reapply annually to maintain benefits.
Compost Tea
- Steep compost in water for 24-48 hours, then strain and use the liquid as a foliar spray or soil drench.
- This provides immediate nutrients and beneficial microbes, enhancing plant immunity and growth.
Potting Mix
- Blend compost with sand, perlite, and peat to create a nutrient-rich potting mix for containers.
- Ensure it's well-sifted to avoid clumps that could hinder root development.
🎯 Conclusion
DIY composting is a powerful tool for creating a sustainable garden, turning waste into black gold that enriches soil and supports plant life. By exploring methods like traditional bins, vermicomposting, Bokashi, tumblers, and trench composting, gardeners can choose an approach that fits their space, time, and goals. Each technique offers unique advantages, from speed to simplicity, and with proper implementation, common challenges can be easily managed. Embrace composting as a year-round practice to reduce environmental impact, enhance garden productivity, and contribute to a greener planet. Start small, experiment with different methods, and watch your garden thrive with the benefits of homemade compost.