DIY Cabin Fence Construction: Security and Style Tips
📚 Introduction to DIY Cabin Fence Construction
DIY cabin fence construction involves building a barrier around your cabin property using your own skills and resources. This project is ideal for homeowners who want to customize their fence for specific security needs while incorporating personal style elements. Cabins, often located in rural or wooded areas, require fences that can withstand natural elements and potential threats. Security aspects include deterring trespassers, keeping out animals, and providing privacy. Style considerations involve choosing designs that complement the cabin’s rustic charm or modern look. By taking a DIY approach, you can save costs, learn new skills, and tailor the fence to your exact preferences. This article provides a structured guide, divided into security and style sections, with clear subpoints for easy implementation.
🔒 Part 1: Security Tips for Your Cabin Fence
Method One: Assess Your Security Needs Based on Location and Threats
- Before building, evaluate the specific security risks your cabin faces. For example, if you’re in a bear-prone area, the fence must be tall and sturdy to prevent wildlife entry.
- Conduct a site survey to identify weak points, such as low-lying areas or dense foliage that could hide intruders.
- Research local crime statistics or animal activity to tailor your fence design. According to security experts, a threat assessment reduces the risk of over- or under-building.
- Use tools like motion sensors or cameras during planning to identify high-traffic spots. This method ensures your fence addresses real-world challenges, not just hypothetical ones.
Method Two: Choose Durable and Tamper-Resistant Materials
- Select materials that offer maximum security. For instance, wrought iron or steel posts are hard to break, while chain-link fences with vinyl coating resist cutting.
- Avoid wood for high-security areas unless reinforced with metal cores. Consider composite materials that mimic wood but offer enhanced durability.
- Incorporate scientific knowledge: Materials with high tensile strength, like galvanized steel, withstand force better due to their molecular structure.
- Always opt for weather-resistant options to prevent decay in harsh climates. Specific brands or products, such as “10-gauge steel mesh,” can be recommended for clarity.
Method Three: Install Secure Gates and Locking Mechanisms
- Gates are often the weakest point in a fence, so reinforce them with heavy-duty hinges and locks. Use deadbolt locks or padlocks with shrouded shackles to prevent picking.
- For automated security, install electric gates with keypad entry. Ensure gates swing inward to deter forced entry. Include a secondary latch for added safety.
- Explain the science behind lock mechanisms: For example, pin tumbler locks work by aligning pins to a shear line, making them pick-resistant when combined with security pins.
Method Four: Incorporate Lighting and Surveillance Integration
- Enhance security with strategic lighting, such as LED floodlights mounted on fence posts, to eliminate shadows where intruders could hide. Use solar-powered lights for eco-friendly options.
- Integrate surveillance cameras that connect to your smartphone for real-time monitoring. Position cameras at entry points and along the perimeter.
- Discuss how lighting affects human psychology: Well-lit areas reduce crime by increasing visibility and perceived risk for offenders. Specify lumens and placement heights for optimal effect.
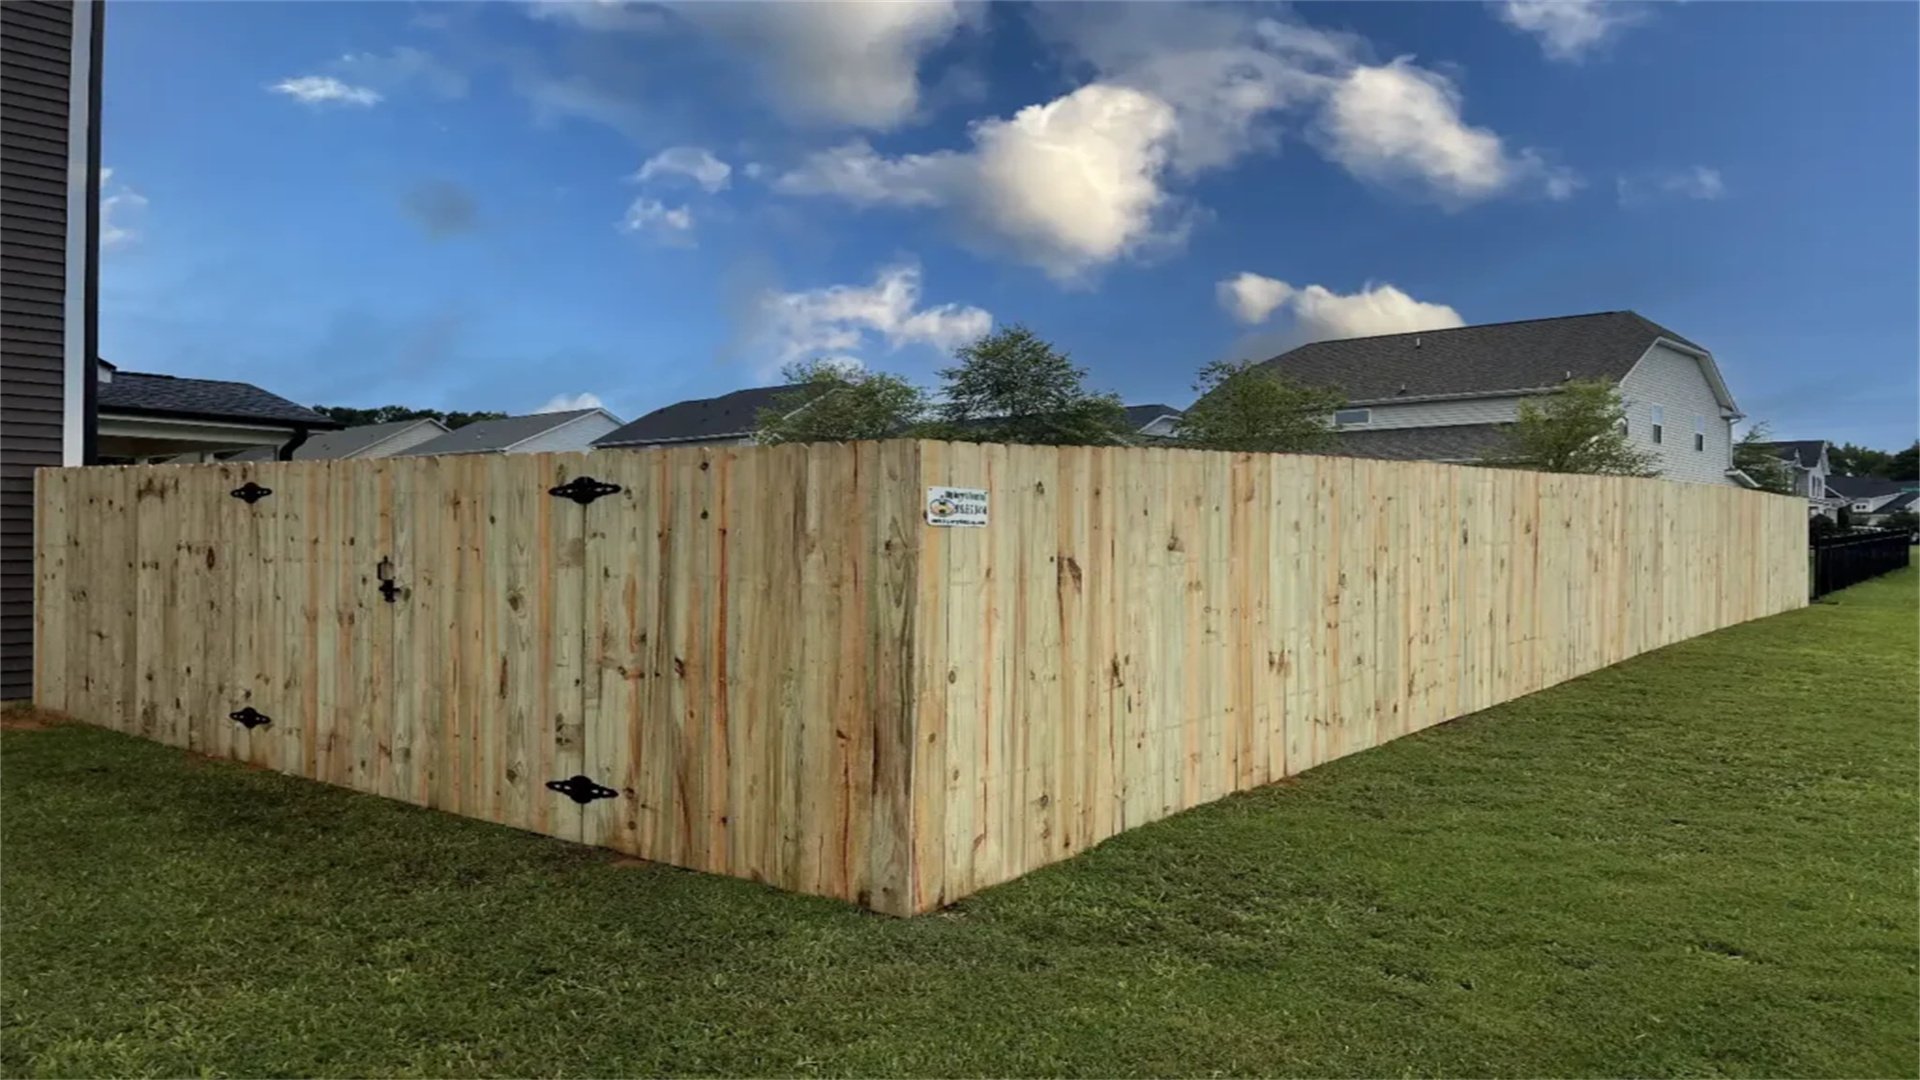
Method Five: Ensure Proper Height and Depth for Intrusion Prevention
- A fence should be at least 6 feet tall to deter climbing, with anti-climb features like smooth tops or angled spikes. Bury the base at least 2 feet deep to prevent digging under, especially for animal threats.
- Use concrete footings for stability. Refer to building codes for height restrictions in your area.
- Explain the physics of leverage: Taller fences require more force to topple, so deeper posts distribute weight evenly.
Method Six: Add Anti-Cut and Anti-Climb Features
- Incorporate features like razor wire or barbed tape on top for high-security needs, but ensure compliance with local laws. For a more aesthetic approach, use rolling bars or trellises that are difficult to grip.
- Choose fence designs with narrow gaps to prevent squeezing through. Use materials like aluminum with reinforced cores that resist sawing.
- Share insights from security studies: Visible deterrents reduce attempted breaches by up to 50%.
Method Seven: Regular Maintenance for Long-Term Security
- Inspect your fence monthly for damage, such as loose posts or rust, and repair promptly. Apply protective coatings like rust-proof paint to metal fences.
- Trim vegetation around the fence to eliminate hiding spots. Maintenance prevents gradual wear that compromises security.
- Include a checklist for seasonal upkeep, based on material types.
🎨 Part 2: Style Tips for Your Cabin Fence

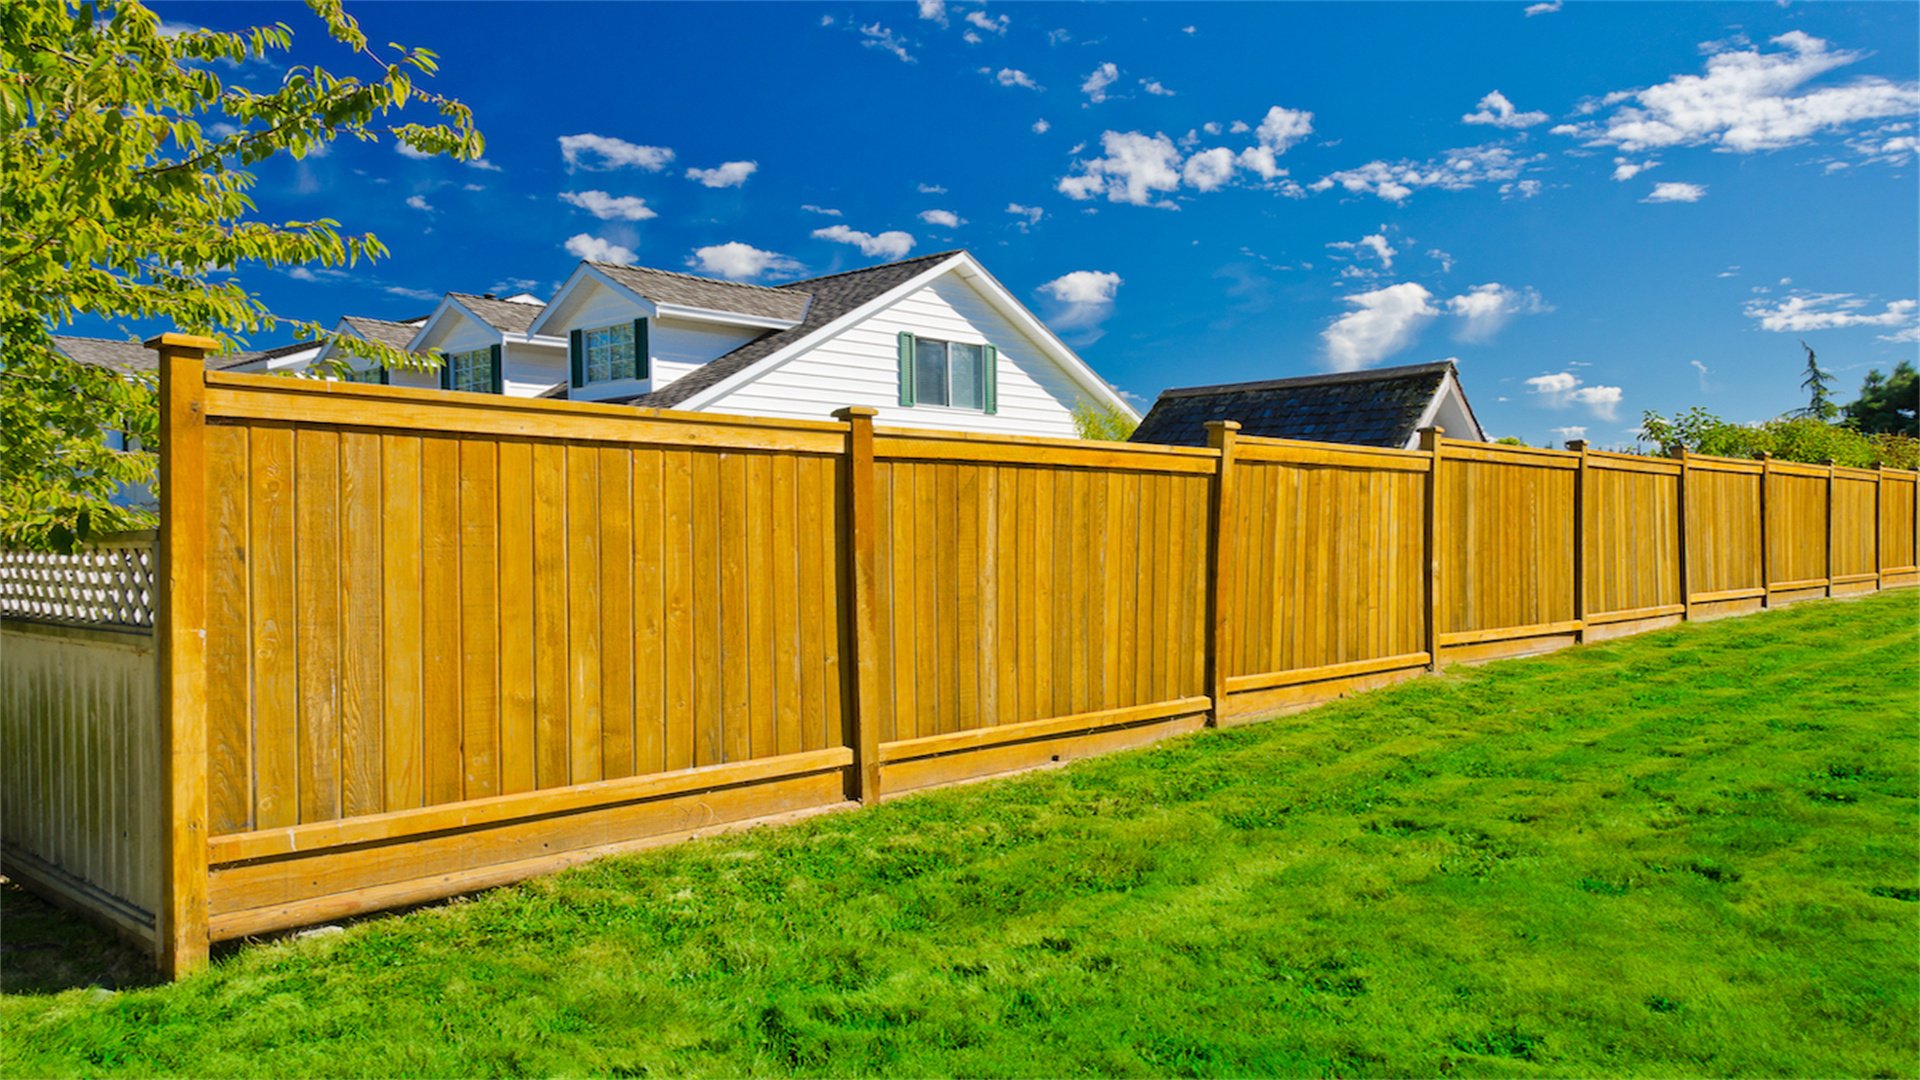
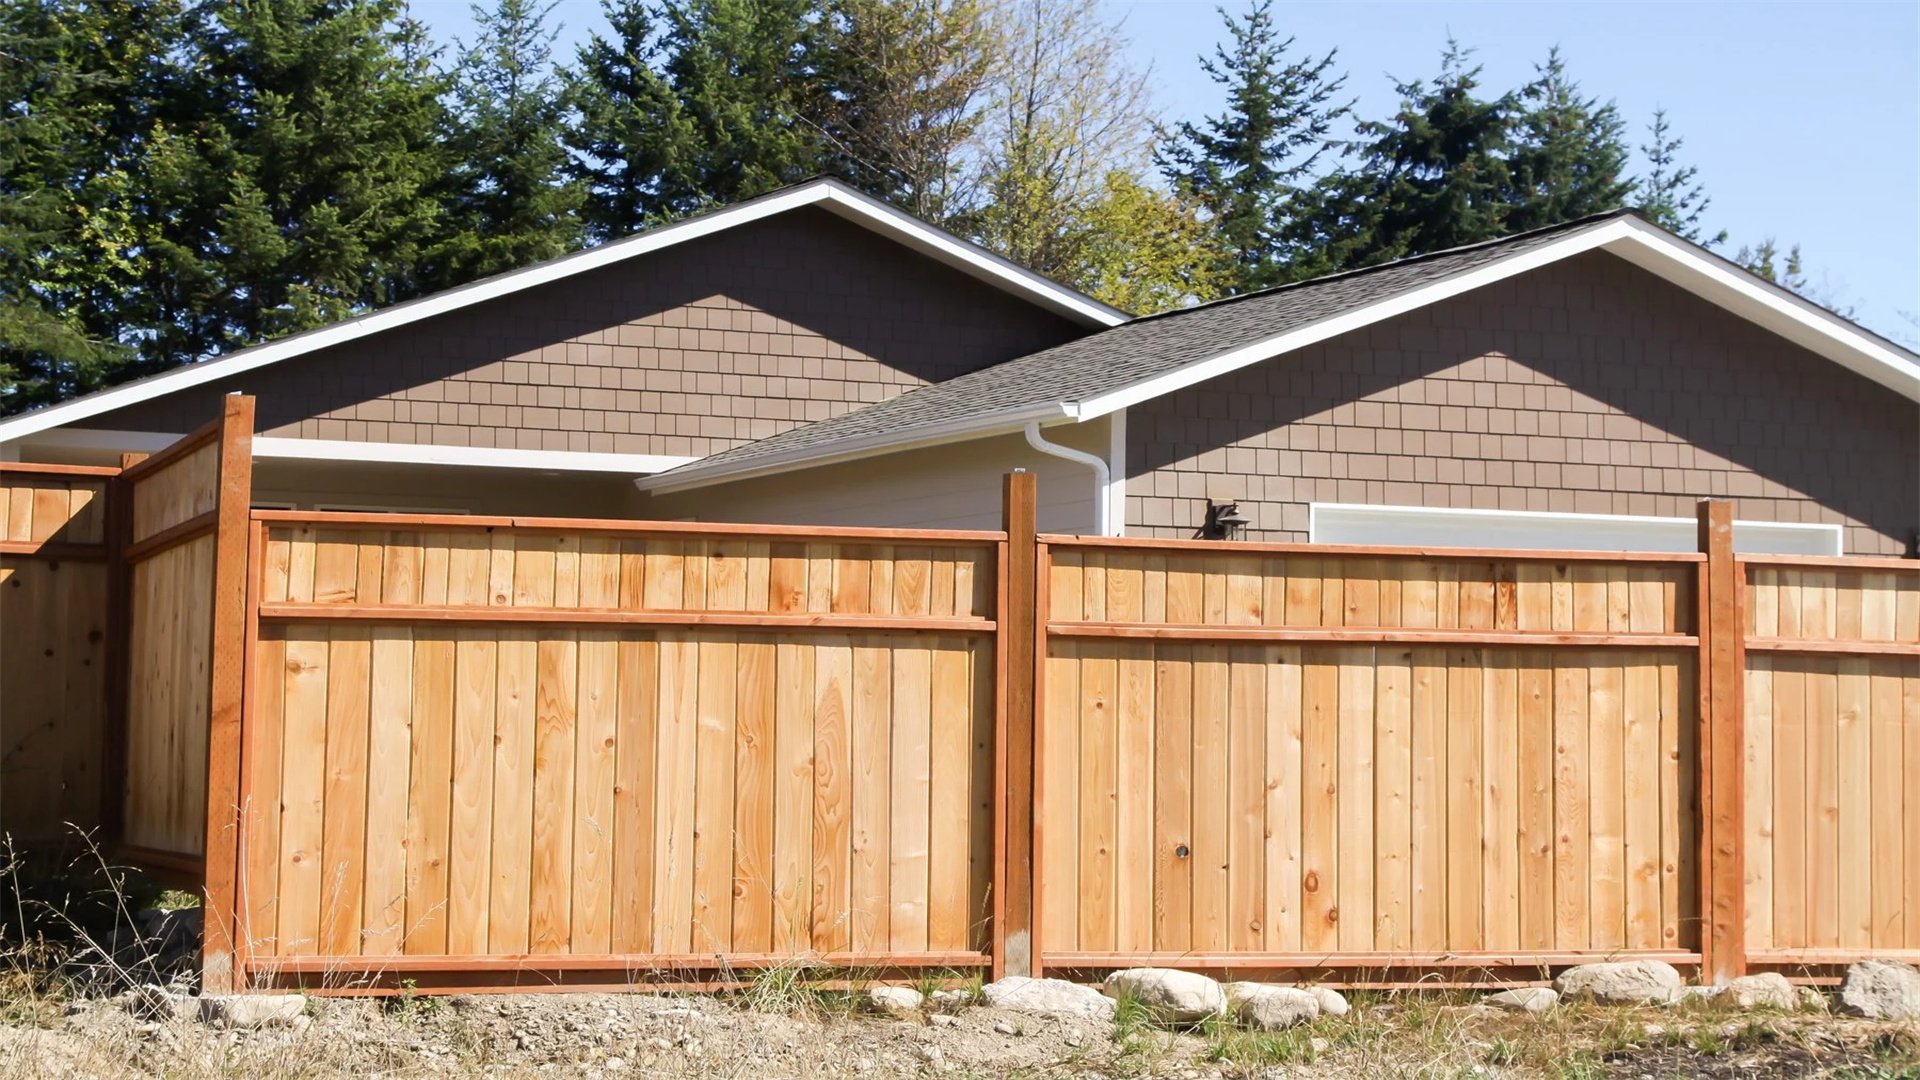
Method One: Match the Fence Design to Your Cabin’s Architectural Style
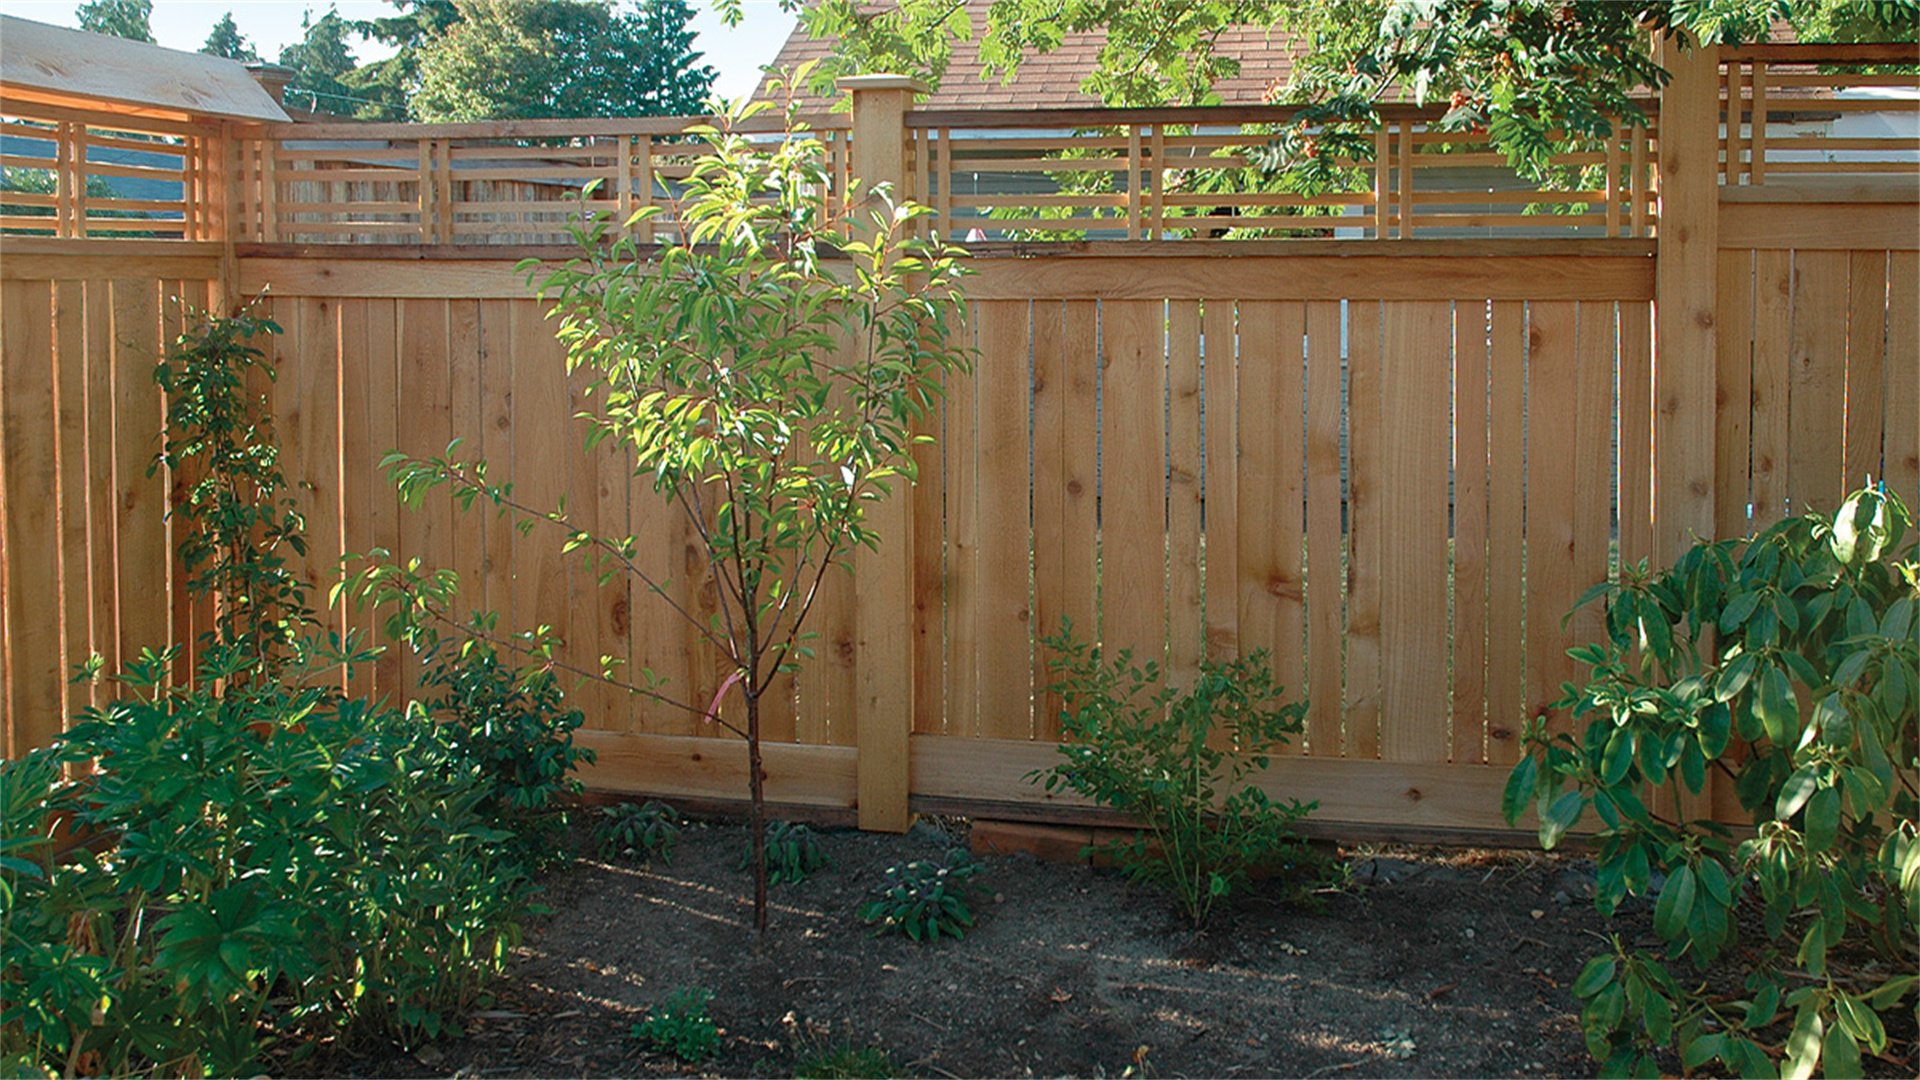
- Identify your cabin’s style—rustic, modern, log cabin, or cottage—and choose a fence that complements it. For rustic cabins, use rough-sawn wood with natural stains; for modern cabins, opt for sleek metal or horizontal slats.
- Incorporate design elements like post caps or lattice work that echo cabin details. Reference architectural principles: Balance and proportion ensure the fence doesn’t overwhelm the cabin.
- Provide examples, such as a split-rail fence for a traditional look.
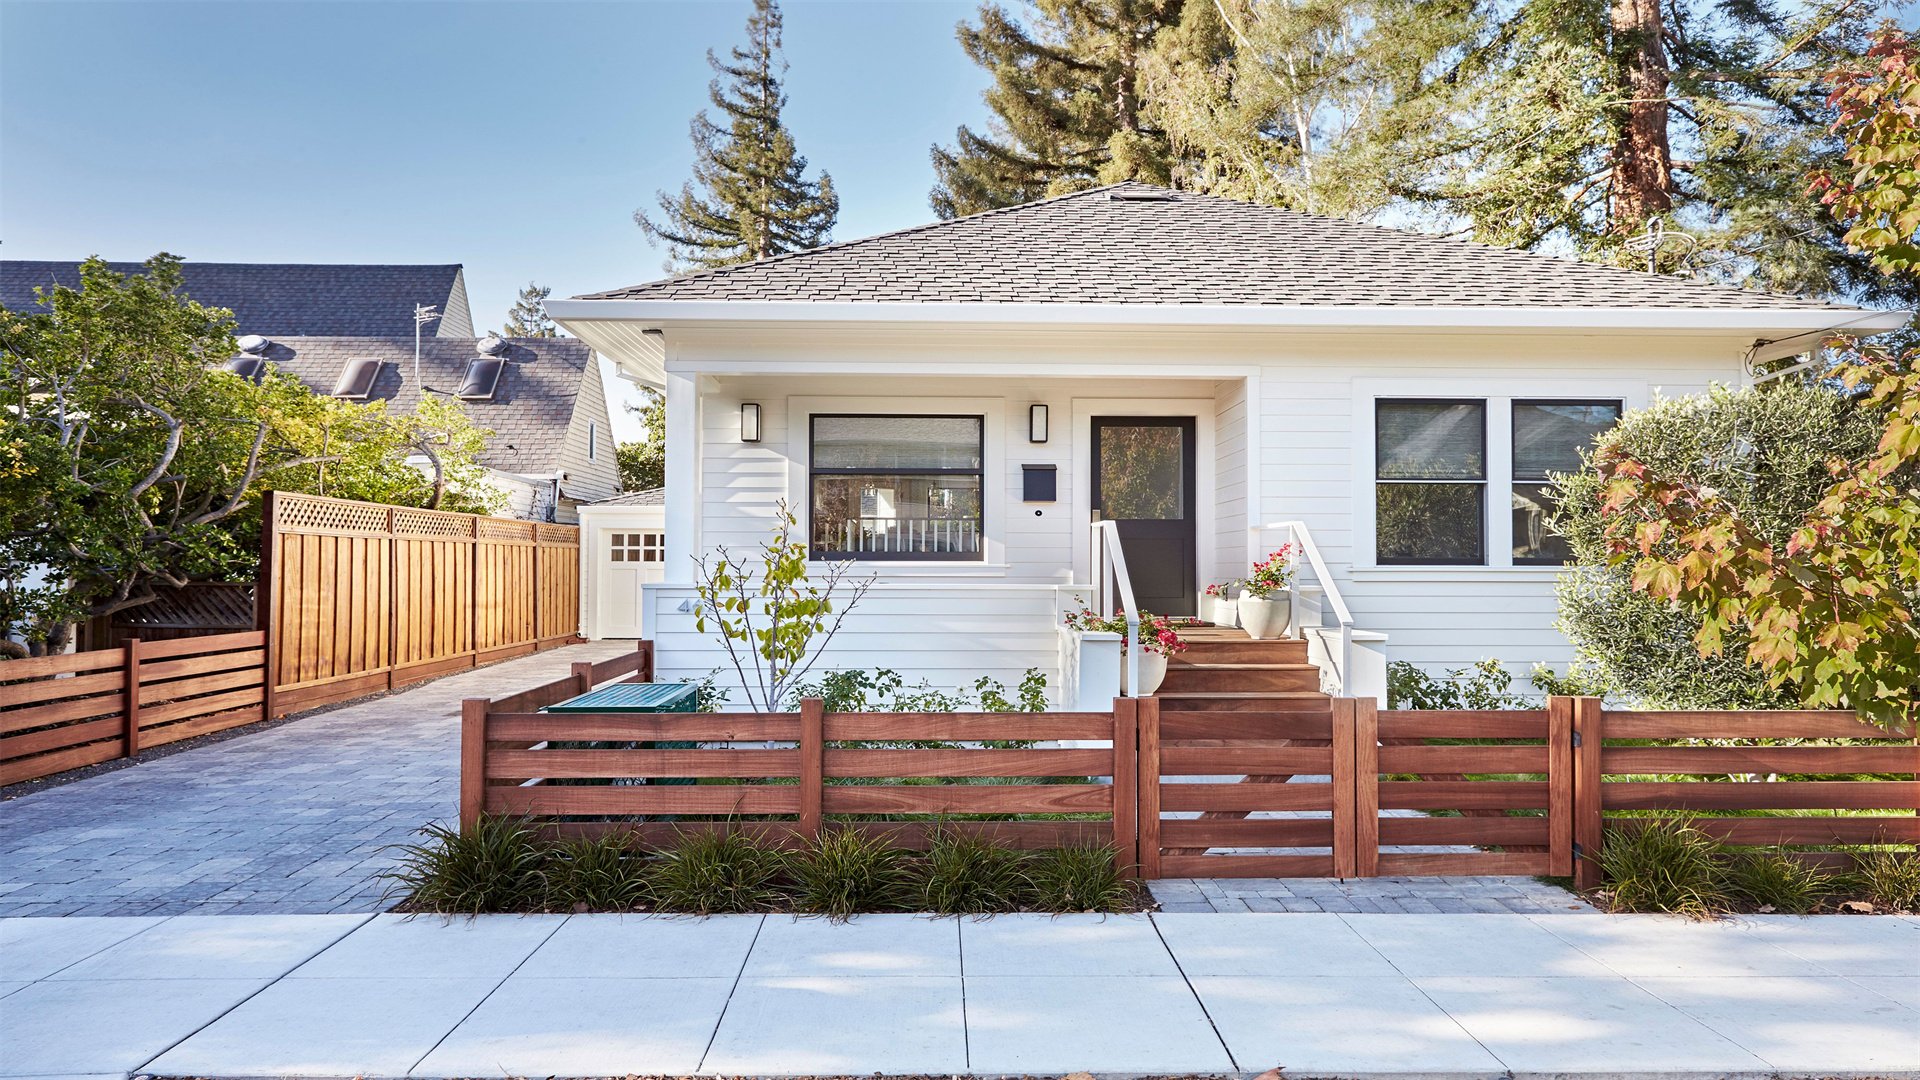
Method Two: Use Color and Texture to Enhance Visual Appeal
- Select colors that harmonize with the cabin and surroundings. For instance, earthy tones like brown or green blend with nature, while bold colors add contrast.
- Use textured materials like stone or recycled wood for a tactile feel. Apply stains or paints that protect against UV damage.
- Explain color theory: Warm colors create inviting spaces, while cool colors evoke calm. Specify products like “semi-transparent cedar stain” for durability.
Method Three: Incorporate Decorative Elements and Landscaping Integration
- Add decorative features such as arbors, planters, or custom gates with cut-out designs. Plant climbing vines like ivy or flowers along the fence to soften its appearance.
- Integrate the fence with garden paths or lighting for a cohesive look. Use principles of landscape design: Layering plants creates depth and interest.
- Suggest native plants for low maintenance.
Method Four: Optimize Fence Layout for Aesthetic Flow
- Design the fence layout to follow natural contours of the land, avoiding straight lines that look harsh. Use curves or angles to create visual interest and define spaces like patios or gardens.
- Ensure gates are positioned for convenient access while maintaining symmetry. Discuss spatial design: Curved lines guide the eye and make spaces feel larger.
- Include diagrams for layout planning.
Method Five: Choose Sustainable and Eco-Friendly Materials
- Select materials like bamboo, reclaimed wood, or recycled metal to reduce environmental impact. These options often have unique textures that add style.
- Use non-toxic finishes to protect ecosystems. Explain sustainability benefits: Eco-materials reduce carbon footprint and can be sourced locally.
- Recommend certifications like FSC for wood.
Method Six: Add Personal Touches with Custom Art or Signage
- Personalize your fence with hand-painted murals, family crests, or custom nameplates. Incorporate functional art like wind chimes or solar-powered ornaments.
- This reflects your personality and makes the fence unique. Share ideas from DIY communities: For example, using stencils for patterns or embedding glass bottles for color.
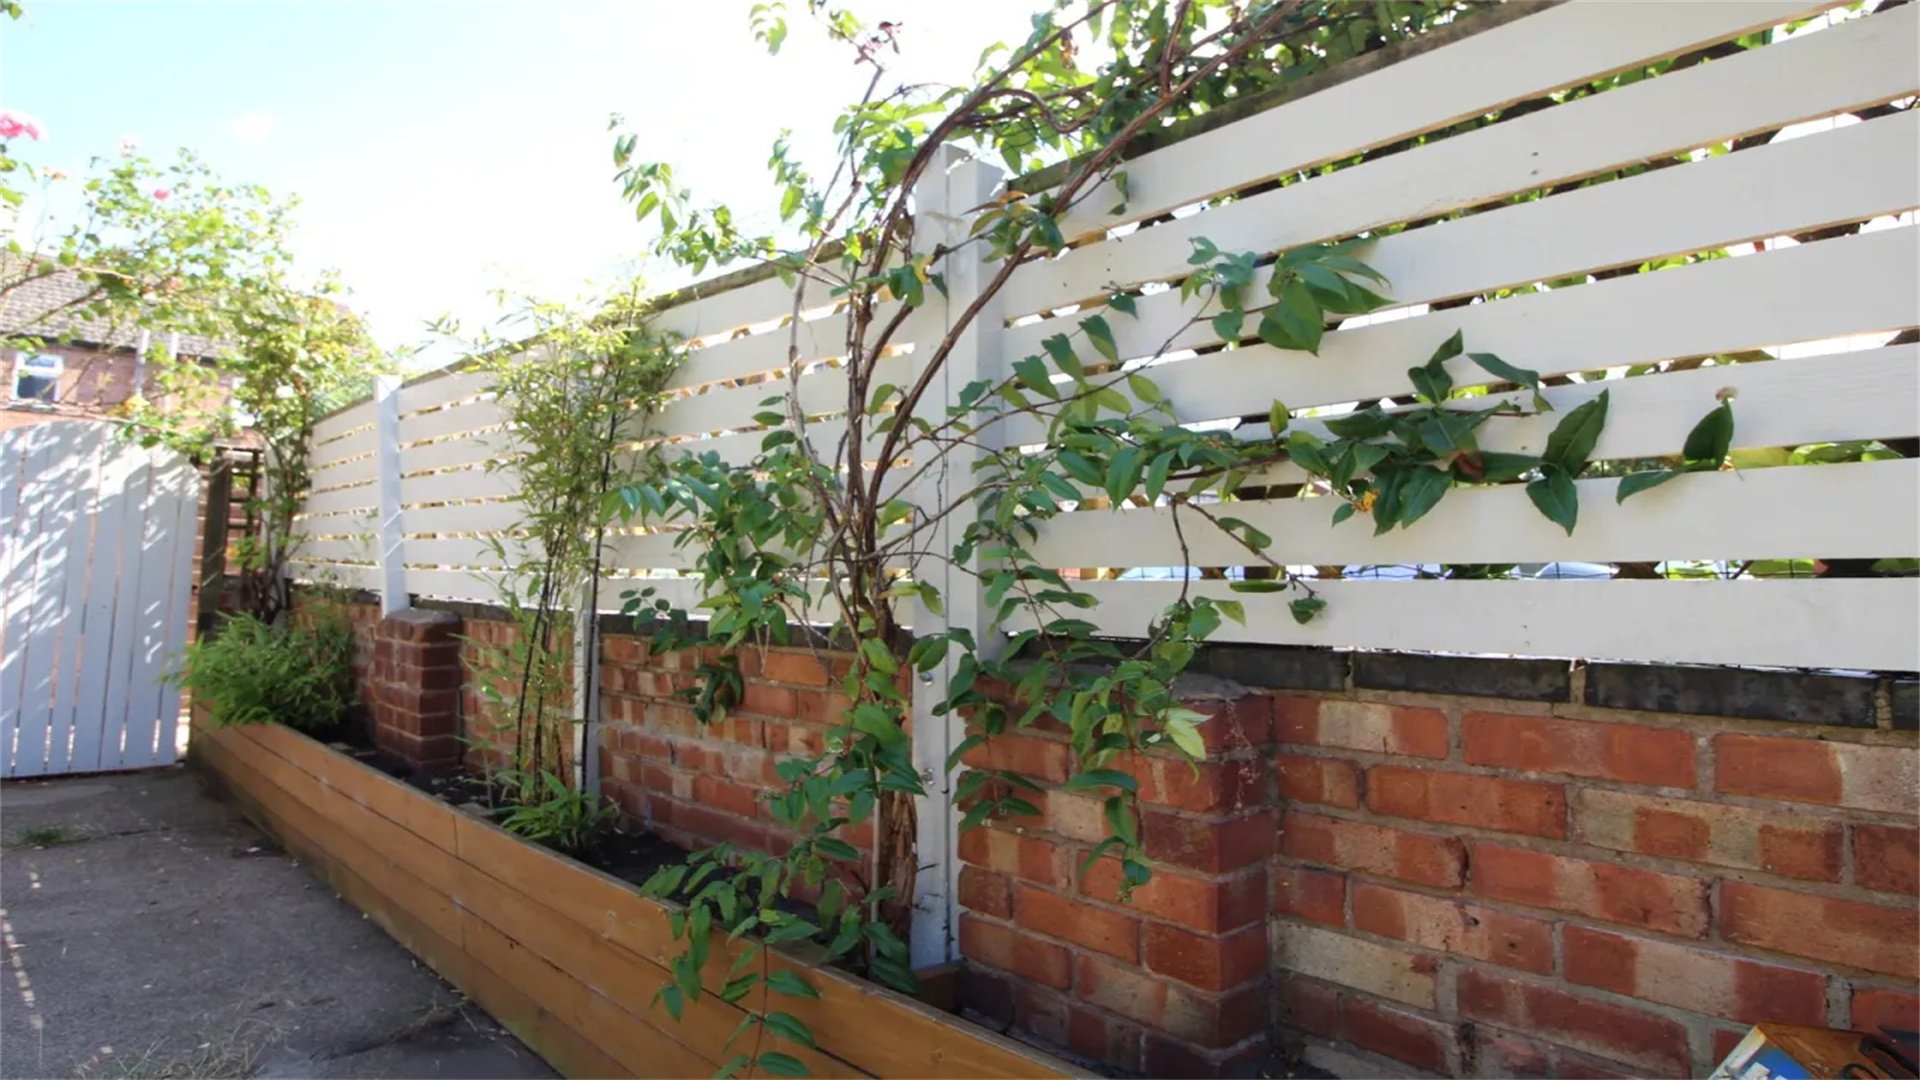
Method Seven: Balance Privacy with Openness for a Welcoming Feel
- Use fence designs that offer privacy without feeling封闭. For instance, partial privacy fences with spaced boards or translucent panels allow light in while blocking views.
- Combine solid sections with openwork for variety. Refer to design psychology: Open designs foster community connection, while solid ones provide retreat.
- Suggest hybrid styles like “shadowbox fences.”
🛠️ Part 3: Step-by-Step DIY Construction Process
Stage One: Planning and Preparation
- Start by sketching a design that incorporates your security and style goals. Measure the perimeter accurately using a tape measure and marking flags.
- Check local regulations for permits, height limits, and property lines. Call utility companies to locate underground lines.
- Gather tools: post hole digger, level, saw, drill, and safety gear. Budget for materials, allowing extra for mistakes. This stage sets the foundation, so take time to plan thoroughly.
Stage Two: Material Selection and Sourcing
- Based on your design, purchase materials from reputable suppliers. For security, choose reinforced posts and hardware; for style, select finishes and ornaments.
- Calculate quantities: For example, number of posts = perimeter length / post spacing. Opt for treated wood or corrosion-resistant metal.
- Explain material properties: Pressure-treated wood resists rot due to chemical preservatives penetrating the fibers.

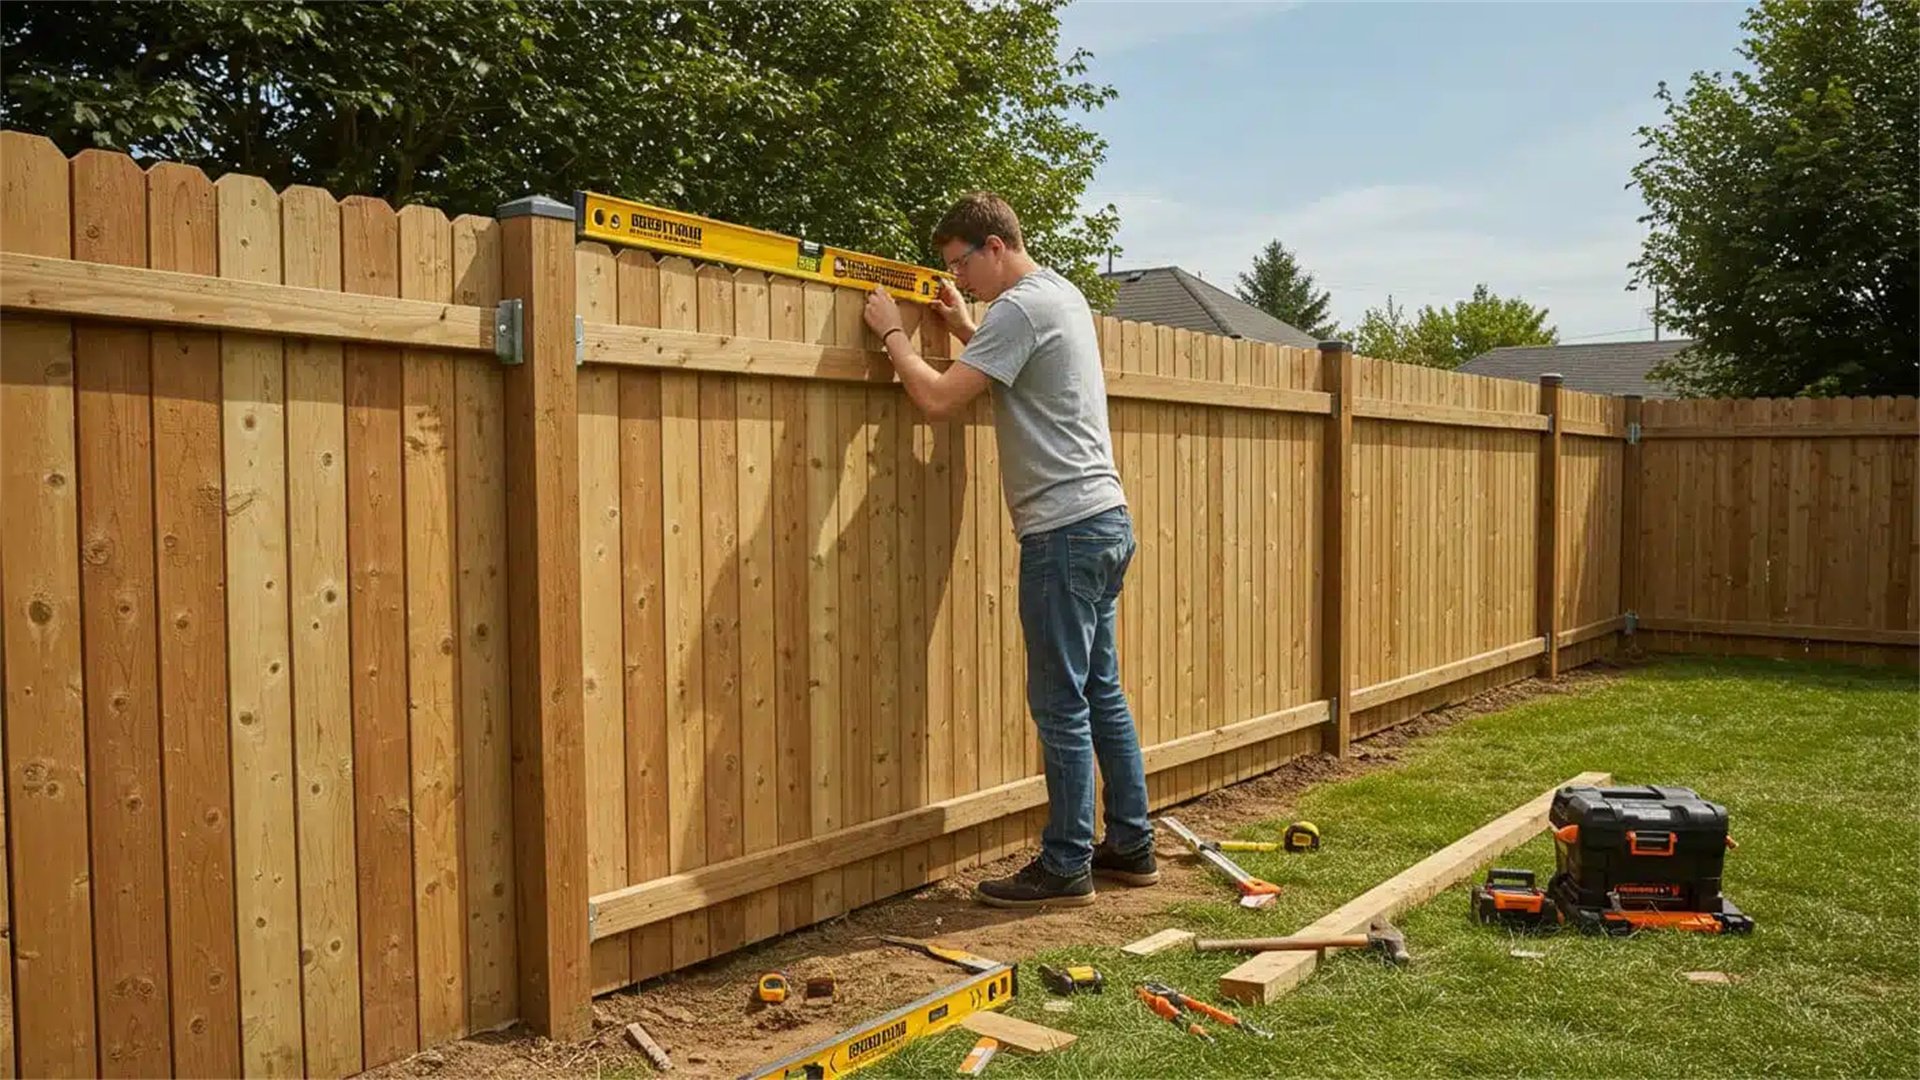
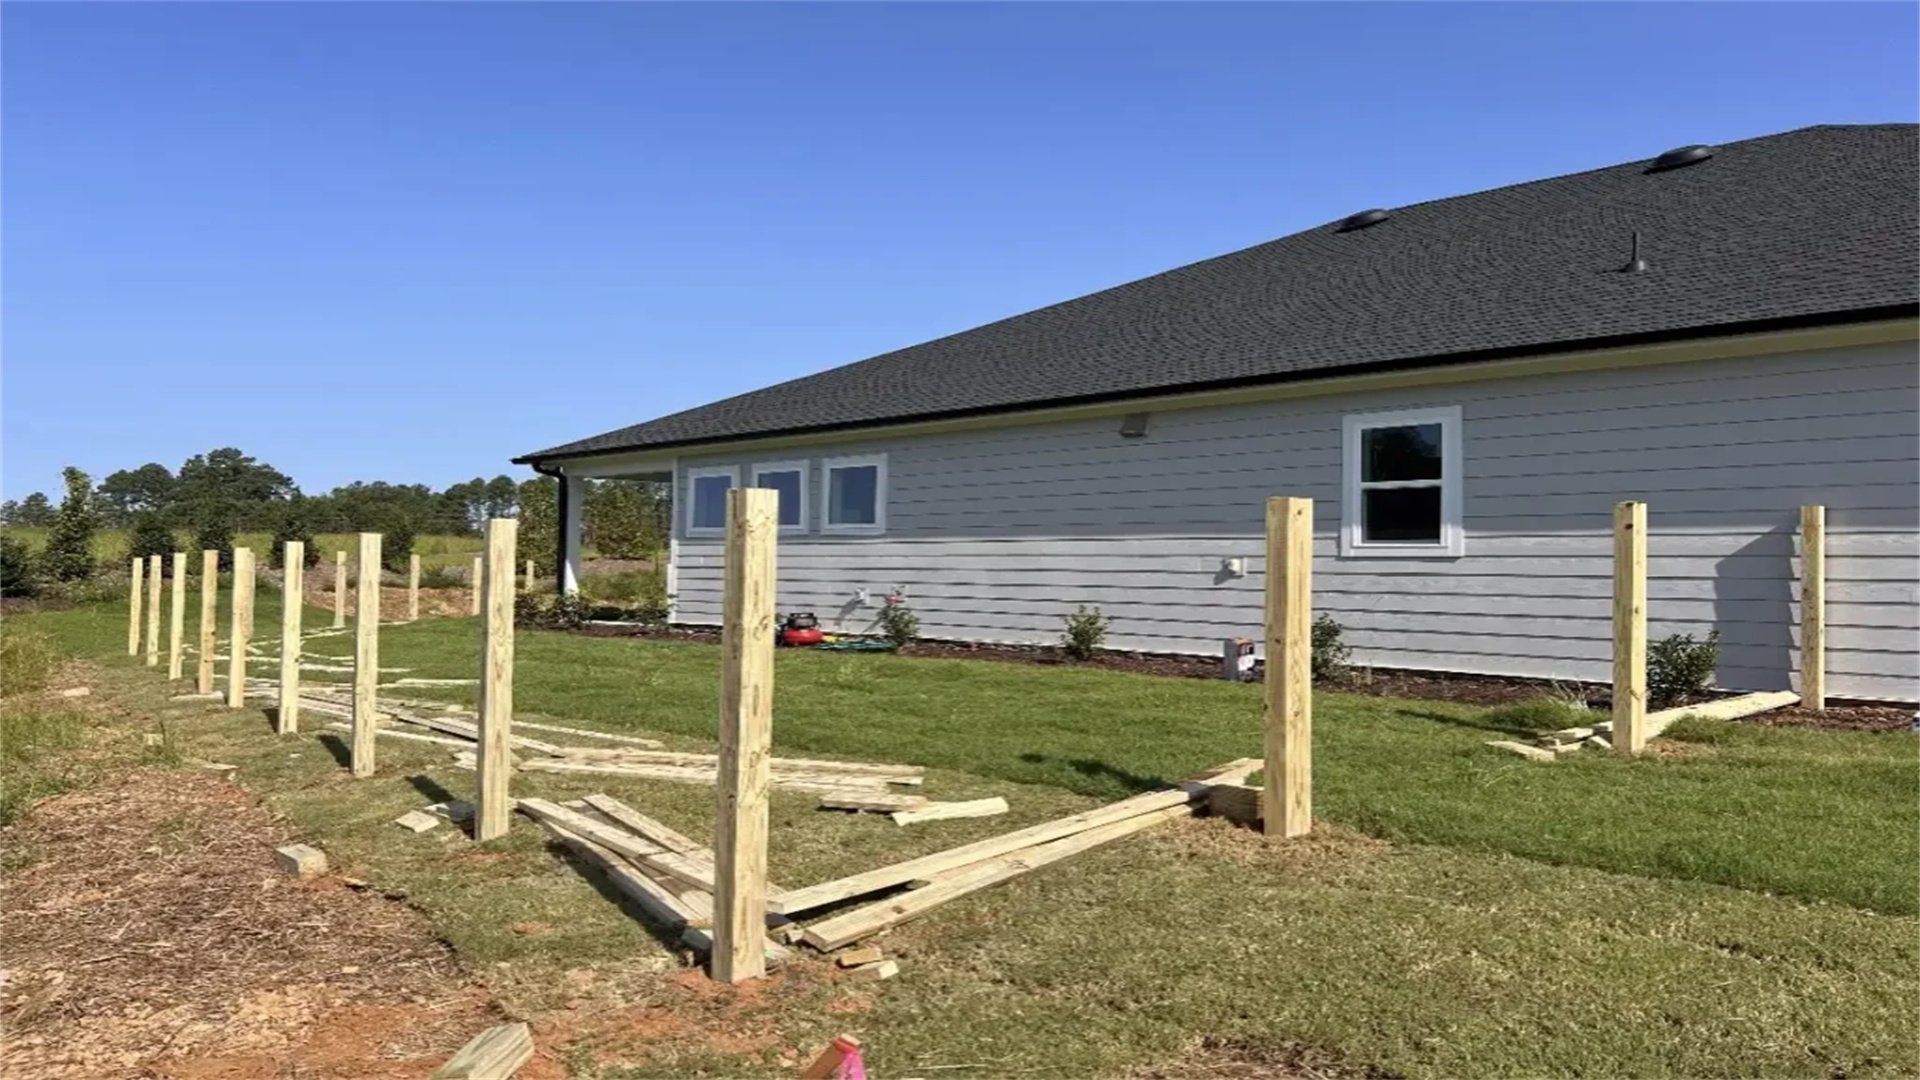
Stage Three: Installing Posts and Framework
- Dig post holes at least one-third the post height, using a digger or auger. Set posts in concrete, ensuring they are plumb and aligned. Allow concrete to cure for 24-48 hours.
- Attach rails or stringers between posts, securing with brackets or screws. Use a level to check for evenness.
- Discuss structural engineering: Posts act as load-bearing elements, so proper installation prevents sagging.
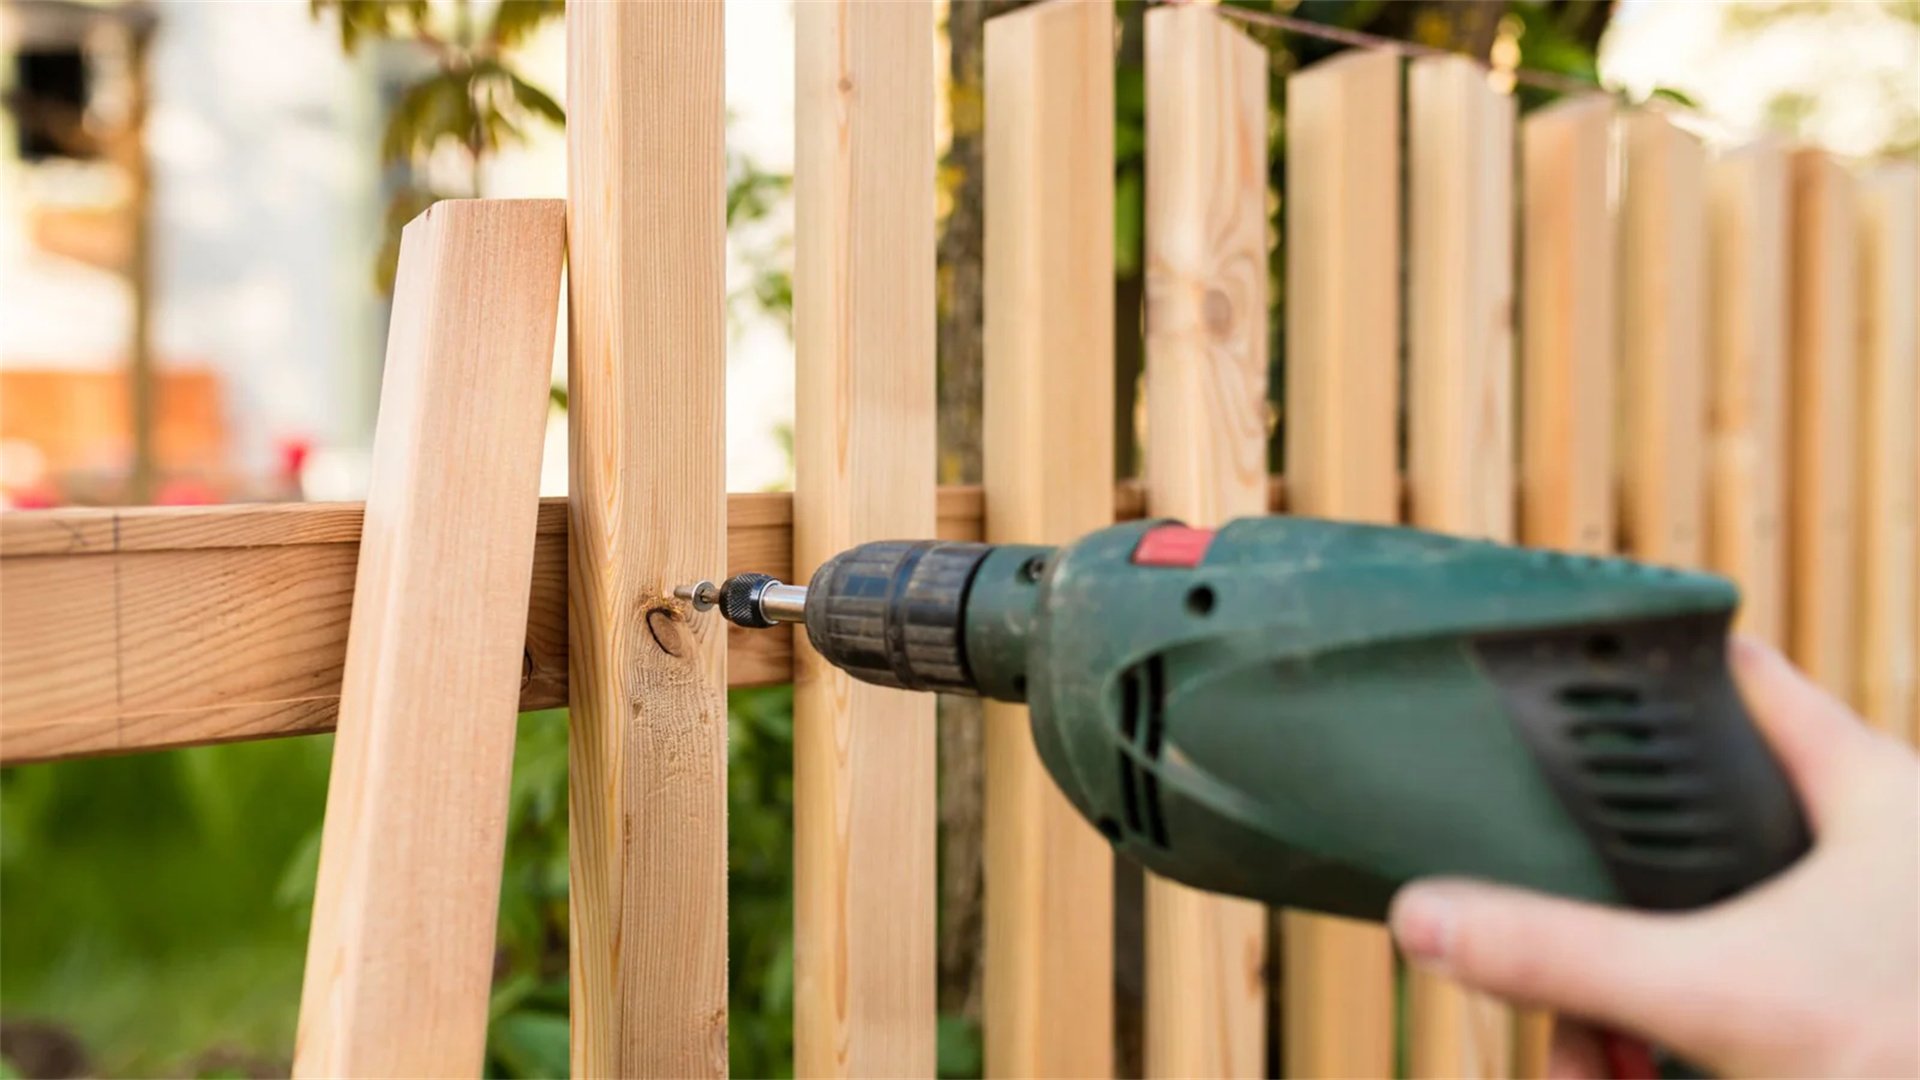
Stage Four: Attaching Fence Panels or Boards
- For panel fences, hang pre-assembled panels between posts, securing with nails or clips. For board fences, nail or screw individual boards to rails, spacing them evenly for style or privacy.
- Stagger joints for strength. Apply tension wires for chain-link fences. Include tips: Pre-drill holes to prevent splitting in wood.

Stage Five: Adding Gates and Hardware
- Construct or install gates using heavy-duty hinges and latches. Ensure gates swing freely and latch securely. Add locking mechanisms as per security tips.
- Adjust for ground clearance to prevent dragging. Test operation multiple times.
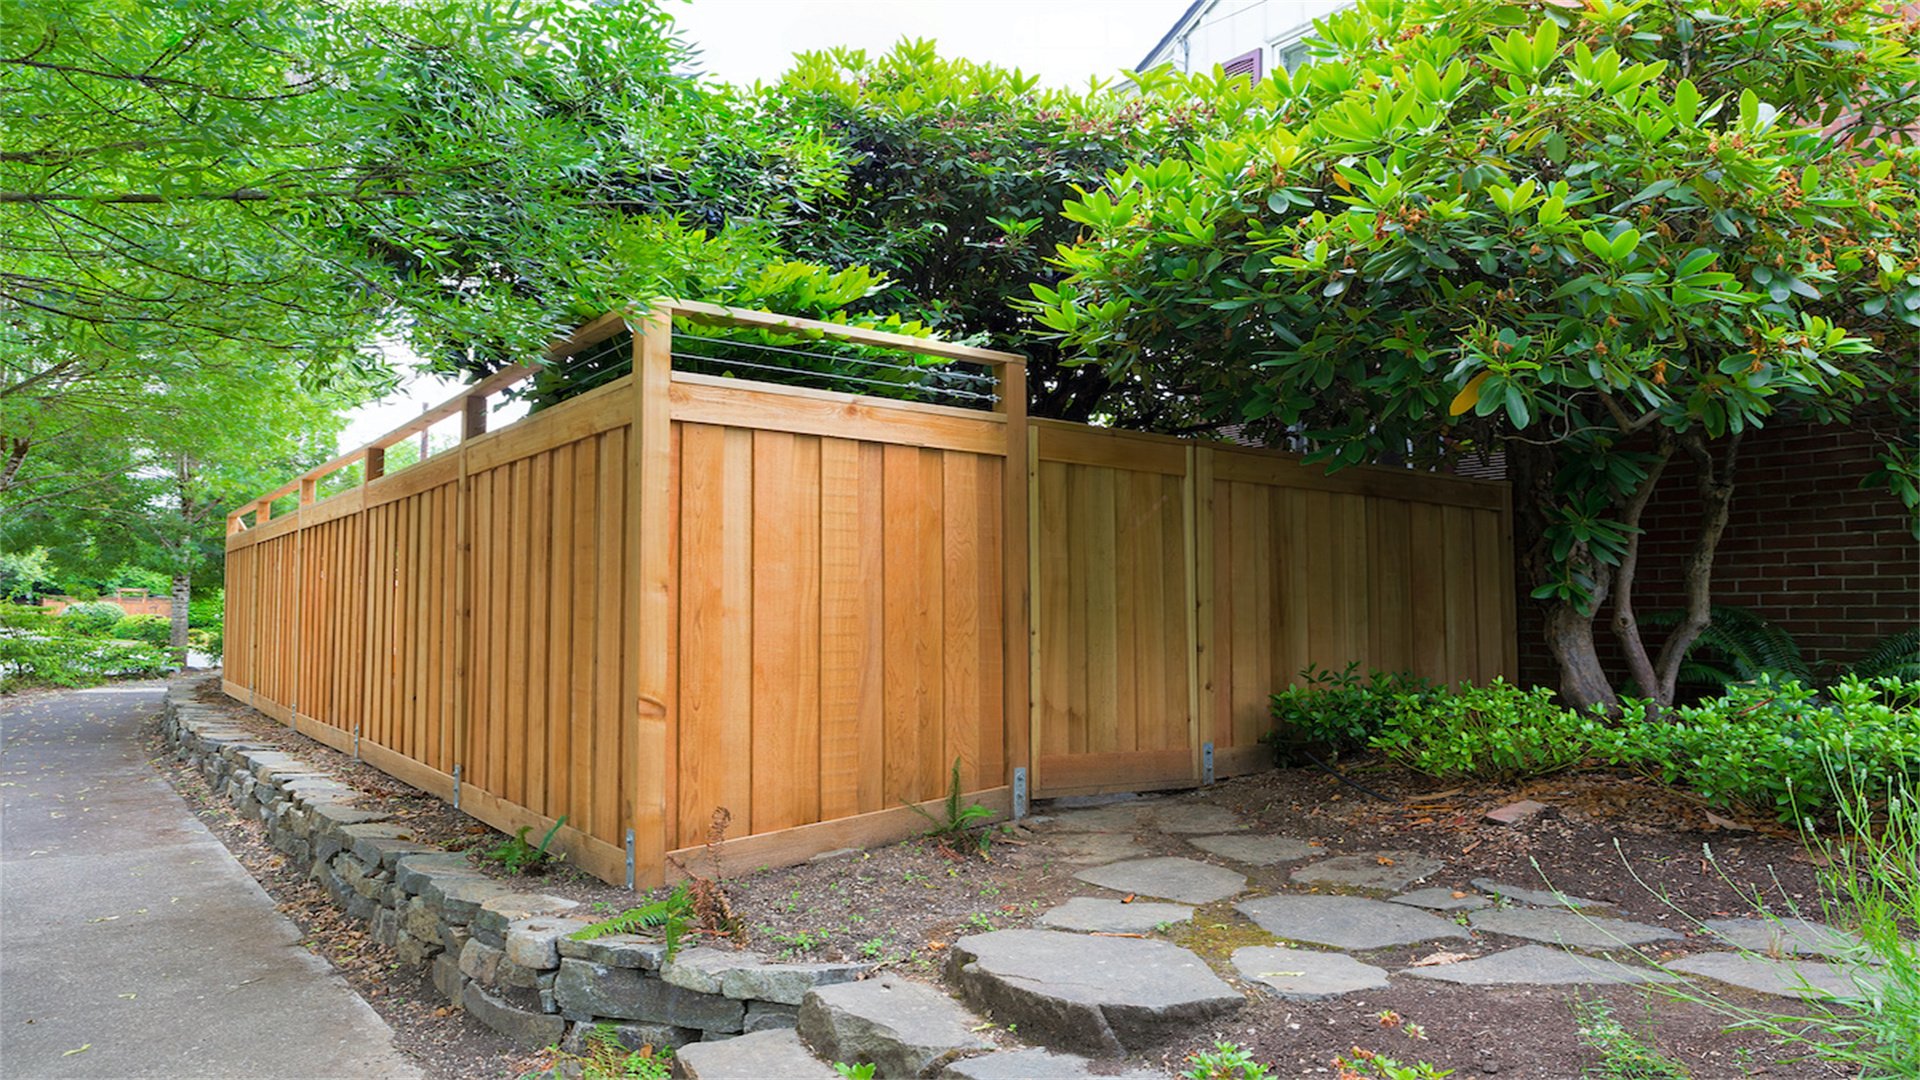
Stage Six: Finishing Touches and Styling
- Apply stains, paints, or sealants to protect and enhance appearance. Add decorative elements like post caps or lighting.
- Landscape around the fence with mulch or plants. Clean up debris and inspect for sharp edges. This stage brings your style vision to life.
Stage Seven: Inspection and Testing
- Conduct a final inspection: Check for stability, security features, and aesthetic consistency. Test gates, locks, and lighting.
- Make adjustments as needed. Document the process for future reference or sharing with others.
⚙️ Part 4: Advanced Techniques and Innovations

Technique One: Integrating Smart Home Technology
- Connect your fence to smart home systems for enhanced security and convenience. Install Wi-Fi-enabled cameras, motion sensors, and automated gates that can be controlled via apps.
- Use solar panels to power these devices. Explain IoT (Internet of Things): Sensors communicate data to central hubs, allowing real-time alerts.
- Recommend brands like Ring or Arlo for compatibility.
Technique Two: Building Custom Geometric or Artistic Fences
- Create unique fence patterns, such as chevron, herringbone, or wave shapes, using advanced carpentry skills. Incorporate mixed materials like wood and metal for contrast.
- Use templates or jigs for precision. Discuss artistic principles: Repetition and rhythm create visual harmony.
- Provide step-by-step guides for complex designs.
Technique Three: Implementing Green Fencing with Living Walls
- Build a living fence by integrating planters or trellises that support vegetation, such as edible plants or flowers. This improves air quality and biodiversity.
- Use irrigation systems for maintenance. Explain eco-benefits: Plants absorb carbon dioxide and reduce heat island effect.
- Suggest drought-resistant species for low upkeep.
Technique Four: Using Recycled and Upcycled Materials Creatively
- Repurpose items like old doors, pallets, or scrap metal into fence sections. This adds character and reduces waste.
- Ensure structural integrity by reinforcing weak points. Share upcycling ideas from DIY forums: For example, using wine bottles as decorative inserts.
Technique Five: Enhancing Durability with Advanced Coatings and Treatments
- Apply nano-coatings or epoxy finishes that offer superior protection against weather, UV rays, and scratches. Use thermal modifications for wood to increase lifespan.
- Explain chemical science: These coatings form molecular bonds that repel water and dirt.
- Recommend products like “marine-grade varnish” for harsh climates.
⚠️ Part 5: Common Challenges and Troubleshooting
Challenge One: Uneven Terrain and Sloping Ground
- On sloped land, use stepped or racked fence designs that follow the contour. Adjust post heights and use longer panels. Secure posts with extra concrete on downhill sides.
- Explain grading techniques: Terracing can create level sections for easier installation.
Challenge Two: Weather and Environmental Damage
- Protect your fence from snow, rain, or sun by choosing appropriate materials and applying sealants regularly. Install windbreaks or snow fences in harsh areas.
- Use corrosion-resistant hardware near saltwater. Discuss climate adaptation: For example, in humid regions, use cedar wood for natural rot resistance.
Challenge Three: Wildlife Interference and Damage
- Prevent animals from chewing or digging by adding barriers like wire mesh at the base or using repellent sprays. Design fences with smooth surfaces to deter climbing.
- Research local wildlife habits to tailor solutions. Share insights from ecology: Some animals avoid certain smells, like predator urine.
Challenge Four: Budget Constraints and Cost Overruns
- Plan a realistic budget and prioritize essential security features. Use cost-saving measures like sourcing materials locally or doing labor yourself.
- Track expenses to avoid surprises. Suggest alternatives: For example, use pressure-treated pine instead of expensive hardwoods.
Challenge Five: DIY Skill Limitations and Safety Risks
- If a task is beyond your skill level, hire a professional for complex parts like electrical work. Always wear safety gear and follow instructions.
- Take breaks to avoid fatigue. Recommend learning resources: Online tutorials or community workshops can boost confidence.
✅ Conclusion: Bringing It All Together
In summary, DIY cabin fence construction is a rewarding project that balances security and style. By following the tips outlined in this article—from assessing security needs and choosing durable materials to incorporating design elements and mastering construction steps—you can build a fence that protects your property while enhancing its beauty. Remember to focus on specific actions, such as using “10-gauge steel for posts” or “staining with eco-friendly products.” This guide provides a structured approach, empowering you with knowledge for a successful build. Embrace the process, enjoy the creativity, and soon you’ll have a cabin fence that offers both peace of mind and curb appeal. Happy building!