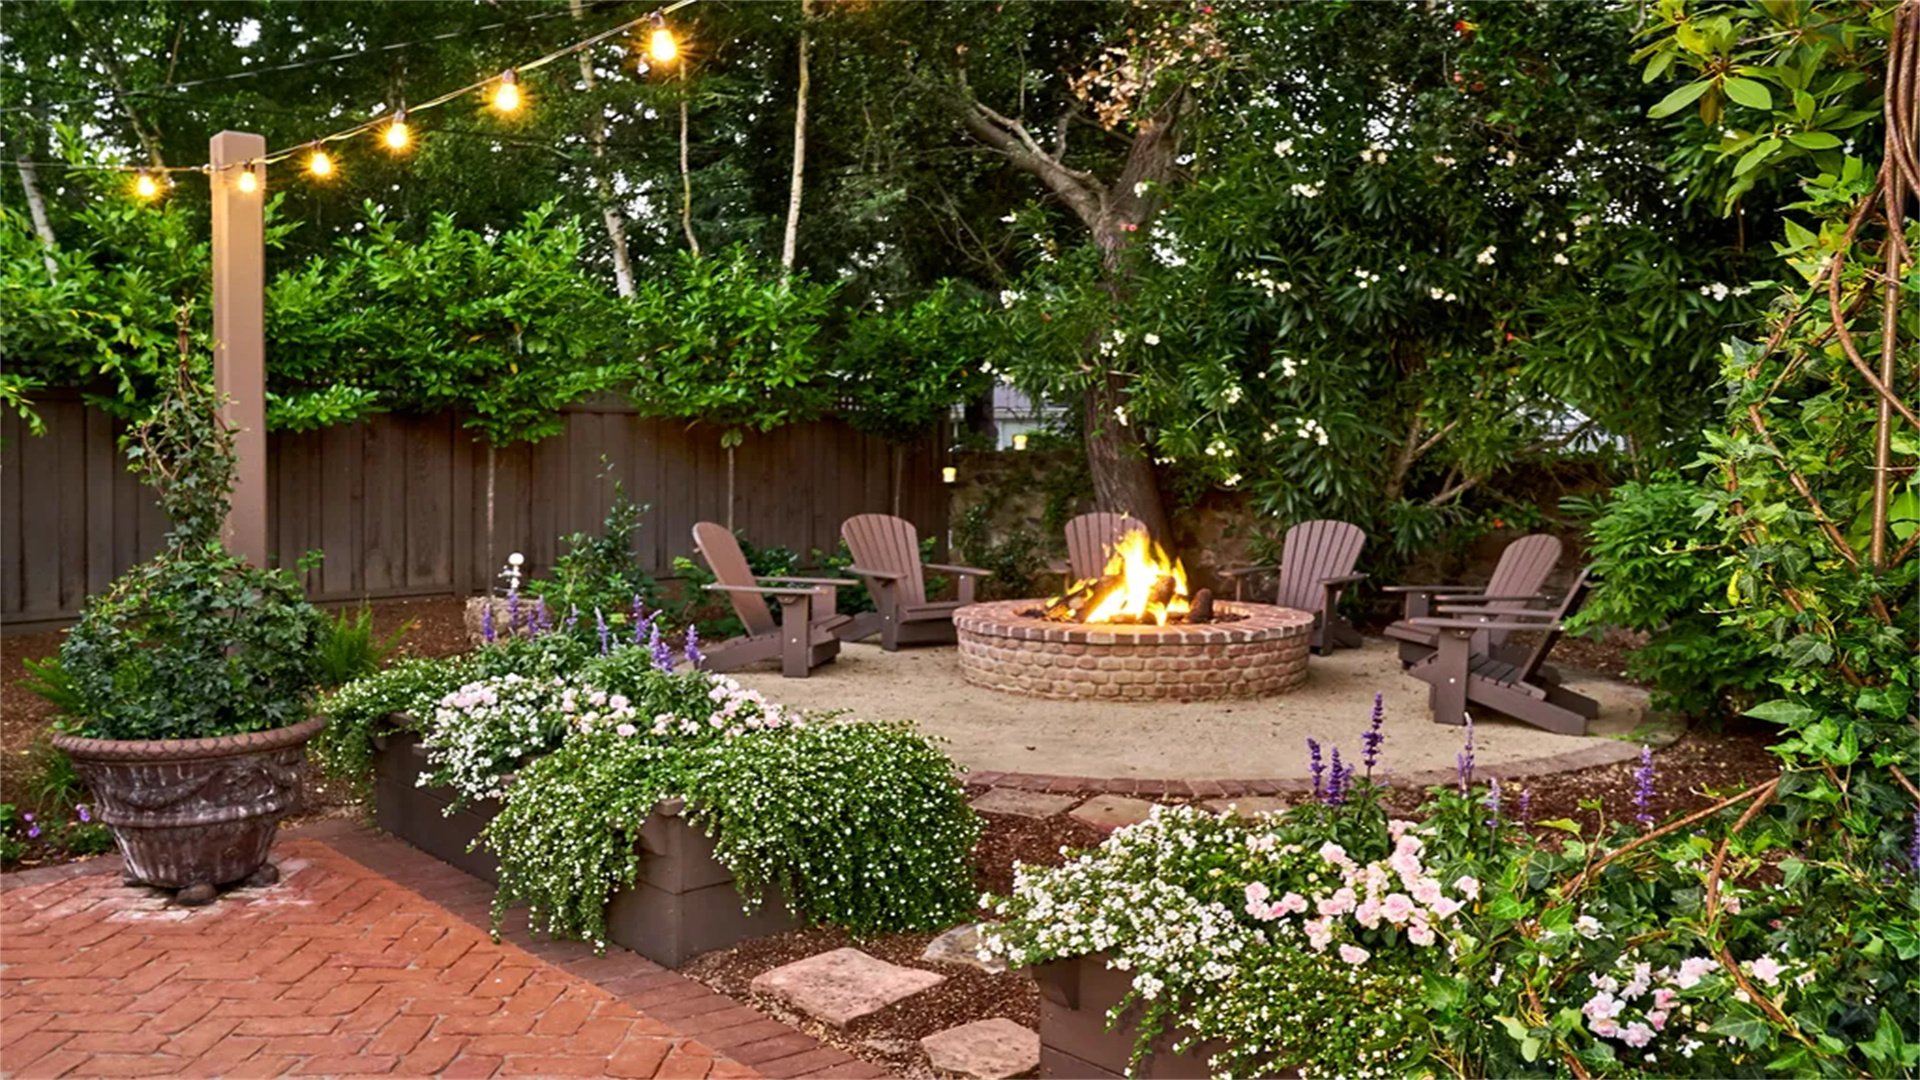
Creating a Garden Fire Pit Area for Outdoor Gatherings
Transforming your garden into a cozy, inviting space for outdoor gatherings is a dream for many homeowners. A fire pit area serves as the perfect centerpiece, offering warmth, ambiance, and a focal point for socializing with family and friends. Whether you're hosting a summer barbecue, a fall evening roast, or a winter bonfire, a well-designed fire pit can elevate your outdoor living experience. In this comprehensive guide, we'll explore everything you need to know about creating a garden fire pit area, from planning and design to construction and maintenance. We'll cover various methods, materials, and considerations to help you build a functional and aesthetically pleasing space that suits your needs. By the end, you'll have a clear roadmap to turn your backyard into a haven for memorable gatherings.
🔥 Why a Garden Fire Pit Area is Worth the Investment
Before diving into the how-to, let's discuss the benefits of adding a fire pit to your garden. Firstly, it extends the usability of your outdoor space into cooler seasons, allowing you to enjoy your garden year-round. Secondly, it enhances social interactions by providing a natural gathering spot, encouraging conversations and bonding. Thirdly, it adds value to your property, as outdoor living features are highly sought after in real estate. However, there are also potential drawbacks to consider. For instance, fire pits require safety precautions, such as keeping a safe distance from structures and having a fire extinguisher nearby. They also involve ongoing maintenance, like cleaning ash and checking for wear. Despite these, with proper planning, the advantages far outweigh the disadvantages.
📐 Method One: Planning and Designing Your Fire Pit Area
The first step in creating a garden fire pit area is thorough planning and design. This involves assessing your space, setting a budget, and choosing a style that complements your garden. We'll break this down into key points.
Advantages of Careful Planning
- Ensures Safety: Proper planning helps identify hazards, such as overhanging trees or flammable materials, reducing fire risks.
- Maximizes Functionality: By considering factors like seating and traffic flow, you can create a space that is both practical and enjoyable.
- Avoids Costly Mistakes: Designing upfront prevents errors during construction, saving time and money in the long run.
Disadvantages of Rushing Planning
- Safety Oversights: Skipping steps like checking local regulations could lead to fines or dangerous situations.
- Poor Aesthetics: Without a cohesive design, the fire pit might clash with your garden's overall look.
- Inefficient Use of Space: Inadequate planning may result in a cramped or underutilized area.
How to Implement Planning and Design
- Assess Your Garden Space: Measure the available area, noting slopes, drainage, and existing features like trees or patios. Aim for a flat, open spot at least 10 feet away from structures and vegetation.
- Check Local Regulations: Contact your municipality to understand codes regarding fire pits, such as size limits, fuel types (e.g., wood-burning vs. gas), and permit requirements. For example, some areas prohibit wood-burning pits due to air quality concerns.
- Set a Budget: Determine how much you're willing to spend on materials, tools, and professional help if needed. A basic DIY fire pit can cost as little as $100, while custom-built areas with seating may exceed $1,000.
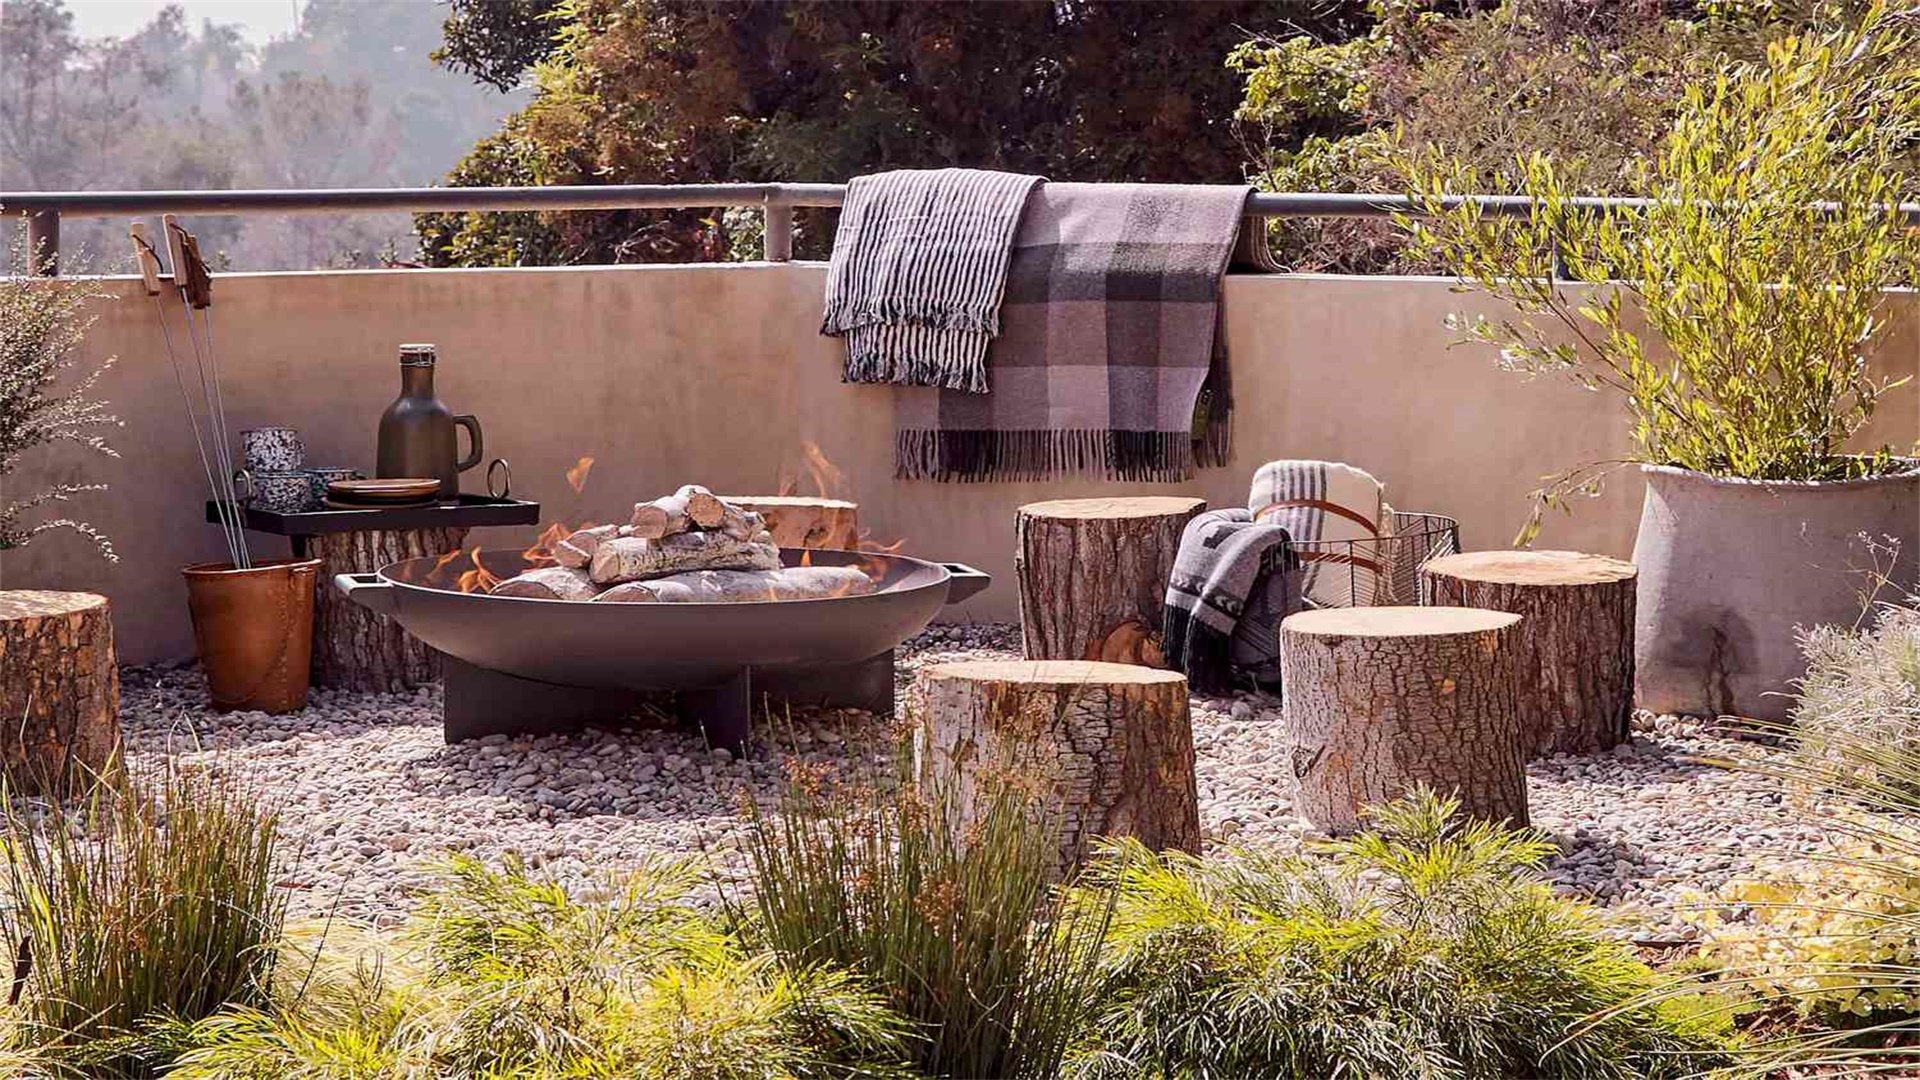
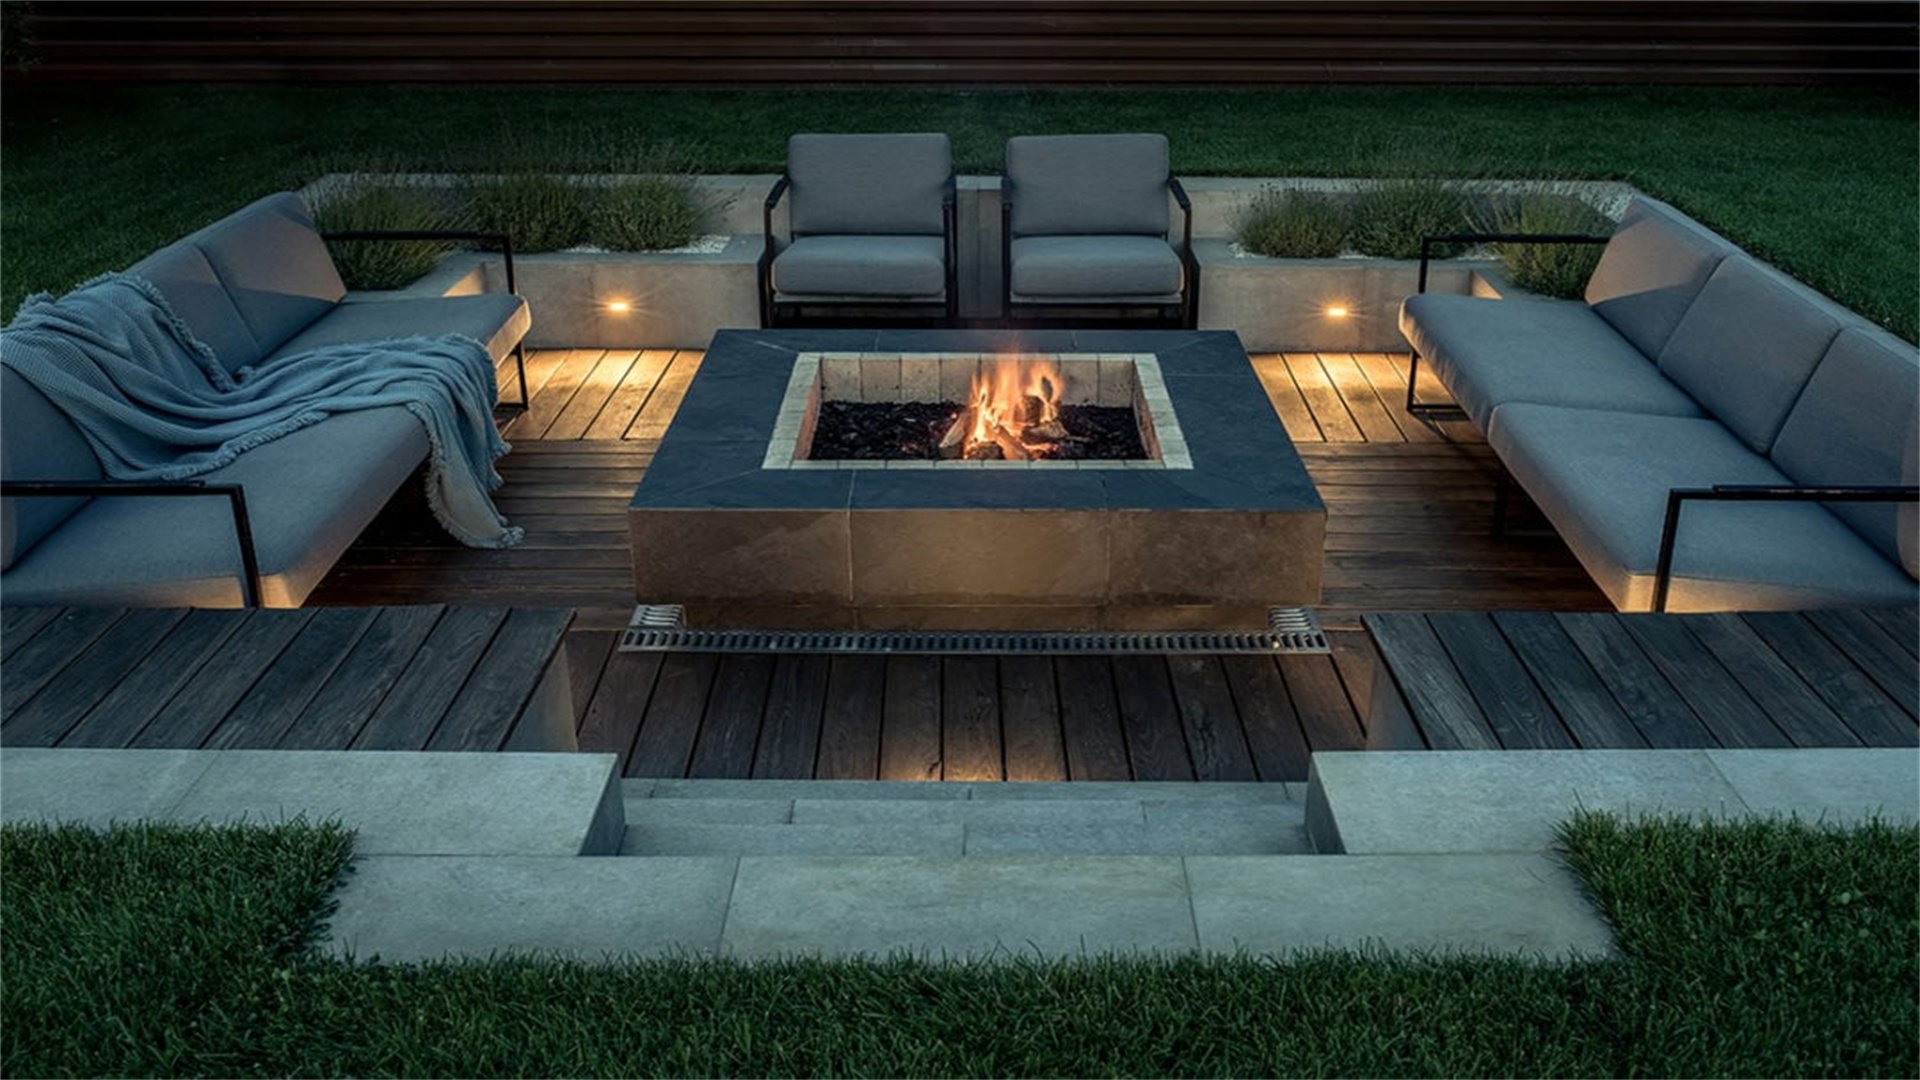
- Choose a Design Style: Select a theme that matches your garden, such as rustic, modern, or Mediterranean. Consider materials like stone, brick, or metal for the fire pit itself, and plan surrounding elements like seating walls, paving, and landscaping.
- Create a Layout Sketch: Draw a rough diagram of the fire pit area, including dimensions, seating arrangements, and accessory placement (e.g., storage for firewood). Use online tools or graph paper for accuracy.
⚙️ Method Two: Selecting the Right Fire Pit Type
Choosing the type of fire pit is crucial, as it affects fuel source, maintenance, and overall experience. The main options are wood-burning, gas, and propane fire pits. Let's explore each in detail.
Wood-Burning Fire Pits: Advantages and Disadvantages
Advantages:
- Authentic crackling sounds
- Natural smoky aroma
- Lower upfront costs
- Traditional campfire ambiance
- Wood is often readily available and can be sourced sustainably
Disadvantages:
- Require more maintenance, such as cleaning ash and soot
- Produce sparks that need safety measures
- Depend on dry wood, which may be inconvenient to store
- Can contribute to air pollution in some areas
Gas Fire Pits: Advantages and Disadvantages
Advantages:
- Convenient with instant ignition and adjustable flames
- Produce no smoke or ash, making them cleaner and easier to maintain
- Safer for families with children or pets due to controlled flames
Disadvantages:
- Higher initial installation cost, especially if plumbing for natural gas is required
- Lack the authentic wood-burning experience
- May have ongoing fuel expenses
- Require professional installation for gas lines to ensure safety
How to Implement Fire Pit Selection
- Evaluate Your Priorities: Decide what matters most: ambiance (choose wood-burning), convenience (choose gas), or portability (choose propane). Consider how often you'll use the fire pit and your willingness to perform maintenance.
- Research Fuel Options: For wood-burning, identify local sources of seasoned hardwood like oak or maple. For gas, check if natural gas is available on your property or opt for propane tanks that need refilling.
- Compare Materials and Brands: Look at fire pit kits or custom builds. For wood-burning, steel or cast iron bowls are durable; for gas, stainless steel or copper units with ceramic logs offer a realistic look. Read reviews from brands like Solo Stove or Outland Living.
- Consider Safety Features: Choose pits with spark screens, safety lids, or automatic shut-off valves. Ensure the design includes a non-combustible base to protect your garden surface.
- Test Before Committing: If possible, visit a showroom or friend's house to experience different fire pit types firsthand, noting flame height, heat output, and ease of use.
🛠️ Method Three: Building the Fire Pit Area Step-by-Step
Once planning and selection are complete, it's time to build your fire pit area. This process involves site preparation, construction, and adding finishing touches. We'll outline a detailed approach for a DIY stone fire pit, a popular choice for its durability and aesthetic appeal.
Advantages of a DIY Stone Fire Pit
- Customization: You can tailor the size, shape, and stone type to match your garden perfectly.
- Cost-Effective: Building it yourself saves on labor costs, with materials often available at home improvement stores.
- Personal Satisfaction: Completing the project adds a sense of accomplishment and pride to your outdoor space.
Disadvantages of a DIY Stone Fire Pit
- Labor-Intensive: It requires physical effort for digging, lifting stones, and leveling, which may not suit everyone.
- Time-Consuming: The process can take several weekends, depending on complexity and weather conditions.
- Skill Requirements: Basic masonry skills are needed for stable construction; otherwise, the pit might be unsafe or uneven.
How to Implement Building a Stone Fire Pit
- Gather Tools and Materials: You'll need a shovel, level, tamper, masonry adhesive, safety gear (gloves, goggles), and materials like retaining wall blocks, gravel, sand, and a metal fire ring (optional for added safety).
- Prepare the Site: Mark the fire pit location with stakes and string. Dig a circular hole about 6 inches deep and 2 feet wider than the pit's diameter. Fill with 4 inches of gravel, then tamp it down for a stable base. Add a 1-inch layer of sand and level it.
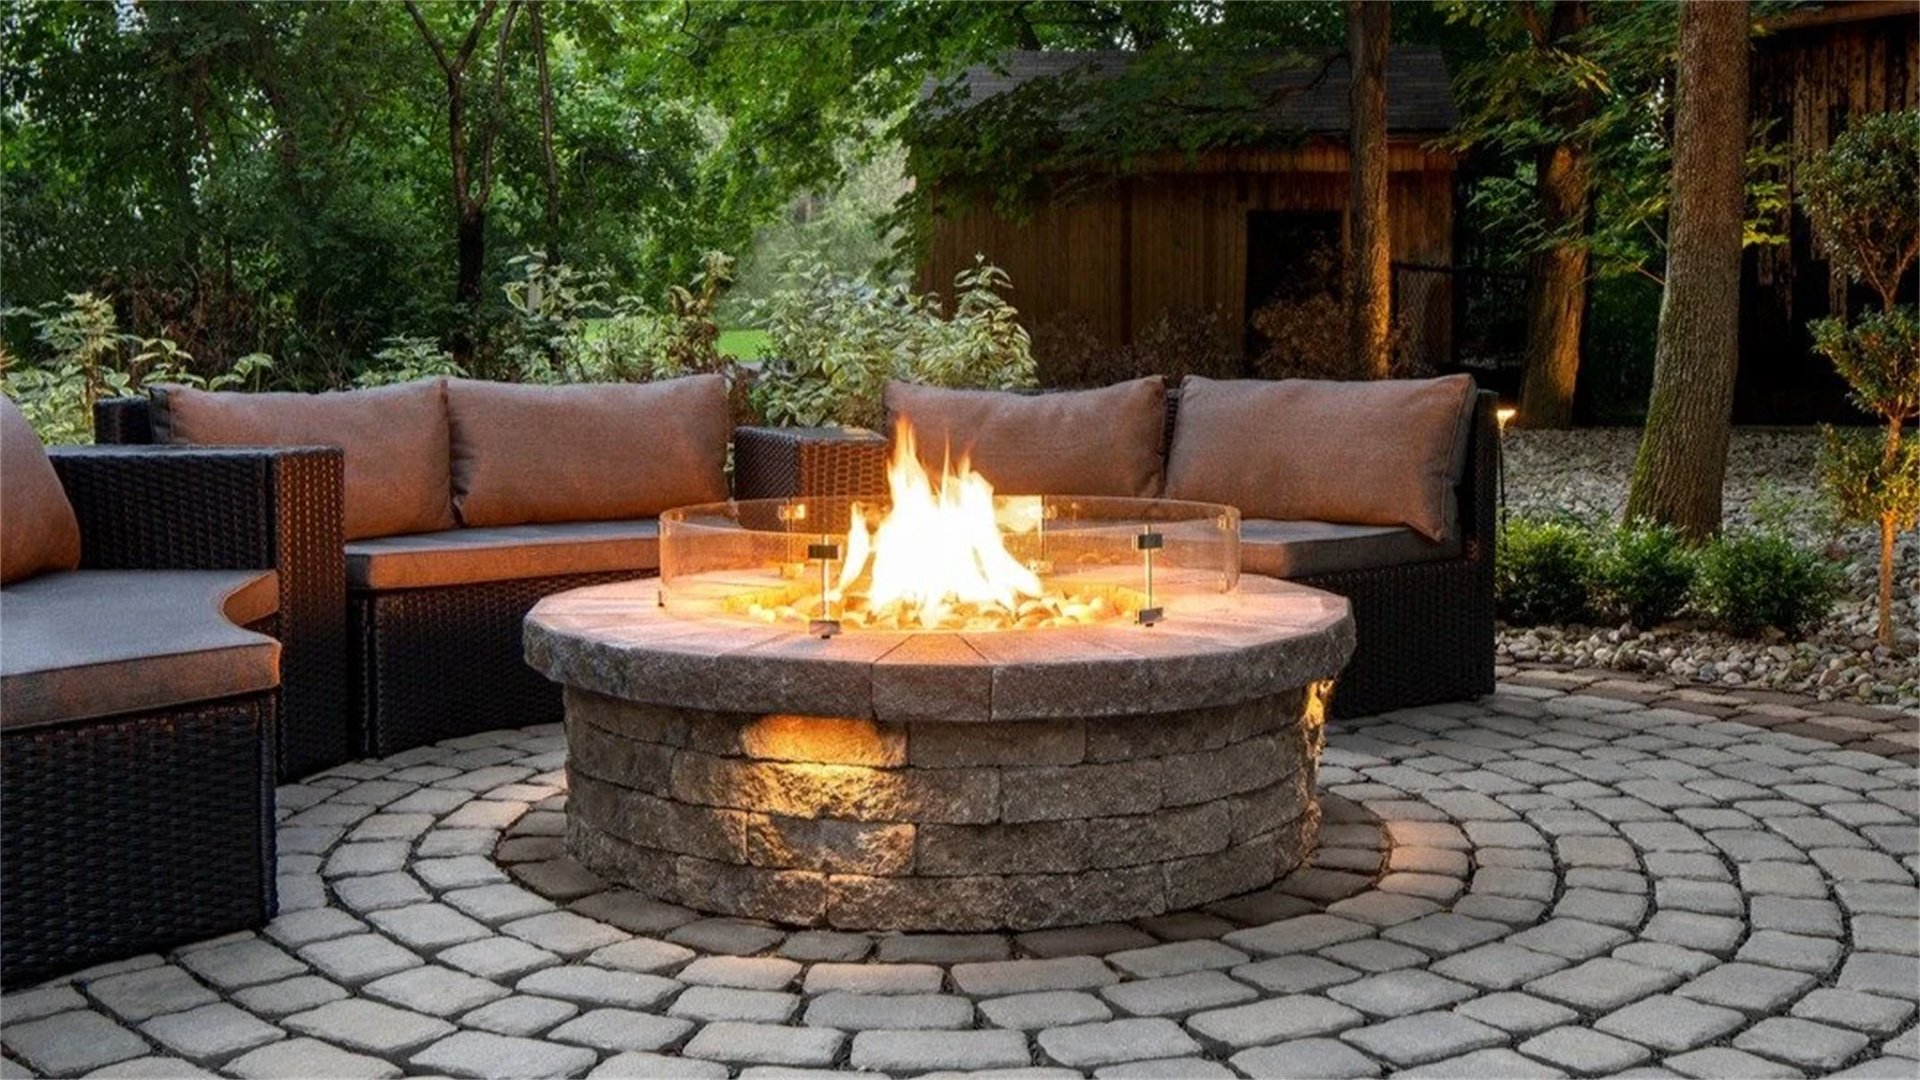
- Lay the First Course: Place the first layer of stones or blocks in a circle on the sand, ensuring they are level and snug. Use a rubber mallet to adjust as needed. If using a metal fire ring, center it inside the circle.
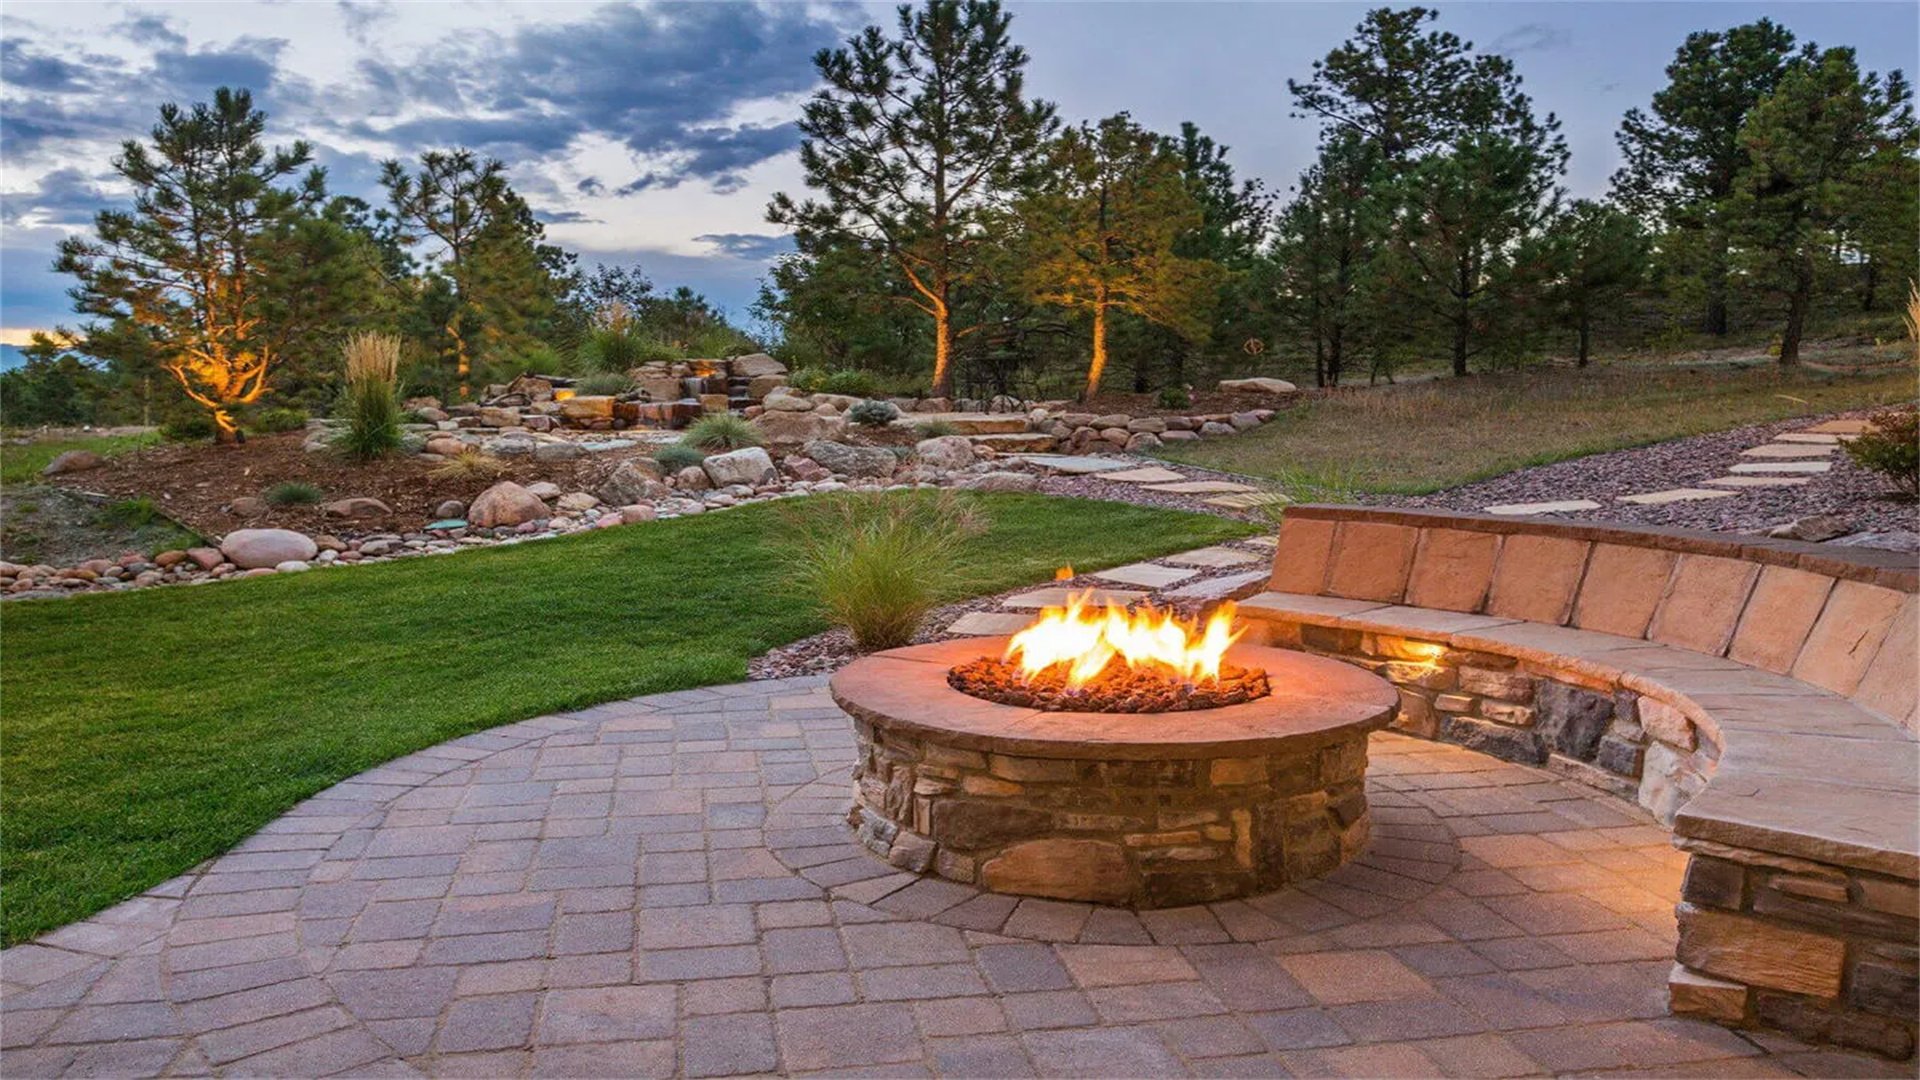
- Build Up the Walls: Stack additional layers of stones, staggering the joints for stability. Apply masonry adhesive between layers to secure them. Aim for a height of 12-18 inches, depending on your design. Check for levelness with each course.
- Create the Seating Area: Around the fire pit, prepare a perimeter for seating. This can involve building stone benches, arranging outdoor furniture, or installing paving stones. Ensure seating is at least 3 feet away from the fire for safety.
- Add Finishing Touches: Fill the pit's interior with a few inches of lava rock or sand for drainage and aesthetics. Install a spark screen if using wood. Landscape the surrounding area with plants, lighting, or a storage box for firewood.
🚨 Method Four: Ensuring Safety and Maintenance
Safety is paramount when dealing with fire, and regular maintenance ensures longevity. This section covers essential precautions and upkeep routines for your fire pit area.
Advantages of Prioritizing Safety and Maintenance
- Prevents Accidents: Following safety guidelines reduces risks of burns, fires spreading, or carbon monoxide poisoning.
- Extends Lifespan: Proper care, such as cleaning and covering the pit, prevents rust, corrosion, and weather damage.
- Enhances Enjoyment: A well-maintained fire pit area is more inviting and functional for gatherings.
Disadvantages of Neglecting Safety and Maintenance
- Increased Hazards: Lack of maintenance can lead to structural failures or flammable buildup, causing dangerous situations.
- Costly Repairs: Ignoring small issues, like cracks in stones, may require expensive replacements later.
- Legal Liability: If an accident occurs due to negligence, you could face legal consequences or void insurance claims.
How to Implement Safety and Maintenance
- Establish Safety Rules: Set clear guidelines for users, such as no throwing trash into the fire, keeping children supervised, and having a bucket of water or fire extinguisher nearby. Post these rules visibly in the area.
- Perform Regular Inspections: Before each use, check the fire pit for cracks, loose stones, or debris. For gas pits, inspect hoses and connections for leaks using a soapy water solution.
- Clean After Each Use: For wood-burning pits, allow ashes to cool completely, then remove them with a metal shovel into a metal container. Dispose of ashes safely away from flammable materials. For gas pits, wipe down surfaces and clear burner ports of obstructions.
- Seasonal Maintenance: In off-seasons, cover the fire pit with a waterproof cover to protect from rain and snow. Store cushions or movable seating indoors. For gas systems, consider professional servicing annually to ensure proper function.
- Landscape Upkeep: Trim surrounding plants and trees regularly to maintain a clear zone. Replace worn-out paving or seating materials to prevent tripping hazards.
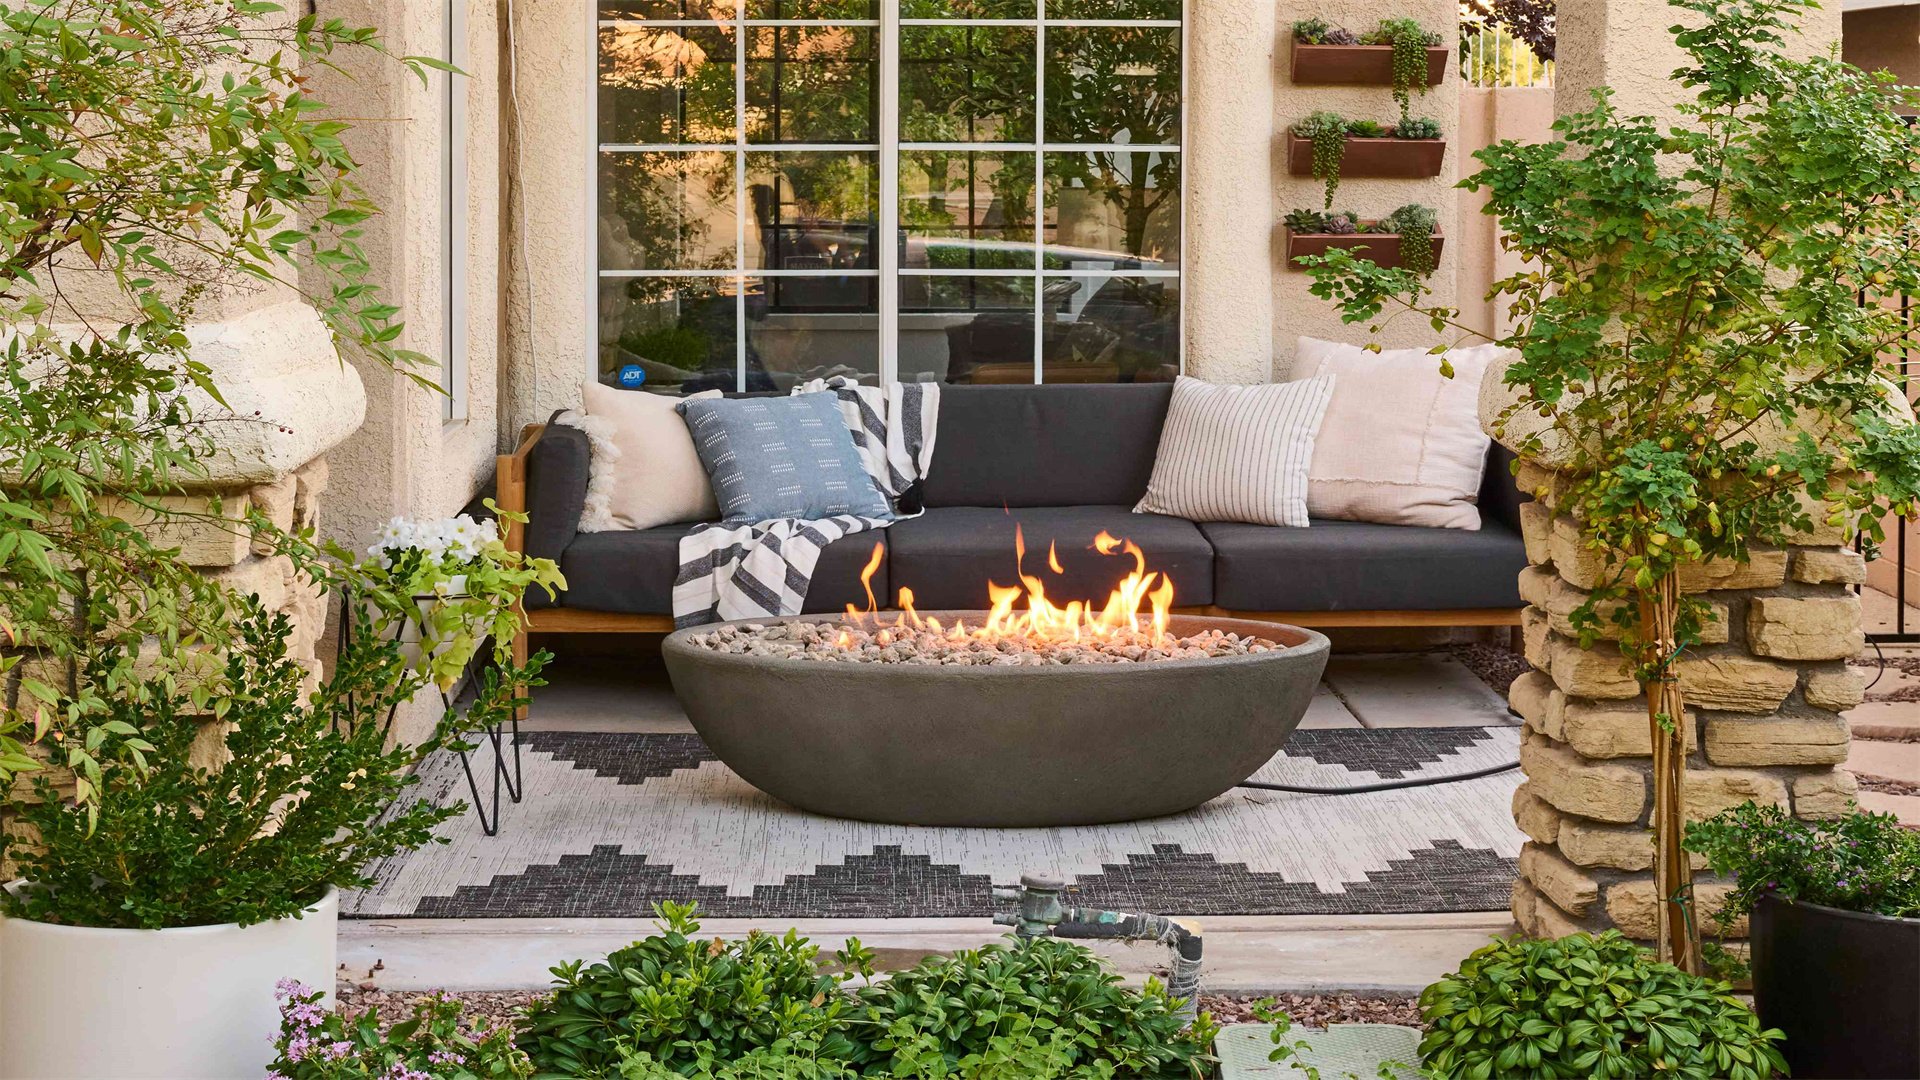
✨ Method Five: Enhancing the Ambiance with Accessories and Decor
To make your fire pit area truly special, incorporate accessories and decor that boost comfort and style. This includes lighting, seating, and personal touches that reflect your personality.
Advantages of Adding Accessories
- Improved Comfort: Items like outdoor rugs, cushions, and blankets make seating more cozy, encouraging longer gatherings.
- Enhanced Atmosphere: Strategic lighting, such as string lights or lanterns, creates a magical evening vibe.
- Functionality Boost: Accessories like firewood racks, cooking grills, or side tables add convenience for activities like roasting marshmallows or serving drinks.
Disadvantages of Over-Accessorizing
- Clutter: Too many items can make the area feel crowded and reduce safe movement around the fire.
- Increased Maintenance: More accessories mean more cleaning and storage efforts, especially in harsh weather.
- Higher Costs: Decor and accessories can add up quickly, blowing your budget if not planned carefully.
How to Implement Ambiance Enhancements
- Choose Lighting Solutions: Install solar-powered path lights around the perimeter for safety. Hang Edison bulb string lights overhead for a warm glow. Use flameless candles or LED lanterns on tables for a fire-safe option.
- Select Comfortable Seating: Opt for weather-resistant furniture like Adirondack chairs, stone benches, or modular sofas. Add outdoor cushions with fade-resistant fabric, and provide blankets for cooler nights.
- Incorporate Functional Decor: Place a metal firewood holder nearby for easy access. Add a side table for holding drinks and snacks. Consider a fire pit cooking grate for grilling hot dogs or vegetables.
- Add Personal Touches: Use planters with fragrant herbs like lavender or rosemary to enhance the sensory experience. Hang wind chimes or art pieces that complement your garden theme. Choose a color scheme that ties everything together, such as earthy tones for a rustic look.
- Ensure Weather Resistance: Select accessories made from durable materials like teak, wrought iron, or all-weather wicker. Store soft items indoors when not in use to prolong their life.

🏁 Conclusion
Creating a garden fire pit area for outdoor gatherings is a rewarding project that can transform your backyard into a year-round entertainment hub. By following the methods outlined—planning and design, selecting the right fire pit type, building step-by-step, ensuring safety and maintenance, and enhancing ambiance—you can craft a space that is both functional and beautiful. Remember to tailor each step to your specific needs, garden layout, and local regulations. Whether you opt for a rustic wood-burning pit or a modern gas version, the key is to prioritize safety, comfort, and personal style. With careful execution, your fire pit area will become the heart of countless memorable gatherings, providing warmth and joy for years to come. Start planning today, and soon you'll be enjoying cozy evenings under the stars with loved ones.