Building a Functional Workshop in Your Backyard
Creating a functional workshop in your backyard is a rewarding project that can enhance your DIY skills, provide a dedicated space for hobbies, and increase your property's value. Whether you're into woodworking, metalworking, automotive repair, or general crafts, a well-designed workshop offers a private sanctuary for creativity and productivity. This comprehensive guide will walk you through every step, from initial planning to final touches, ensuring you build a safe, efficient, and personalized space. By referencing best practices from international DIY websites and expert resources, we'll cover key aspects like design, construction, utilities, and equipment. Let's dive into transforming your backyard into a workshop that meets your needs and inspires your projects.
📋 Part 1: Comprehensive Planning and Design
Before you break ground, thorough planning is crucial to avoid costly mistakes and ensure your workshop functions seamlessly. This phase involves assessing your needs, designing the layout, and complying with local regulations. A well-planned workshop will save time, money, and effort in the long run.
Method 1: Assessing Your Needs and Goals
- Start by defining the primary purpose of your workshop. Are you focusing on woodworking, which requires large tools like table saws and planers, or perhaps electronics, needing clean, organized benches? Consider your current and future projects to determine space requirements.
- For example, a woodworking workshop might need at least 200 square feet for tool placement and material storage, while a smaller craft space could suffice with 100 square feet.
- List all tools and equipment you own or plan to acquire, noting their dimensions and power needs.
- Additionally, think about workflow: a typical workshop should have zones for cutting, assembly, and finishing to minimize movement and boost efficiency.
- Consult international DIY forums like Family Handyman or Popular Mechanics for insights on standard workshop sizes and layouts based on different hobbies.
- Next, evaluate your budget. Building a backyard workshop can range from a few thousand dollars for a basic shed to over $20,000 for a fully equipped structure with utilities.
- Break down costs into categories: materials (lumber, roofing, insulation), tools (if new purchases are needed), permits, and professional services (e.g., electrician for wiring).
- Allocate a contingency fund of 10-15% for unexpected expenses.
- Research cost-effective materials, such as using prefabricated shed kits from companies like Tuff Shed or DIY plans from websites like Ana White, which offer step-by-step guides tailored to backyard projects.
- By assessing needs early, you'll create a realistic blueprint that aligns with your goals and resources.
Method 2: Designing the Layout for Efficiency
- A functional layout maximizes space and enhances safety. Begin with a floor plan sketch or use digital tools like SketchUp or Sweet Home 3D to visualize the workshop.
- Key elements to include are workbenches, tool stations, storage areas, and clear pathways (at least 3 feet wide for easy movement).
- Position larger tools, such as a table saw, centrally with ample clearance on all sides to handle long boards.
- For inspiration, refer to workshops featured on international websites like This Old House or YouTube channels like "April Wilkerson," which often showcase ergonomic designs with optimized workflows.
- Consider natural light and ventilation.
- Install windows on the north side for consistent, glare-free light, and add skylights or solar tubes to reduce reliance on artificial lighting.
- Ventilation is critical for fume removal; incorporate exhaust fans or louvers, especially if you'll use paints or chemicals.
- For electrical planning, map out outlets every 4-6 feet along walls, with dedicated circuits for high-power tools like air compressors or welders.
- Include a main panel with enough capacity (e.g., 100-amp service) for future expansions.
- By designing with efficiency in mind, you'll create a workshop that feels spacious and functional, even in a compact backyard.

Method 3: Navigating Permits and Regulations
- Before construction, check local building codes and zoning laws.
- Many municipalities require permits for structures over a certain size (e.g., 120 square feet in some areas) or those with electrical and plumbing work.
- Visit your local planning department or website to obtain permit applications and guidelines.
- Regulations might cover setbacks from property lines (often 5-10 feet), maximum height limits, and foundation requirements.
- For example, in colder climates, frost-proof foundations may be mandated to prevent shifting.
- Failure to comply can result in fines or forced demolition, so this step is non-negotiable.
- Additionally, consider homeowners association (HOA) rules if applicable.
- Some HOAs restrict exterior finishes or workshop purpose.
- Review covenants and seek approval if needed.
- For international reference, websites like DIY Network often discuss permit processes in countries like the U.S. and Canada, emphasizing the importance of early compliance.
- By addressing legalities upfront, you'll avoid delays and ensure your workshop is built to last.
🏗️ Part 2: Site Selection and Preparation
Choosing the right location and preparing the site lays the groundwork for a stable and accessible workshop. This phase involves evaluating your backyard's characteristics, clearing the area, and constructing a solid foundation.
Method 1: Evaluating Backyard Characteristics
- Select a site that balances convenience and practicality.
- Ideally, place the workshop close to your home for easy access to utilities and to minimize weather exposure, but far enough to reduce noise disturbance.
- Assess soil conditions: sandy or loamy soil drains well and supports foundations, while clay soil may require additional grading to prevent water pooling.
- Use a soil test kit or consult local extension services for analysis.
- Also, consider sun exposure; in hot climates, position the workshop to shade it from afternoon sun, reducing cooling costs.
- Look at international cases, such as Australian DIY blogs that emphasize solar orientation for energy efficiency.
- Check for underground utilities by calling 811 (in the U.S.) or your local utility locating service to mark gas, water, and electrical lines.
- Avoid areas with overhead power lines or large tree roots that could interfere with construction.
- Ensure the site is level—a slope of more than 2% may require extensive grading.
- By evaluating these factors, you'll choose a spot that enhances durability and usability.
Method 2: Clearing and Grading the Area
- Once the site is selected, clear vegetation, rocks, and debris.
- Rent a mini-excavator or use manual tools like shovels and rakes for smaller areas.
- Remove sod and topsoil to expose the subsoil, which provides a stable base.
- Then, grade the site to create a level surface. Use a long level or laser level to check for evenness, and add or remove soil as needed.
- Compact the soil with a plate compactor to prevent settling later.
- For drainage, slope the ground away from the workshop site at a 1-2% grade to direct water runoff.
- Installing a French drain or gravel perimeter can further manage moisture, especially in rainy regions.
- Next, mark the workshop's footprint with stakes and string.
- Double-check dimensions against your plans and ensure corners are square using the 3-4-5 triangle method (measure 3 feet on one side, 4 feet on the other, and the diagonal should be 5 feet).
- This preparation stage is critical; like "The Spruce" often detail grading techniques to prevent foundation issues.
- A well-prepared site will support a long-lasting structure.
Method 3: Building a Solid Foundation
- The foundation is the backbone of your workshop. Common options include concrete slabs, pier blocks, and gravel bases.
- For a permanent, insulated workshop, a concrete slab is recommended. It provides a level floor, supports heavy tools, and deters pests.
- To pour a slab, excavate to a depth of 4-6 inches, add a gravel layer for drainage, and install reinforcement mesh or rebar.
- Build forms with lumber, ensuring they're level, then pour concrete mixed to a strength of 3,000-4,000 PSI.
- Screed and finish the surface smoothly, allowing it to cure for at least 7 days.
- In colder climates, consider adding insulation beneath the slab, such as rigid foam boards, to improve energy efficiency.
- For a more affordable or temporary option, use pier blocks or a gravel base.
- Pier blocks are concrete blocks placed at corners and intervals to support a wooden frame—ideal for sheds or smaller workshops.
- A gravel base involves spreading and compacting crushed stone, which offers good drainage but may shift over time.
- Like "Instructables" for step-by-step foundation guides tailored to different budgets.
- Whichever method you choose, ensure it's level and anchored properly to withstand weather and load.
🛠️ Part 3: Constructing the Workshop Structure
With the foundation ready, move on to building the walls, roof, and exterior. This phase requires carpentry skills and attention to detail to create a weathertight and sturdy enclosure.
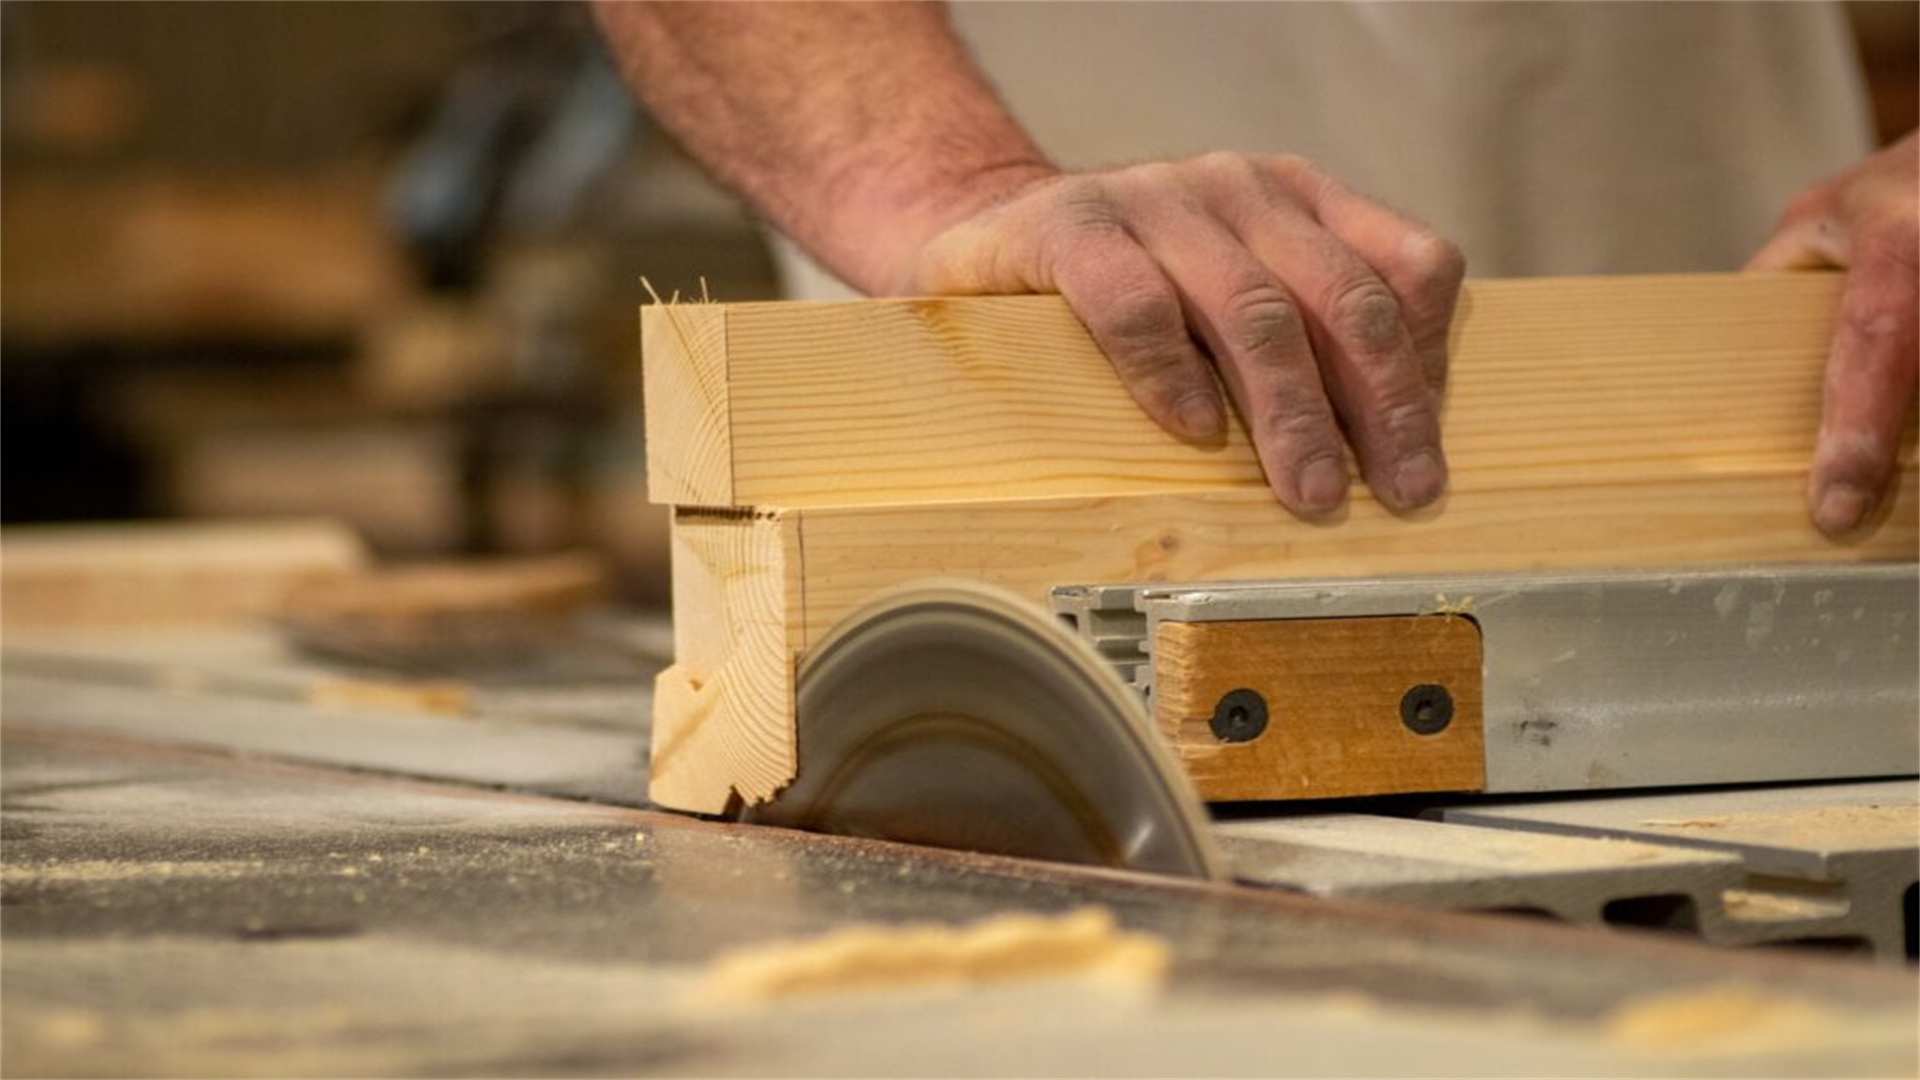
Method 1: Framing Walls and Roof
- Begin by constructing wall frames on the ground using pressure-treated lumber for the bottom plate to resist moisture.
- Standard framing uses 2x4 or 2x6 studs spaced 16 or 24 inches on center, depending on local codes and insulation needs.
- Assemble each wall section with top and bottom plates, studs, and openings for doors and windows.
- Lift the frames into place, secure them to the foundation with anchor bolts, and brace them temporarily.
- Use a level to ensure walls are plumb and square.
- For the roof, choose a design that suits your climate: a gable roof sheds snow and rain well, while a shed roof is simpler to build.
- Frame rafters or trusses, installing them with hurricane ties for wind resistance.
- From "Fine Homebuilding" for advanced framing techniques that reduce material use and improve insulation.
- Sheathe the walls with OSB or plywood for structural rigidity, and wrap the exterior with house wrap (like Tyvek) to act as a weather barrier.
- Install windows and doors according to manufacturer instructions, sealing gaps with caulk to prevent drafts.
- For roofing, lay down roofing felt over the sheathing, then attach asphalt shingles, metal panels, or corrugated plastic based on durability and aesthetic preferences.
- Ensure proper overhangs (at least 12 inches) to protect walls from water damage.
- This stage sets the shell of your workshop, so take time to align everything precisely.
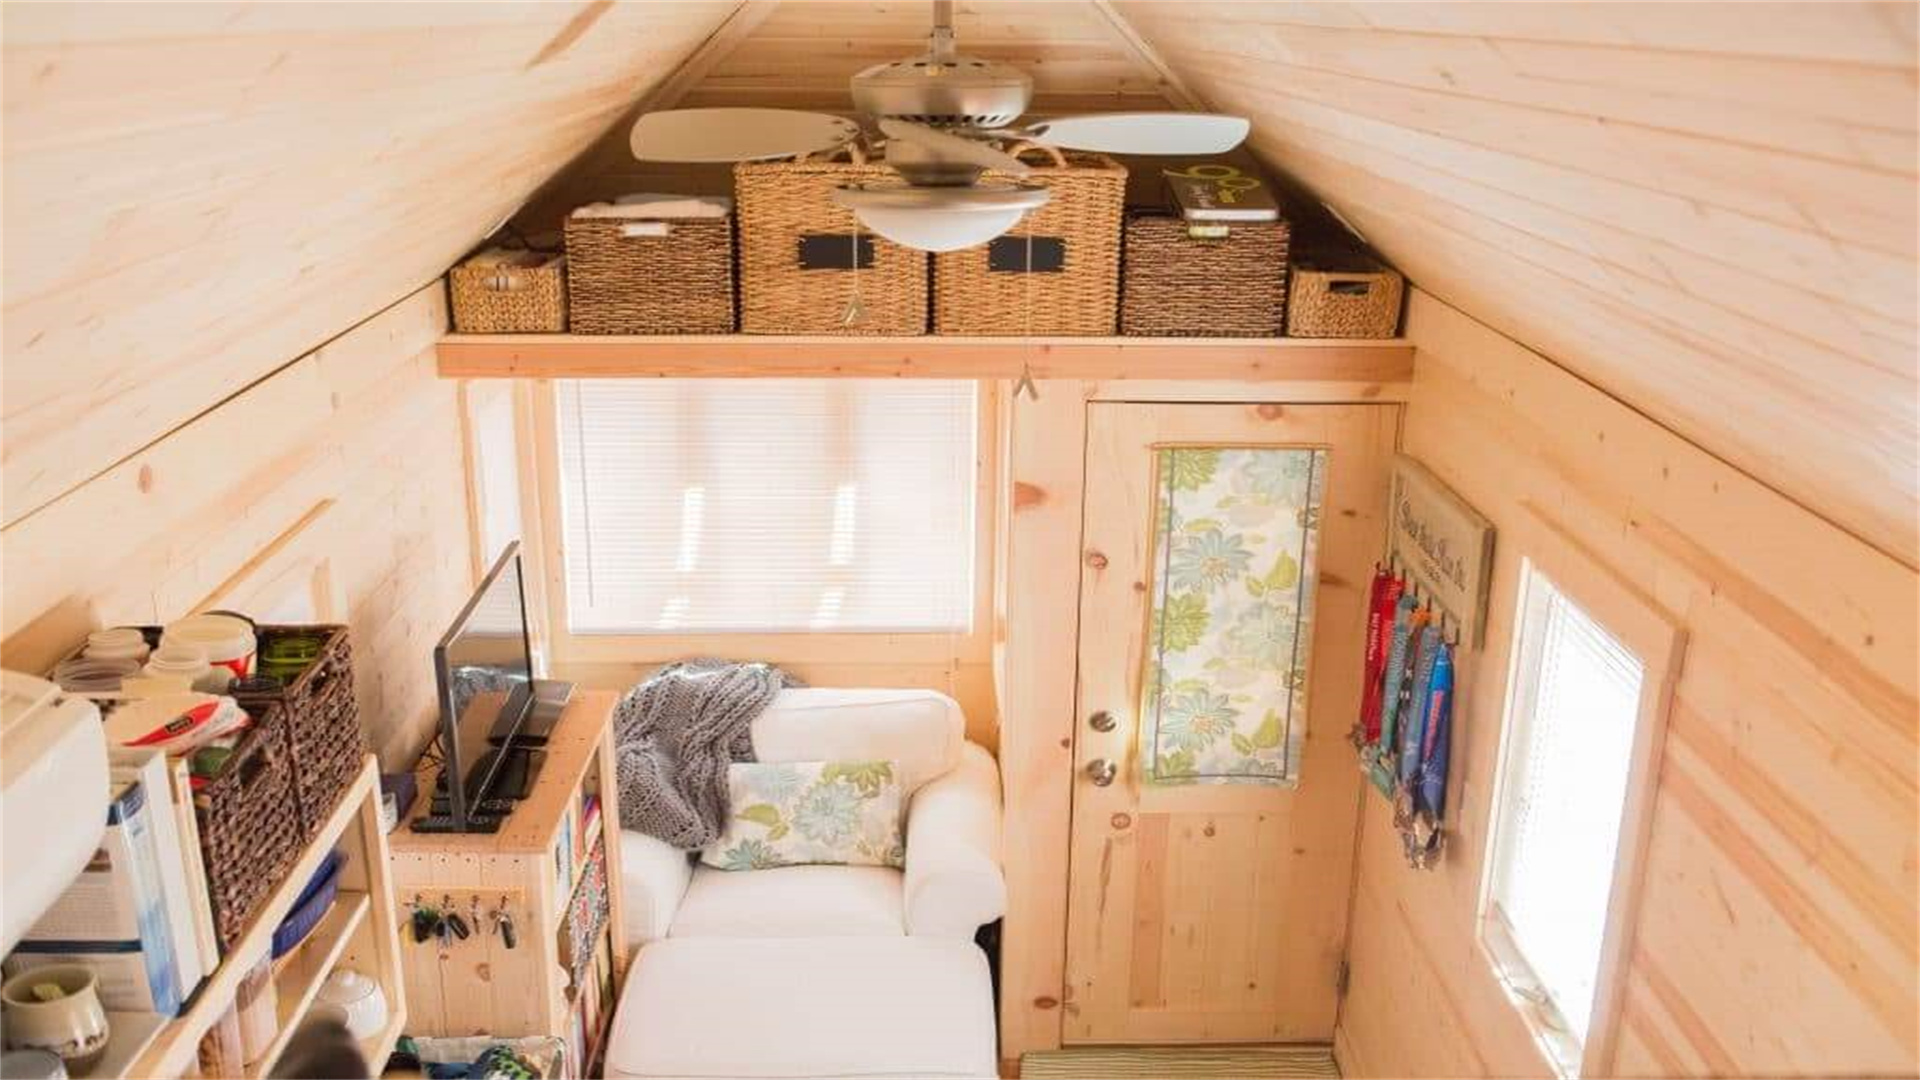
Method 2: Insulating and Interior Finishing
- Insulation is key for year-round comfort and energy savings.
- Use fiberglass batts, spray foam, or rigid foam boards in walls, ceiling, and floor (if applicable).
- For example, in a woodworking shop, aim for an R-value of 13-15 in walls and 30-40 in the ceiling to regulate temperature and reduce noise.
- Install vapor barriers on the warm side (interior in cold climates) to prevent condensation.
- Then, finish the interior with drywall, plywood, or pegboard.
- Drywall offers a clean look but can be prone to damage; plywood is more durable for hanging tools.
- Paint walls with light-colored, washable paint to reflect light and maintain a bright workspace.
- Add electrical rough-ins before closing walls.
- Run wiring through studs for outlets, lights, and switches, following local electrical codes.
- Consider installing a subpanel for easy circuit management.
- For flooring, epoxy coatings or sealed concrete are durable and easy to clean, while interlocking rubber tiles provide cushioning for long standing periods.
- From "Bob Vila" for tips on creating a multi-functional interior that balances functionality and comfort.
- By insulating and finishing thoughtfully, you'll create a workshop that's usable in all seasons.
⚡ Part 4: Installing Utilities and Lighting
A functional workshop requires reliable power, lighting, and possibly plumbing. Proper installation ensures safety and enhances productivity.

Method 1: Electrical System Setup
- Hire a licensed electrician for complex wiring, but if you're experienced, you can DIY with caution.
- Start by running a dedicated circuit from your main house panel to the workshop, using underground conduit (e.g., PVC) for protection.
- Size the wire appropriately: for a 100-amp service, use #2 AWG copper wire.
- Install a subpanel in the workshop with breakers for different zones (e.g., 20-amp circuits for tools, 15-amp for lighting).
- Place GFCI outlets near sinks or wet areas, and use surge protectors for sensitive electronics.
- Plan outlet placement strategically—above workbenches and near large tools to avoid extension cords.
- For lighting, combine ambient, task, and accent lights.
- Install LED ceiling fixtures for general illumination (aim for 100 lumens per square foot), and add under-cabinet or adjustable task lights over workbenches.
- Motion-sensor lights can save energy.
- From "Energy.gov" for efficient lighting designs in workshops.
- Test all connections before closing walls, and have the system inspected by local authorities if required.
- A robust electrical system powers your tools safely and efficiently.

Method 2: Plumbing and Climate Control
- If your workshop involves wet tasks (e.g., painting or plumbing projects), consider adding a sink with basic plumbing.
- Run water lines from your home, insulating them to prevent freezing, and install a drain tied to your septic system or a dry well.
- For simpler needs, a portable water jug and basin may suffice.
- Climate control is vital for comfort: install a mini-split HVAC system for heating and cooling, or use space heaters and fans for budget options.
- Ensure adequate ventilation with exhaust fans or windows that open to remove fumes and dust.
- Additionally, set up a dust collection system for woodworking shops.
- Use a central vacuum or portable dust extractor with hoses connected to tools.
- This improves air quality and reduces cleanup time.
- Resources like "Wood Magazine" for detailed plumbing and HVAC plans tailored to workshops.
- By integrating utilities, you'll create a self-sufficient space that supports diverse projects.
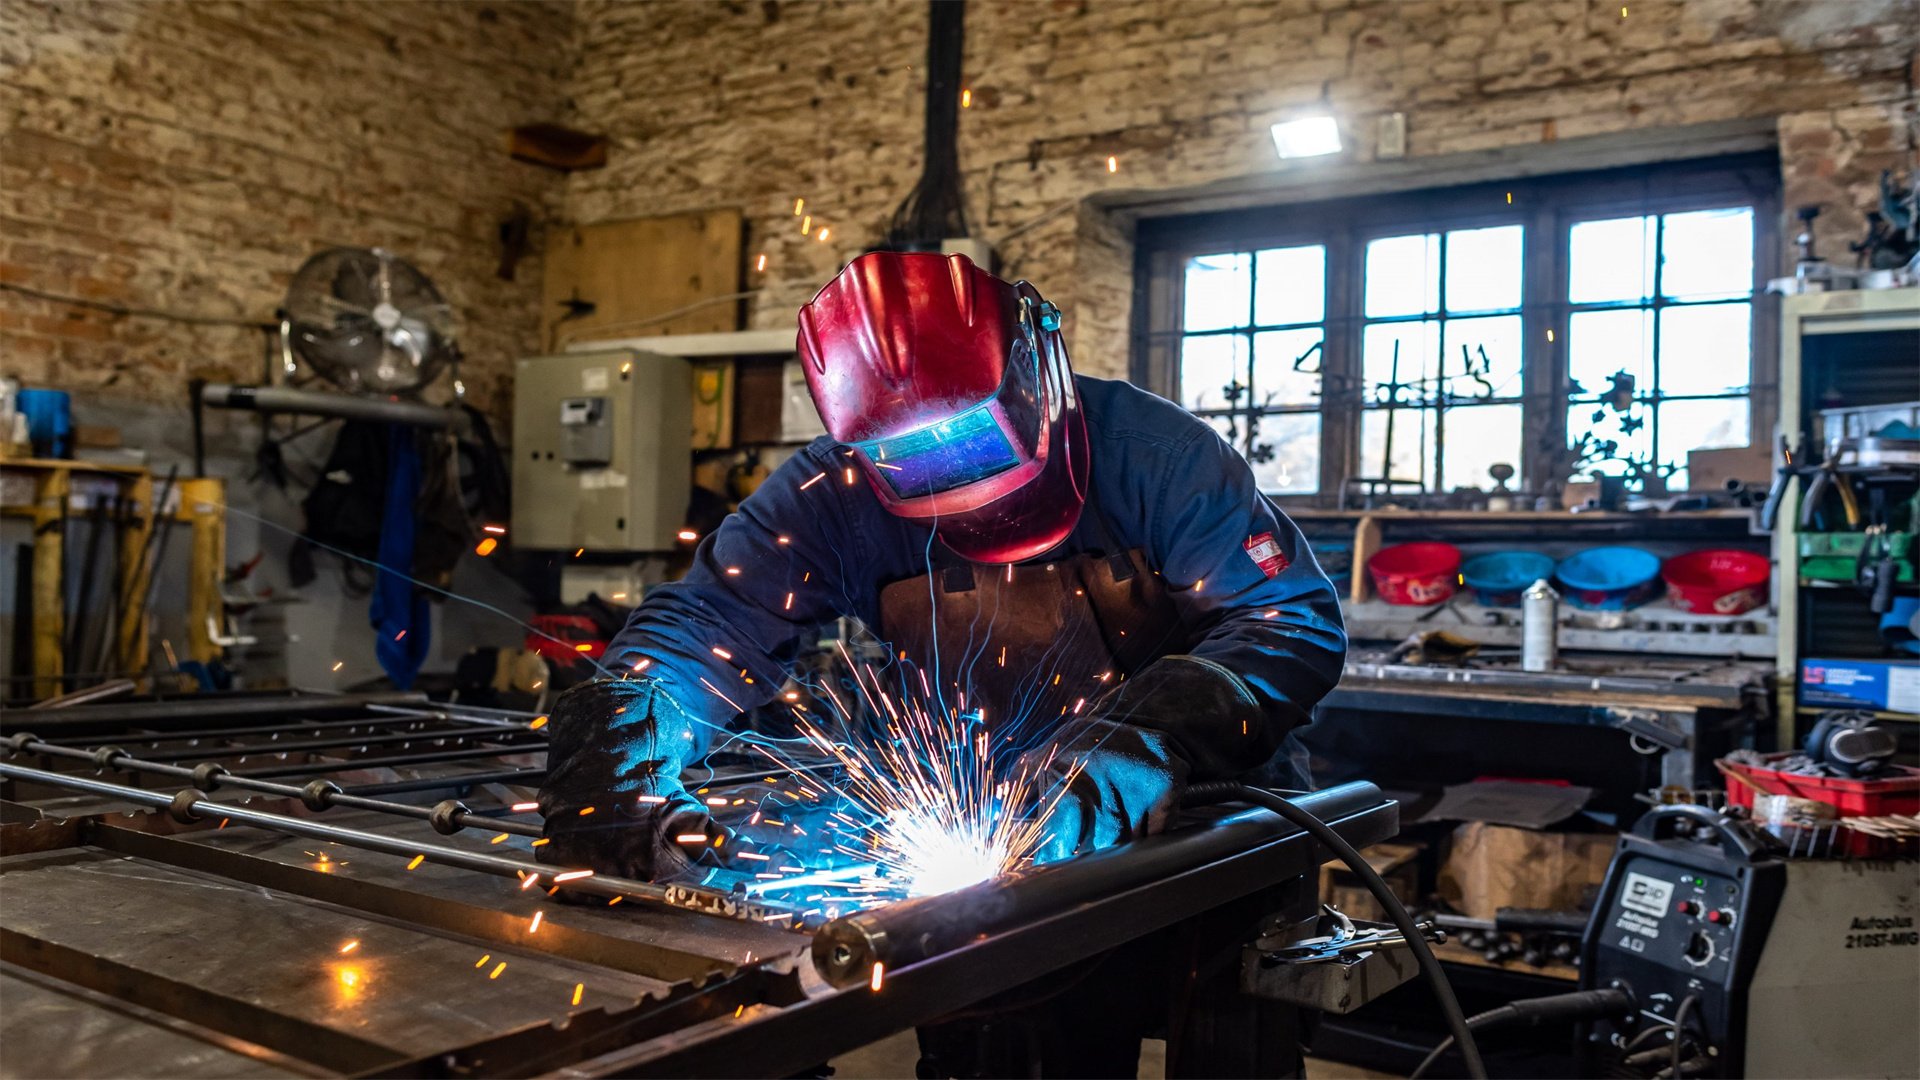
🔧 Part 5: Equipping Your Workshop with Tools and Storage
Outfitting your workshop with the right tools and storage solutions turns an empty shell into a productive hub. Focus on quality, organization, and safety.
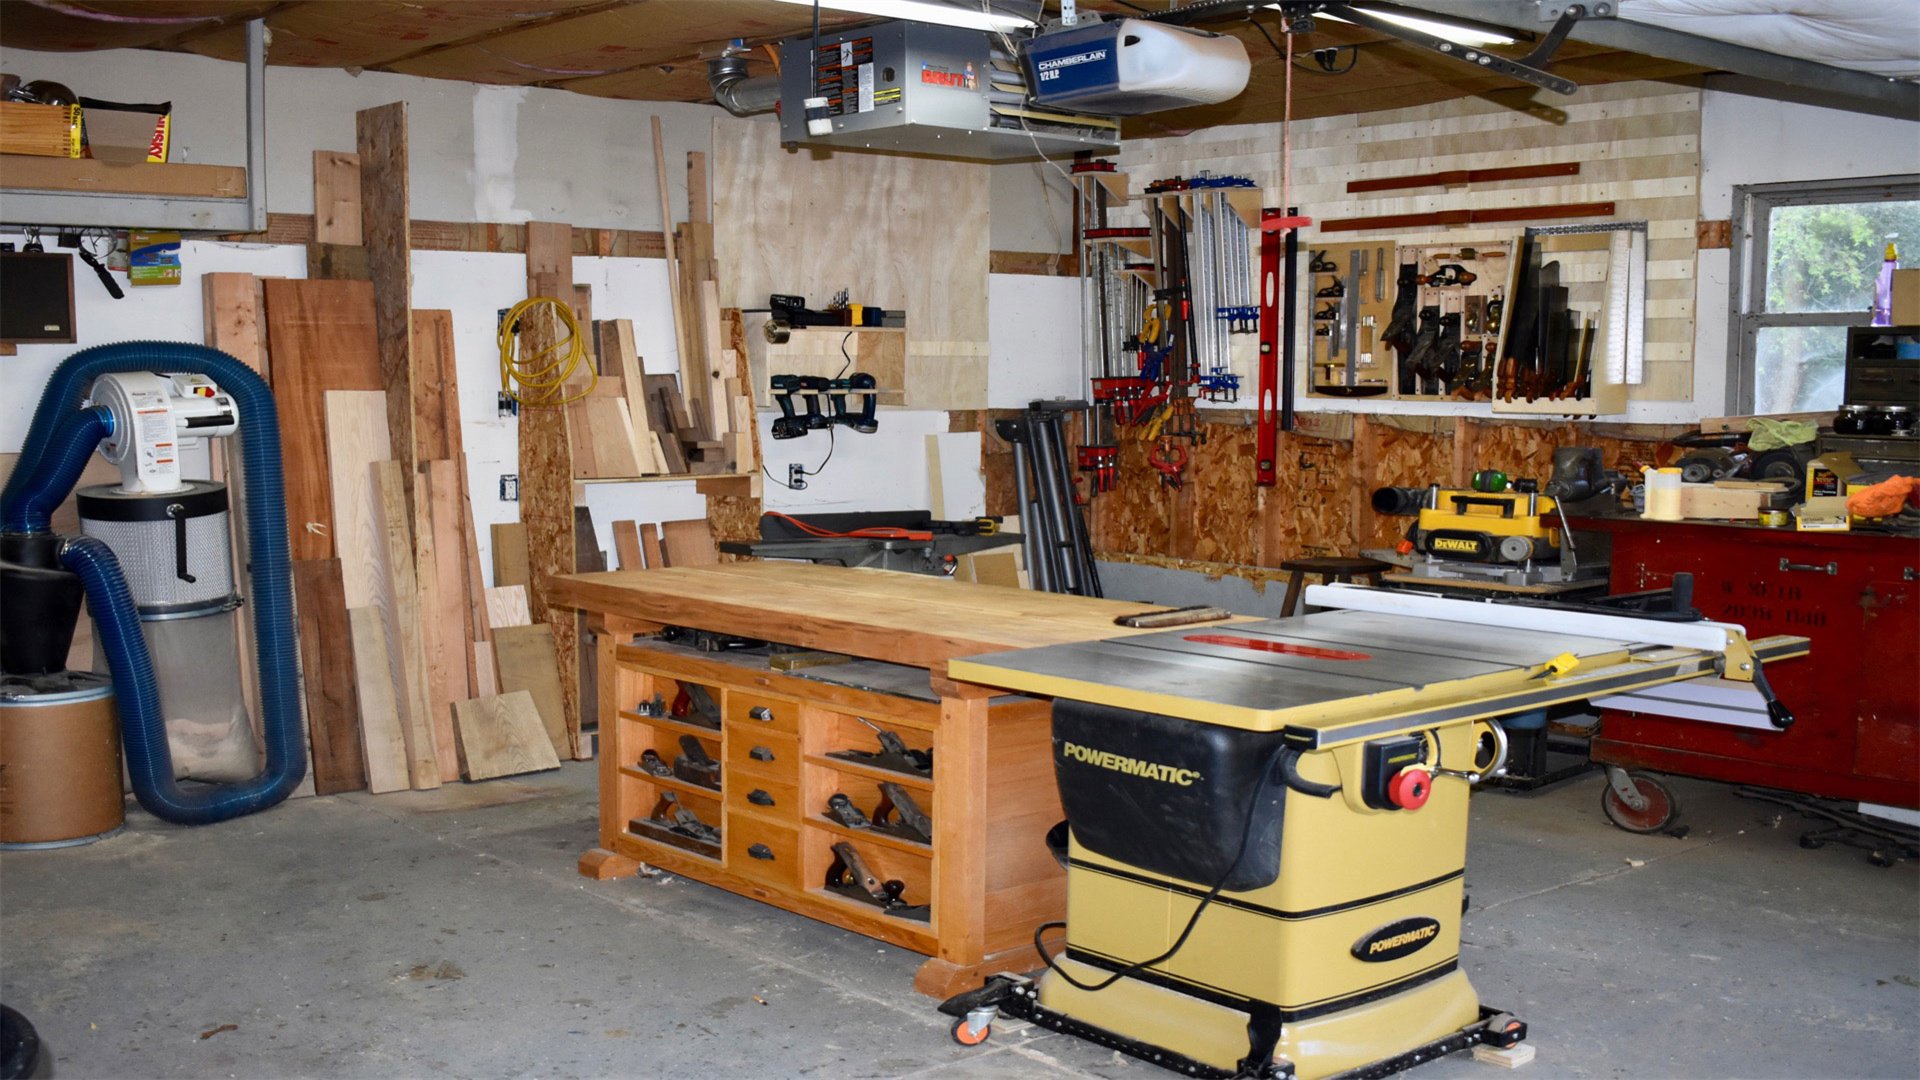
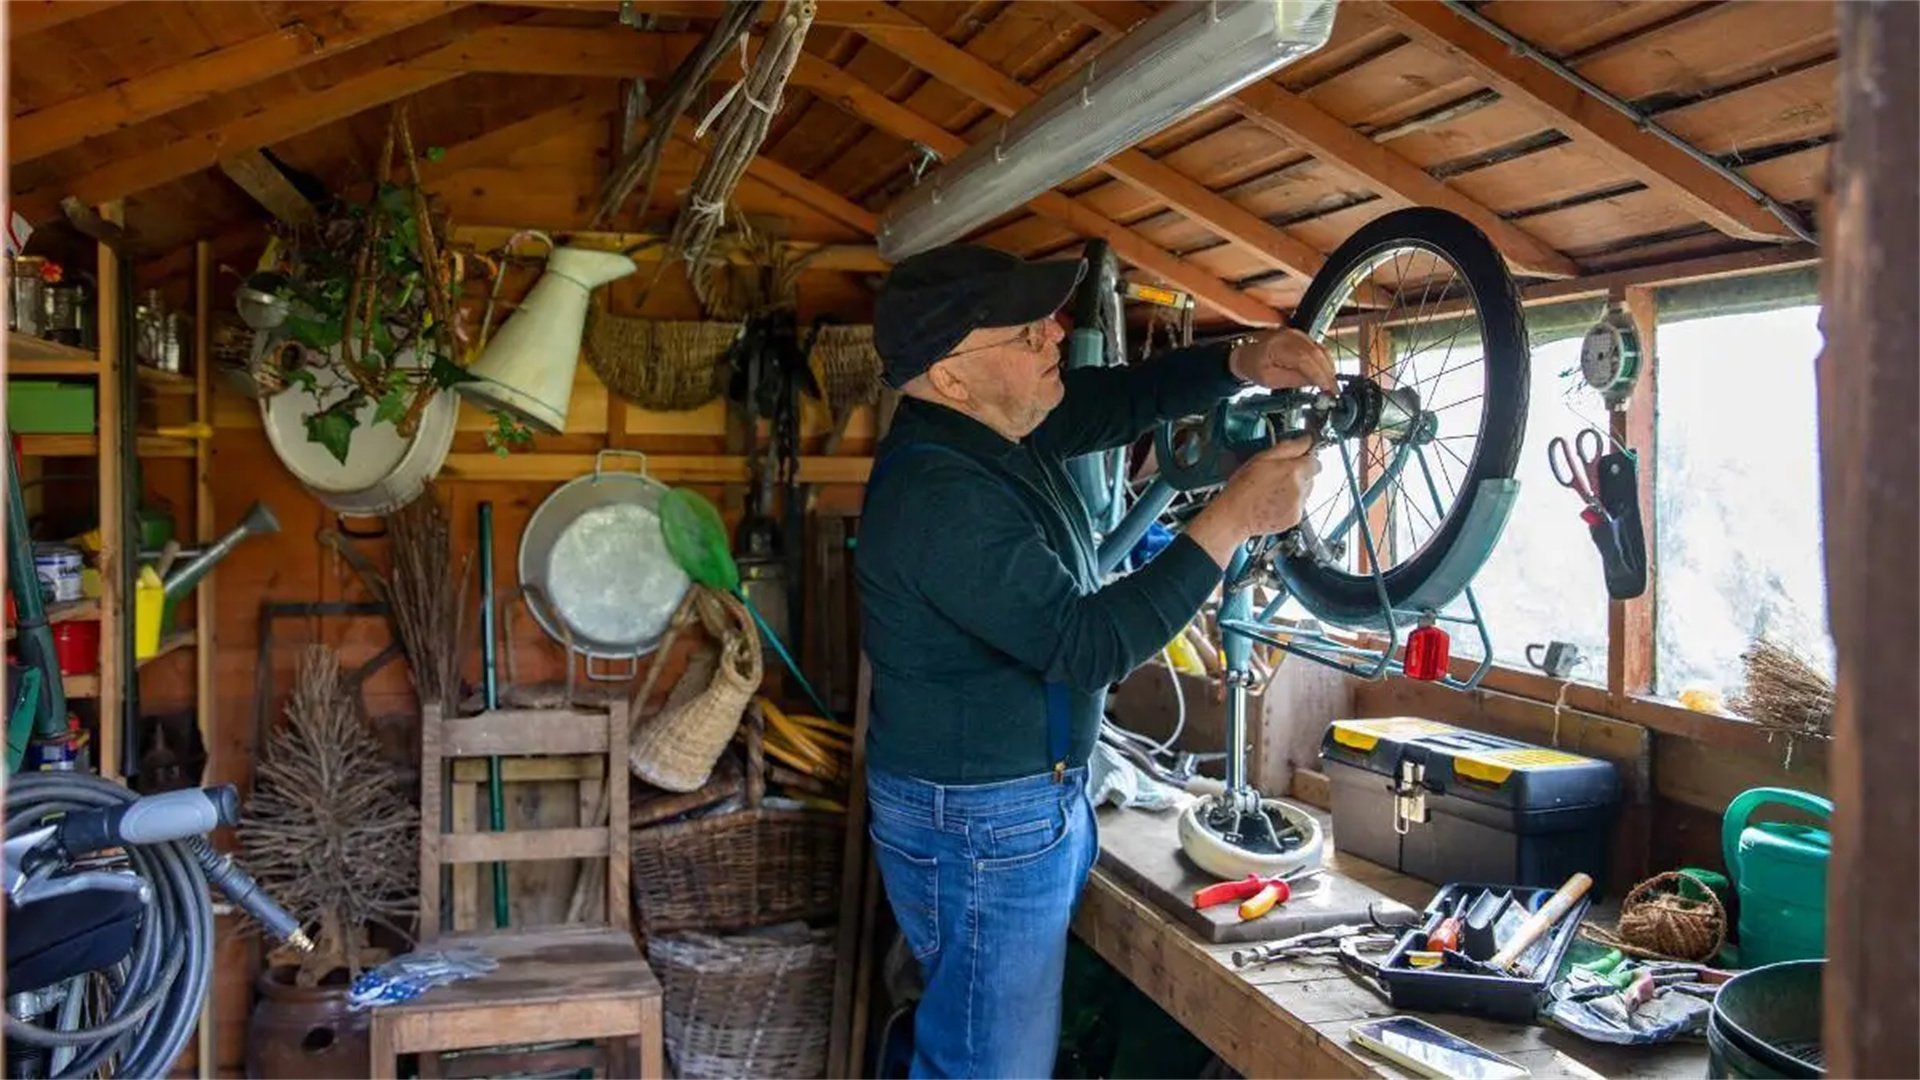
Method 1: Selecting Essential Tools
- Start with core tools based on your hobbies.
- For a general workshop, include a circular saw, drill/driver, sander, and measuring tools.
- For woodworking, add a table saw, miter saw, and planer.
- Invest in quality brands like DeWalt or Bosch for durability.
- Consider second hand tools from platforms like Craigslist to save money, but inspect them thoroughly.
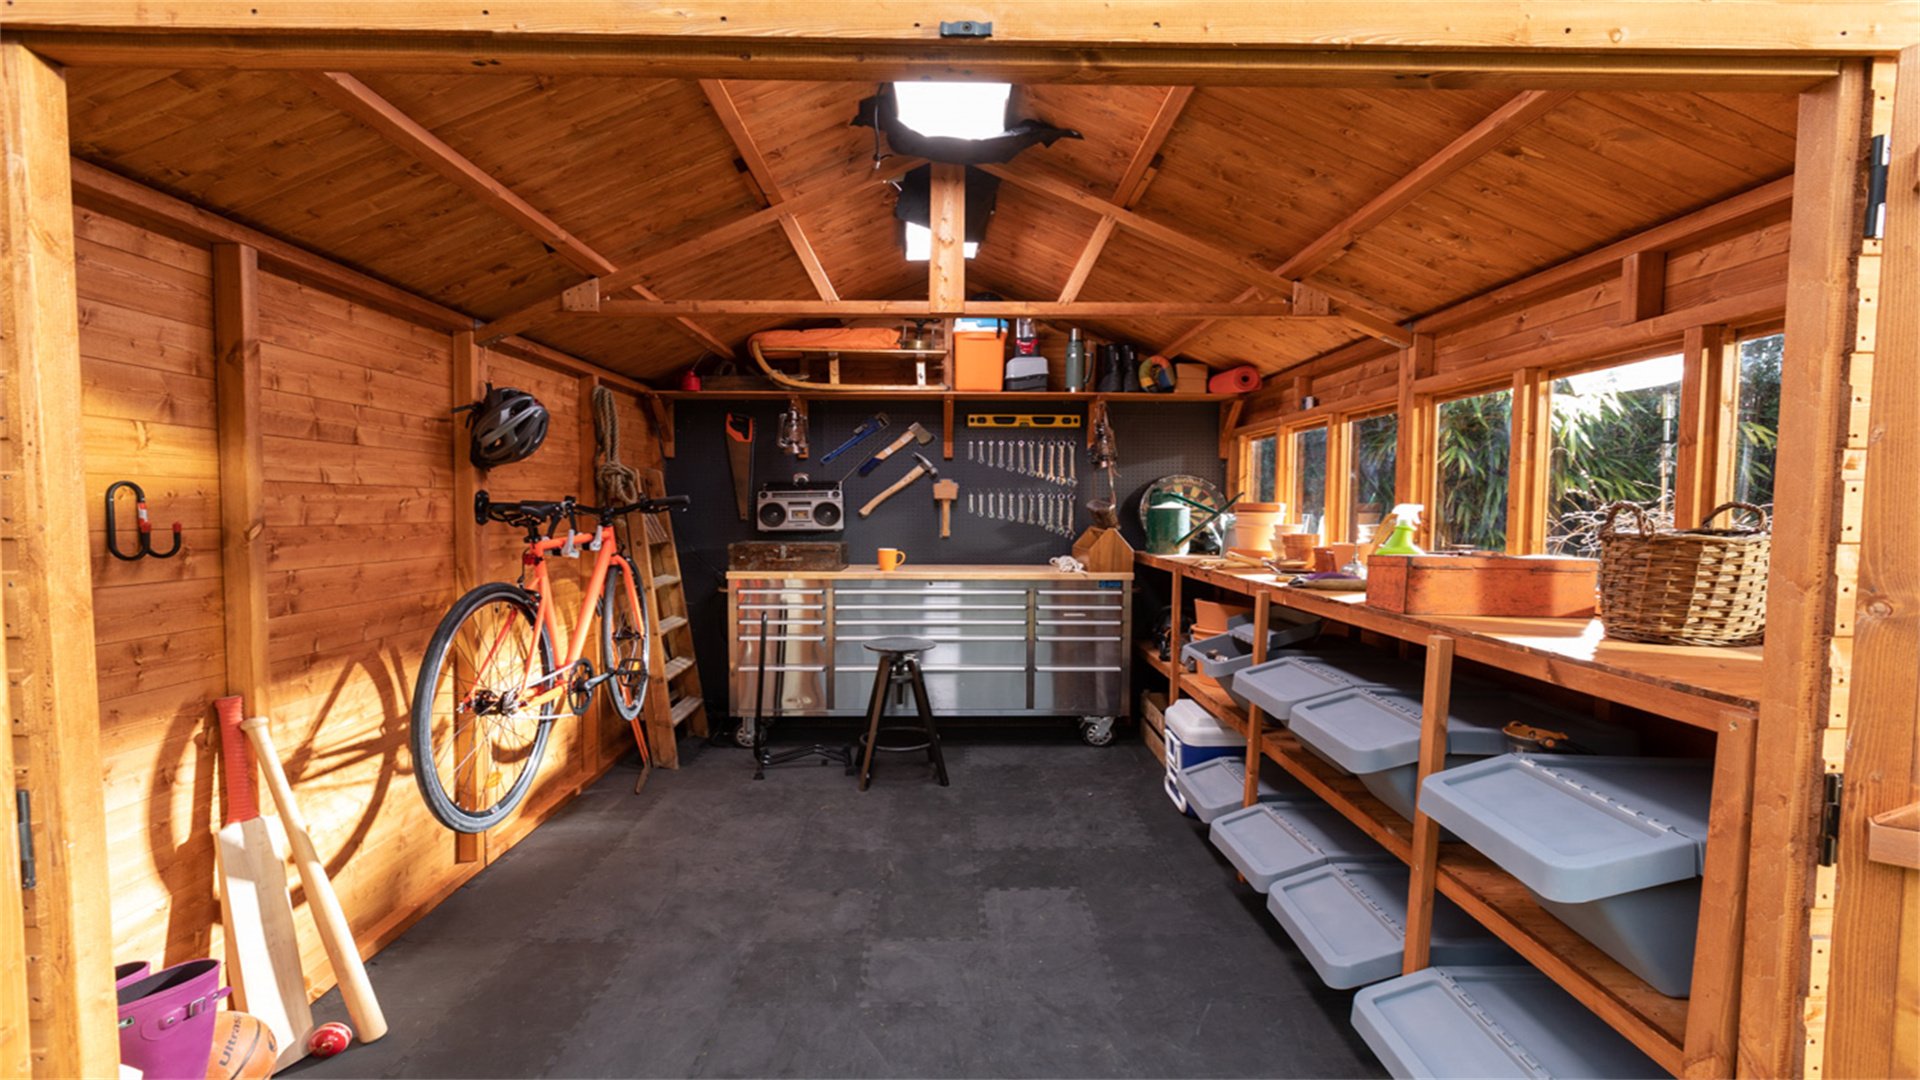
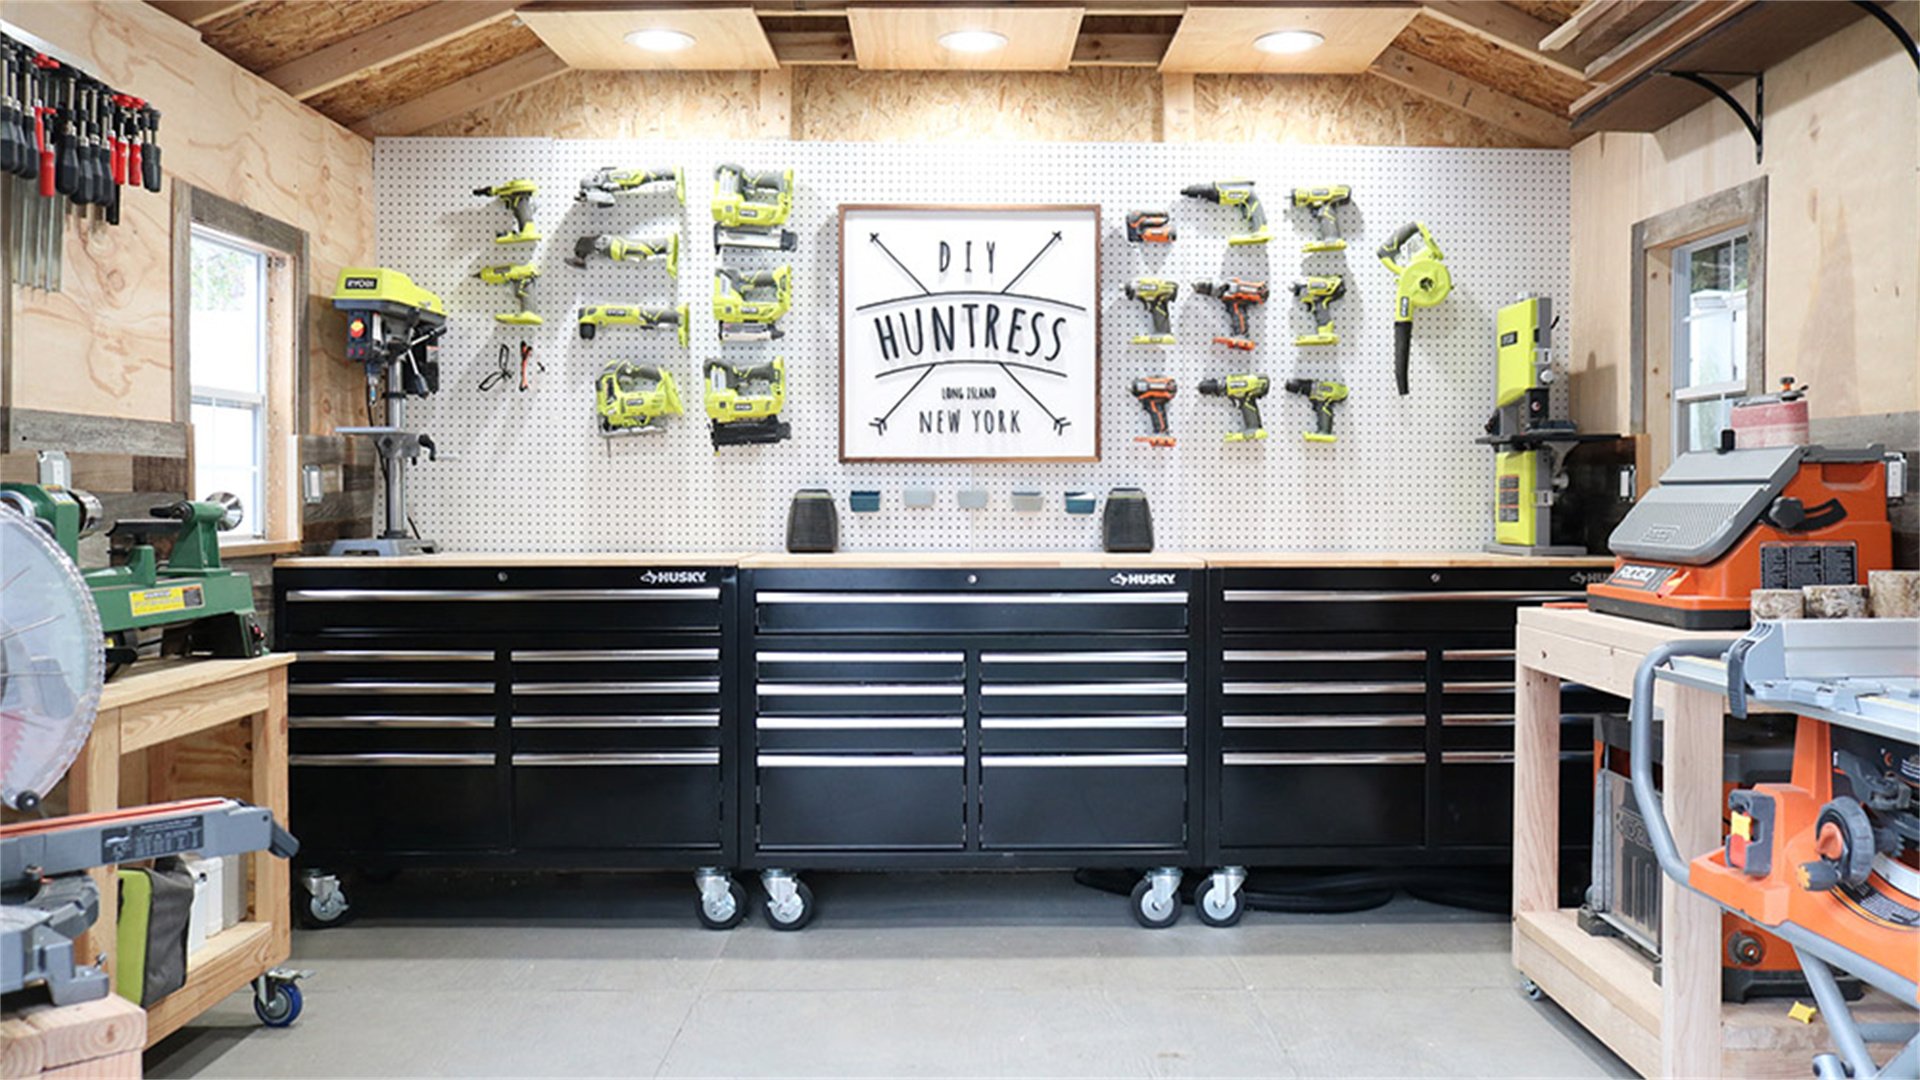
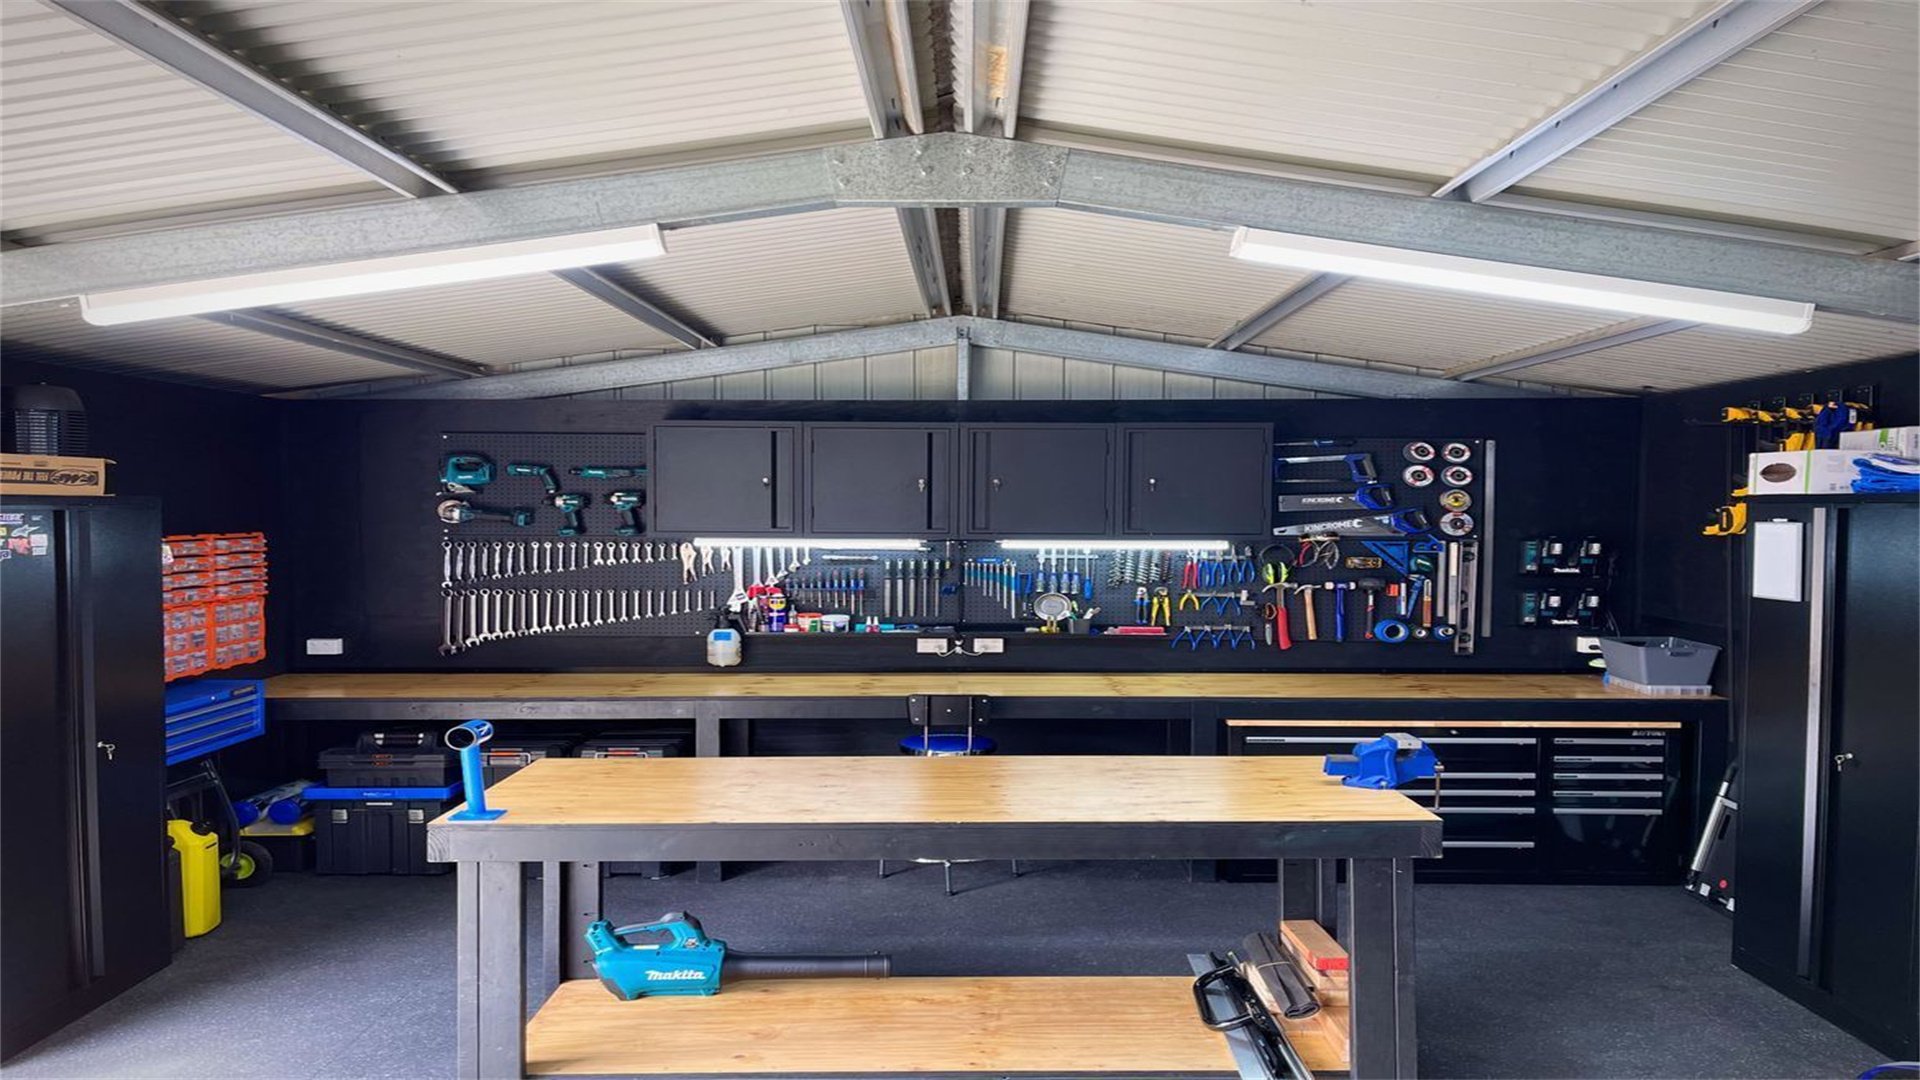
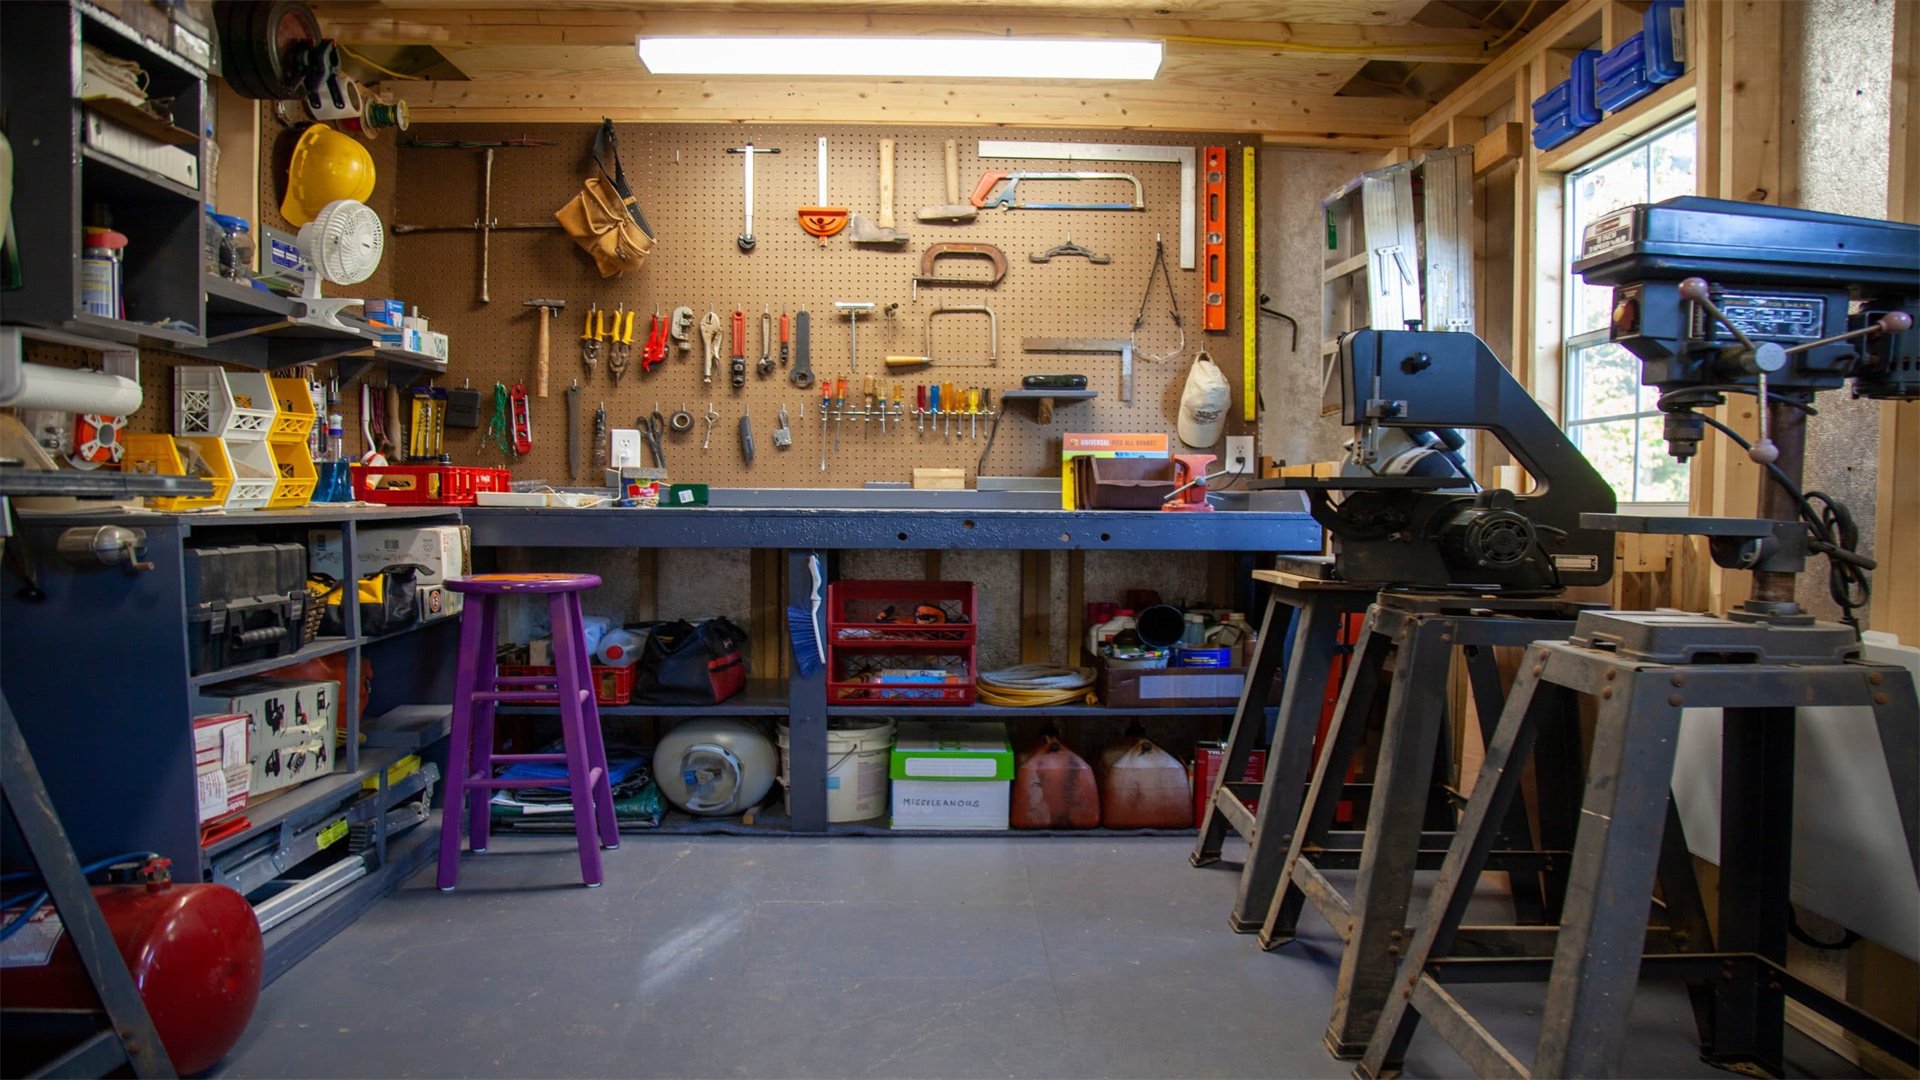
- Organize tools on pegboards, wall racks, or in labeled bins for easy access.
- Implement a tool maintenance routine—clean blades regularly and lubricate moving parts—to extend their lifespan.
- For specialized tasks, reviews from "Tool Box Buzz" or "Pro Tool Reviews" to compare options.
- Also, include safety gear: safety glasses, hearing protection, and respirators.
- By curating a tailored tool collection, you'll be prepared for any project that comes your way.

Method 2: Maximizing Storage and Organization
- Efficient storage reduces clutter and saves time.
- Build custom cabinets or shelving using plywood for durability.
- Use vertical space with overhead racks for lumber or seasonal items.
- Install a French cleat system for flexible tool hanging.
- For small parts, use drawer organizers or clear jars.
- Label everything clearly to maintain order.
- Incorporate mobile storage, such as rolling carts, to adapt to different projects.
- Designate zones for specific activities.
- A clean area for assembly, a dirty zone for cutting, and a finishing area with ventilation.
- Workshop tours on YouTube for creative storage ideas.
- By organizing systematically, you'll keep your workshop tidy and efficient, boosting productivity.
🛡️ Part 6: Ensuring Safety and Maintenance
A safe workshop is a functional one. Implement measures to prevent accidents and maintain your space for longevity.
Method 1: Implementing Safety Protocols
- Install fire extinguishers (ABC type) near exits and flammable material storage.
- Set up a first-aid kit with bandages and antiseptics.
- Ensure good lighting to avoid tripping hazards, and keep floors clear of debris.
- Use tool guards and push sticks for saws, and always unplug tools when not in use.
- Post safety signs for emergency procedures.
- Regularly inspect electrical cords for damage and replace them if frayed.
- For dust and fume management, wear respirators and use dust collectors.
- Safety standards from OSHA (Occupational Safety and Health Administration) for guidelines.
- Conduct safety drills with family members if they use the workshop.
- By prioritizing safety, you'll create a secure environment for all users.
Method 2: Ongoing Maintenance Tips
- Maintain your workshop by cleaning it weekly.
- Sweep floors, wipe down surfaces, and empty dust collectors.
- Check the roof and walls for leaks seasonally, and reseal any cracks.
- Lubricate door hinges and window tracks to ensure smooth operation.
- Test smoke detectors and fire extinguishers monthly.
- Update tools and storage as needed to accommodate new projects.
- Plan for upgrades, such as adding solar panels for off-grid power or expanding the structure.
- Maintenance blogs for seasonal checklists.
- By staying proactive, you'll preserve your workshop's functionality and value for years to come.
🎯 Conclusion
Building a functional workshop in your backyard is a multifaceted project that requires careful planning, construction, and outfitting. By following the methods outlined—from assessing needs and preparing the site to installing utilities and ensuring safety—you can create a personalized space that enhances your DIY endeavors. A well-built workshop not only boosts productivity but also provides a rewarding retreat for creativity. Start small, stay organized, and enjoy the process of crafting your own backyard haven. With dedication and this guide, you'll soon have a workshop that stands the test of time and fuels your passions.