Building a Cabin Storage Loft to Maximize Vertical Space
In the world of cabin living, space optimization is not just a luxury—it's a necessity. Cabins, often nestled in remote or scenic locations, are typically designed with a focus on simplicity and connection to nature, which can sometimes mean limited square footage. However, one of the most overlooked resources in such settings is vertical space. By building a storage loft, you can dramatically increase your cabin's storage capacity without expanding its footprint. This article provides a comprehensive, step-by-step guide to constructing a cabin storage loft, drawing inspiration from popular DIY and home improvement websites. We'll cover everything from initial planning and design to construction and finishing, ensuring you have the knowledge to create a functional, safe, and aesthetically pleasing loft that maximizes vertical space. Whether you're a seasoned builder or a novice, this guide will help you transform your cabin's unused airspace into a practical storage solution.
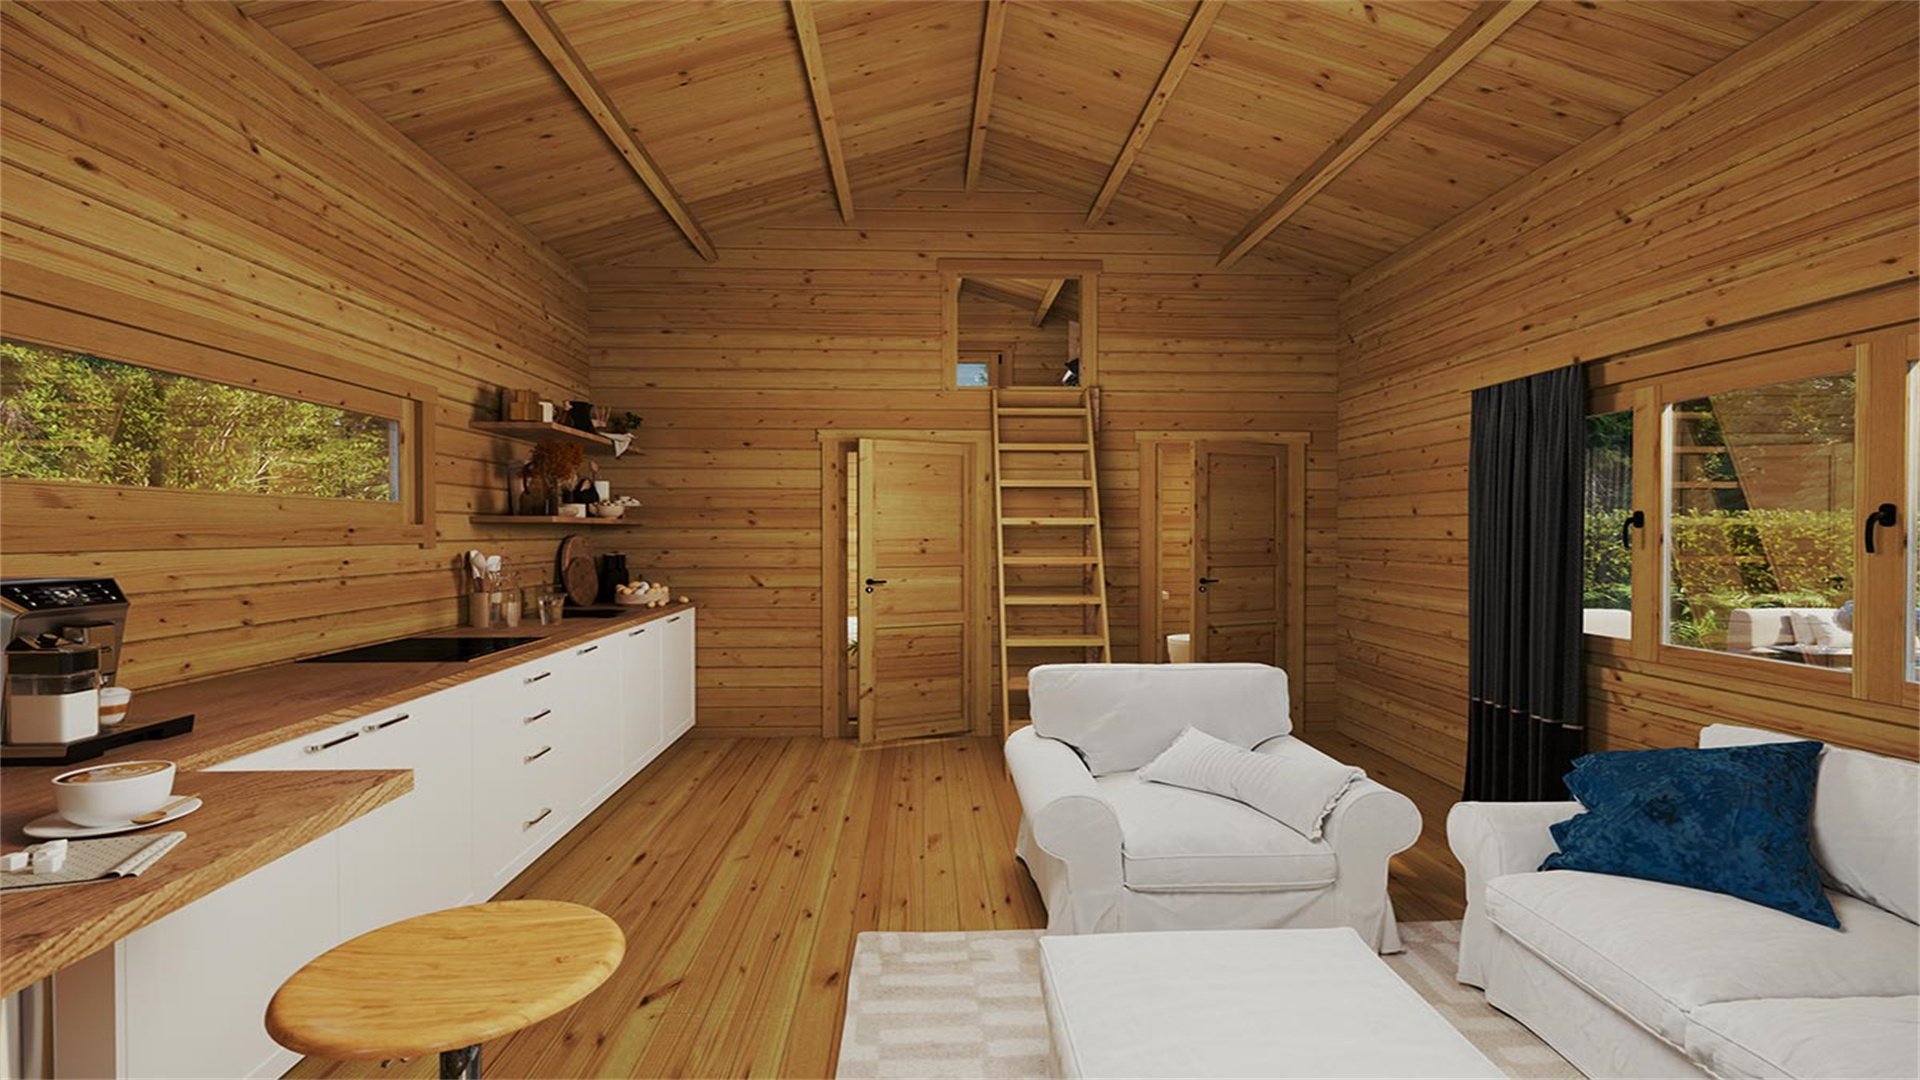
📏 Why Vertical Space Matters in Cabin Design
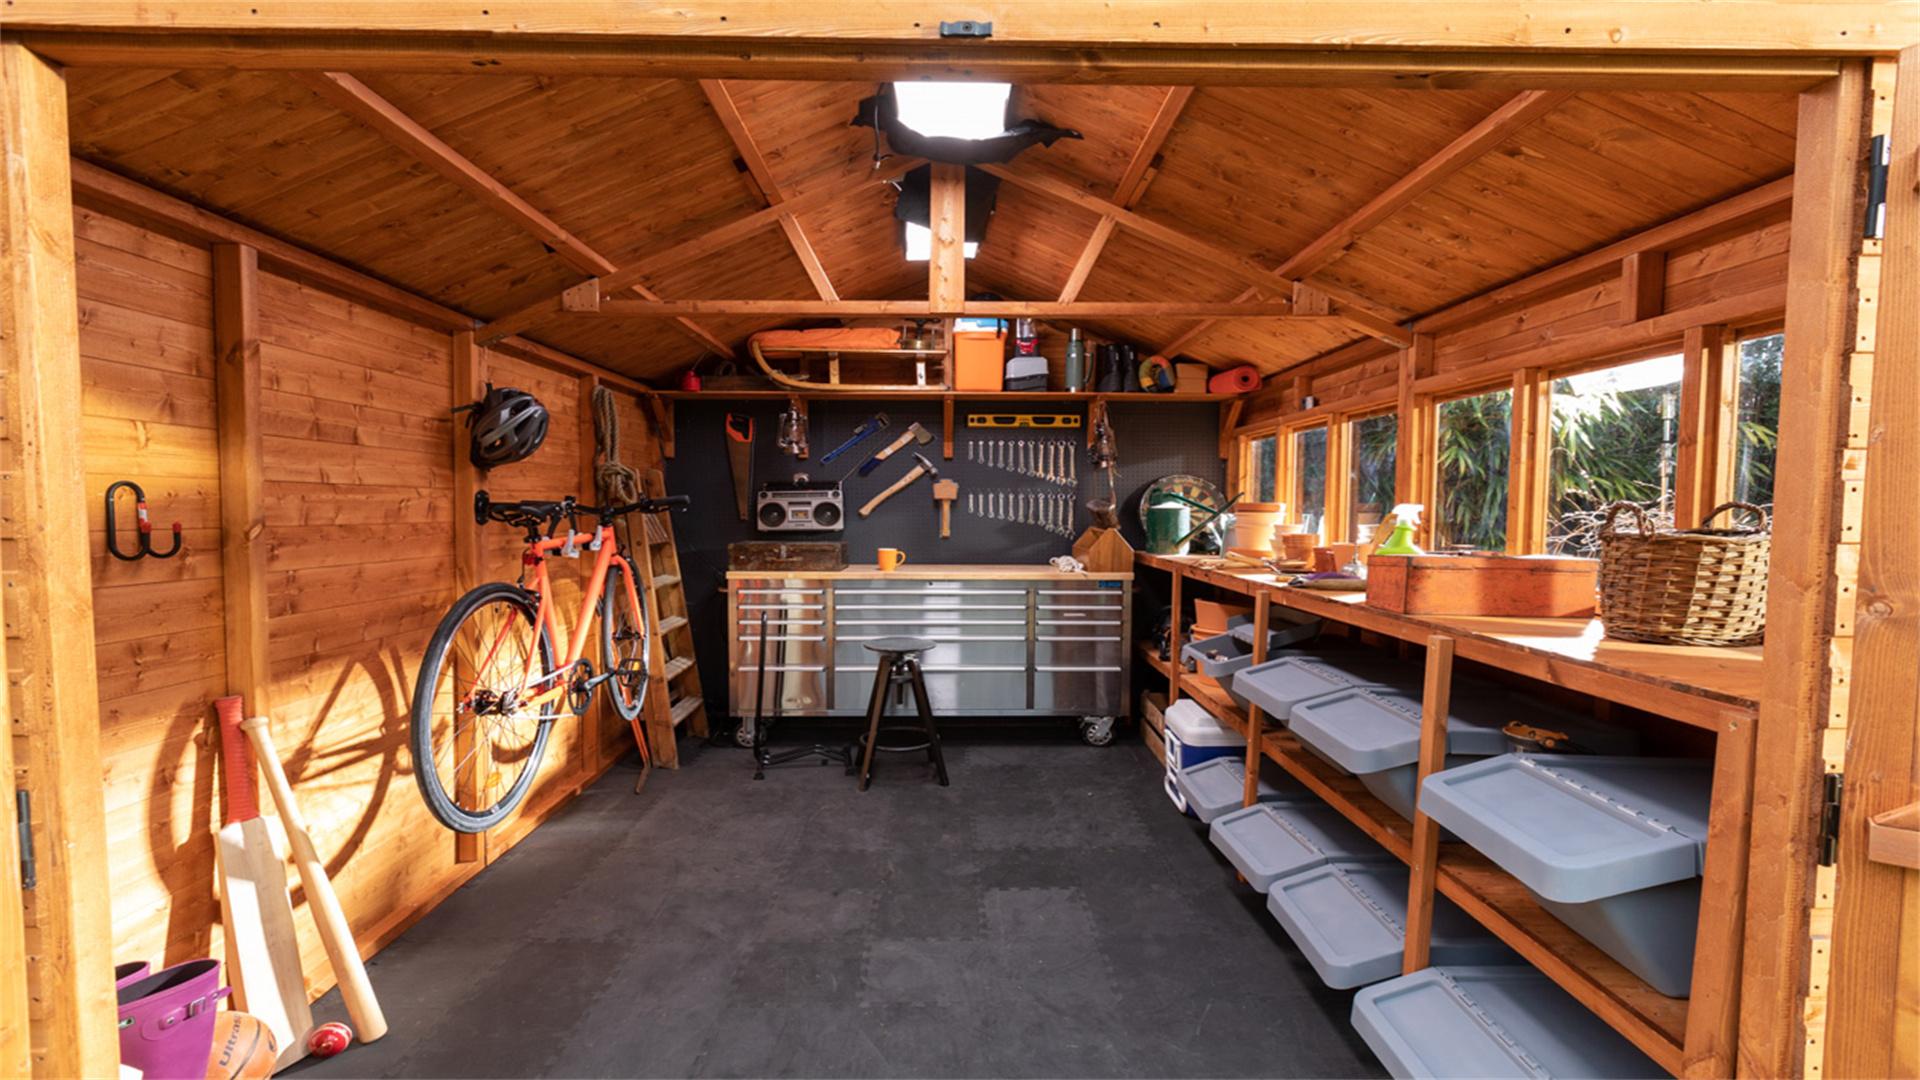
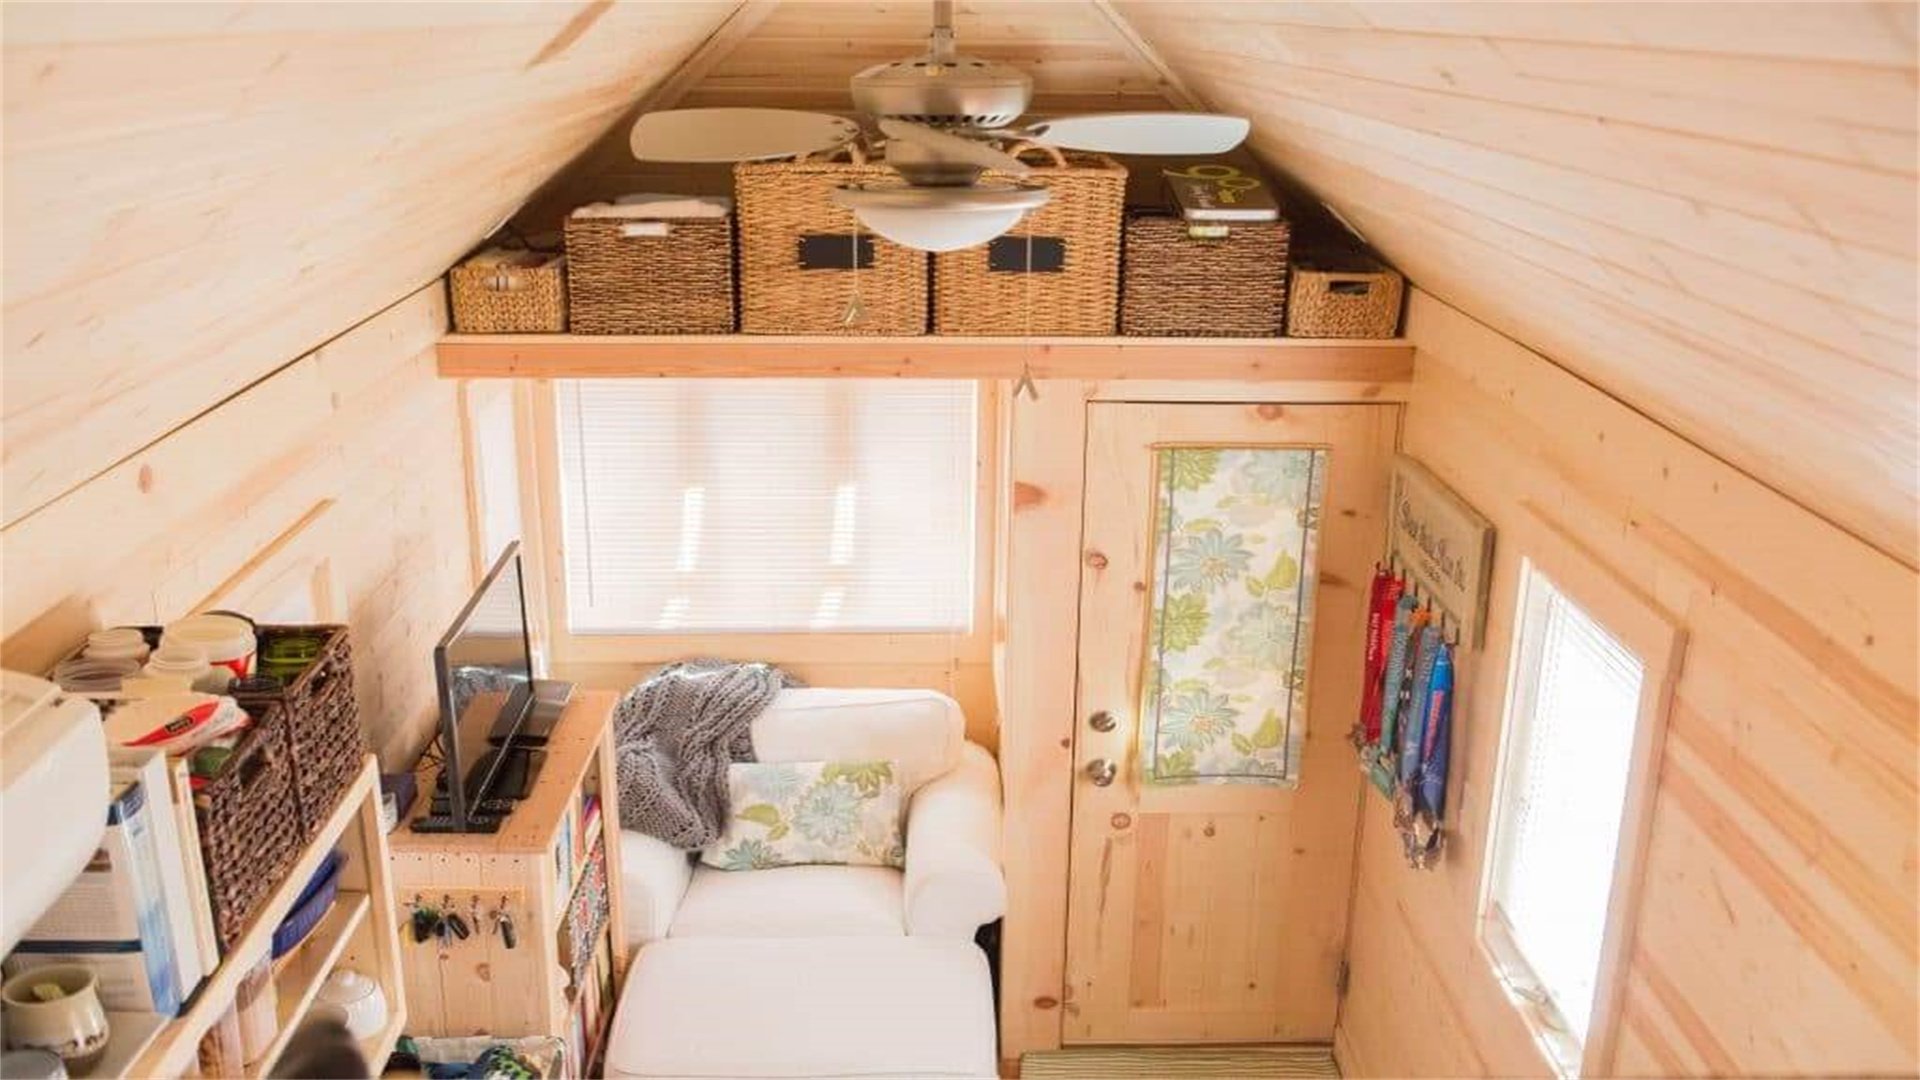
Vertical space is often underutilized in cabin interiors, yet it holds immense potential for enhancing storage and livability. In small cabins, floor space is precious, and cluttering it with storage items can detract from comfort and functionality. By looking upward, you can free up the floor for living areas, furniture, and movement. A storage loft leverages the cabin's height, typically ranging from 8 to 12 feet, to create an additional level for storing seasonal gear, tools, luggage, or other belongings. This approach not only reduces clutter but also improves organization, making your cabin feel more spacious and inviting. Moreover, from an architectural perspective, vertical storage can add visual interest and character, complementing rustic or modern cabin aesthetics. Studies from interior design experts show that effective use of vertical space can increase perceived room size by up to 30%, making it a smart strategy for cabin owners. By building a loft, you're not just adding storage—you're enhancing the overall cabin experience.
📐 Planning and Designing Your Storage Loft
Before you pick up a hammer, thorough planning is essential to ensure your loft is safe, functional, and integrated with your cabin's structure. This phase involves assessing your space, designing the loft, and considering factors like load capacity and access. We'll break this down into specific methods, each combining practical steps with scientific insights to help you make informed decisions.
Method 1: Assessing Your Cabin's Structural Parameters
- Start by evaluating your cabin's existing structure. Measure the ceiling height, wall strengths, and any obstructions like beams, vents, or light fixtures. Use a tape measure and laser level for accuracy.
- It's crucial to understand the load-bearing capacity of your walls and ceiling joists; consult building codes or a structural engineer if needed. For example, standard cabin walls can typically support 40-50 pounds per square foot, but this varies based on materials and construction.
- Additionally, consider the cabin's foundation—lofts add weight, so ensure the floor below can handle the extra load. This assessment helps prevent structural failures and ensures safety.
Advantages
- Prevents structural failures and ensures safety.
- Provides a solid foundation for accurate planning and design.
Disadvantages
- May require professional consultation, adding to cost.
- Time-consuming due to detailed assessment.
Method 2: Designing for Optimal Space Utilization
- Design your loft based on your storage needs and cabin layout. Sketch a blueprint, including dimensions, support points, and access methods. Popular designs include a simple platform loft attached to walls, a freestanding loft with columns, or a suspended loft using cables for a modern look.
- Incorporate scientific knowledge by applying principles of physics: distribute weight evenly to avoid stress points, and use triangular bracing for stability.
- Also, factor in ventilation and lighting; lofts can trap heat, so include gaps or fans for air circulation. Design software like SketchUp or even hand-drawn plans can visualize the final product, helping you spot potential issues early.
Advantages
- Optimizes space usage and functionality.
- Enhances stability and safety through scientific principles.
Disadvantages
- Design process can be complex for beginners.
- May require learning design software.
Method 3: Selecting Materials Based on Durability and Aesthetics
- Choose materials that balance strength, weight, and appearance. Wood is a common choice for cabins due to its rustic appeal and workability. Opt for pressure-treated lumber for framing to resist moisture and insects, and use plywood or oriented strand board (OSB) for the decking.
- From a scientific perspective, understand material properties: for instance, Douglas fir has high tensile strength, making it ideal for beams, while pine is lighter for decorative elements.
- Also, consider fasteners; use lag screws or bolts instead of nails for better load distribution. This method ensures your loft is both sturdy and long-lasting.
Advantages
- Ensures durability and longevity of the loft.
- Combines aesthetics with functionality.
Disadvantages
- Higher quality materials can be more expensive.
- Requires knowledge of material properties for optimal selection.
🛠️ Materials and Tools Required for Construction
Gathering the right materials and tools is critical for a smooth build. Here's a detailed list to get you started, along with explanations of why each item matters.
Materials
- Lumber: 2x4s or 2x6s for framing, depending on span length. Calculate quantities based on your design; for a 8x10-foot loft, you might need 20-30 pieces.
- Decking: 3/4-inch plywood or OSB sheets for the floor surface. Choose exterior-grade if humidity is a concern.
- Fasteners: 3-inch wood screws, lag bolts, and metal brackets for reinforcement. Use corrosion-resistant options for durability.
- Supports: 4x4 posts for vertical supports, if needed, and joist hangers for secure connections.
- Finishing materials: Sandpaper, wood stain, or paint to protect and beautify the loft.
- Safety features: Railing materials (e.g., balusters and handrails), non-slip tape, and ladder components.
Tools
- Measuring tools: Tape measure, level, and chalk line for accurate markings.
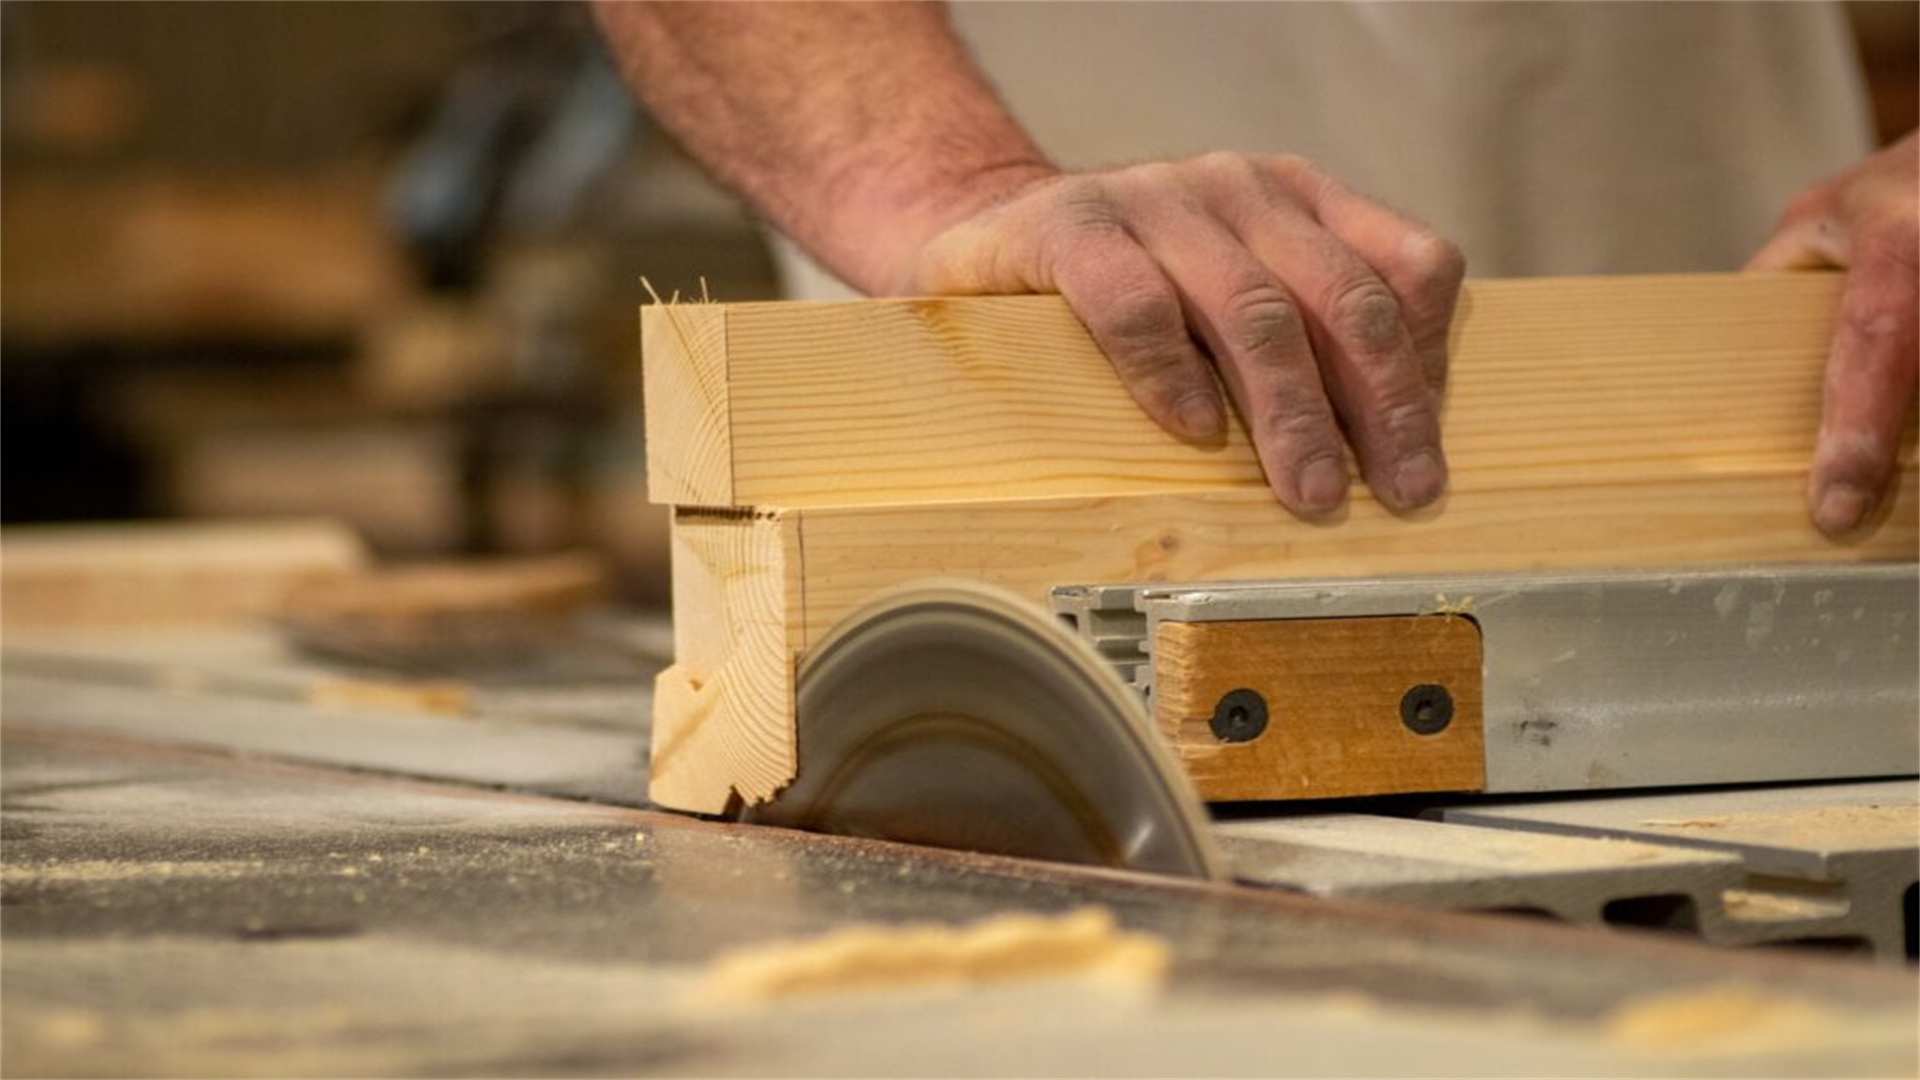
- Cutting tools: Circular saw or miter saw for cutting lumber to size.
- Fastening tools: Drill/driver with bits, hammer, and wrench set.
- Safety gear: Safety goggles, gloves, and a hard hat when working overhead.
- Other: Ladder or scaffolding, stud finder, and clamps for holding pieces in place.
Invest in quality tools—they improve precision and reduce effort. For example, a cordless drill with variable speed allows for controlled screw driving, preventing wood splitting.

🔨 Step-by-Step Construction Process
Now, let's dive into the actual construction. This section outlines a detailed, methodical approach to building your storage loft, divided into clear steps with embedded tips and scientific insights. Follow these in order to ensure a successful build.
Step 1: Preparing the Workspace and Marking Layout
- Clear the area below the loft site of all furniture and debris.
- Using your design plans, mark the loft's perimeter on the walls and ceiling with a pencil and level.
- Locate wall studs using a stud finder—this is where you'll attach supports.
- Apply scientific knowledge by understanding wall anatomy: studs are typically spaced 16 or 24 inches apart, and anchoring into them provides maximum strength.
- Double-check measurements to avoid errors that could compromise the loft's alignment.
Step 2: Installing the Ledger Boards and Frame
- Ledger boards are horizontal beams attached to walls that support the loft's frame. Cut 2x6 lumber to length and secure them to the studs with lag bolts, ensuring they are level.
- Then, build the floor frame: assemble a rectangular grid of joists (2x4s or 2x6s) spaced 16 inches apart, connecting them with joist hangers for added stability.
- Use a combination square to ensure right angles. This step relies on engineering principles; the frame distributes weight across multiple points, reducing stress on any single joint.
- Reinforce corners with metal brackets for extra security.
Step 3: Adding Vertical Supports and Decking
- If your design includes vertical supports, place 4x4 posts at corners or mid-span, securing them to the floor with post bases and to the frame with screws.
- Then, install the decking: cut plywood sheets to fit the frame and attach them with screws every 6-8 inches along the edges.
- Stagger seams for better load distribution. From a materials science perspective, plywood's cross-grained layers provide superior strength compared to solid wood, making it ideal for spanning gaps.
- Ensure all surfaces are flush to prevent tripping hazards.
Step 4: Incorporating Safety and Access Features
- Safety is paramount. Install railings around the loft perimeter using 2x2 balusters and a top rail, ensuring they are at least 36 inches high.
- For access, build or install a fixed ladder or small staircase. Anchor it securely to both the loft and floor.
- Apply scientific knowledge by considering ergonomics: ladder rungs should be spaced 10-12 inches apart for comfortable climbing.
- Add non-slip strips to the loft floor and ladder steps to prevent slips, especially in humid cabin environments.
Step 5: Finishing and Weatherproofing
- Sand all rough edges to smooth the wood, then apply a finish. Use a stain or paint that matches your cabin's decor and provides protection against moisture and UV rays.
- For enhanced durability, consider a polyurethane sealant. This step not only improves aesthetics but also extends the loft's lifespan by preventing rot and warping.
- Additionally, install lighting underneath the loft for visibility—LED strip lights are energy-efficient and easy to mount.

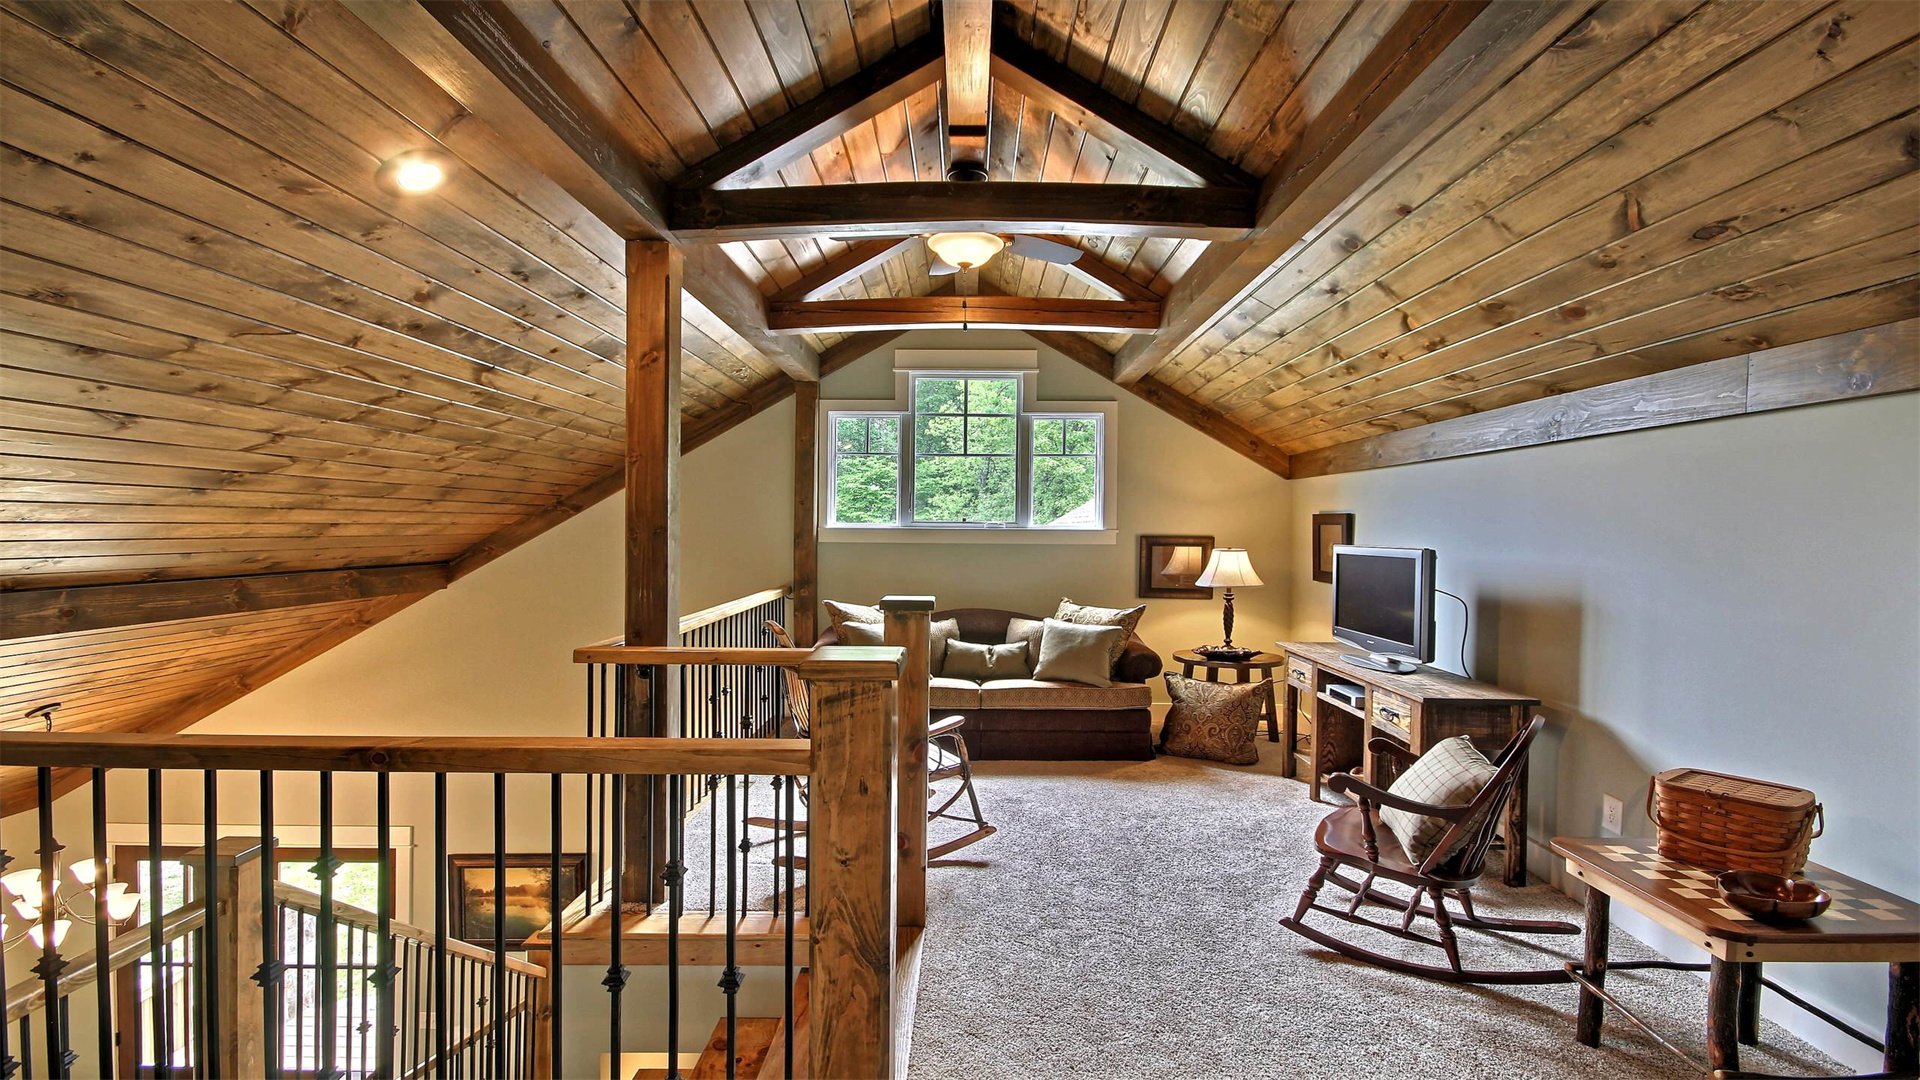
💡 Advanced Tips for Maximizing Vertical Space
Once the basic loft is built, you can optimize it further for efficiency and style. Here are some advanced methods, each combining practical advice with scientific knowledge to enhance your loft's functionality.
Method 1: Integrating Custom Storage Solutions
- Customize the loft with built-in shelves, bins, or hanging racks. Use adjustable shelving brackets to accommodate items of varying sizes.
- From an organizational psychology perspective, labeling storage containers reduces clutter and saves time.
- Also, consider vertical dividers for storing long items like skis or fishing rods, utilizing the full height of the loft space. This method transforms the loft from a simple platform into a highly organized storage system.
Advantages
- Enhances organization and accessibility.
- Maximizes storage efficiency.
Disadvantages
- May require additional materials and construction time.
- Can add complexity to the design.
Method 2: Enhancing Load Capacity with Structural Reinforcements
- If you plan to store heavy items, reinforce the loft. Add cross-bracing between joists or install additional beams below the decking.
- Understand the science of load distribution: spreading weight across a larger area reduces pressure points. For example, placing heavy boxes near walls rather than the center minimizes deflection.
- You can also use stronger materials like steel beams for extreme loads, though this may require professional assistance.
Advantages
- Increases load capacity for heavy storage.
- Improves structural stability.
Disadvantages
- Additional reinforcements can be costly.
- May involve complex construction techniques.
Method 3: Incorporating Multi-Functional Design Elements
- Make your loft serve multiple purposes. For instance, design it with a fold-down desk or seating area underneath, creating a workspace without sacrificing storage.
- Apply principles of spatial design by using light colors and mirrors to make the area feel larger.
- This approach not only maximizes vertical space but also increases the cabin's overall utility, blending storage with living functions seamlessly.
Advantages
- Adds functionality and versatility to the loft.
- Enhances the cabin's livability and aesthetic appeal.
Disadvantages
- Requires careful planning and design.
- May increase construction complexity and cost.

⚠️ Safety Considerations and Maintenance
Building a loft involves risks, so prioritize safety throughout the process. Always wear protective gear and work with a partner when handling heavy materials. Ensure the loft is built to code; consult local regulations for specific requirements, such as minimum railing heights or fire safety measures. After construction, perform regular maintenance: check for loose fasteners, signs of wood rot, or insect damage every six months. From a scientific standpoint, wood expands and contracts with temperature changes, so allow for small gaps in the decking to prevent buckling. Additionally, keep the loft well-ventilated to avoid moisture buildup, which can weaken structures over time.
✅ Conclusion
Building a cabin storage loft is a rewarding project that effectively maximizes vertical space, transforming unused air into valuable storage. By following this guide—from careful planning and design to precise construction and optimization—you can create a loft that is safe, functional, and aesthetically pleasing. Remember to incorporate scientific insights, such as understanding load-bearing principles and material properties, to ensure durability. With your new loft, you'll enjoy a more organized and spacious cabin, making every visit more comfortable and enjoyable. Embrace the vertical potential of your cabin, and start building today to unlock a world of storage possibilities.