Budget-Savvy DIY Storage Solutions for Compact Living Areas
Living in a compact living area often brings about the challenges of limited storage, a tendency for clutter to accumulate quickly, and the constant battle to maintain an organized environment. Whether you're residing in a studio apartment, a tiny house, or simply trying to optimize a small room in your home, the quest to maximize storage while staying within a budget can seem daunting. However, the great news is that with a dash of ingenuity and a willingness to roll up your sleeves and do some DIY work, you can completely transform your space using cost-effective, easy-to-construct storage solutions that have a significant impact.
In this comprehensive guide, I'll delve into a wide array of practical and budget-friendly DIY storage ideas specifically tailored for compact living areas. From ingenious under-sofa storage hacks to versatile multi-tiered shelving systems and innovative use of vertical space, these tips will empower you to organize your space more efficiently, without putting in excessive effort.
Clever Living Room Storage Ideas
1.Under-Sofa Storage Ottomans: Hidden Treasure Trove
One of the most underutilized spaces in a living room is the area beneath the sofa. This empty expanse is ideal for storing items that you don't need on a daily basis but still want to keep within easy reach. Instead of splurging on expensive storage ottomans from furniture stores, consider creating your own.
You can start by finding a sturdy wooden crate or an old trunk that's no longer in use. If the surface is rough, sand it down to create a smooth finish. Then, depending on your preference, you can either paint it a color that complements your living room decor or leave it in its natural state for a rustic look. To make it more functional as an ottoman, add a comfortable cushion on top. You can either make one yourself using foam and fabric or purchase a pre-made cushion that fits the size of your storage container.
For easy mobility, attach small wheels or casters to the bottom of the crate or trunk. This way, you can effortlessly slide it out from under the sofa when you need to access the stored items, such as extra blankets, pillows, or board games. To keep everything organized inside, use fabric dividers or small plastic bins. Label each section clearly so you can quickly find what you're looking for without having to rummage through the entire container.
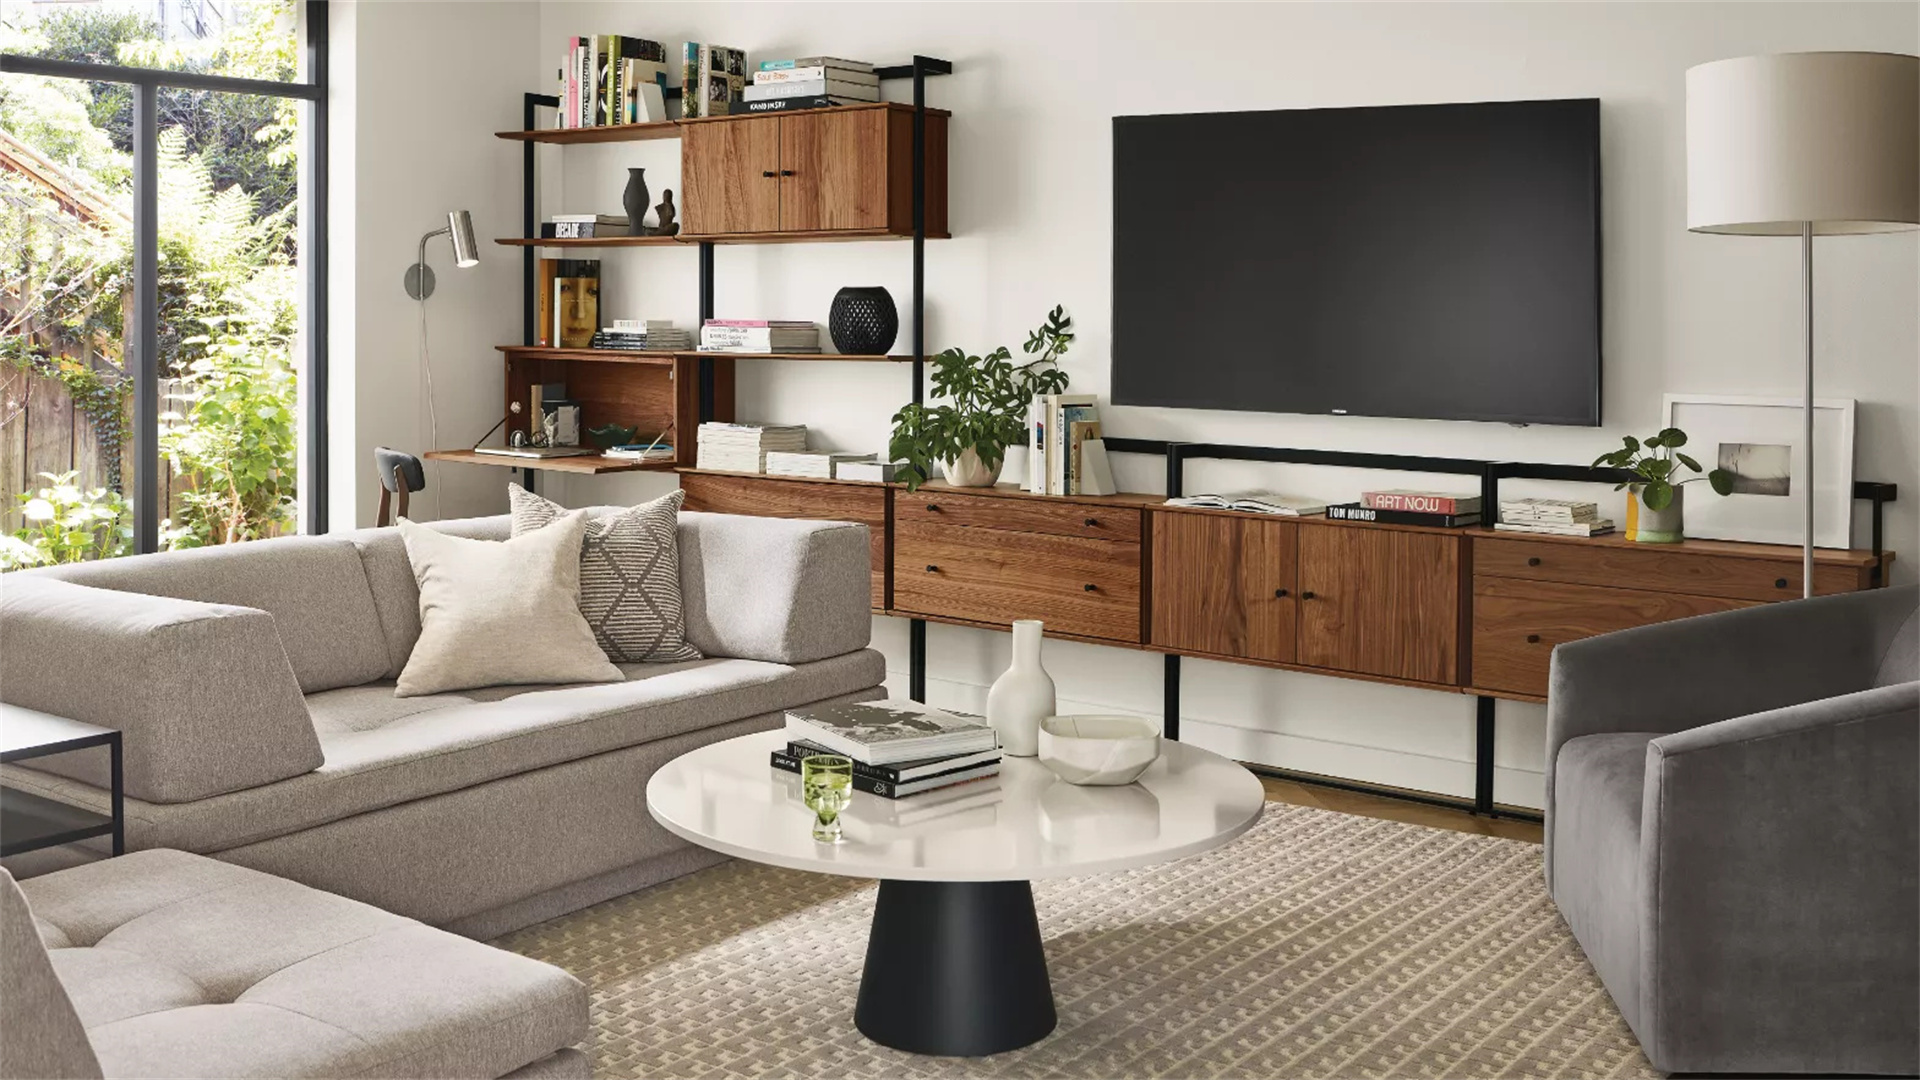
2.DIY Wall-Mounted Media Console with Storage: A Space-Saving Entertainment Hub
In a small living room, a traditional media console can take up a significant amount of floor space. A more space-efficient solution is to build a wall-mounted media console that not only holds your TV but also provides ample storage for media devices, DVDs, and other accessories.
Start by measuring the space on the wall where you want to install the console. Then, gather some wooden planks or plywood sheets from your local hardware store. Cut the planks to the desired lengths to create the frame of the console. Use wood glue and screws to assemble the frame securely.
Next, add shelves inside the frame to hold your media devices. You can adjust the height of the shelves according to the size of your devices. To make the console more visually appealing, you can add a back panel made of the same material as the frame or a contrasting color for a pop of style.
For additional storage, install drawers or cabinets below the shelves. You can either build these from scratch or repurpose old drawers or cabinets and attach them to the frame. To complete the look, paint or stain the entire console to match your living room decor. Mount your TV on the wall above the console, and you'll have a sleek and organized entertainment area that doesn't take up valuable floor space.
Vertical Wall Storage: Maximizing Every Inch
1.Multi-Tiered Floating Shelves: A Display and Storage Marvel
When floor space is at a premium, vertical storage is the way to go. Multi-tiered floating shelves are a fantastic option as they add both storage and display space without occupying any floor area. You can easily build these shelves yourself using inexpensive materials.
First, decide on the location where you want to install the shelves, such as above the couch, near the entryway, or in a corner of the room. Measure the wall space to determine the size and number of shelves you can fit. Then, purchase some wooden boards of the desired length and width, along with L-brackets or floating shelf brackets from the hardware store.
Sand the wooden boards to smooth out any rough edges and give them a finished look. You can then paint or stain the boards to match your room's color scheme. Install the brackets on the wall according to the manufacturer's instructions, making sure they are level and securely attached. Then, place the wooden boards on top of the brackets to create your floating shelves.
You can arrange the shelves in a variety of ways, such as in a straight line, a staggered pattern, or a zigzag design, depending on your personal preference and the available space. Use the shelves to display decorative items like plants, photos, or art pieces, as well as to store books, magazines, or small baskets filled with everyday essentials.
2.DIY Vertical Garden with Storage: Greenery and Organization Combined
If you love plants but have limited space in your living area, a vertical garden with built-in storage is the perfect solution. This not only adds a touch of nature to your space but also provides a place to store gardening tools, potting soil, and other plant-related items.
To create a vertical garden, you can use a variety of materials, such as wooden pallets, PVC pipes, or metal grids. If you choose a wooden pallet, start by sanding it down to remove any splinters and give it a smooth surface. Then, paint or stain the pallet to protect it from the elements and enhance its appearance.
Attach small planters or pots to the pallet using screws or hooks. You can use a variety of planters, such as plastic pots, ceramic pots, or even recycled containers like tin cans or mason jars. Fill the planters with soil and your favorite plants, such as herbs, succulents, or small flowers.
To add storage to your vertical garden, install shelves or hooks on the sides or back of the pallet. You can use these to store gardening gloves, pruning shears, watering cans, or bags of potting soil. Hang the vertical garden on a wall in your living room, balcony, or patio, and you'll have a beautiful and functional green space that maximizes vertical storage.
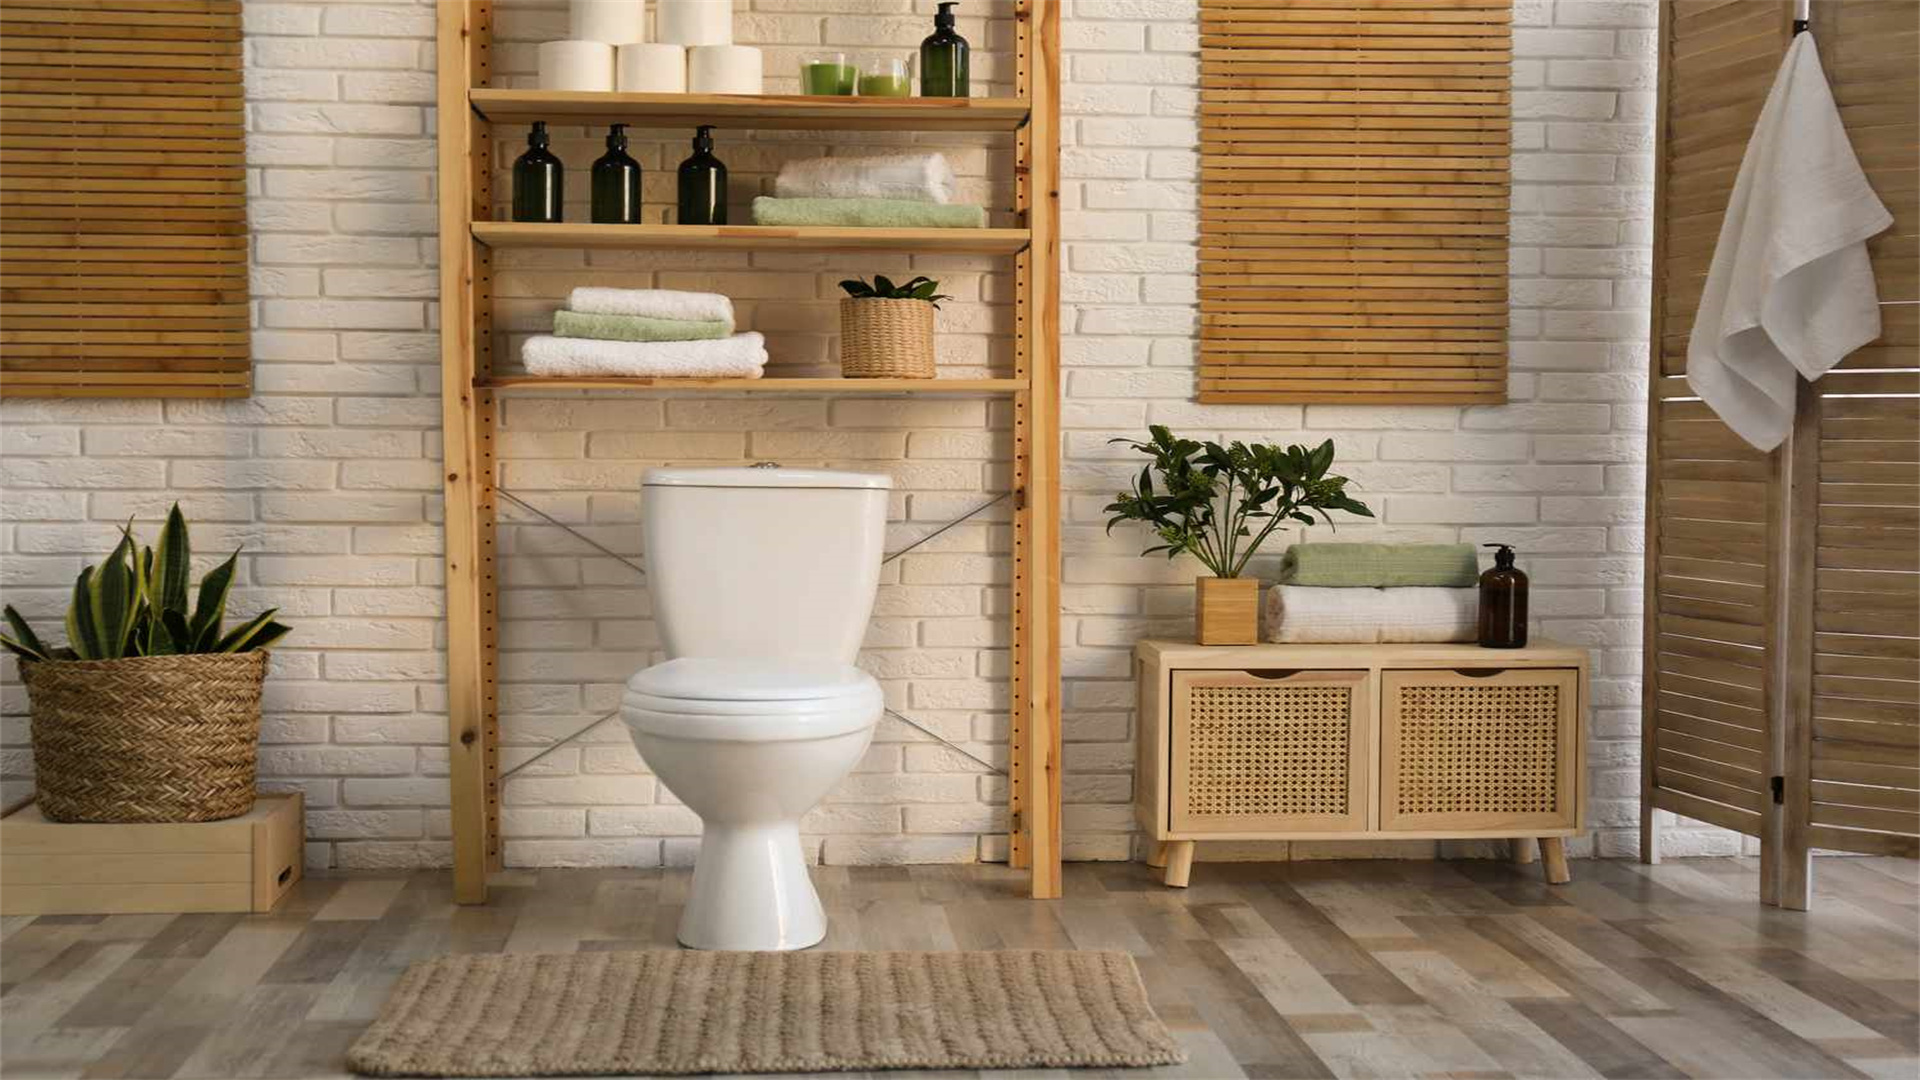
Kitchen & Bathroom Storage Hacks
1.Over-the-Door Hanging Organizers for Kitchen and Bathroom
In small kitchens and bathrooms, every inch of space counts. Over-the-door hanging organizers are a simple yet effective way to add storage without taking up any floor or counter space. You can make your own hanging organizers using fabric, wire mesh, or plastic sheets.
For a kitchen hanging organizer, you can create pockets using fabric to store spices, cooking utensils, or snack bags. Cut the fabric into rectangular pieces and sew them together to form pockets of different sizes. Attach the pockets to a sturdy hanger or a wooden dowel using hooks or loops. Hang the organizer on the back of a kitchen cabinet door or a pantry door to keep your kitchen essentials within easy reach.
In the bathroom, you can make a similar hanging organizer to store toiletries, makeup, or hair accessories. Use wire mesh or plastic sheets to create compartments that can hold bottles, tubes, and brushes. Attach the organizer to the back of the bathroom cabinet door or the shower door using suction cups or adhesive hooks. This will help keep your bathroom countertop clutter-free and organized.
2.DIY Pull-Out Pantry Shelves for Small Kitchens
If you have a small kitchen with limited pantry space, building pull-out pantry shelves can be a game-changer. These shelves allow you to easily access items at the back of the pantry without having to dig through piles of food.
Start by measuring the depth and width of your pantry cabinet. Then, purchase some wooden boards or plastic shelving units that fit the dimensions of your pantry. You'll also need drawer slides or roller tracks to enable the shelves to slide in and out smoothly.
Assemble the shelves according to the manufacturer's instructions, making sure they are sturdy and level. Install the drawer slides or roller tracks on the sides of the pantry cabinet and on the bottom of the shelves. Attach the shelves to the slides or tracks, and you'll have a set of pull-out pantry shelves that make it easy to organize and access your food items.
You can further customize the shelves by adding dividers or labels to keep different types of food separate and easy to find. This simple DIY project can significantly increase the storage capacity of your small kitchen pantry.
Upgrade Old Furniture Into Storage Superstars
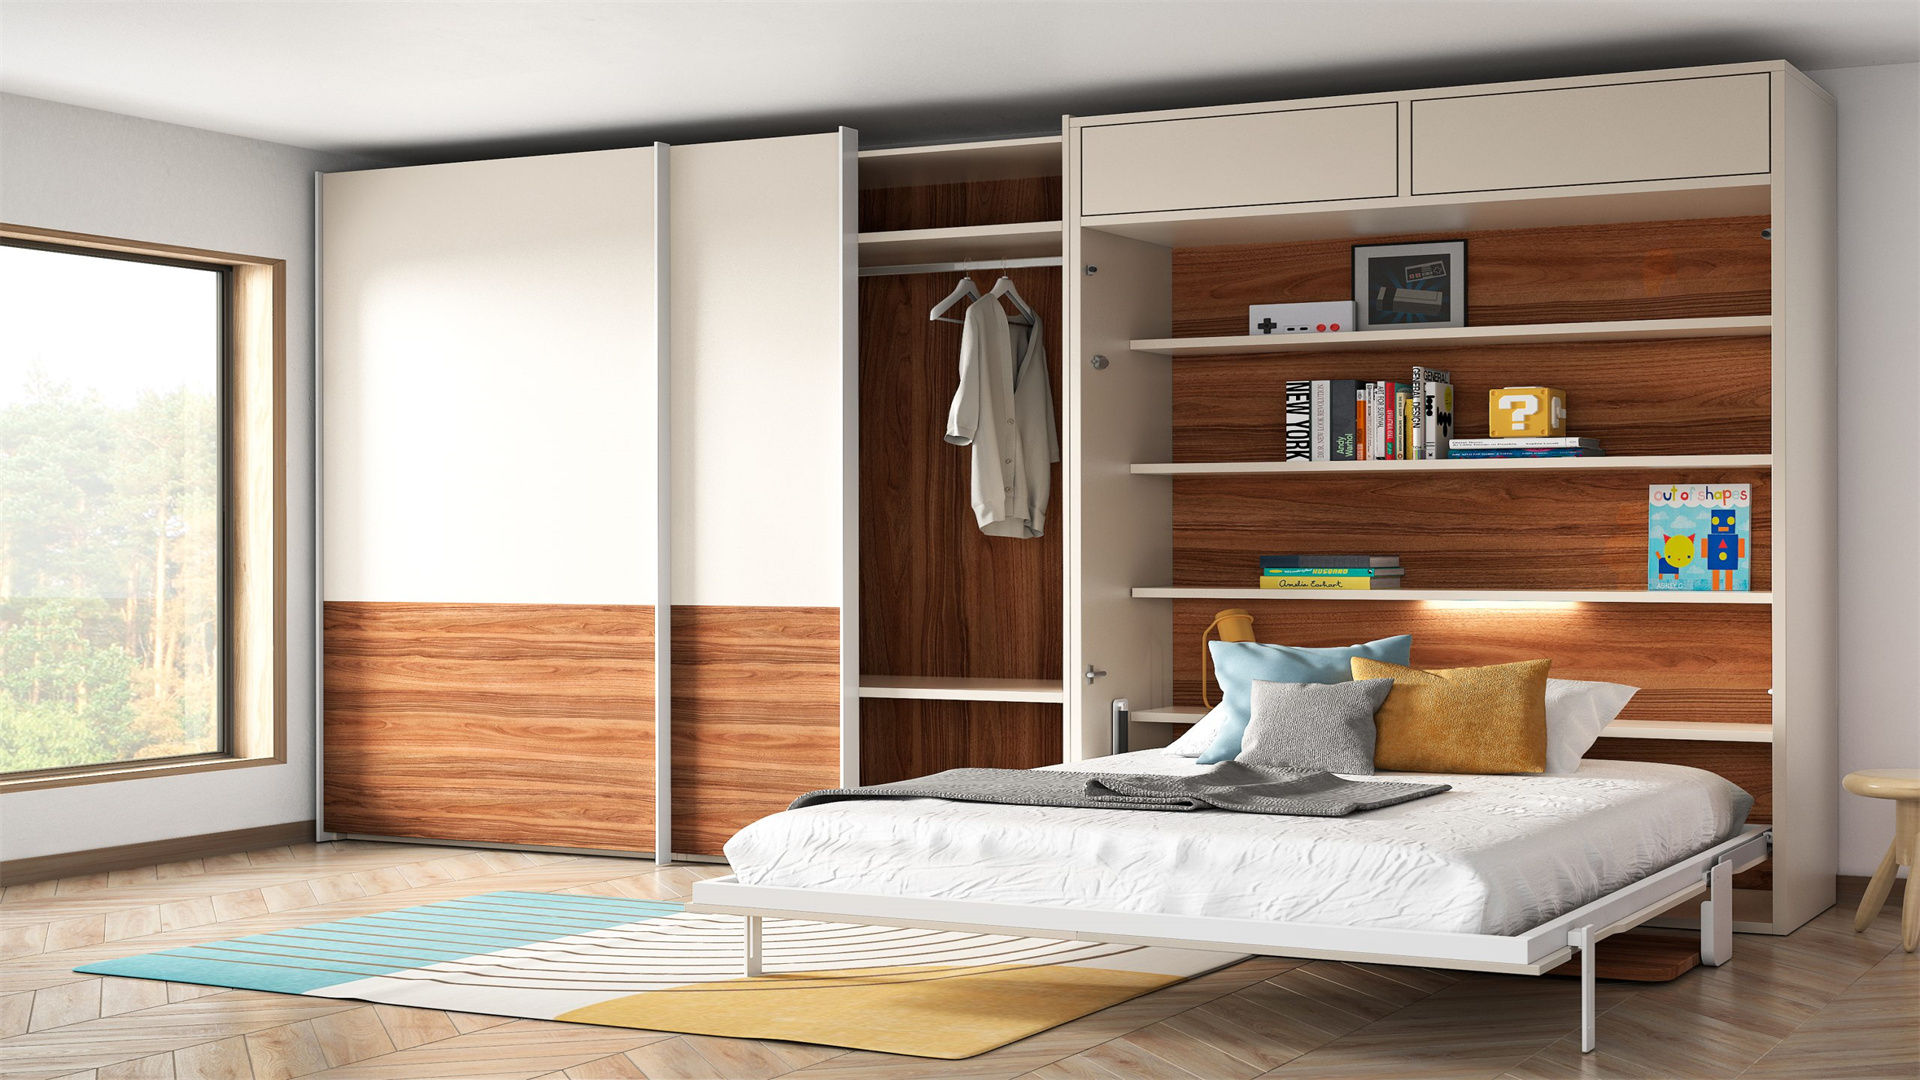
1.Transform an Old Bookshelf into a Multi-Functional Storage Unit
If you have an old bookshelf that's no longer being used to its full potential, consider giving it a makeover and turning it into a multi-functional storage unit. This can be a great way to add storage to a small living room, bedroom, or home office without having to buy new furniture.
Start by assessing the condition of the bookshelf. If it's in good structural condition but looks outdated, you can give it a fresh coat of paint or stain to match your current decor. You can also add some decorative elements, such as new knobs or handles, to give it a more modern look.
To make the bookshelf more functional, you can add additional storage features. For example, you can install drawers or baskets on the lower shelves to store items like socks, underwear, or office supplies. You can also add a hanging rod on one of the shelves to create a mini closet for storing clothes or scarves.
If the bookshelf has a flat top, you can use it as a display area for decorative items or as a workspace if you're short on desk space. By transforming an old bookshelf, you can create a customized storage solution that meets your specific needs and adds a unique touch to your living space.
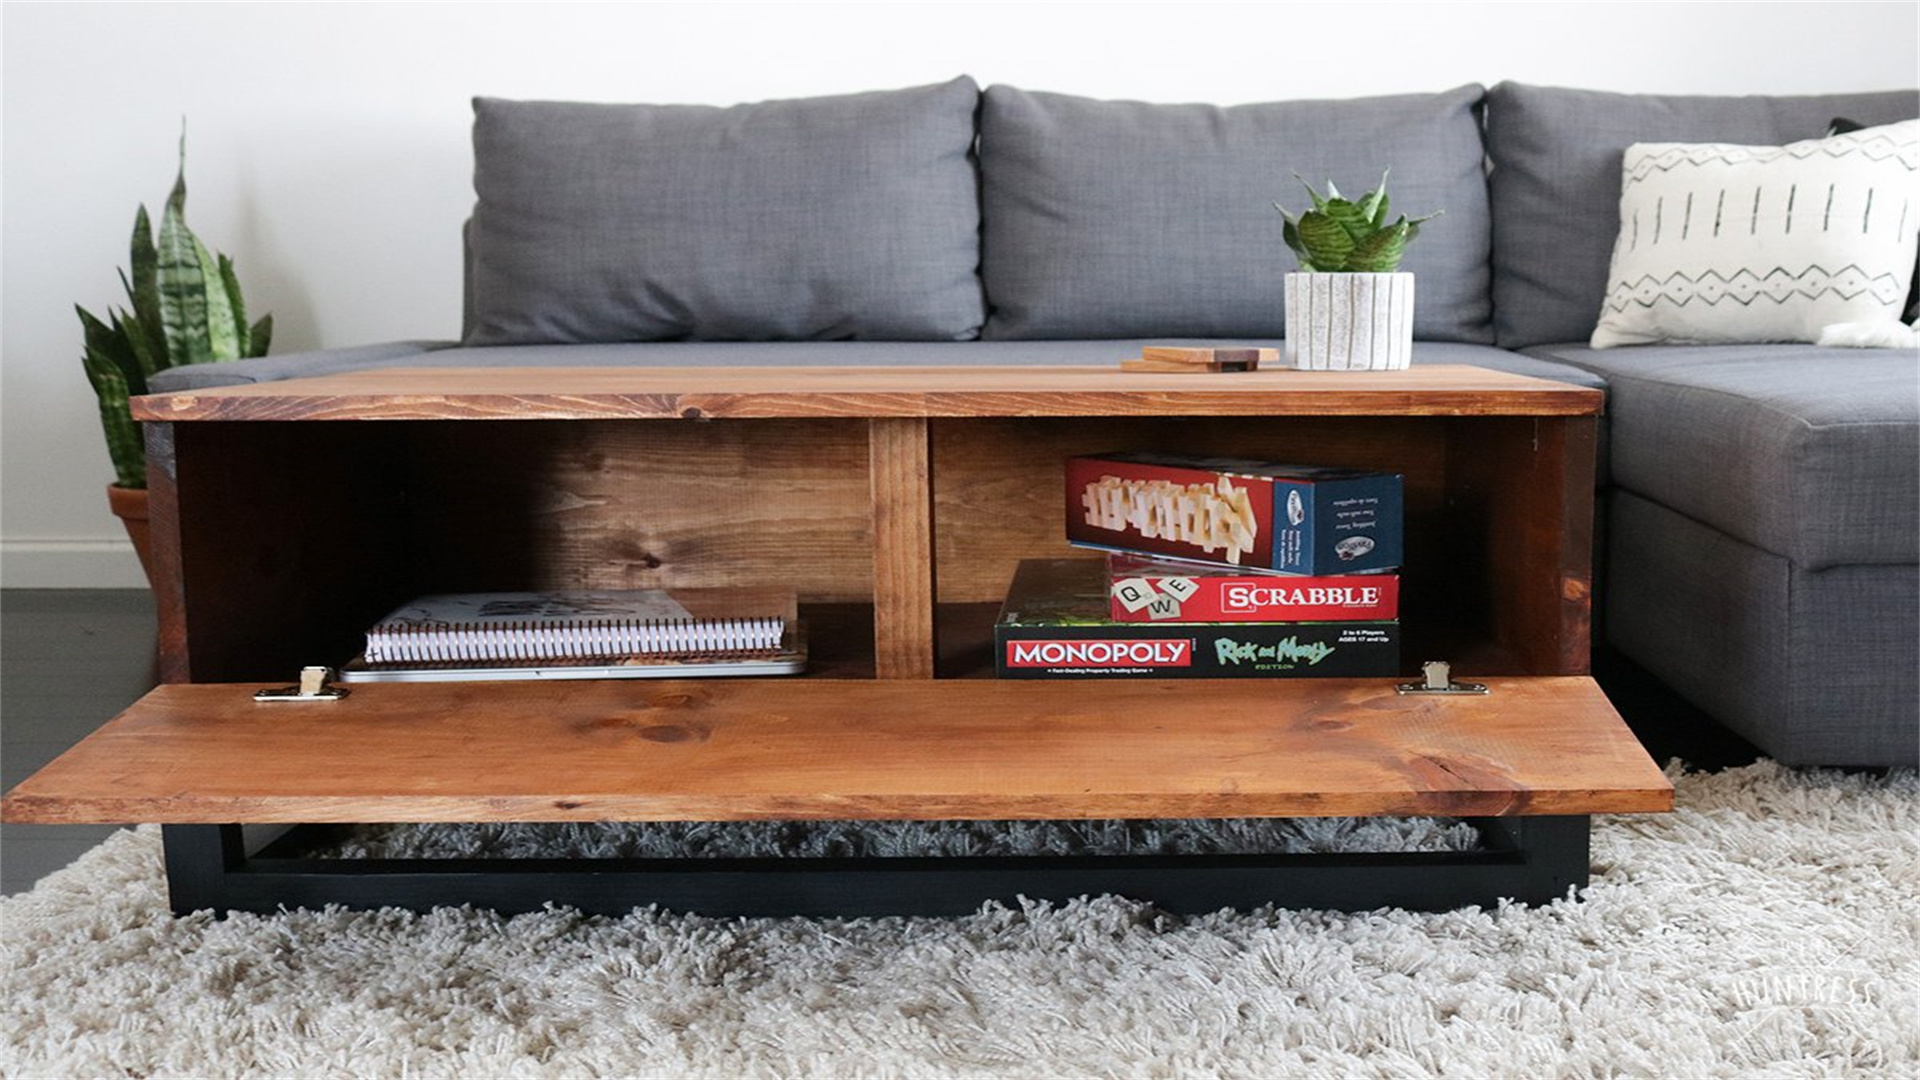
2.DIY Storage Bench from an Old Coffee Table
An old coffee table can be easily transformed into a stylish and functional storage bench. This is a great project for adding seating and storage to a small entryway, living room, or bedroom.
Start by measuring the dimensions of your old coffee table. Then, purchase some foam padding and fabric to cover the top of the table and create a comfortable seat. Cut the foam padding to fit the size of the tabletop and glue it in place. Then, cut the fabric to size, leaving enough excess to wrap around the edges and secure it underneath the tabletop.
Next, you'll need to create a storage compartment inside the coffee table. You can do this by adding a hinged lid or by removing the existing tabletop and installing a new one with a storage space underneath. If you choose to add a hinged lid, attach hinges to the back of the tabletop and the frame of the coffee table so that the lid can open and close easily.
You can line the inside of the storage compartment with fabric or paint it to match the exterior of the bench. Use the storage space to store items like shoes, blankets, or toys. Once you've completed the transformation, you'll have a beautiful and practical storage bench that adds both seating and storage to your small living area.
Conclusion
Living in a compact living area doesn't mean you have to sacrifice organization or style. With a bit of creativity, resourcefulness, and some DIY elbow grease, you can craft clever, budget-friendly storage solutions that transform your space into a well-organized and inviting haven. The key is to think outside the box, make the most of vertical and hidden spaces, and repurpose existing items to create unique storage solutions that suit your personal lifestyle.
So why not roll up your sleeves and embark on your next DIY storage project today? Whether it's an under-sofa storage ottoman or a vertical garden with storage, every little bit helps you reclaim your space and make the most of what you have. And if you decide to try any of these projects, don't forget to share your before-and-after photos—you might just inspire someone else to get creative and transform their small living area too!
If you need detailed step-by-step instructions, shopping lists, or additional design ideas for any of these storage solutions, feel free to reach out to me. I'm here to help you make the most of your compact living space!