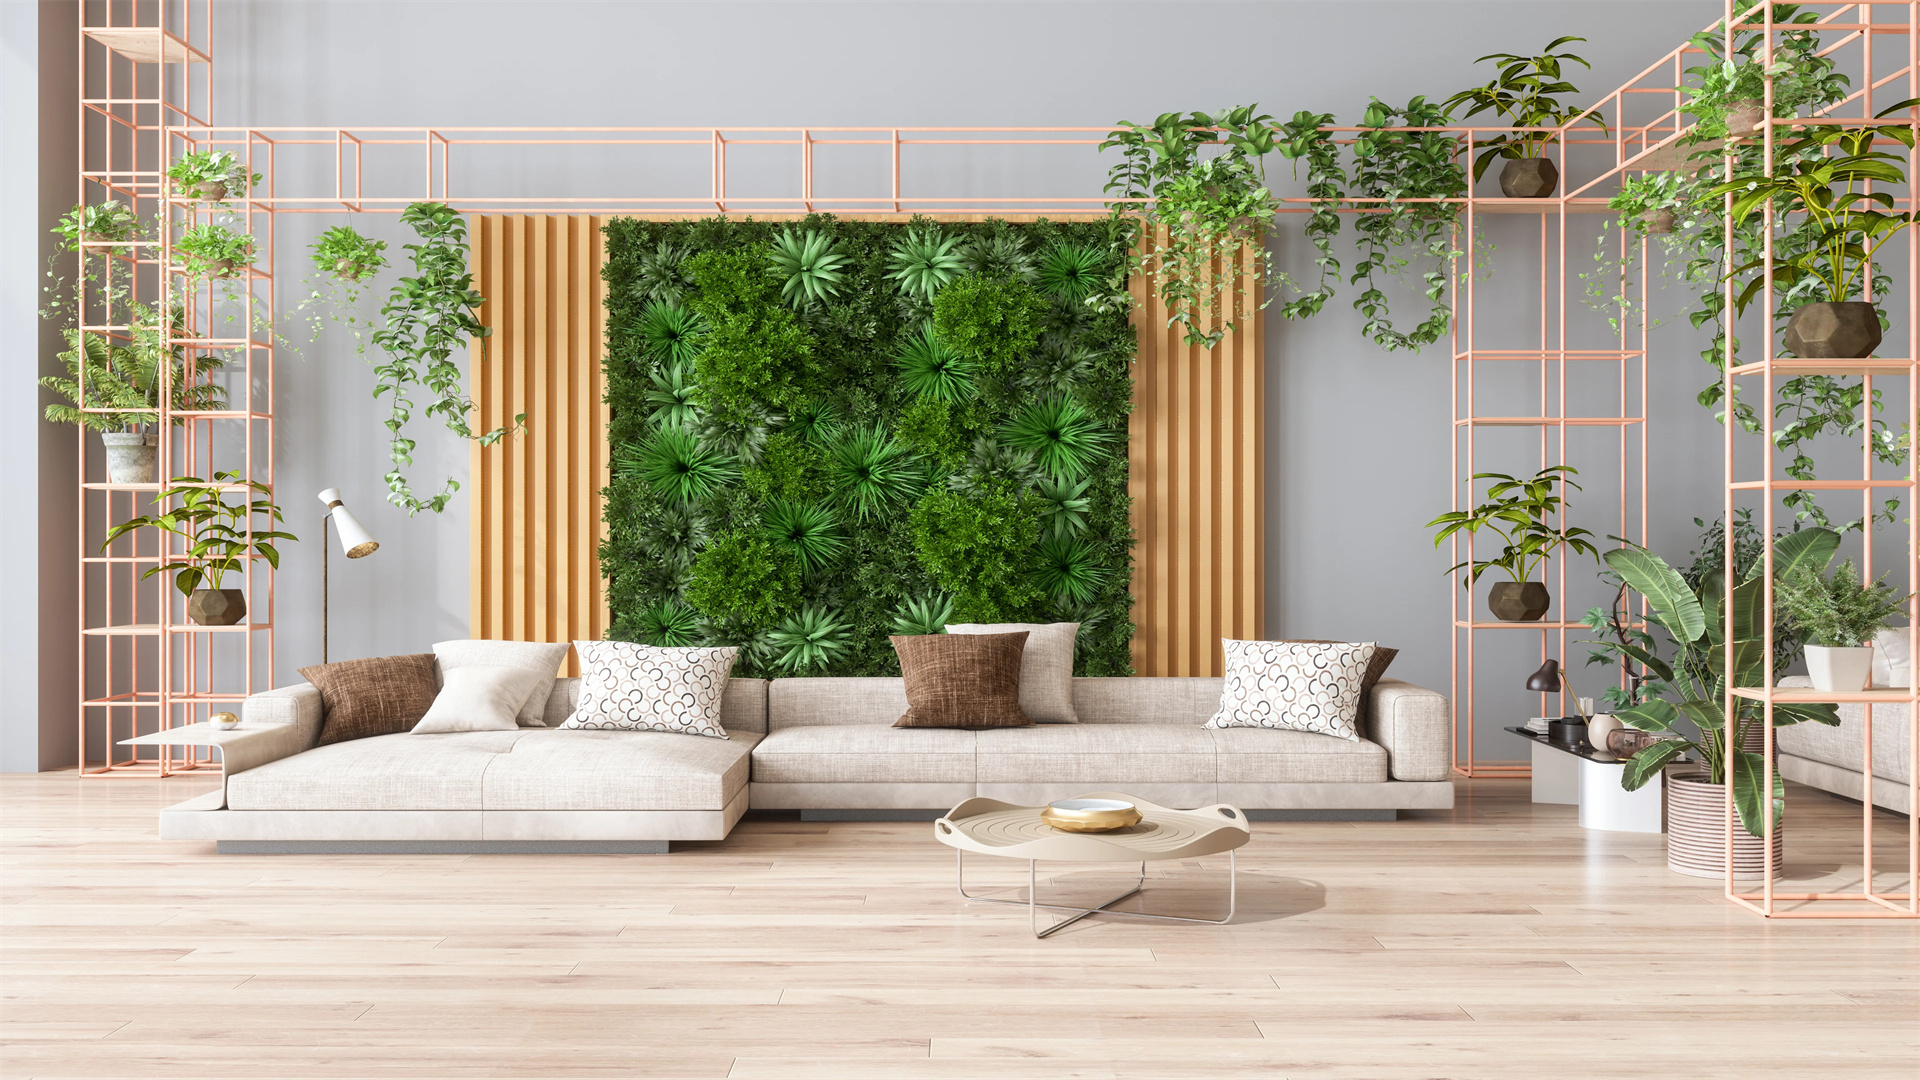
6 DIY Steps to Craft a Breathtaking Vertical Garden in Limited Spaces
Living in a compact apartment or a house with scarce outdoor areas doesn't have to mean sacrificing the pleasure of gardening. Even if all you have is a slender balcony, a petite patio nook, or simply a well-lit windowsill, vertical gardens offer a fantastic way to embrace greenery without the need for a conventional yard. By encouraging plants to grow upwards rather than outwards, you can optimize space and turn bare walls, fences, or railings into stunning, living masterpieces.
Vertical gardens are not just aesthetically pleasing; they can enhance air quality, alleviate stress, and even supply you with fresh herbs and vegetables right at your doorstep. Whether you're a novice or an experienced DIY aficionado, this comprehensive, step-by-step guide will walk you through the process of creating a flourishing vertical garden in confined spaces.
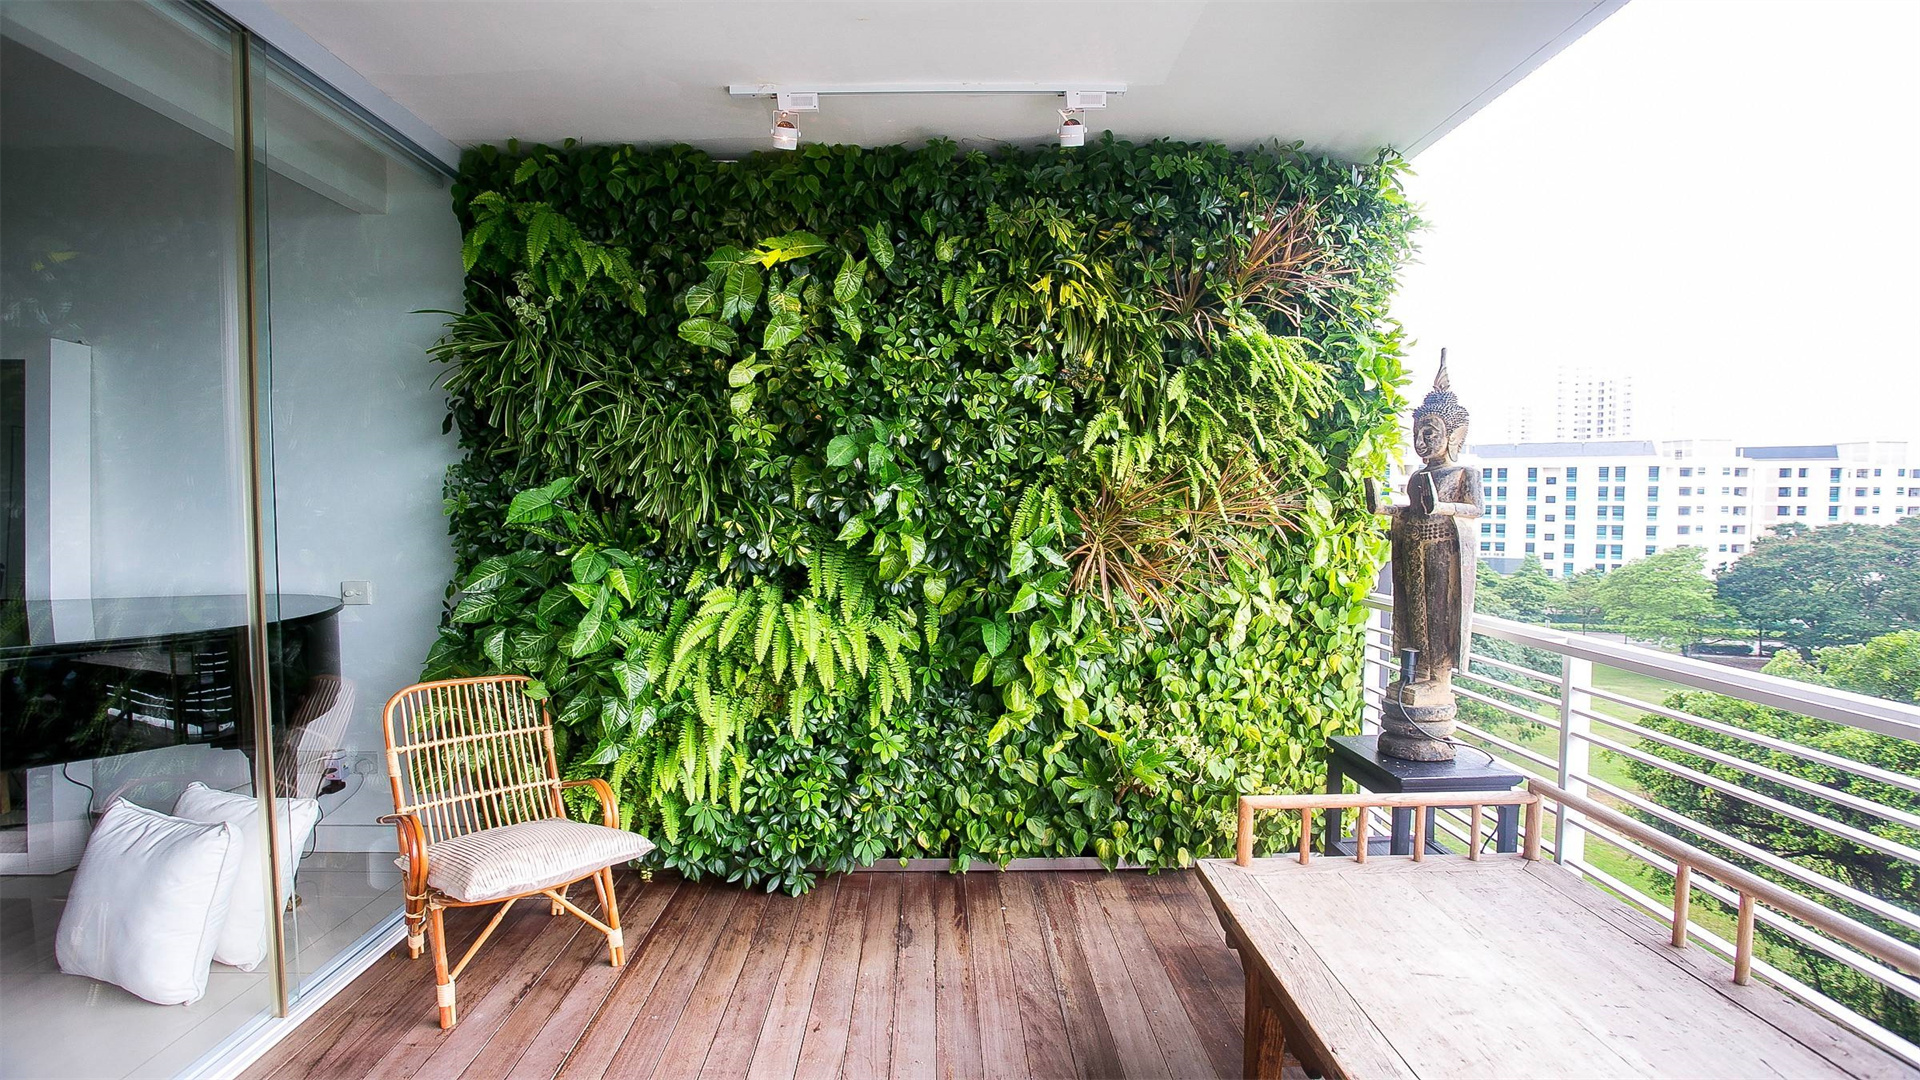
Step 1: Identify the Ideal Location
The initial step in establishing a vertical garden is pinpointing the perfect spot. Most plants require a minimum of 4-6 hours of sunlight daily, so strive to find a location that receives abundant light. Excellent choices include balconies, fences, patio walls, or a sunny corner within your home. Even a modest kitchen windowsill can be transformed into a charming mini herb garden.
DIY Pro Tip: If your space has limited sunlight, opt for shade-tolerant plants such as ferns, philodendrons, or pothos. Additionally, you can supplement natural light with LED grow lights for indoor areas, ensuring your plants receive the necessary illumination for healthy growth.
Extra Tip: Consider the microclimate of your chosen location. Areas near heating vents or air conditioning units may experience temperature extremes that could affect plant health. Select a spot with relatively stable temperature and humidity levels.
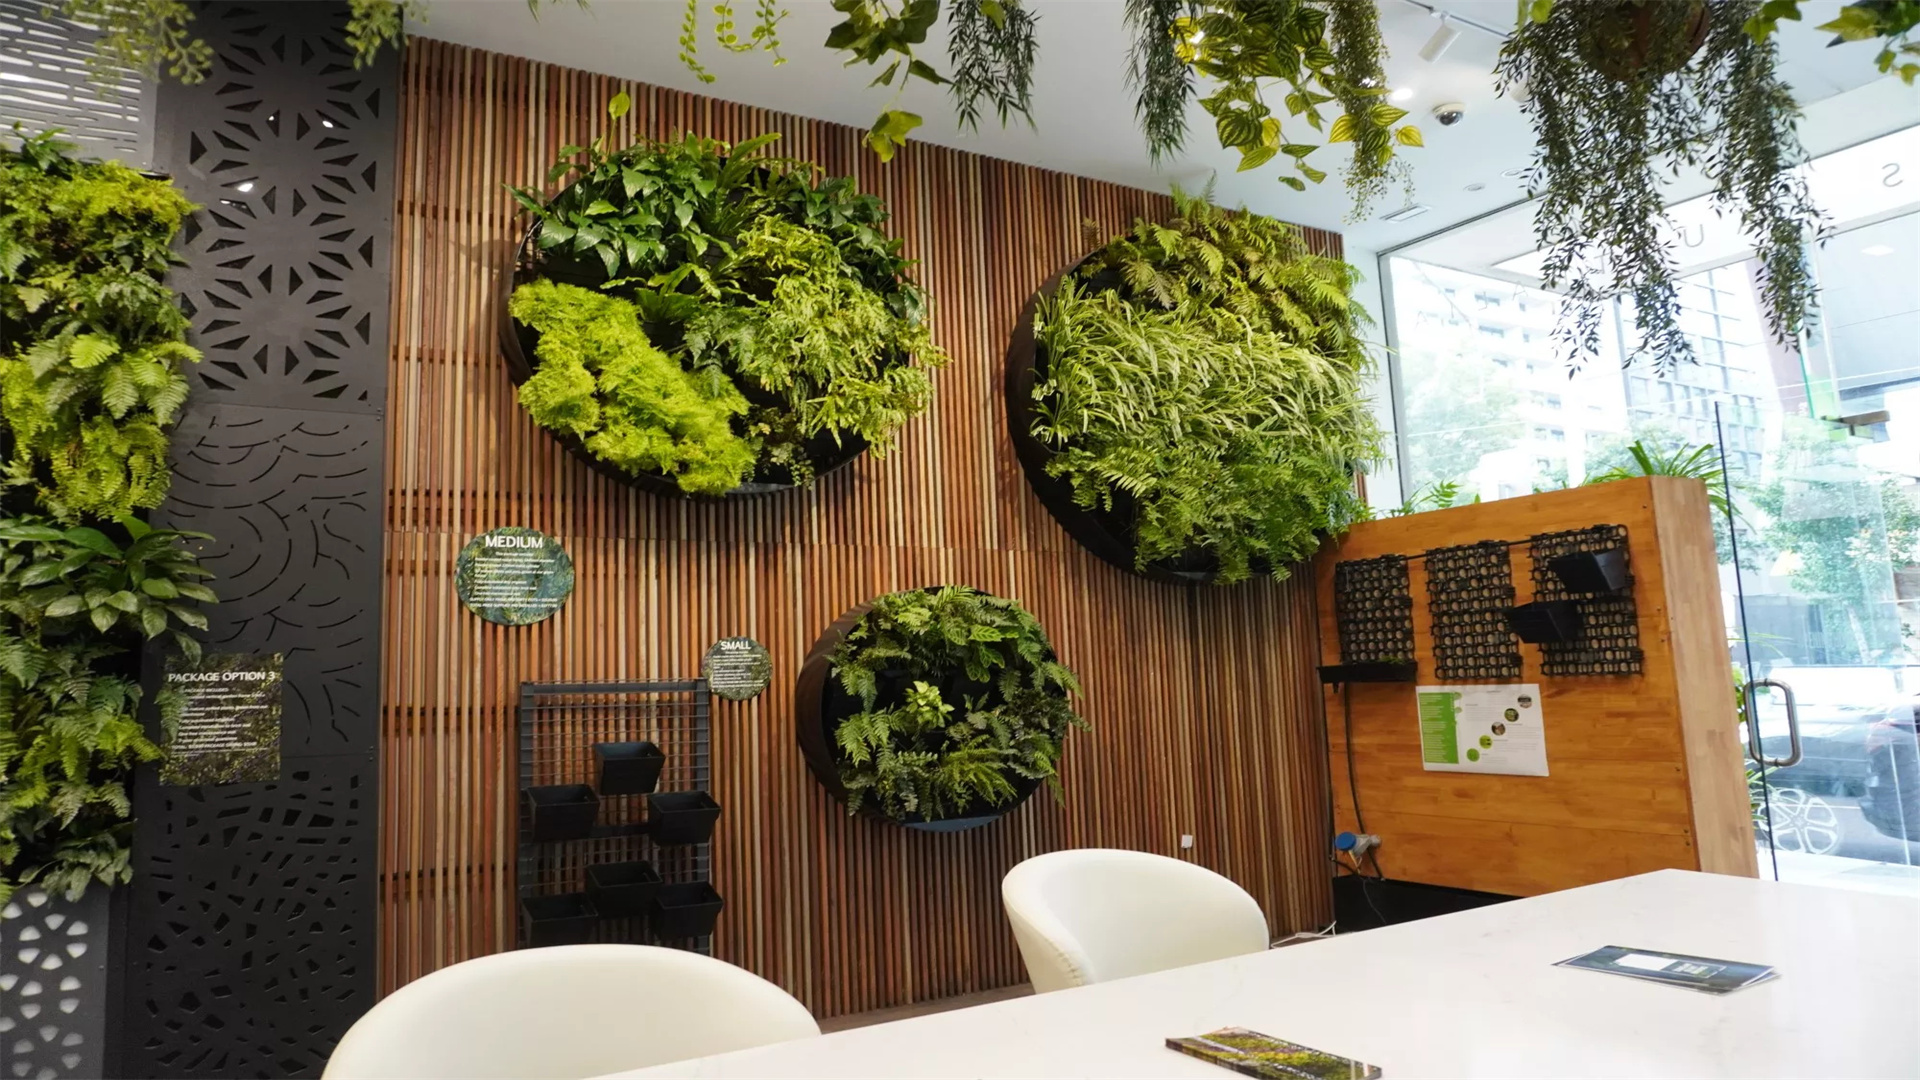
Step 2: Select a Robust Structure or Frame
Your plants need a dependable foundation to thrive on. Here are some options to consider:
Wooden Pallets: These offer a rustic and cost-effective choice. They can be easily sourced from local businesses or online marketplaces.
Trellises or Lattice Panels: Ideal for climbing plants, these structures provide support and a visually appealing framework for your garden.
Hanging Shoe Organizers or Fabric Pockets: Perfect for herbs and flowers, these can be hung on walls or fences, maximizing vertical space.
Store-Bought Vertical Garden Kits: These are easy to install and maintain, often coming with all the necessary components for a hassle-free setup.
DIY Pro Tip: If using wooden pallets, sand them thoroughly to remove any rough edges or splinters. Apply a waterproof sealant to prevent rot and extend the lifespan of your structure. Attach a layer of landscape fabric or mesh to the back of the pallet to hold the soil securely and prevent it from falling out.
Extra Tip: Consider the weight-bearing capacity of your chosen structure. Ensure it can support the weight of the soil, plants, and water without collapsing. If necessary, reinforce the structure with additional supports or brackets.
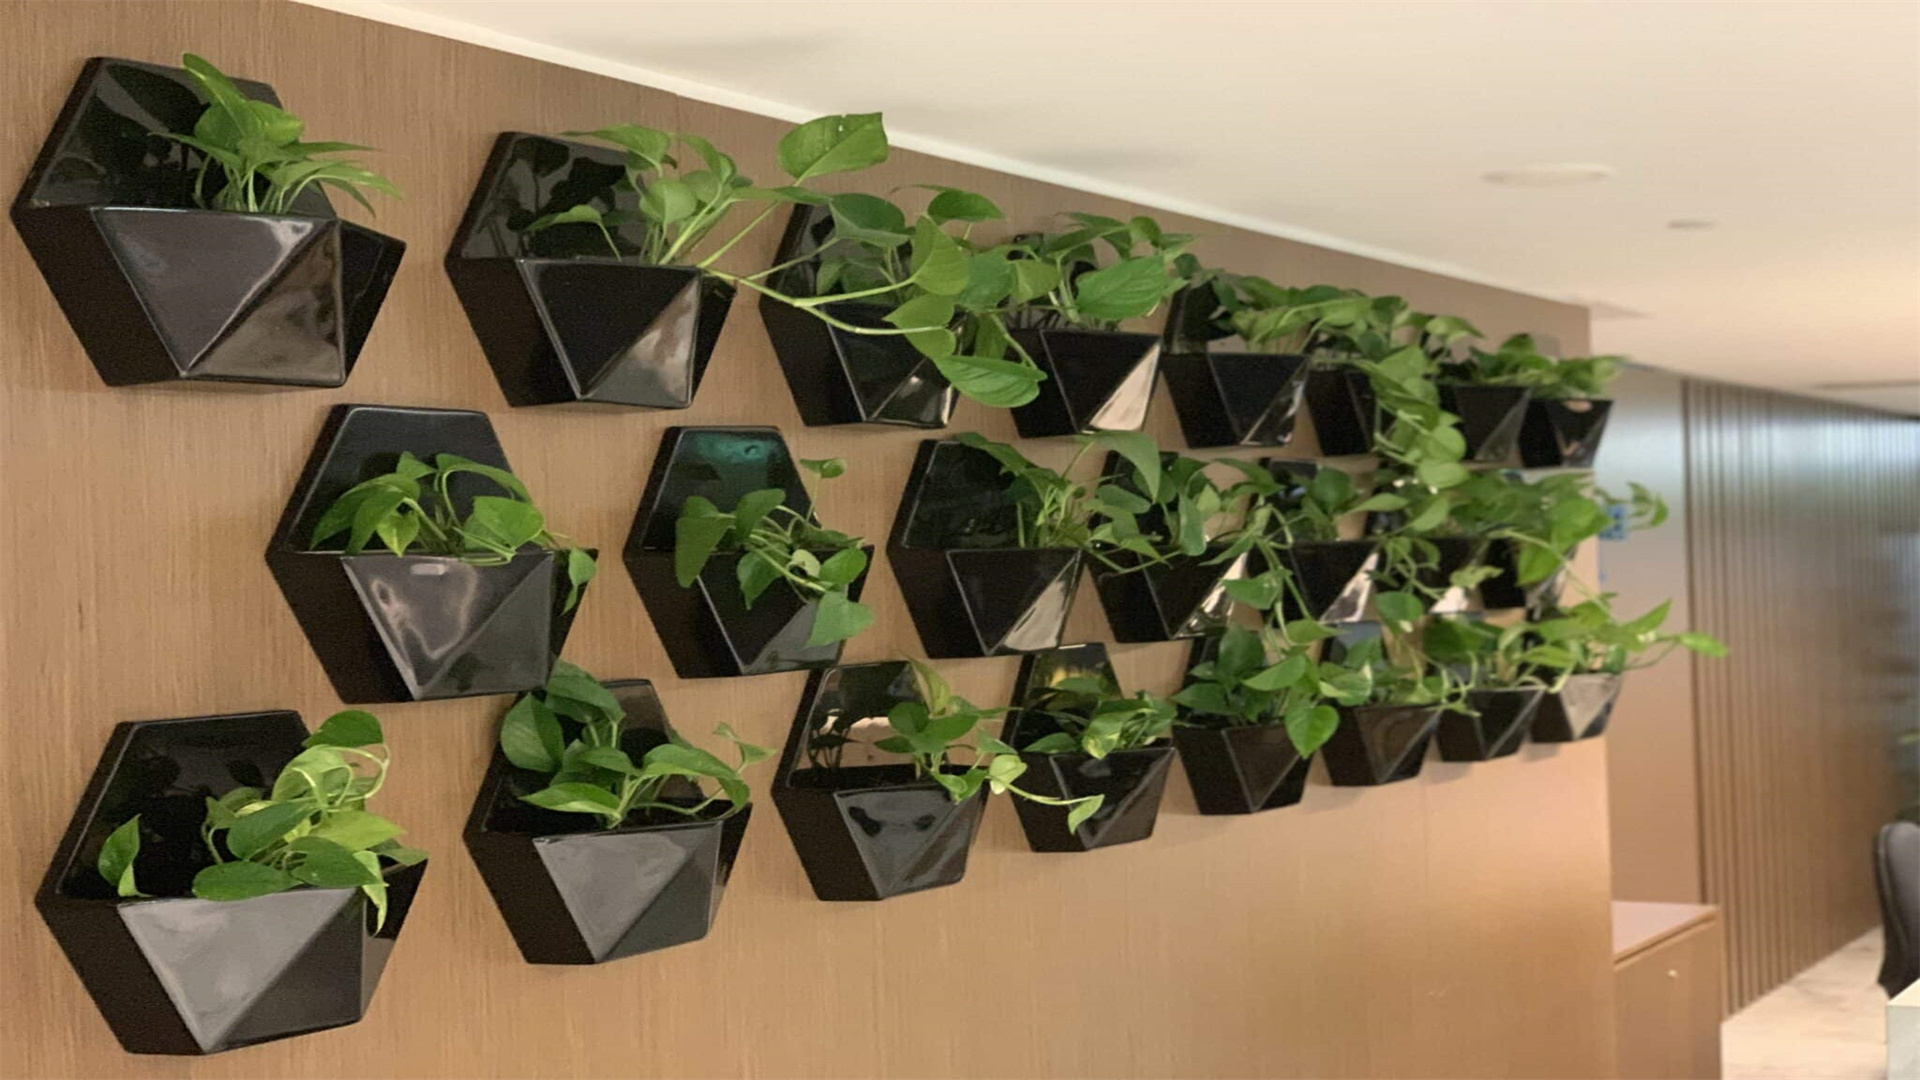
Step 3: Choose Appropriate Containers
Selecting the right containers is crucial for the success of your garden. Lightweight options like fabric grow bags, pots, or recycled bottles are ideal. Ensure that each container has proper drainage holes to prevent waterlogged roots, which can lead to root rot and plant death.
DIY Pro Tip: Get creative with upcycling! Old tin cans, mason jars, or plastic bottles can be transformed into unique planters. Drill a few drainage holes at the bottom, and paint them with vibrant colors or patterns to add a playful, personalized touch to your garden.
Extra Tip: Consider the size of the plants you intend to grow when selecting containers. Larger plants will require bigger pots to accommodate their root systems. Additionally, mix container shapes and sizes to create texture and depth, making your garden visually more appealing.
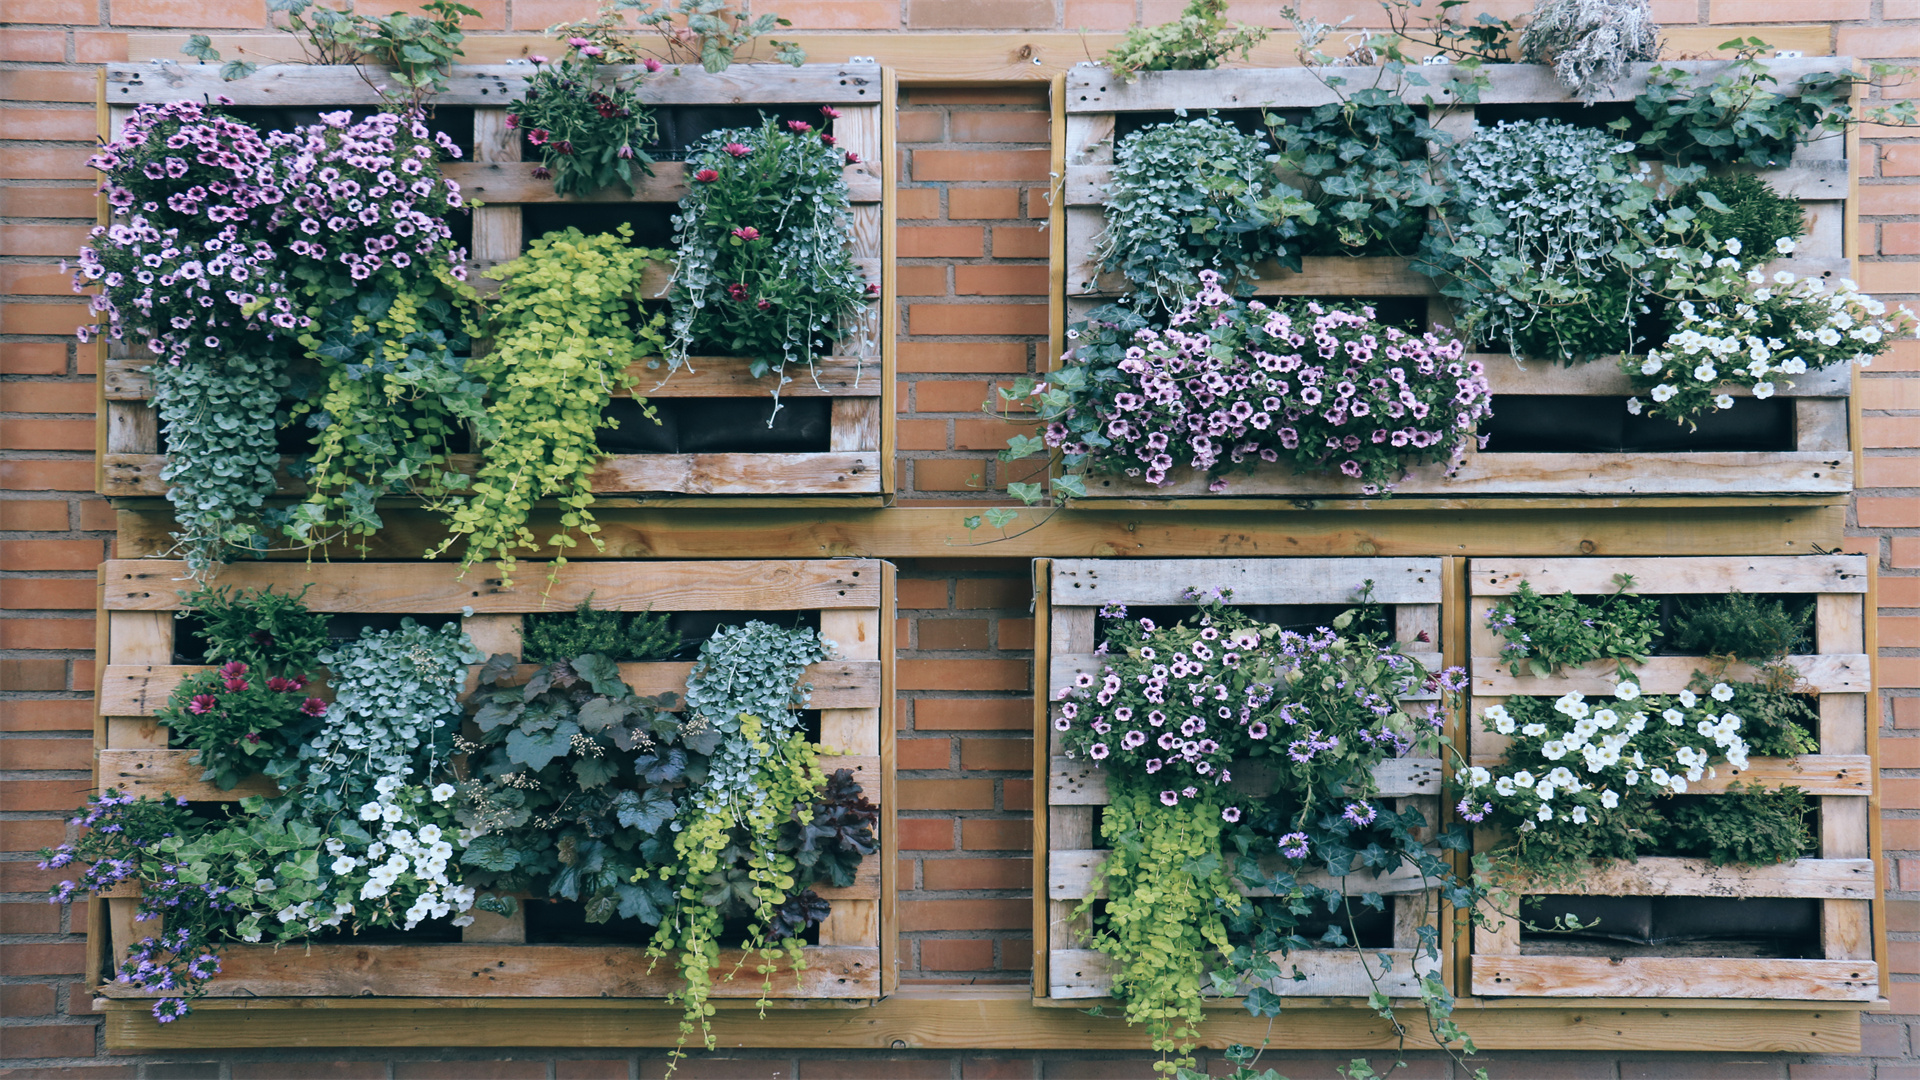
Step 4: Select Plants Suitable for Vertical Growth
Not all plants are well-suited for vertical gardens. Focus on compact species with shallow root systems that can thrive in confined spaces. Here are some excellent options:
Herbs: Basil, parsley, mint, thyme, rosemary, and oregano are all great choices for vertical gardens. They not only add flavor to your meals but also emit pleasant aromas.
Leafy Greens: Spinach, arugula, lettuce, and kale are nutritious and easy to grow vertically. They can be harvested continuously for fresh salads and smoothies.
Flowers: Petunias, pansies, marigolds, and geraniums add a splash of color to your vertical garden. Choose varieties that are suitable for your climate and lighting conditions.
Climbers: Ivy, philodendron, jasmine, and climbing roses can add a lush, cascading effect to your garden. Provide them with appropriate support structures to encourage upward growth.
DIY Pro Tip: For an edible garden, consider planting herbs and greens on lower tiers and flowers on upper tiers. This ensures proper light distribution and watering, as lower plants may receive less sunlight due to shading from upper plants. Layering plants by height and sunlight needs helps maintain a healthy and visually balanced vertical garden.
Extra Tip: Combine cascading plants with upright varieties to create a dynamic, full look that draws the eye upward. For example, pair trailing ivy with upright snapdragons or petunias for a visually striking contrast.
Step 5: Establish an Efficient Watering and Maintenance Routine
Vertical gardens tend to dry out faster than traditional gardens due to increased exposure to air and sunlight. Therefore, it's essential to have a proper watering strategy in place. Gravity can cause top plants to dry out quickly while overwatering lower plants. Here are some watering options to consider:
Drip Irrigation Systems: These provide even water distribution, ensuring that all plants receive the right amount of moisture. They can be customized to suit the size and layout of your vertical garden.
Self-Watering Planters: These planters have reservoirs at the bottom that slowly release water to the plants as needed. They are ideal for busy gardeners or those who may forget to water regularly.
Manual Watering: Use a small watering can and pour water slowly from the top, allowing it to trickle down to the lower plants. Be careful not to overwater, as this can lead to waterlogging.
DIY Pro Tip: To determine when to water your plants, stick your finger into the soil. If the top inch feels dry, it's time to water. Additionally, rotate your plants occasionally so that all sides receive sunlight, promoting even growth and preventing leggy plants.
Extra Tip: Apply a slow-release liquid fertilizer every few weeks to keep your plants strong and healthy. Prune regularly to remove dead leaves, spent flowers, or overgrown branches. This encourages new growth and maintains the overall shape and appearance of your vertical garden.

Step 6: Add Personalized Touches and Enjoy
Once your plants are in place, it's time to add the finishing touches and make your vertical garden uniquely yours. Consider incorporating small decorative elements like fairy lights, wooden labels, or garden ornaments. Painting or decorating your planters before mounting them can add a personal, artistic touch.
DIY Pro Tip: Use chalkboard paint on plant labels. This allows you to easily rename plants as you swap them out or make notes about their care requirements. It keeps your garden fresh and adaptable, allowing for easy updates and changes.
Extra Tip: Try grouping aromatic herbs near outdoor seating areas or your kitchen to enjoy their fragrance and culinary use simultaneously. The scent of fresh herbs can create a relaxing and inviting atmosphere, enhancing your outdoor living experience.
Make Your Space Flourish
A vertical garden doesn't require the expertise of a professional landscaper or a large budget to make a significant impact. With a few recycled materials, thoughtfully chosen plants, and a bit of hands-on effort, even the tiniest corner of your home can be transformed into a vibrant, living retreat. Start with one panel or section, experiment with different plant combinations, and watch your creativity grow alongside your greenery.
Your walls, railings, and corners hold endless potential. Turn them into lush, thriving spaces that bring freshness, beauty, and joy to your home. Embrace the art of vertical gardening and create a green oasis that reflects your personal style and enhances your quality of life.