10 Budget-Friendly DIY Strategies for Home Makeover
Home makeovers can seem like an overwhelming challenge, particularly when you're constrained by a limited budget. The thought of revamping every corner of your house might conjure up images of hefty bills and professional contractors. However, there's no need to despair! There are numerous cost-effective do-it-yourself (DIY) home makeover strategies that can inject new vitality into your living space without emptying your wallet. Let's explore some straightforward yet highly impactful ideas that you can embark on over the weekend.
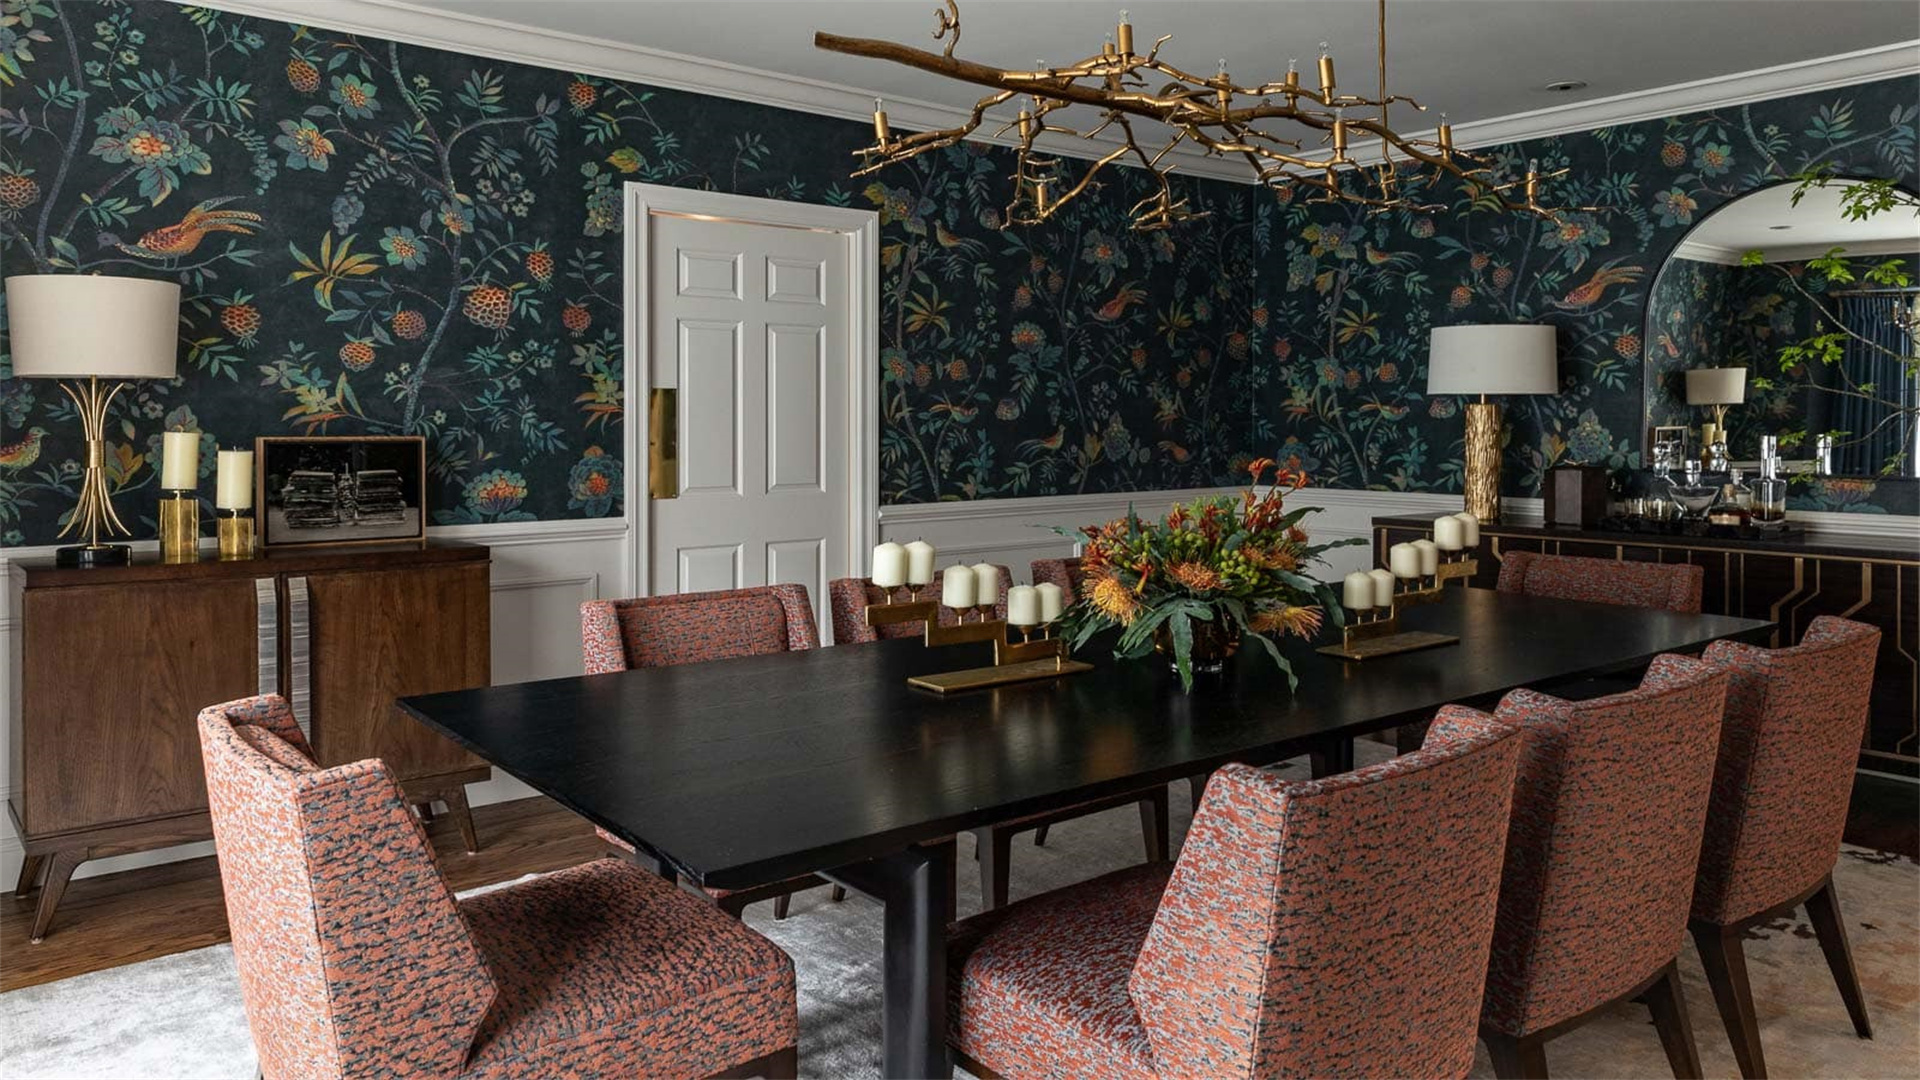
1. Revitalize with Wallpaper
Wallpaper is an often-overlooked but incredibly versatile and affordable way to give your home a complete makeover. A new wallpaper pattern can completely transform the ambiance of a room, taking it from dull and drab to vibrant and stylish.
Selecting the Ideal Wallpaper
Begin by choosing a wallpaper that aligns with your personal style and harmonizes with your existing furniture. If your home has a modern aesthetic, geometric patterns can add a modern and trendy feel. These sharp lines and shapes can create a sense of order and sophistication. On the other hand, floral designs can create a soft and romantic atmosphere, perfect for bedrooms or cozy living rooms.
Keep in mind the size of the room; large patterns can make a small room feel even more cramped, as they can overwhelm the limited space. Small patterns, however, can work well in both large and small spaces, adding a subtle texture without being too overpowering. Also, consider the room's purpose. For example, a busy pattern might not be suitable for a bedroom where you want a calm and relaxing environment. Instead, opt for a more soothing and understated design.
DIY Wallpapering Tips
Prepare the Surface: Ensure the wall is clean, smooth, and free of any bumps or cracks. Fill in any holes with putty and sand the surface until it's even. A rough or uneven wall can cause the wallpaper to bubble or not adhere properly. You can use a damp cloth to wipe down the wall after sanding to remove any dust.
Measure Accurately: Measure the dimensions of the wall carefully to determine how much wallpaper you'll need. It's always better to buy a little extra to account for mistakes or future repairs. When measuring, consider the pattern repeat. Some wallpapers have a specific pattern that needs to be matched up, so you may need to purchase more to ensure a seamless look.
Use Proper Tools: A wallpaper brush, a sharp utility knife, and a level are essential tools for a successful wallpapering job. The brush helps to smooth out the wallpaper and remove air bubbles, ensuring a flat and even application. The knife is used for trimming excess wallpaper along the edges and around obstacles like windows and doors. A level is crucial for making sure the wallpaper is hung straight, especially if you're using a pattern that requires alignment.
Start from the Top: Begin applying the wallpaper at the top of the wall and work your way down. This helps to ensure a straight and even application. As you work your way down, use the wallpaper brush to gently press the paper onto the wall, working out any air bubbles from the center outwards.
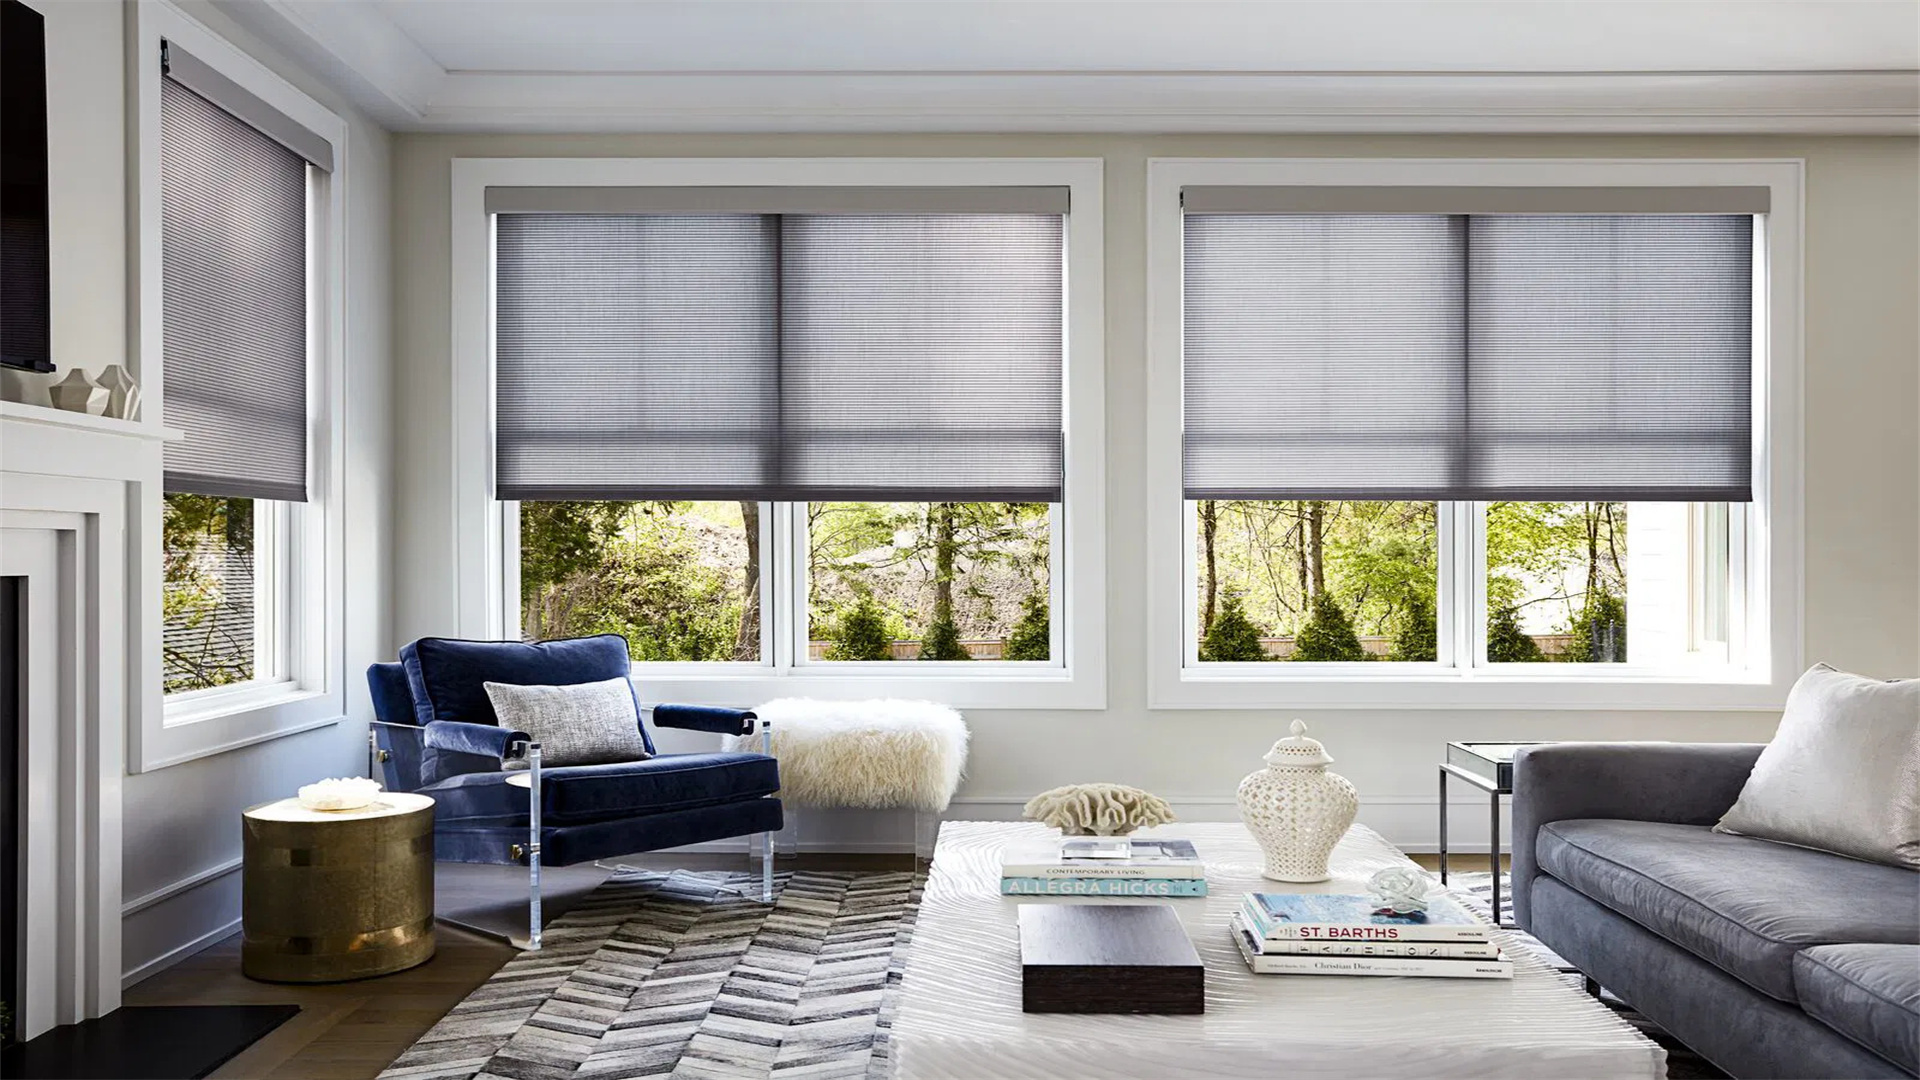
2. Enhance with Window Treatments
Window treatments can significantly impact the look and feel of a room. Upgrading your curtains, blinds, or shades is a relatively inexpensive way to modernize your space and add a touch of personality.
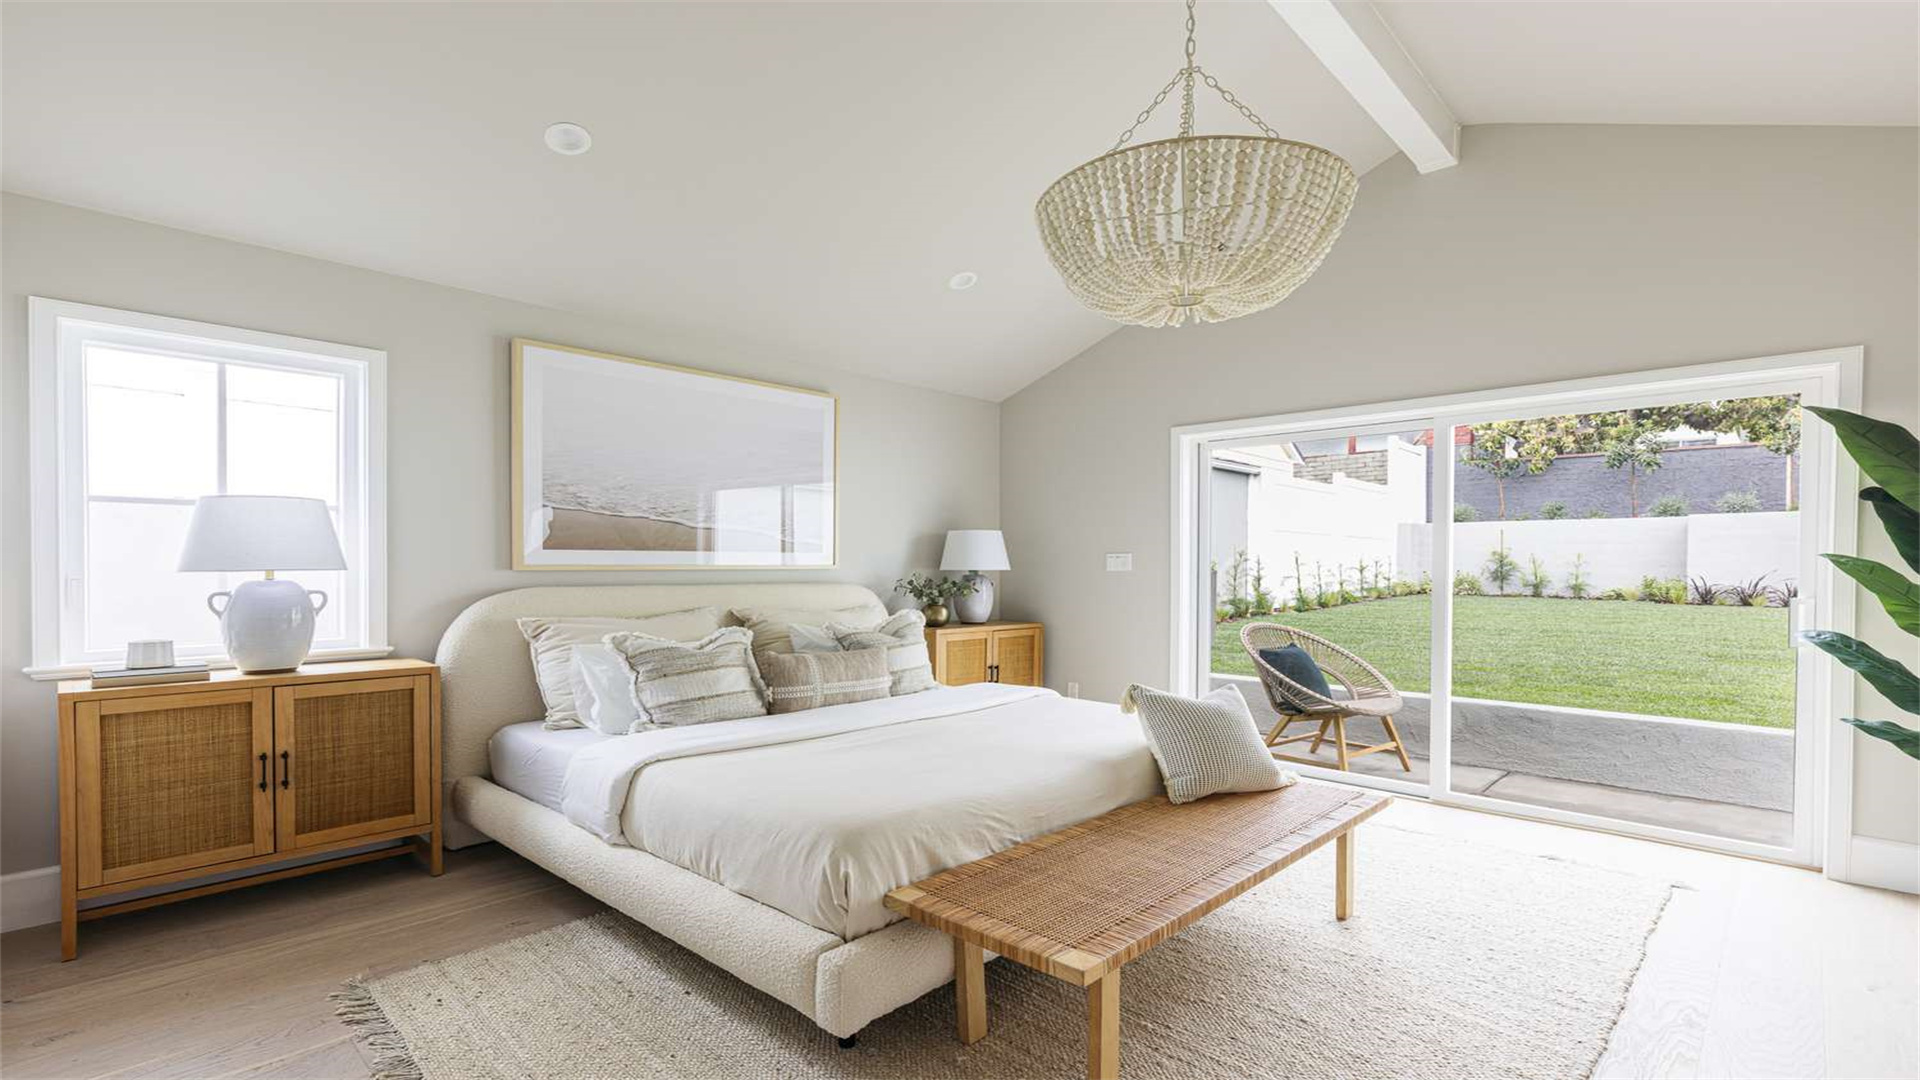
Choosing New Window Treatments
Visit local home decor stores or browse online to explore a wide range of options. Light-colored curtains can make a room feel brighter and more spacious, as they reflect more light. For example, white or pastel-colored curtains can create an airy and open feel in a small room. Dark-colored ones can add a touch of elegance and warmth, perfect for creating a cozy and intimate atmosphere in a living room or dining room.
Consider the fabric as well; sheer fabrics allow more light to filter through, creating a soft and diffused glow. They are ideal for rooms where you want to maintain a sense of openness while still having some privacy. Heavier fabrics, on the other hand, provide better insulation and privacy. They can block out more light and noise, making them suitable for bedrooms or rooms that face a busy street.
Installation Guide
Installing window treatments is usually a straightforward process. For curtains, you'll need a curtain rod and brackets. Measure the width of the window and choose a rod that's slightly wider. This will allow the curtains to hang properly and not block the window when they're open. Install the brackets above the window frame according to the manufacturer's instructions. Make sure they are level and securely attached to the wall. Then, hang the curtains on the rod and adjust them to the desired length.
For blinds or shades, follow the specific installation guidelines provided, which typically involve attaching mounting brackets to the window frame. Use a level to ensure the brackets are straight, as this will affect the operation of the blinds or shades. Once the brackets are in place, attach the blinds or shades according to the instructions.
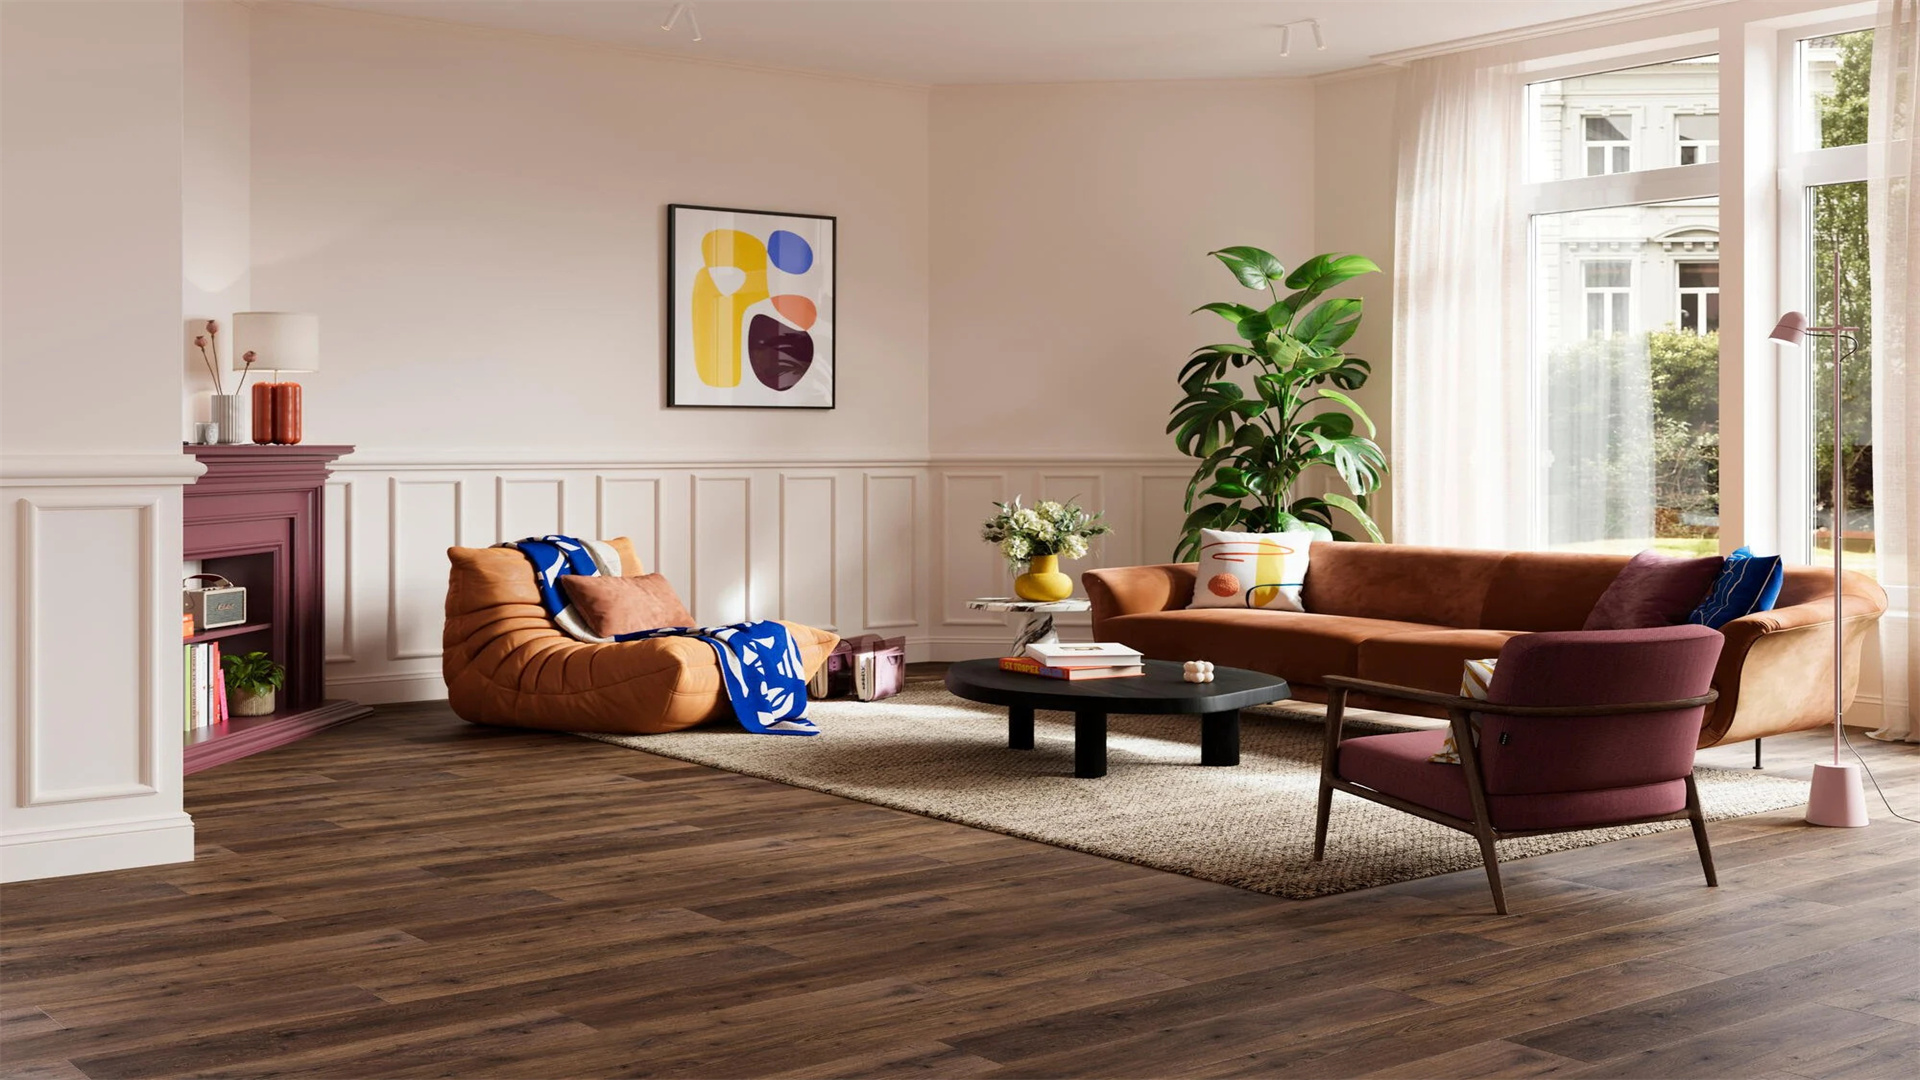
3. Transform with Flooring Updates
While completely replacing the flooring can be expensive, there are several affordable ways to give your floors a new look.
DIY Floor Painting
If you have a concrete floor, consider painting it. Choose a color that complements your room's decor. For example, a neutral color like gray or beige can work well in most spaces, while a bold color like red or blue can add a pop of personality to a room. Before painting, clean the floor thoroughly to remove any dirt, grease, or old paint. Use a degreaser if necessary. Apply a primer to ensure good adhesion. The primer will create a smooth surface for the paint to adhere to and prevent it from peeling.
Use a roller for large areas and a brush for edges and corners. Apply the paint in thin, even coats. You may need to apply multiple coats to achieve the desired color and coverage. Allow each coat to dry completely before applying the next one. You can also add a stencil design for a more personalized touch. Choose a stencil that matches your room's style and use a contrasting color to create a striking effect.
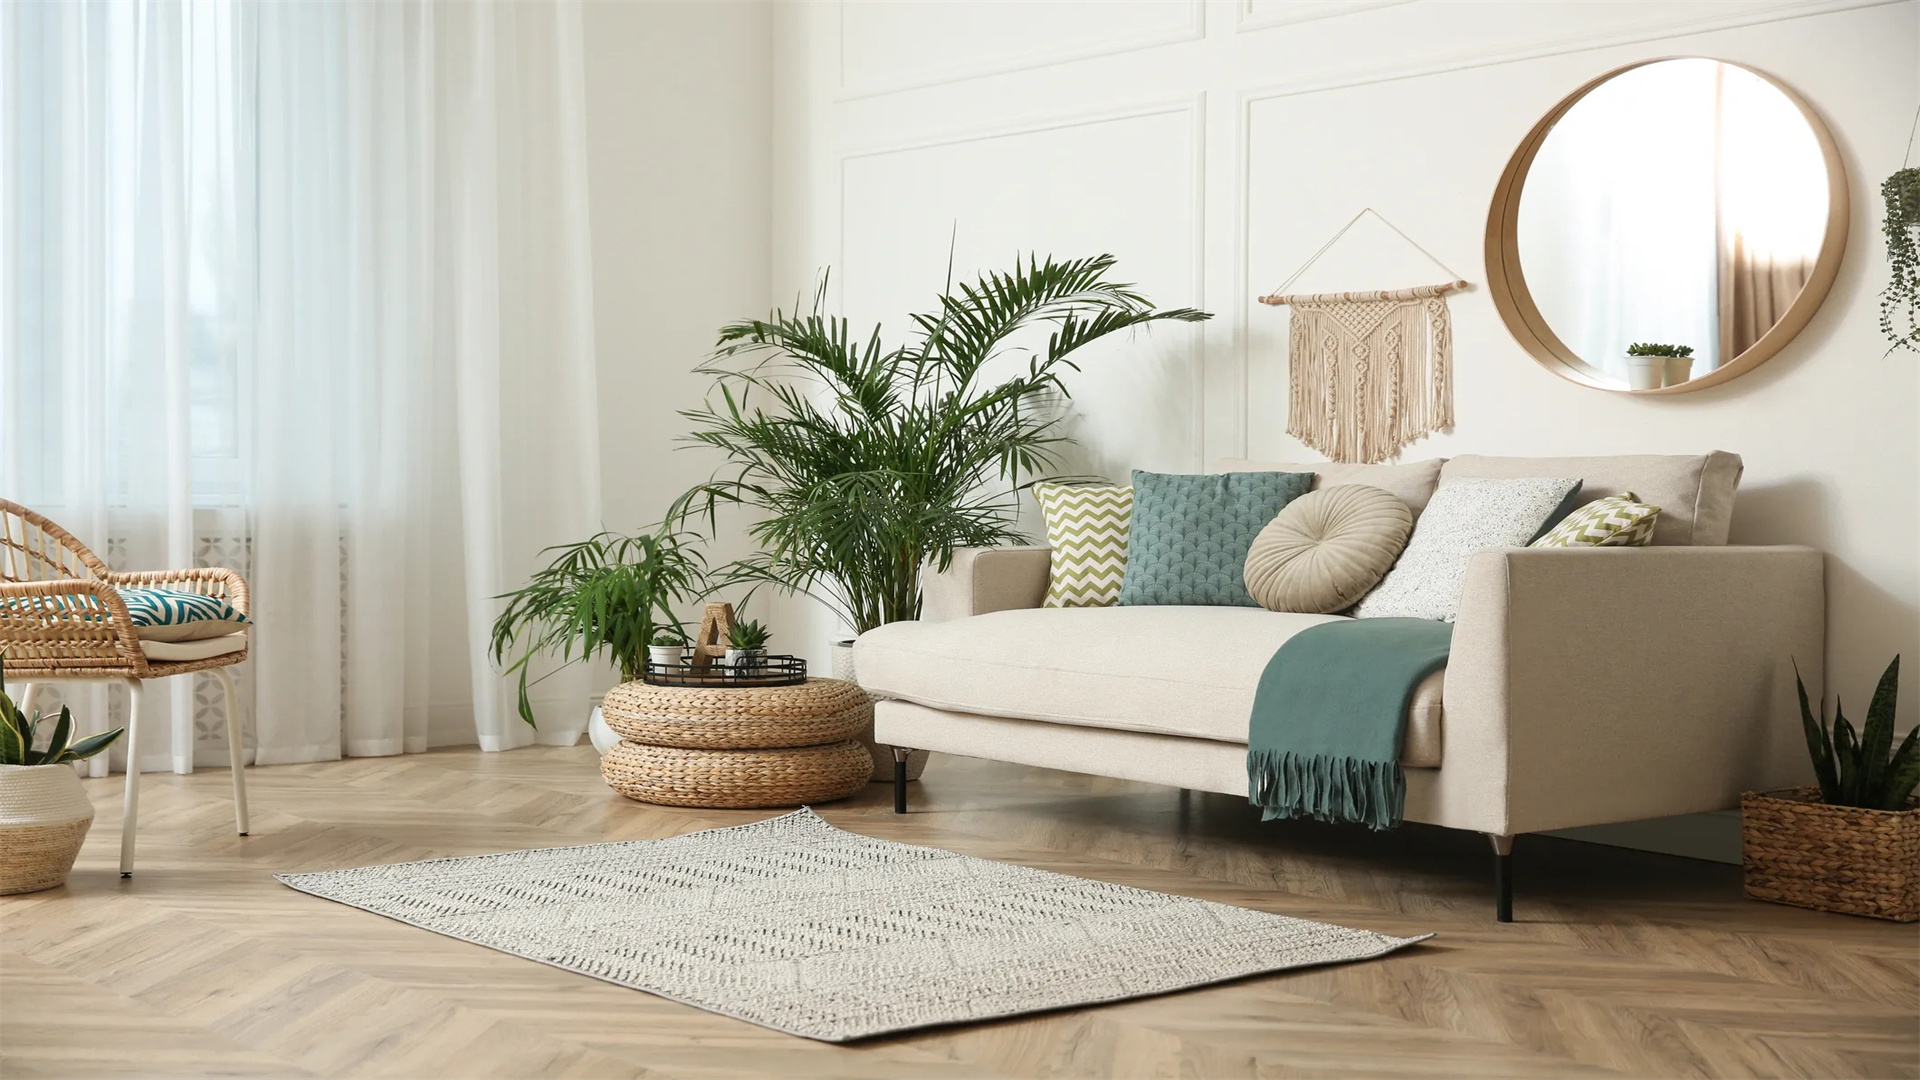
Rugs for Instant Change
Area rugs are a great way to add color, pattern, and texture to a room. They can also protect your existing flooring from scratches and stains. Choose a rug size that fits the space well; a large rug can make a small room feel more cohesive by tying all the furniture together. For example, in a living room, a large rug that extends under the sofa and coffee table can create a defined seating area.
Multiple smaller rugs can define different areas in a larger room. For instance, in an open-plan living and dining area, you can use one rug under the living room furniture and another under the dining table to separate the two spaces. When choosing a rug, consider the traffic flow in the room. Rugs in high-traffic areas should be more durable and easy to clean.
4. Revitalize Furniture with a Makeover
Instead of buying new furniture, give your existing pieces a makeover to breathe new life into them. This is not only cost-effective but also allows you to customize your furniture to match your personal style.
Painting Furniture
Choose a paint color that suits your room's style. If your room has a coastal theme, you might choose a light blue or green color for your furniture. Sand the furniture surface lightly to create a rough texture for better paint adhesion. This will help the paint stick to the surface and prevent it from chipping or peeling.
Apply a primer first, and then follow up with your chosen paint color. You can use a brush for detailed areas, such as the edges and corners of the furniture, and a roller for larger surfaces. For a distressed look, sand the edges and corners after the paint has dried. This will give the furniture an aged and vintage appearance. You can also use a wax or glaze to enhance the distressed effect.
Upholstery Refresh
If you have upholstered furniture, consider reupholstering it. You can buy fabric at a fabric store and either do it yourself if you're handy with a sewing machine or hire a professional for a more polished look. Reupholstering can completely transform the look of your furniture and give it a new lease on life.
Another option is to use slipcovers, which are an easy and affordable way to change the appearance of your furniture. Slipcovers come in a variety of colors, patterns, and fabrics, so you can easily find one that matches your room's decor. They are also easy to remove and wash, making them a practical choice for families with children or pets.
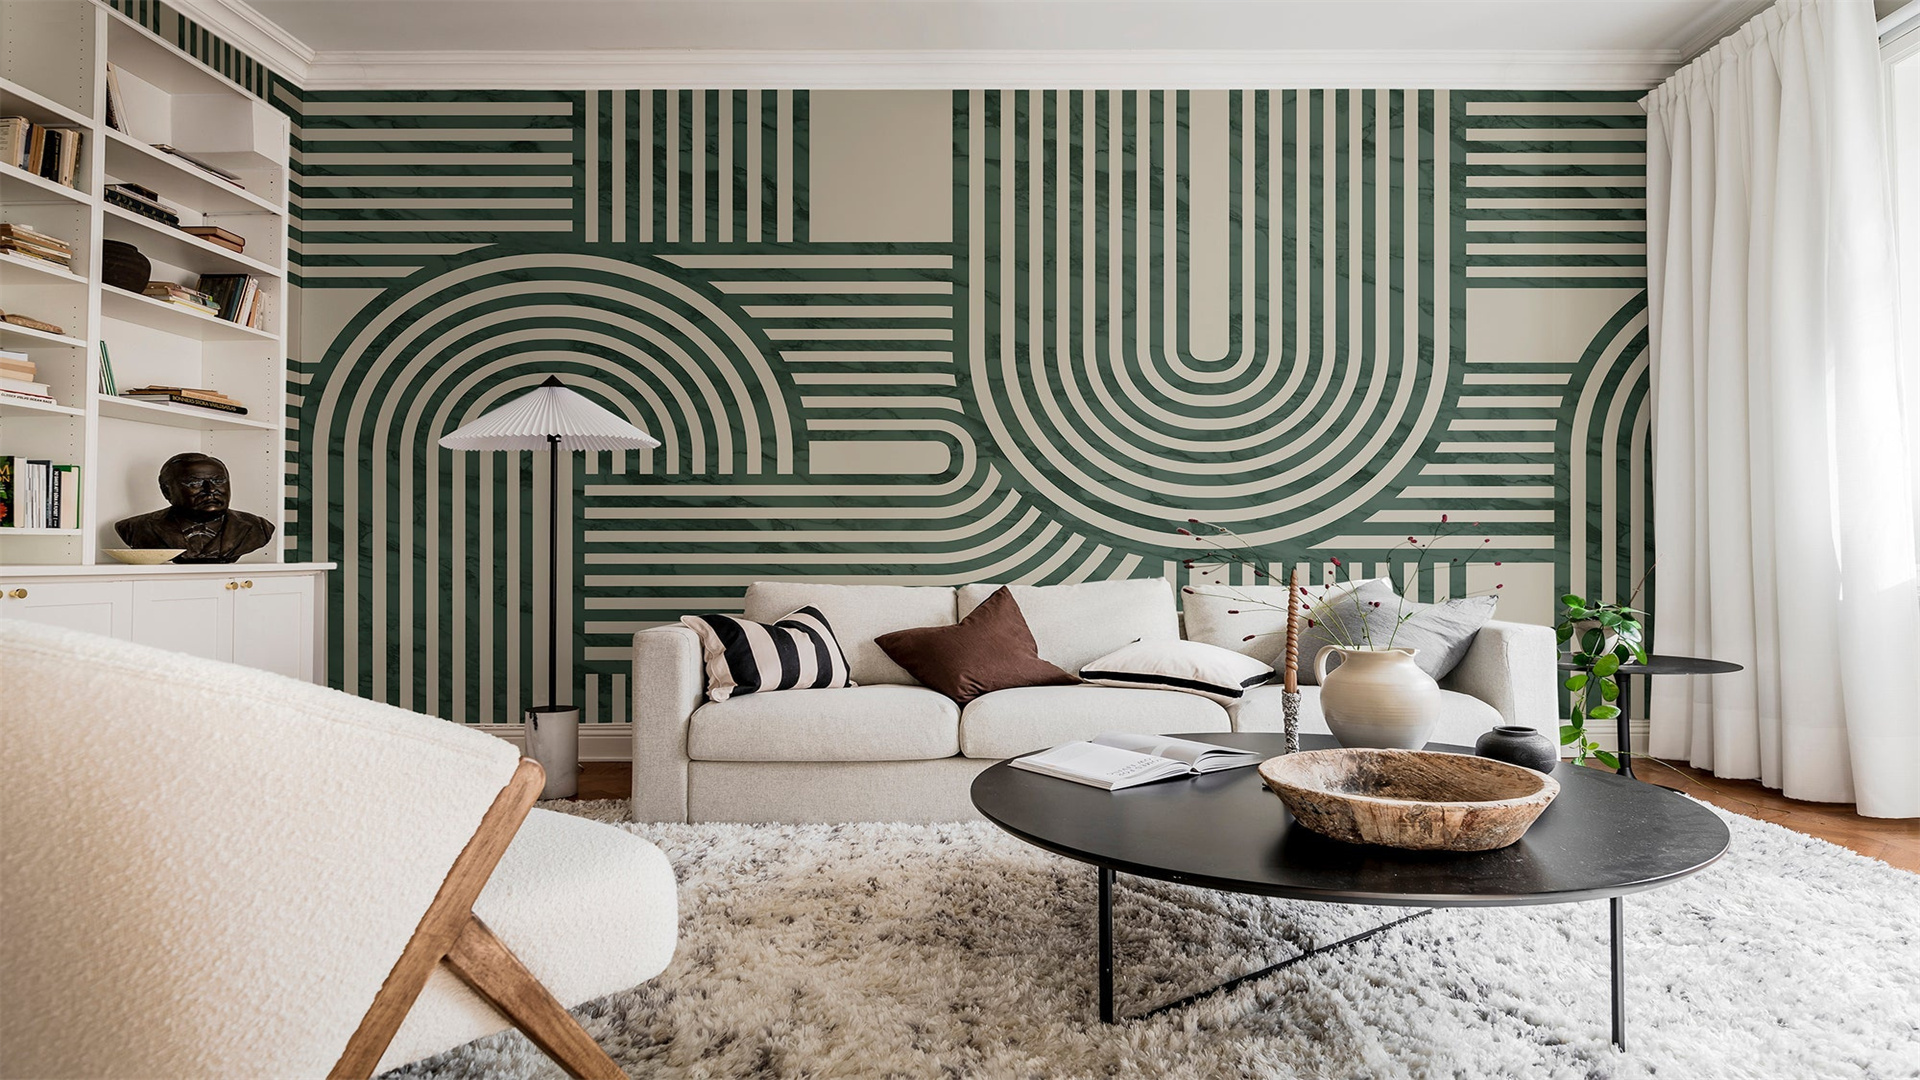
5. Create a Feature Wall
A feature wall can become a striking focal point in your home, adding visual interest and personality. It can draw the eye and create a sense of drama in a room.
Selecting Materials
You can use a variety of materials to create a feature wall, such as reclaimed wood, tiles, or wallpaper with a bold pattern. Reclaimed wood adds a rustic and natural charm to a room. It can give your space a warm and cozy feel, especially if you're going for a farmhouse or cabin-style decor. You can find reclaimed wood at salvage yards or online marketplaces.
Tiles can create a modern and sleek look. They come in a wide range of colors, shapes, and sizes, so you can create a unique and customized design. For example, you can use mosaic tiles to create a pattern or a mural on your feature wall. Wallpaper with a bold pattern can also make a statement. Choose a pattern that is eye-catching but still complements the rest of the room's decor.
Installation Process
If using reclaimed wood, measure the wall and cut the wood planks to the appropriate size. You can use a saw to cut the planks. Attach them to the wall using nails or adhesive. If using nails, make sure to pre-drill holes to prevent the wood from splitting. If using adhesive, follow the manufacturer's instructions for application and drying time.
For tiles, follow the standard tiling process, which includes applying tile adhesive, placing the tiles, and grouting the gaps. Apply the tile adhesive to the wall using a notched trowel, making sure to spread it evenly. Place the tiles on the adhesive, pressing them firmly into place. Use tile spacers to ensure even spacing between the tiles. Once the adhesive has dried, apply grout to the gaps between the tiles. Use a grout float to spread the grout evenly and remove any excess. Allow the grout to dry completely before cleaning the tiles.
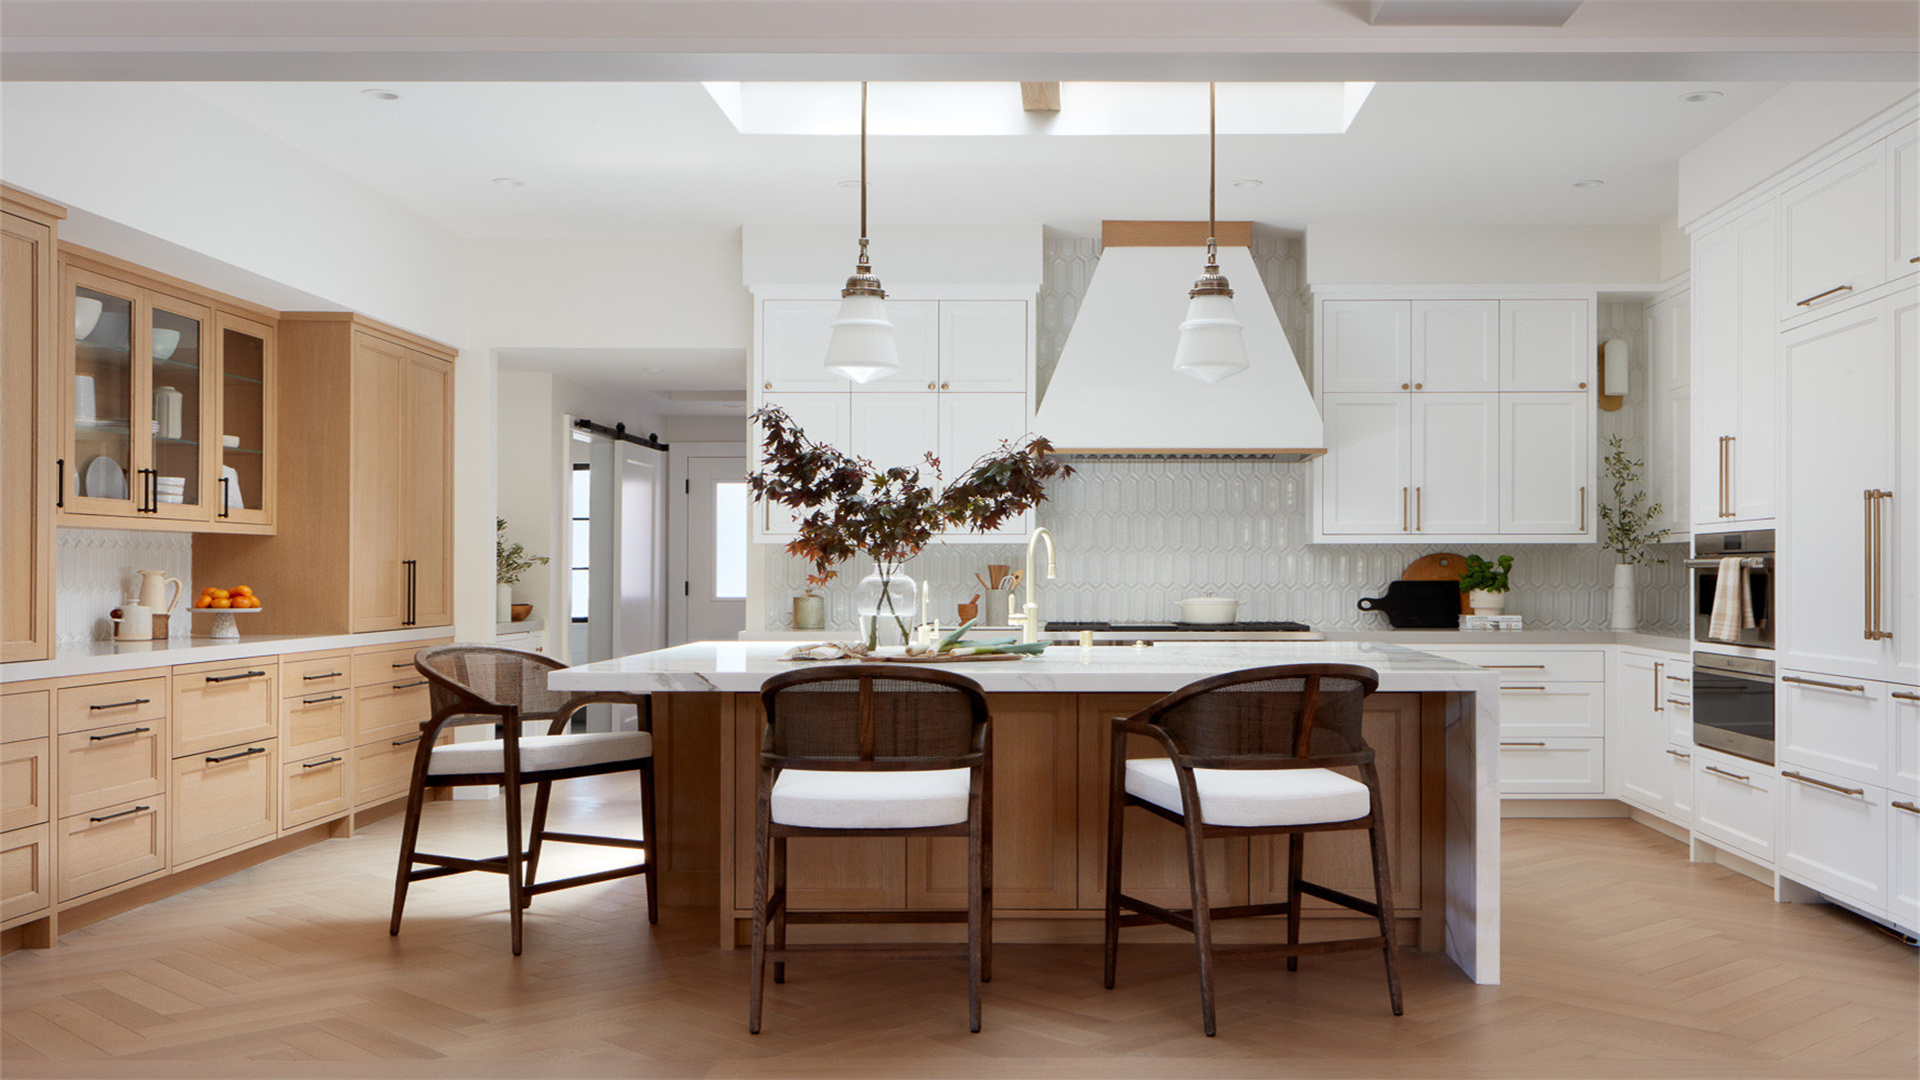
6. Optimize Kitchen Organization
A well-organized kitchen can make cooking and meal preparation much more enjoyable. There are several affordable DIY solutions to maximize kitchen storage and keep your kitchen clutter-free.
DIY Cabinet Organizers
Install pull-out shelves or drawer dividers in your cabinets to make better use of the space. You can buy these organizers at a hardware store or make them yourself using wood and basic tools. To make pull-out shelves, measure the inside of your cabinet and cut pieces of wood to fit. Attach runners to the sides of the cabinet and the shelves, allowing the shelves to slide in and out easily.
Drawer dividers can help you keep your utensils, cutlery, and other small items organized. You can use thin pieces of wood or plastic to create compartments in your drawers. This will prevent your items from getting jumbled together and make it easier to find what you need.
Utilize Wall Space
Hang a pegboard on the kitchen wall to store utensils, pots, and pans. You can buy a pegboard at a hardware store and customize it with hooks and shelves. Install hooks for hanging mugs or kitchen towels. This not only keeps your kitchen organized but also adds a decorative element. You can arrange the items on the pegboard in a visually appealing way, creating a unique display.
You can also install floating shelves on the kitchen wall to store spices, jars, or small kitchen appliances. Floating shelves are easy to install and can add extra storage space without taking up too much room. Choose shelves that match your kitchen's decor and arrange the items on them in an organized manner.
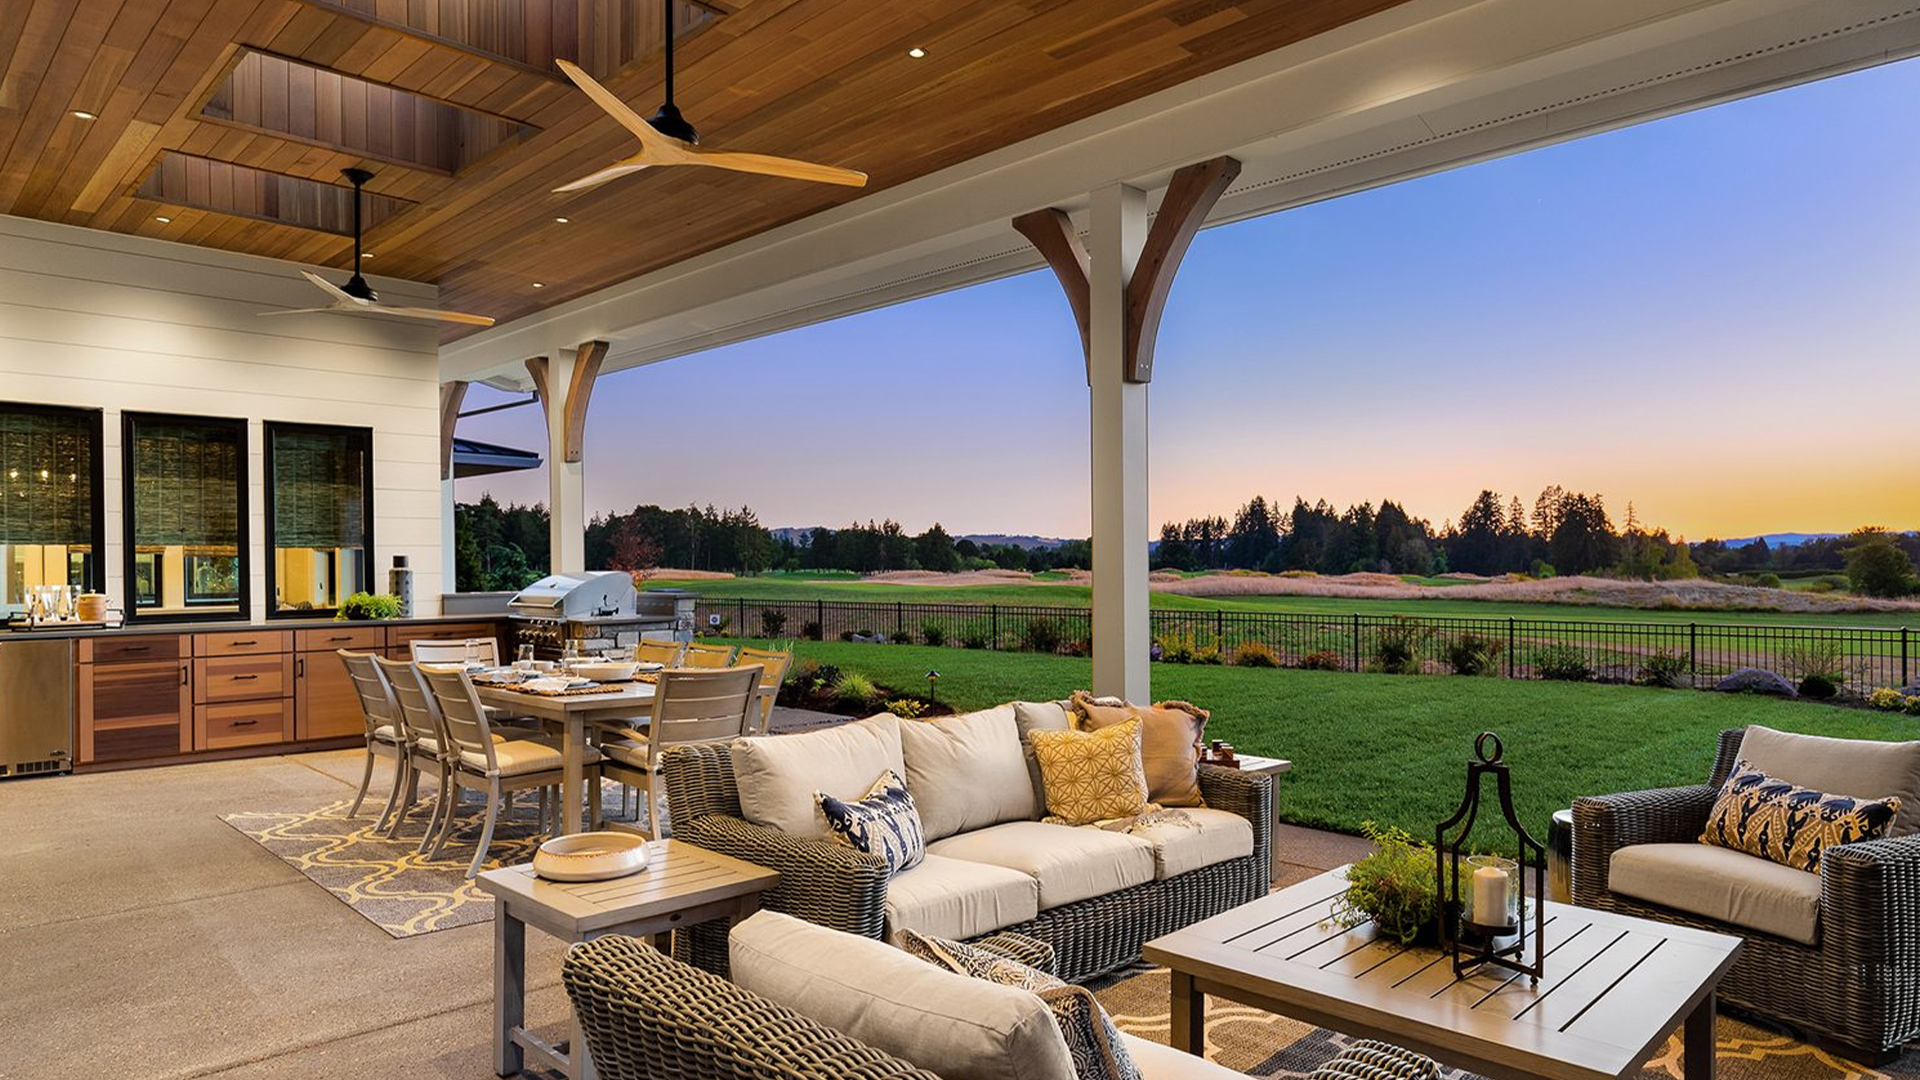
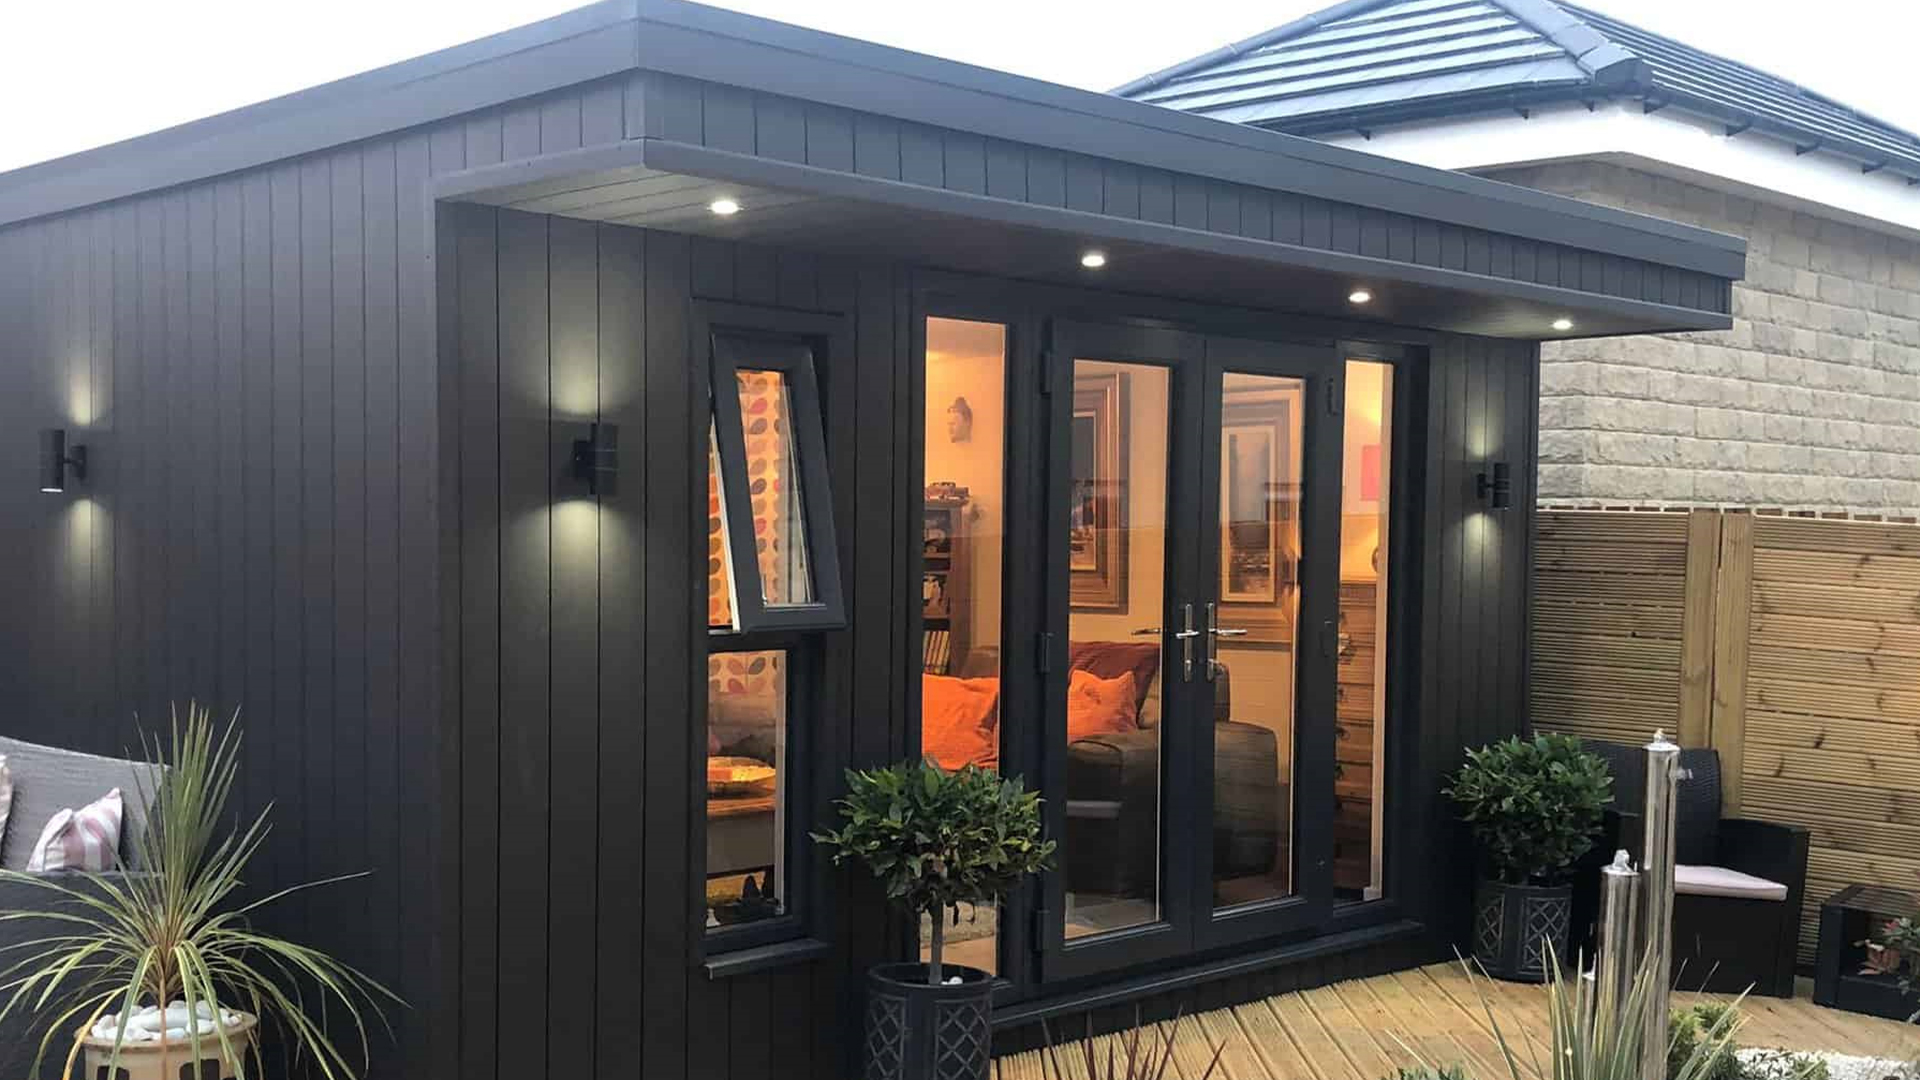
7. Improve Outdoor Living Space
Don't neglect your outdoor area. Enhancing your patio or backyard can create a relaxing and inviting space for you and your family to enjoy during the warmer months.
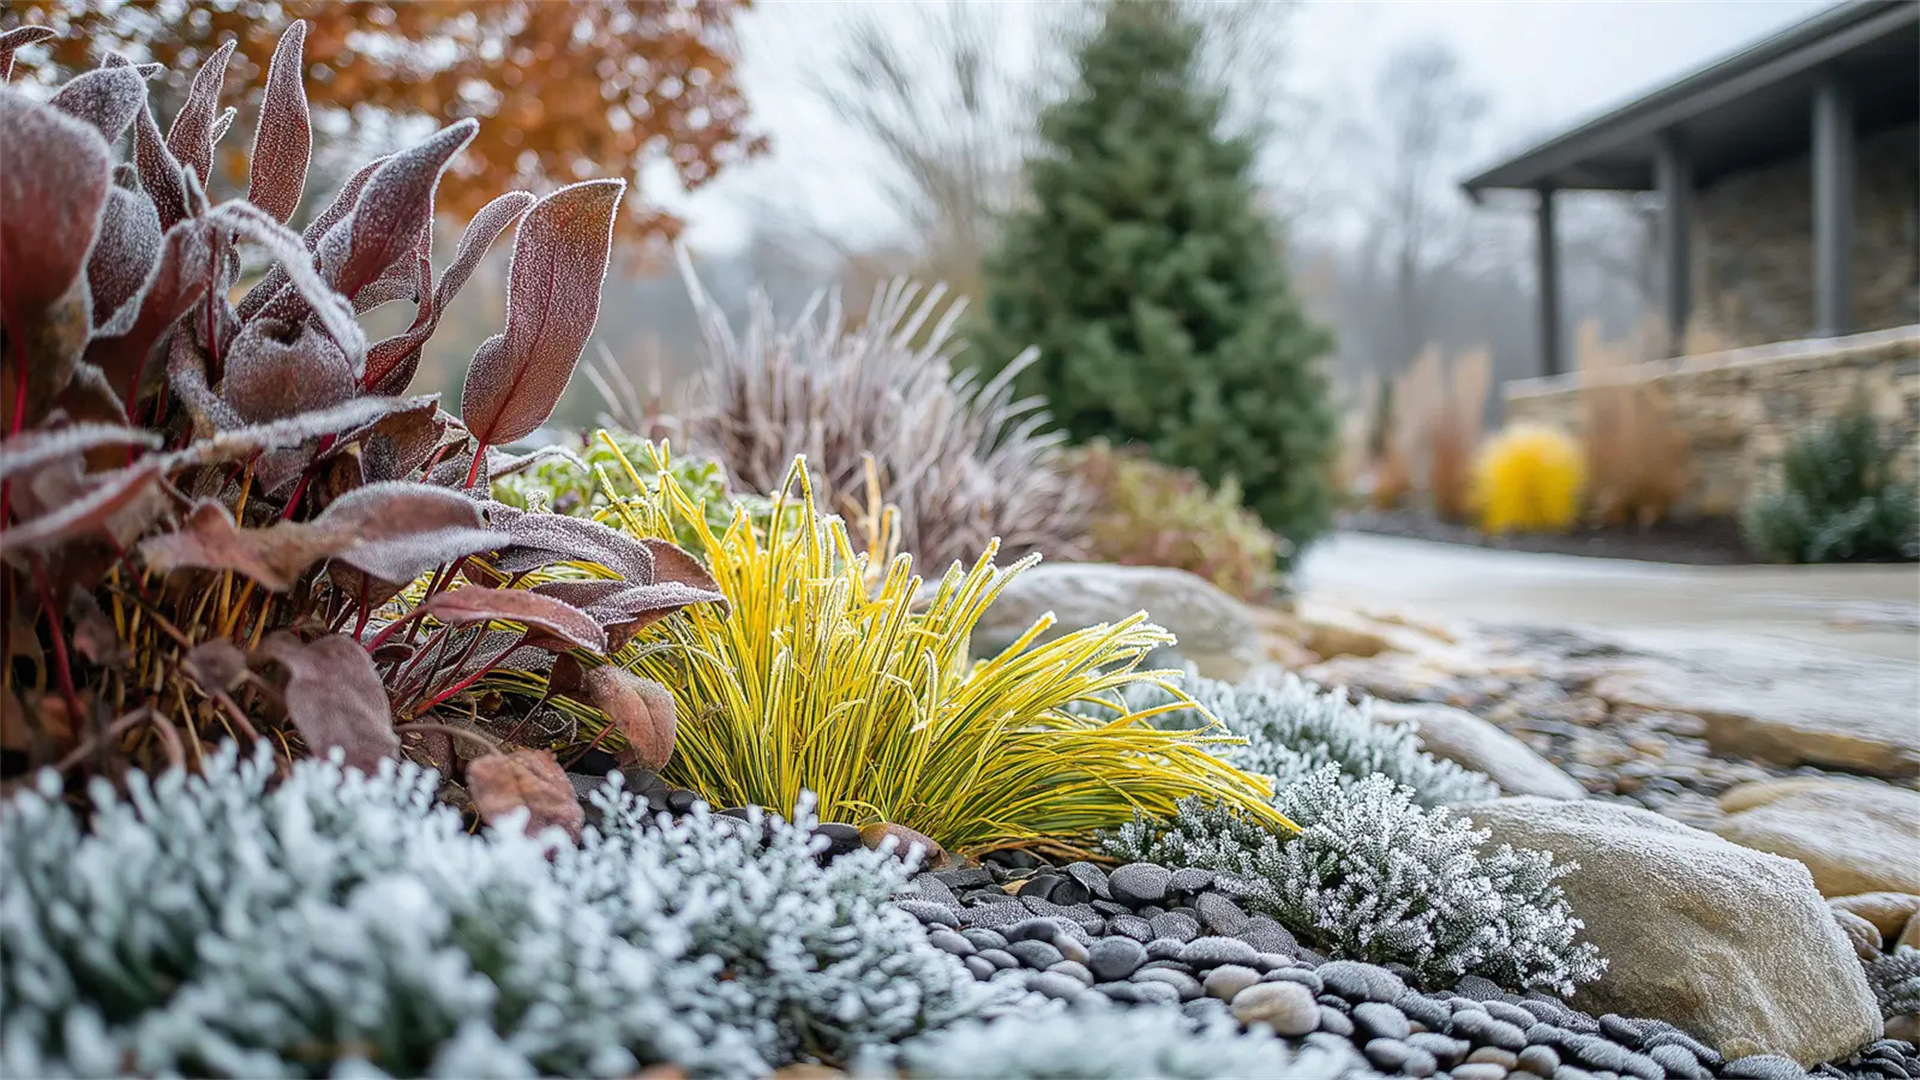
Simple Landscaping Ideas
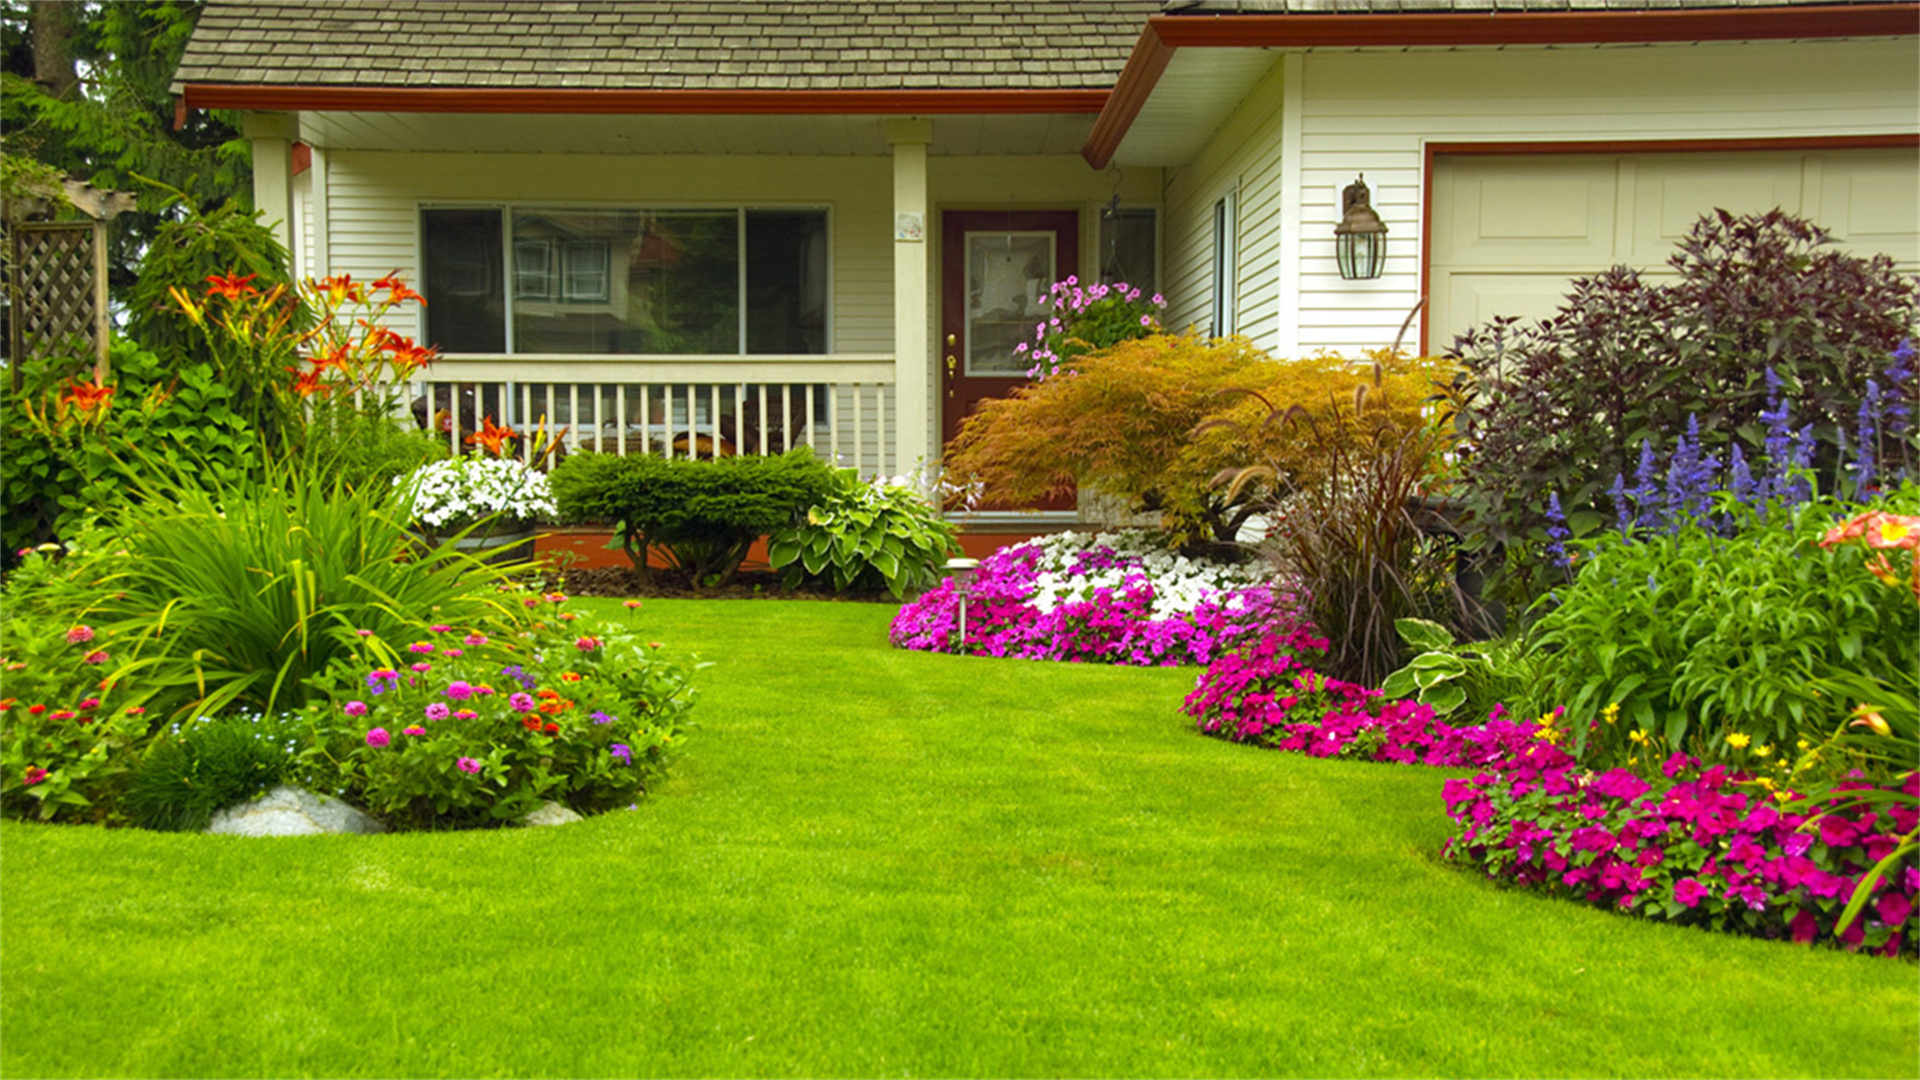
Clear out any overgrown weeds and add some decorative stones or gravel to create a clean and tidy look. Weeds can make your outdoor space look unkempt, so removing them is an important first step. Decorative stones or gravel can add texture and visual interest to your landscaping. You can use them to create pathways, border flower beds, or fill in empty spaces.
Plant some low-maintenance flowers or herbs in pots or along the edges of your patio. Low-maintenance plants are ideal for busy homeowners or those who are new to gardening. Some good options include succulents, lavender, and marigolds. You can also build a small fire pit using bricks or stones for cozy evening gatherings. A fire pit can create a warm and inviting atmosphere, perfect for roasting marshmallows or simply enjoying the outdoors on a cool night.
DIY Outdoor Furniture
Create your own outdoor furniture using pallets. You can make a simple bench or a coffee table by stacking and securing the pallets together. Use screws or nails to attach the pallets firmly. Paint or stain them to match your outdoor decor. You can choose a color that complements your house or goes with the overall theme of your outdoor space.
To make a bench, stack two or three pallets on top of each other and attach them. You can add a cushion or some pillows for comfort. For a coffee table, stack two pallets and add a piece of glass or a wooden top. This DIY outdoor furniture is not only affordable but also allows you to customize the size and style to fit your needs.
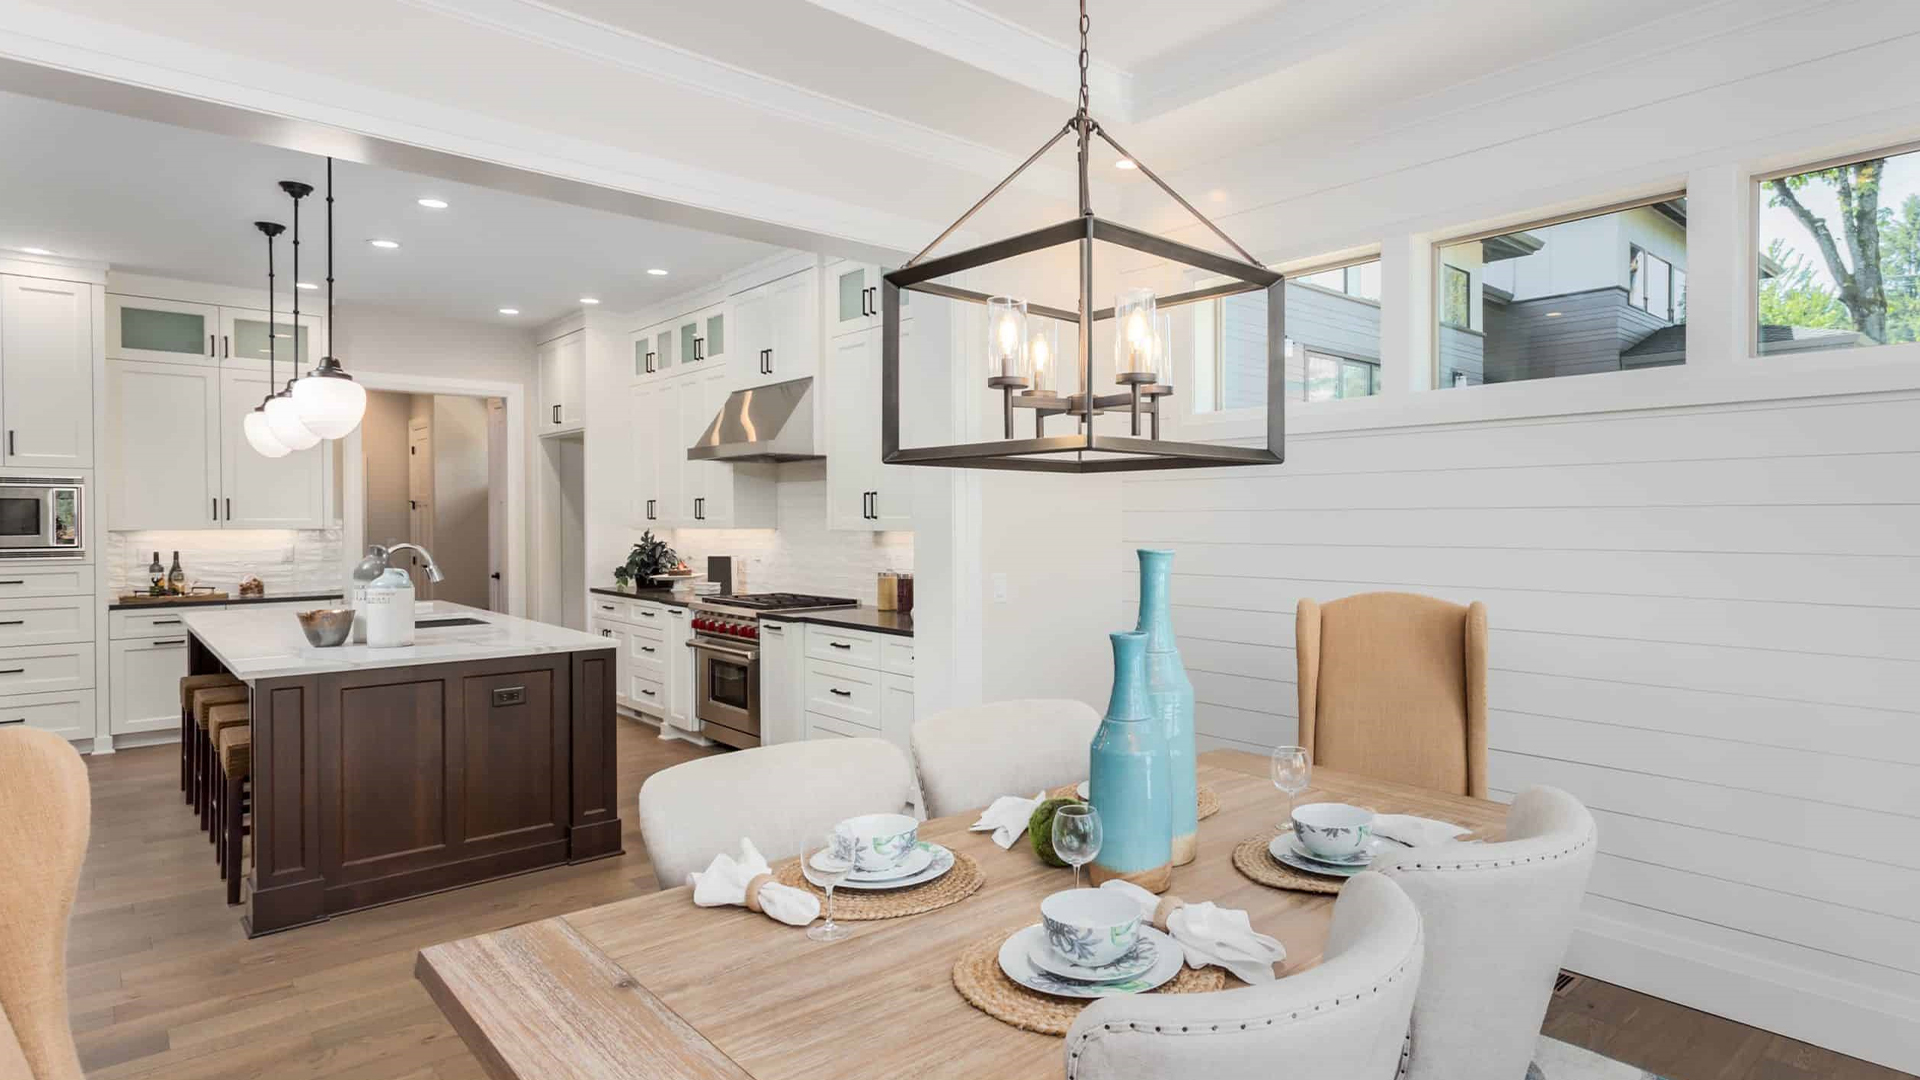
8. Upgrade Your Lighting Fixtures
Good lighting can dramatically improve the ambiance of your home. Instead of buying expensive new fixtures, consider giving your existing ones a makeover.
Spray Painting Light Fixtures
If your light fixtures are outdated but still functional, spray paint them a new color. Choose a color that complements your room's decor. For example, if your room has a modern and minimalist style, you might choose a metallic color like silver or gold. Before painting, remove the fixtures and clean them thoroughly. Use a degreaser to remove any dirt or grease.
Apply a primer first, and then follow up with the spray paint. Hold the spray paint can about 10 - 12 inches away from the fixture and apply thin, even coats. Allow each coat to dry completely before applying the next one. You may need to apply multiple coats to achieve the desired color and coverage.
DIY Lamp Makeovers
For table lamps, you can change the lampshade or add a decorative trim to the existing one. Changing the lampshade can completely transform the look of a lamp. Choose a lampshade that matches your room's decor and provides the right amount of light. You can also paint the lamp base to give it a fresh look. Use a paint that is suitable for the material of the lamp base, such as acrylic paint for a wooden base or spray paint for a metal base.
9. Energy-Saving Home Improvements
Making your home more energy-efficient can not only save you money on your utility bills but also reduce your environmental impact. These simple DIY energy-saving improvements can make a big difference over time.
Sealing Air Leaks
Check for air leaks around windows, doors, and electrical outlets. Air leaks can allow cold air to enter in the winter and hot air to get in during the summer, making your heating and cooling systems work harder and increasing your energy consumption. Use caulk or weatherstripping to seal any gaps. Caulk is ideal for sealing small gaps around windows and doors, while weatherstripping can be used to seal larger gaps and prevent drafts.
Inspect the seals around your windows and doors regularly. Over time, the seals can deteriorate, allowing air to leak in. Replace any damaged or worn-out seals to ensure a tight fit. You can also use draft stoppers at the bottom of doors to prevent cold air from entering.
Installing a Programmable Thermostat
A programmable thermostat allows you to set different temperatures for different times of the day. This way, you can reduce energy consumption when you're not at home or while you're sleeping. For example, you can set the thermostat to lower the temperature at night when you're asleep and raise it again in the morning before you wake up.
Most programmable thermostats are easy to install and can be programmed to suit your schedule. Some models even allow you to control the temperature remotely using a smartphone app. This gives you more control over your home's energy usage and can help you save money on your heating and cooling bills.
10. Add Personalized Artwork
Your home should be a reflection of your personality and interests. Creating your own artwork is a great way to add a personal touch and make your space truly unique.
DIY Canvas Paintings
Buy a blank canvas and some acrylic paints. Let your creativity flow and paint a picture that represents your style. You don't have to be a professional artist to create a beautiful piece of art. Start by sketching your design on the canvas using a pencil. Then, use the acrylic paints to fill in the colors. You can use different brush strokes and techniques to create texture and depth.
If you're not confident in your freehand painting skills, you can also use stencils or trace a design onto the canvas. There are many stencils available at craft stores or online, or you can create your own using cardboard. Tracing a design can help you achieve a more precise and polished look.